display LINCOLN MKZ 2019 User Guide
[x] Cancel search | Manufacturer: LINCOLN, Model Year: 2019, Model line: MKZ, Model: LINCOLN MKZ 2019Pages: 595, PDF Size: 4.95 MB
Page 73 of 595
When you open one of the front doors andlock your vehicle using the power door lockcontrol, all doors will lock then unlock if:
•The ignition is on.
•The ignition is off and the transmissionis not in park (P).
Autolock (If Equipped)
Autolock locks all the doors when:
•All doors are closed.
•The ignition is on.
•You shift into any gear putting yourvehicle in motion.
•Your vehicle reaches a speed greaterthan 12 mph (20 km/h).
Autolock repeats when:
•You open then close any door while theignition is on and your vehicle speed is9 mph (15 km/h) or lower.
•Your vehicle reaches a speed greaterthan 12 mph (20 km/h).
Autounlock
Autounlock unlocks all the doors when:
•The ignition is on, all the doors areclosed, and your vehicle has beenmoving at a speed greater than 12 mph(20 km/h).
•Your vehicle comes to a stop and youswitch the ignition off or to the accessoryposition.
•You open the driver door within 10minutes of switching the ignition off or toaccessory.
Note:The doors will not autounlock if youelectronically lock your vehicle after youswitch the ignition off and before you openthe driver door.
Enabling or Disabling Autounlock
You can enable or disable the autounlockfeature in the information display or anauthorized dealer can do it for you. SeeGeneral Information (page 110).
Illuminated Entry
The interior lamps and some exterior lampsilluminate when you unlock the doors withthe remote control.
The illuminated entry system turns off thelights if:
•The ignition is on.
•You press the remote control lock button.
•After 25 seconds of illumination.
The lights do not turn off if:
•You turn them on with the lamp control.
•Any door is open.
Illuminated Exit
The interior lamps and some exterior lampsilluminate when all doors are closed and youswitch the ignition off.
The lamps turn off when all the doors remainclosed and:
•25 seconds have elapsed.
•You press the push button ignitionswitch.
70
MKZ (CC9) Canada/United States of America, enUSA, Edition date: 201805, First-Printing
Doors and Locks
Page 74 of 595
Battery Saver
If you leave the courtesy lamps, interiorlamps or headlamps on, the battery savershuts them off 10 minutes after you switchthe ignition off.
Accessory Mode Battery Saver forIntelligent Access Keys
If you leave the ignition switched on, it shutsoff when it detects a certain amount ofbattery drain, or after 45 minutes.
Luggage Compartment
From Inside Your Vehicle
Press the button on the instrumentpanel to open the luggagecompartment.
With the Remote Control
Press twice within three secondsto open the luggage compartment.
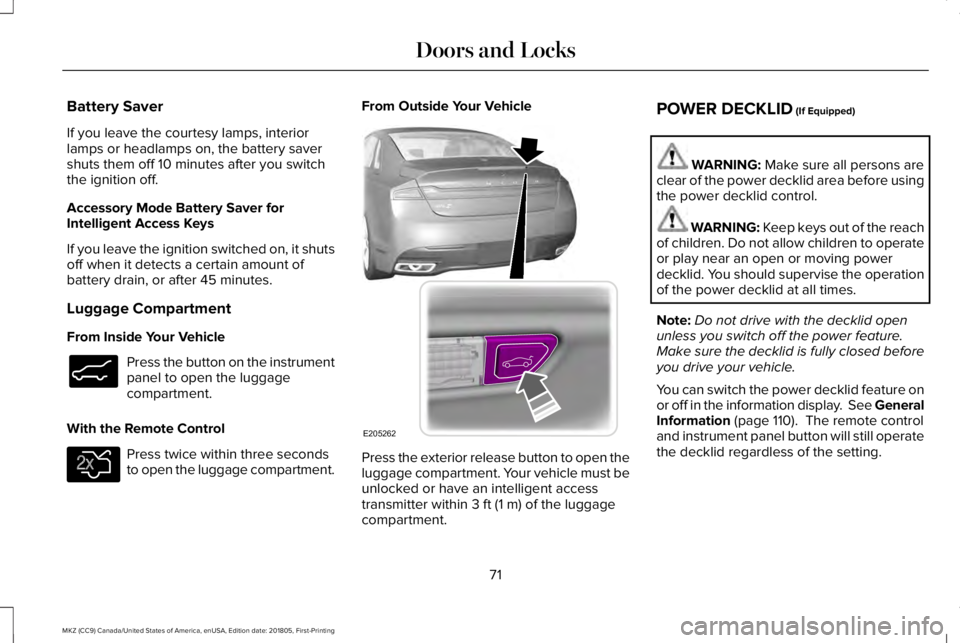
From Outside Your Vehicle
Press the exterior release button to open theluggage compartment. Your vehicle must beunlocked or have an intelligent accesstransmitter within 3 ft (1 m) of the luggagecompartment.
POWER DECKLID (If Equipped)
WARNING: Make sure all persons areclear of the power decklid area before usingthe power decklid control.
WARNING: Keep keys out of the reachof children. Do not allow children to operateor play near an open or moving powerdecklid. You should supervise the operationof the power decklid at all times.
Note:Do not drive with the decklid openunless you switch off the power feature.Make sure the decklid is fully closed beforeyou drive your vehicle.
You can switch the power decklid feature onor off in the information display. See GeneralInformation (page 110). The remote controland instrument panel button will still operatethe decklid regardless of the setting.
71
MKZ (CC9) Canada/United States of America, enUSA, Edition date: 201805, First-Printing
Doors and LocksE138633 E138630 E205262
Page 78 of 595
To Unlock All Doors
Enter the factory-set code or your personalcode, then press 3·4 within five seconds.
To Lock All Doors
Press and hold 7·8 and 9·0 at the same timewith the driver door closed. You do not needto enter the keypad code first.
To Release the Trunk
Enter the factory-set code or your personalcode, then press 5·6 within five seconds.
Note:The keypad does not operate a powerdecklid.
Displaying the Factory Set Code
Note:You need to have two programmedintelligent access keys for this procedure.
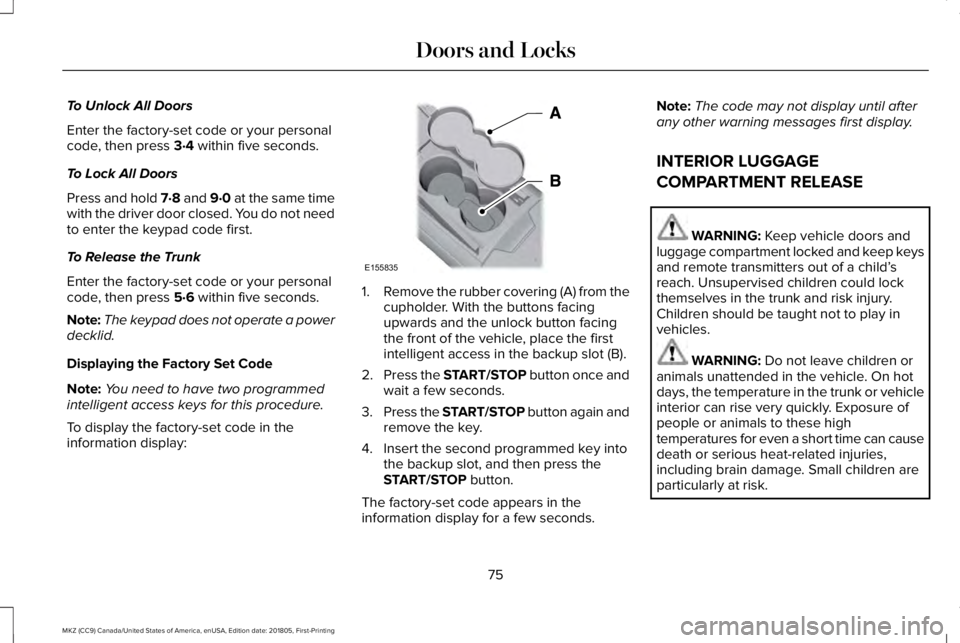
To display the factory-set code in theinformation display:
1.Remove the rubber covering (A) from thecupholder. With the buttons facingupwards and the unlock button facingthe front of the vehicle, place the firstintelligent access in the backup slot (B).
2.Press the START/STOP button once andwait a few seconds.
3.Press the START/STOP button again andremove the key.
4. Insert the second programmed key intothe backup slot, and then press theSTART/STOP button.
The factory-set code appears in theinformation display for a few seconds.
Note:The code may not display until afterany other warning messages first display.
INTERIOR LUGGAGE
COMPARTMENT RELEASE
WARNING: Keep vehicle doors andluggage compartment locked and keep keysand remote transmitters out of a child’sreach. Unsupervised children could lockthemselves in the trunk and risk injury.Children should be taught not to play invehicles.
WARNING: Do not leave children oranimals unattended in the vehicle. On hotdays, the temperature in the trunk or vehicleinterior can rise very quickly. Exposure ofpeople or animals to these hightemperatures for even a short time can causedeath or serious heat-related injuries,including brain damage. Small children areparticularly at risk.
75
MKZ (CC9) Canada/United States of America, enUSA, Edition date: 201805, First-Printing
Doors and LocksE155835
Page 80 of 595
PASSIVE ANTI-THEFT SYSTEM
Note: The system is not compatible withnon-Ford aftermarket remote start systems. Use of these systems may result in vehiclestarting problems and a loss of securityprotection.
Note: Metallic objects, electronic devicesor a second coded key on the same keychain may cause vehicle starting problemsif they are too close to the key when startingyour vehicle. Prevent these objects fromtouching the coded key while starting yourvehicle. Switch the ignition off, move allobjects on the key chain away from thecoded key and restart your vehicle if aproblem occurs.
Note: Do not leave a duplicate coded keyin your vehicle. Always take your keys andlock all doors when leaving your vehicle.
SecuriLock
The system helps prevent your vehicle fromstarting unless you use a coded keyprogrammed to your vehicle. Using thewrong key may prevent your vehicle fromstarting. A message may appear in theinformation display.
If you are unable to start your vehicle with acorrectly coded key, it is not operatingproperly. A message may appear in theinformation display.
Automatic Arming
Your vehicle arms immediately afterswitching the ignition off.
Automatic Disarming
Switching the ignition on with a coded keydisarms your vehicle.
Replacement Keys
Note:Your vehicle comes equipped with twointelligent access keys.
The intelligent access key functions as aprogrammed key that operates the driverdoor lock and activates the intelligent accesswith push button start system, as well as aremote control.
If your programmed transmitters are lost orstolen and you do not have an extra codedkey, have your vehicle towed to anauthorized dealer. You need to erase thekey codes from your vehicle and programnew coded keys.
Store an extra programmed key away fromyour vehicle in a safe place to help preventany inconveniences. See your authorizeddealer to purchase additional spare orreplacement keys.
Programming a Spare Intelligent AccessKey
Note: You can program a maximum of fourintelligent access keys to your vehicle.
77
MKZ (CC9) Canada/United States of America, enUSA, Edition date: 201805, First-Printing
Security
Page 84 of 595
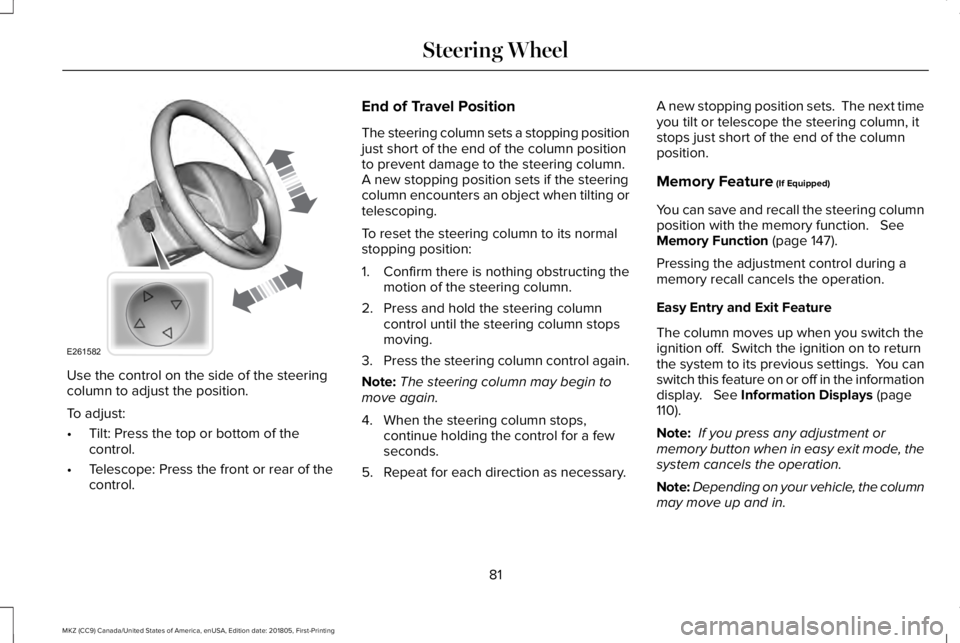
Use the control on the side of the steeringcolumn to adjust the position.
To adjust:
•Tilt: Press the top or bottom of thecontrol.
•Telescope: Press the front or rear of thecontrol.
End of Travel Position
The steering column sets a stopping positionjust short of the end of the column positionto prevent damage to the steering column. A new stopping position sets if the steeringcolumn encounters an object when tilting ortelescoping.
To reset the steering column to its normalstopping position:
1. Confirm there is nothing obstructing themotion of the steering column.
2. Press and hold the steering columncontrol until the steering column stopsmoving.
3.Press the steering column control again.
Note:The steering column may begin tomove again.
4. When the steering column stops,continue holding the control for a fewseconds.
5. Repeat for each direction as necessary.
A new stopping position sets. The next timeyou tilt or telescope the steering column, itstops just short of the end of the columnposition.
Memory Feature (If Equipped)
You can save and recall the steering columnposition with the memory function. SeeMemory Function (page 147).
Pressing the adjustment control during amemory recall cancels the operation.
Easy Entry and Exit Feature
The column moves up when you switch theignition off. Switch the ignition on to returnthe system to its previous settings. You canswitch this feature on or off in the informationdisplay. See Information Displays (page110).
Note: If you press any adjustment ormemory button when in easy exit mode, thesystem cancels the operation.
Note:Depending on your vehicle, the columnmay move up and in.
81
MKZ (CC9) Canada/United States of America, enUSA, Edition date: 201805, First-Printing
Steering WheelE261582
Page 86 of 595
CRUISE CONTROL
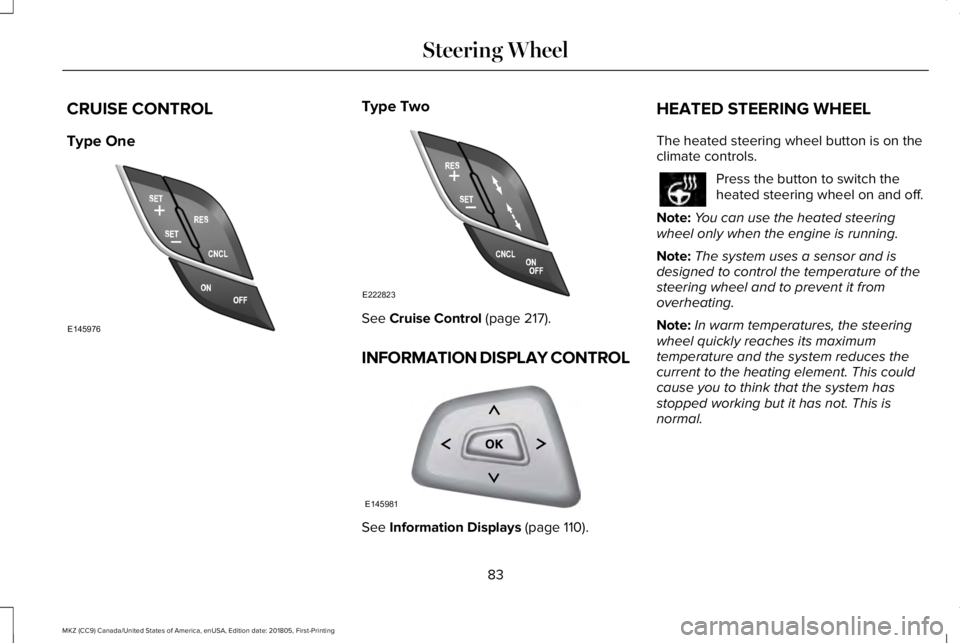
Type One
Type Two
See Cruise Control (page 217).
INFORMATION DISPLAY CONTROL
See Information Displays (page 110).
HEATED STEERING WHEEL
The heated steering wheel button is on theclimate controls.
Press the button to switch theheated steering wheel on and off.
Note:You can use the heated steeringwheel only when the engine is running.
Note:The system uses a sensor and isdesigned to control the temperature of thesteering wheel and to prevent it fromoverheating.
Note:In warm temperatures, the steeringwheel quickly reaches its maximumtemperature and the system reduces thecurrent to the heating element. This couldcause you to think that the system hasstopped working but it has not. This isnormal.
83
MKZ (CC9) Canada/United States of America, enUSA, Edition date: 201805, First-Printing
Steering WheelE145976 E222823 E145981
Page 88 of 595
AUTOWIPERS (If Equipped)
Wet or winter driving conditions with ice,snow or salty road mist can causeinconsistent and unexpected wiping orsmearing.
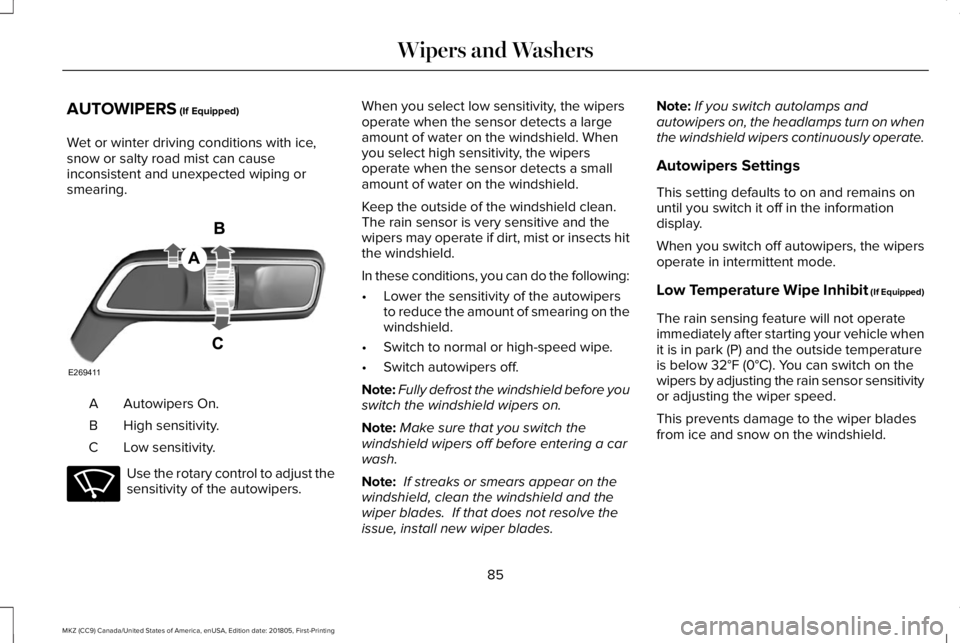
Autowipers On.A
High sensitivity.B
Low sensitivity.C
Use the rotary control to adjust thesensitivity of the autowipers.
When you select low sensitivity, the wipersoperate when the sensor detects a largeamount of water on the windshield. Whenyou select high sensitivity, the wipersoperate when the sensor detects a smallamount of water on the windshield.
Keep the outside of the windshield clean. The rain sensor is very sensitive and thewipers may operate if dirt, mist or insects hitthe windshield.
In these conditions, you can do the following:
•Lower the sensitivity of the autowipersto reduce the amount of smearing on thewindshield.
•Switch to normal or high-speed wipe.
•Switch autowipers off.
Note:Fully defrost the windshield before youswitch the windshield wipers on.
Note:Make sure that you switch thewindshield wipers off before entering a carwash.
Note: If streaks or smears appear on thewindshield, clean the windshield and thewiper blades. If that does not resolve theissue, install new wiper blades.
Note:If you switch autolamps andautowipers on, the headlamps turn on whenthe windshield wipers continuously operate.
Autowipers Settings
This setting defaults to on and remains onuntil you switch it off in the informationdisplay.
When you switch off autowipers, the wipersoperate in intermittent mode.
Low Temperature Wipe Inhibit (If Equipped)
The rain sensing feature will not operateimmediately after starting your vehicle whenit is in park (P) and the outside temperatureis below 32°F (0°C). You can switch on thewipers by adjusting the rain sensor sensitivityor adjusting the wiper speed.
This prevents damage to the wiper bladesfrom ice and snow on the windshield.
85
MKZ (CC9) Canada/United States of America, enUSA, Edition date: 201805, First-Printing
Wipers and WashersE269411 E270969
Page 91 of 595
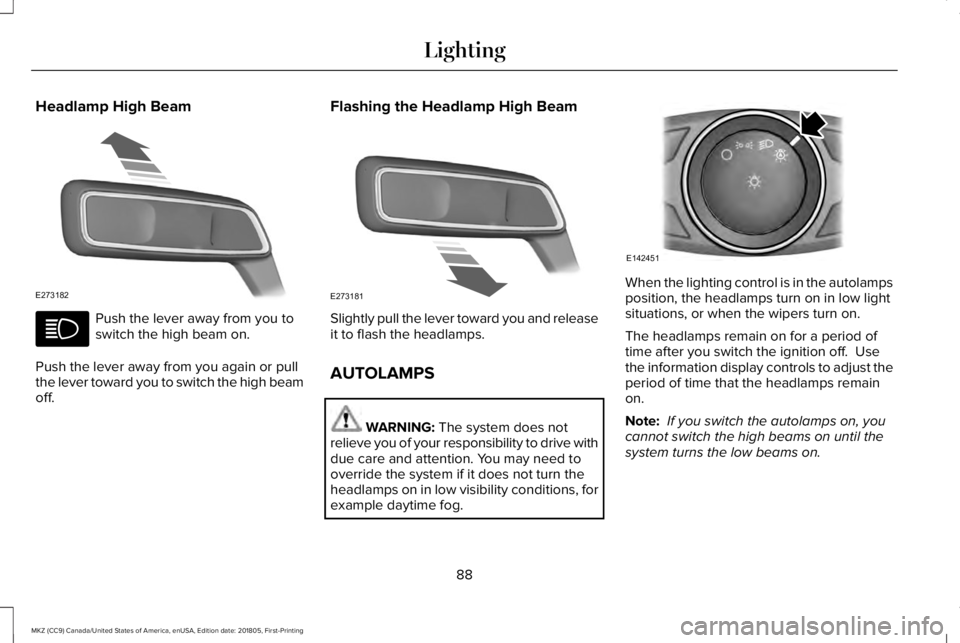
Headlamp High Beam
Push the lever away from you toswitch the high beam on.
Push the lever away from you again or pullthe lever toward you to switch the high beamoff.
Flashing the Headlamp High Beam
Slightly pull the lever toward you and releaseit to flash the headlamps.
AUTOLAMPS
WARNING: The system does notrelieve you of your responsibility to drive withdue care and attention. You may need tooverride the system if it does not turn theheadlamps on in low visibility conditions, forexample daytime fog.
When the lighting control is in the autolampsposition, the headlamps turn on in low lightsituations, or when the wipers turn on.
The headlamps remain on for a period oftime after you switch the ignition off. Usethe information display controls to adjust theperiod of time that the headlamps remainon.
Note: If you switch the autolamps on, youcannot switch the high beams on until thesystem turns the low beams on.
88
MKZ (CC9) Canada/United States of America, enUSA, Edition date: 201805, First-Printing
LightingE273182 E273181 E142451
Page 93 of 595
Type One - Conventional (Non-Configurable)
The daytime running lamps turn on when:
1. Switching the ignition on.
2. The transmission is not in park (P) forvehicles with automatic transmissions, orreleasing the parking brake for vehicleswith manual transmissions.
3. The lighting control is in the off, parkinglamp or autolamps positions.
4. The headlamps are off.
Type Two - Configurable
Switch the daytime running lamps on or offusing the information display. SeeInformation Displays (page 110).
The daytime running lamps turn on when:
1. The lamps are on in the informationdisplay.
2. Switching the ignition on.
3. The transmission is not in park (P) forvehicles with automatic transmissions, orreleasing the parking brake for vehicleswith manual transmissions.
4. The lighting control is in the autolampsposition.
5. The headlamps are off.
The other lighting control switch positionsdo not turn on the daytime running lamps.
If the daytime running lamps are off in theinformation display, the lamps stay off in allswitch positions.
AUTOMATIC HIGH BEAM
CONTROL (If Equipped)
WARNING: The system does notrelieve you of your responsibility to drive withdue care and attention. You may need tooverride the system if it does not turn thehigh beams on or off.
The system turns on high beams if it is darkenough and no other traffic is present. If itdetects an approaching vehicle’s headlampsor tail lamps, or street lighting ahead, thesystem turns off high beams before they candistract other road users. Low beams remainon.
Note:The system may not operate properlyif the sensor is blocked. Keep the windshieldfree from obstruction or damage.
Note:The system may not operate properlyin cold or inclement conditions. You canswitch on the high beams by overriding thesystem.
Note:If the system detects a blockage, forexample bird droppings, bug splatter, snowor ice, the system goes into low beam modeuntil you clear the blockage. A message mayappear in the information display if thecamera is blocked.
Note:Using much larger tires or equippingvehicle accessories such as snowplows canmodify your vehicle's ride height anddegrade automatic high beam controlperformance.
90
MKZ (CC9) Canada/United States of America, enUSA, Edition date: 201805, First-Printing
Lighting
Page 94 of 595
A camera sensor, centrally mounted behindthe windshield of your vehicle, continuouslymonitors conditions to turn the high beamson and off.
Once the system is active, the high beamsturn on if:
•The ambient light level is low enough.
•There is no traffic in front of your vehicle.
•The vehicle speed is greater thanapproximately 32 mph (51 km/h).
The system turns the high beams off if:
•The ambient light level is high enoughthat high beams are not required.
•The system detects an approachingvehicle's headlamps or tail lamps.
•The vehicle speed falls belowapproximately 27 mph (44 km/h).
•The system detects severe rain, snow orfog.
•The camera is blocked.
Switching the System On and Off
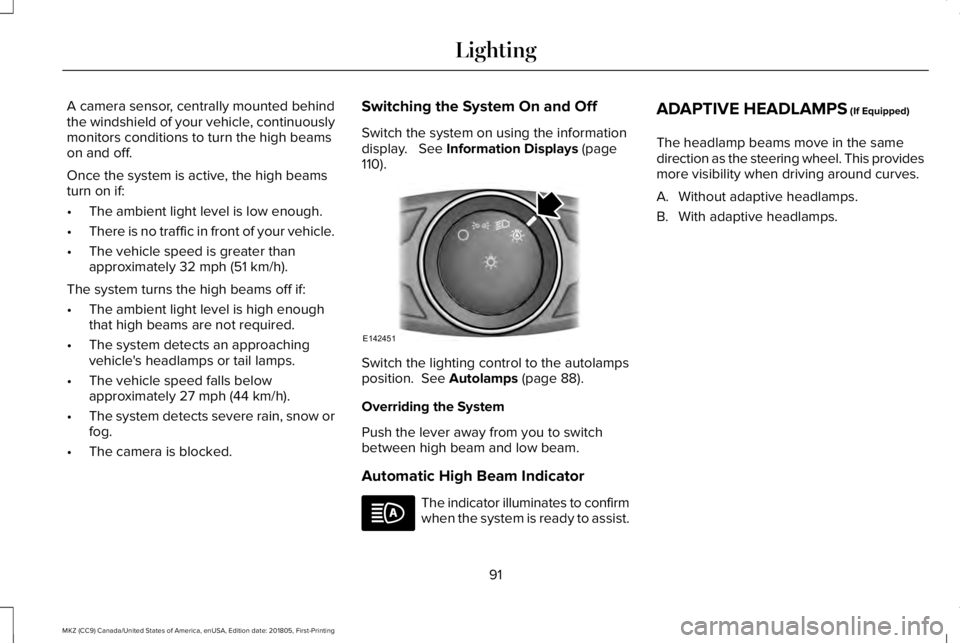
Switch the system on using the informationdisplay. See Information Displays (page110).
Switch the lighting control to the autolampsposition. See Autolamps (page 88).
Overriding the System
Push the lever away from you to switchbetween high beam and low beam.
Automatic High Beam Indicator
The indicator illuminates to confirmwhen the system is ready to assist.
ADAPTIVE HEADLAMPS (If Equipped)
The headlamp beams move in the samedirection as the steering wheel. This providesmore visibility when driving around curves.
A. Without adaptive headlamps.
B. With adaptive headlamps.
91
MKZ (CC9) Canada/United States of America, enUSA, Edition date: 201805, First-Printing
LightingE142451