warning lights LINCOLN NAUTILUS 2021 Owners Manual
[x] Cancel search | Manufacturer: LINCOLN, Model Year: 2021, Model line: NAUTILUS, Model: LINCOLN NAUTILUS 2021Pages: 579, PDF Size: 6.9 MB
Page 66 of 579
WHAT IS THE PERSONAL SAFETY
SYSTEM
An advanced safety system that protects
occupants in frontal crashes.
HOW DOES THE PERSONAL
SAFETY SYSTEM WORK
This system provides an improved level of
frontal crash protection to front seat
occupants and is designed to reduce the risk
of airbag-related injuries. The system
analyzes occupant conditions and crash
severity before activating the appropriate
safety devices. During a crash, the restraints
control module may deploy the seatbelt
pretensioners, and one or both stages of the
dual-stage airbags based on crash severity
and occupant conditions.
PERSONAL SAFETY SYSTEM
COMPONENTS
•
Driver and passenger dual-stage airbag
supplemental restraints.
• Front seat outermost seatbelts with
pretensioners, energy management
retractors and seatbelt usage sensors.
• Driver seat position sensor.
• Passenger seat position sensor.
• Front passenger sensing system.
• Passenger airbag off and on indicators.
• Front crash severity sensors.
• Restraints control module with impact
and safing sensors.
• Restraint system warning light and tone.
• The electrical wiring for the airbags, crash
sensors, seatbelt pretensioners, front
seatbelt usage sensors, front passenger
sensing system and indicator lights.
62
2021 Nautilus (CD9) Canada/United States of America, enUSA, Edition date: 202011, First-Printing Personal Safety System
™
Page 125 of 579
EXTERIOR LAMPS
Switching the Turn Signal Lamps On
and Off
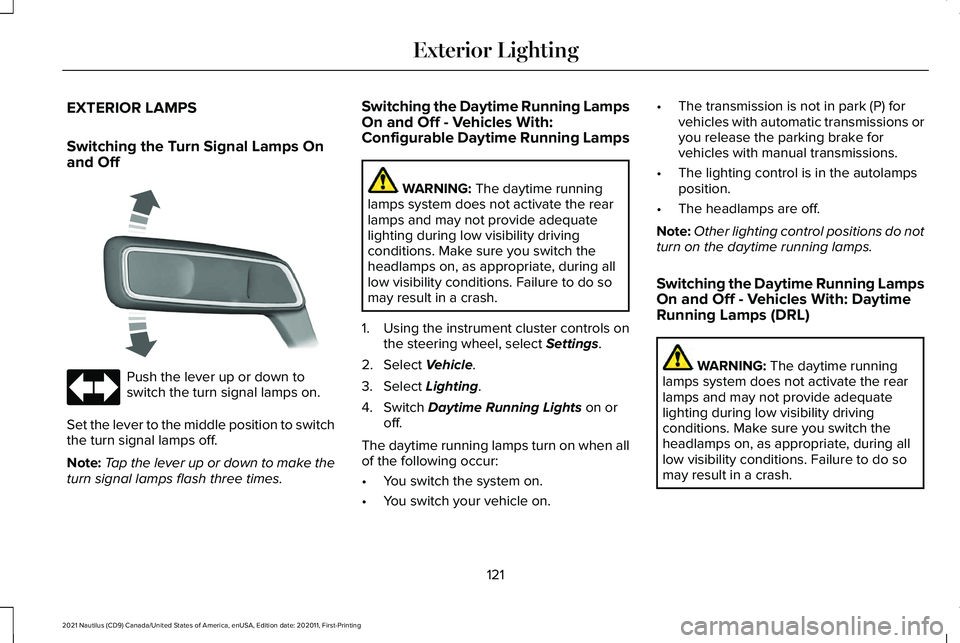
Push the lever up or down to
switch the turn signal lamps on.
Set the lever to the middle position to switch
the turn signal lamps off.
Note: Tap the lever up or down to make the
turn signal lamps flash three times. Switching the Daytime Running Lamps
On and Off - Vehicles With:
Configurable Daytime Running Lamps WARNING: The daytime running
lamps system does not activate the rear
lamps and may not provide adequate
lighting during low visibility driving
conditions. Make sure you switch the
headlamps on, as appropriate, during all
low visibility conditions. Failure to do so
may result in a crash.
1. Using the instrument cluster controls on the steering wheel, select
Settings.
2. Select
Vehicle.
3. Select
Lighting.
4. Switch
Daytime Running Lights on or
off.
The daytime running lamps turn on when all
of the following occur:
• You switch the system on.
• You switch your vehicle on. •
The transmission is not in park (P) for
vehicles with automatic transmissions or
you release the parking brake for
vehicles with manual transmissions.
• The lighting control is in the autolamps
position.
• The headlamps are off.
Note: Other lighting control positions do not
turn on the daytime running lamps.
Switching the Daytime Running Lamps
On and Off - Vehicles With: Daytime
Running Lamps (DRL) WARNING:
The daytime running
lamps system does not activate the rear
lamps and may not provide adequate
lighting during low visibility driving
conditions. Make sure you switch the
headlamps on, as appropriate, during all
low visibility conditions. Failure to do so
may result in a crash.
121
2021 Nautilus (CD9) Canada/United States of America, enUSA, Edition date: 202011, First-Printing Exterior Lighting E273180
Page 168 of 579
WARNING: Do not place anything on
the seat that blocks the heat, for example
a seat cover or a cushion. This could cause
the seat to overheat. Failure to follow this
instruction could result in personal injury.
Do not:
• Place heavy objects on the seat.
• Operate the heated seat if water or any
other liquid spills on the seat. Allow the
seat to dry.
Switching the Heated Seats On and Off
The vehicle must be running to use this
feature. Press the heated seat symbol to cycle
through the various heat settings and off.
The more indicators that display, the warmer
the temperature of the seat.
Note:
The heated seats may remain on after
you remote start your vehicle, based on your
remote start settings. The heated seats may
also turn on when you start your vehicle if
they were on when you switched your
vehicle off.
VENTILATED SEATS
Switching the Ventilated Seats On and
Off
The vehicle must be running to use this
feature. Press this symbol to cycle through the
various ventilation settings and off. More
indicator lights indicate higher fan speeds.
If the engine falls below 350 RPM while the
ventilated seats are on, the feature turns
itself off. You need to reactivate it.
Note:
The ventilated seats may remain on
after you remote start your vehicle, based
on your remote start settings. The ventilated
seats may also turn on when you start your
vehicle if they were on when you switched
your vehicle off.
Automatic Climate Controlled Seats
(If
Equipped)
When you switch the auto setting on, the
climate controlled seats switch between the
heated seats and ventilated seats to match
your climate control setting.
164
2021 Nautilus (CD9) Canada/United States of America, enUSA, Edition date: 202011, First-Printing Front SeatsE146322 E224689
Page 198 of 579
WHAT IS AUTO-START-STOP
The system is designed to help reduce fuel
consumption and CO
2 emissions by stopping
the engine when it is idling, for example at
traffic lights.
AUTO-START-STOP PRECAUTIONS WARNING: Apply the parking brake,
shift into park (P), switch the ignition off
and remove the key before you leave your
vehicle. Failure to follow this instruction
could result in personal injury or death. WARNING: Apply the parking brake,
shift into park (P), switch the ignition off
and remove the key before you open the
hood or have any service or repair work
completed. If you do not switch the ignition
off, the engine could restart at any time.
Failure to follow this instruction could result
in personal injury or death. SWITCHING AUTO-START-STOP
ON AND OFF
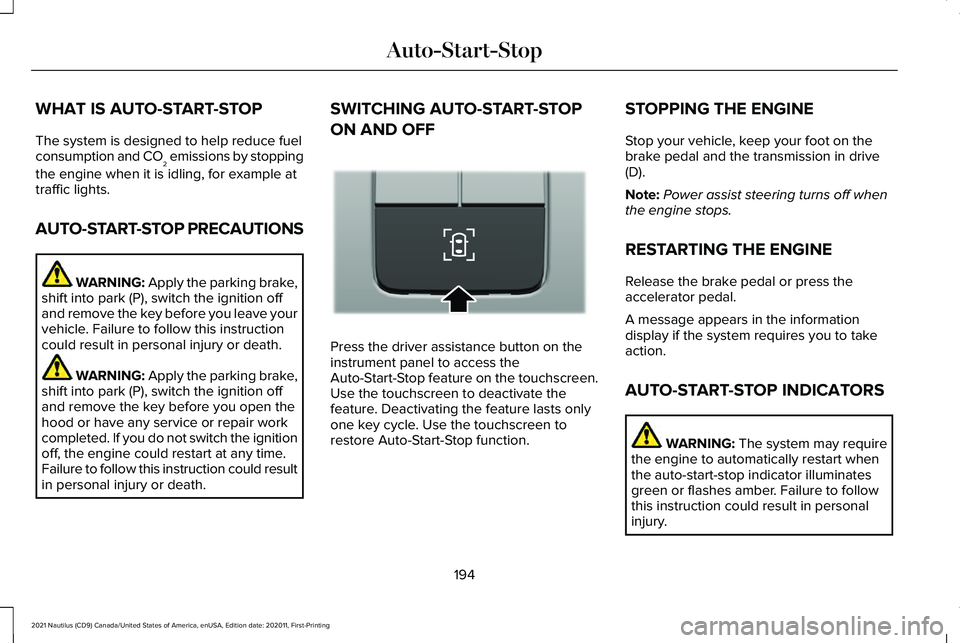
Press the driver assistance button on the
instrument panel to access the
Auto-Start-Stop feature on the touchscreen.
Use the touchscreen to deactivate the
feature. Deactivating the feature lasts only
one key cycle. Use the touchscreen to
restore Auto-Start-Stop function.STOPPING THE ENGINE
Stop your vehicle, keep your foot on the
brake pedal and the transmission in drive
(D).
Note:
Power assist steering turns off when
the engine stops.
RESTARTING THE ENGINE
Release the brake pedal or press the
accelerator pedal.
A message appears in the information
display if the system requires you to take
action.
AUTO-START-STOP INDICATORS WARNING: The system may require
the engine to automatically restart when
the auto-start-stop indicator illuminates
green or flashes amber. Failure to follow
this instruction could result in personal
injury.
194
2021 Nautilus (CD9) Canada/United States of America, enUSA, Edition date: 202011, First-Printing Auto-Start-StopE335855
Page 284 of 579
WARNING: The system does not
detect vehicles that are driving in a
different direction, cyclists or animals.
Apply the brakes when necessary. Failure
to follow this instruction could result in the
loss of control of your vehicle, personal
injury or death. WARNING:
The system does not
operate during hard acceleration or
steering. Failure to take care may lead to
a crash or personal injury. WARNING:
The system may fail or
operate with reduced function during cold
and severe weather conditions. Snow, ice,
rain, spray and fog can adversely affect the
system. Keep the front camera and radar
free of snow and ice. Failure to take care
may result in the loss of control of your
vehicle, serious personal injury or death. WARNING:
Take additional care if
your vehicle is heavily loaded or you are
towing a trailer. These conditions could
result in reduced performance of this
system. Failure to follow this instruction
could result in the loss of control of your
vehicle, personal injury or death. WARNING:
The system cannot help
prevent all crashes. Do not rely on this
system to replace driver judgment and the
need to maintain a safe distance and
speed. WARNING:
In situations where the
vehicle camera has limited detection
capability, this may reduce system
performance. These situations include but
are not limited to direct or low sunlight,
vehicles at night without tail lights,
unconventional vehicle types, pedestrians
with complex backgrounds, running pedestrians, partly obscured pedestrians,
or pedestrians that the system cannot
distinguish from a group. Failure to take
care may result in the loss of control of
your vehicle, serious personal injury or
death.
PRE-COLLISION ASSIST
LIMITATIONS
Pre-collision assist depends on the detection
ability of its camera and sensors. Any
obstructions or damage to these areas can
limit detection or prevent the system from
functioning. See Locating the Pre-Collision
Assist Sensors (page 281).
The system is active at speeds above 3 mph
(5 km/h)
Note: The pre-collision assist system
disables when you select four-wheel drive
low or manually disable AdvanceTrac ™.
280
2021 Nautilus (CD9) Canada/United States of America, enUSA, Edition date: 202011, First-Printing Pre-Collision Assist
Page 302 of 579
Note:
You cannot use a seven-pin trailer
wiring connector for your vehicle and the
trailer lighting equipment.
Trailer Lamps WARNING: Never connect any trailer
lamp wiring to the vehicle's tail lamp wiring;
this may damage the electrical system
resulting in fire. Contact your authorized
dealer as soon as possible for assistance
in proper trailer tow wiring installation.
Additional electrical equipment may be
required.
Trailer lamps are required on most towed
vehicles. Make sure all running lights, brake
lights, turn signals and hazard lights are
working.
Safety Chains
Note: Do not attach safety chains to the
bumper. Always connect the safety chains
to the frame or hook retainers of your trailer
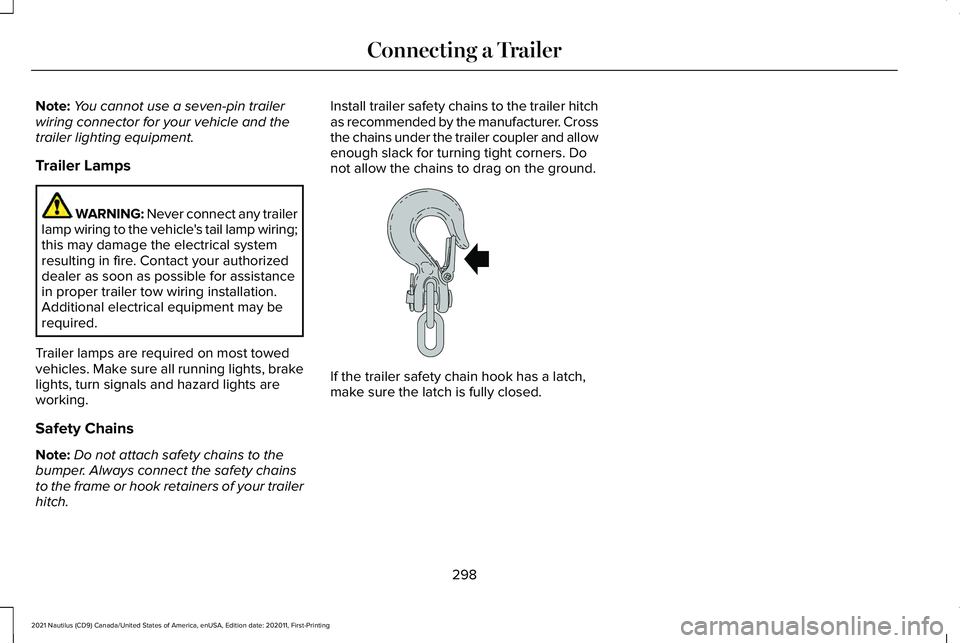
hitch. Install trailer safety chains to the trailer hitch
as recommended by the manufacturer. Cross
the chains under the trailer coupler and allow
enough slack for turning tight corners. Do
not allow the chains to drag on the ground.
If the trailer safety chain hook has a latch,
make sure the latch is fully closed.
298
2021 Nautilus (CD9) Canada/United States of America, enUSA, Edition date: 202011, First-Printing Connecting a TrailerE265060
Page 310 of 579

When driving through standing water, drive
very slowly and do not stop your vehicle.
Your brake performance and traction may
be limited. After driving through water and
as soon as it is safe to do so:
•
Lightly press the brake pedal to dry the
brakes and to check that they work.
• Check that the horn works.
• Check that the exterior lights work.
• Turn the steering wheel to check that the
steering power assist works. DRIVING ECONOMICALLY
The following helps to improve fuel
consumption:
•
Drive smoothly, accelerate gently and
anticipate the road ahead to avoid heavy
braking.
• Regularly check your tire pressures and
make sure that they are inflated to the
correct pressure.
• Follow the recommended maintenance
schedule and carry out the
recommended checks.
• Plan your journey and check the traffic
before you set off. It is more efficient to
combine errands into a single trip
whenever possible.
• Avoid idling the engine in cold weather
or for extended periods. Start the engine
only when you are ready to set off.
• Do not carry unnecessary weight in your
vehicle as extra weight wastes fuel. •
Do not add unnecessary accessories to
the exterior of your vehicle, for example
running boards. If you use a roof rack,
remember to fold it down or remove it
when not in use.
• Do not shift into neutral when you are
braking or when your vehicle is slowing
down.
• Shut all windows when driving at high
speeds.
• Switch off all electric systems when not
in use, for example air conditioning. Make
sure that you unplug any accessories
from the auxiliary power points when not
in use.
FLOOR MATS WARNING: Use a floor mat designed
to fit the footwell of your vehicle that does
not obstruct the pedal area. Failure to
follow this instruction could result in the
loss of control of your vehicle, personal
injury or death.
306
2021 Nautilus (CD9) Canada/United States of America, enUSA, Edition date: 202011, First-Printing Driving HintsE259345
Page 351 of 579
If you disconnect or replace the battery and
your vehicle has an automatic transmission,
it must relearn its adaptive strategy. Because
of this, the transmission may shift firmly when
first driven. This is normal operation while
the transmission fully updates its operation
to optimum shift feel.
Remove and Reinstall the Battery
To disconnect or remove the battery, do the
following:
1. Apply the parking brake and switch the
ignition off.
2. Switch all electrical equipment off, for example lights and radio.
3. Wait a minimum of two minutes before disconnecting the battery.
Note: The engine management system has
a power hold function and remains powered
for a period of time after you switch the
ignition off. This is to allow diagnostic and
adaptive tables to be stored. Disconnecting
the battery without waiting can cause
damage not covered by the vehicle
Warranty. 4. Disconnect the negative battery cable
terminal.
5. Disconnect the positive battery cable terminal.
6. Remove the battery securing clamp.
7. Remove the battery.
8. To install, reverse the removal procedure.
Note: Before reconnecting the battery, make
sure the ignition remains switched off.
Note: Make sure the battery cable terminals
are fully tightened.
Note: After cleaning or replacing the battery,
make sure you reinstall the battery cover or
shield.
If you disconnect or replace the vehicle
battery, you must reset the following
features:
• Window bounce-back. See Windows
(page 130).
• Clock Settings.
• Pre-set radio stations.
• Steering Angle Sensor. Note:
To calibrate the steering angle sensor,
drive the vehicle above
30 mph (50 km/h)
for a minimum of 1.2 mi (2 km). Make sure to
drive straight ahead for a minimum of 30
seconds. Several vehicle functions are
disabled and a warning light could appear
until the sensor is calibrated.
Battery Management System
The battery management system monitors
battery conditions and takes actions to
extend battery life. If excessive battery drain
is detected, the system temporarily disables
some of the following features:
• Heated rear window.
• Heated seats.
• Climate control.
• Heated steering wheel.
• Audio unit.
• Navigation system.
A message may appear in the information
display to alert you that battery protection
actions are active.
347
2021 Nautilus (CD9) Canada/United States of America, enUSA, Edition date: 202011, First-Printing Maintenance
Page 384 of 579
•
In the first stage, the tire will be reinflated
with a sealing compound and air. After
the tire has been inflated, you will need
to drive the vehicle a short distance
approximately 4 mi (6 km) to distribute
the sealant in the tire.
• In the second stage, you will need to
check the tire pressure and adjust, if
necessary, to the vehicle's specified tire
inflation pressure.
First Stage: Reinflating the Tire with
sealing compound and air WARNING: Do not stand directly over
the kit while inflating the tire. If you notice
any unusual bulges or deformations in the
tire's sidewall during inflation, stop and call
roadside assistance. WARNING:
If the tire does not inflate
to the recommended tire pressure within
15 minutes, stop and call roadside
assistance.
Park the vehicle in a safe, level and secure
area, away from moving traffic. Turn the hazard lights on. Apply the parking
brake and power off the vehicle. Inspect the
flat tire for visible damage.
If a puncture is located in the tire sidewall,
stop and call roadside assistance.
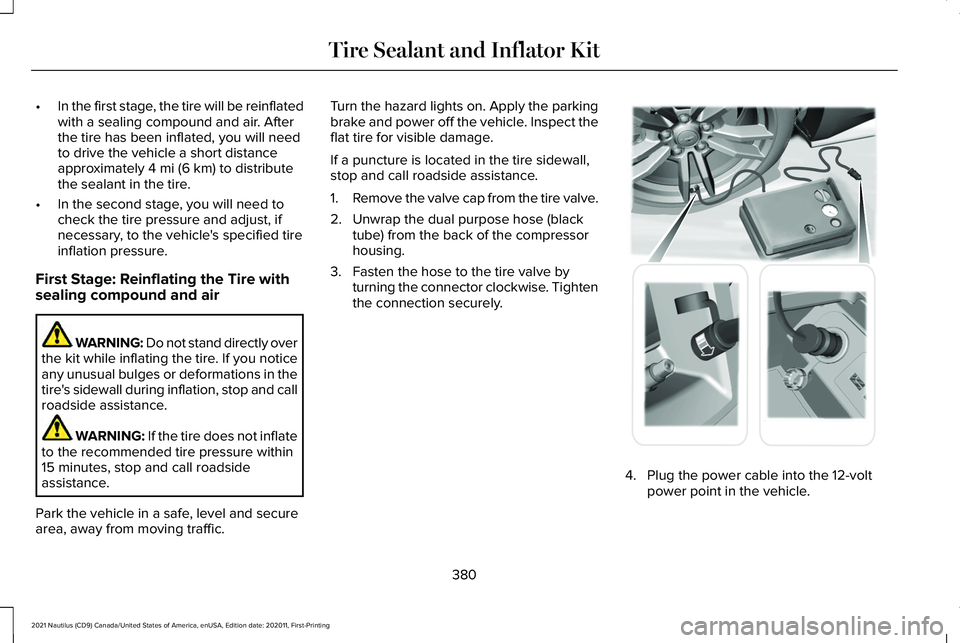
1.
Remove the valve cap from the tire valve.
2. Unwrap the dual purpose hose (black tube) from the back of the compressor
housing.
3. Fasten the hose to the tire valve by turning the connector clockwise. Tighten
the connection securely. 4. Plug the power cable into the 12-volt
power point in the vehicle.
380
2021 Nautilus (CD9) Canada/United States of America, enUSA, Edition date: 202011, First-Printing Tire Sealant and Inflator Kit E175979