instrument panel LINCOLN NAVIGATOR 2008 Owners Manual
[x] Cancel search | Manufacturer: LINCOLN, Model Year: 2008, Model line: NAVIGATOR, Model: LINCOLN NAVIGATOR 2008Pages: 352, PDF Size: 3.01 MB
Page 66 of 352
setting changes are completed on the front control, the display will
automatically show all climate settings.
6.
Recirculated air:Press to activate/deactivate air recirculation
in the vehicle cabin. Recirculated air may reduce the amount of time to
cool down the interior of the vehicle and may also help reduce undesired
odors from reaching the interior of the vehicle. Recirculated air can be
engaged manually in any airflow selection except
. Recirculated air
may turn off automatically in all airflow selections.
7.A/C:Press to activate/deactivate air conditioning. Use with
recirculated air to improve cooling performance and efficiency. Engages
automatically in AUTO,
(defrost), and(floor/defrost).
8.
:Distributes air through the windshield defroster vents, demister
vents and floor vents.
9.
:Distributes air through the floor vents.
10.
:Distributes air through the instrument panel vents and the floor
vents.
11.
:Distributes air through the instrument panel vents.
12.Manual override controls:Allows you to manually select where
airflow is distributed. To return to full automatic control, press AUTO.
13. F
Front fan speed control:Press to manually increase or
decrease the fan speed. To return to full automatic control, press AUTO.
14.OFF:Outside air is shut out and the climate system is turned off.
15.Driver temperature control:Press to increase or decrease the
temperature on the driver side of the cabin. Sets the passenger side
temperature also when DUAL is disengaged.Note:The recommended
vehicle cabin setting is between 72°F (22°C) and 75°F (24°C).
•Dual temperature control:Press and hold AUTO to
engage/disengage separate passenger side temperature control.
16.AUTO:Press to engage full automatic operation, and select the
desired temperature using the temperature control. The system will
automatically determine fan speed, airflow location, A/C on or off, and
outside or recirculated air, to heat or cool the vehicle to reach the
desired temperature.
17.EXT:Press to display the outside temperature. Press again to display
the cabin temperature settings.Note:Exterior readings are more
accurate when the vehicle is moving.
2008 Navigator(nav)
Owners Guide (post-2002-fmt)
USA(fus)
Climate Controls
66
Page 68 of 352
5. RRear fan speed control:Press to enable the auxiliary system
or to adjust the rear fan speed from the front control. The rear fan speed
settings available are 4, 3, 2, 1 and O (OFF). When the rear fan button is
pressed, the display will show only the rear cabin settings. After the rear
setting changes are completed on the front control, the display will
automatically show all climate settings.
6.
Passenger heated seat control:Press to activate/deactivate the
passenger heated seat. SeeClimate controlled seatsin theSeating and
Safety Restraintschapter.
7.
Passenger cooled seat control:Press to activate/deactivate the
passenger cooled seat. SeeClimate controlled seatsin theSeating and
Safety Restraintschapter.
8.REAR:Press to enable the control located in the rear floor console (if
equipped). Press again to turn the auxiliary system off. When the REAR
button is pressed, the display will show only the rear cabin settings.
After the rear setting changes are completed on the front control, the
display will automatically show all climate settings.
9.
Airflow direction control:Press to toggle through the air
distribution modes listed below. The selected mode will be shown in the
display.
:Distributes air through the instrument panel vents.
:Distributes air through the instrument panel and the floor vents.
:Distributes air through the floor vents.
:Distributes air through the windshield defroster vents, demister
vents and the floor vents.
10.
Driver heated seat control:Press to activate/deactivate the
driver heated seat. SeeClimate controlled seatsin theSeating and
Safety Restraintschapter.
11.
Driver cooled seat control:Press to activate/deactivate the
driver cooled seat. SeeClimate controlled seatsin theSeating and
Safety Restraintschapter.
12. F
Front fan speed control:Press to manually increase or
decrease the fan speed. To return to full automatic control, press AUTO.
13.OFF:Outside air is shut out and the climate system is turned off.
2008 Navigator(nav)
Owners Guide (post-2002-fmt)
USA(fus)
Climate Controls
68
Page 70 of 352
•For maximum cooling performance, MAX A/C:
In AUTO: Press AUTO control and set to desired temperature.
In Manual Override Control: Press the
(panel), A/C,
and
(recirculation) controls, set the temperature to 60°F (15°C)
and the fan to the highest blower setting.
•Do not put objects under the front seats that will interfere with the
airflow to the back seats.
•Remove any snow, ice or leaves from the air intake area at the base of
the windshield.
To aid in side window defogging/demisting in cold weather:
1. Select
.
2. Select A/C.
3. Adjust the temperature control to maintain comfort.
4. Set the fan speed to the highest setting.
5. Direct the outer instrument panel vents towards the side windows.
To increase airflow to the outer instrument panel vents, close the vents
located in the middle of the instrument panel.
Do not place objects on top of the instrument panel as these
objects may become projectiles in a collision or sudden stop.
AUXILIARY CLIMATE CONTROL (IF EQUIPPED)
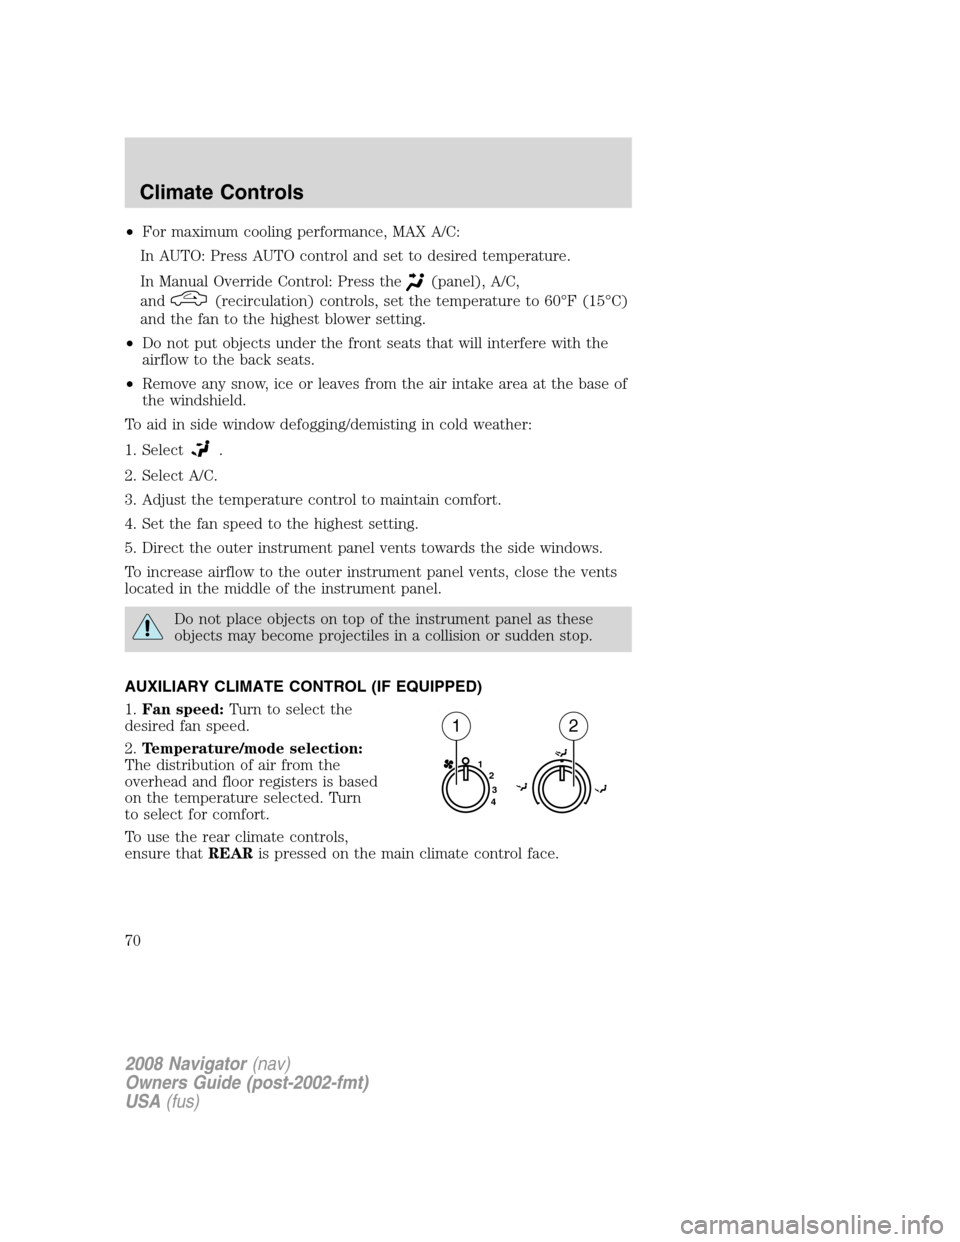
1.Fan speed:Turn to select the
desired fan speed.
2.Temperature/mode selection:
The distribution of air from the
overhead and floor registers is based
on the temperature selected. Turn
to select for comfort.
To use the rear climate controls,
ensure thatREARis pressed on the main climate control face.
1
2
3
4
12
2008 Navigator(nav)
Owners Guide (post-2002-fmt)
USA(fus)
Climate Controls
70
Page 73 of 352
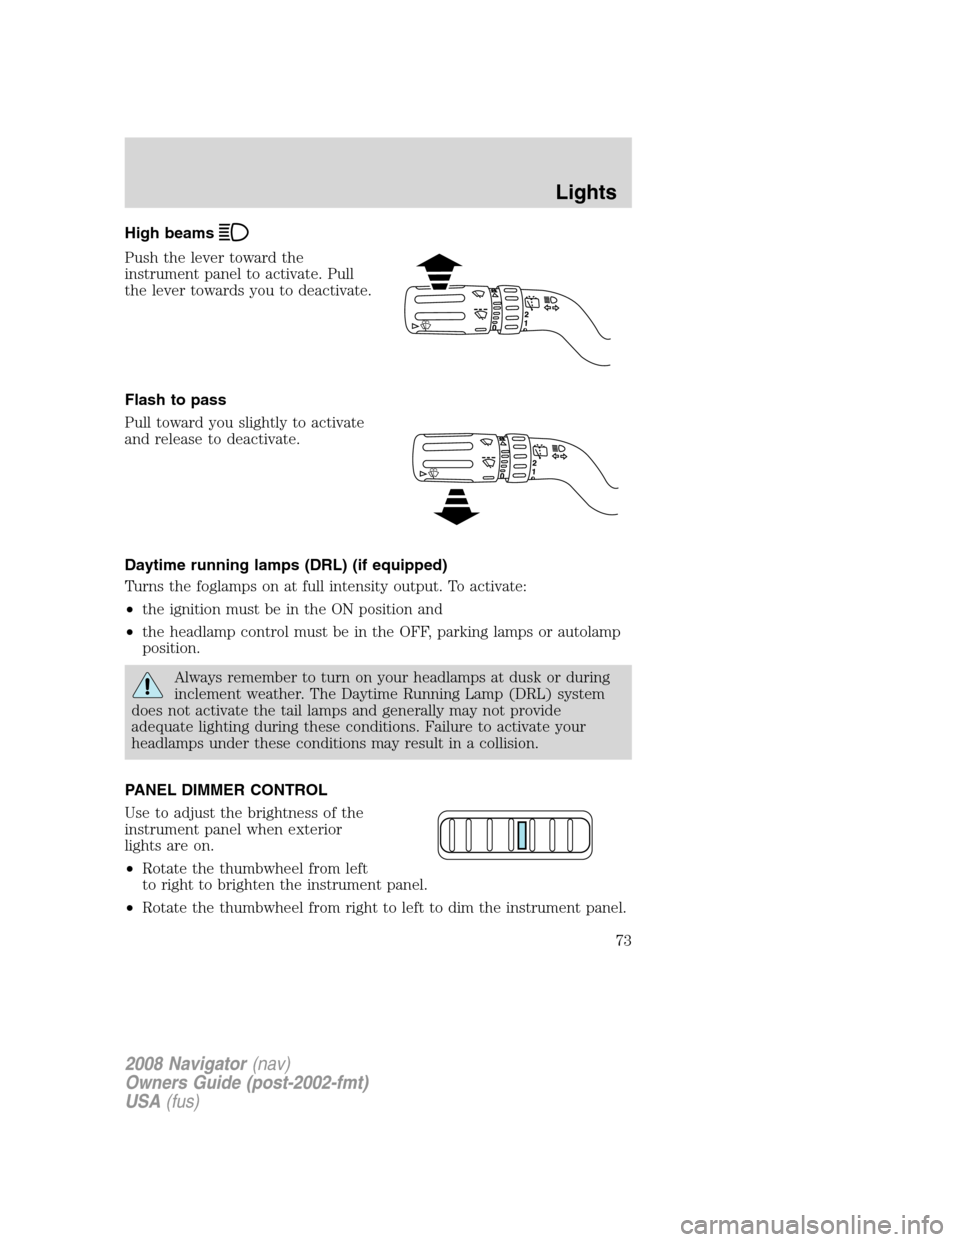
High beams
Push the lever toward the
instrument panel to activate. Pull
the lever towards you to deactivate.
Flash to pass
Pull toward you slightly to activate
and release to deactivate.
Daytime running lamps (DRL) (if equipped)
Turns the foglamps on at full intensity output. To activate:
•the ignition must be in the ON position and
•the headlamp control must be in the OFF, parking lamps or autolamp
position.
Always remember to turn on your headlamps at dusk or during
inclement weather. The Daytime Running Lamp (DRL) system
does not activate the tail lamps and generally may not provide
adequate lighting during these conditions. Failure to activate your
headlamps under these conditions may result in a collision.
PANEL DIMMER CONTROL
Use to adjust the brightness of the
instrument panel when exterior
lights are on.
•Rotate the thumbwheel from left
to right to brighten the instrument panel.
•Rotate the thumbwheel from right to left to dim the instrument panel.
2008 Navigator(nav)
Owners Guide (post-2002-fmt)
USA(fus)
Lights
73
Page 74 of 352
•Rotate fully to the right (past detent) to turn on interior lamps.
•Rotate to the left position (past detent) to turn off the interior lamps
and will also disable the illuminated entry feature.
Note:If the battery is disconnected, discharged, or a new battery is
installed, the dimmer switch requires re-calibration. Rotate the dimmer
switch from the full dim position to the full Dome/ON position to reset.
This will ensure that your displays are visible under all lighting
conditions.
At dusk and dawn, the LEDs are illuminated at six times the normal
intensity to enhance contrast and visibility. The system automatically
“dims down” as ambient light reaches the dash-mounted sensor.
The interior control lights dim progressively in four steps until they
reach nighttime operating levels. At all illumination levels, the lights can
be dimmed using the thumbwheel on the instrument panel.
AIMING THE HEADLAMPS
The headlamps on your vehicle are properly aimed at the assembly plant.
If your vehicle has been in an accident the alignment of your headlamps
should be checked by your authorized dealer.
Vertical aim adjustment
Before aim adjustment, disable the air suspension system. Refer to
Messagecenter in theDriver Controlschapter.
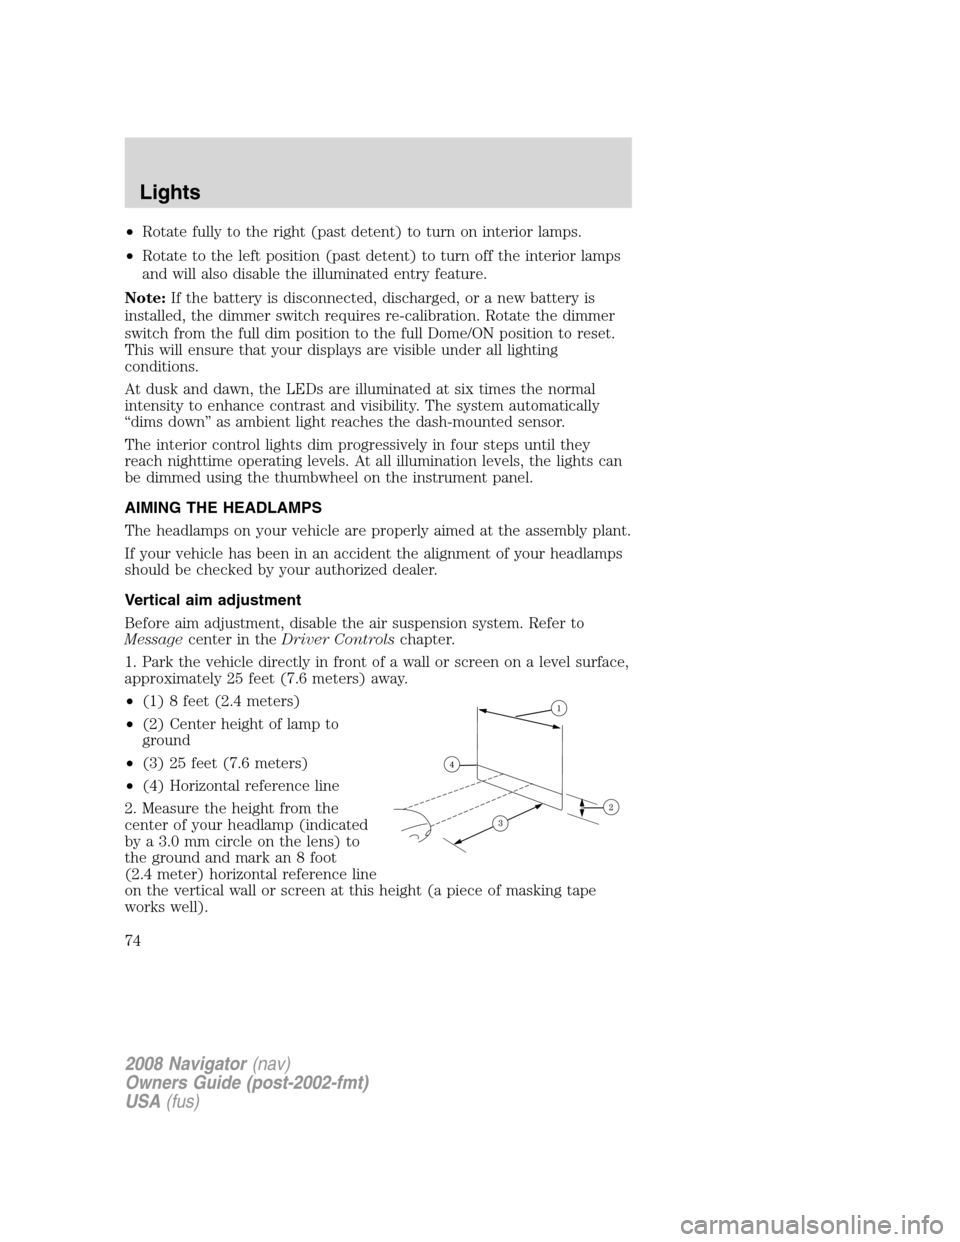
1. Park the vehicle directly in front of a wall or screen on a level surface,
approximately 25 feet (7.6 meters) away.
•(1) 8 feet (2.4 meters)
•(2) Center height of lamp to
ground
•(3) 25 feet (7.6 meters)
•(4) Horizontal reference line
2. Measure the height from the
center of your headlamp (indicated
by a 3.0 mm circle on the lens) to
the ground and mark an 8 foot
(2.4 meter) horizontal reference line
on the vertical wall or screen at this height (a piece of masking tape
works well).
2008 Navigator(nav)
Owners Guide (post-2002-fmt)
USA(fus)
Lights
74
Page 76 of 352
INTERIOR LAMPS
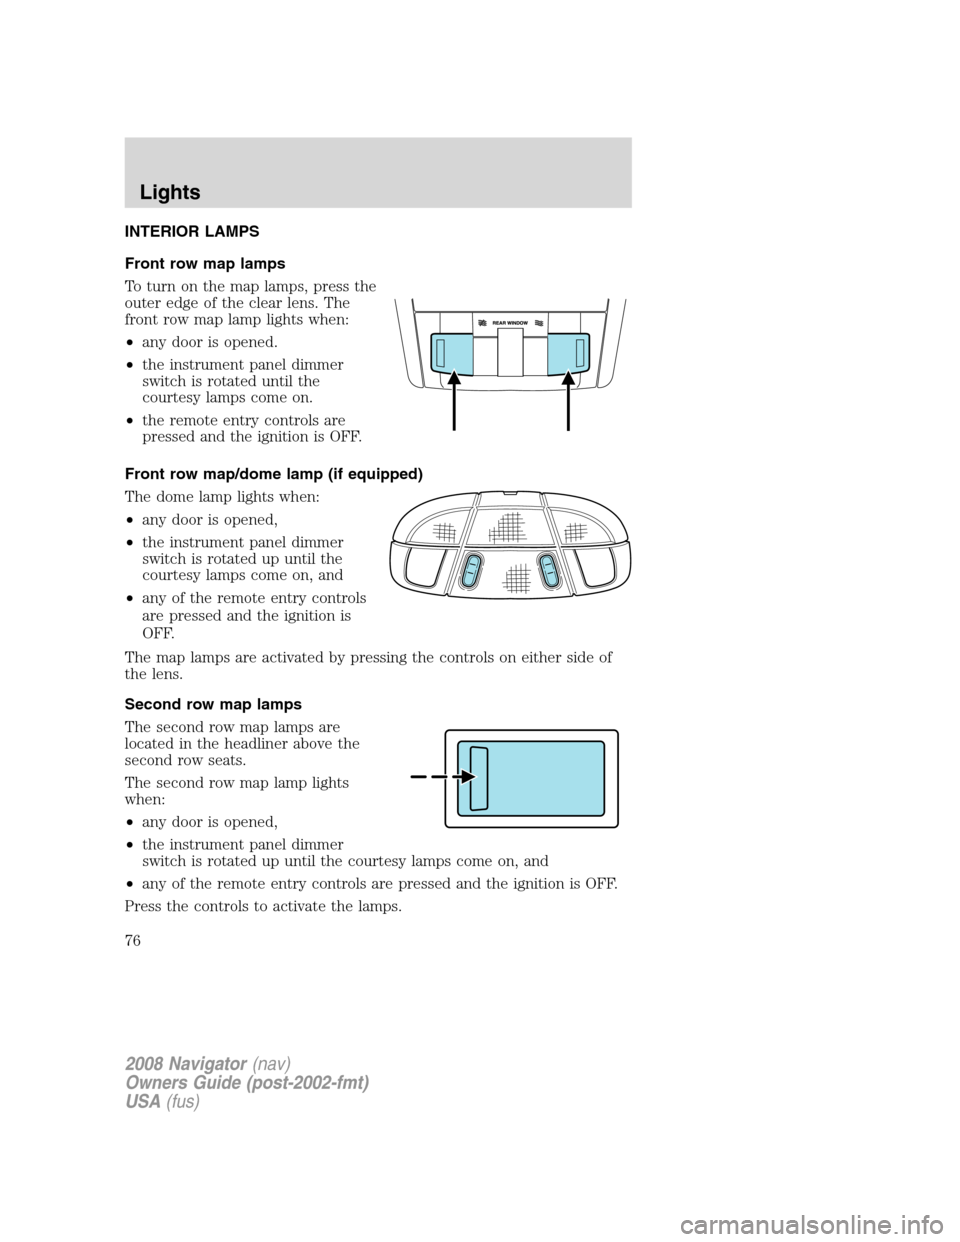
Front row map lamps
To turn on the map lamps, press the
outer edge of the clear lens. The
front row map lamp lights when:
•any door is opened.
•the instrument panel dimmer
switch is rotated until the
courtesy lamps come on.
•the remote entry controls are
pressed and the ignition is OFF.
Front row map/dome lamp (if equipped)
The dome lamp lights when:
•any door is opened,
•the instrument panel dimmer
switch is rotated up until the
courtesy lamps come on, and
•any of the remote entry controls
are pressed and the ignition is
OFF.
The map lamps are activated by pressing the controls on either side of
the lens.
Second row map lamps
The second row map lamps are
located in the headliner above the
second row seats.
The second row map lamp lights
when:
•any door is opened,
•the instrument panel dimmer
switch is rotated up until the courtesy lamps come on, and
•any of the remote entry controls are pressed and the ignition is OFF.
Press the controls to activate the lamps.
2008 Navigator(nav)
Owners Guide (post-2002-fmt)
USA(fus)
Lights
76
Page 77 of 352
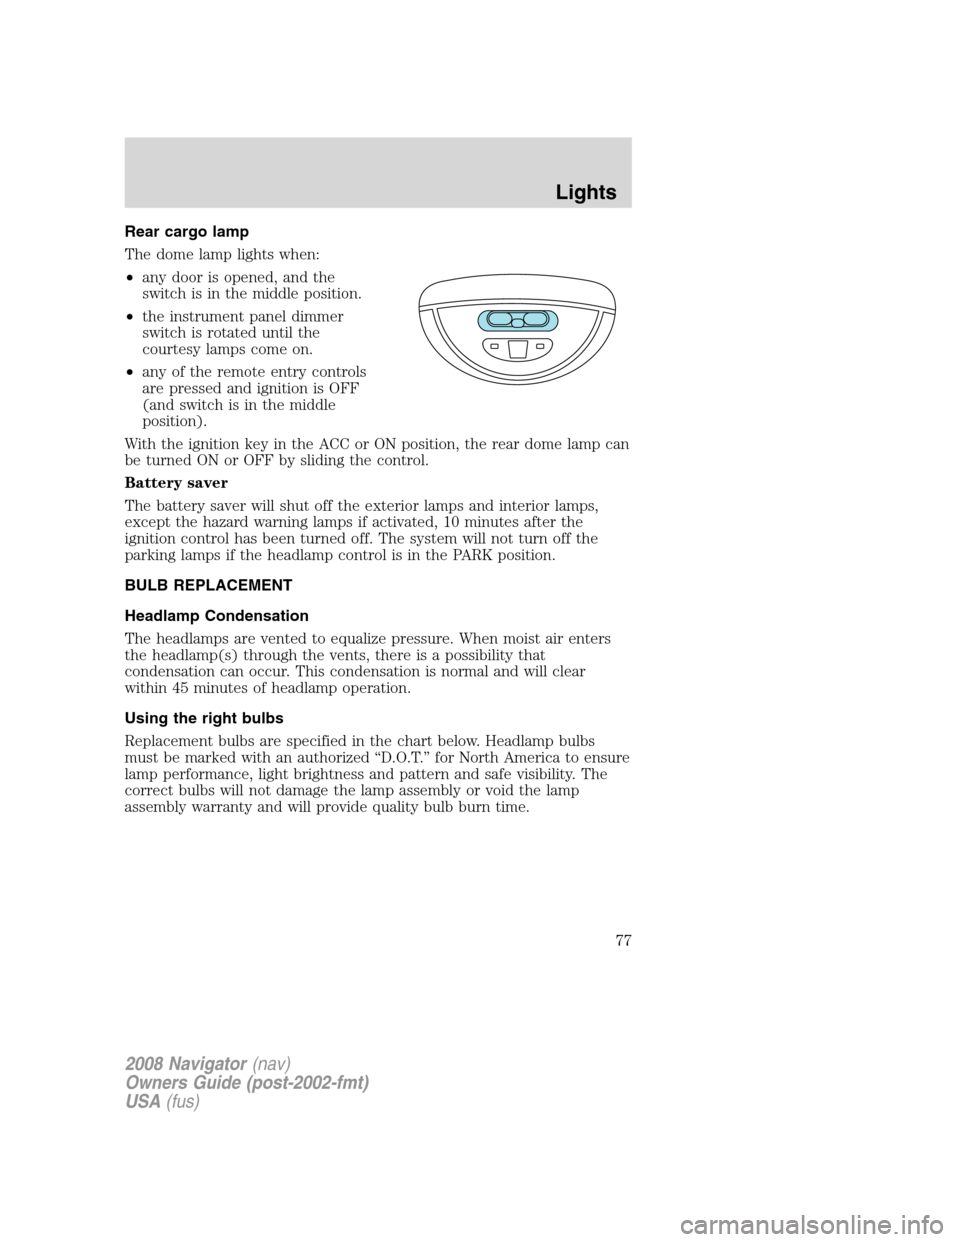
Rear cargo lamp
The dome lamp lights when:
•any door is opened, and the
switch is in the middle position.
•the instrument panel dimmer
switch is rotated until the
courtesy lamps come on.
•any of the remote entry controls
are pressed and ignition is OFF
(and switch is in the middle
position).
With the ignition key in the ACC or ON position, the rear dome lamp can
be turned ON or OFF by sliding the control.
Battery saver
The battery saver will shut off the exterior lamps and interior lamps,
except the hazard warning lamps if activated, 10 minutes after the
ignition control has been turned off. The system will not turn off the
parking lamps if the headlamp control is in the PARK position.
BULB REPLACEMENT
Headlamp Condensation
The headlamps are vented to equalize pressure. When moist air enters
the headlamp(s) through the vents, there is a possibility that
condensation can occur. This condensation is normal and will clear
within 45 minutes of headlamp operation.
Using the right bulbs
Replacement bulbs are specified in the chart below. Headlamp bulbs
must be marked with an authorized “D.O.T.” for North America to ensure
lamp performance, light brightness and pattern and safe visibility. The
correct bulbs will not damage the lamp assembly or void the lamp
assembly warranty and will provide quality bulb burn time.
2008 Navigator(nav)
Owners Guide (post-2002-fmt)
USA(fus)
Lights
77
Page 78 of 352
Function Number of
bulbsTrade number
Headlamps (low and high-beam) 2 *See your dealer
Front park lamps 2 3157K or 4157K
Front turn lamps 2 3157A (amber)
Front sidemarker 2 168A (amber)
Foglamps 2 H11
Front row map lamps 2 1600XB
2nd row reading lamp 1 1600XB
Rear cargo lamp 1 211–2XB
Rear turn/tail/brake lamps 4 4057K
Backup lamps 2 921
Supplemental tail lamps 4 906
Approach lamps 2 906
Mirror turn signal lamps 2 906 (amber)
License lamp 2 168
High-mount brake lamp 5 W5W
All replacement bulbs are clear in color except where noted.
To replace all instrument panel lights - see your authorized dealer
* For vehicles with HID (high intensity discharge) lamps, see your
authorized dealer for service.
Replacing the interior bulbs
Check the operation of all bulbs frequently.
Replacing exterior bulbs
Check the operation of all the bulbs frequently.
Replacing HID headlamp bulbs
The low/high beam headlamps on your vehicle use a “high intensity
discharge” source. These lamps operate at a high voltage. The bulb is
NOT customer replaceable. When the bulb is burned out, the bulb must
be replaced by your authorized dealer.
2008 Navigator(nav)
Owners Guide (post-2002-fmt)
USA(fus)
Lights
78
Page 113 of 352
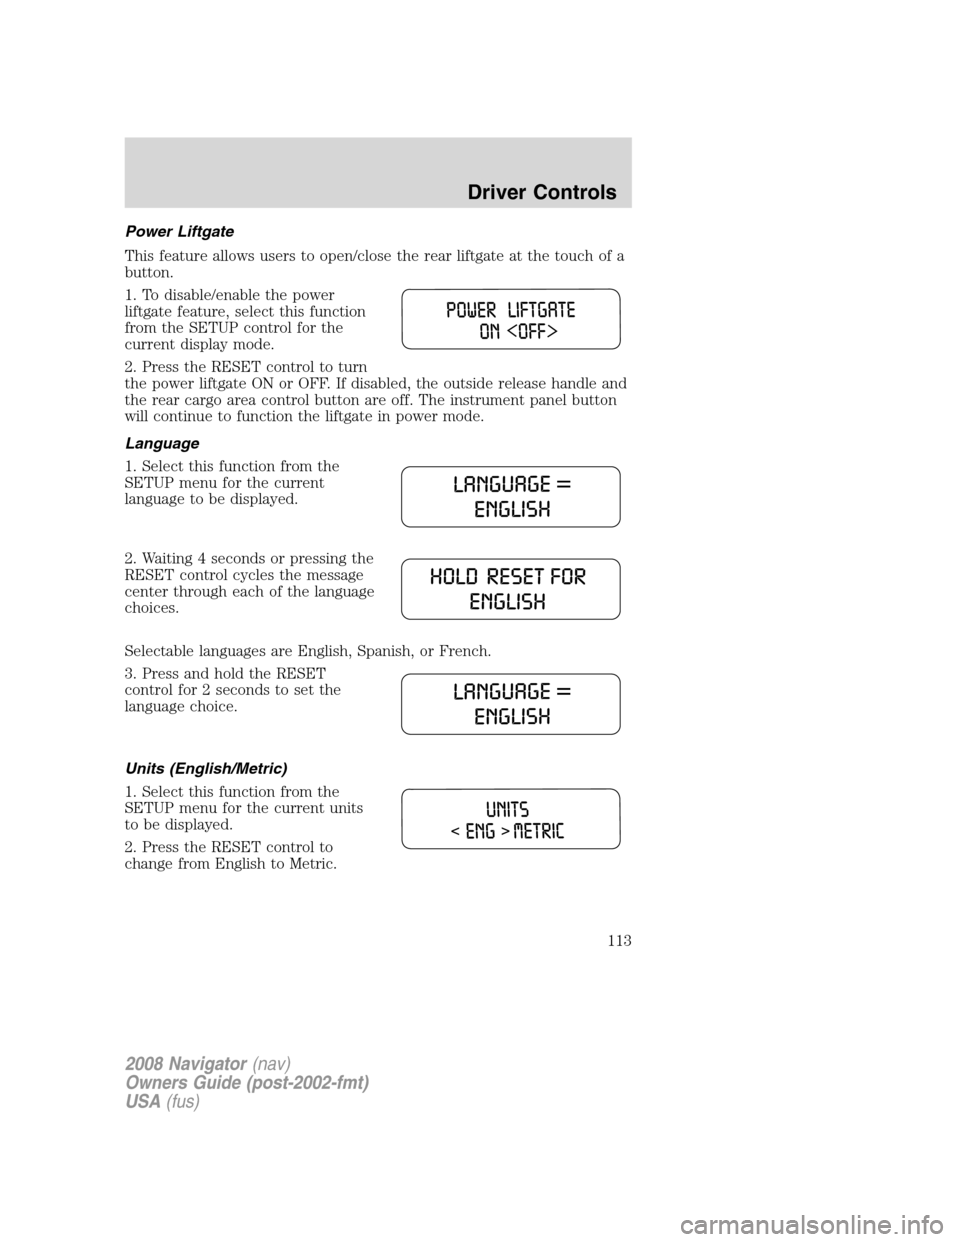
Power Liftgate
This feature allows users to open/close the rear liftgate at the touch of a
button.
1. To disable/enable the power
liftgate feature, select this function
from the SETUP control for the
current display mode.
2. Press the RESET control to turn
the power liftgate ON or OFF. If disabled, the outside release handle and
the rear cargo area control button are off. The instrument panel button
will continue to function the liftgate in power mode.
Language
1. Select this function from the
SETUP menu for the current
language to be displayed.
2. Waiting 4 seconds or pressing the
RESET control cycles the message
center through each of the language
choices.
Selectable languages are English, Spanish, or French.
3. Press and hold the RESET
control for 2 seconds to set the
language choice.
Units (English/Metric)
1. Select this function from the
SETUP menu for the current units
to be displayed.
2. Press the RESET control to
change from English to Metric.
2008 Navigator(nav)
Owners Guide (post-2002-fmt)
USA(fus)
Driver Controls
113
Page 119 of 352
POWER LIFTGATE
The liftgate can be operated by the following:
•instrument panel control button
•key fob button
•outside release handle
•control button in the rear cargo area
Note:The liftgate can be reversed with a second press on a control
button or key fob and can be manually closed at any time.
The liftgate will only operate with the vehicle in P (Park). The chime will
beep once if conditions are not correct to start an operation. These
conditions include:
•the vehicle speed is at or above 3 mph (5 kph)
•or the ignition is in Run and the transmission is not in Park
•or the Battery Voltage is below the minimum operating voltage
WARNING: Make sure all persons are clear of the power liftgate
area before using the power liftgate control.
Keep keys out of reach of children. Do not allow children to play
near an open or moving power liftgate.
Do not open the liftgate in a garage or other enclosed area with a low
ceiling. If the liftgate is raised the liftgate could be damaged against a
low ceiling.
To open the liftgate from the
Instrument panel:
Press the button once to open the
liftgate, press it again to close.
To open the liftgate with the Remote entry transmitter:
Refer toRemote Entry Systemin theLocks and securitychapter.
2008 Navigator(nav)
Owners Guide (post-2002-fmt)
USA(fus)
Driver Controls
119