phone LINCOLN NAVIGATOR 2009 Navigation Manual
[x] Cancel search | Manufacturer: LINCOLN, Model Year: 2009, Model line: NAVIGATOR, Model: LINCOLN NAVIGATOR 2009Pages: 194, PDF Size: 2.84 MB
Page 28 of 194
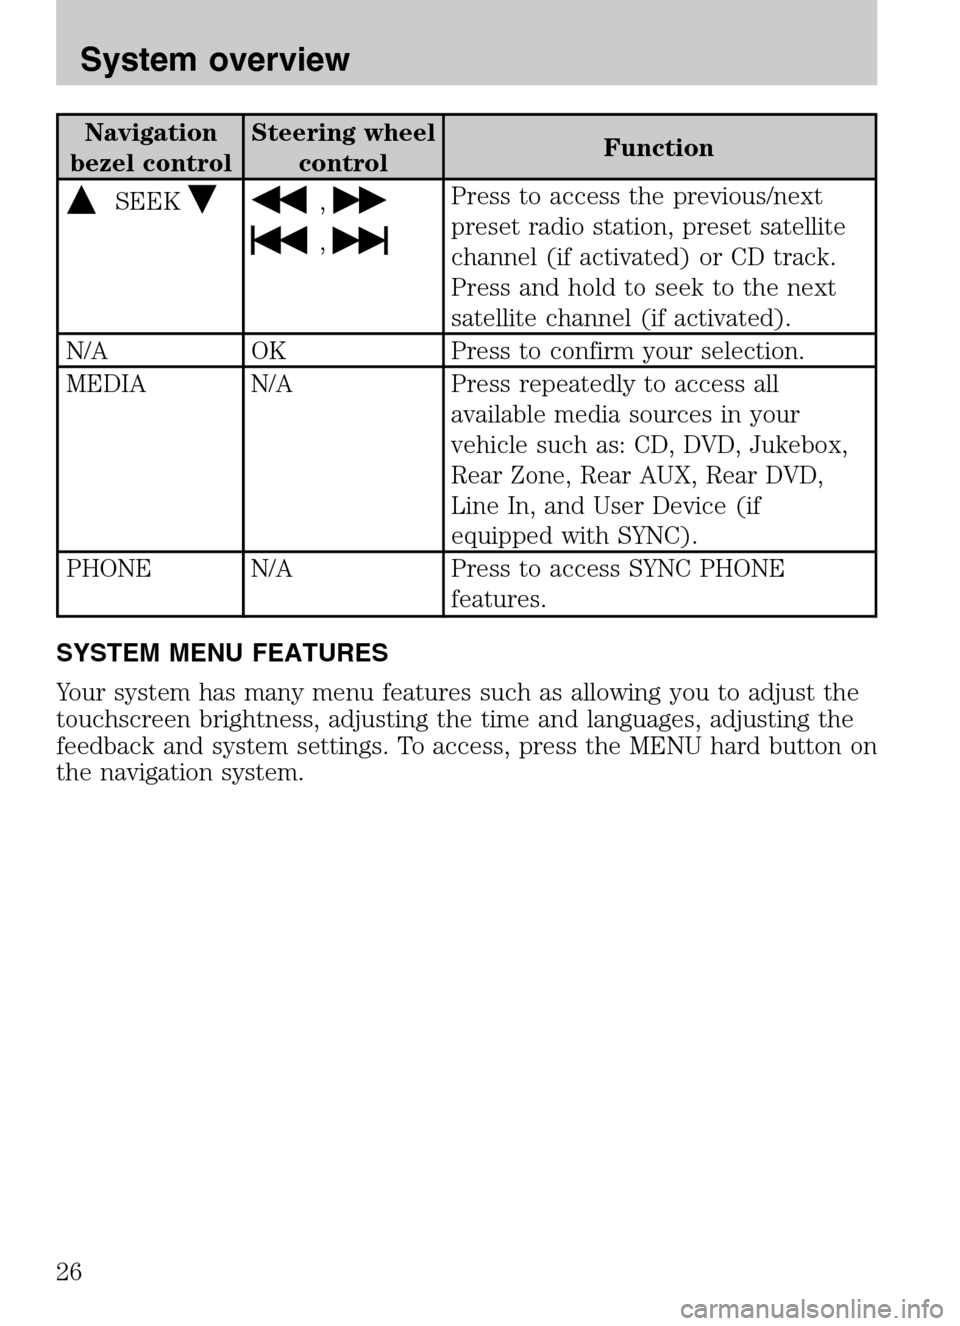
Navigation
bezel control Steering wheel
control Function
SEEK,
,
Press to access the previous/next
preset radio station, preset satellite
channel (if activated) or CD track.
Press and hold to seek to the next
satellite channel (if activated).
N/A OK Press to confirm your selection.
MEDIA N/A Press repeatedly to access all available media sources in your
vehicle such as: CD, DVD, Jukebox,
Rear Zone, Rear AUX, Rear DVD,
Line In, and User Device (if
equipped with SYNC).
PHONE N/A Press to access SYNC PHONE features.
SYSTEM MENU FEATURES
Your system has many menu features such as allowing you to adjust the
touchscreen brightness, adjusting the time and languages, adjusting the
feedback and system settings. To access, press the MENU hard button on
the navigation system.
2009 Centerstack (ng1)
Supplement
USA (fus)
System overview
26
Page 33 of 194
VOICE RECOGNITION (IF EQUIPPED)
Your vehicle may be equipped with an advanced interactive Voice
Recognition (VR) system. This system allows you to perform many
operations such as operating the navigation, audio, phone (if equipped),
media, climate (if equipped), display and voice settings by “speaking”
certain commands. The system will respond with a series of audible
tones, prompts, questions and spoken confirmations depending on the
situation and the chosen level of dialogue interaction.
Feedback through audible tones
Your VR system will respond through various audible tones. You may
hear a tone at the following times:
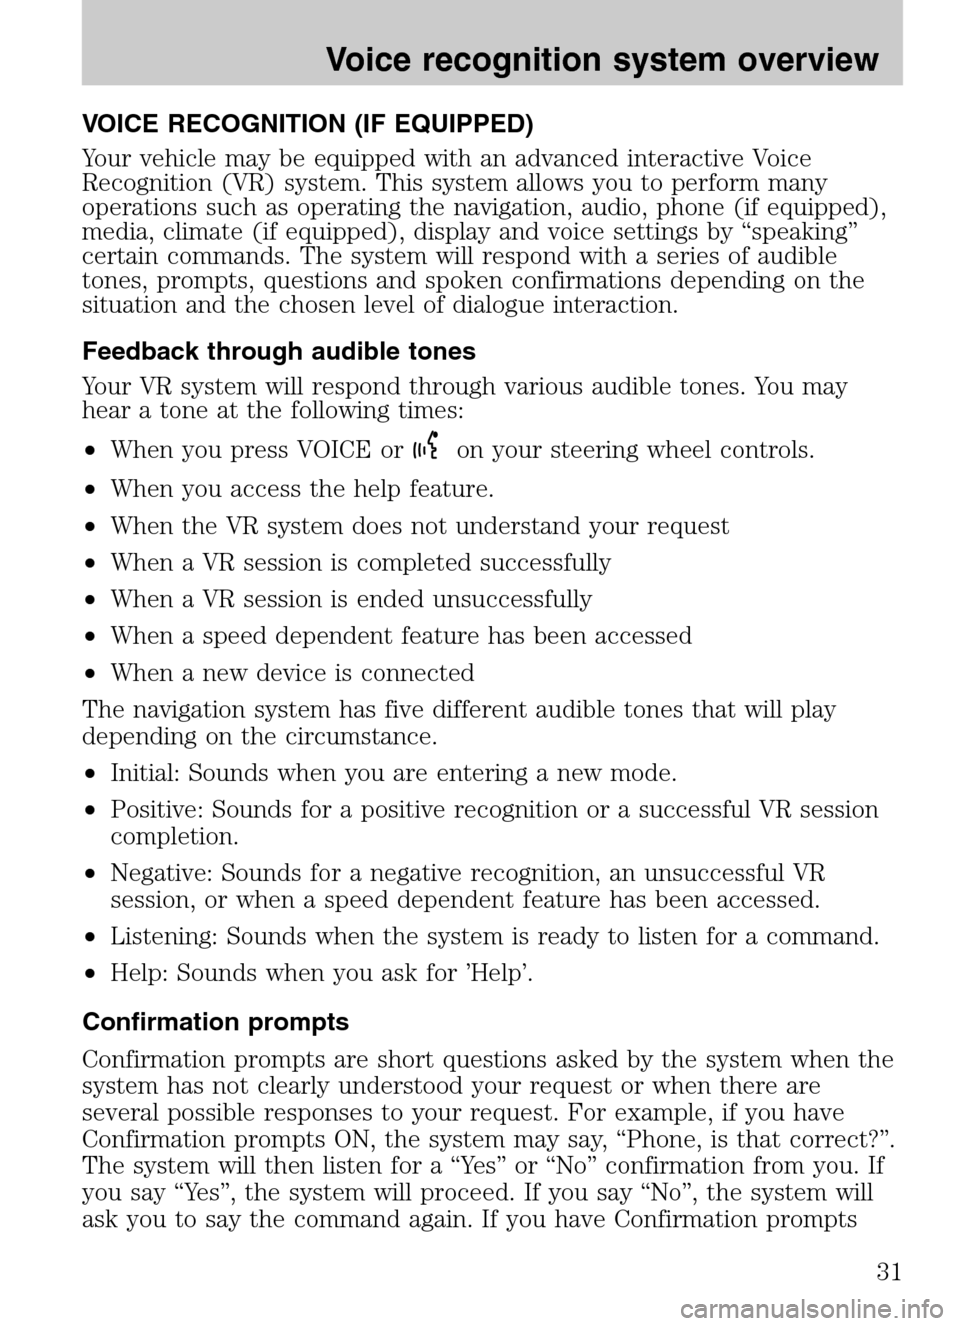
• When you press VOICE or
on your steering wheel controls.
• When you access the help feature.
• When the VR system does not understand your request
• When a VR session is completed successfully
• When a VR session is ended unsuccessfully
• When a speed dependent feature has been accessed
• When a new device is connected
The navigation system has five different audible tones that will play
depending on the circumstance.
• Initial: Sounds when you are entering a new mode.
• Positive: Sounds for a positive recognition or a successful VR session
completion.
• Negative: Sounds for a negative recognition, an unsuccessful VR
session, or when a speed dependent feature has been accessed.
• Listening: Sounds when the system is ready to listen for a command.
• Help: Sounds when you ask for ’Help’.
Confirmation prompts
Confirmation prompts are short questions asked by the system when the
system has not clearly understood your request or when there are
several possible responses to your request. For example, if you have
Confirmation prompts ON, the system may say, “Phone, is that correct?”.
The system will then listen for a “Yes” or “No” confirmation from you. If
you say “Yes”, the system will proceed. If you say “No”, the system will
ask you to say the command again. If you have Confirmation prompts
2009 Centerstack (ng1)
Supplement
USA (fus)
Voice recognition system overview
31
Page 34 of 194
OFF, the system may assume it understood your request or may ask you
to repeat your request. If the system is unsure of what was asked, it will
prompt you to try again or ask for help.
Note: Even with Confirmation prompts turned OFF, you may be asked to
confirm certain settings occasionally.
Clarification through candidate lists
Candidate lists are created when the system has several possible options
of similar level of confidence as a result of your request. The system will
submit back to you as many as five possibilities for your clarification.
This may happen either with your phone book and/or music selections.
Example #1:
You want to call John Doe at home, so you say, “Call John Doe at home”.
If the system has a similar confidence level for a few items, it may
respond with:
• (initial tone) “Say 1 after the tone to call John Doe at home. Say 2
after the tone to call Johnny Doe on mobile. Say 3 after the tone to
call Jane Doe at home.” (listen tone)
Example #2:
You want to listen to a certain artist, so you say, “Play Artist John”. If the
system has a similar confidence level for two possible options, it may
respond with:
• (initial tone) “Say 1 after the tone to play John Doe. Say 2 after the
tone to play Johnny Doe.” (listen tone)
HOW TO USE VOICE COMMANDS WITH YOUR SYSTEM
(IF EQUIPPED)
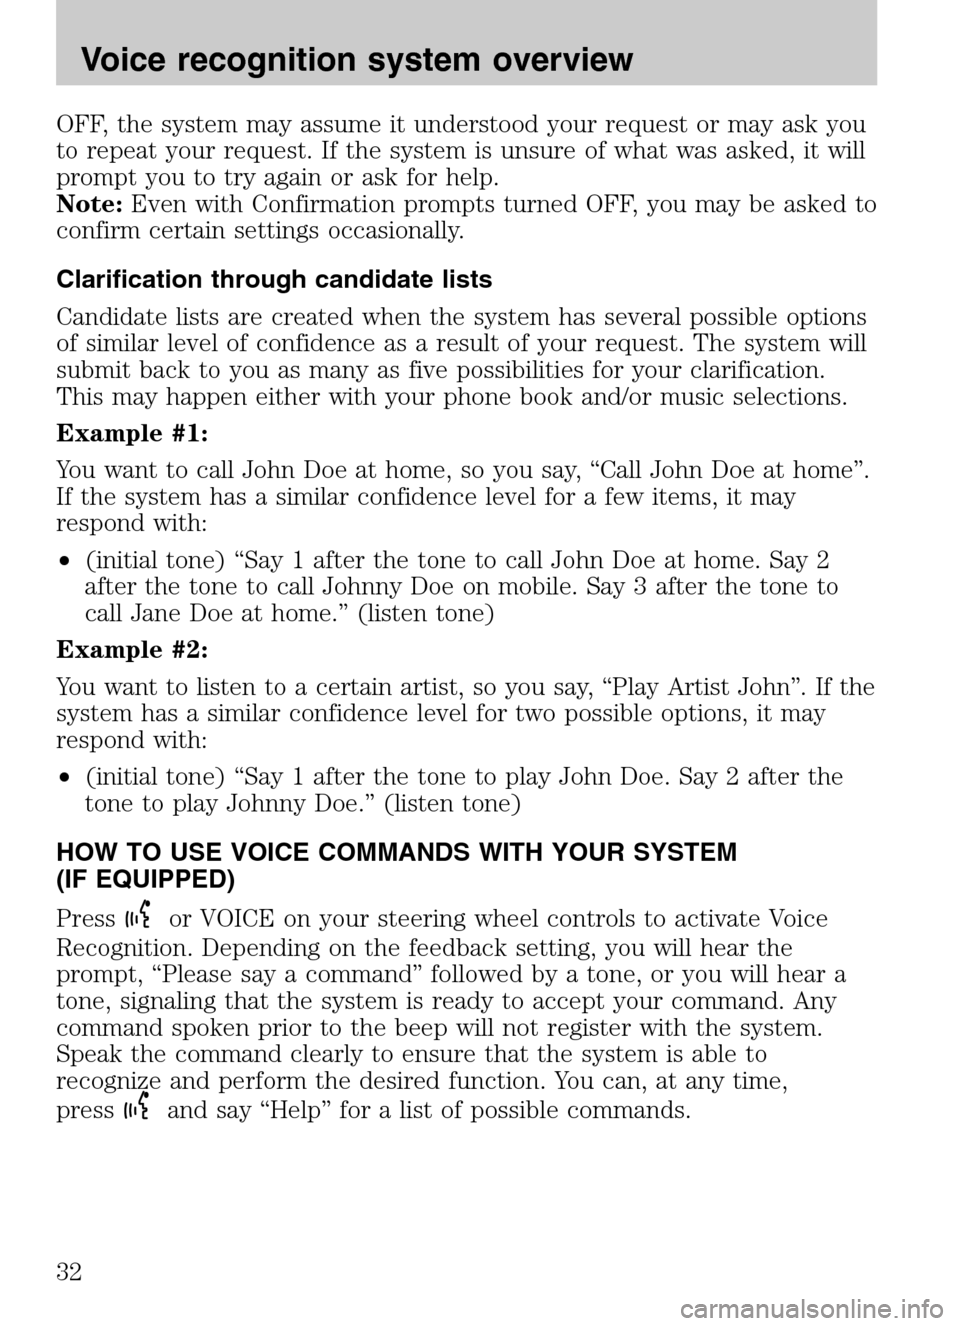
Press
or VOICE on your steering wheel controls to activate Voice
Recognition. Depending on the feedback setting, you will hear the
prompt, “Please say a command” followed by a tone, or you will hear a
tone, signaling that the system is ready to accept your command. Any
command spoken prior to the beep will not register with the system.
Speak the command clearly to ensure that the system is able to
recognize and perform the desired function. You can, at any time,
press
and say “Help” for a list of possible commands.
2009 Centerstack (ng1)
Supplement
USA (fus)
Voice recognition system overview
32
Page 35 of 194
The main categories of your voice commands are as follows: • Navigation •Climate (if equipped)
• Audio •Jukebox
• Radio •Sirius (if activated)
• Travel link (if activated) •Display mode
• User profile •Disc
• CD •DVD
• Video CD •Line in
• Rear AUX (if equipped) •Rear DVD (if equipped)
• Phone •USB
• Voice settings •Bluetooth audio
• Dial •Confirmations
• Tutorial
To access a list of all available voice commands:
1. Press the i button (
) on the navigation system.
2. Select the ‘Help’ tab on the touchscreen.
3. Select ‘Voice commands’ at the top of the screen.
4. Select the desired category.
Voice recognition visual feedback
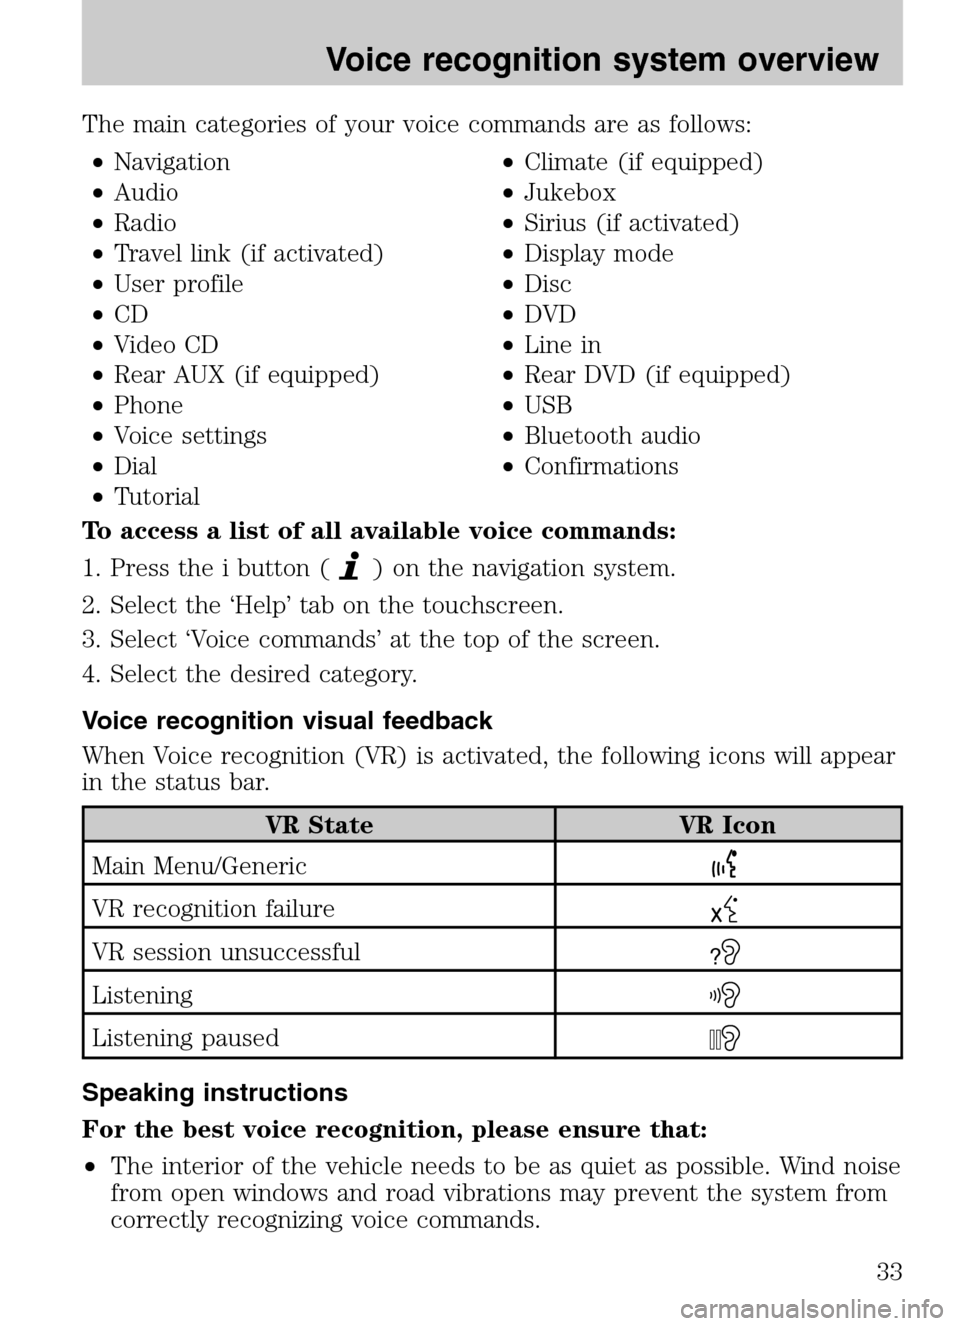
When Voice recognition (VR) is activated, the following icons will appear
in the status bar.
VR State VR Icon
Main Menu/Generic
VR recognition failure
VR session unsuccessful?
Listening
Listening paused
Speaking instructions
For the best voice recognition, please ensure that:
• The interior of the vehicle needs to be as quiet as possible. Wind noise
from open windows and road vibrations may prevent the system from
correctly recognizing voice commands.
2009 Centerstack (ng1)
Supplement
USA (fus)
Voice recognition system overview
33
Page 43 of 194
SONY AUDIO SYSTEM (IF EQUIPPED)
Your vehicle may be equipped with
the SONY premium audio system.
This system creates optimal acoustic
quality and offers an advanced
speaker system, amplifier, subwoofer
and equalizer.
Voice commands in audio mode (if equipped)
When in audio mode, press
or VOICE on the steering wheel controls.
When prompted, you may say any of the following commands:
• On •Off
• Headphones •Headphones off
• Jukebox •Disc
• CD •DVD
• Video CD •Radio
• Sirius •Rear DVD
• Rear AUX •Line in
• SYNC •User Device
• USB •Phone
• Bluetooth audio •Read Message
• Help
Note: If you are not in audio mode, press
on the steering wheel
controls. When prompted, say, “Audio” and then any of the above
commands.
AM
1. Ensure that the system is on.
2. Press the RADIO hard button on
the navigation face.
3. Select the ‘AM’ tab on the
touchscreen. Once in AM mode, you may select from ‘Show options’ and
‘Show presets’.
4. Press ‘Show Options’ to select from:
2009 Centerstack (ng1)
Supplement
USA (fus)
Audio features
41
Page 66 of 194
Rear DVD voice commands (if equipped)
If the rear DVD is the only audio source playing, press
or VOICE on
the steering wheel controls. When prompted, you may say any of the
following commands:
• Play •Pause
• Play previous chapter •Play next chapter
• Play previous track •Play next track
• Play previous folder •Play next folder
• Folder mode •Folder mode off
• Shuffle •Shuffle off
• Headphones •Headphones off
• Help
Note: If the Rear DVD is not the only audio source (i.e., the radio is on
also), then press
on the steering wheel controls. When prompted,
say, “Rear DVD” and then any of the above commands.
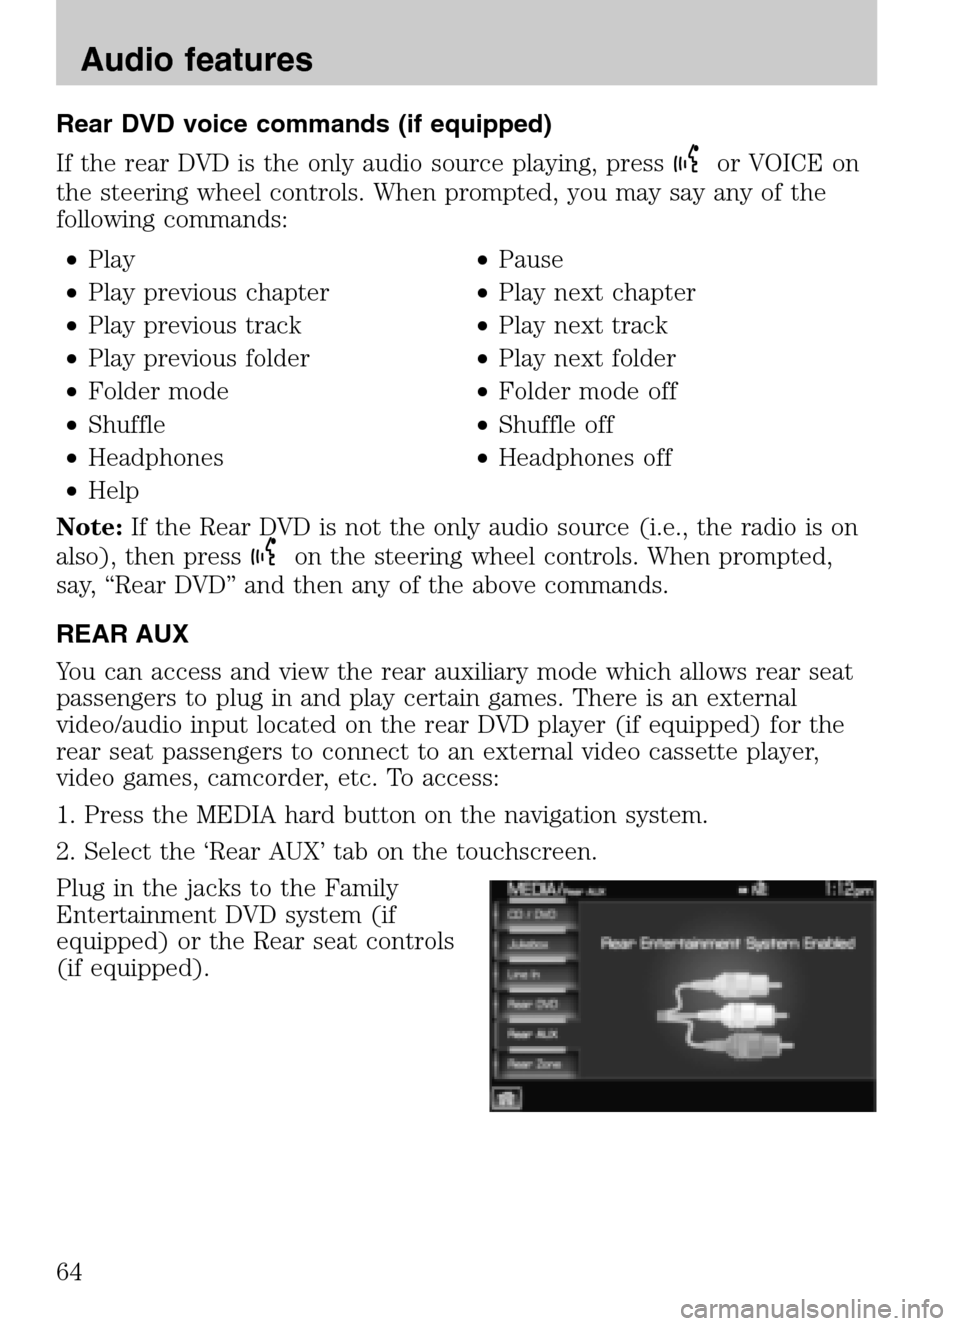
REAR AUX
You can access and view the rear auxiliary mode which allows rear seat
passengers to plug in and play certain games. There is an external
video/audio input located on the rear DVD player (if equipped) for the
rear seat passengers to connect to an external video cassette player,
video games, camcorder, etc. To access:
1. Press the MEDIA hard button on the navigation system.
2. Select the ‘Rear AUX’ tab on the touchscreen.
Plug in the jacks to the Family
Entertainment DVD system (if
equipped) or the Rear seat controls
(if equipped).
2009 Centerstack (ng1)
Supplement
USA (fus)
Audio features
64
Page 67 of 194
REAR ZONE (IF EQUIPPED)
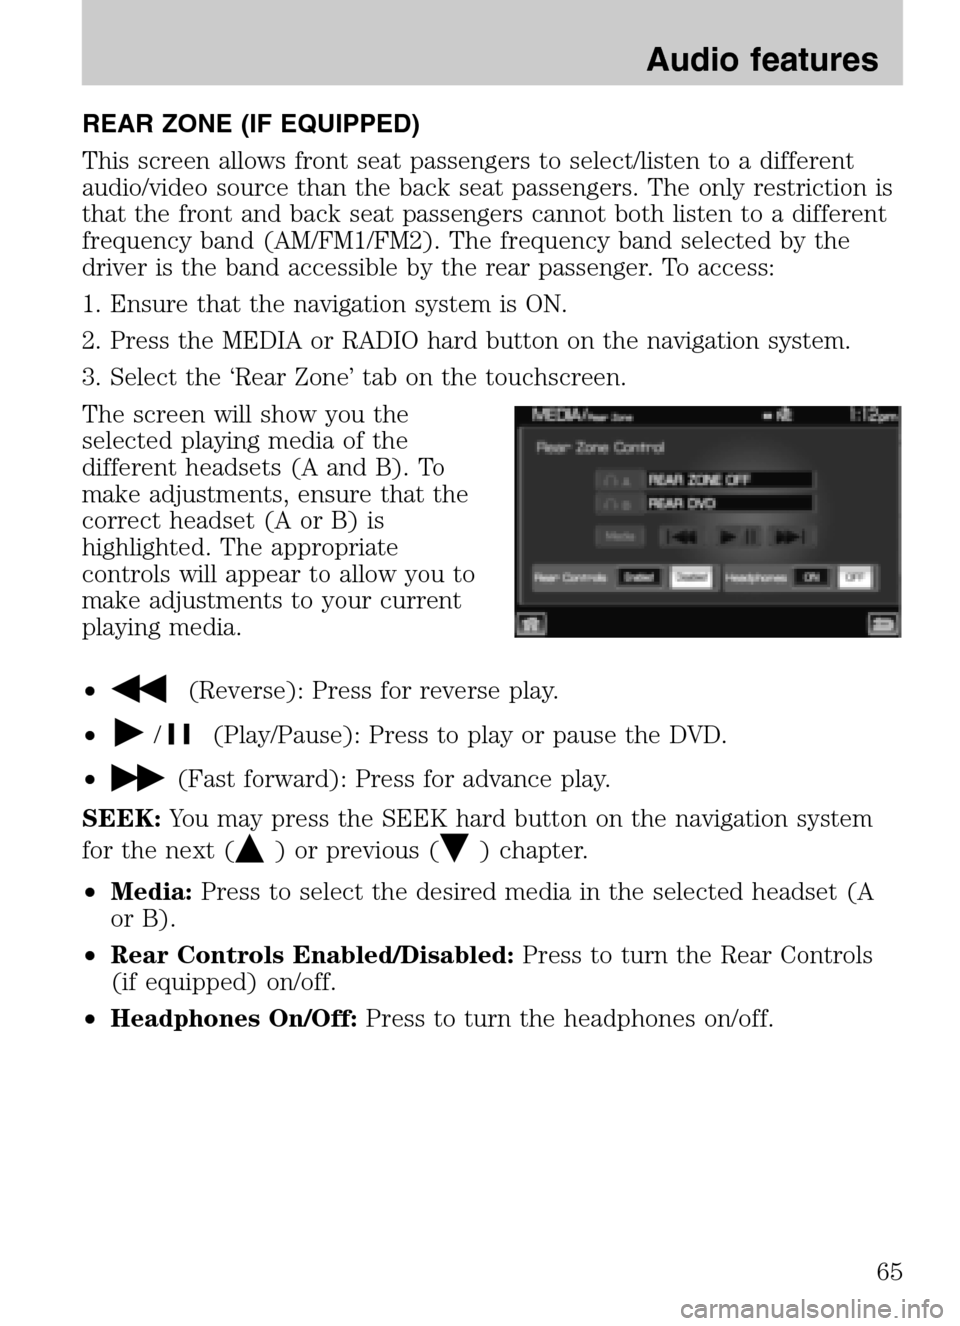
This screen allows front seat passengers to select/listen to a different
audio/video source than the back seat passengers. The only restriction is
that the front and back seat passengers cannot both listen to a different
frequency band (AM/FM1/FM2). The frequency band selected by the
driver is the band accessible by the rear passenger. To access:
1. Ensure that the navigation system is ON.
2. Press the MEDIA or RADIO hard button on the navigation system.
3. Select the ‘Rear Zone’ tab on the touchscreen.
The screen will show you the
selected playing media of the
different headsets (A and B). To
make adjustments, ensure that the
correct headset (A or B) is
highlighted. The appropriate
controls will appear to allow you to
make adjustments to your current
playing media.
•
(Reverse): Press for reverse play.
•
/(Play/Pause): Press to play or pause the DVD.
•
(Fast forward): Press for advance play.
SEEK: You may press the SEEK hard button on the navigation system
for the next (
) or previous () chapter.
• Media: Press to select the desired media in the selected headset (A
or B).
• Rear Controls Enabled/Disabled: Press to turn the Rear Controls
(if equipped) on/off.
• Headphones On/Off: Press to turn the headphones on/off.
2009 Centerstack(ng1)
Supplement
USA (fus)
Audio features
65
Page 76 of 194
SIRIUS TRAVEL LINK (IF ACTIVATED, U.S. ONLY)
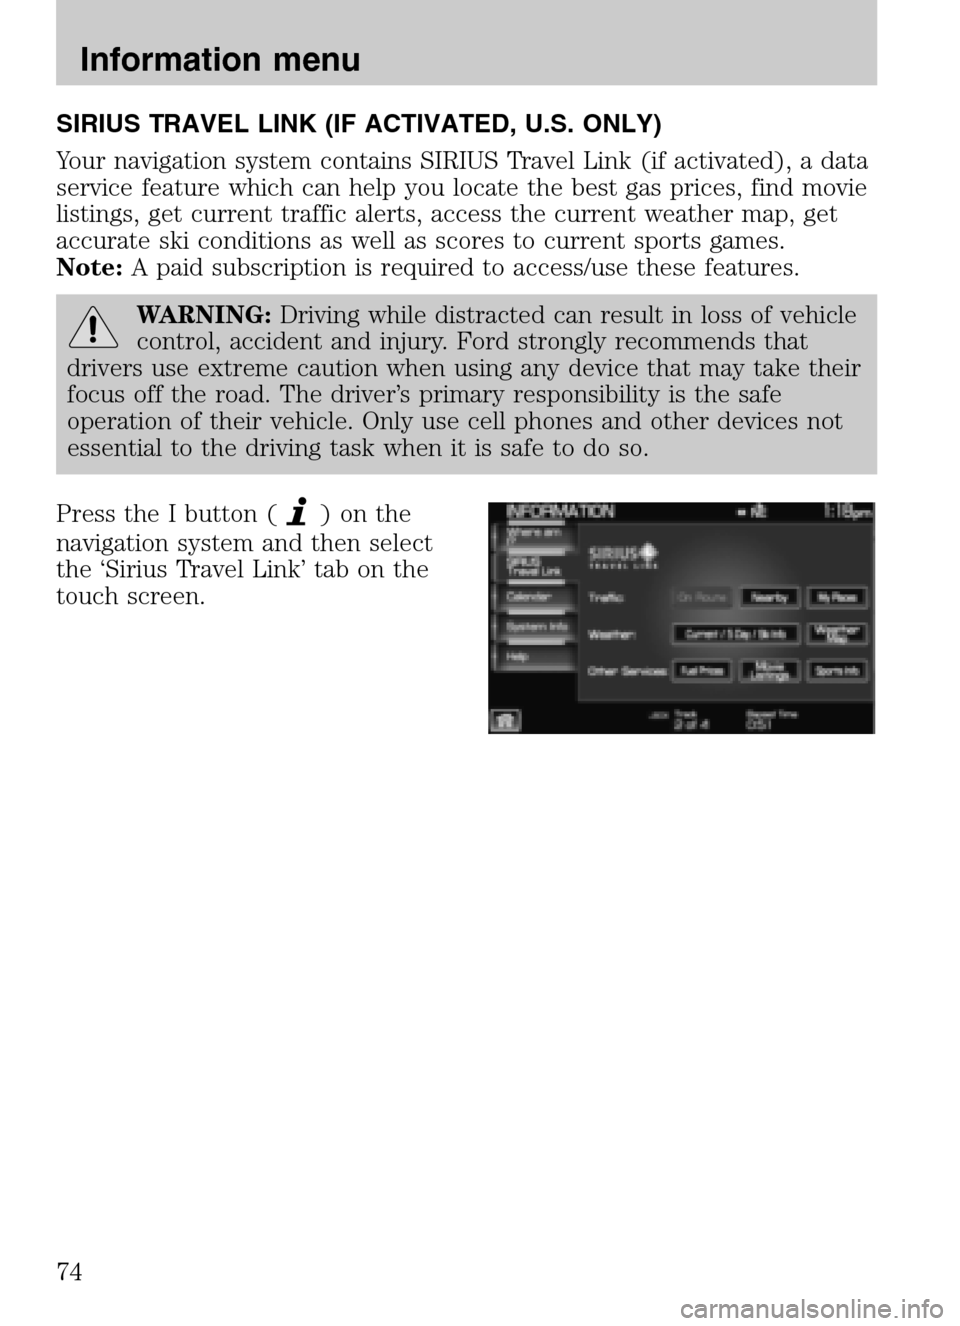
Your navigation system contains SIRIUS Travel Link (if activated), a data
service feature which can help you locate the best gas prices, find movie
listings, get current traffic alerts, access the current weather map, get
accurate ski conditions as well as scores to current sports games.
Note: A paid subscription is required to access/use these features.
WARNING: Driving while distracted can result in loss of vehicle
control, accident and injury. Ford strongly recommends that
drivers use extreme caution when using any device that may take their
focus off the road. The driver’s primary responsibility is the safe
operation of their vehicle. Only use cell phones and other devices not
essential to the driving task when it is safe to do so.
Press the I button (
)onthe
navigation system and then select
the ‘Sirius Travel Link’ tab on the
touch screen.
2009 Centerstack (ng1)
Supplement
USA (fus)
Information menu
74
Page 82 of 194
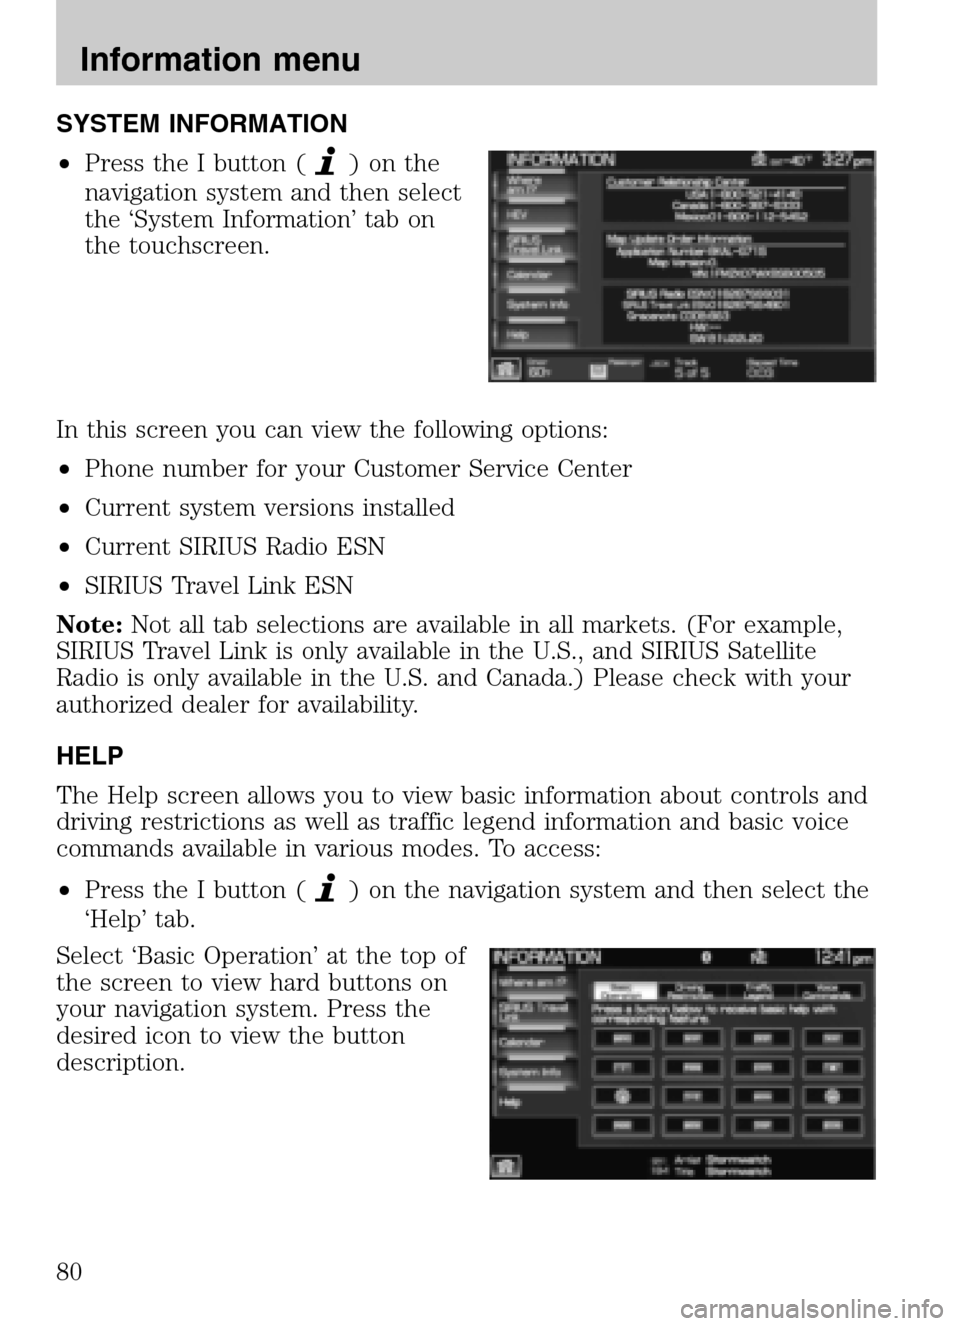
SYSTEM INFORMATION
• Press the I button (
)onthe
navigation system and then select
the ‘System Information’ tab on
the touchscreen.
In this screen you can view the following options:
• Phone number for your Customer Service Center
• Current system versions installed
• Current SIRIUS Radio ESN
• SIRIUS Travel Link ESN
Note: Not all tab selections are available in all markets. (For example,
SIRIUS Travel Link is only available in the U.S., and SIRIUS Satellite
Radio is only available in the U.S. and Canada.) Please check with your
authorized dealer for availability.
HELP
The Help screen allows you to view basic information about controls and
driving restrictions as well as traffic legend information and basic voice
commands available in various modes. To access:
• Press the I button (
) on the navigation system and then select the
‘Help’ tab.
Select ‘Basic Operation’ at the top of
the screen to view hard buttons on
your navigation system. Press the
desired icon to view the button
description.
2009 Centerstack (ng1)
Supplement
USA (fus)
Information menu
80
Page 86 of 194
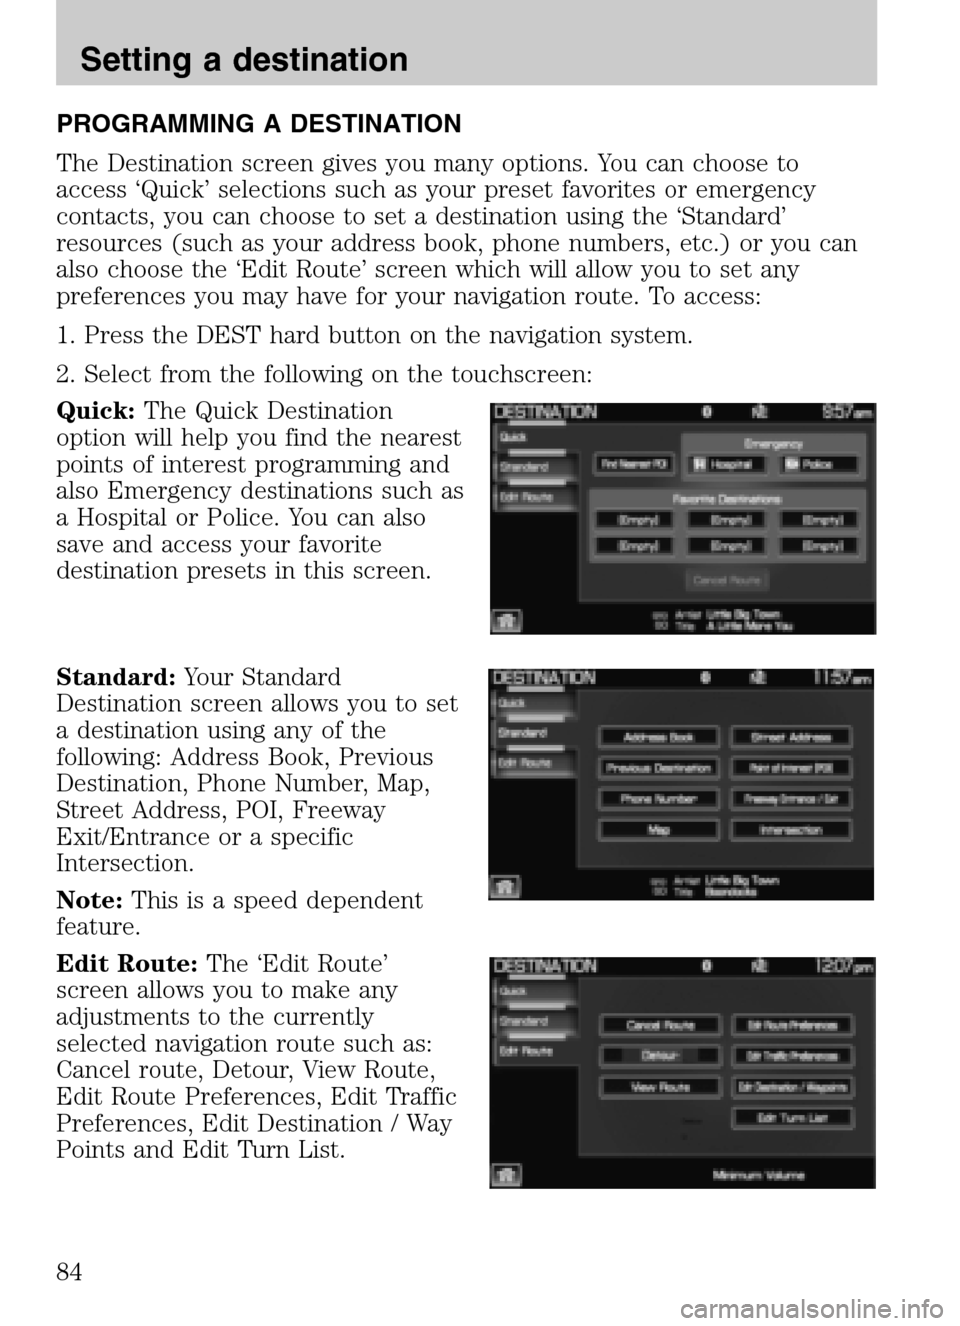
PROGRAMMING A DESTINATION
The Destination screen gives you many options. You can choose to
access ‘Quick’ selections such as your preset favorites or emergency
contacts, you can choose to set a destination using the ‘Standard’
resources (such as your address book, phone numbers, etc.) or you can
also choose the ‘Edit Route’ screen which will allow you to set any
preferences you may have for your navigation route. To access:
1. Press the DEST hard button on the navigation system.
2. Select from the following on the touchscreen:
Quick: The Quick Destination
option will help you find the nearest
points of interest programming and
also Emergency destinations such as
a Hospital or Police. You can also
save and access your favorite
destination presets in this screen.
Standard: Your Standard
Destination screen allows you to set
a destination using any of the
following: Address Book, Previous
Destination, Phone Number, Map,
Street Address, POI, Freeway
Exit/Entrance or a specific
Intersection.
Note: This is a speed dependent
feature.
Edit Route: The ‘Edit Route’
screen allows you to make any
adjustments to the currently
selected navigation route such as:
Cancel route, Detour, View Route,
Edit Route Preferences, Edit Traffic
Preferences, Edit Destination / Way
Points and Edit Turn List.
2009 Centerstack (ng1)
Supplement
USA (fus)
Setting a destination
84