jacking LINCOLN NAVIGATOR 2020 Owners Manual
[x] Cancel search | Manufacturer: LINCOLN, Model Year: 2020, Model line: NAVIGATOR, Model: LINCOLN NAVIGATOR 2020Pages: 622, PDF Size: 6.47 MB
Page 101 of 622
USING POWER RUNNING BOARDS
WARNING: In extreme climates,
excessive ice buildup may occur, causing
the running boards not to deploy. Make
sure that the running boards have
deployed, and have finished moving before
attempting to step on them. The running
boards will resume normal function once
the blockage is cleared. WARNING:
Switch off the running
boards before jacking or placing any object
under your vehicle. Never place your hand
between the extended running board and
your vehicle. A moving running board may
cause injury.
Note: Do not use the running boards, front
and rear hinge assemblies, running board
motors, or the running board underbody
mounts to lift your vehicle when jacking.
Always use proper jacking points.
Note: The running boards may operate more
slowly in cool temperatures. Note:
The running board mechanism may
trap debris such as mud, dirt, snow, ice and
salt. This may cause unwanted noise. If this
happens, manually set the running boards
to the deployed position. Then, wash the
system, in particular the front and rear hinge
arms, with a high-pressure car wash wand.
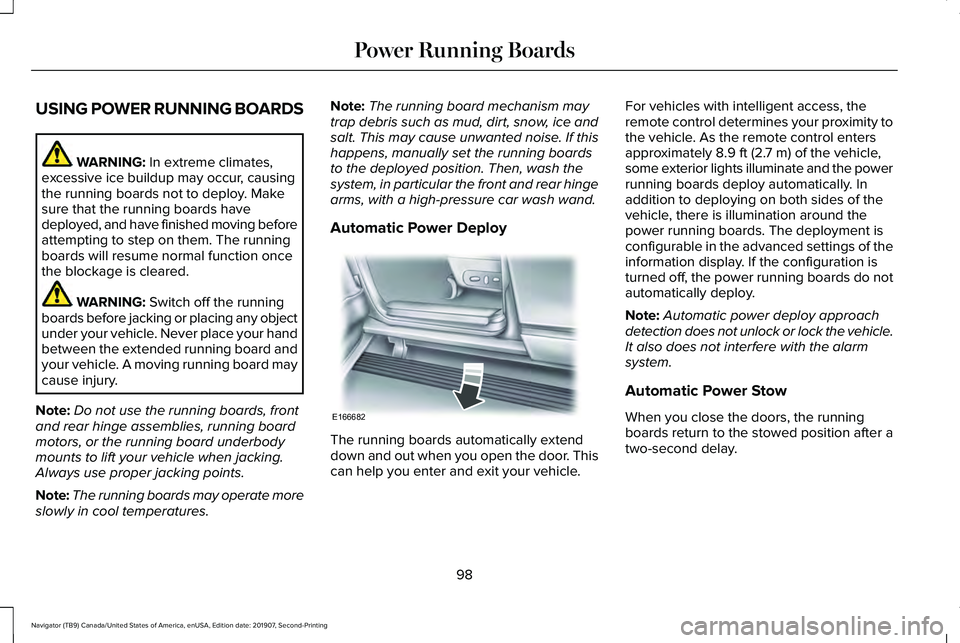
Automatic Power Deploy The running boards automatically extend
down and out when you open the door. This
can help you enter and exit your vehicle.For vehicles with intelligent access, the
remote control determines your proximity to
the vehicle. As the remote control enters
approximately
8.9 ft (2.7 m) of the vehicle,
some exterior lights illuminate and the power
running boards deploy automatically. In
addition to deploying on both sides of the
vehicle, there is illumination around the
power running boards. The deployment is
configurable in the advanced settings of the
information display. If the configuration is
turned off, the power running boards do not
automatically deploy.
Note: Automatic power deploy approach
detection does not unlock or lock the vehicle.
It also does not interfere with the alarm
system.
Automatic Power Stow
When you close the doors, the running
boards return to the stowed position after a
two-second delay.
98
Navigator (TB9) Canada/United States of America, enUSA, Edition date: 201907, Second-Printing Power Running BoardsE166682
Page 432 of 622
WARNING: Switch off the running
boards before jacking or placing any object
under your vehicle. Never place your hand
between the extended running board and
your vehicle. A moving running board may
cause injury. WARNING: Only use the spare wheel
carrier to stow the wheel provided with
your vehicle. Other wheel sizes could
cause the spare wheel carrier to fail if it
does not fit securely or is too heavy. 1.
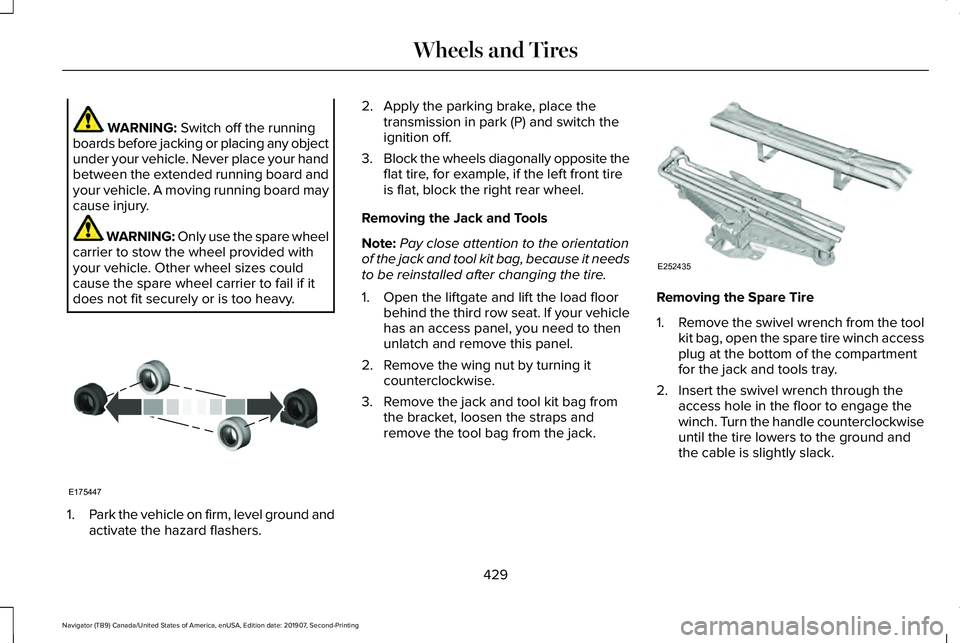
Park the vehicle on firm, level ground and
activate the hazard flashers. 2. Apply the parking brake, place the
transmission in park (P) and switch the
ignition off.
3. Block the wheels diagonally opposite the
flat tire, for example, if the left front tire
is flat, block the right rear wheel.
Removing the Jack and Tools
Note: Pay close attention to the orientation
of the jack and tool kit bag, because it needs
to be reinstalled after changing the tire.
1. Open the liftgate and lift the load floor behind the third row seat. If your vehicle
has an access panel, you need to then
unlatch and remove this panel.
2. Remove the wing nut by turning it counterclockwise.
3. Remove the jack and tool kit bag from the bracket, loosen the straps and
remove the tool bag from the jack. Removing the Spare Tire
1.
Remove the swivel wrench from the tool
kit bag, open the spare tire winch access
plug at the bottom of the compartment
for the jack and tools tray.
2. Insert the swivel wrench through the access hole in the floor to engage the
winch. Turn the handle counterclockwise
until the tire lowers to the ground and
the cable is slightly slack.
429
Navigator (TB9) Canada/United States of America, enUSA, Edition date: 201907, Second-Printing Wheels and TiresE175447 E252435
Page 433 of 622
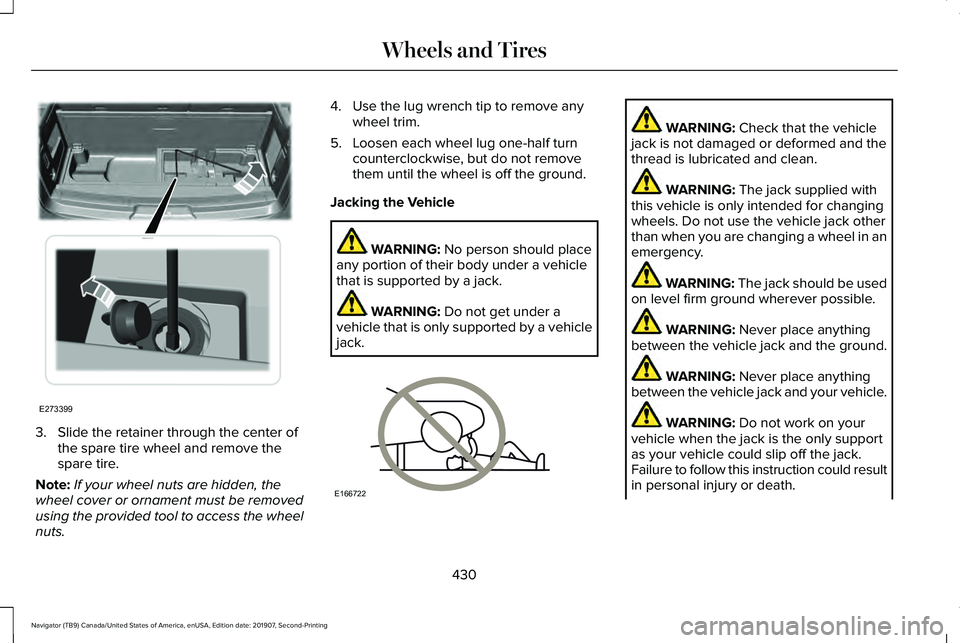
3. Slide the retainer through the center of
the spare tire wheel and remove the
spare tire.
Note: If your wheel nuts are hidden, the
wheel cover or ornament must be removed
using the provided tool to access the wheel
nuts. 4. Use the lug wrench tip to remove any
wheel trim.
5. Loosen each wheel lug one-half turn counterclockwise, but do not remove
them until the wheel is off the ground.
Jacking the Vehicle WARNING: No person should place
any portion of their body under a vehicle
that is supported by a jack. WARNING:
Do not get under a
vehicle that is only supported by a vehicle
jack. WARNING:
Check that the vehicle
jack is not damaged or deformed and the
thread is lubricated and clean. WARNING:
The jack supplied with
this vehicle is only intended for changing
wheels. Do not use the vehicle jack other
than when you are changing a wheel in an
emergency. WARNING: The jack should be used
on level firm ground wherever possible. WARNING:
Never place anything
between the vehicle jack and the ground. WARNING:
Never place anything
between the vehicle jack and your vehicle. WARNING:
Do not work on your
vehicle when the jack is the only support
as your vehicle could slip off the jack.
Failure to follow this instruction could result
in personal injury or death.
430
Navigator (TB9) Canada/United States of America, enUSA, Edition date: 201907, Second-Printing Wheels and TiresE273399 E166722
Page 434 of 622
WARNING: It is recommended that
the wheels of the vehicle be chocked, and
that no person should remain in a vehicle
that is being jacked. WARNING:
Failure to follow these
guidelines could result in an increased risk
of loss of vehicle control, injury or death.
Note: The jack does not require
maintenance or additional lubrication over
the service life of your vehicle.
Note: Both the front and rear jacking points
are on the frame rails. The correct locations
on the frame rails are marked with an arrow
punched into the frame rail. Jack at the
specified locations to avoid damaging your
vehicle.
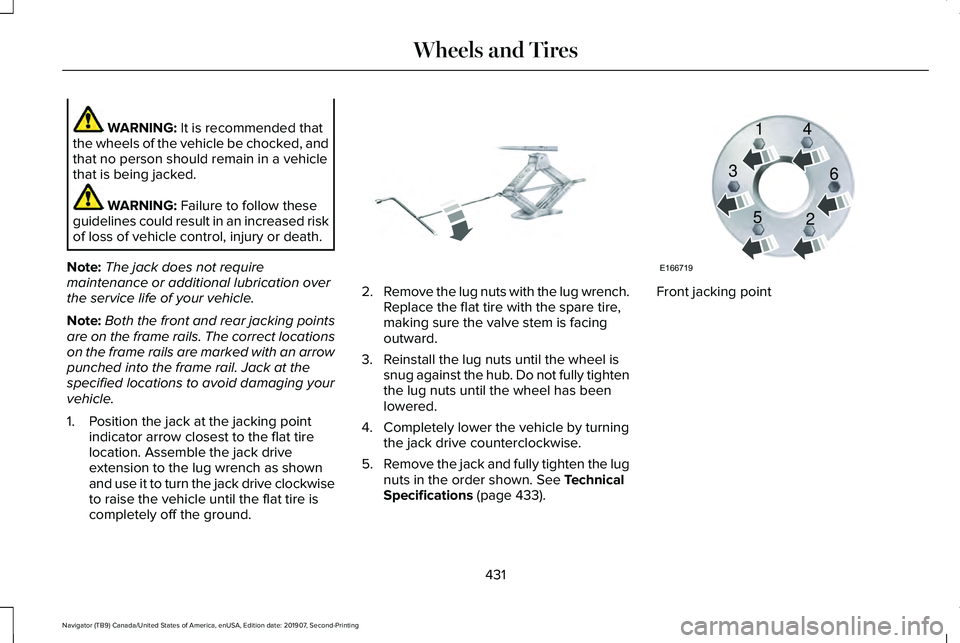
1. Position the jack at the jacking point indicator arrow closest to the flat tire
location. Assemble the jack drive
extension to the lug wrench as shown
and use it to turn the jack drive clockwise
to raise the vehicle until the flat tire is
completely off the ground. 2.
Remove the lug nuts with the lug wrench.
Replace the flat tire with the spare tire,
making sure the valve stem is facing
outward.
3. Reinstall the lug nuts until the wheel is snug against the hub. Do not fully tighten
the lug nuts until the wheel has been
lowered.
4. Completely lower the vehicle by turning the jack drive counterclockwise.
5. Remove the jack and fully tighten the lug
nuts in the order shown.
See Technical
Specifications (page 433). Front jacking point
431
Navigator (TB9) Canada/United States of America, enUSA, Edition date: 201907, Second-Printing Wheels and TiresE325278 E166719
1
3
5 4
6
2
Page 435 of 622
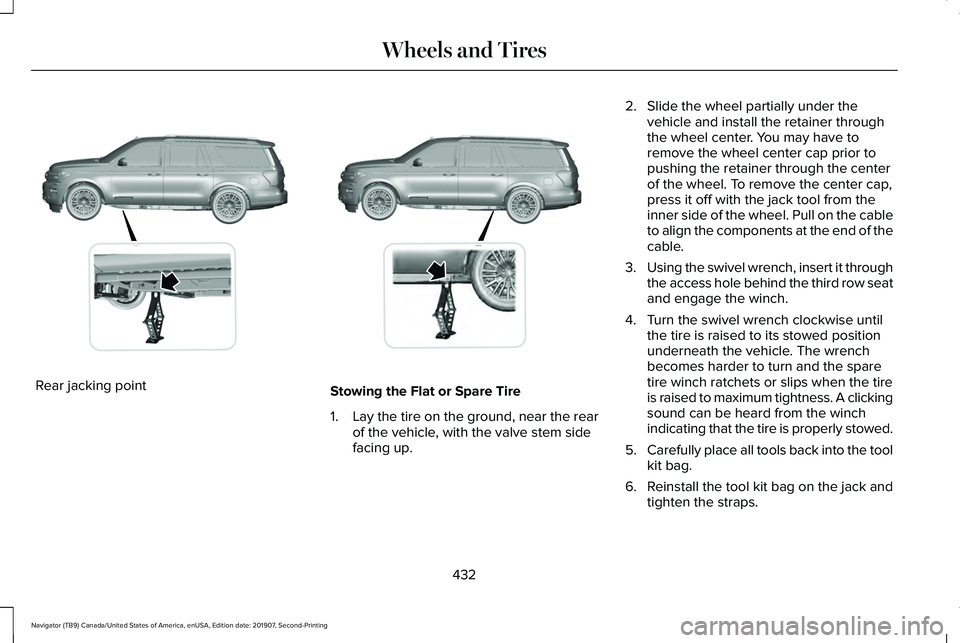
Rear jacking point
Stowing the Flat or Spare Tire
1.
Lay the tire on the ground, near the rear
of the vehicle, with the valve stem side
facing up. 2. Slide the wheel partially under the
vehicle and install the retainer through
the wheel center. You may have to
remove the wheel center cap prior to
pushing the retainer through the center
of the wheel. To remove the center cap,
press it off with the jack tool from the
inner side of the wheel. Pull on the cable
to align the components at the end of the
cable.
3. Using the swivel wrench, insert it through
the access hole behind the third row seat
and engage the winch.
4. Turn the swivel wrench clockwise until the tire is raised to its stowed position
underneath the vehicle. The wrench
becomes harder to turn and the spare
tire winch ratchets or slips when the tire
is raised to maximum tightness. A clicking
sound can be heard from the winch
indicating that the tire is properly stowed.
5. Carefully place all tools back into the tool
kit bag.
6. Reinstall the tool kit bag on the jack and
tighten the straps.
432
Navigator (TB9) Canada/United States of America, enUSA, Edition date: 201907, Second-Printing Wheels and TiresE325274 E325281