traction control LINCOLN NAVIGATOR 2020 Owners Manual
[x] Cancel search | Manufacturer: LINCOLN, Model Year: 2020, Model line: NAVIGATOR, Model: LINCOLN NAVIGATOR 2020Pages: 622, PDF Size: 6.47 MB
Page 7 of 622
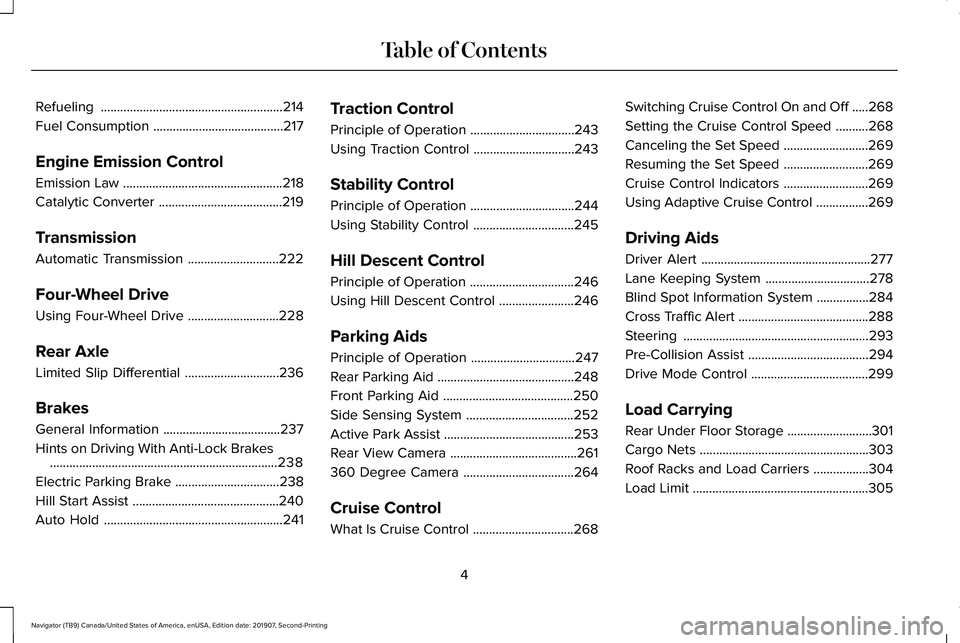
Refueling
........................................................214
Fuel Consumption ........................................
217
Engine Emission Control
Emission Law .................................................
218
Catalytic Converter ......................................
219
Transmission
Automatic Transmission ............................
222
Four-Wheel Drive
Using Four-Wheel Drive ............................
228
Rear Axle
Limited Slip Differential .............................
236
Brakes
General Information ....................................
237
Hints on Driving With Anti-Lock Brakes ......................................................................
238
Electric Parking Brake ................................
238
Hill Start Assist .............................................
240
Auto Hold .......................................................
241Traction Control
Principle of Operation
................................
243
Using Traction Control ...............................
243
Stability Control
Principle of Operation ................................
244
Using Stability Control ...............................
245
Hill Descent Control
Principle of Operation ................................
246
Using Hill Descent Control .......................
246
Parking Aids
Principle of Operation ................................
247
Rear Parking Aid ..........................................
248
Front Parking Aid ........................................
250
Side Sensing System .................................
252
Active Park Assist ........................................
253
Rear View Camera .......................................
261
360 Degree Camera ..................................
264
Cruise Control
What Is Cruise Control ...............................
268Switching Cruise Control On and Off
.....
268
Setting the Cruise Control Speed ..........
268
Canceling the Set Speed ..........................
269
Resuming the Set Speed ..........................
269
Cruise Control Indicators ..........................
269
Using Adaptive Cruise Control ................
269
Driving Aids
Driver Alert ....................................................
277
Lane Keeping System ................................
278
Blind Spot Information System ................
284
Cross Traffic Alert ........................................
288
Steering .........................................................
293
Pre-Collision Assist .....................................
294
Drive Mode Control ....................................
299
Load Carrying
Rear Under Floor Storage ..........................
301
Cargo Nets ....................................................
303
Roof Racks and Load Carriers .................
304
Load Limit ......................................................
305
4
Navigator (TB9) Canada/United States of America, enUSA, Edition date: 201907, Second-Printing Table of Contents
Page 82 of 622
Note:
Not every feature applies to every
vehicle in every market. When they are
available for your vehicle, then they appear
in your information display, providing choices
to switch them on or off, or to select a more
specific setting.
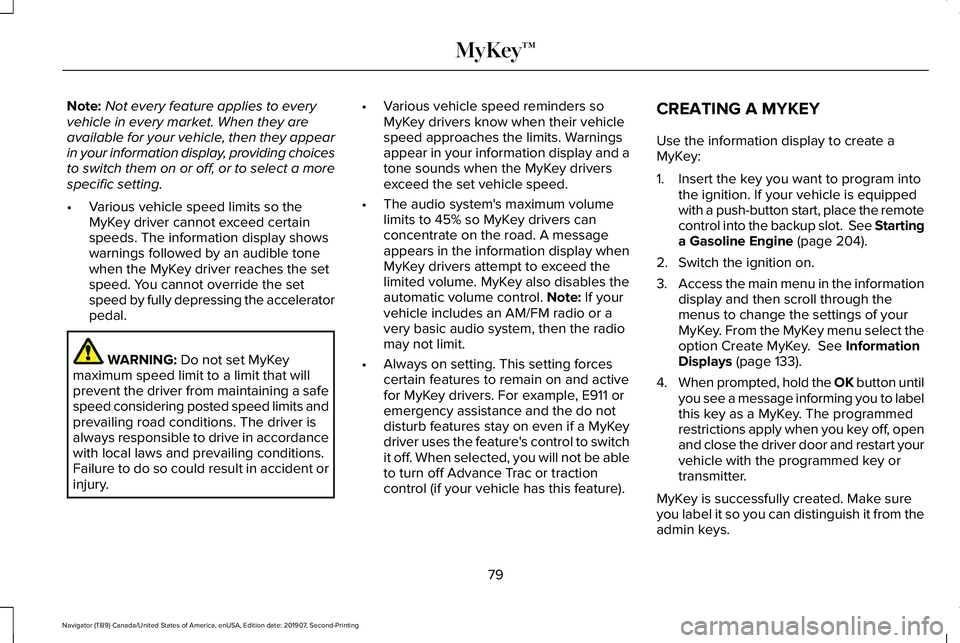
• Various vehicle speed limits so the
MyKey driver cannot exceed certain
speeds. The information display shows
warnings followed by an audible tone
when the MyKey driver reaches the set
speed. You cannot override the set
speed by fully depressing the accelerator
pedal. WARNING: Do not set MyKey
maximum speed limit to a limit that will
prevent the driver from maintaining a safe
speed considering posted speed limits and
prevailing road conditions. The driver is
always responsible to drive in accordance
with local laws and prevailing conditions.
Failure to do so could result in accident or
injury. •
Various vehicle speed reminders so
MyKey drivers know when their vehicle
speed approaches the limits. Warnings
appear in your information display and a
tone sounds when the MyKey drivers
exceed the set vehicle speed.
• The audio system's maximum volume
limits to 45% so MyKey drivers can
concentrate on the road. A message
appears in the information display when
MyKey drivers attempt to exceed the
limited volume. MyKey also disables the
automatic volume control.
Note: If your
vehicle includes an AM/FM radio or a
very basic audio system, then the radio
may not limit.
• Always on setting. This setting forces
certain features to remain on and active
for MyKey drivers. For example, E911 or
emergency assistance and the do not
disturb features stay on even if a MyKey
driver uses the feature's control to switch
it off. When selected, you will not be able
to turn off Advance Trac or traction
control (if your vehicle has this feature). CREATING A MYKEY
Use the information display to create a
MyKey:
1. Insert the key you want to program into
the ignition. If your vehicle is equipped
with a push-button start, place the remote
control into the backup slot. See Starting
a Gasoline Engine
(page 204).
2. Switch the ignition on.
3. Access the main menu in the information
display and then scroll through the
menus to change the settings of your
MyKey. From the MyKey menu select the
option Create MyKey.
See Information
Displays (page 133).
4. When prompted, hold the OK button until
you see a message informing you to label
this key as a MyKey. The programmed
restrictions apply when you key off, open
and close the driver door and restart your
vehicle with the programmed key or
transmitter.
MyKey is successfully created. Make sure
you label it so you can distinguish it from the
admin keys.
79
Navigator (TB9) Canada/United States of America, enUSA, Edition date: 201907, Second-Printing MyKey™
Page 135 of 622
It illuminates when you switch the ignition
on prior to engine start to check the bulb and
to indicate whether your vehicle is ready for
Inspection and Maintenance (I/M) testing.
Normally, it illuminates until the engine is
cranked and automatically turns off if no
malfunctions are present. However, if after
15 seconds it flashes eight times, this
indicates that your vehicle is not ready for
Inspection and Maintenance (I/M) testing.
See Catalytic Converter (page 219).
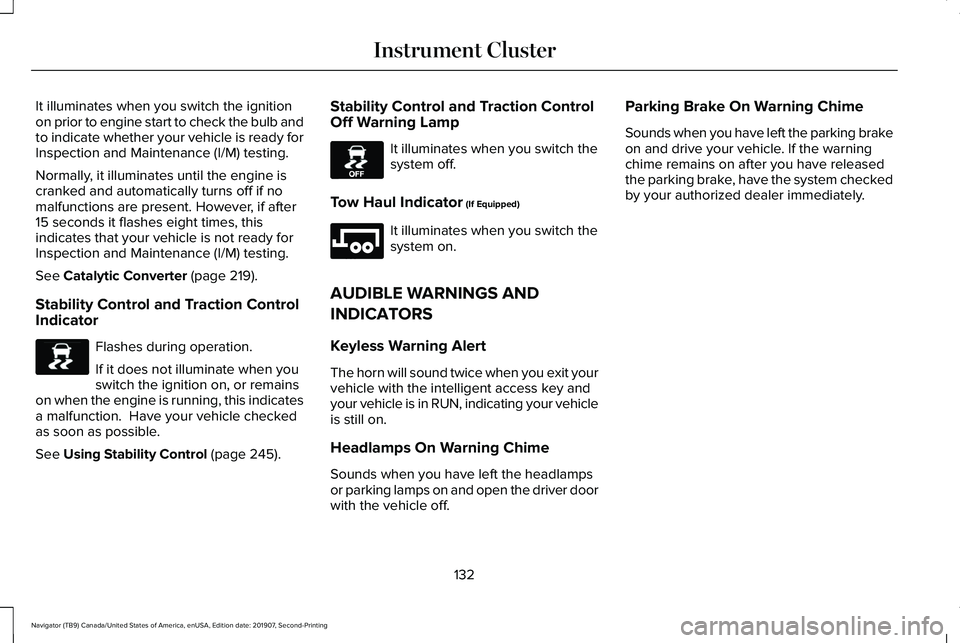
Stability Control and Traction Control
Indicator Flashes during operation.
If it does not illuminate when you
switch the ignition on, or remains
on when the engine is running, this indicates
a malfunction. Have your vehicle checked
as soon as possible.
See
Using Stability Control (page 245). Stability Control and Traction Control
Off Warning Lamp It illuminates when you switch the
system off.
Tow Haul Indicator
(If Equipped) It illuminates when you switch the
system on.
AUDIBLE WARNINGS AND
INDICATORS
Keyless Warning Alert
The horn will sound twice when you exit your
vehicle with the intelligent access key and
your vehicle is in RUN, indicating your vehicle
is still on.
Headlamps On Warning Chime
Sounds when you have left the headlamps
or parking lamps on and open the driver door
with the vehicle off. Parking Brake On Warning Chime
Sounds when you have left the parking brake
on and drive your vehicle. If the warning
chime remains on after you have released
the parking brake, have the system checked
by your authorized dealer immediately.
132
Navigator (TB9) Canada/United States of America, enUSA, Edition date: 201907, Second-Printing Instrument ClusterE138639 E130458 E246592
Page 138 of 622
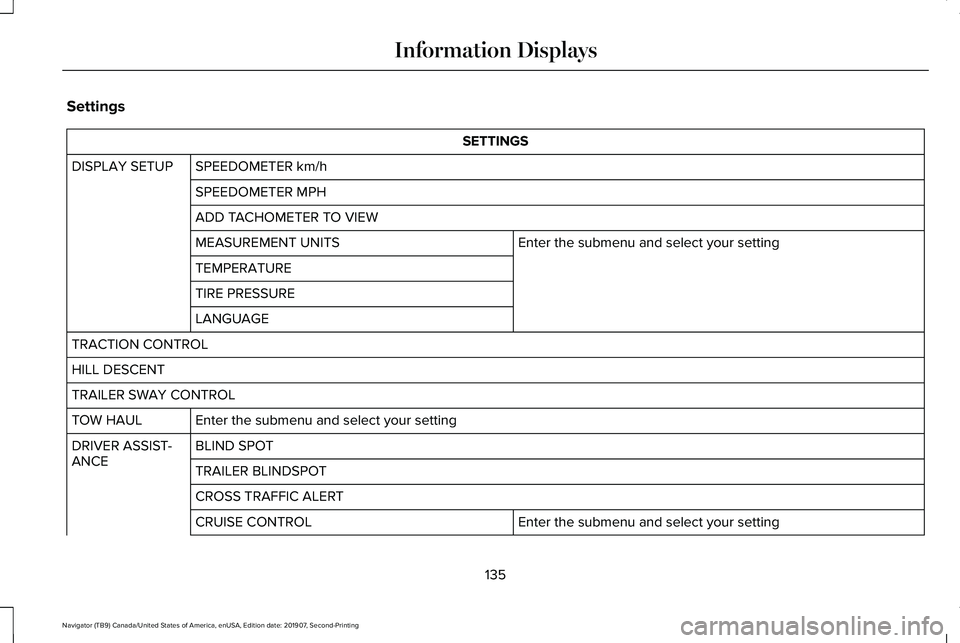
Settings
SETTINGS
SPEEDOMETER km/h
DISPLAY SETUP
SPEEDOMETER MPH
ADD TACHOMETER TO VIEW Enter the submenu and select your setting
MEASUREMENT UNITS
TEMPERATURE
TIRE PRESSURE
LANGUAGE
TRACTION CONTROL
HILL DESCENT
TRAILER SWAY CONTROL Enter the submenu and select your setting
TOW HAUL
BLIND SPOT
DRIVER ASSIST-
ANCE
TRAILER BLINDSPOT
CROSS TRAFFIC ALERT
Enter the submenu and select your setting
CRUISE CONTROL
135
Navigator (TB9) Canada/United States of America, enUSA, Edition date: 201907, Second-Printing Information Displays
Page 159 of 622
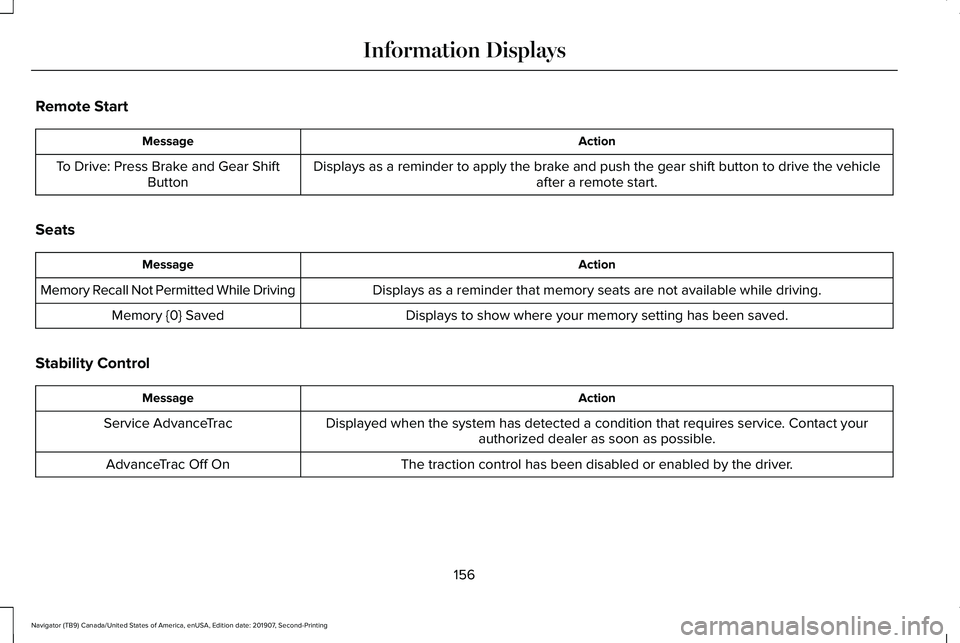
Remote Start
Action
Message
Displays as a reminder to apply the brake and push the gear shift button to drive the vehicle after a remote start.
To Drive: Press Brake and Gear Shift
Button
Seats Action
Message
Displays as a reminder that memory seats are not available while driving\
.
Memory Recall Not Permitted While Driving
Displays to show where your memory setting has been saved.
Memory {0} Saved
Stability Control Action
Message
Displayed when the system has detected a condition that requires service\
. Contact yourauthorized dealer as soon as possible.
Service AdvanceTrac
The traction control has been disabled or enabled by the driver.
AdvanceTrac Off On
156
Navigator (TB9) Canada/United States of America, enUSA, Edition date: 201907, Second-Printing Information Displays
Page 228 of 622
SelectShift™ Automatic Transmission
Your vehicle is equipped with a SelectShift
Automatic transmission. The SelectShift
Automatic transmission gives you the ability
to change gears up or down, without a
clutch, as desired.
In order to prevent the engine from running
at too low of an RPM, which may cause it to
stall, SelectShift still automatically makes
some downshifts if it has determined that
you have not downshifted in time. Although
SelectShift makes some downshifts for you,
it still allows you to downshift at any time as
long as the SelectShift determines that
damage to the engine does not occur from
over-revving.
Note:
Engine damage may occur if you
maintain excessive engine revving without
shifting.
SelectShift does not automatically upshift,
even if the engine is approaching the RPM
limit. It must be shifted manually by pressing
the + paddle.
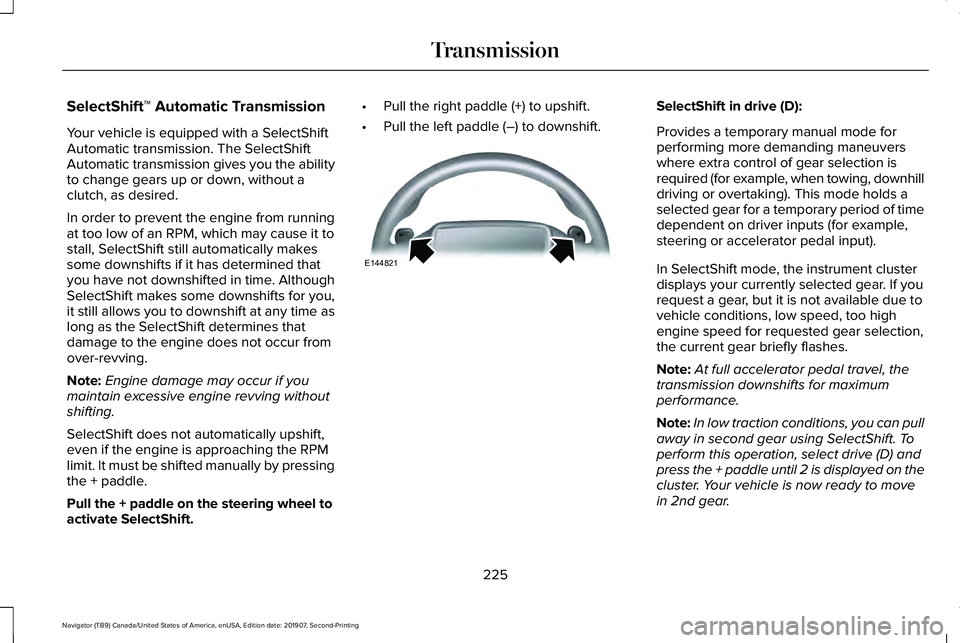
Pull the + paddle on the steering wheel to
activate SelectShift. •
Pull the right paddle (+) to upshift.
• Pull the left paddle (–) to downshift. SelectShift in drive (D):
Provides a temporary manual mode for
performing more demanding maneuvers
where extra control of gear selection is
required (for example, when towing, downhill
driving or overtaking). This mode holds a
selected gear for a temporary period of time
dependent on driver inputs (for example,
steering or accelerator pedal input).
In SelectShift mode, the instrument cluster
displays your currently selected gear. If you
request a gear, but it is not available due to
vehicle conditions, low speed, too high
engine speed for requested gear selection,
the current gear briefly flashes.
Note:
At full accelerator pedal travel, the
transmission downshifts for maximum
performance.
Note: In low traction conditions, you can pull
away in second gear using SelectShift. To
perform this operation, select drive (D) and
press the + paddle until 2 is displayed on the
cluster. Your vehicle is now ready to move
in 2nd gear.
225
Navigator (TB9) Canada/United States of America, enUSA, Edition date: 201907, Second-Printing TransmissionE144821
Page 232 of 622
Note:
The AdvanceTrac® with RSC® stability
enhancement system can be switched off
by deselecting the feature in the cluster
menu. See Using Traction Control (page
243). This disables the engine management
feature, allowing the vehicle to maintain full
power and enhanced momentum through
the obstacle.
Note: The AdvanceTrac system can take
control of the transfer case clutch and
disable it during driving maneuvers when
necessary.
Your vehicle engages 4X4 modes based on
the currently selected Drive Mode.
See
Drive Mode Control (page 299).
Note: The information display could show
messages during 4WD operation.
See
Information Messages (page 138).
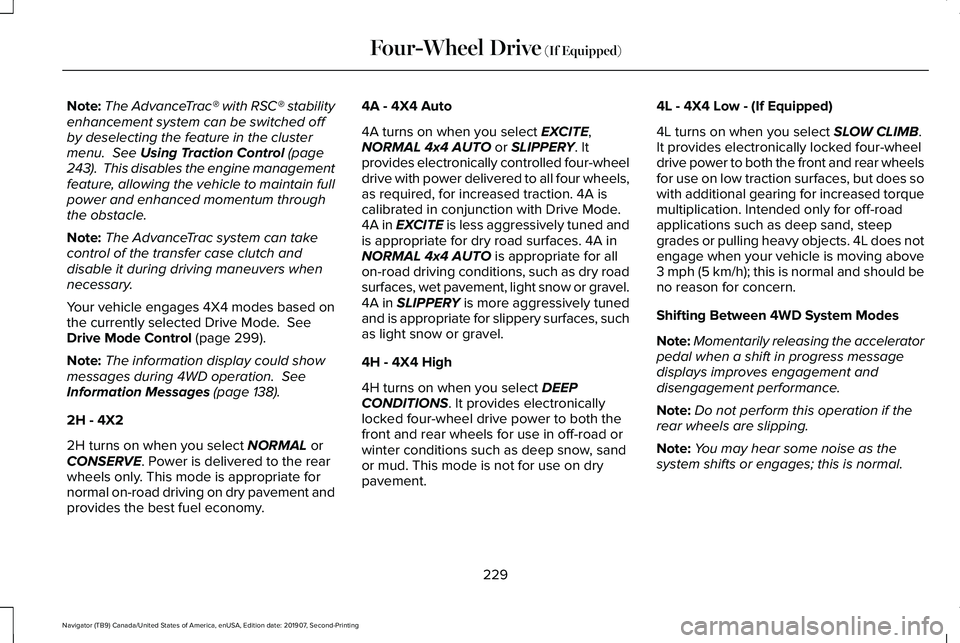
2H - 4X2
2H turns on when you select
NORMAL or
CONSERVE. Power is delivered to the rear
wheels only. This mode is appropriate for
normal on-road driving on dry pavement and
provides the best fuel economy. 4A - 4X4 Auto
4A turns on when you select
EXCITE,
NORMAL 4x4 AUTO or SLIPPERY. It
provides electronically controlled four-wheel
drive with power delivered to all four wheels,
as required, for increased traction. 4A is
calibrated in conjunction with Drive Mode.
4A in EXCITE is less aggressively tuned and
is appropriate for dry road surfaces. 4A in
NORMAL 4x4 AUTO
is appropriate for all
on-road driving conditions, such as dry road
surfaces, wet pavement, light snow or gravel.
4A in
SLIPPERY is more aggressively tuned
and is appropriate for slippery surfaces, such
as light snow or gravel.
4H - 4X4 High
4H turns on when you select
DEEP
CONDITIONS. It provides electronically
locked four-wheel drive power to both the
front and rear wheels for use in off-road or
winter conditions such as deep snow, sand
or mud. This mode is not for use on dry
pavement. 4L - 4X4 Low - (If Equipped)
4L turns on when you select
SLOW CLIMB.
It provides electronically locked four-wheel
drive power to both the front and rear wheels
for use on low traction surfaces, but does so
with additional gearing for increased torque
multiplication. Intended only for off-road
applications such as deep sand, steep
grades or pulling heavy objects. 4L does not
engage when your vehicle is moving above
3 mph (5 km/h); this is normal and should be
no reason for concern.
Shifting Between 4WD System Modes
Note: Momentarily releasing the accelerator
pedal when a shift in progress message
displays improves engagement and
disengagement performance.
Note: Do not perform this operation if the
rear wheels are slipping.
Note: You may hear some noise as the
system shifts or engages; this is normal.
229
Navigator (TB9) Canada/United States of America, enUSA, Edition date: 201907, Second-Printing Four-Wheel Drive
(If Equipped)
Page 234 of 622
Truck and utility vehicles can differ from
some other vehicles. Your vehicle may be
higher to allow it to travel over rough terrain
without getting hung up or damaging
underbody components.
The differences that make your vehicle so
versatile also make it handle differently than
an ordinary passenger car.
Maintain steering wheel control at all times,
especially in rough terrain. Since sudden
changes in terrain can result in abrupt
steering wheel motion, make sure you grip
the steering wheel from the outside. Do not
grip the spokes.
Drive cautiously to avoid vehicle damage
from concealed objects such as rocks and
stumps.
You should either know the terrain or
examine maps of the area before driving.
Map out your route before driving in the area.
To maintain steering and braking control of
your vehicle, you must have all four wheels
on the ground and they must be rolling, not
sliding or spinning.
Driving Off-Road with Truck and Utility
Vehicles
Note:
On some models, the initial shift from
two-wheel drive to four-wheel drive when
the vehicle is moving can cause some
momentary clunk and ratcheting sounds.
This is the front drivetrain coming up to
speed and the automatic locking hubs
engaging and is not cause for concern.
Note: Your vehicle may have a front air dam.
Due to low ground clearance, you can
damage it when taking your vehicle off-road.
You can take the air dam off by removing
the bolts that secure it.
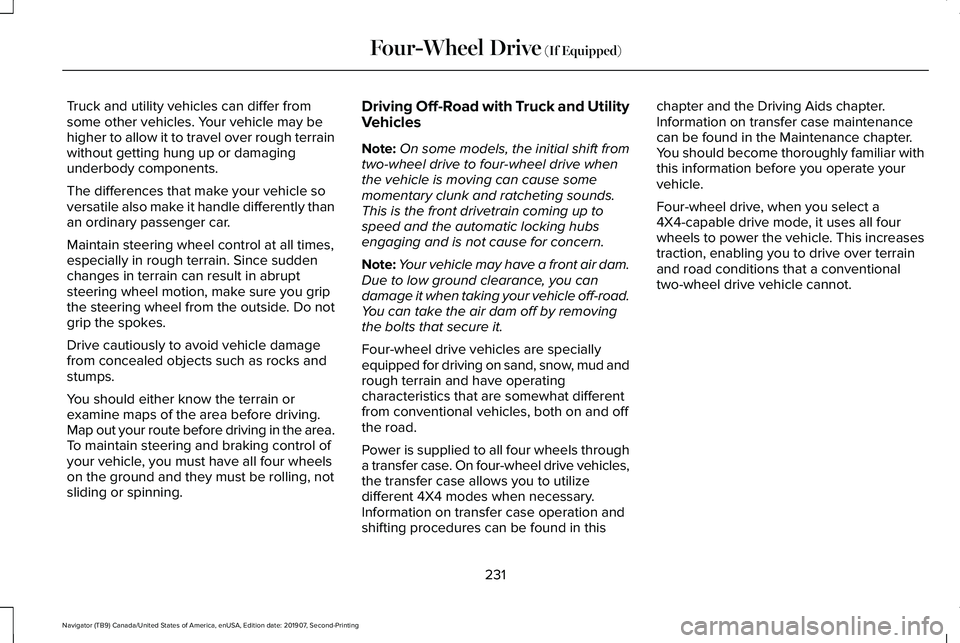
Four-wheel drive vehicles are specially
equipped for driving on sand, snow, mud and
rough terrain and have operating
characteristics that are somewhat different
from conventional vehicles, both on and off
the road.
Power is supplied to all four wheels through
a transfer case. On four-wheel drive vehicles,
the transfer case allows you to utilize
different 4X4 modes when necessary.
Information on transfer case operation and
shifting procedures can be found in this chapter and the Driving Aids chapter.
Information on transfer case maintenance
can be found in the Maintenance chapter.
You should become thoroughly familiar with
this information before you operate your
vehicle.
Four-wheel drive, when you select a
4X4-capable drive mode, it uses all four
wheels to power the vehicle. This increases
traction, enabling you to drive over terrain
and road conditions that a conventional
two-wheel drive vehicle cannot.
231
Navigator (TB9) Canada/United States of America, enUSA, Edition date: 201907, Second-Printing Four-Wheel Drive (If Equipped)
Page 236 of 622
If your vehicle goes from one type of surface
to another (i.e. from concrete to gravel) there
may be a change in the way your vehicle
responds to a maneuver (i.e. steering,
acceleration or braking).
Sand
When driving over sand, try to keep all four
wheels on the most solid area of the trail.
Avoid reducing the tire pressures but shift
to a lower gear and drive steadily through
the terrain. Apply the accelerator slowly and
avoid excessive wheel slip.
Avoid driving at excessive speeds, this
causes vehicle momentum to work against
you and your vehicle could become stuck to
the point that assistance may be required
from another vehicle. Remember, you may
be able to back out the way you came if you
proceed with caution.
Mud and Water
Note:
Driving through deep water may
damage the vehicle. If you must drive through high water, drive
slowly. Traction or brake capability may be
limited.
When driving through water, determine the
depth and avoid water higher than the
bottom of the hubs. If the ignition system
gets wet, your vehicle may stall.
Once through water, always try the brakes.
Wet brakes do not stop your vehicle as
effectively as dry brakes. Drying can be
improved by applying light pressure to the
brake pedal when moving slowly.
Be cautious of sudden changes in vehicle
speed or direction when you are driving in
mud. Even 4X4 vehicles can lose traction in
slick mud. As when you are driving over
sand, apply the accelerator slowly and avoid
spinning your wheels. If the vehicle does
slide, steer in the direction of the slide until
you regain control of the vehicle.
If the transmission, transfer case or front axle
are submerged in water, their fluids should
be checked and changed, if necessary.
If the front or rear axle is submerged in water,
the axle lubricant should be replaced.After driving through mud, clean off residue
stuck to rotating driveshafts and tires. Excess
mud stuck on tires and rotating driveshafts
causes an imbalance that could damage
drive components.
Driving on Hilly or Sloping Terrain
Note:
Avoid driving crosswise or turning on
steep slopes or hills.
Note: Avoid turning on steep slopes or hills.
A danger lies in losing traction, slipping
sideways and possible vehicle roll over.
Whenever driving on a hill, determine
beforehand the route you will use. Do not
drive over the crest of a hill without seeing
what conditions are on the other side. Do
not drive in reverse over a hill without the
aid of an observer.
Although natural obstacles may make it
necessary to travel diagonally up or down a
hill or steep incline, you should always try to
drive straight up or straight down.
233
Navigator (TB9) Canada/United States of America, enUSA, Edition date: 201907, Second-Printing Four-Wheel Drive (If Equipped)
Page 237 of 622
When climbing a steep slope or hill, start in
a lower gear rather than downshifting to a
lower gear from a higher gear once the
ascent has started. This reduces strain on
the engine and the possibility of stalling.
If your vehicle stalls, do not try to turn around
because this could cause vehicle roll over.
It is better to reverse back to a safe location.
Apply just enough power to the wheels to
climb the hill. Too much power causes the
tires to slip, spin or lose traction, resulting in
loss of vehicle control. Descend a hill in the same gear you would
use to climb up the hill to avoid excessive
brake application and brake overheating. Do
not descend in neutral. Disengage overdrive
or move the transmission selector lever to a
lower gear. When descending a steep hill,
avoid sudden hard braking as you could lose
control. The front wheels have to be turning
in order to steer your vehicle.
If your vehicle has anti-lock brakes, apply the
brakes steadily. Do not pump the brakes.
Driving on Snow and Ice
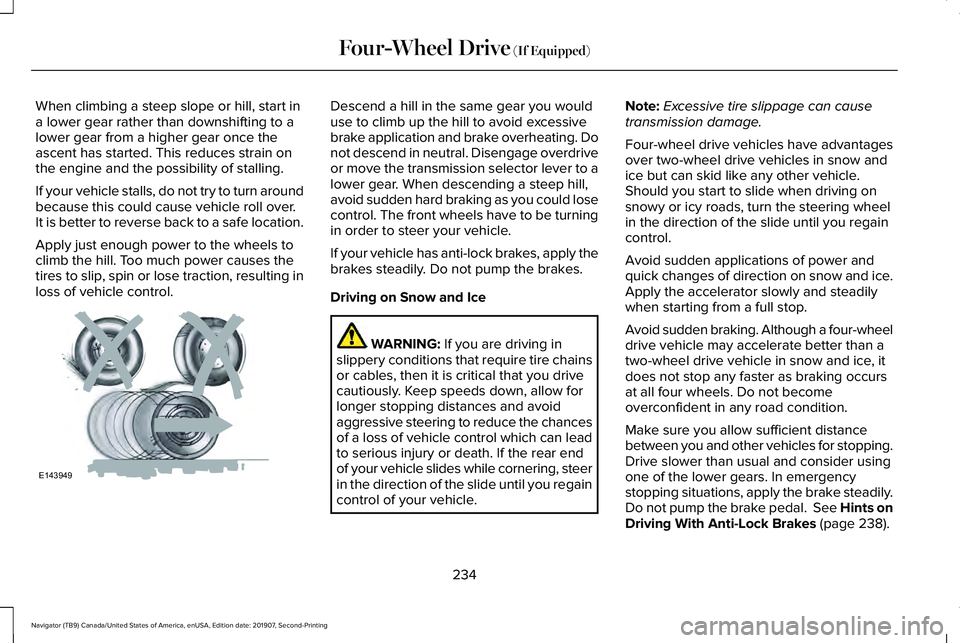
WARNING: If you are driving in
slippery conditions that require tire chains
or cables, then it is critical that you drive
cautiously. Keep speeds down, allow for
longer stopping distances and avoid
aggressive steering to reduce the chances
of a loss of vehicle control which can lead
to serious injury or death. If the rear end
of your vehicle slides while cornering, steer
in the direction of the slide until you regain
control of your vehicle. Note:
Excessive tire slippage can cause
transmission damage.
Four-wheel drive vehicles have advantages
over two-wheel drive vehicles in snow and
ice but can skid like any other vehicle.
Should you start to slide when driving on
snowy or icy roads, turn the steering wheel
in the direction of the slide until you regain
control.
Avoid sudden applications of power and
quick changes of direction on snow and ice.
Apply the accelerator slowly and steadily
when starting from a full stop.
Avoid sudden braking. Although a four-wheel
drive vehicle may accelerate better than a
two-wheel drive vehicle in snow and ice, it
does not stop any faster as braking occurs
at all four wheels. Do not become
overconfident in any road condition.
Make sure you allow sufficient distance
between you and other vehicles for stopping.
Drive slower than usual and consider using
one of the lower gears. In emergency
stopping situations, apply the brake steadily.
Do not pump the brake pedal. See Hints on
Driving With Anti-Lock Brakes
(page 238).
234
Navigator (TB9) Canada/United States of America, enUSA, Edition date: 201907, Second-Printing Four-Wheel Drive
(If Equipped)E143949