buttons LINCOLN NAVIGATOR 2022 User Guide
[x] Cancel search | Manufacturer: LINCOLN, Model Year: 2022, Model line: NAVIGATOR, Model: LINCOLN NAVIGATOR 2022Pages: 646, PDF Size: 7.29 MB
Page 189 of 646
WHAT IS THE MEMORY FUNCTION
The driver seat memory function recalls the
position of these features:
•
Driver seat.
• Power mirrors.
• Power steering column.
• Power adjustable foot pedals.
The passenger seat memory function recalls
the position of the passenger seat.
MEMORY FUNCTION
PRECAUTIONS WARNING: Before activating the
memory seat, make sure that the area
immediately surrounding the seat is clear
of obstructions and that all occupants are
clear of moving parts. WARNING:
Do not use the memory
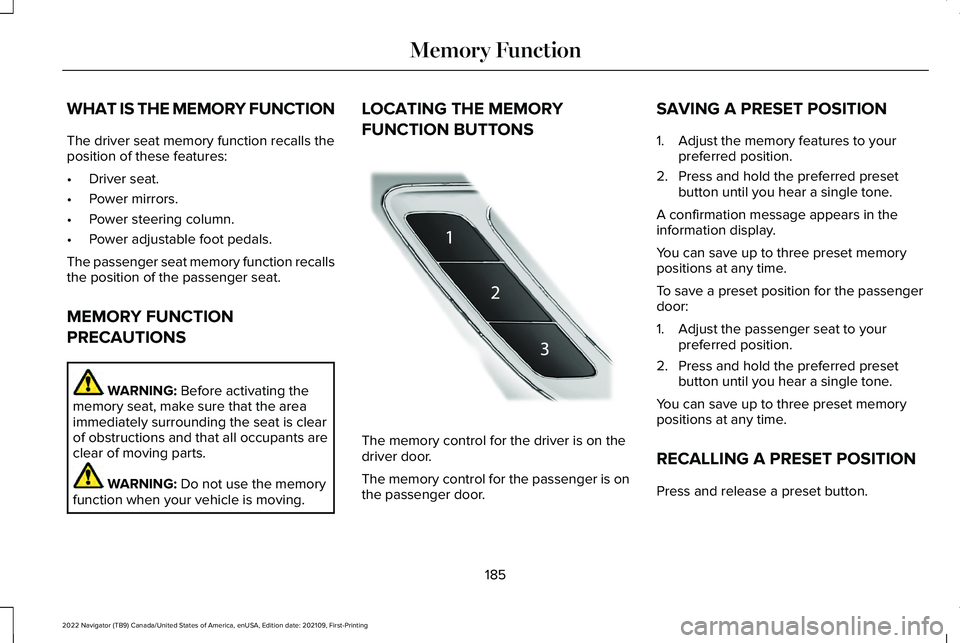
function when your vehicle is moving. LOCATING THE MEMORY
FUNCTION BUTTONS
The memory control for the driver is on the
driver door.
The memory control for the passenger is on
the passenger door.SAVING A PRESET POSITION
1. Adjust the memory features to your
preferred position.
2. Press and hold the preferred preset button until you hear a single tone.
A confirmation message appears in the
information display.
You can save up to three preset memory
positions at any time.
To save a preset position for the passenger
door:
1. Adjust the passenger seat to your preferred position.
2. Press and hold the preferred preset button until you hear a single tone.
You can save up to three preset memory
positions at any time.
RECALLING A PRESET POSITION
Press and release a preset button.
185
2022 Navigator (TB9) Canada/United States of America, enUSA, Edition date: 202109, First-Printing Memory FunctionE222235
Page 190 of 646
Note:
You can recall a preset memory
position when the ignition is off, or when you
place the transmission in park (P) or neutral
(N) if the ignition is on and the vehicle is not
moving.
Note: Pressing any of the preset buttons or
any memory feature control during a memory
recall cancels the operation.
You can also recall a preset memory position
by:
• Pressing the unlock button on your
remote control if you linked it to a preset
position.
• Unlocking the intelligent driver door
handle if a linked remote control is
present.
• Recalling a personal profile in your SYNC
menu.
Using a linked remote control to recall your
memory position when the ignition is off
moves the seat and steering column to the
easy entry position. To recalll a preset position on the passenger
door, press and release the preset button.
The passenger seat features move to the
position stored for that preset. You can recall
a passenger seat preset memory at any time.
Linking a Preset Position to Your
Remote Control or Passive Key
See Linking or Unlinking a Personal Profile
to a Remote Control (page 517).
186
2022 Navigator (TB9) Canada/United States of America, enUSA, Edition date: 202109, First-Printing Memory Function
Page 192 of 646
Note:
We recommend that upon the sale or
lease termination of your vehicle, you erase
the programmed function buttons for security
reasons. See Clearing the Garage Door
Opener (page 190).
GARAGE DOOR OPENER
LIMITATIONS
Canadian radio-frequency laws require
transmitter signals to time-out (or quit) after
several seconds – which may not be long
enough for HomeLink to pick up the signal.
U.S. gate operators time-out in the same
manner.
Note: If programming a garage door opener
or gate operator, it is advised to unplug the
device during the “cycling” process to
prevent possible overheating. PROGRAMMING THE GARAGE
DOOR OPENER TO YOUR HAND-
HELD TRANSMITTER
This process is to program your in-vehicle
HomeLink function button with your
hand-held transmitter.
Note:
The programming steps below assume
you will be programming HomeLink that was
not previously programmed. If your
HomeLink was previously programmed, you
may need to erase your HomeLink buttons.
See
Clearing the Garage Door Opener
(page 190). 1. With your vehicle parked outside of the
garage, switch your ignition to the on
position, but do not start your vehicle.
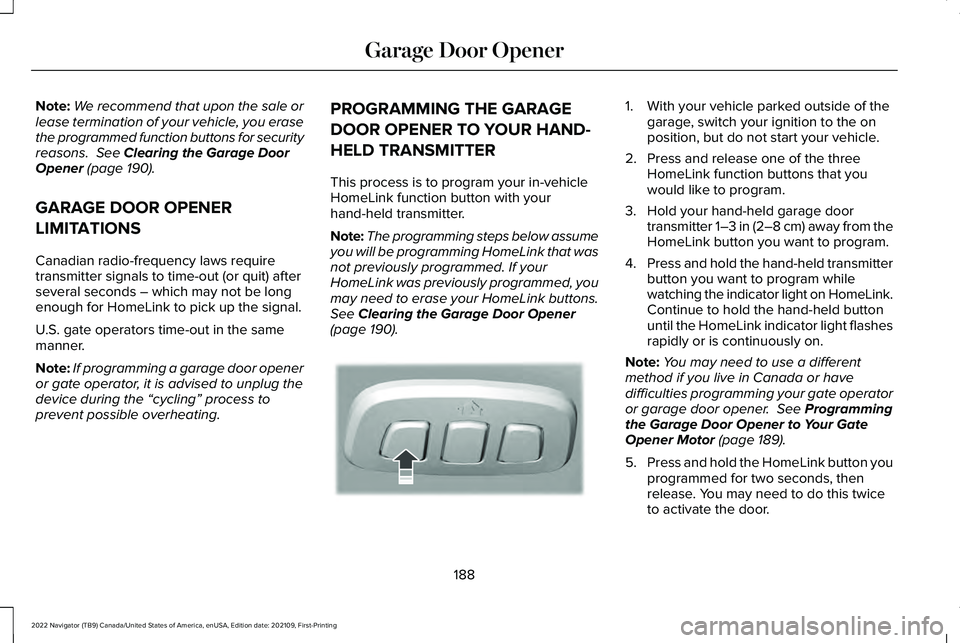
2. Press and release one of the three HomeLink function buttons that you
would like to program.
3. Hold your hand-held garage door transmitter 1–3 in (2–8 cm) away from the
HomeLink button you want to program.
4. Press and hold the hand-held transmitter
button you want to program while
watching the indicator light on HomeLink.
Continue to hold the hand-held button
until the HomeLink indicator light flashes
rapidly or is continuously on.
Note: You may need to use a different
method if you live in Canada or have
difficulties programming your gate operator
or garage door opener.
See Programming
the Garage Door Opener to Your Gate
Opener Motor
(page 189).
5. Press and hold the HomeLink button you
programmed for two seconds, then
release. You may need to do this twice
to activate the door.
188
2022 Navigator (TB9) Canada/United States of America, enUSA, Edition date: 202109, First-Printing Garage Door OpenerE188212
Page 193 of 646
Note:
If the indicator light stays on, the
programming is complete.
Note: If the HomeLink indicator flashes
rapidly, repeat step 5.
Note: If your device still does not operate,
you must program your garage door. See
Programming the Garage Door Opener to
Your Garage Door Opener Motor (page 189).
6. To program additional buttons, repeat Steps 1 – 4.
PROGRAMMING THE GARAGE
DOOR OPENER TO YOUR GARAGE
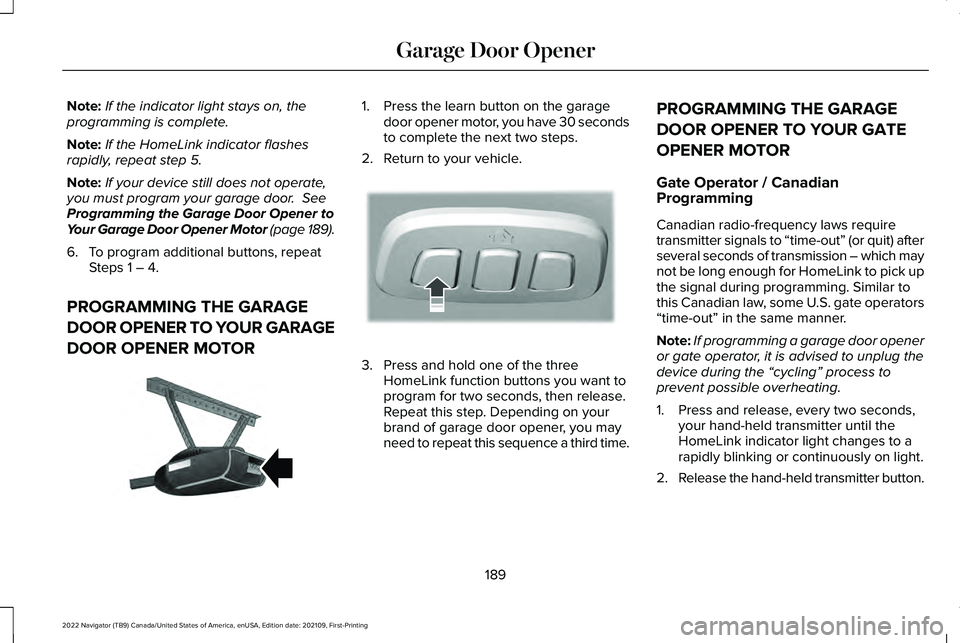
DOOR OPENER MOTOR 1. Press the learn button on the garage
door opener motor, you have 30 seconds
to complete the next two steps.
2. Return to your vehicle. 3. Press and hold one of the three
HomeLink function buttons you want to
program for two seconds, then release.
Repeat this step. Depending on your
brand of garage door opener, you may
need to repeat this sequence a third time. PROGRAMMING THE GARAGE
DOOR OPENER TO YOUR GATE
OPENER MOTOR
Gate Operator / Canadian
Programming
Canadian radio-frequency laws require
transmitter signals to “time-out” (or quit) after
several seconds of transmission – which may
not be long enough for HomeLink to pick up
the signal during programming. Similar to
this Canadian law, some U.S. gate operators
“time-out” in the same manner.
Note:
If programming a garage door opener
or gate operator, it is advised to unplug the
device during the “cycling” process to
prevent possible overheating.
1. Press and release, every two seconds, your hand-held transmitter until the
HomeLink indicator light changes to a
rapidly blinking or continuously on light.
2. Release the hand-held transmitter button.
189
2022 Navigator (TB9) Canada/United States of America, enUSA, Edition date: 202109, First-Printing Garage Door OpenerE142659 E188212
Page 194 of 646
3. Press and hold the HomeLink function
button you want to program for two
seconds, then release. You may need to
do this twice to activate the door.
Note: If the indicator light stays on, the
programming is complete.
Note: If the HomeLink indicator flashes
rapidly, repeat Step 3.
Note: If your device still does not operate,
you must program your garage door. See
Programming the Garage Door Opener to
Your Garage Door Opener Motor (page 189).
4. To program additional buttons, repeat Steps 1 – 4. CLEARING THE GARAGE DOOR
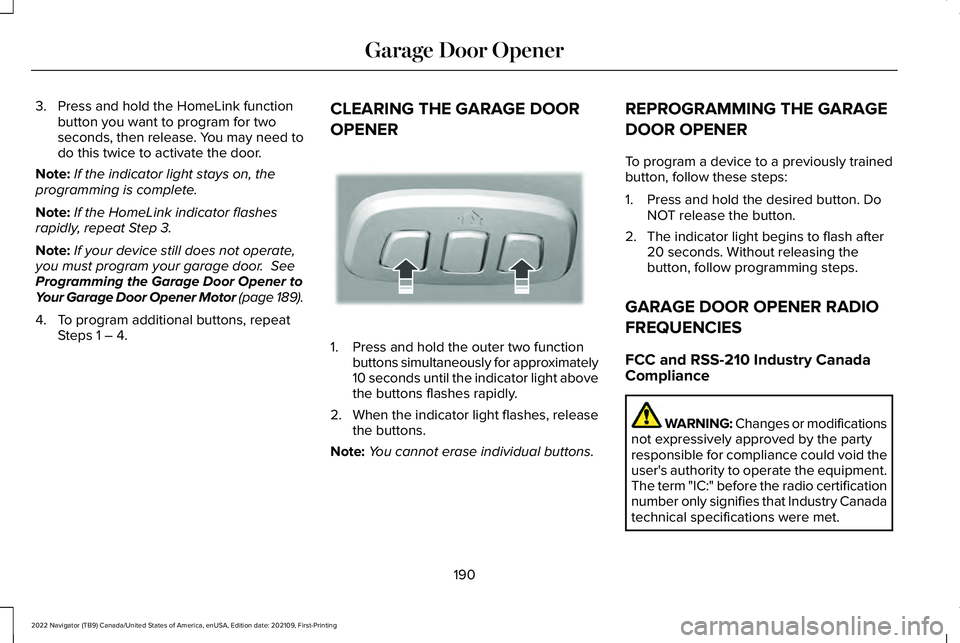
OPENER 1. Press and hold the outer two function
buttons simultaneously for approximately
10 seconds until the indicator light above
the buttons flashes rapidly.
2. When the indicator light flashes, release
the buttons.
Note: You cannot erase individual buttons. REPROGRAMMING THE GARAGE
DOOR OPENER
To program a device to a previously trained
button, follow these steps:
1. Press and hold the desired button. Do
NOT release the button.
2. The indicator light begins to flash after 20 seconds. Without releasing the
button, follow programming steps.
GARAGE DOOR OPENER RADIO
FREQUENCIES
FCC and RSS-210 Industry Canada
Compliance WARNING: Changes or modifications
not expressively approved by the party
responsible for compliance could void the
user's authority to operate the equipment.
The term "IC:" before the radio certification
number only signifies that Industry Canada
technical specifications were met.
190
2022 Navigator (TB9) Canada/United States of America, enUSA, Edition date: 202109, First-Printing Garage Door OpenerE188213
Page 255 of 646
WHAT IS HILL DESCENT CONTROL
Hill descent control allows the driver to set
and maintain vehicle speed while
descending steep slopes in various surface
conditions.
HOW DOES HILL DESCENT
CONTROL WORK
Hill descent control can maintain vehicle
speeds on downhill slopes between
2–20 mph (3–32 km/h). Above 20 mph
(32 km/h), the system remains on but the
descent speed cannot be set or maintained.
Note: The system does not function below
2 mph (3 km/h)
.
The system requires a cool down interval
after a period of sustained use. Hill descent
control provides a warning in the message
center and a tone sounds when the system
is about to disengage for cooling. At this
time, manually apply the brakes as needed
to maintain descent speed. Note:
The amount of time that the system
can remain active before cooling varies with
conditions.
HILL DESCENT CONTROL
PRECAUTIONS WARNING:
The system does not
control speed in low traction conditions or
extremely steep slopes. The system is
designed to be an aid and does not relieve
you of your responsibility to drive with due
care and attention. Failure to follow this
instruction could result in personal injury. WARNING:
Hill descent control
cannot control descent in all surface
conditions and circumstances, such as ice
or extremely steep grades. Hill descent
control is a driver assist system and cannot
substitute for good judgment by the driver.
Failure to do so may result in loss of
vehicle control, crash or serious injury. WARNING:
The system does not
replace the parking brake. When you leave
your vehicle, always apply the parking
brake and shift the transmission into park
(P) for automatic transmission or first gear
for manual transmission.
SWITCHING HILL DESCENT
CONTROL ON AND OFF Press the button on the instrument
panel. A light illuminates and a
tone sounds when the system is
active.
SETTING THE HILL DESCENT
SPEED
To increase or decrease the descent speed,
press the accelerator or brake pedal, or use
the SET + and SET - buttons on the steering
wheel. Once you reach the preferred speed
remove your feet from the pedals.
251
2022 Navigator (TB9) Canada/United States of America, enUSA, Edition date: 202109, First-Printing Hill Descent Control
(If Equipped)E163171
Page 293 of 646
Using Activation Prompts
When the prompt appears, press
the button to switch ActiveGlide
on.
The indicator appears in the instrument
cluster. When the system is on, the color of
the indicator changes to indicate the system
status.
Note: You must enable activation prompts
in the touchscreen.
Using Steering Wheel Controls Using the adaptive cruise control
and lateral support buttons, ensure
both systems are active.
ActiveGlide activates.
Switching ActiveGlide Off Press either the lateral support or
adaptive cruise control button
when system is active or in
standby mode.
ActiveGlide turns off through each
ignition cycle. ACTIVEGLIDE™ ALERTS
When ActiveGlide is providing hands-on
driving or transitioning to hands-on driving
from hands-free driving and detects no
steering activity for a certain period of time,
the system alerts you with a message in the
instrument cluster to put your hands on the
steering wheel. After the first alert, the
system alerts you with a message in the
instrument cluster and an audible warning.
When ActiveGlide is providing hands-on or
hands-free driving and detects you are not
looking at the road for a certain period of
time, the system alerts you to return your
eyes to the road. Depending on where you
are looking, the alert can be a message in
the instrument cluster and an audible
warning.
If you do not react to the warnings,
ActiveGlide cancels, quickly activates and
releases the brakes, and slows your vehicle
down to low speeds while maintaining
steering control.
If your vehicle slows down and you resume
control, a message appears to prompt you
to press the accelerator pedal to allow the
system to resume.
Note:
If the system detects repeated
inactivity, it disables until the next key cycle.
ACTIVEGLIDE™ AUTOMATIC
CANCELLATION
When an external condition cancels
ActiveGlide, for example, no lane markings
available, a tone sounds and a message
appears in the instrument cluster. If your vehicle starts to slow down,
you must take control of steering
and press and release the button
to reactivate ActiveGlide.
System cancellation can also occur if:
• The lane becomes too narrow.
• The system cannot detect valid lane
markings.
289
2022 Navigator (TB9) Canada/United States of America, enUSA, Edition date: 202109, First-Printing ActiveGlide™ (If Equipped)E144529 E308131 E144529 E308131 E144529 E308130
Page 318 of 646
You can set-up a trailer to work with the blind
spot information system through the
touchscreen. When setting up a trailer, a
sequence of screens appear asking for trailer
information.
1. Select type of trailer screen -
conventional, fifth wheel or gooseneck.
Note: The system only supports conventional
trailers.
2. Do you want to set up blind spot with trailer screen? If no, the system turns off.
If yes, the menu goes to the next screen.
3. Is the width less than 9 ft (2.7 m) and
length less than 33 ft (10.1 m)? If no, the
system turns off. If yes, the menu goes
to the next screen.
4. Trailer width measurement. Measure the
width at the front of the trailer. It is not
measured at the widest point of the
trailer. The maximum width at the front
of the trailer the system can support is
8.5 ft (2.6 m)
. Note:
You do not need to enter an exact
trailer width measurement. You only need
to confirm that the width of the trailer is less
than
9 ft (2.7 m).
5. Trailer length measurement. The trailer length is the distance between the trailer
hitch ball and the rear of the trailer. The
maximum length that the system can
support is
33 ft (10.1 m).
6. Enter the length of trailer. The default setting is
18 ft (5.5 m). Toggling up or
down using the menu buttons increases
or decreases the measurement by
3 ft
(1 m). Select a length that is equal to or
within 3 ft (1 m) of the actual measured
length. For example, if the actual
measure length is
25 ft (7.5 m), toggle
the length in the menu to 27 ft (8.2 m).
The system setup saves when you enter
the length of the trailer.
Note: If the trailer is a bike rack or cargo
rack with electrical lighting, enter a length
of 3 ft (1 m). Cross traffic alert remains on for
trailers with a length of
3 ft (1 m) or less. Note:
The system requires proper
measurement and measure entry to function
properly.
SELECTING A TRAILER
When you connect a trailer to your vehicle,
the trailer set up menu appears in the
touchscreen. This menu allows you to set up
a new trailer or choose from a previously set
up trailer. A warning message appears and
the system turns off if you do not choose or
add a new trailer.
Note: The warning message may not appear
until your vehicle reaches 22 mph (35 km/h).
314
2022 Navigator (TB9) Canada/United States of America, enUSA, Edition date: 202109, First-Printing Blind Spot Information System
Page 493 of 646
Touchscreen
Press the button to pause
playback. Press again to resume
playback.
Note: Not all sources can be paused.
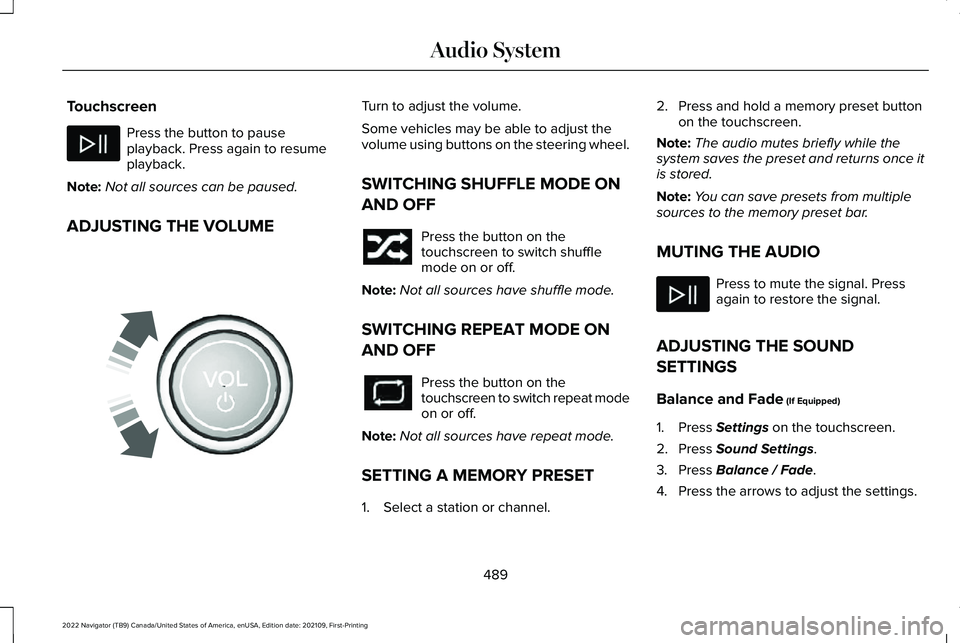
ADJUSTING THE VOLUME Turn to adjust the volume.
Some vehicles may be able to adjust the
volume using buttons on the steering wheel.
SWITCHING SHUFFLE MODE ON
AND OFF
Press the button on the
touchscreen to switch shuffle
mode on or off.
Note: Not all sources have shuffle mode.
SWITCHING REPEAT MODE ON
AND OFF Press the button on the
touchscreen to switch repeat mode
on or off.
Note: Not all sources have repeat mode.
SETTING A MEMORY PRESET
1. Select a station or channel. 2. Press and hold a memory preset button
on the touchscreen.
Note: The audio mutes briefly while the
system saves the preset and returns once it
is stored.
Note: You can save presets from multiple
sources to the memory preset bar.
MUTING THE AUDIO Press to mute the signal. Press
again to restore the signal.
ADJUSTING THE SOUND
SETTINGS
Balance and Fade (If Equipped)
1. Press
Settings on the touchscreen.
2. Press
Sound Settings.
3. Press
Balance / Fade.
4. Press the arrows to adjust the settings.
489
2022 Navigator (TB9) Canada/United States of America, enUSA, Edition date: 202109, First-Printing Audio System E248939
Page 504 of 646
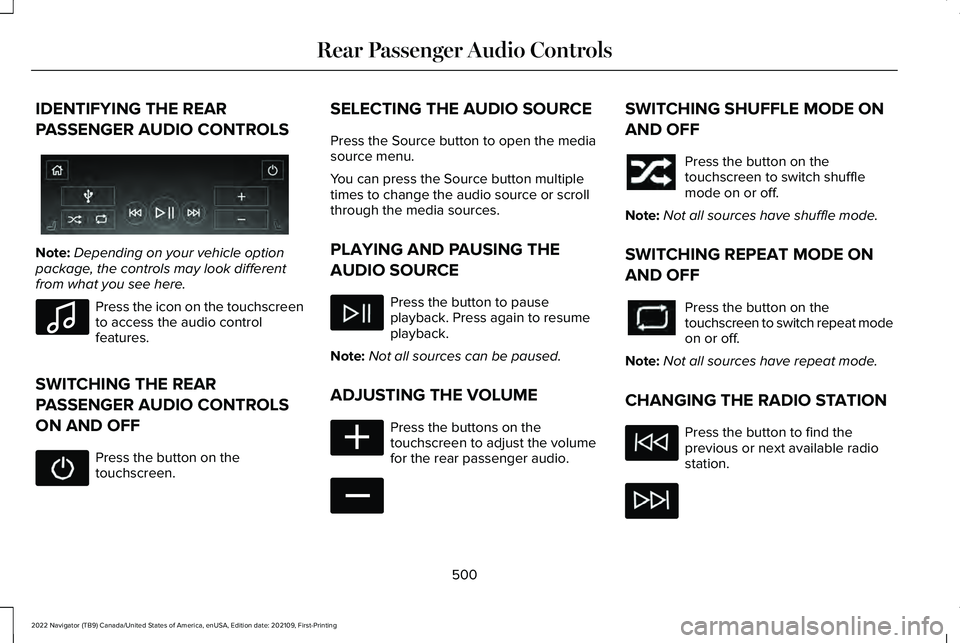
IDENTIFYING THE REAR
PASSENGER AUDIO CONTROLS
Note:
Depending on your vehicle option
package, the controls may look different
from what you see here. Press the icon on the touchscreen
to access the audio control
features.
SWITCHING THE REAR
PASSENGER AUDIO CONTROLS
ON AND OFF Press the button on the
touchscreen. SELECTING THE AUDIO SOURCE
Press the Source button to open the media
source menu.
You can press the Source button multiple
times to change the audio source or scroll
through the media sources.
PLAYING AND PAUSING THE
AUDIO SOURCE
Press the button to pause
playback. Press again to resume
playback.
Note: Not all sources can be paused.
ADJUSTING THE VOLUME Press the buttons on the
touchscreen to adjust the volume
for the rear passenger audio. SWITCHING SHUFFLE MODE ON
AND OFF
Press the button on the
touchscreen to switch shuffle
mode on or off.
Note: Not all sources have shuffle mode.
SWITCHING REPEAT MODE ON
AND OFF Press the button on the
touchscreen to switch repeat mode
on or off.
Note: Not all sources have repeat mode.
CHANGING THE RADIO STATION Press the button to find the
previous or next available radio
station.
500
2022 Navigator (TB9) Canada/United States of America, enUSA, Edition date: 202109, First-Printing Rear Passenger Audio ControlsE356495 E100027 E356421 E356422