tow LINCOLN TOWN CAR 1998 Owners Manual
[x] Cancel search | Manufacturer: LINCOLN, Model Year: 1998, Model line: TOWN CAR, Model: LINCOLN TOWN CAR 1998Pages: 188, PDF Size: 1.29 MB
Page 2 of 188
ICONS
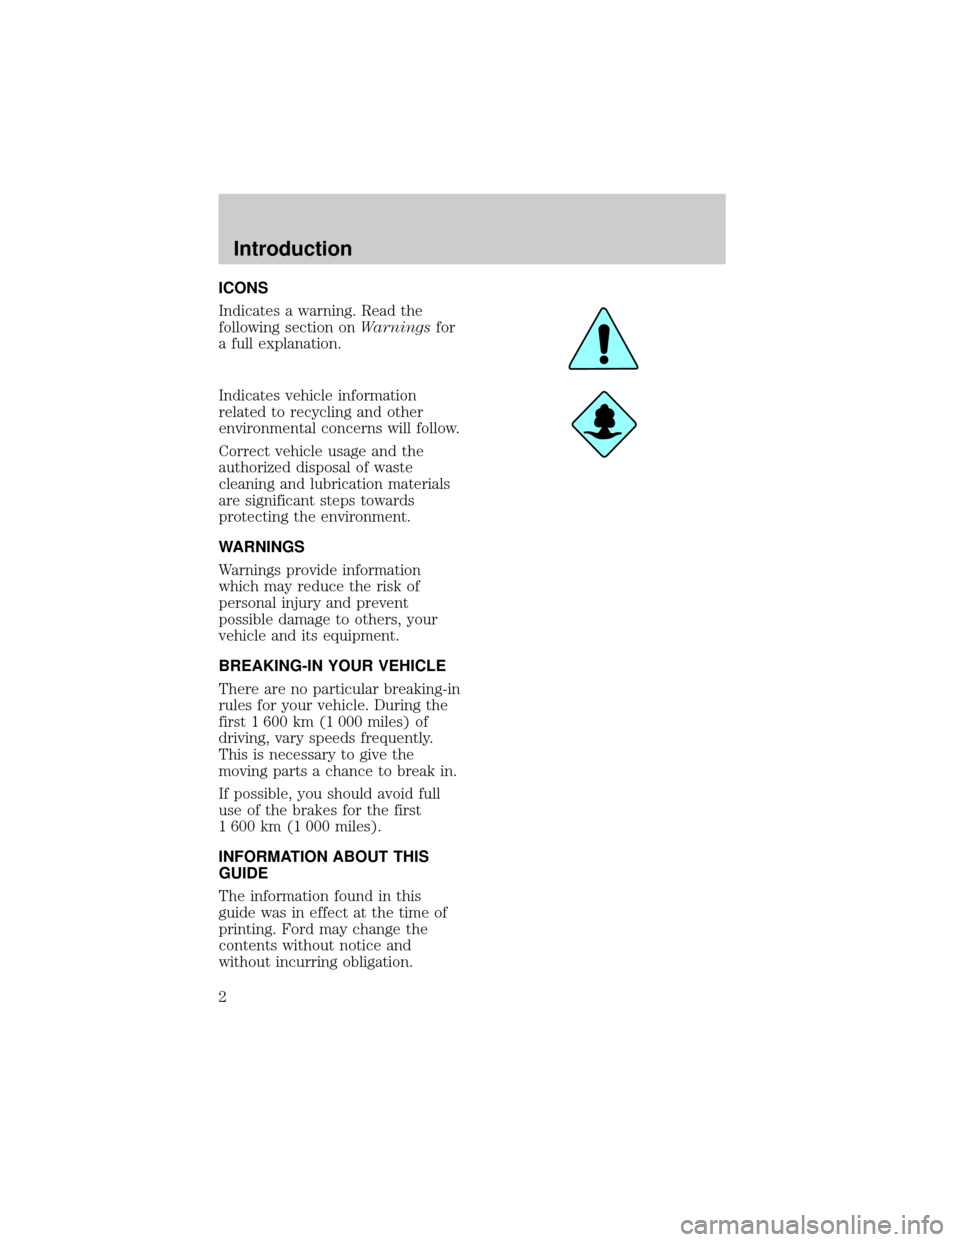
Indicates a warning. Read the
following section onWarningsfor
a full explanation.
Indicates vehicle information
related to recycling and other
environmental concerns will follow.
Correct vehicle usage and the
authorized disposal of waste
cleaning and lubrication materials
are significant steps towards
protecting the environment.
WARNINGS
Warnings provide information
which may reduce the risk of
personal injury and prevent
possible damage to others, your
vehicle and its equipment.
BREAKING-IN YOUR VEHICLE
There are no particular breaking-in
rules for your vehicle. During the
first 1 600 km (1 000 miles) of
driving, vary speeds frequently.
This is necessary to give the
moving parts a chance to break in.
If possible, you should avoid full
use of the brakes for the first
1 600 km (1 000 miles).
INFORMATION ABOUT THIS
GUIDE
The information found in this
guide was in effect at the time of
printing. Ford may change the
contents without notice and
without incurring obligation.
Introduction
2
Page 6 of 188

will usually be drivable and will not
require towing.
What you should do if the
Service Engine Soon light
illuminates
Light turns on solid:
This means that the OBD II system
has detected a malfunction.
Temporary malfunctions may cause
yourService Engine Soonlight to
illuminate. Examples are:
1. The vehicle has run out of fuel.
(The engine may misfire or run
poorly.)
2. Poor fuel quality or water in the
fuel.
3. The fuel cap may not have been
properly installed and securely
tightened.
These temporary malfunctions can
be corrected by filling the fuel tank
with good quality fuel and/or
properly installing and securely
tightening the gas cap. After three
driving cycles without these or any
other temporary malfunctions
present, theService Engine Soon
light should turn off. (A driving
cycle consists of a cold engine
startup followed by mixed
city/highway driving.) No
additional vehicle service is
required.
If theService Engine Soonlight
remains on, have your vehicle
serviced at the first available
opportunity.
Instrumentation
7
Page 25 of 188
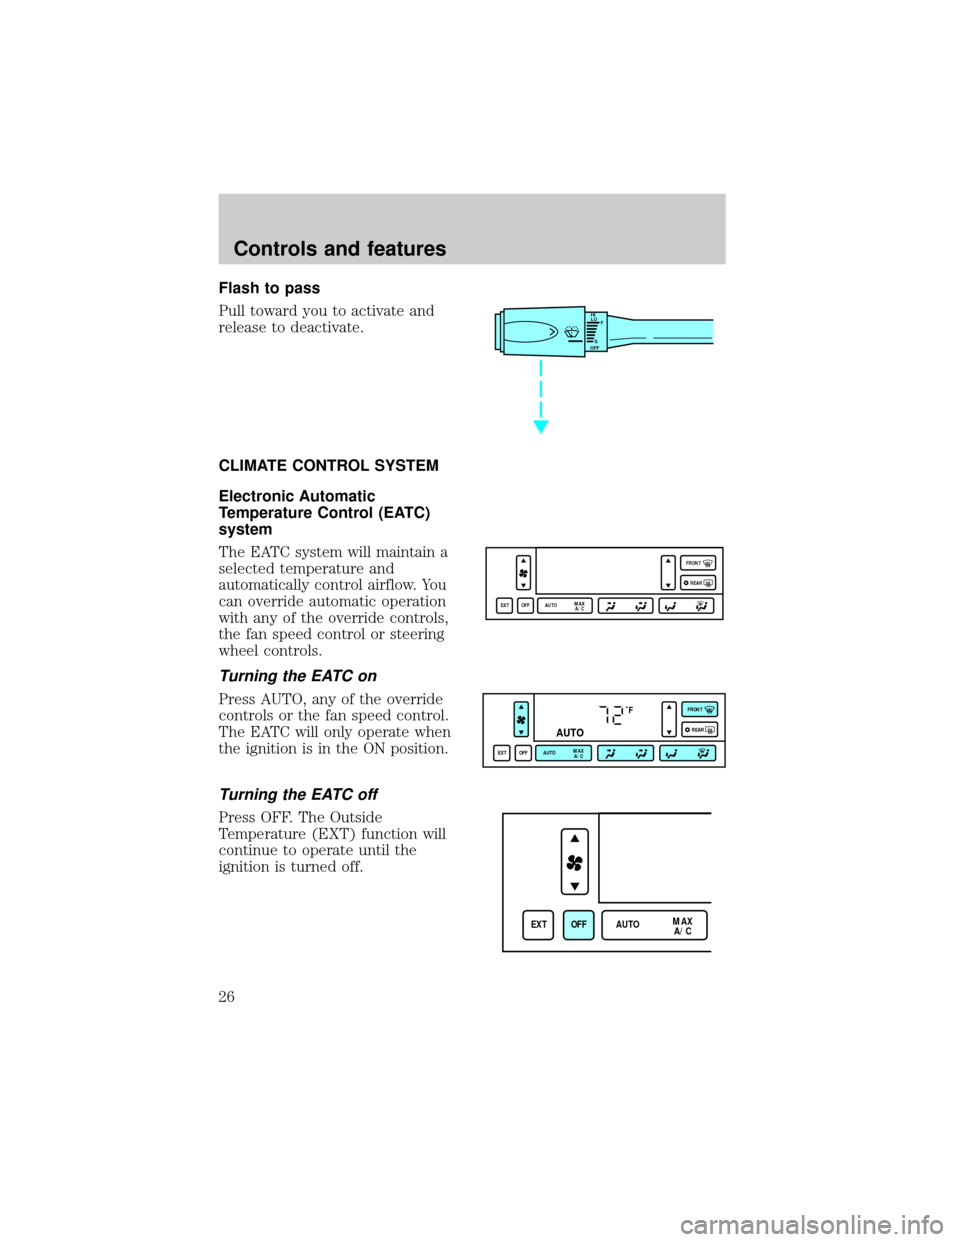
Flash to pass
Pull toward you to activate and
release to deactivate.
CLIMATE CONTROL SYSTEM
Electronic Automatic
Temperature Control (EATC)
system
The EATC system will maintain a
selected temperature and
automatically control airflow. You
can override automatic operation
with any of the override controls,
the fan speed control or steering
wheel controls.
Turning the EATC on
Press AUTO, any of the override
controls or the fan speed control.
The EATC will only operate when
the ignition is in the ON position.
Turning the EATC off
Press OFF. The Outside
Temperature (EXT) function will
continue to operate until the
ignition is turned off.
HI
LO
F
S
OFF
EXT OFF AUTOMAX
A/CFRONT
REAR
˚F
AUTO
EXT OFF AUTOMAX
A/CFRONT
REAR
EXT OFF AUTOMAX
A/C
Controls and features
26
Page 35 of 188
The valet key (marked ªvaletº) will
actuate doors and ignition only.
TILT STEERING
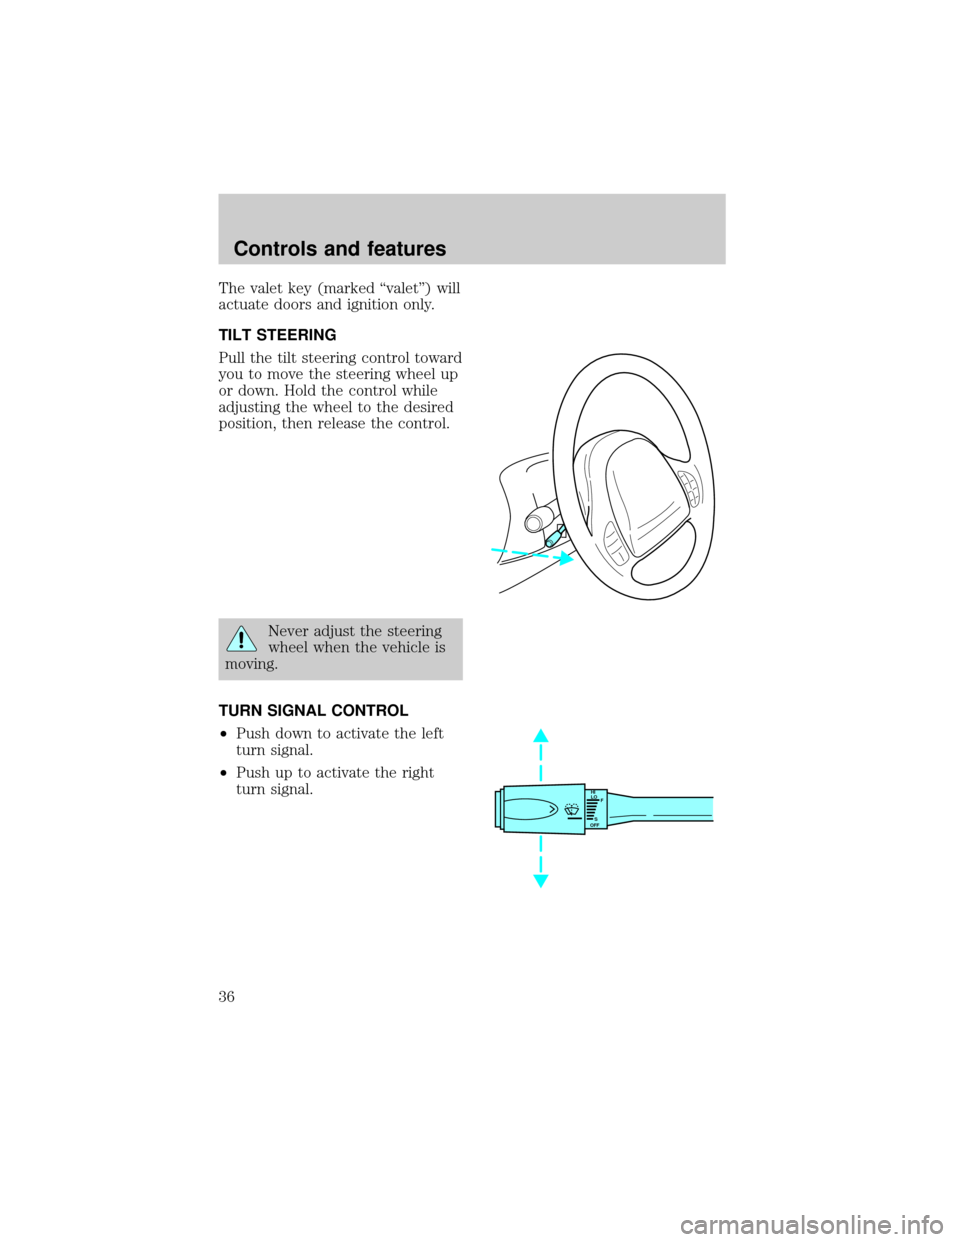
Pull the tilt steering control toward
you to move the steering wheel up
or down. Hold the control while
adjusting the wheel to the desired
position, then release the control.
Never adjust the steering
wheel when the vehicle is
moving.
TURN SIGNAL CONTROL
²Push down to activate the left
turn signal.
²Push up to activate the right
turn signal.
HI
LO
F
S
OFF
Controls and features
36
Page 55 of 188

operating range will allow you to
be up to 10 meters (33 feet) away
from your vehicle. A decrease in
operating range can be caused by:
²battery weakness due to time
and use
²weather conditions
²nearby radio towers
²structures around the vehicle
²other vehicles parked next to
the vehicle
To replace the battery:
1. Twist a thin coin between the
two halves of the transmitter near
the key ring. DO NOT TAKE THE
FRONT PART OF THE
TRANSMITTER APART.
2. Place the positive (+) side of
new battery in the same
orientation. Refer to the diagram
inside the transmitter unit.
3. Snap the two halves back
together.
Replacing lost transmitters
Take all your vehicle's transmitters
to your dealer for reprogramming
if:
²a transmitter is lost or
²you want to purchase additional
transmitters (up to four may be
programmed).
To reprogram the transmitters,
place the key in the ignition and
switch from OFF to ON four times
in rapid succession within 3
seconds. After doors lock/unlock,
Controls and features
56
Page 86 of 188
5. To put the retractor in the
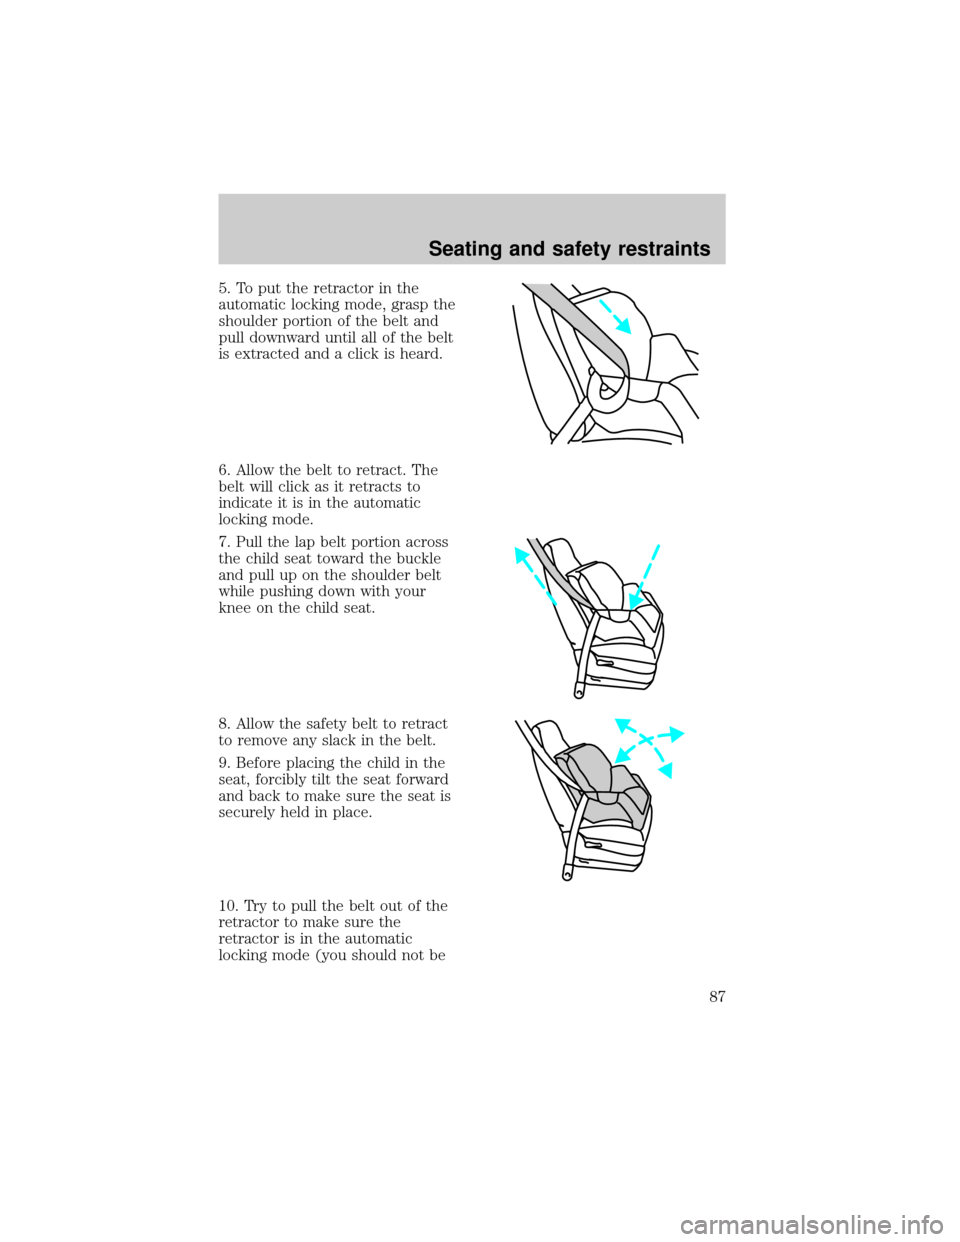
automatic locking mode, grasp the
shoulder portion of the belt and
pull downward until all of the belt
is extracted and a click is heard.
6. Allow the belt to retract. The
belt will click as it retracts to
indicate it is in the automatic
locking mode.
7. Pull the lap belt portion across
the child seat toward the buckle
and pull up on the shoulder belt
while pushing down with your
knee on the child seat.
8. Allow the safety belt to retract
to remove any slack in the belt.
9. Before placing the child in the
seat, forcibly tilt the seat forward
and back to make sure the seat is
securely held in place.
10. Try to pull the belt out of the
retractor to make sure the
retractor is in the automatic
locking mode (you should not be
Seating and safety restraints
87
Page 102 of 188
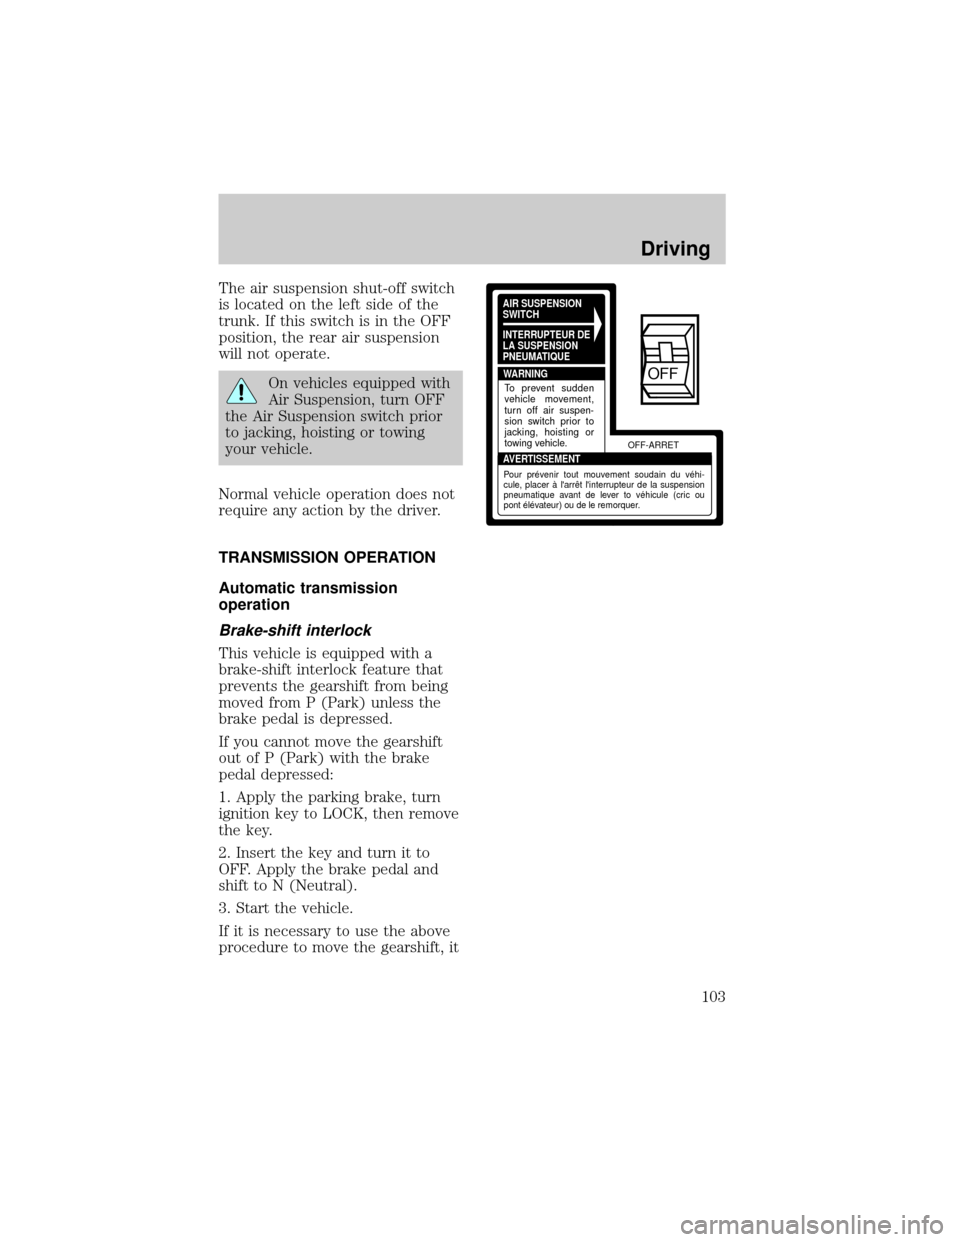
The air suspension shut-off switch
is located on the left side of the
trunk. If this switch is in the OFF
position, the rear air suspension
will not operate.
On vehicles equipped with
Air Suspension, turn OFF
the Air Suspension switch prior
to jacking, hoisting or towing
your vehicle.
Normal vehicle operation does not
require any action by the driver.
TRANSMISSION OPERATION
Automatic transmission
operation
Brake-shift interlock
This vehicle is equipped with a
brake-shift interlock feature that
prevents the gearshift from being
moved from P (Park) unless the
brake pedal is depressed.
If you cannot move the gearshift
out of P (Park) with the brake
pedal depressed:
1. Apply the parking brake, turn
ignition key to LOCK, then remove
the key.
2. Insert the key and turn it to
OFF. Apply the brake pedal and
shift to N (Neutral).
3. Start the vehicle.
If it is necessary to use the above
procedure to move the gearshift, it
AIR SUSPENSION
SWITCH
INTERRUPTEUR DE
LA SUSPENSION
PNEUMATIQUE
WARNING
AVERTISSEMENTOFF-ARRET
To prevent sudden
vehicle movement,
turn off air suspen-
sion switch prior to
jacking, hoisting or
towing vehicle.
Pour prévenir tout mouvement soudain du véhi-
cule, placer à l'arrêt l'interrupteur de la suspension
pneumatique avant de lever to véhicule (cric ou
pont élévateur) ou de le remorquer.
OFF
Driving
103
Page 103 of 188
is possible that a fuse has blown
and the vehicle's brakelamps may
not be operating properly. Refer to
Fuses and relaysin theRoadside
emergencieschapter.
Do not drive your vehicle
until you verify that the
brakelamps are working.
If your vehicle gets stuck in mud
or snow it may be rocked out by
shifting from forward and reverse
gears in a steady pattern. Press
lightly on the accelerator in each
gear.
Do not rock the vehicle for
more than a few minutes. The
transmission and tires may be
damaged or the engine may
overheat.
Always set the parking
brake fully and make sure
the gearshift is latched in P
(Park). Turn off the ignition
whenever you leave your vehicle.
Driving with a 4±speed
automatic transmission
Understanding gearshift
positions
Pull the gearshift lever towards
you and downward to move the
automatic gearshift.
Driving
104
Page 105 of 188
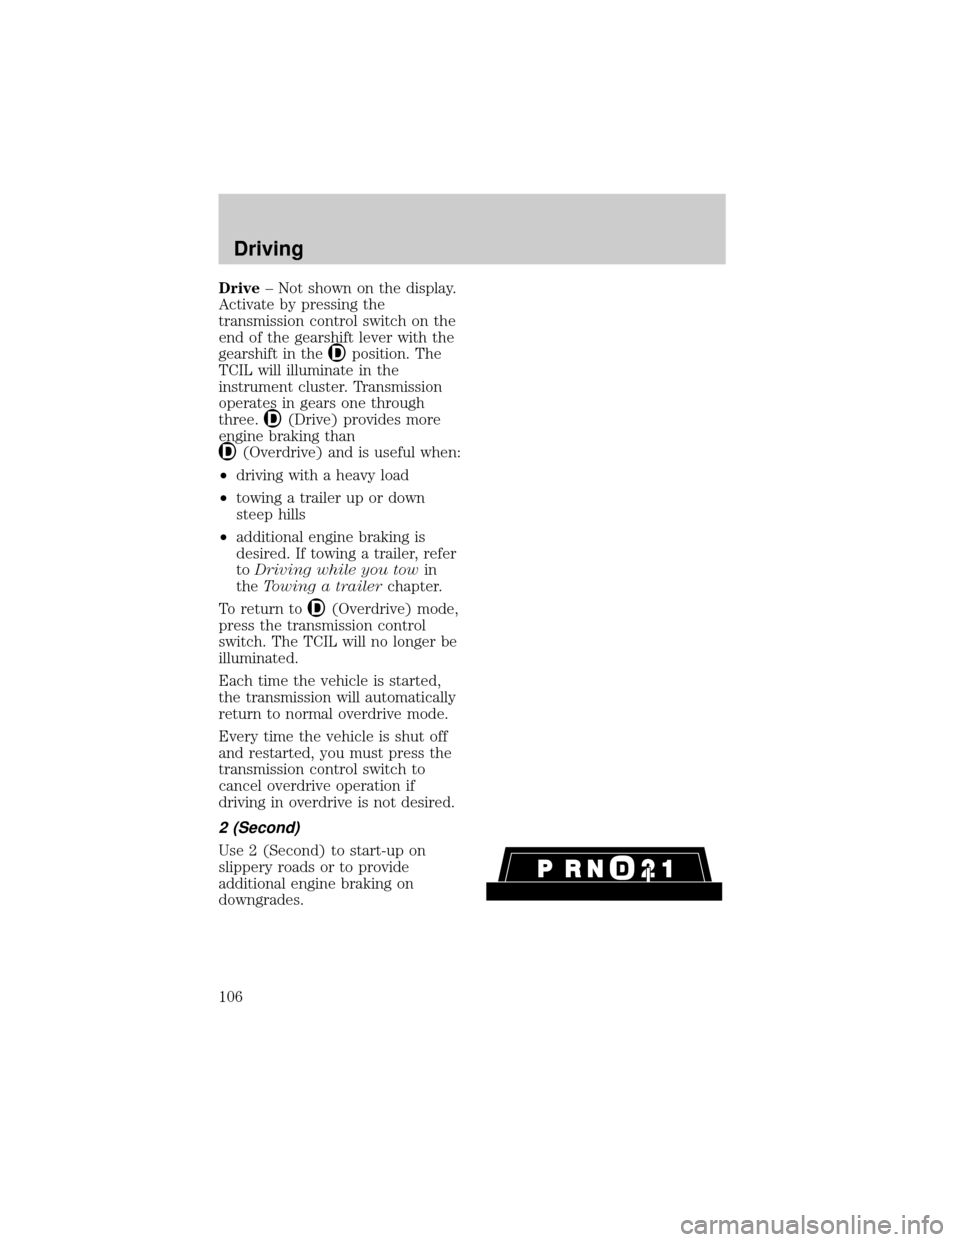
Drive± Not shown on the display.
Activate by pressing the
transmission control switch on the
end of the gearshift lever with the
gearshift in the
position. The
TCIL will illuminate in the
instrument cluster. Transmission
operates in gears one through
three.
(Drive) provides more
engine braking than
(Overdrive) and is useful when:
²driving with a heavy load
²towing a trailer up or down
steep hills
²additional engine braking is
desired. If towing a trailer, refer
toDriving while you towin
theTowing a trailerchapter.
To return to
(Overdrive) mode,
press the transmission control
switch. The TCIL will no longer be
illuminated.
Each time the vehicle is started,
the transmission will automatically
return to normal overdrive mode.
Every time the vehicle is shut off
and restarted, you must press the
transmission control switch to
cancel overdrive operation if
driving in overdrive is not desired.
2 (Second)
Use 2 (Second) to start-up on
slippery roads or to provide
additional engine braking on
downgrades.
Driving
106
Page 107 of 188
²GAWR (Gross Axle Weight
Rating): Carrying capacity for
each axle system. The GAWR is
specific to each vehicle and is
listed on the Safety Compliance
Label on the driver's door pillar.
Do not exceed the GVWR
or the GAWR specified on
the Safety Compliance
Certification Label.
Do not use replacement tires with
lower weight capacities than the
originals because they may lower
the vehicle's GVWR and GAWR
limitations. Replacement tires with
a higher weight limit than the
originals do not increase the
GVWR and GAWR limitations.
Your vehicle is classified as a light
duty towing vehicle. It does not
come from the factory fully
equipped to tow. No towing
packages are available through
Ford or Mercury/Lincoln dealers.
Do not tow a trailer until your
vehicle has been driven at least
3 200 km (2 000 miles).
Towing a trailer places an
additional load on your vehicle's
engine, transmission, brakes, tires
and suspension. Inspect these
components carefully after towing.
The amount of weight your loaded
trailer should be no more than
907 kg (2 000 lbs.).
Driving
108