ECO mode LINCOLN TOWN CAR 2001 Owners Manual
[x] Cancel search | Manufacturer: LINCOLN, Model Year: 2001, Model line: TOWN CAR, Model: LINCOLN TOWN CAR 2001Pages: 240, PDF Size: 1.92 MB
Page 6 of 240
OFF
P
PANEL
DIMLO
F
S
OFF
MIST
RESUME
SET ACCEL
COAST
OFF
ONNEXT
MODEVOL
TEMP FAN
102030405060
70
80
90
100
120206080
40100
120
160 140
180MPHkm/h110HF
E1
2FILL ON
LEFT<
CHECK
CAP
SERVICE
ENGINE
SOON
kmCIRCLE
SLOWLY FUEL ECON
DIST TO EMPTY
AVG SPEED
TRIP A B
E/M
km MILES/GALWASHER
LTR/100km
BRAKE
O/D OFF TRAC ACTIVE
SPEED CONTROL COMPASS
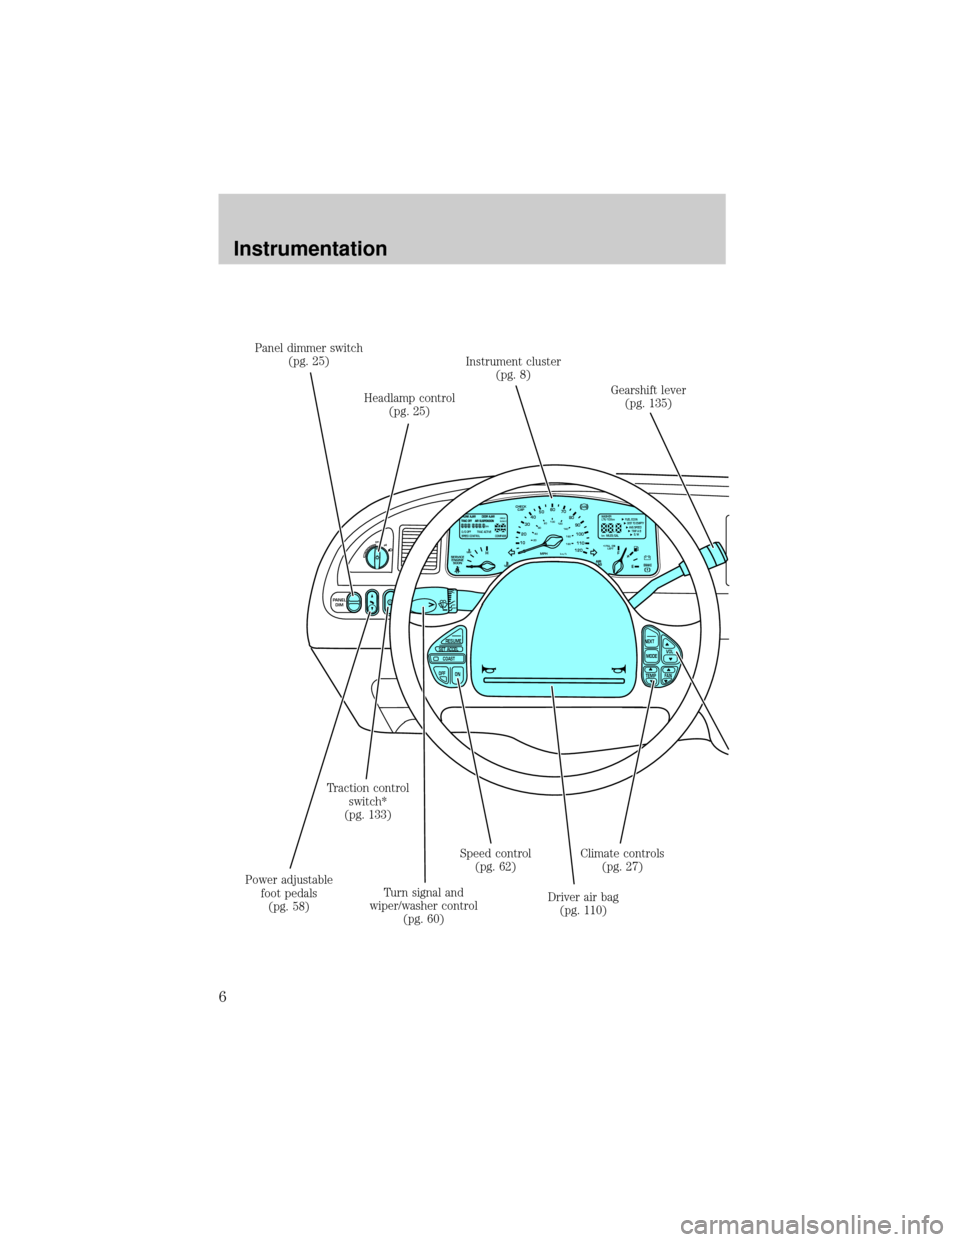
Panel dimmer switch
(pg. 25)
Headlamp control
(pg. 25)Instrument cluster
(pg. 8)
Gearshift lever
(pg. 135)
Climate controls
(pg. 27)
Driver air bag
(pg. 110) Speed control
(pg. 62)
Turn signal and
wiper/washer control
(pg. 60) Traction control
switch*
(pg. 133)
Power adjustable
foot pedals
(pg. 58)
Instrumentation
6
Page 9 of 240
3. The fuel cap may not have been properly installed and securely
tightened.
These temporary malfunctions can be corrected by filling the fuel tank
with high quality fuel of the recommended octane and/or properly
installing and securely tightening the gas cap. After three driving cycles
without these or any other temporary malfunctions present, theService
Engine Soonlight should turn off. (A driving cycle consists of a cold
engine startup followed by mixed city/highway driving.) No additional
vehicle service is required.
If theService Engine Soonlight remains on, have your vehicle serviced
at the first available opportunity.
Light is blinking:
Engine misfire is occurring which could damage your catalytic converter.
You should drive in a moderate fashion (avoid heavy acceleration and
deceleration) and have your vehicle serviced at the first available
opportunity.
Under engine misfire conditions, excessive exhaust temperatures
could damage the catalytic converter, the fuel system, interior
floor coverings or other vehicle components, possibly causing a fire.
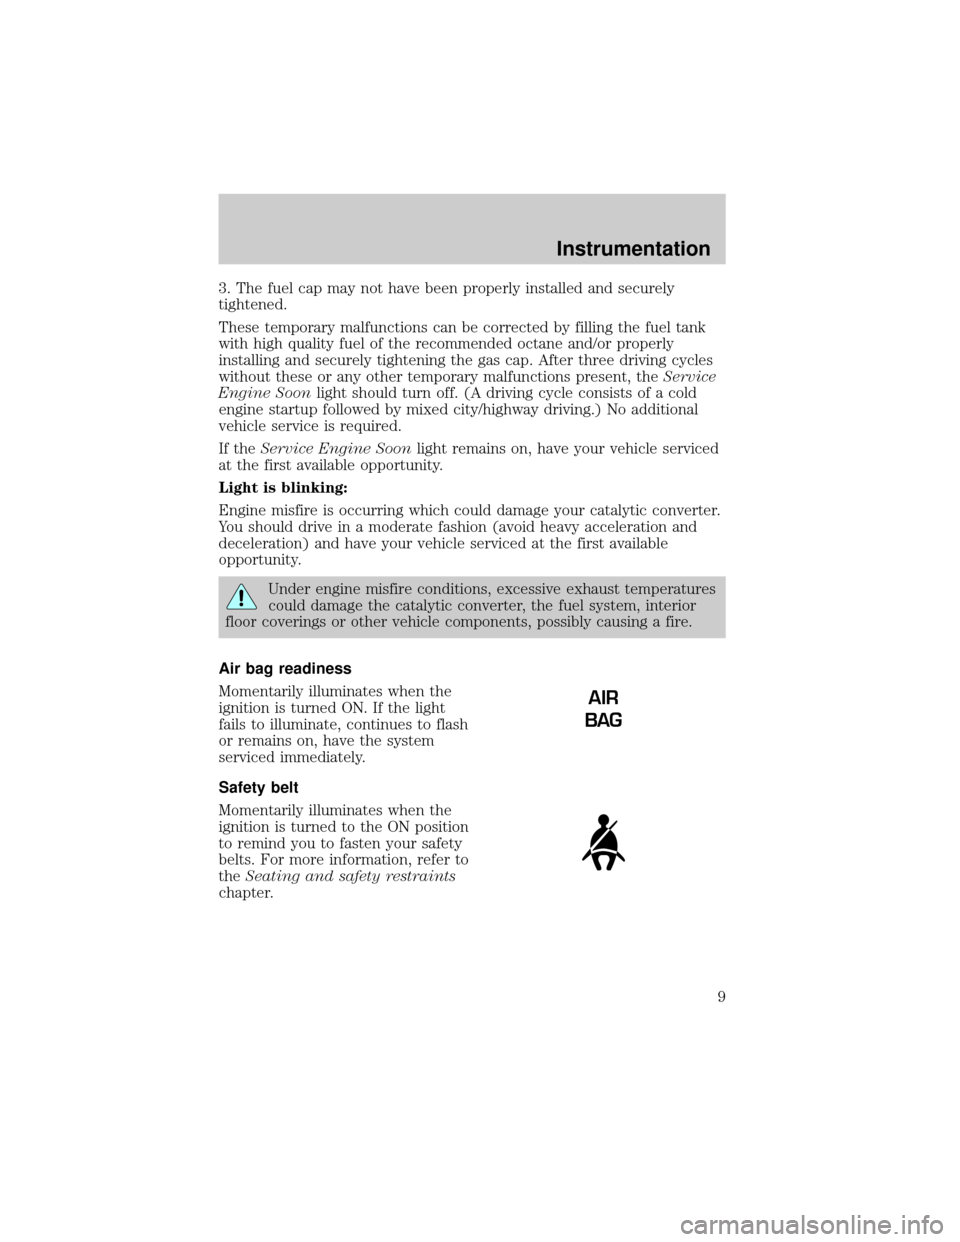
Air bag readiness
Momentarily illuminates when the
ignition is turned ON. If the light
fails to illuminate, continues to flash
or remains on, have the system
serviced immediately.
Safety belt
Momentarily illuminates when the
ignition is turned to the ON position
to remind you to fasten your safety
belts. For more information, refer to
theSeating and safety restraints
chapter.
AIR
BAG
Instrumentation
9
Page 13 of 240
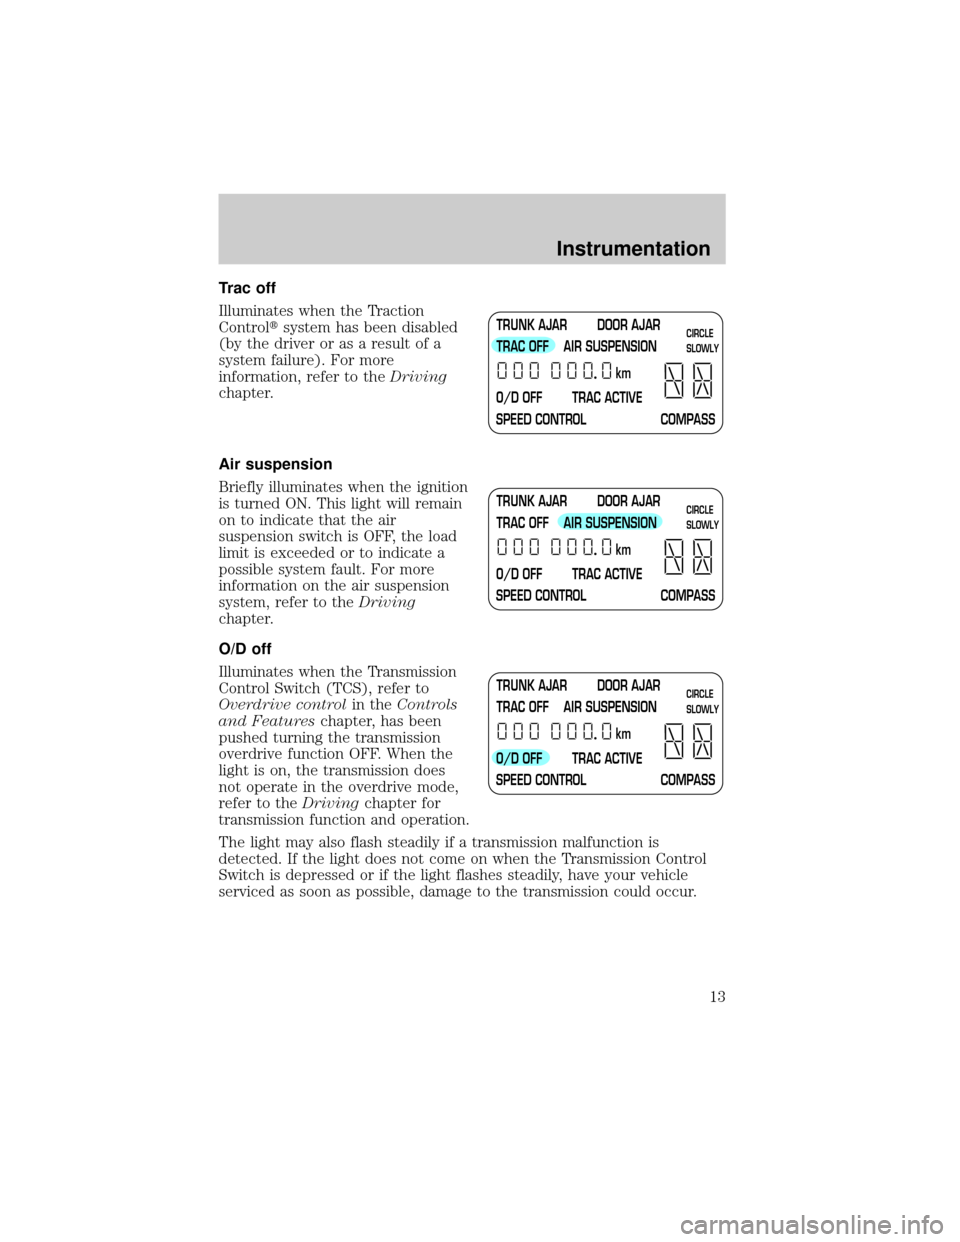
Trac off
Illuminates when the Traction
Controltsystem has been disabled
(by the driver or as a result of a
system failure). For more
information, refer to theDriving
chapter.
Air suspension
Briefly illuminates when the ignition
is turned ON. This light will remain
on to indicate that the air
suspension switch is OFF, the load
limit is exceeded or to indicate a
possible system fault. For more
information on the air suspension
system, refer to theDriving
chapter.
O/D off
Illuminates when the Transmission
Control Switch (TCS), refer to
Overdrive controlin theControls
and Featureschapter, has been
pushed turning the transmission
overdrive function OFF. When the
light is on, the transmission does
not operate in the overdrive mode,
refer to theDrivingchapter for
transmission function and operation.
The light may also flash steadily if a transmission malfunction is
detected. If the light does not come on when the Transmission Control
Switch is depressed or if the light flashes steadily, have your vehicle
serviced as soon as possible, damage to the transmission could occur.
TRUNK AJAR DOOR AJAR
TRAC OFF AIR SUSPENSION
O/D OFF TRAC ACTIVE
SPEED CONTROL COMPASSkmCIRCLE
SLOWLY
TRUNK AJAR DOOR AJAR
TRAC OFF AIR SUSPENSION
O/D OFF TRAC ACTIVE
SPEED CONTROL COMPASSkmCIRCLE
SLOWLY
TRUNK AJAR DOOR AJAR
TRAC OFF AIR SUSPENSION
O/D OFF TRAC ACTIVE
SPEED CONTROL COMPASSkmCIRCLE
SLOWLY
Instrumentation
13
Page 20 of 240
Compass zone adjustment
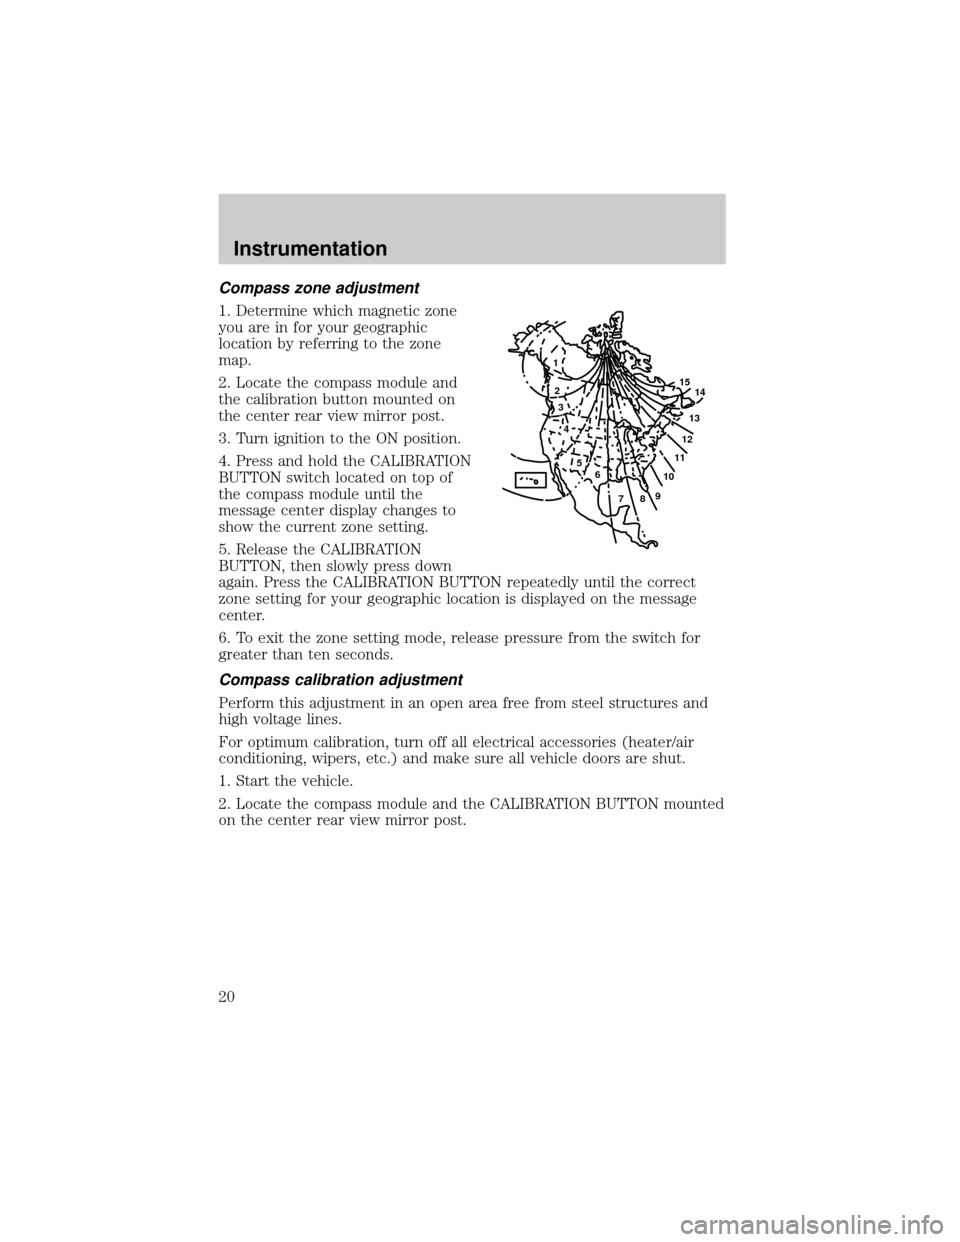
1. Determine which magnetic zone
you are in for your geographic
location by referring to the zone
map.
2. Locate the compass module and
the calibration button mounted on
the center rear view mirror post.
3. Turn ignition to the ON position.
4. Press and hold the CALIBRATION
BUTTON switch located on top of
the compass module until the
message center display changes to
show the current zone setting.
5. Release the CALIBRATION
BUTTON, then slowly press down
again. Press the CALIBRATION BUTTON repeatedly until the correct
zone setting for your geographic location is displayed on the message
center.
6. To exit the zone setting mode, release pressure from the switch for
greater than ten seconds.
Compass calibration adjustment
Perform this adjustment in an open area free from steel structures and
high voltage lines.
For optimum calibration, turn off all electrical accessories (heater/air
conditioning, wipers, etc.) and make sure all vehicle doors are shut.
1. Start the vehicle.
2. Locate the compass module and the CALIBRATION BUTTON mounted
on the center rear view mirror post.
1
2
3
4
5
6
7891011121314 15
Instrumentation
20
Page 29 of 240
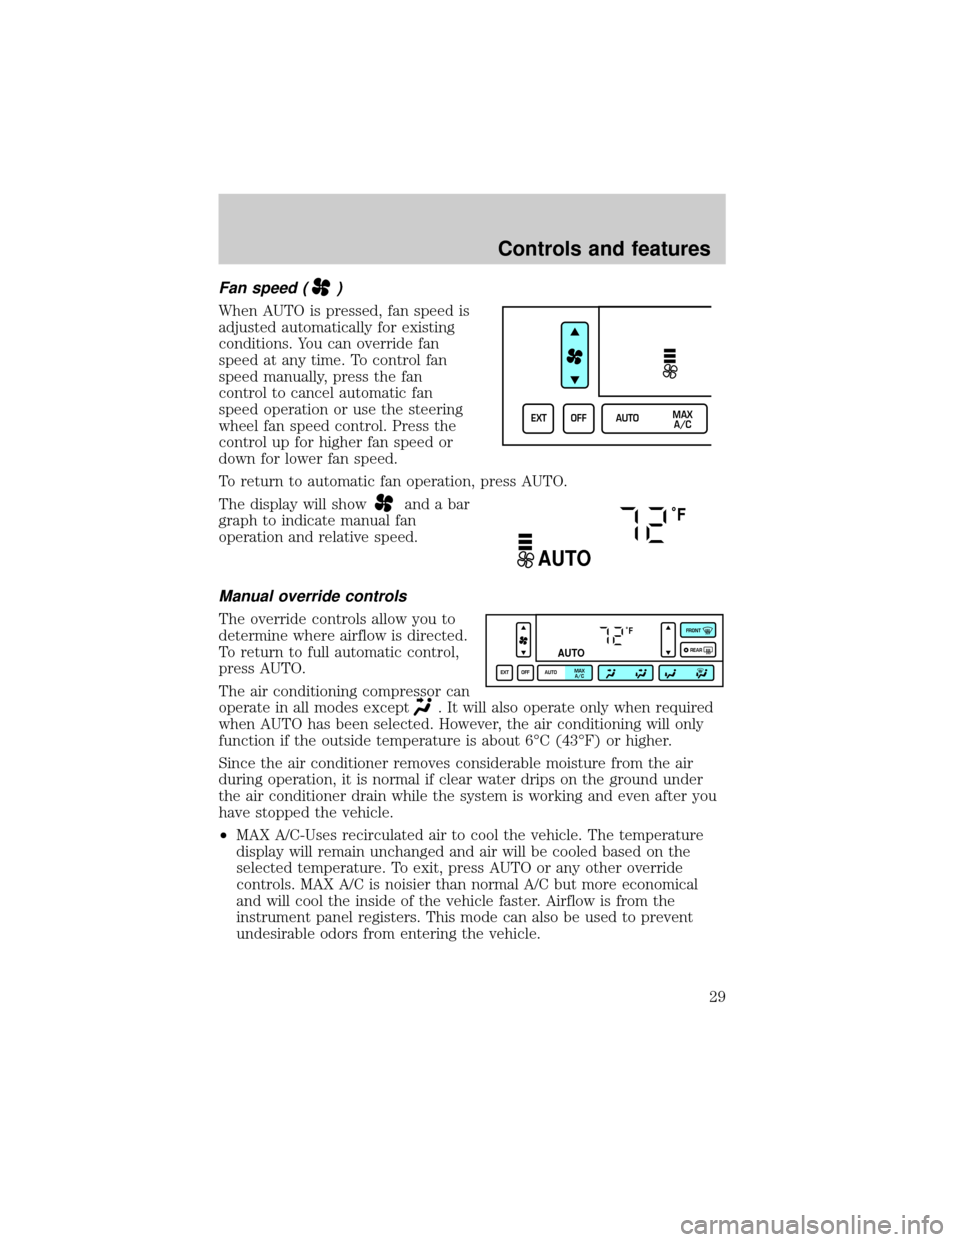
Fan speed ()
When AUTO is pressed, fan speed is
adjusted automatically for existing
conditions. You can override fan
speed at any time. To control fan
speed manually, press the fan
control to cancel automatic fan
speed operation or use the steering
wheel fan speed control. Press the
control up for higher fan speed or
down for lower fan speed.
To return to automatic fan operation, press AUTO.
The display will show
and a bar
graph to indicate manual fan
operation and relative speed.
Manual override controls
The override controls allow you to
determine where airflow is directed.
To return to full automatic control,
press AUTO.
The air conditioning compressor can
operate in all modes except
. It will also operate only when required
when AUTO has been selected. However, the air conditioning will only
function if the outside temperature is about 6ÉC (43ÉF) or higher.
Since the air conditioner removes considerable moisture from the air
during operation, it is normal if clear water drips on the ground under
the air conditioner drain while the system is working and even after you
have stopped the vehicle.
²MAX A/C-Uses recirculated air to cool the vehicle. The temperature
display will remain unchanged and air will be cooled based on the
selected temperature. To exit, press AUTO or any other override
controls. MAX A/C is noisier than normal A/C but more economical
and will cool the inside of the vehicle faster. Airflow is from the
instrument panel registers. This mode can also be used to prevent
undesirable odors from entering the vehicle.
EXT OFF AUTOMAX
A/C
˚F
AUTO
˚F
AUTO
EXT OFF AUTOMAX
A/CFRONT
REAR
Controls and features
29
Page 38 of 240
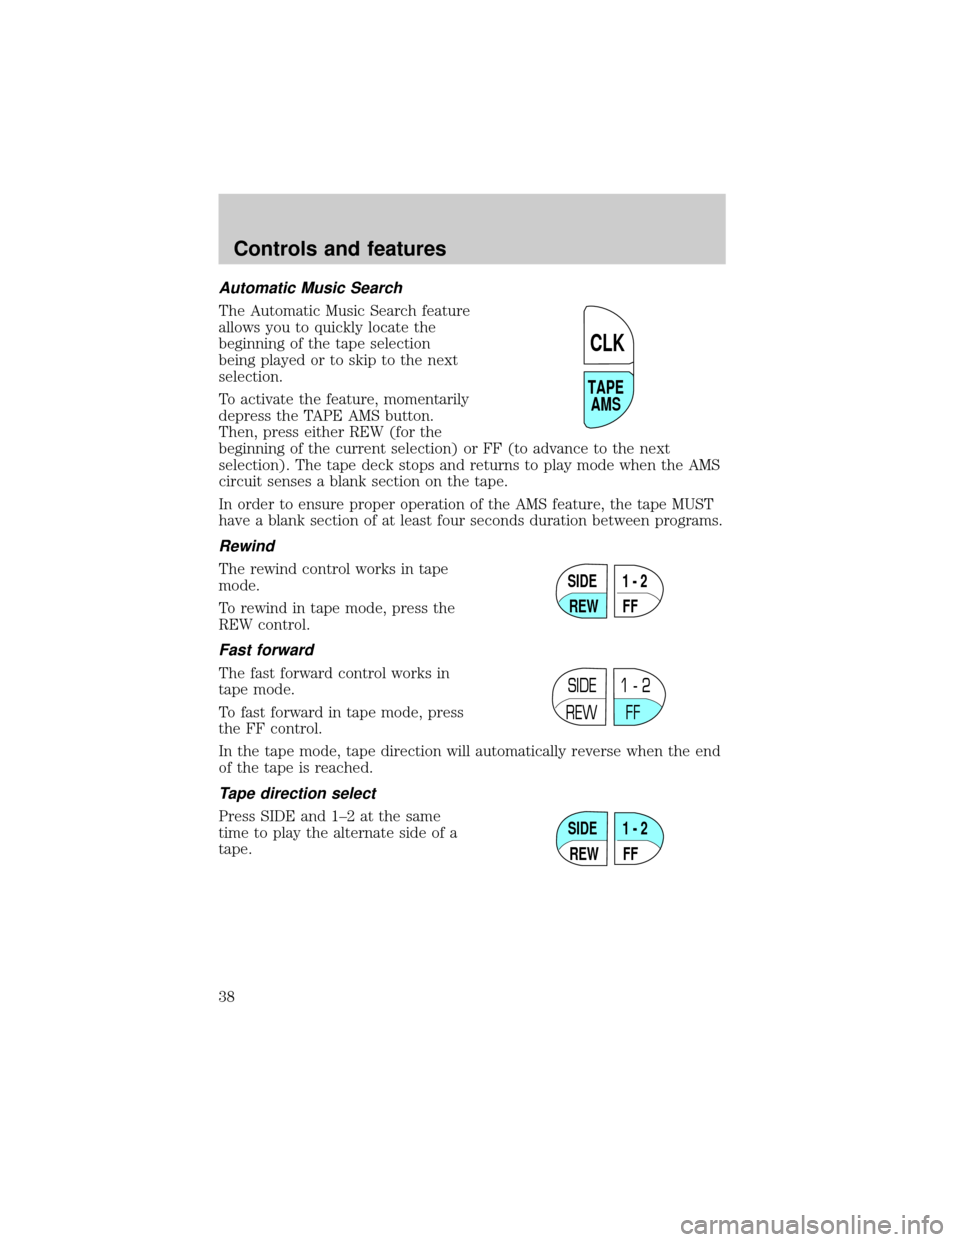
Automatic Music Search
The Automatic Music Search feature
allows you to quickly locate the
beginning of the tape selection
being played or to skip to the next
selection.
To activate the feature, momentarily
depress the TAPE AMS button.
Then, press either REW (for the
beginning of the current selection) or FF (to advance to the next
selection). The tape deck stops and returns to play mode when the AMS
circuit senses a blank section on the tape.
In order to ensure proper operation of the AMS feature, the tape MUST
have a blank section of at least four seconds duration between programs.
Rewind
The rewind control works in tape
mode.
To rewind in tape mode, press the
REW control.
Fast forward
The fast forward control works in
tape mode.
To fast forward in tape mode, press
the FF control.
In the tape mode, tape direction will automatically reverse when the end
of the tape is reached.
Tape direction select
Press SIDE and 1±2 at the same
time to play the alternate side of a
tape.
TAPE
AMS
CLK
SIDE
REW FF1 - 2
SIDE
REW FF1 - 2
SIDE
REW FF1 - 2
Controls and features
38
Page 40 of 240
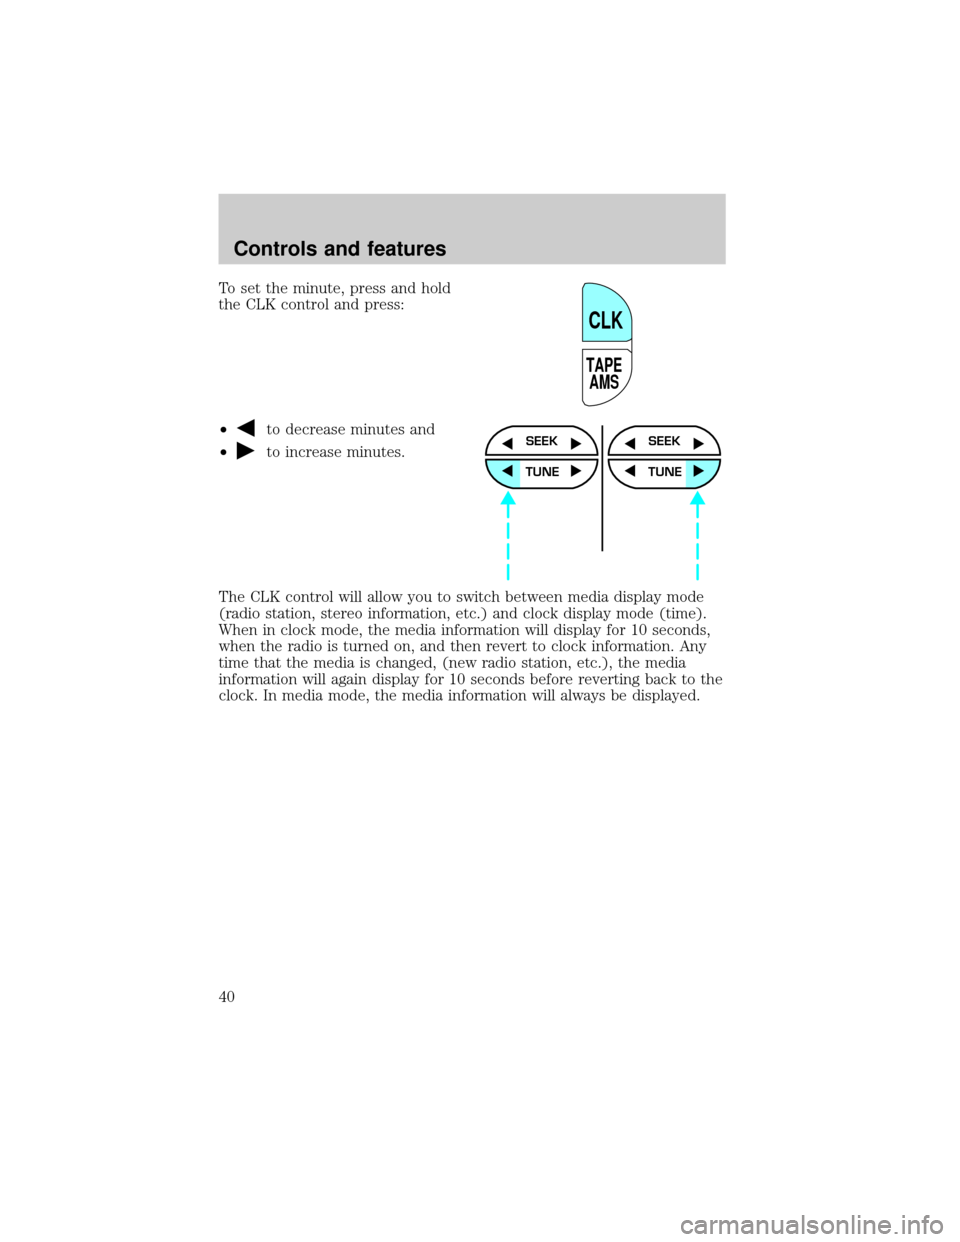
To set the minute, press and hold
the CLK control and press:
²
to decrease minutes and
²
to increase minutes.
The CLK control will allow you to switch between media display mode
(radio station, stereo information, etc.) and clock display mode (time).
When in clock mode, the media information will display for 10 seconds,
when the radio is turned on, and then revert to clock information. Any
time that the media is changed, (new radio station, etc.), the media
information will again display for 10 seconds before reverting back to the
clock. In media mode, the media information will always be displayed.
TAPE
AMS
CLK
SEEK
TUNE
SEEK
TUNE
Controls and features
40
Page 42 of 240
individual function controls will either illuminate or turn off. Those
controls which have a function for the specific mode of operation
selected will be lit, while the controls which have no function for that
mode will be turned off.
Your vehicle is equipped with a delayed accessory feature. This feature
enables the audio playing media to continue playing up to 10 minutes
after the ignition has been turned off, or until a door is opened.
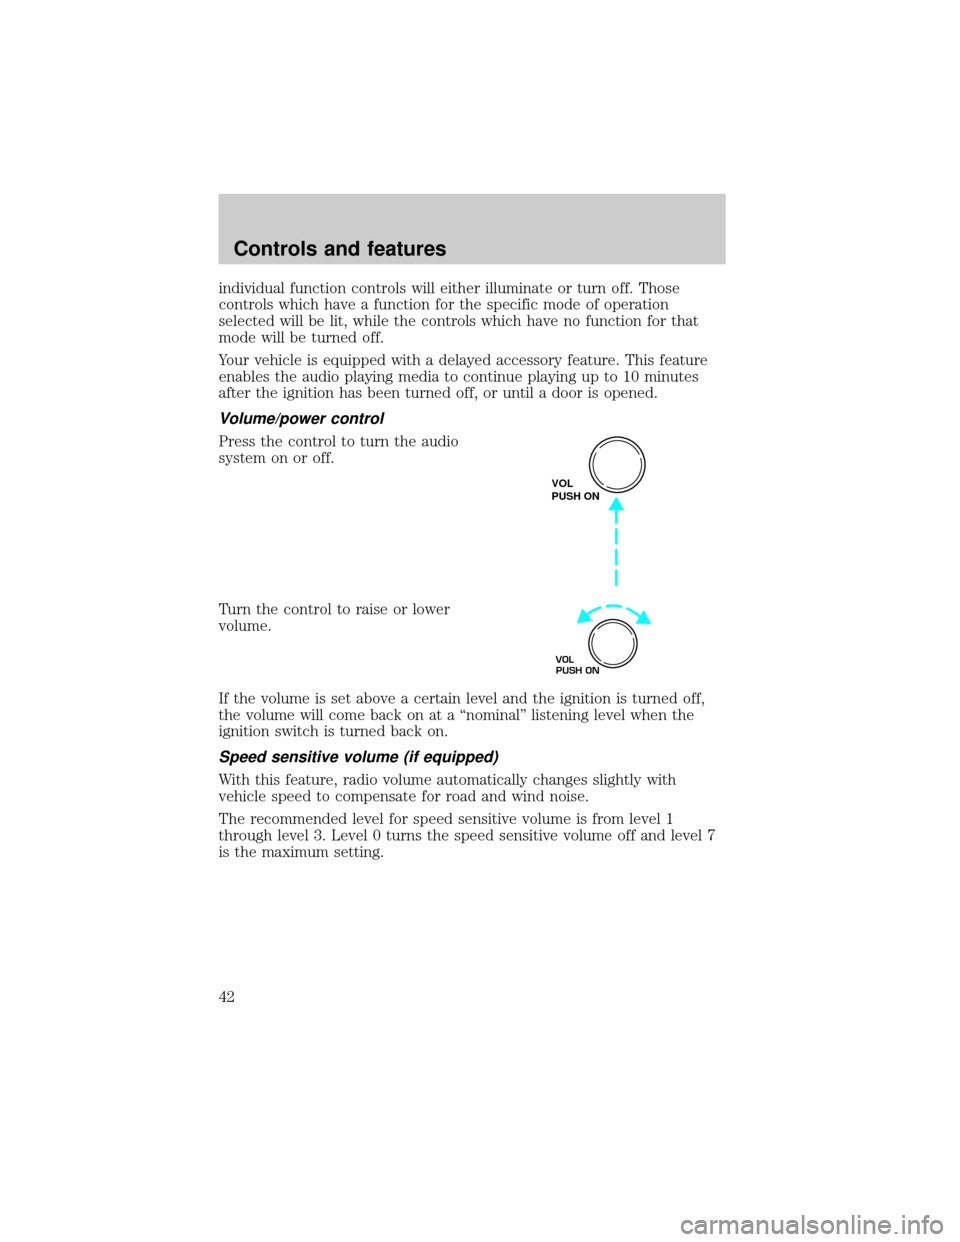
Volume/power control
Press the control to turn the audio
system on or off.
Turn the control to raise or lower
volume.
If the volume is set above a certain level and the ignition is turned off,
the volume will come back on at a ªnominalº listening level when the
ignition switch is turned back on.
Speed sensitive volume (if equipped)
With this feature, radio volume automatically changes slightly with
vehicle speed to compensate for road and wind noise.
The recommended level for speed sensitive volume is from level 1
through level 3. Level 0 turns the speed sensitive volume off and level 7
is the maximum setting.
VOL
PUSH ON
VOL
PUSH ON
Controls and features
42
Page 43 of 240
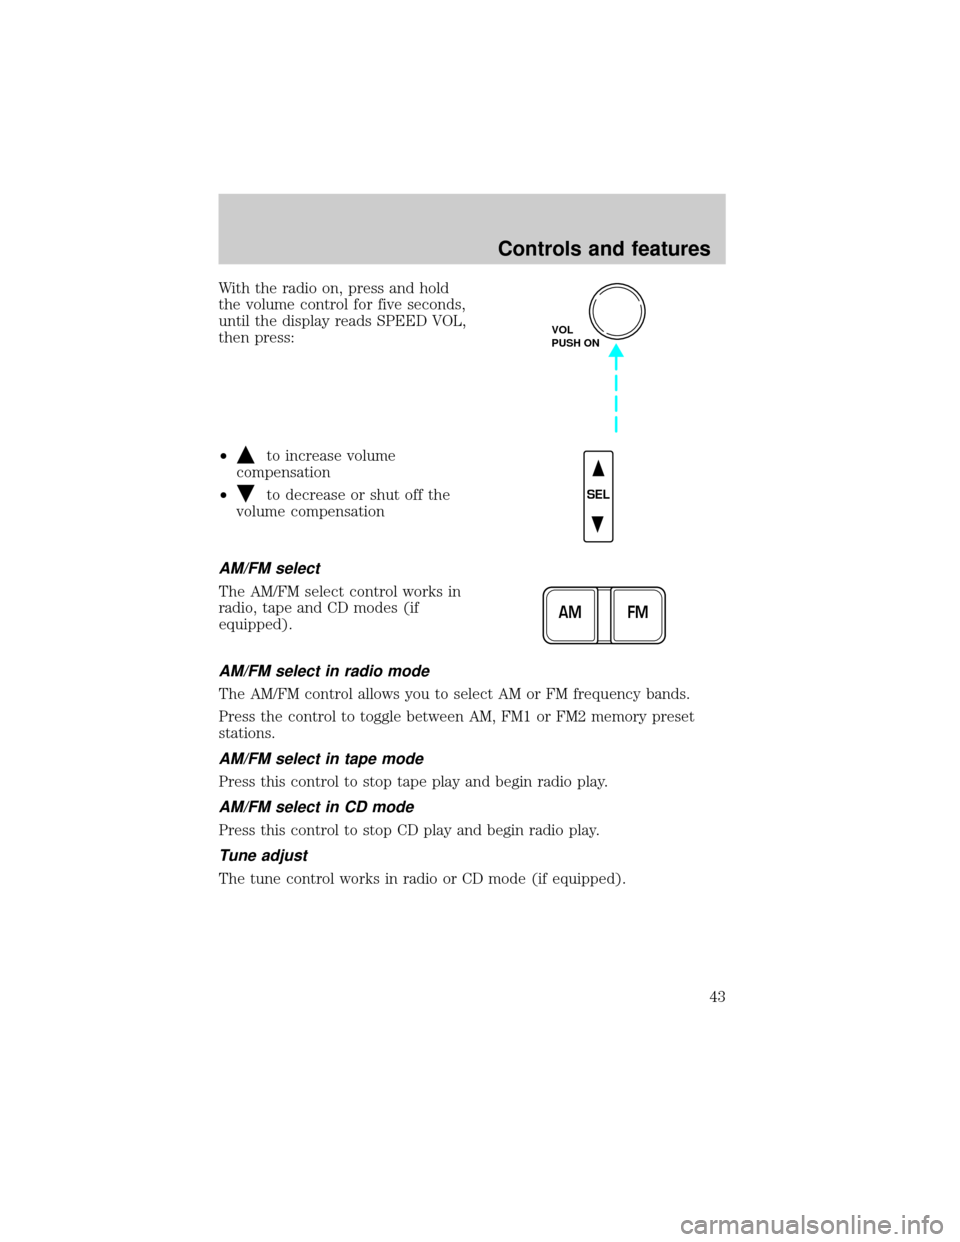
With the radio on, press and hold
the volume control for five seconds,
until the display reads SPEED VOL,
then press:
²
to increase volume
compensation
²
to decrease or shut off the
volume compensation
AM/FM select
The AM/FM select control works in
radio, tape and CD modes (if
equipped).
AM/FM select in radio mode
The AM/FM control allows you to select AM or FM frequency bands.
Press the control to toggle between AM, FM1 or FM2 memory preset
stations.
AM/FM select in tape mode
Press this control to stop tape play and begin radio play.
AM/FM select in CD mode
Press this control to stop CD play and begin radio play.
Tune adjust
The tune control works in radio or CD mode (if equipped).
VOL
PUSH ON
SEL
FM AM
Controls and features
43
Page 45 of 240
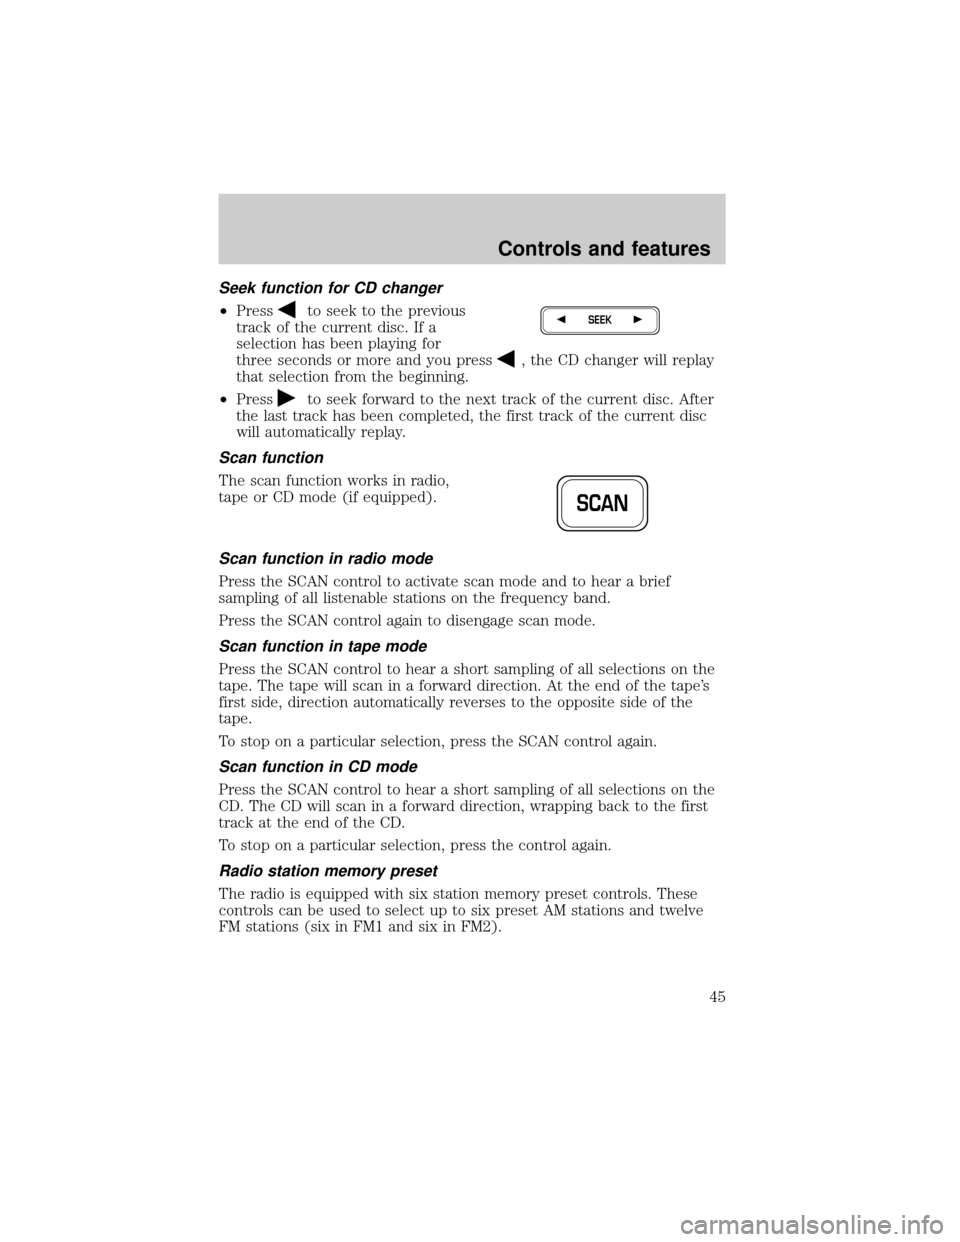
Seek function for CD changer
²Pressto seek to the previous
track of the current disc. If a
selection has been playing for
three seconds or more and you press
, the CD changer will replay
that selection from the beginning.
²Press
to seek forward to the next track of the current disc. After
the last track has been completed, the first track of the current disc
will automatically replay.
Scan function
The scan function works in radio,
tape or CD mode (if equipped).
Scan function in radio mode
Press the SCAN control to activate scan mode and to hear a brief
sampling of all listenable stations on the frequency band.
Press the SCAN control again to disengage scan mode.
Scan function in tape mode
Press the SCAN control to hear a short sampling of all selections on the
tape. The tape will scan in a forward direction. At the end of the tape's
first side, direction automatically reverses to the opposite side of the
tape.
To stop on a particular selection, press the SCAN control again.
Scan function in CD mode
Press the SCAN control to hear a short sampling of all selections on the
CD. The CD will scan in a forward direction, wrapping back to the first
track at the end of the CD.
To stop on a particular selection, press the control again.
Radio station memory preset
The radio is equipped with six station memory preset controls. These
controls can be used to select up to six preset AM stations and twelve
FM stations (six in FM1 and six in FM2).
SEEK
SCAN
Controls and features
45