set clock LINCOLN TOWN CAR 2001 Owners Manual
[x] Cancel search | Manufacturer: LINCOLN, Model Year: 2001, Model line: TOWN CAR, Model: LINCOLN TOWN CAR 2001Pages: 240, PDF Size: 1.92 MB
Page 7 of 240
VOL
PUSH ONTAPESEEK
TUNE
AM
REW
FFSIDE 1 2
COMP
SHUFF
EJ
RDS
SCAN AUTO
123
4
56
BASS
TREBSELBAL
FADE
EXTMAX
A/CAUTO
FRONT
REAR
SELECTRESET
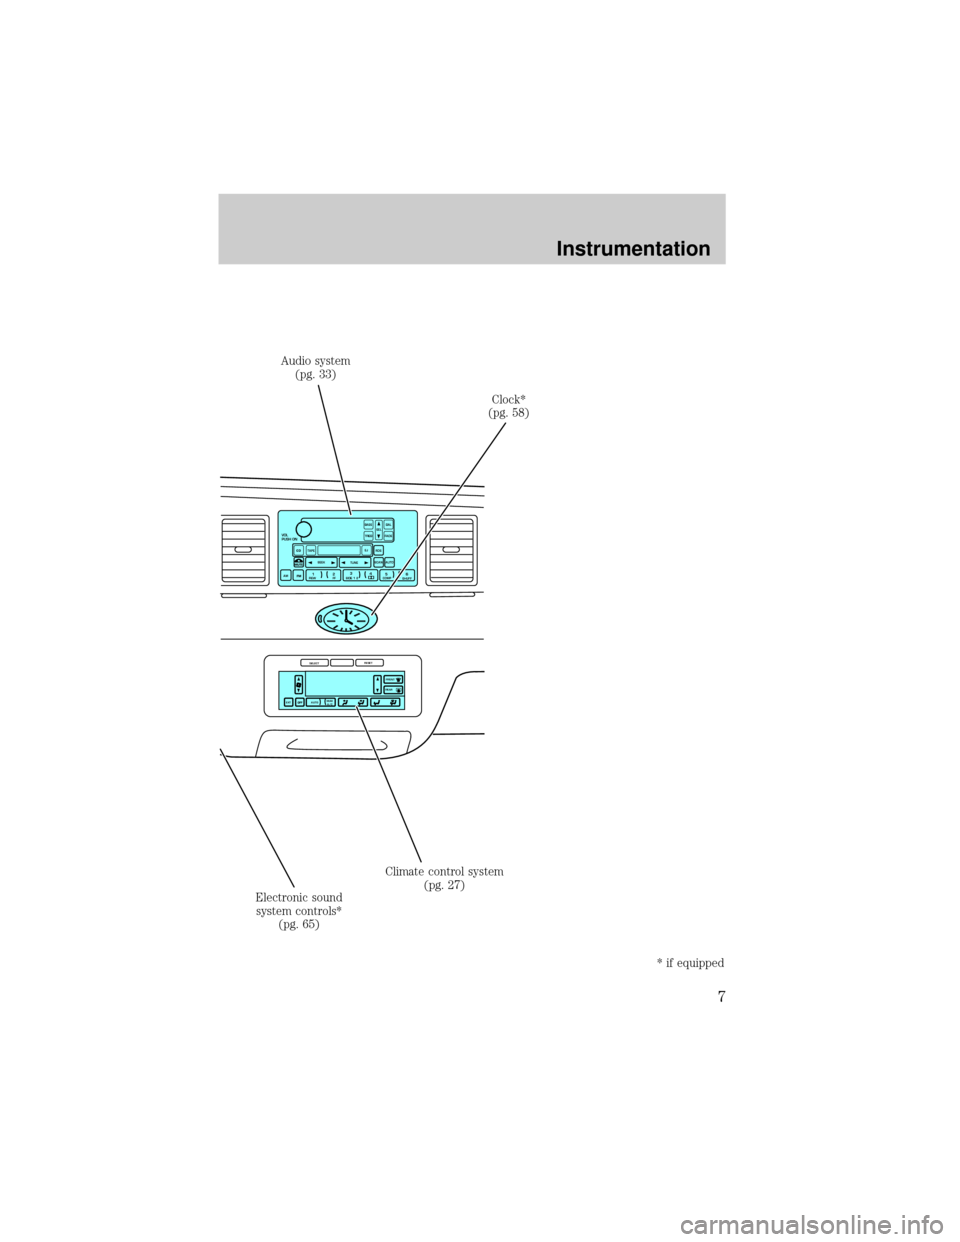
Audio system
(pg. 33)
Clock*
(pg. 58)
Climate control system
(pg. 27)
Electronic sound
system controls*
(pg. 65)
* if equipped
Instrumentation
7
Page 39 of 240
Eject function
Press the control to stop and eject
a tape.
DolbyTnoise reduction
Dolbytnoise reduction operates
only in tape mode. Dolbytnoise
reduction reduces the amount of
hiss and static during tape playback.
Press the
control to activate (and deactivate) Dolbytnoise
reduction.
Dolbytnoise reduction is manufactured under license from Dolbyt
Laboratories Licensing Corporation. ªDolbytº and the double-D symbol
are registered trademarks of Dolby Laboratories Licensing Corporation.
Setting the clock
This feature applies to vehicles not equipped with a separate, instrument
panel mounted clock. If your vehicle has a separate clock, please refer to
Clockin this chapter.
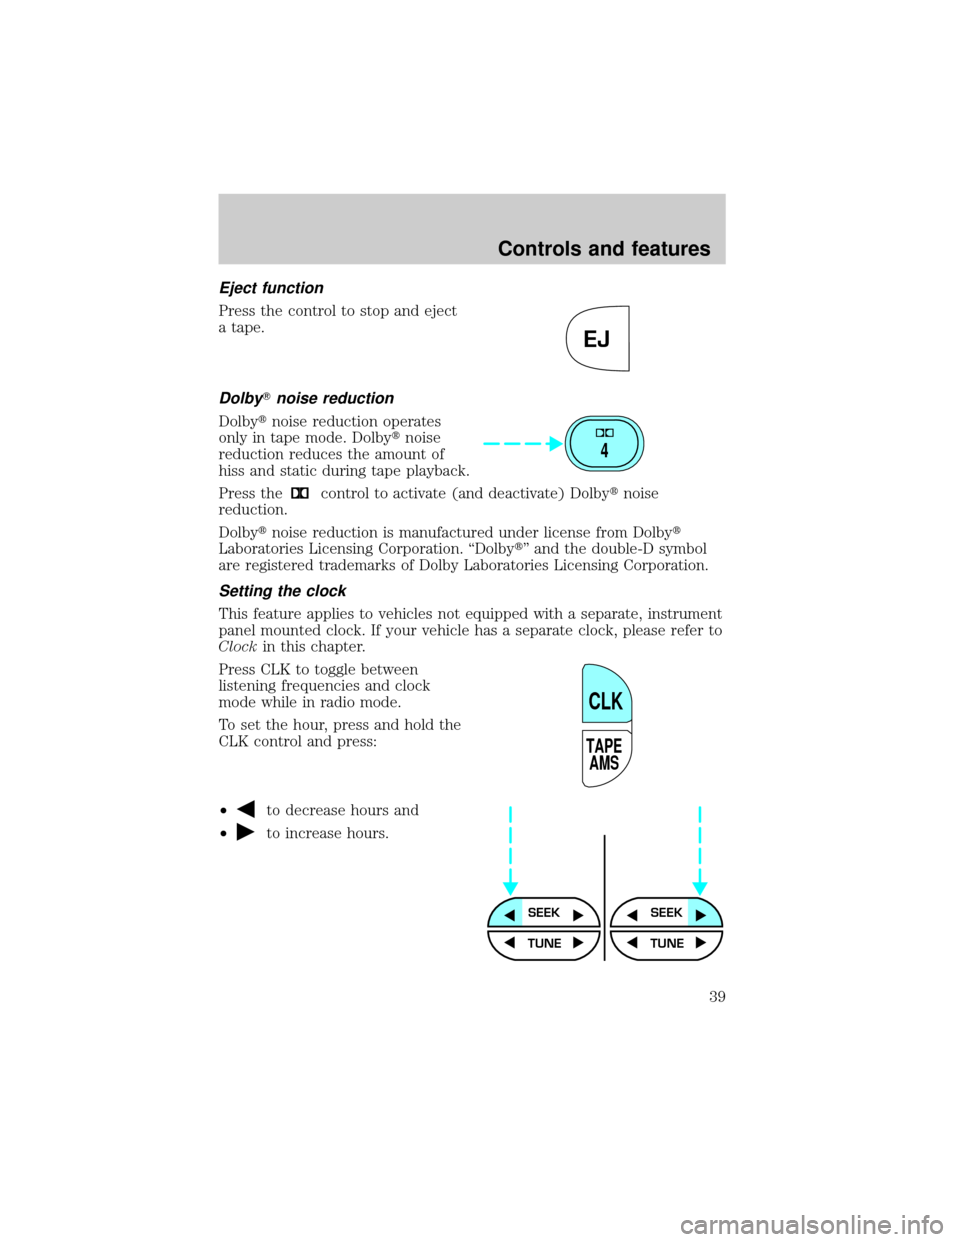
Press CLK to toggle between
listening frequencies and clock
mode while in radio mode.
To set the hour, press and hold the
CLK control and press:
²
to decrease hours and
²
to increase hours.
EJ
4
TAPE
AMS
CLK
SEEKSEEK
TUNE TUNE
Controls and features
39
Page 40 of 240
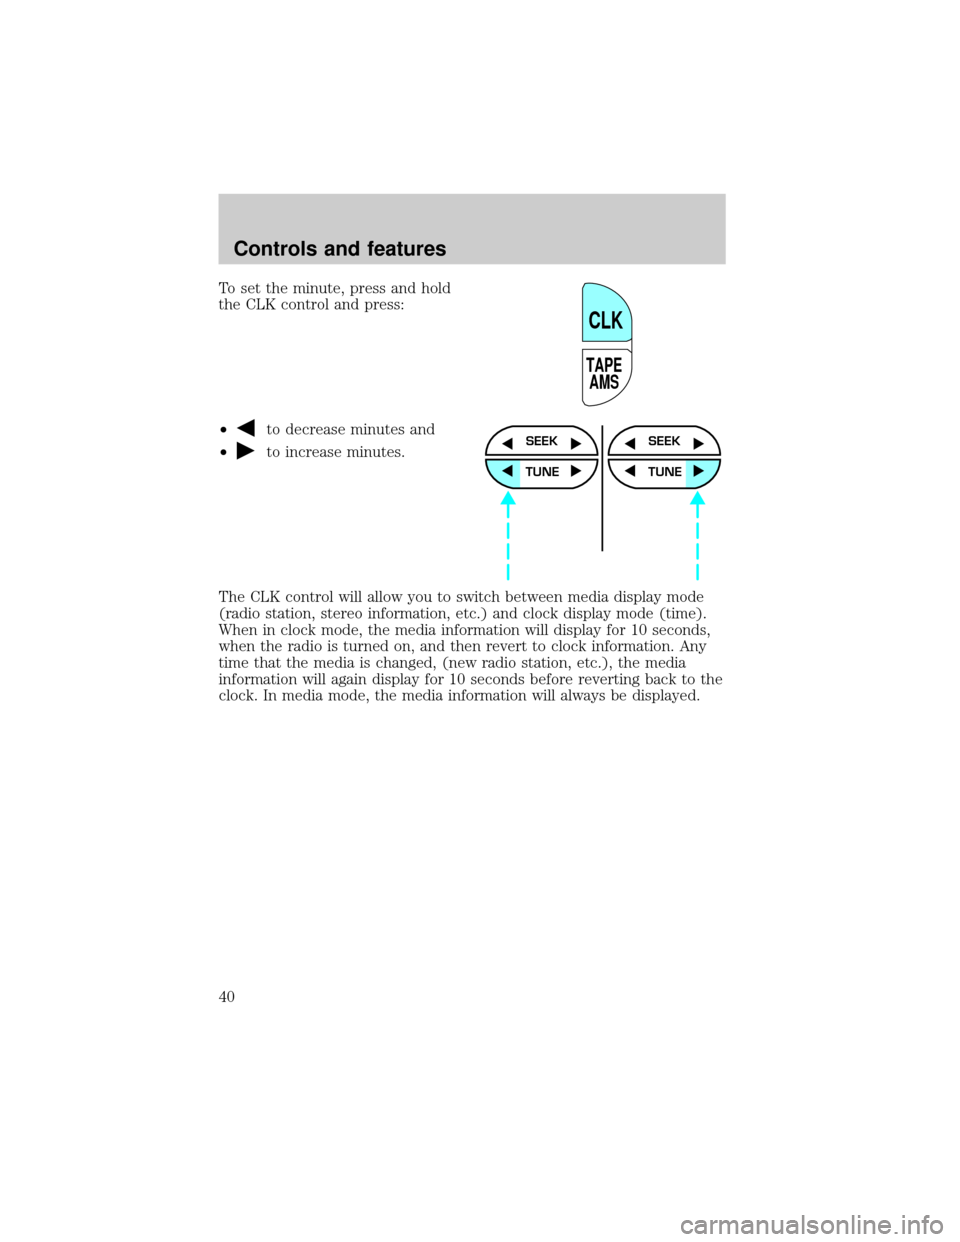
To set the minute, press and hold
the CLK control and press:
²
to decrease minutes and
²
to increase minutes.
The CLK control will allow you to switch between media display mode
(radio station, stereo information, etc.) and clock display mode (time).
When in clock mode, the media information will display for 10 seconds,
when the radio is turned on, and then revert to clock information. Any
time that the media is changed, (new radio station, etc.), the media
information will again display for 10 seconds before reverting back to the
clock. In media mode, the media information will always be displayed.
TAPE
AMS
CLK
SEEK
TUNE
SEEK
TUNE
Controls and features
40
Page 53 of 240
Press the DSP control until one of
the following appears:
²ALL SEATS
²DRIVER SEAT
²REAR SEATS
Use the SELECT control to change
the equalization to the desired
mode.
Setting the clock with radio data system (RDS) feature
(if equipped)
This feature applies to vehicles not equipped with a separate, instrument
panel mounted clock. If your vehicle has a separate clock, please refer to
Clockin this chapter.
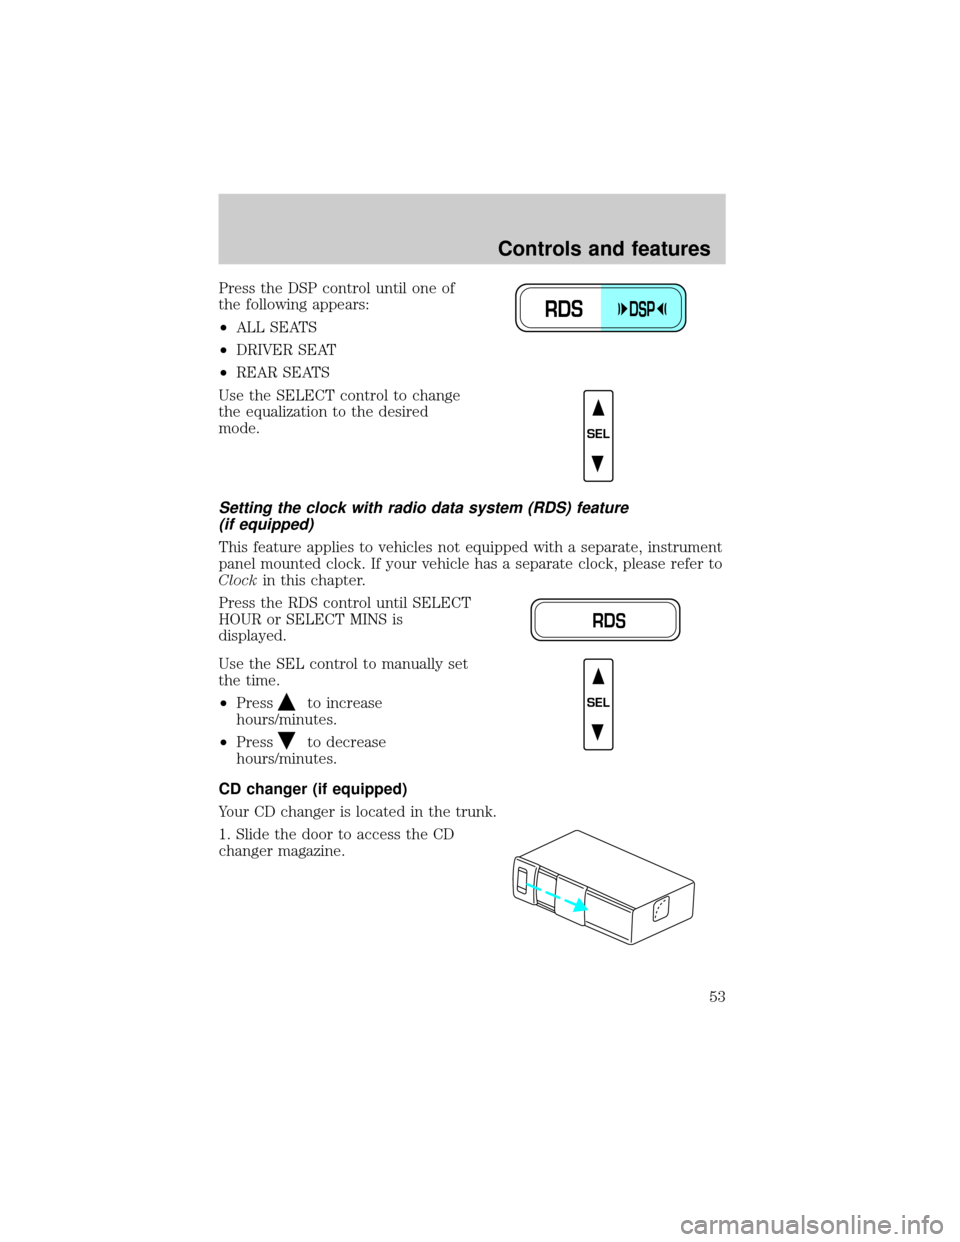
Press the RDS control until SELECT
HOUR or SELECT MINS is
displayed.
Use the SEL control to manually set
the time.
²Press
to increase
hours/minutes.
²Press
to decrease
hours/minutes.
CD changer (if equipped)
Your CD changer is located in the trunk.
1. Slide the door to access the CD
changer magazine.
RDSDSP
SEL
RDS
SEL
Controls and features
53
Page 58 of 240
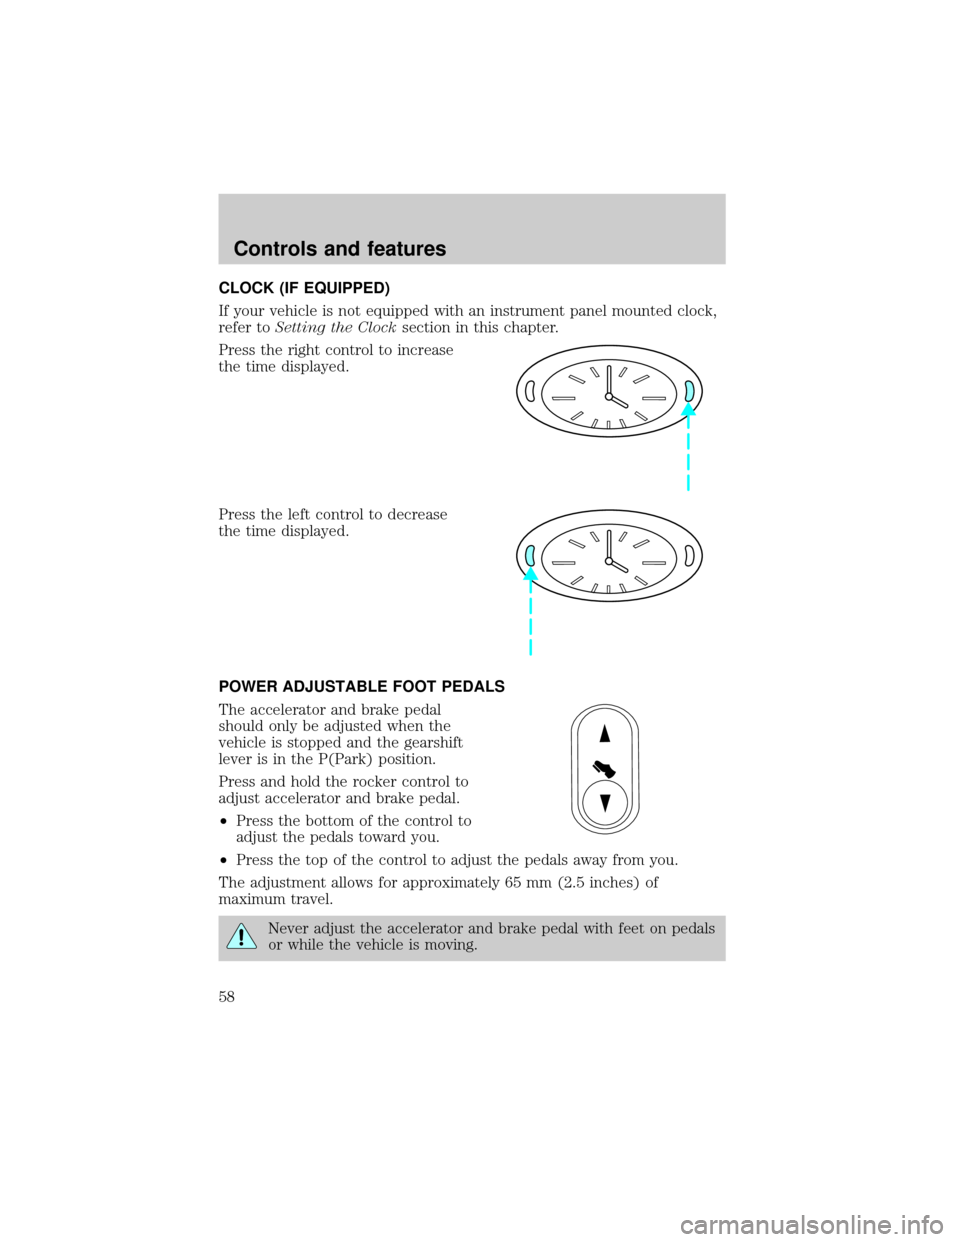
CLOCK (IF EQUIPPED)
If your vehicle is not equipped with an instrument panel mounted clock,
refer toSetting the Clocksection in this chapter.
Press the right control to increase
the time displayed.
Press the left control to decrease
the time displayed.
POWER ADJUSTABLE FOOT PEDALS
The accelerator and brake pedal
should only be adjusted when the
vehicle is stopped and the gearshift
lever is in the P(Park) position.
Press and hold the rocker control to
adjust accelerator and brake pedal.
²Press the bottom of the control to
adjust the pedals toward you.
²Press the top of the control to adjust the pedals away from you.
The adjustment allows for approximately 65 mm (2.5 inches) of
maximum travel.
Never adjust the accelerator and brake pedal with feet on pedals
or while the vehicle is moving.
Controls and features
58
Page 183 of 240
²The vehicle may need to be driven 16 km (10 miles) or more to
relearn the idle and fuel trim strategy.
²If you do not allow the engine to relearn its idle trim, the idle
quality of your vehicle may be adversely affected until the idle
trim is eventually relearned.
If the battery has been disconnected or a new battery has been installed,
the clock must be reset once the battery is reconnected.
²Always dispose of automotive
batteries in a responsible manner.
Follow your local authorized
standards for disposal. Call your
local authorized recycling center
to find out more about recycling
automotive batteries.
AIR FILTER MAINTENANCE
Refer to the scheduled maintenance guide for the appropriate intervals
for changing the air filter element.
When changing the air filter element, use only the Motorcraft air filter
element listed. Refer toMotorcraft Part Numbers.
Note:Do not start your engine with the air cleaner removed and do not
remove it while the engine is running.
Changing the air filter element
1. Loosen the clamp that secures the air inlet tube to the engine air filter
cover and disconnect the tube from the cover.
2. Release the clamps that secure the air filter housing cover.
3. Carefully separate the two halves of the air filter housing.
4. Remove the air filter element from the air filter housing.
5. Wipe the air filter housing and cover clean to remove any dirt or
debris and to ensure good sealing.
LEAD
RETURN
RECYCLE
Maintenance and care
183
Page 232 of 240

engine compartment ..............209
exterior ....................................207
exterior lamps .........................208
instrument cluster lens ..........210
instrument panel ....................210
interior .............................210±211
mirrors .....................................208
plastic parts ............................208
safety belts ..............................211
washing ....................................206
waxing .....................................207
wheels ......................................208
windows ..................................210
wiper blades ............................208
woodtone trim ........................210
Climate control (see Air
conditioning or Heating) ............27
Clock ................................39, 53, 58
Compass, electronic
calibration .................................20
set zone adjustment ...........19±20
Console
rear ............................................76
Controls
power seat .................................92
steering column ........................65
Coolant
checking and adding ..............171
coolant temperature light ........12
refill capacities ................175, 212
specifications ..................214±215
Cruise control (see Speed
control) ........................................62
Customer Assistance ................145
Ford accessories for your
vehicle .....................................226
Ford Extended Service
Plan ..........................................219Getting assistance outside the
U.S. and Canada .....................225
Getting roadside assistance ...145
Getting the service
you need .................................219
Ordering additional owner's
literature .................................228
The Dispute Settlement
Board .......................................222
Utilizing the
Mediation/Arbitration
Program ...................................225
D
Daytime running lamps
(see Lamps) ................................26
Defrost
rear window ..............................33
Dipstick
automatic transmission
fluid ..........................................178
engine oil .................................167
Doors
door ajar warning .....................12
lubricant specifications ..........214
Driving under special
conditions
through water .........................144
E
Emergencies, roadside
jump-starting ..........................158
Emission control system ..........197
Engine ................................215±216
check engine/service engine
soon light ....................................8
cleaning ...................................209
Index
232