air condition LINCOLN TOWN CAR 2001 Owners Manual
[x] Cancel search | Manufacturer: LINCOLN, Model Year: 2001, Model line: TOWN CAR, Model: LINCOLN TOWN CAR 2001Pages: 240, PDF Size: 1.92 MB
Page 9 of 240
3. The fuel cap may not have been properly installed and securely
tightened.
These temporary malfunctions can be corrected by filling the fuel tank
with high quality fuel of the recommended octane and/or properly
installing and securely tightening the gas cap. After three driving cycles
without these or any other temporary malfunctions present, theService
Engine Soonlight should turn off. (A driving cycle consists of a cold
engine startup followed by mixed city/highway driving.) No additional
vehicle service is required.
If theService Engine Soonlight remains on, have your vehicle serviced
at the first available opportunity.
Light is blinking:
Engine misfire is occurring which could damage your catalytic converter.
You should drive in a moderate fashion (avoid heavy acceleration and
deceleration) and have your vehicle serviced at the first available
opportunity.
Under engine misfire conditions, excessive exhaust temperatures
could damage the catalytic converter, the fuel system, interior
floor coverings or other vehicle components, possibly causing a fire.
Air bag readiness
Momentarily illuminates when the
ignition is turned ON. If the light
fails to illuminate, continues to flash
or remains on, have the system
serviced immediately.
Safety belt
Momentarily illuminates when the
ignition is turned to the ON position
to remind you to fasten your safety
belts. For more information, refer to
theSeating and safety restraints
chapter.
AIR
BAG
Instrumentation
9
Page 14 of 240
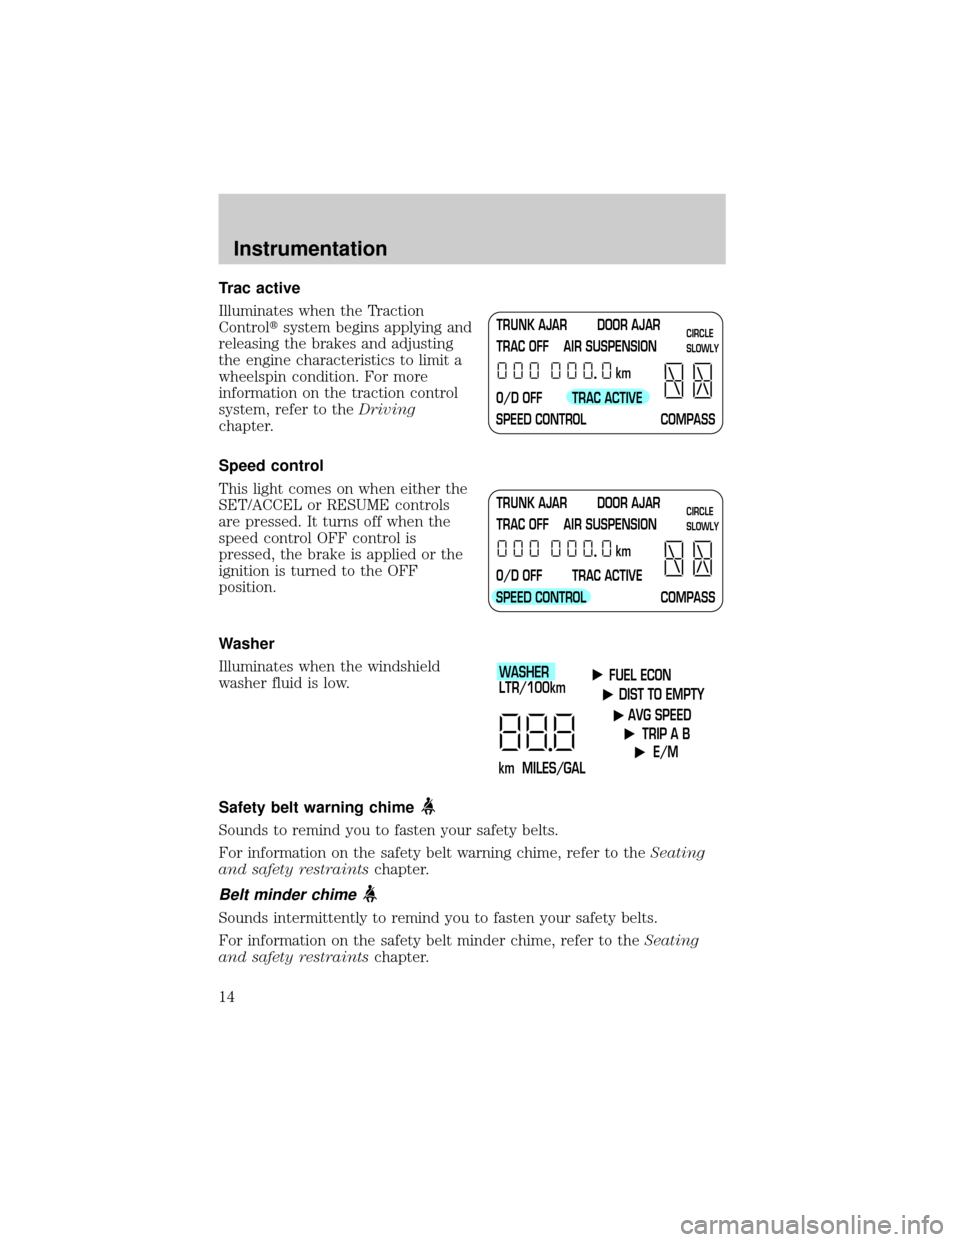
Trac active
Illuminates when the Traction
Controltsystem begins applying and
releasing the brakes and adjusting
the engine characteristics to limit a
wheelspin condition. For more
information on the traction control
system, refer to theDriving
chapter.
Speed control
This light comes on when either the
SET/ACCEL or RESUME controls
are pressed. It turns off when the
speed control OFF control is
pressed, the brake is applied or the
ignition is turned to the OFF
position.
Washer
Illuminates when the windshield
washer fluid is low.
Safety belt warning chime
Sounds to remind you to fasten your safety belts.
For information on the safety belt warning chime, refer to theSeating
and safety restraintschapter.
Belt minder chime
Sounds intermittently to remind you to fasten your safety belts.
For information on the safety belt minder chime, refer to theSeating
and safety restraintschapter.
TRUNK AJAR DOOR AJAR
TRAC OFF AIR SUSPENSION
O/D OFF TRAC ACTIVE
SPEED CONTROL COMPASSkmCIRCLE
SLOWLY
TRUNK AJAR DOOR AJAR
TRAC OFF AIR SUSPENSION
O/D OFF TRAC ACTIVE
SPEED CONTROL COMPASSkmCIRCLE
SLOWLY
FUEL ECON
DIST TO EMPTY
AVG SPEED
TRIP A B
E/M
km MILES/GALWASHER
LTR/100km
Instrumentation
14
Page 19 of 240
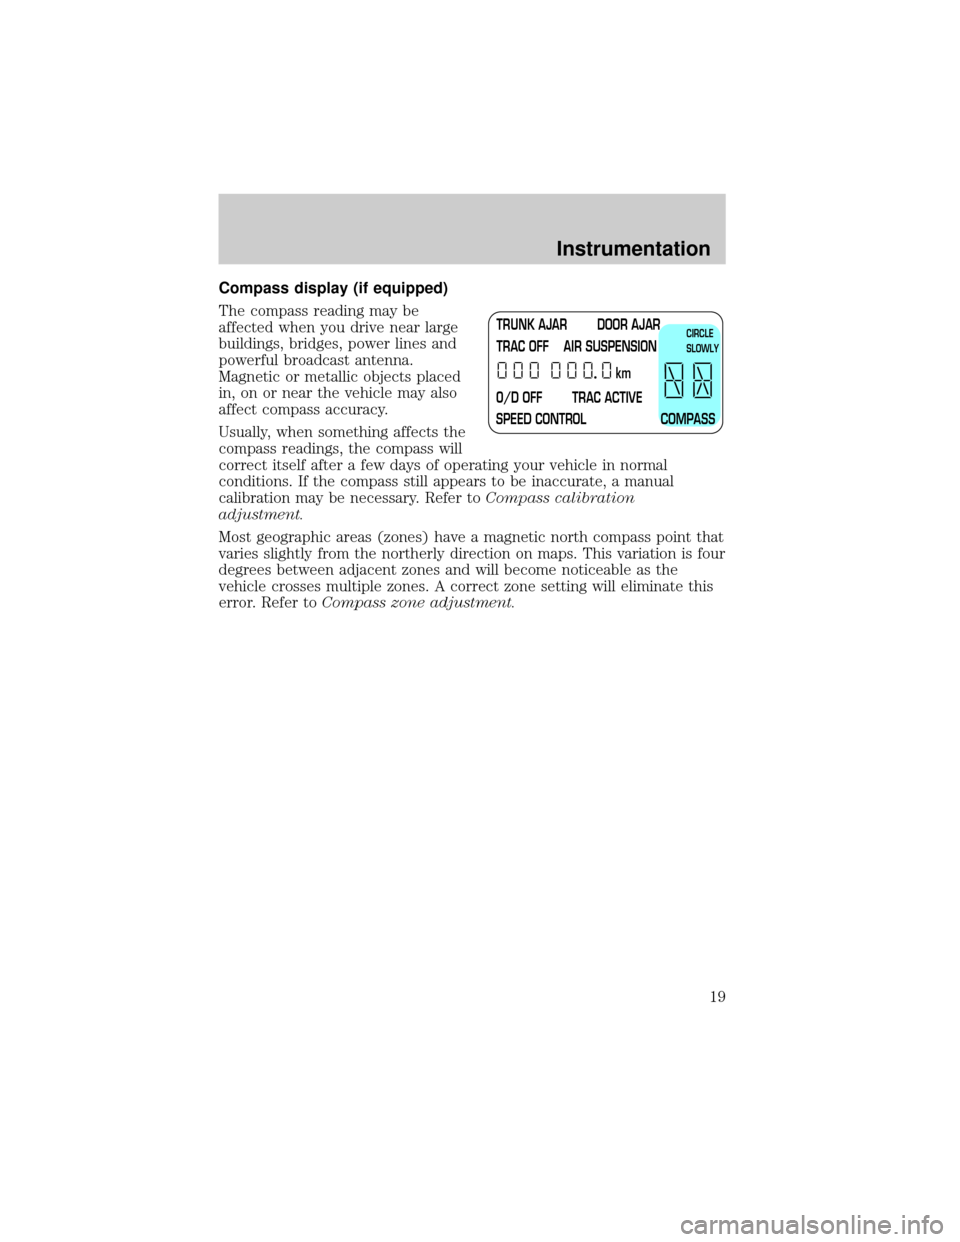
Compass display (if equipped)
The compass reading may be
affected when you drive near large
buildings, bridges, power lines and
powerful broadcast antenna.
Magnetic or metallic objects placed
in, on or near the vehicle may also
affect compass accuracy.
Usually, when something affects the
compass readings, the compass will
correct itself after a few days of operating your vehicle in normal
conditions. If the compass still appears to be inaccurate, a manual
calibration may be necessary. Refer toCompass calibration
adjustment.
Most geographic areas (zones) have a magnetic north compass point that
varies slightly from the northerly direction on maps. This variation is four
degrees between adjacent zones and will become noticeable as the
vehicle crosses multiple zones. A correct zone setting will eliminate this
error. Refer toCompass zone adjustment.
TRUNK AJAR DOOR AJAR
TRAC OFF AIR SUSPENSION
O/D OFF TRAC ACTIVE
SPEED CONTROL COMPASSkmCIRCLE
SLOWLY
Instrumentation
19
Page 20 of 240
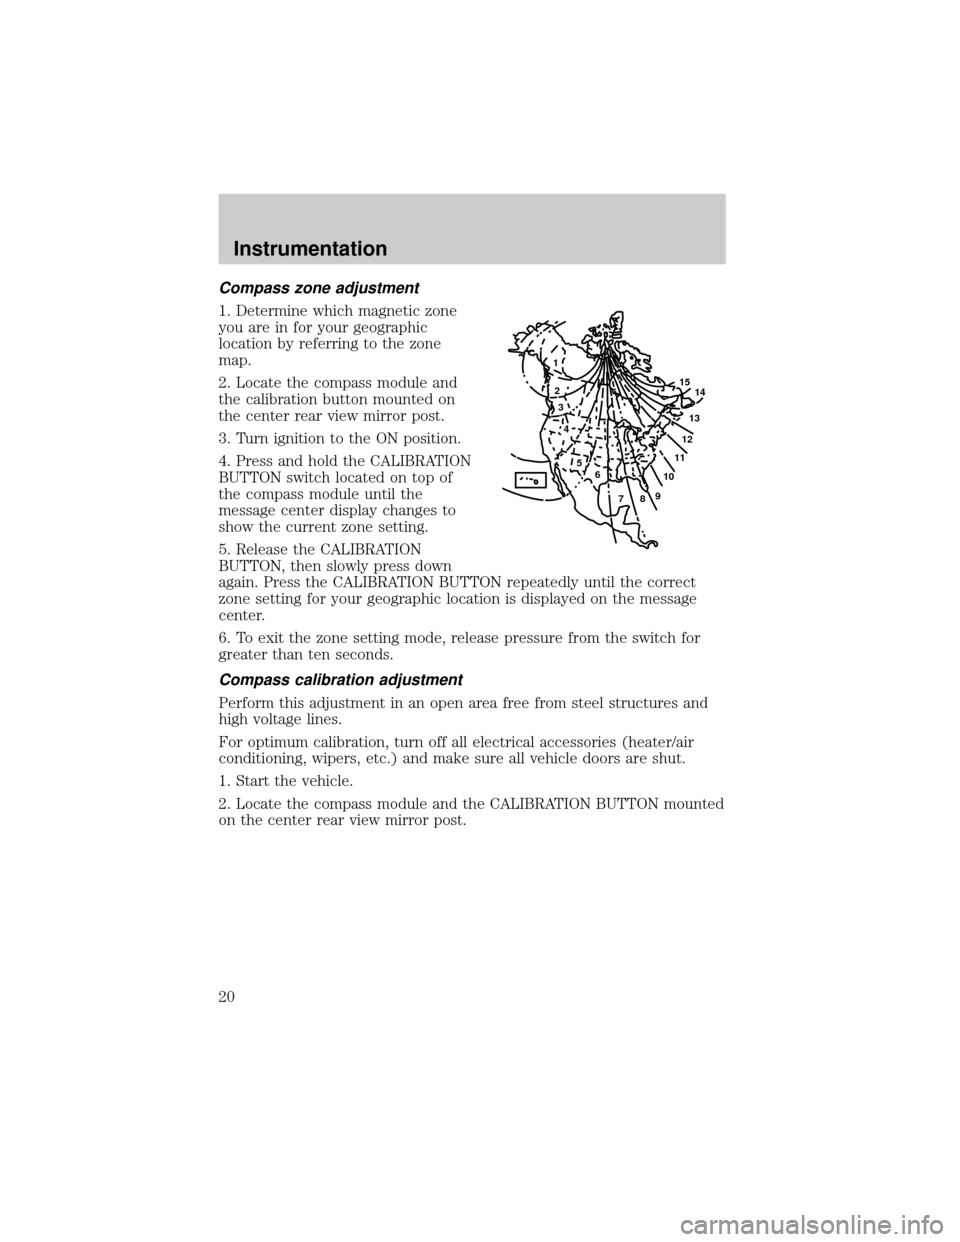
Compass zone adjustment
1. Determine which magnetic zone
you are in for your geographic
location by referring to the zone
map.
2. Locate the compass module and
the calibration button mounted on
the center rear view mirror post.
3. Turn ignition to the ON position.
4. Press and hold the CALIBRATION
BUTTON switch located on top of
the compass module until the
message center display changes to
show the current zone setting.
5. Release the CALIBRATION
BUTTON, then slowly press down
again. Press the CALIBRATION BUTTON repeatedly until the correct
zone setting for your geographic location is displayed on the message
center.
6. To exit the zone setting mode, release pressure from the switch for
greater than ten seconds.
Compass calibration adjustment
Perform this adjustment in an open area free from steel structures and
high voltage lines.
For optimum calibration, turn off all electrical accessories (heater/air
conditioning, wipers, etc.) and make sure all vehicle doors are shut.
1. Start the vehicle.
2. Locate the compass module and the CALIBRATION BUTTON mounted
on the center rear view mirror post.
1
2
3
4
5
6
7891011121314 15
Instrumentation
20
Page 27 of 240
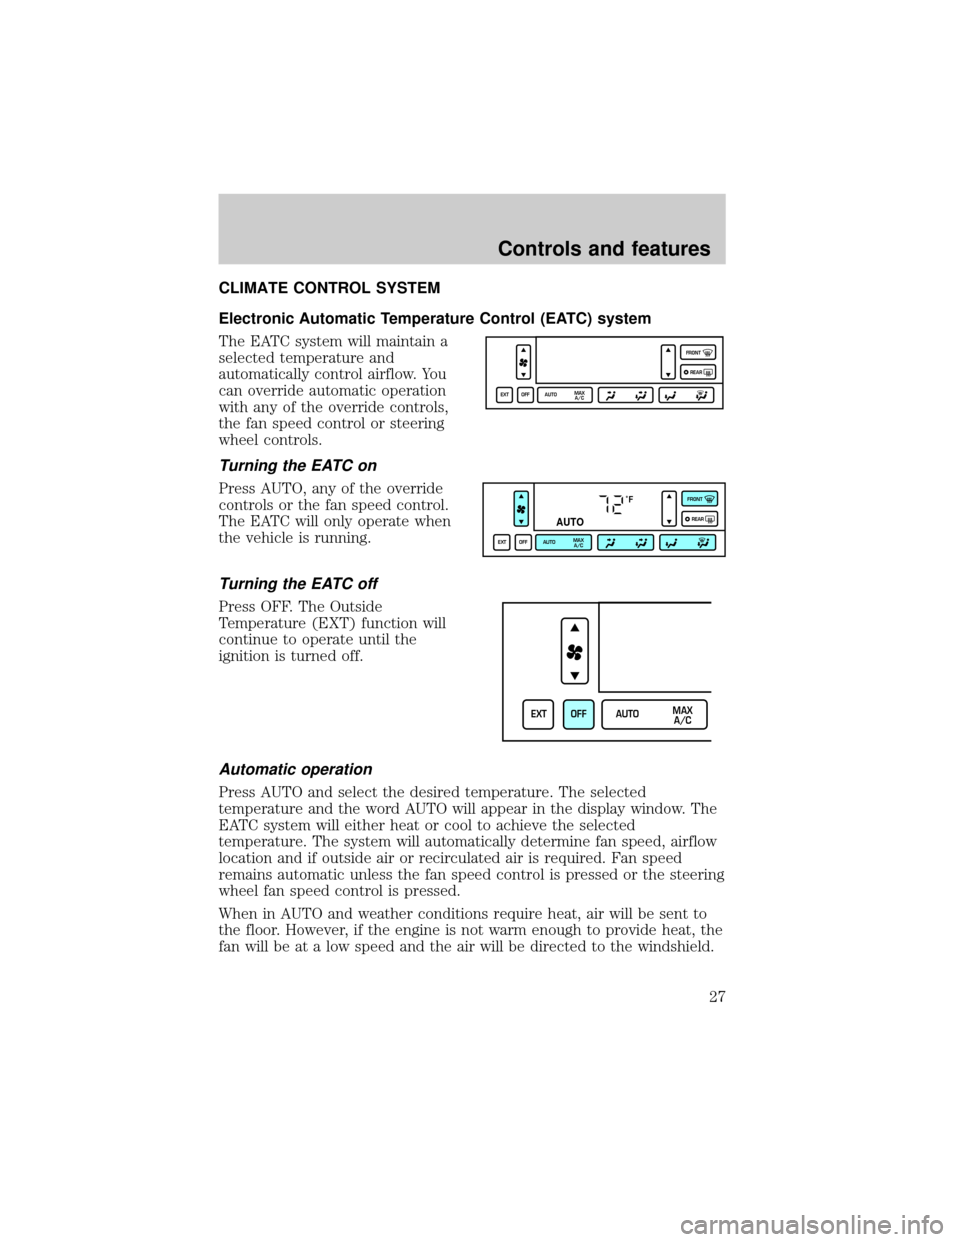
CLIMATE CONTROL SYSTEM
Electronic Automatic Temperature Control (EATC) system
The EATC system will maintain a
selected temperature and
automatically control airflow. You
can override automatic operation
with any of the override controls,
the fan speed control or steering
wheel controls.
Turning the EATC on
Press AUTO, any of the override
controls or the fan speed control.
The EATC will only operate when
the vehicle is running.
Turning the EATC off
Press OFF. The Outside
Temperature (EXT) function will
continue to operate until the
ignition is turned off.
Automatic operation
Press AUTO and select the desired temperature. The selected
temperature and the word AUTO will appear in the display window. The
EATC system will either heat or cool to achieve the selected
temperature. The system will automatically determine fan speed, airflow
location and if outside air or recirculated air is required. Fan speed
remains automatic unless the fan speed control is pressed or the steering
wheel fan speed control is pressed.
When in AUTO and weather conditions require heat, air will be sent to
the floor. However, if the engine is not warm enough to provide heat, the
fan will be at a low speed and the air will be directed to the windshield.
EXT OFF AUTOMAX
A/CFRONT
REAR
˚F
AUTO
EXT OFF AUTOMAX
A/CFRONT
REAR
EXT OFF AUTOMAX
A/C
Controls and features
27
Page 28 of 240
In approximately 31¤2minutes or less, the fan speed will start to increase
and the airflow location will change to the floor area.
If unusual conditions exist (i.e.-window fogging, etc.), the manual
override controls allow you to select airflow locations and the fan control
allows you to adjust fan speed as necessary.
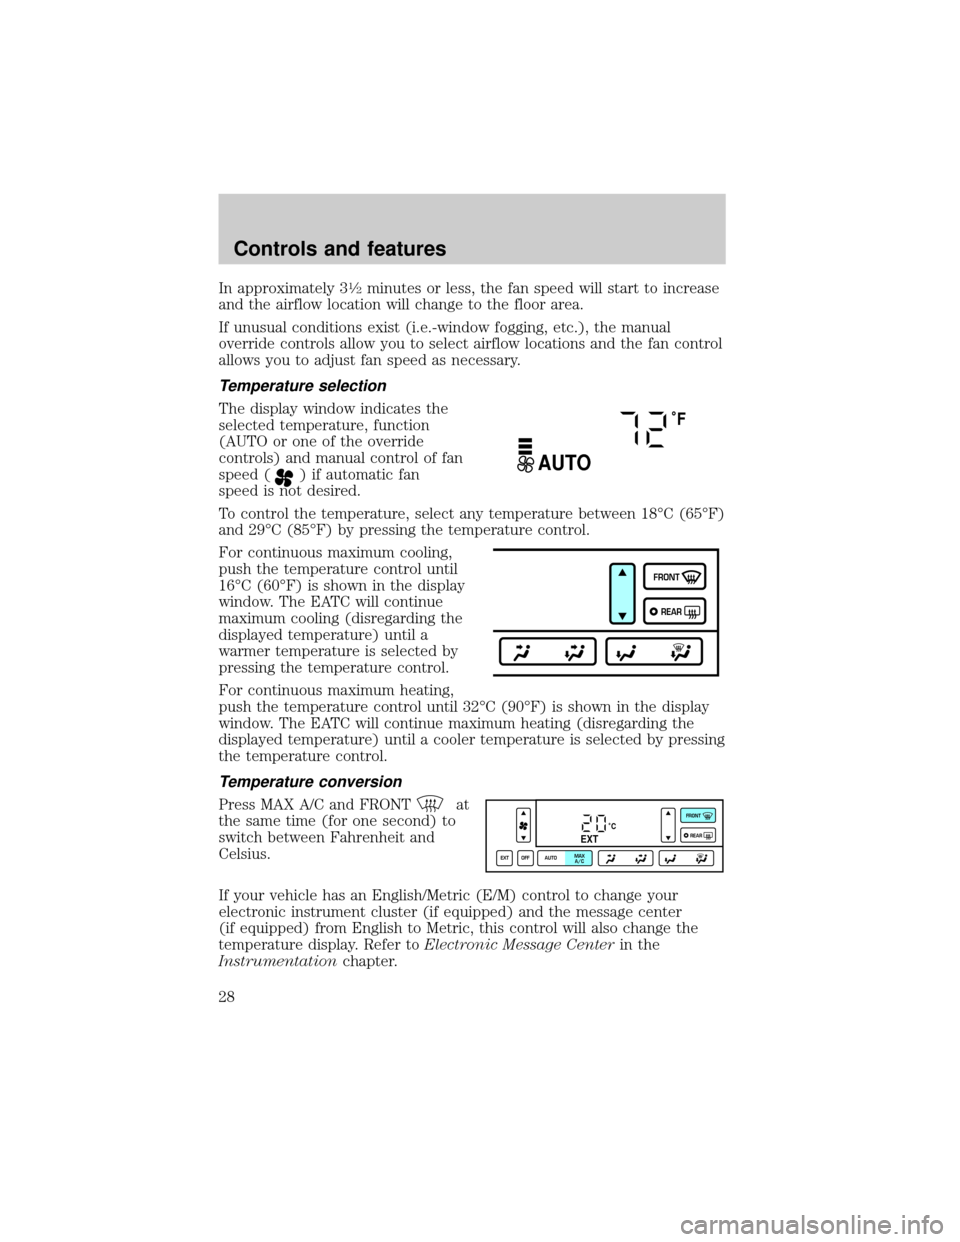
Temperature selection
The display window indicates the
selected temperature, function
(AUTO or one of the override
controls) and manual control of fan
speed (
) if automatic fan
speed is not desired.
To control the temperature, select any temperature between 18ÉC (65ÉF)
and 29ÉC (85ÉF) by pressing the temperature control.
For continuous maximum cooling,
push the temperature control until
16ÉC (60ÉF) is shown in the display
window. The EATC will continue
maximum cooling (disregarding the
displayed temperature) until a
warmer temperature is selected by
pressing the temperature control.
For continuous maximum heating,
push the temperature control until 32ÉC (90ÉF) is shown in the display
window. The EATC will continue maximum heating (disregarding the
displayed temperature) until a cooler temperature is selected by pressing
the temperature control.
Temperature conversion
Press MAX A/C and FRONTat
the same time (for one second) to
switch between Fahrenheit and
Celsius.
If your vehicle has an English/Metric (E/M) control to change your
electronic instrument cluster (if equipped) and the message center
(if equipped) from English to Metric, this control will also change the
temperature display. Refer toElectronic Message Centerin the
Instrumentationchapter.
˚F
AUTO
FRONT
REAR
˚CEXT
EXT OFF AUTOMAX
A/CFRONT
REAR
Controls and features
28
Page 29 of 240
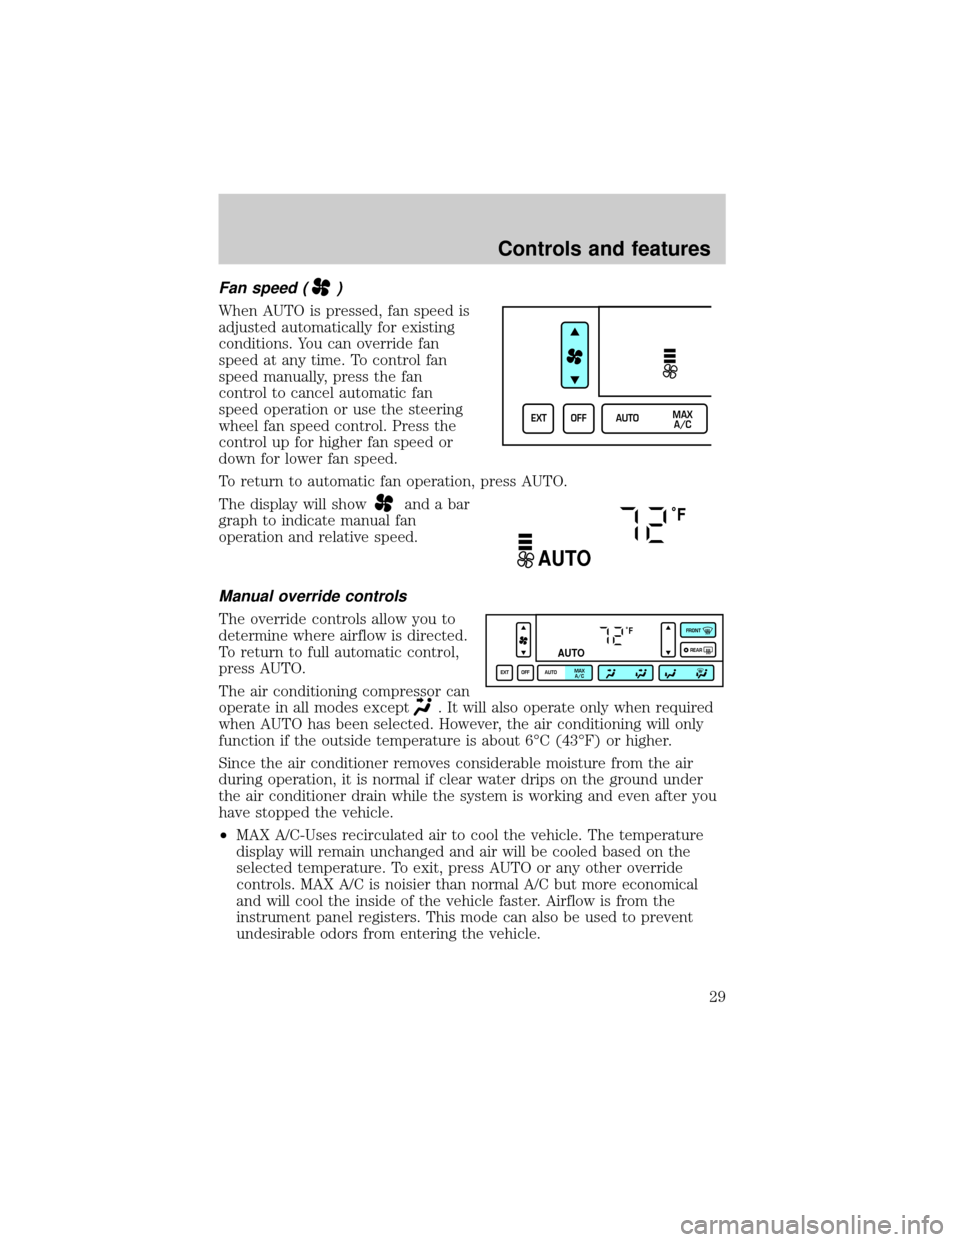
Fan speed ()
When AUTO is pressed, fan speed is
adjusted automatically for existing
conditions. You can override fan
speed at any time. To control fan
speed manually, press the fan
control to cancel automatic fan
speed operation or use the steering
wheel fan speed control. Press the
control up for higher fan speed or
down for lower fan speed.
To return to automatic fan operation, press AUTO.
The display will show
and a bar
graph to indicate manual fan
operation and relative speed.
Manual override controls
The override controls allow you to
determine where airflow is directed.
To return to full automatic control,
press AUTO.
The air conditioning compressor can
operate in all modes except
. It will also operate only when required
when AUTO has been selected. However, the air conditioning will only
function if the outside temperature is about 6ÉC (43ÉF) or higher.
Since the air conditioner removes considerable moisture from the air
during operation, it is normal if clear water drips on the ground under
the air conditioner drain while the system is working and even after you
have stopped the vehicle.
²MAX A/C-Uses recirculated air to cool the vehicle. The temperature
display will remain unchanged and air will be cooled based on the
selected temperature. To exit, press AUTO or any other override
controls. MAX A/C is noisier than normal A/C but more economical
and will cool the inside of the vehicle faster. Airflow is from the
instrument panel registers. This mode can also be used to prevent
undesirable odors from entering the vehicle.
EXT OFF AUTOMAX
A/C
˚F
AUTO
˚F
AUTO
EXT OFF AUTOMAX
A/CFRONT
REAR
Controls and features
29
Page 30 of 240
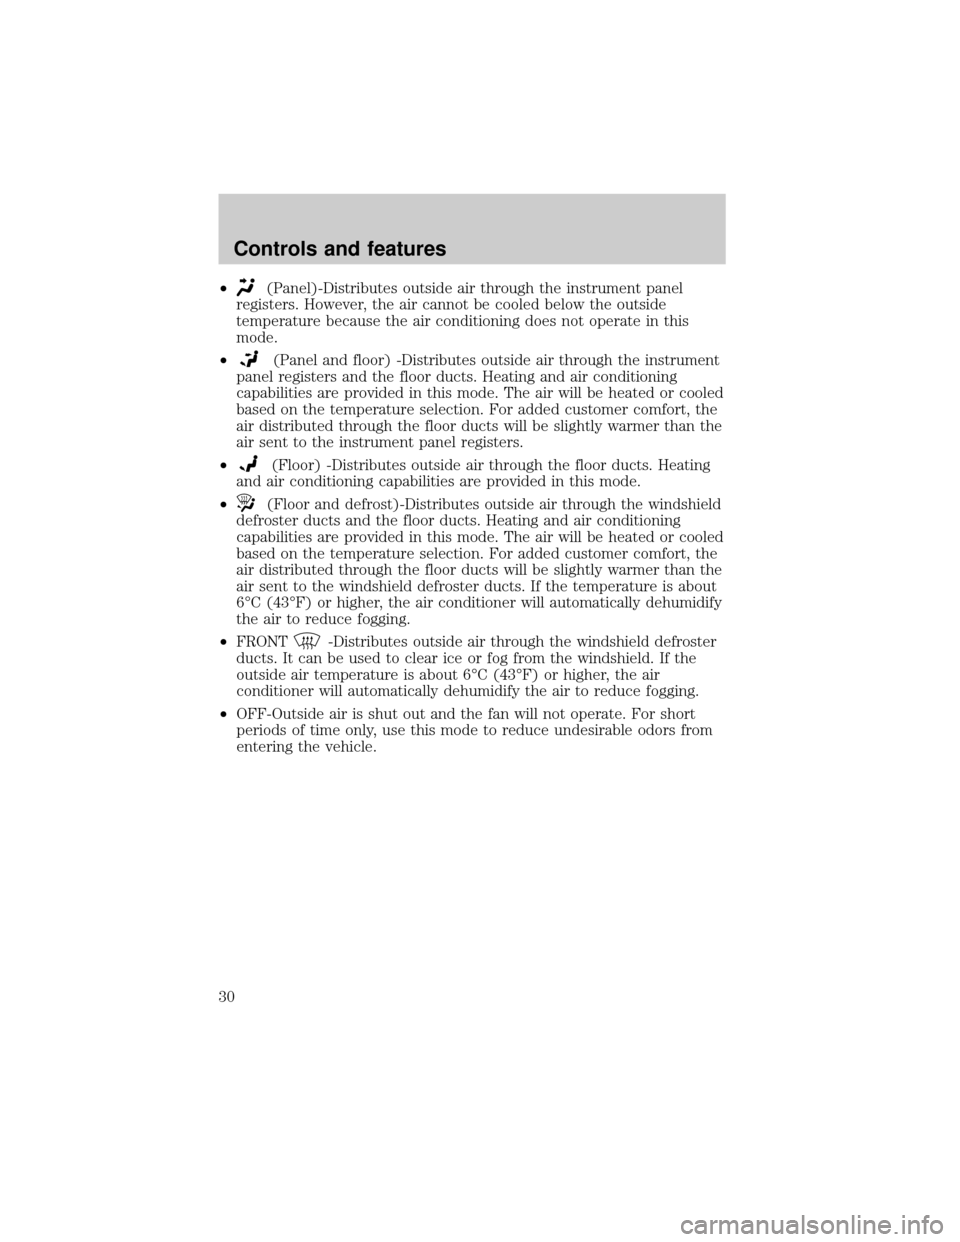
²(Panel)-Distributes outside air through the instrument panel
registers. However, the air cannot be cooled below the outside
temperature because the air conditioning does not operate in this
mode.
²
(Panel and floor) -Distributes outside air through the instrument
panel registers and the floor ducts. Heating and air conditioning
capabilities are provided in this mode. The air will be heated or cooled
based on the temperature selection. For added customer comfort, the
air distributed through the floor ducts will be slightly warmer than the
air sent to the instrument panel registers.
²
(Floor) -Distributes outside air through the floor ducts. Heating
and air conditioning capabilities are provided in this mode.
²
(Floor and defrost)-Distributes outside air through the windshield
defroster ducts and the floor ducts. Heating and air conditioning
capabilities are provided in this mode. The air will be heated or cooled
based on the temperature selection. For added customer comfort, the
air distributed through the floor ducts will be slightly warmer than the
air sent to the windshield defroster ducts. If the temperature is about
6ÉC (43ÉF) or higher, the air conditioner will automatically dehumidify
the air to reduce fogging.
²FRONT
-Distributes outside air through the windshield defroster
ducts. It can be used to clear ice or fog from the windshield. If the
outside air temperature is about 6ÉC (43ÉF) or higher, the air
conditioner will automatically dehumidify the air to reduce fogging.
²OFF-Outside air is shut out and the fan will not operate. For short
periods of time only, use this mode to reduce undesirable odors from
entering the vehicle.
Controls and features
30
Page 31 of 240
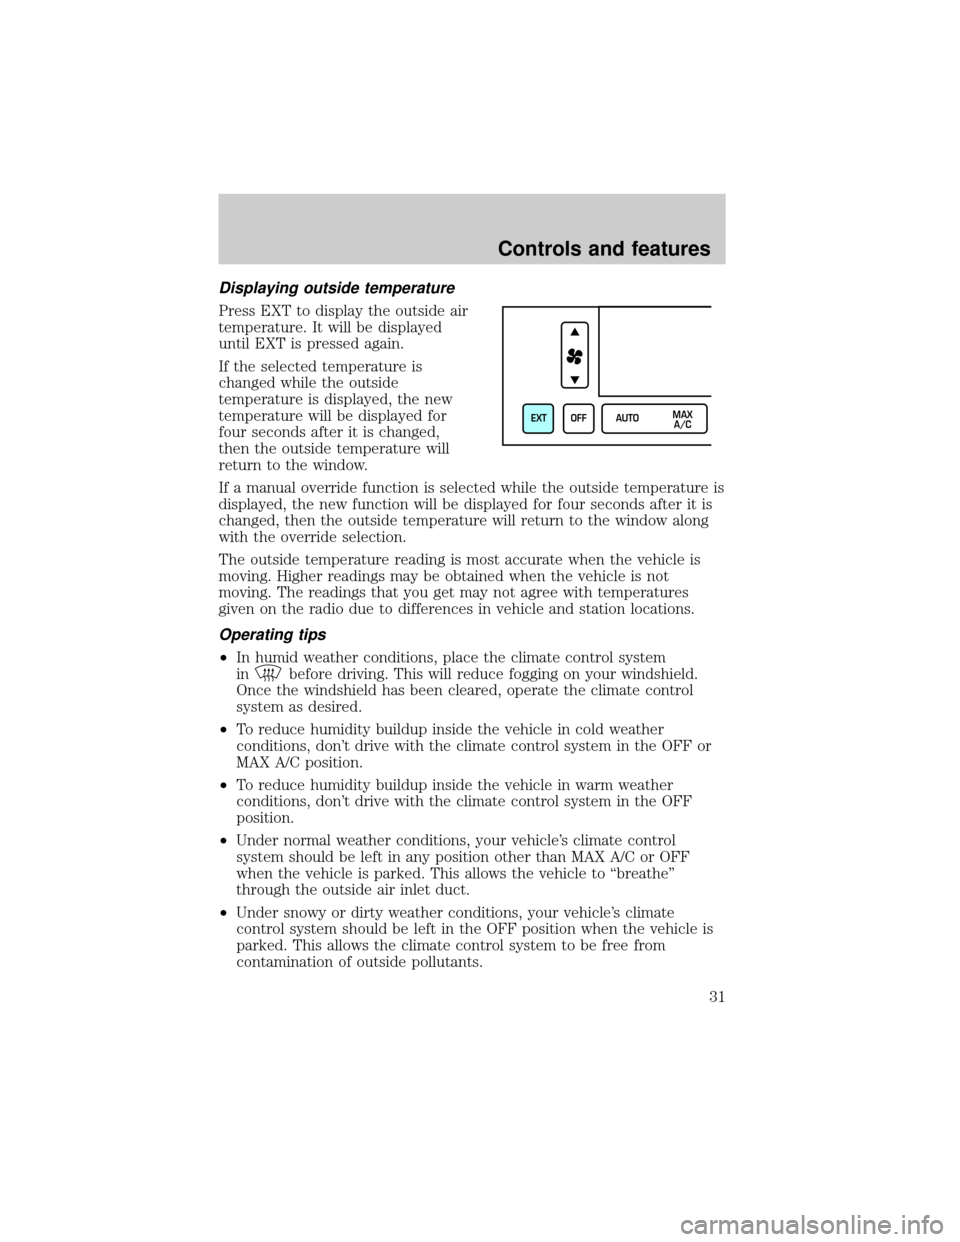
Displaying outside temperature
Press EXT to display the outside air
temperature. It will be displayed
until EXT is pressed again.
If the selected temperature is
changed while the outside
temperature is displayed, the new
temperature will be displayed for
four seconds after it is changed,
then the outside temperature will
return to the window.
If a manual override function is selected while the outside temperature is
displayed, the new function will be displayed for four seconds after it is
changed, then the outside temperature will return to the window along
with the override selection.
The outside temperature reading is most accurate when the vehicle is
moving. Higher readings may be obtained when the vehicle is not
moving. The readings that you get may not agree with temperatures
given on the radio due to differences in vehicle and station locations.
Operating tips
²In humid weather conditions, place the climate control system
in
before driving. This will reduce fogging on your windshield.
Once the windshield has been cleared, operate the climate control
system as desired.
²To reduce humidity buildup inside the vehicle in cold weather
conditions, don't drive with the climate control system in the OFF or
MAX A/C position.
²To reduce humidity buildup inside the vehicle in warm weather
conditions, don't drive with the climate control system in the OFF
position.
²Under normal weather conditions, your vehicle's climate control
system should be left in any position other than MAX A/C or OFF
when the vehicle is parked. This allows the vehicle to ªbreatheº
through the outside air inlet duct.
²Under snowy or dirty weather conditions, your vehicle's climate
control system should be left in the OFF position when the vehicle is
parked. This allows the climate control system to be free from
contamination of outside pollutants.
EXT OFF AUTOMAX
A/C
Controls and features
31
Page 32 of 240
²If your vehicle has been parked with the windows closed during warm
weather conditions, the air conditioner will perform more efficiently in
cooling the vehicle if driven for two or three minutes with the
windows open. This will force most of the hot, stale air out of the
vehicle. Once the vehicle has been ªaired outº, operate the climate
control system as desired.
²Do not place objects under the front seat that may interfere with the
airflow to the rear seats.
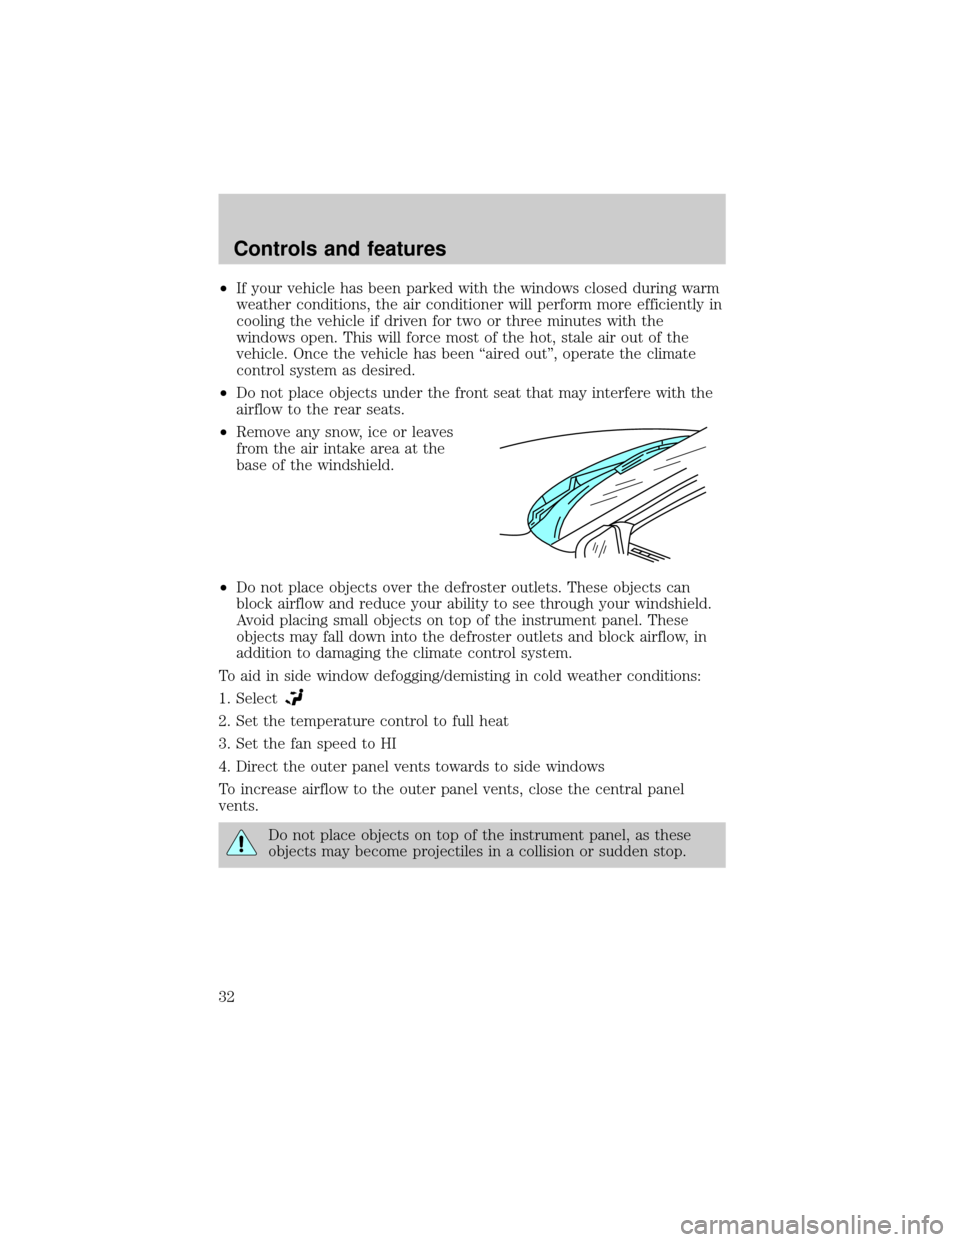
²Remove any snow, ice or leaves
from the air intake area at the
base of the windshield.
²Do not place objects over the defroster outlets. These objects can
block airflow and reduce your ability to see through your windshield.
Avoid placing small objects on top of the instrument panel. These
objects may fall down into the defroster outlets and block airflow, in
addition to damaging the climate control system.
To aid in side window defogging/demisting in cold weather conditions:
1. Select
2. Set the temperature control to full heat
3. Set the fan speed to HI
4. Direct the outer panel vents towards to side windows
To increase airflow to the outer panel vents, close the central panel
vents.
Do not place objects on top of the instrument panel, as these
objects may become projectiles in a collision or sudden stop.
Controls and features
32