instrument panel LINCOLN TOWN CAR 2001 Owners Manual
[x] Cancel search | Manufacturer: LINCOLN, Model Year: 2001, Model line: TOWN CAR, Model: LINCOLN TOWN CAR 2001Pages: 240, PDF Size: 1.92 MB
Page 6 of 240
OFF
P
PANEL
DIMLO
F
S
OFF
MIST
RESUME
SET ACCEL
COAST
OFF
ONNEXT
MODEVOL
TEMP FAN
102030405060
70
80
90
100
120206080
40100
120
160 140
180MPHkm/h110HF
E1
2FILL ON
LEFT<
CHECK
CAP
SERVICE
ENGINE
SOON
kmCIRCLE
SLOWLY FUEL ECON
DIST TO EMPTY
AVG SPEED
TRIP A B
E/M
km MILES/GALWASHER
LTR/100km
BRAKE
O/D OFF TRAC ACTIVE
SPEED CONTROL COMPASS
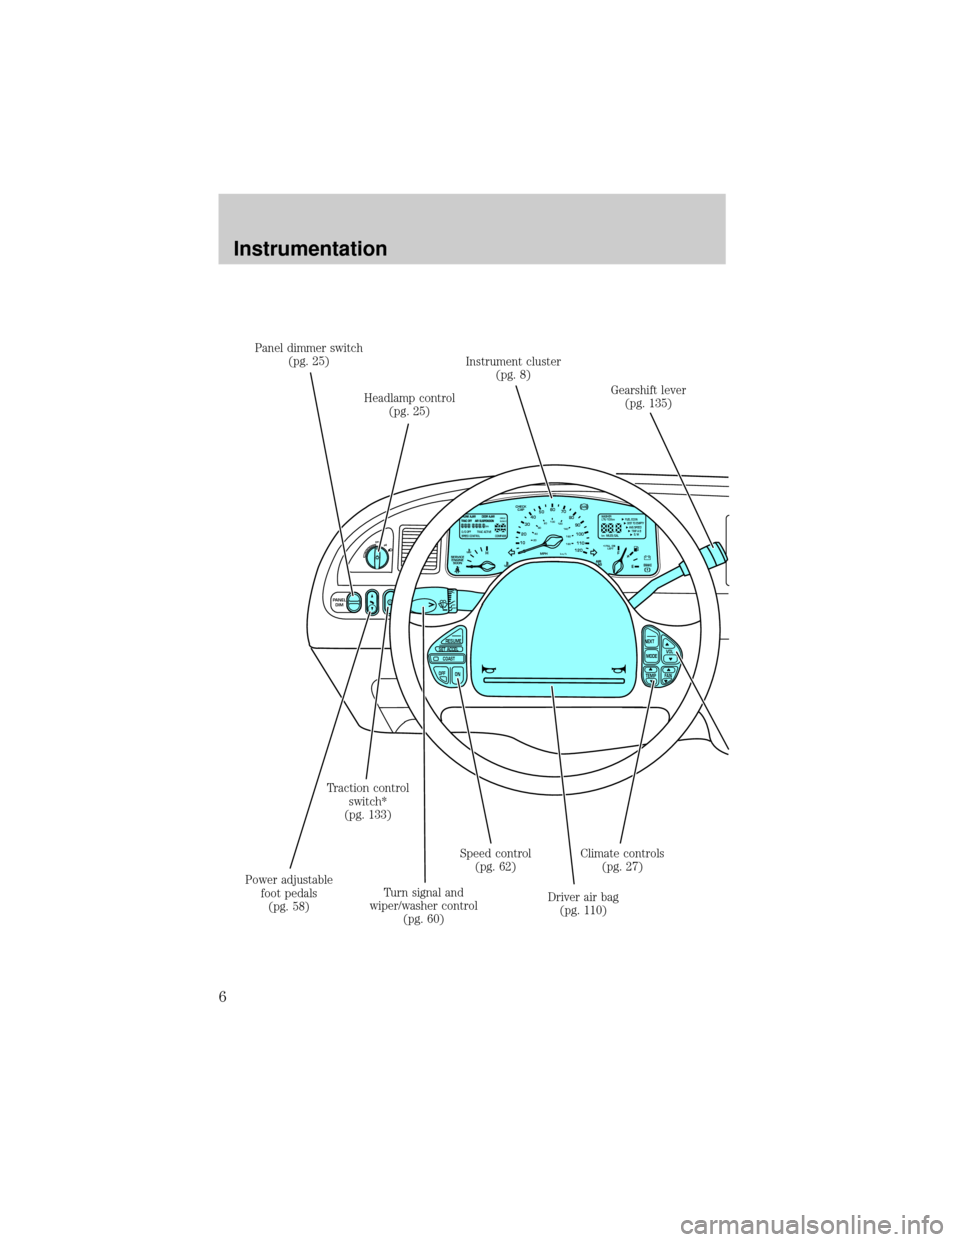
Panel dimmer switch
(pg. 25)
Headlamp control
(pg. 25)Instrument cluster
(pg. 8)
Gearshift lever
(pg. 135)
Climate controls
(pg. 27)
Driver air bag
(pg. 110) Speed control
(pg. 62)
Turn signal and
wiper/washer control
(pg. 60) Traction control
switch*
(pg. 133)
Power adjustable
foot pedals
(pg. 58)
Instrumentation
6
Page 18 of 240
²see how many kilometers/miles
you can drive before running out
of fuel.
²see how many liters/gallons of
fuel remain in the fuel tank.
²monitor the average fuel
economy.
²monitor the average speed.
²check the distance traveled during a trip on either Trip A or Trip B.
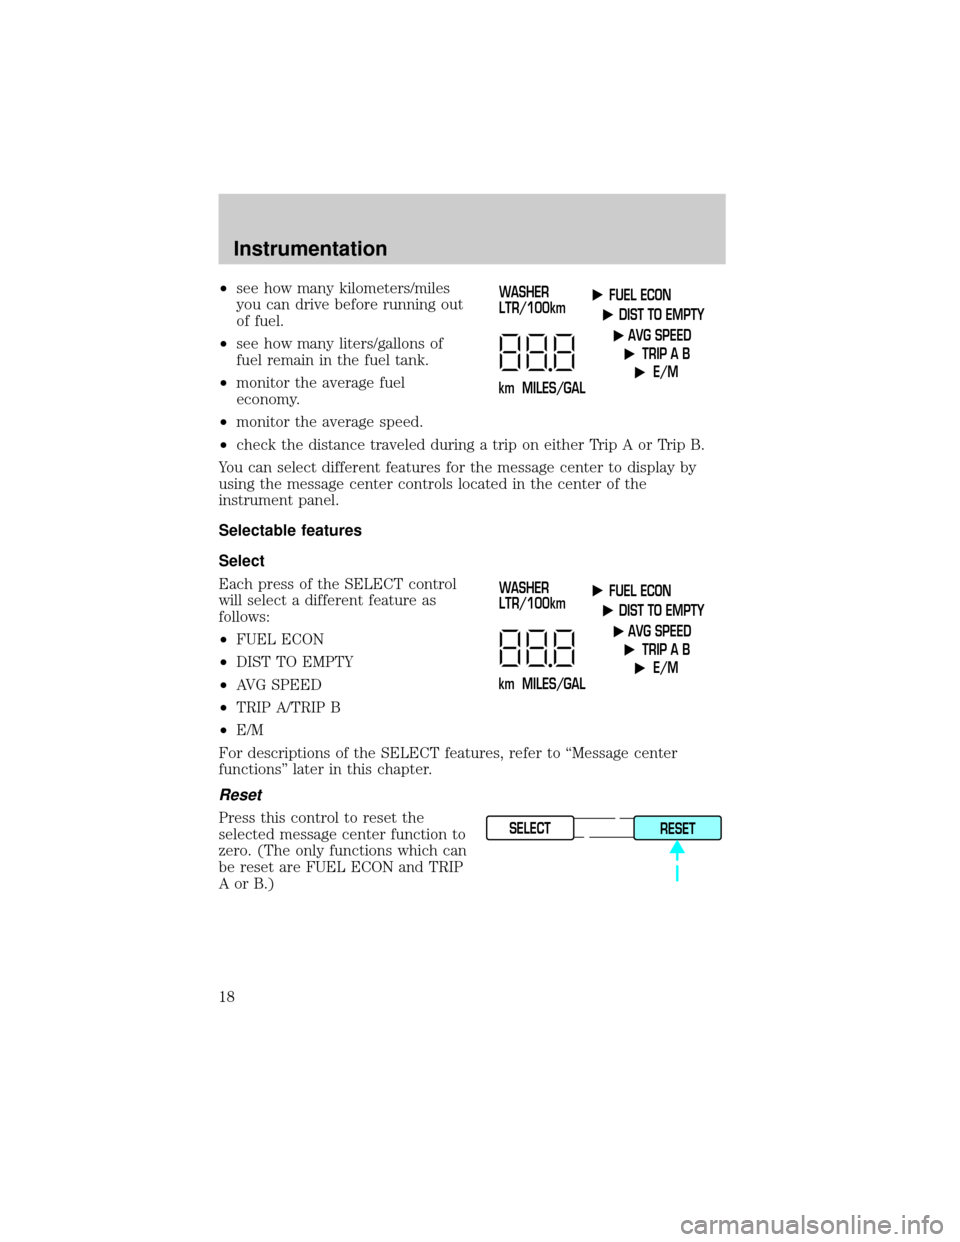
You can select different features for the message center to display by
using the message center controls located in the center of the
instrument panel.
Selectable features
Select
Each press of the SELECT control
will select a different feature as
follows:
²FUEL ECON
²DIST TO EMPTY
²AVG SPEED
²TRIP A/TRIP B
²E/M
For descriptions of the SELECT features, refer to ªMessage center
functionsº later in this chapter.
Reset
Press this control to reset the
selected message center function to
zero. (The only functions which can
be reset are FUEL ECON and TRIP
AorB.)
FUEL ECON
DIST TO EMPTY
AVG SPEED
TRIP A B
E/M
km MILES/GALWASHER
LTR/100km
FUEL ECON
DIST TO EMPTY
AVG SPEED
TRIP A B
E/M
km MILES/GALWASHER
LTR/100km
SELECT
RESET
Instrumentation
18
Page 25 of 240
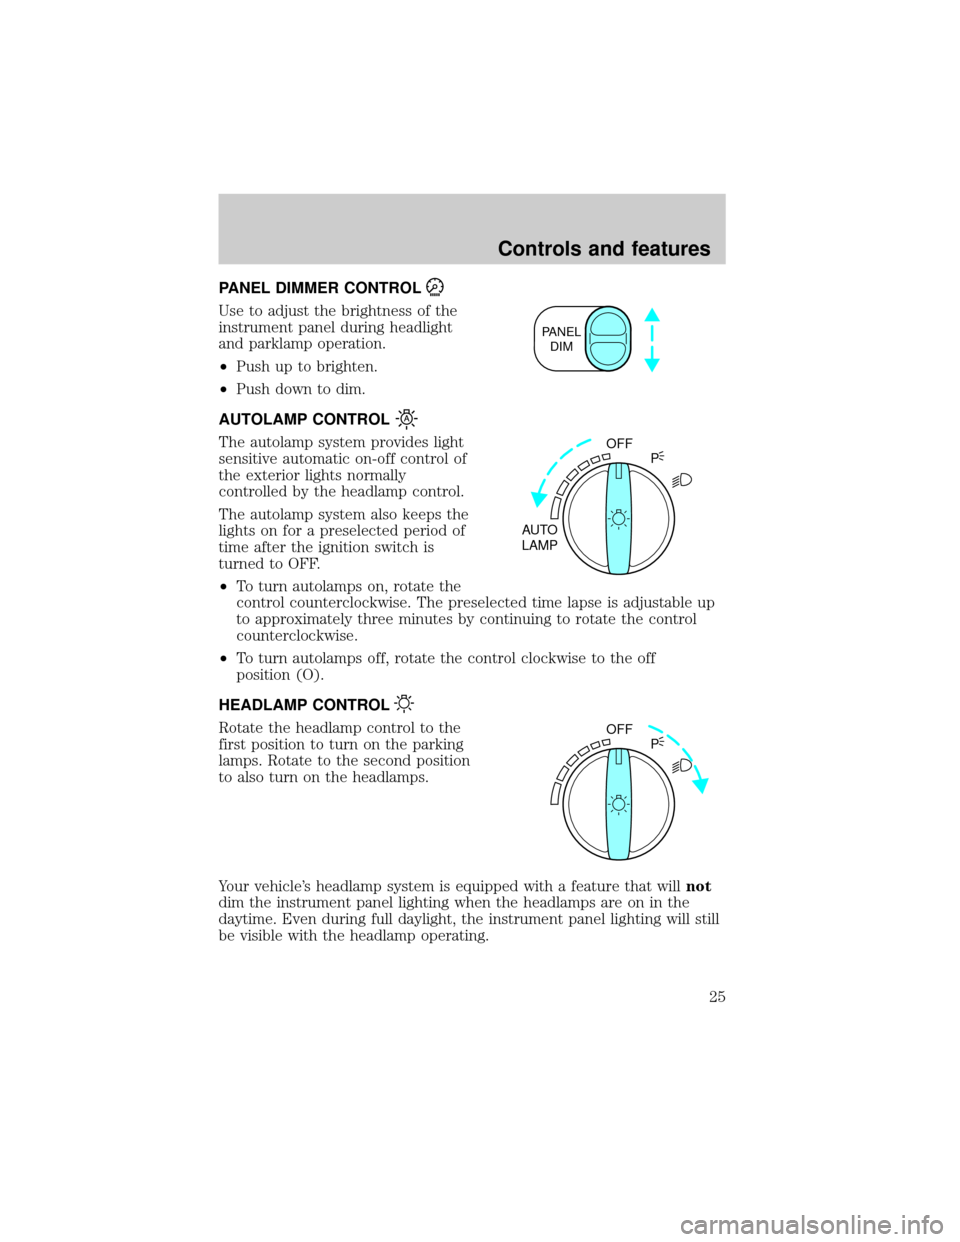
PANEL DIMMER CONTROL
Use to adjust the brightness of the
instrument panel during headlight
and parklamp operation.
²Push up to brighten.
²Push down to dim.
AUTOLAMP CONTROL
The autolamp system provides light
sensitive automatic on-off control of
the exterior lights normally
controlled by the headlamp control.
The autolamp system also keeps the
lights on for a preselected period of
time after the ignition switch is
turned to OFF.
²To turn autolamps on, rotate the
control counterclockwise. The preselected time lapse is adjustable up
to approximately three minutes by continuing to rotate the control
counterclockwise.
²To turn autolamps off, rotate the control clockwise to the off
position (O).
HEADLAMP CONTROL
Rotate the headlamp control to the
first position to turn on the parking
lamps. Rotate to the second position
to also turn on the headlamps.
Your vehicle's headlamp system is equipped with a feature that willnot
dim the instrument panel lighting when the headlamps are on in the
daytime. Even during full daylight, the instrument panel lighting will still
be visible with the headlamp operating.
PANEL
DIM
OFF
AUTO
LAMPP
OFF
P
Controls and features
25
Page 26 of 240
Daytime running lamps (DRL) (if equipped)
The daytime running light system turns the headlamps on, with a
reduced light output, when:
²the ignition is in RUN,
²the transmission is not in P (Park), and
²the headlamp system is not turned on by another feature such as
using the headlamp control or Autolamp.
Always remember to turn on your headlamps at dusk or during
inclement weather. The Daytime Running Light (DRL) System
does not activate your tail lamps and generally may not provide
adequate lighting during these conditions. Failure to activate your
headlamps under these conditions may result in a collision.
The Daytime Running Light (DRL) system will automatically illuminate
the tail lamps and parking lamps at dusk (when the headlamp control is
in the OFF position). Since the instrument panel will not be illuminated,
turn on the headlamps using the headlamp control.
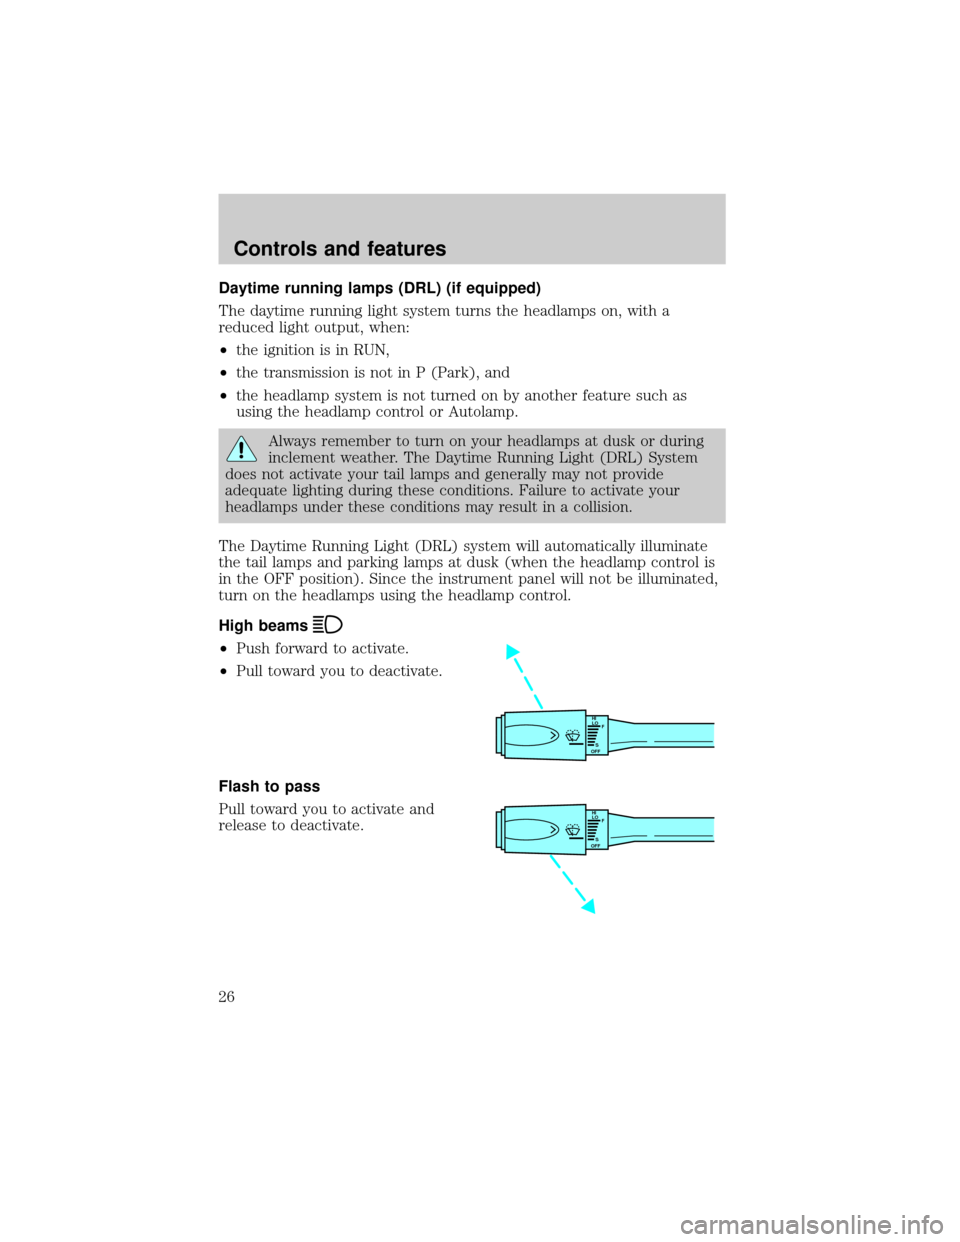
High beams
²Push forward to activate.
²Pull toward you to deactivate.
Flash to pass
Pull toward you to activate and
release to deactivate.
HI
LO
F
S
OFF
HI
LO
F
S
OFF
Controls and features
26
Page 29 of 240
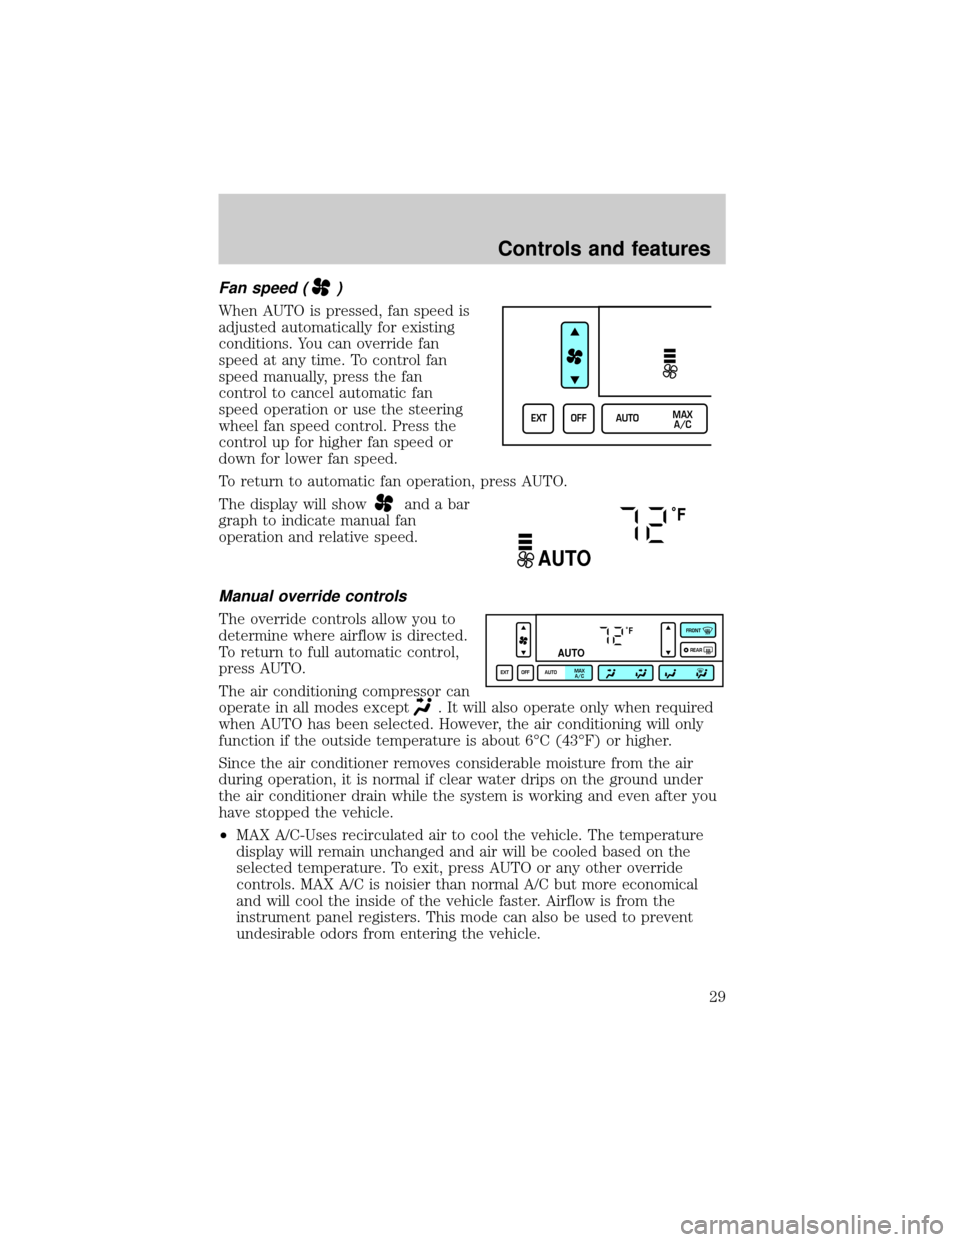
Fan speed ()
When AUTO is pressed, fan speed is
adjusted automatically for existing
conditions. You can override fan
speed at any time. To control fan
speed manually, press the fan
control to cancel automatic fan
speed operation or use the steering
wheel fan speed control. Press the
control up for higher fan speed or
down for lower fan speed.
To return to automatic fan operation, press AUTO.
The display will show
and a bar
graph to indicate manual fan
operation and relative speed.
Manual override controls
The override controls allow you to
determine where airflow is directed.
To return to full automatic control,
press AUTO.
The air conditioning compressor can
operate in all modes except
. It will also operate only when required
when AUTO has been selected. However, the air conditioning will only
function if the outside temperature is about 6ÉC (43ÉF) or higher.
Since the air conditioner removes considerable moisture from the air
during operation, it is normal if clear water drips on the ground under
the air conditioner drain while the system is working and even after you
have stopped the vehicle.
²MAX A/C-Uses recirculated air to cool the vehicle. The temperature
display will remain unchanged and air will be cooled based on the
selected temperature. To exit, press AUTO or any other override
controls. MAX A/C is noisier than normal A/C but more economical
and will cool the inside of the vehicle faster. Airflow is from the
instrument panel registers. This mode can also be used to prevent
undesirable odors from entering the vehicle.
EXT OFF AUTOMAX
A/C
˚F
AUTO
˚F
AUTO
EXT OFF AUTOMAX
A/CFRONT
REAR
Controls and features
29
Page 30 of 240
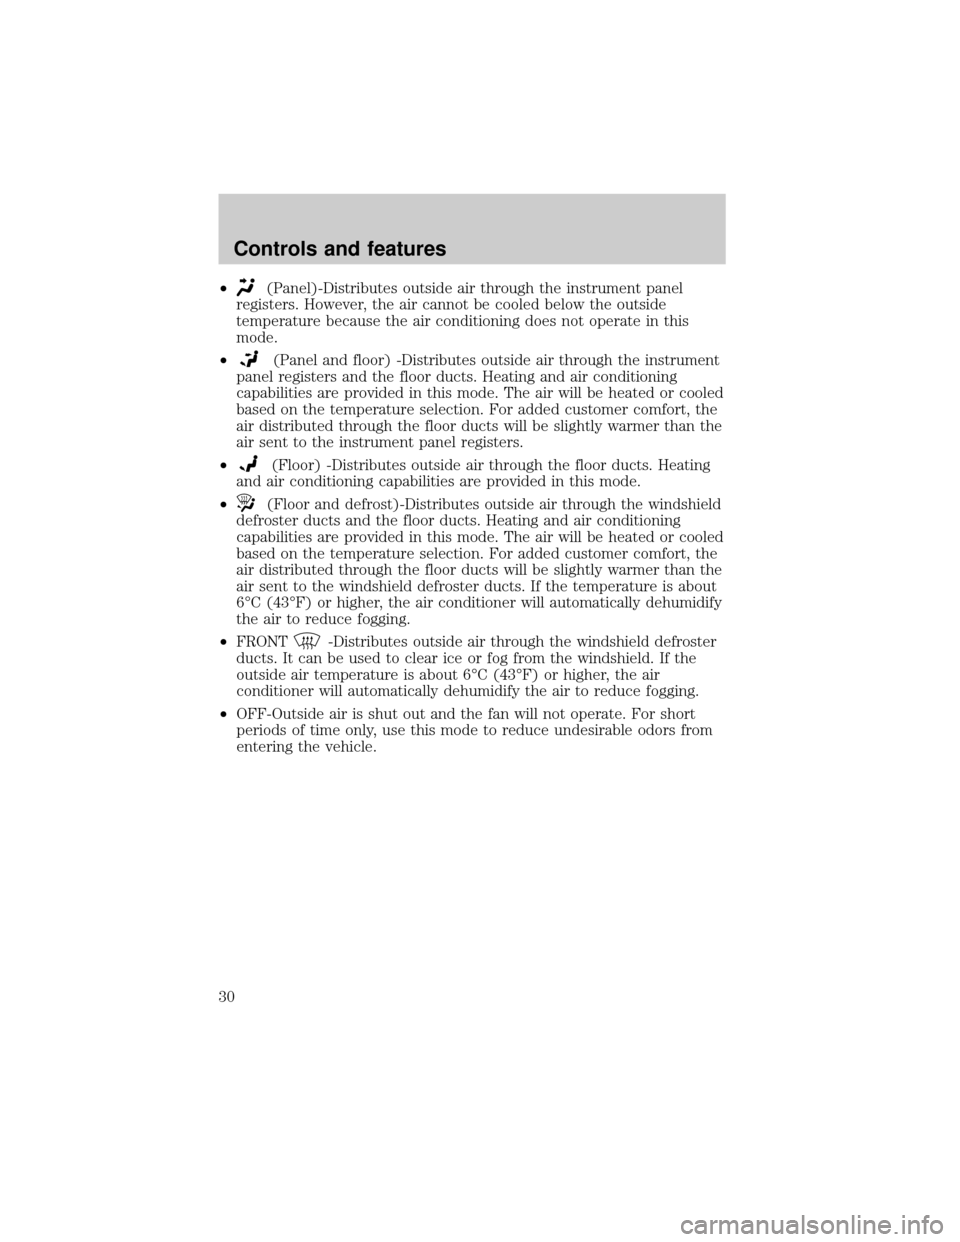
²(Panel)-Distributes outside air through the instrument panel
registers. However, the air cannot be cooled below the outside
temperature because the air conditioning does not operate in this
mode.
²
(Panel and floor) -Distributes outside air through the instrument
panel registers and the floor ducts. Heating and air conditioning
capabilities are provided in this mode. The air will be heated or cooled
based on the temperature selection. For added customer comfort, the
air distributed through the floor ducts will be slightly warmer than the
air sent to the instrument panel registers.
²
(Floor) -Distributes outside air through the floor ducts. Heating
and air conditioning capabilities are provided in this mode.
²
(Floor and defrost)-Distributes outside air through the windshield
defroster ducts and the floor ducts. Heating and air conditioning
capabilities are provided in this mode. The air will be heated or cooled
based on the temperature selection. For added customer comfort, the
air distributed through the floor ducts will be slightly warmer than the
air sent to the windshield defroster ducts. If the temperature is about
6ÉC (43ÉF) or higher, the air conditioner will automatically dehumidify
the air to reduce fogging.
²FRONT
-Distributes outside air through the windshield defroster
ducts. It can be used to clear ice or fog from the windshield. If the
outside air temperature is about 6ÉC (43ÉF) or higher, the air
conditioner will automatically dehumidify the air to reduce fogging.
²OFF-Outside air is shut out and the fan will not operate. For short
periods of time only, use this mode to reduce undesirable odors from
entering the vehicle.
Controls and features
30
Page 32 of 240
²If your vehicle has been parked with the windows closed during warm
weather conditions, the air conditioner will perform more efficiently in
cooling the vehicle if driven for two or three minutes with the
windows open. This will force most of the hot, stale air out of the
vehicle. Once the vehicle has been ªaired outº, operate the climate
control system as desired.
²Do not place objects under the front seat that may interfere with the
airflow to the rear seats.
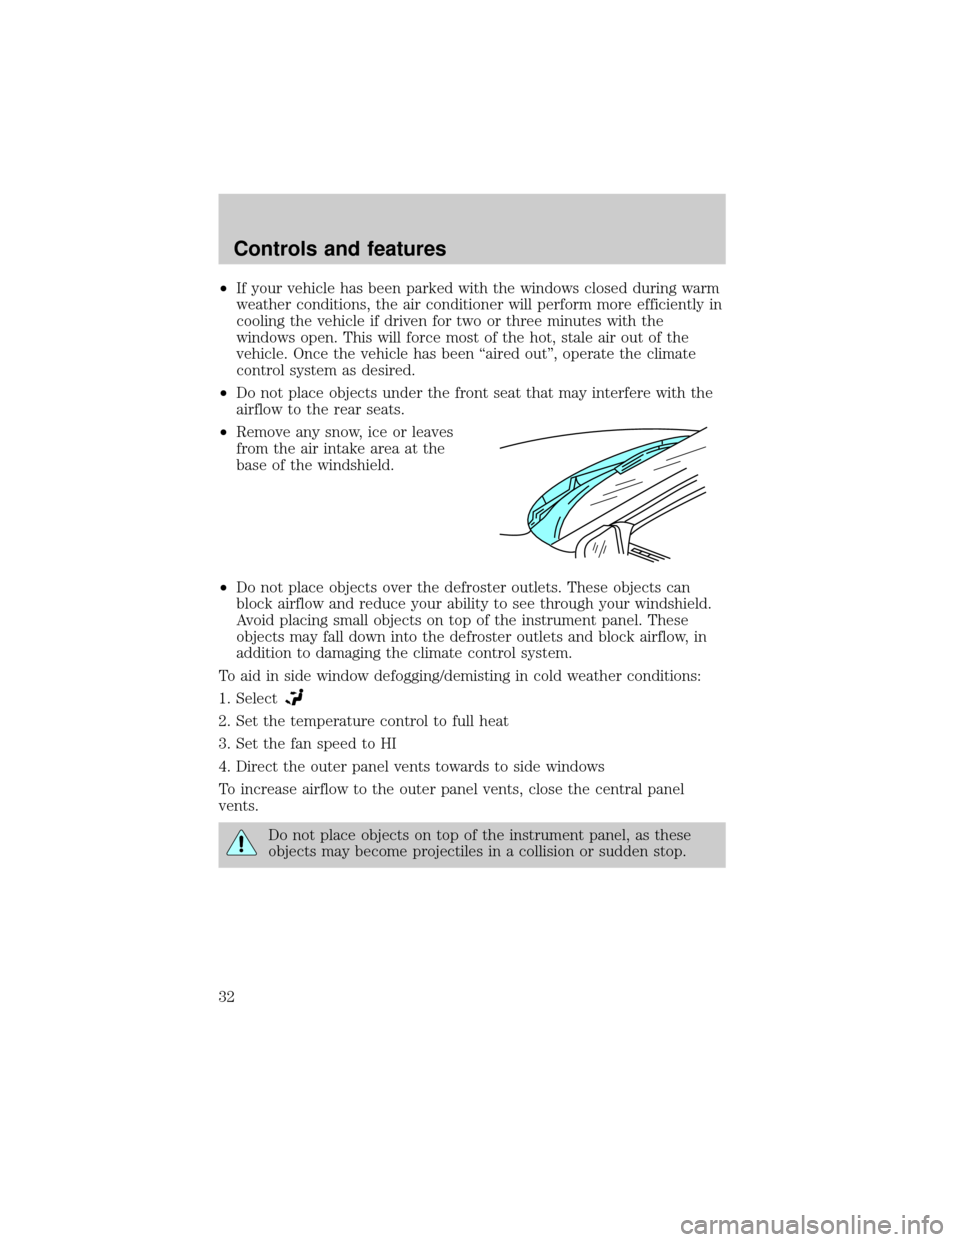
²Remove any snow, ice or leaves
from the air intake area at the
base of the windshield.
²Do not place objects over the defroster outlets. These objects can
block airflow and reduce your ability to see through your windshield.
Avoid placing small objects on top of the instrument panel. These
objects may fall down into the defroster outlets and block airflow, in
addition to damaging the climate control system.
To aid in side window defogging/demisting in cold weather conditions:
1. Select
2. Set the temperature control to full heat
3. Set the fan speed to HI
4. Direct the outer panel vents towards to side windows
To increase airflow to the outer panel vents, close the central panel
vents.
Do not place objects on top of the instrument panel, as these
objects may become projectiles in a collision or sudden stop.
Controls and features
32
Page 33 of 240
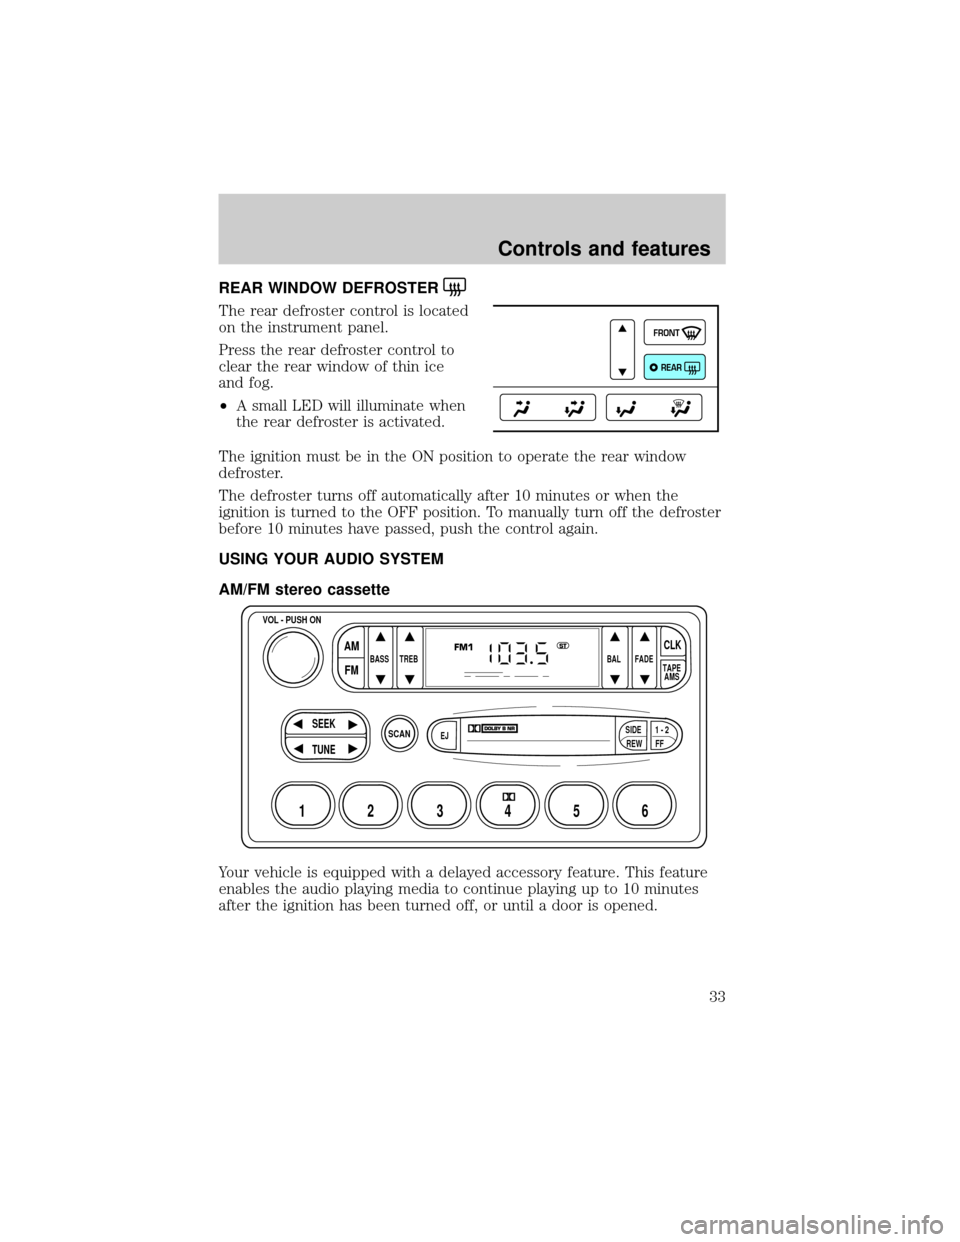
REAR WINDOW DEFROSTER
The rear defroster control is located
on the instrument panel.
Press the rear defroster control to
clear the rear window of thin ice
and fog.
²A small LED will illuminate when
the rear defroster is activated.
The ignition must be in the ON position to operate the rear window
defroster.
The defroster turns off automatically after 10 minutes or when the
ignition is turned to the OFF position. To manually turn off the defroster
before 10 minutes have passed, push the control again.
USING YOUR AUDIO SYSTEM
AM/FM stereo cassette
Your vehicle is equipped with a delayed accessory feature. This feature
enables the audio playing media to continue playing up to 10 minutes
after the ignition has been turned off, or until a door is opened.
FRONT
REAR
SCAN
BASS TREB BAL FADE
SIDE
EJ
REW FF1 - 2TAPE
AMS
VOL - PUSH ON
SEEK
TUNE
AM
FMCLK
12 3456
FM1ST
Controls and features
33
Page 39 of 240
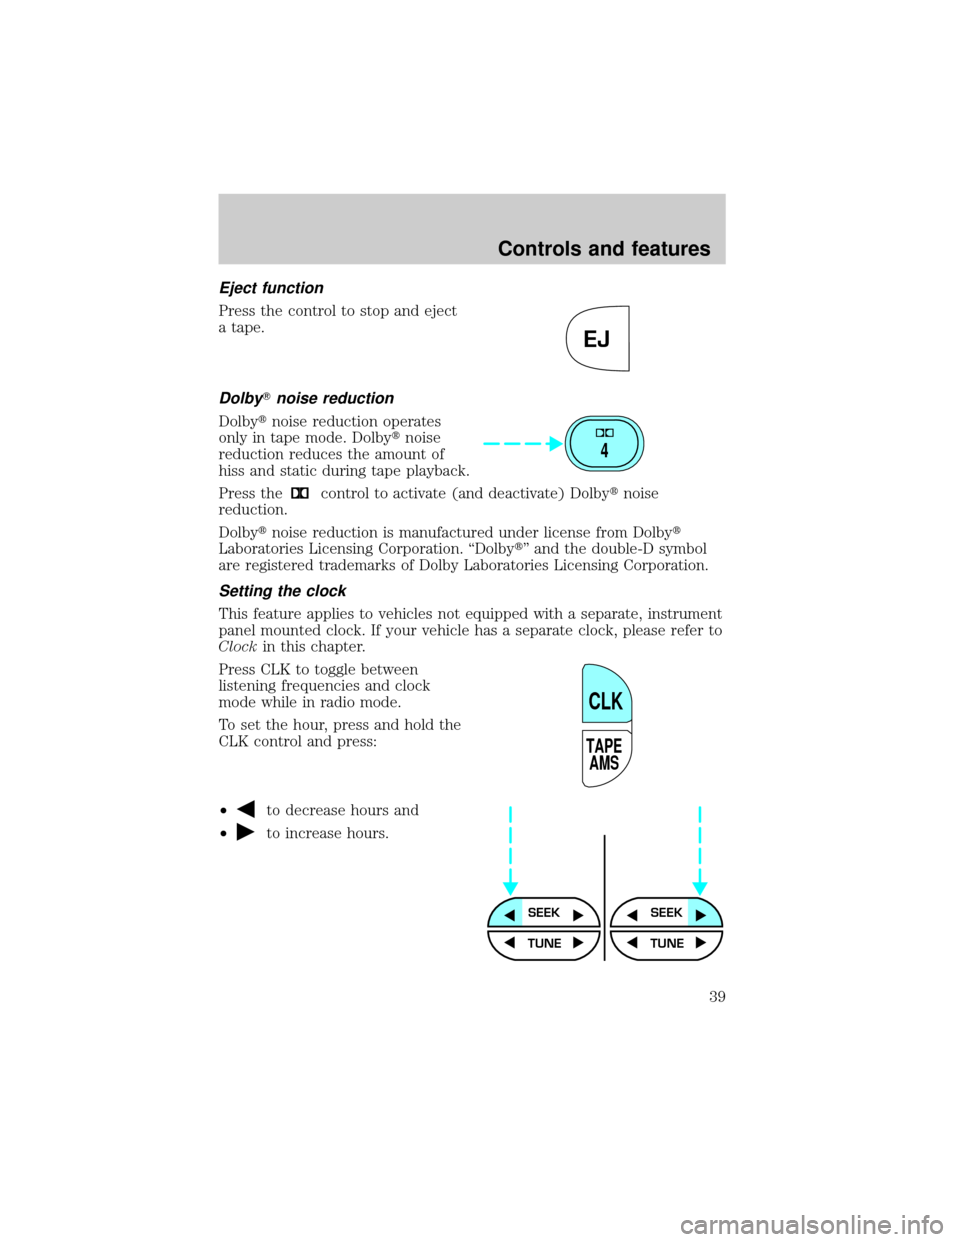
Eject function
Press the control to stop and eject
a tape.
DolbyTnoise reduction
Dolbytnoise reduction operates
only in tape mode. Dolbytnoise
reduction reduces the amount of
hiss and static during tape playback.
Press the
control to activate (and deactivate) Dolbytnoise
reduction.
Dolbytnoise reduction is manufactured under license from Dolbyt
Laboratories Licensing Corporation. ªDolbytº and the double-D symbol
are registered trademarks of Dolby Laboratories Licensing Corporation.
Setting the clock
This feature applies to vehicles not equipped with a separate, instrument
panel mounted clock. If your vehicle has a separate clock, please refer to
Clockin this chapter.
Press CLK to toggle between
listening frequencies and clock
mode while in radio mode.
To set the hour, press and hold the
CLK control and press:
²
to decrease hours and
²
to increase hours.
EJ
4
TAPE
AMS
CLK
SEEKSEEK
TUNE TUNE
Controls and features
39
Page 53 of 240
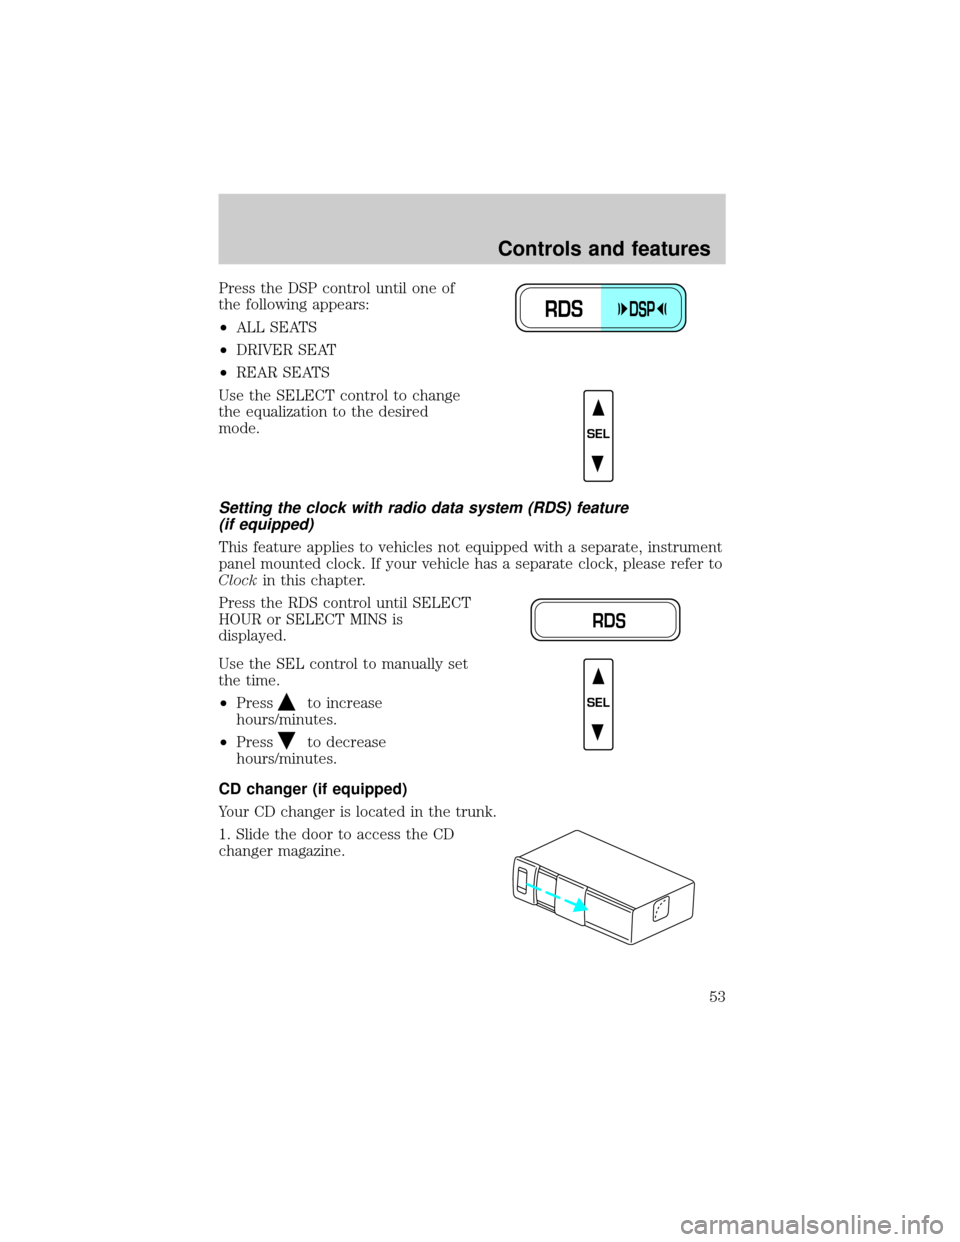
Press the DSP control until one of
the following appears:
²ALL SEATS
²DRIVER SEAT
²REAR SEATS
Use the SELECT control to change
the equalization to the desired
mode.
Setting the clock with radio data system (RDS) feature
(if equipped)
This feature applies to vehicles not equipped with a separate, instrument
panel mounted clock. If your vehicle has a separate clock, please refer to
Clockin this chapter.
Press the RDS control until SELECT
HOUR or SELECT MINS is
displayed.
Use the SEL control to manually set
the time.
²Press
to increase
hours/minutes.
²Press
to decrease
hours/minutes.
CD changer (if equipped)
Your CD changer is located in the trunk.
1. Slide the door to access the CD
changer magazine.
RDSDSP
SEL
RDS
SEL
Controls and features
53