warning LUCID AIR 2022 Owners Manual
[x] Cancel search | Manufacturer: LUCID, Model Year: 2022, Model line: AIR, Model: LUCID AIR 2022Pages: 241, PDF Size: 5.15 MB
Page 2 of 241
WARNING
Operating, servicing, and maintaining a
passenger vehicle can expose you to chemicals,
including phthalates, which are known to the
State of California to cause cancer and birth
defects, or other reproductive harm. To minimize
exposure, wear gloves or wash your hands
frequently when servicing your vehicle.
For more information, go to
www.P65Warnings.ca.gov/passenger-vehicle.
Page 4 of 241
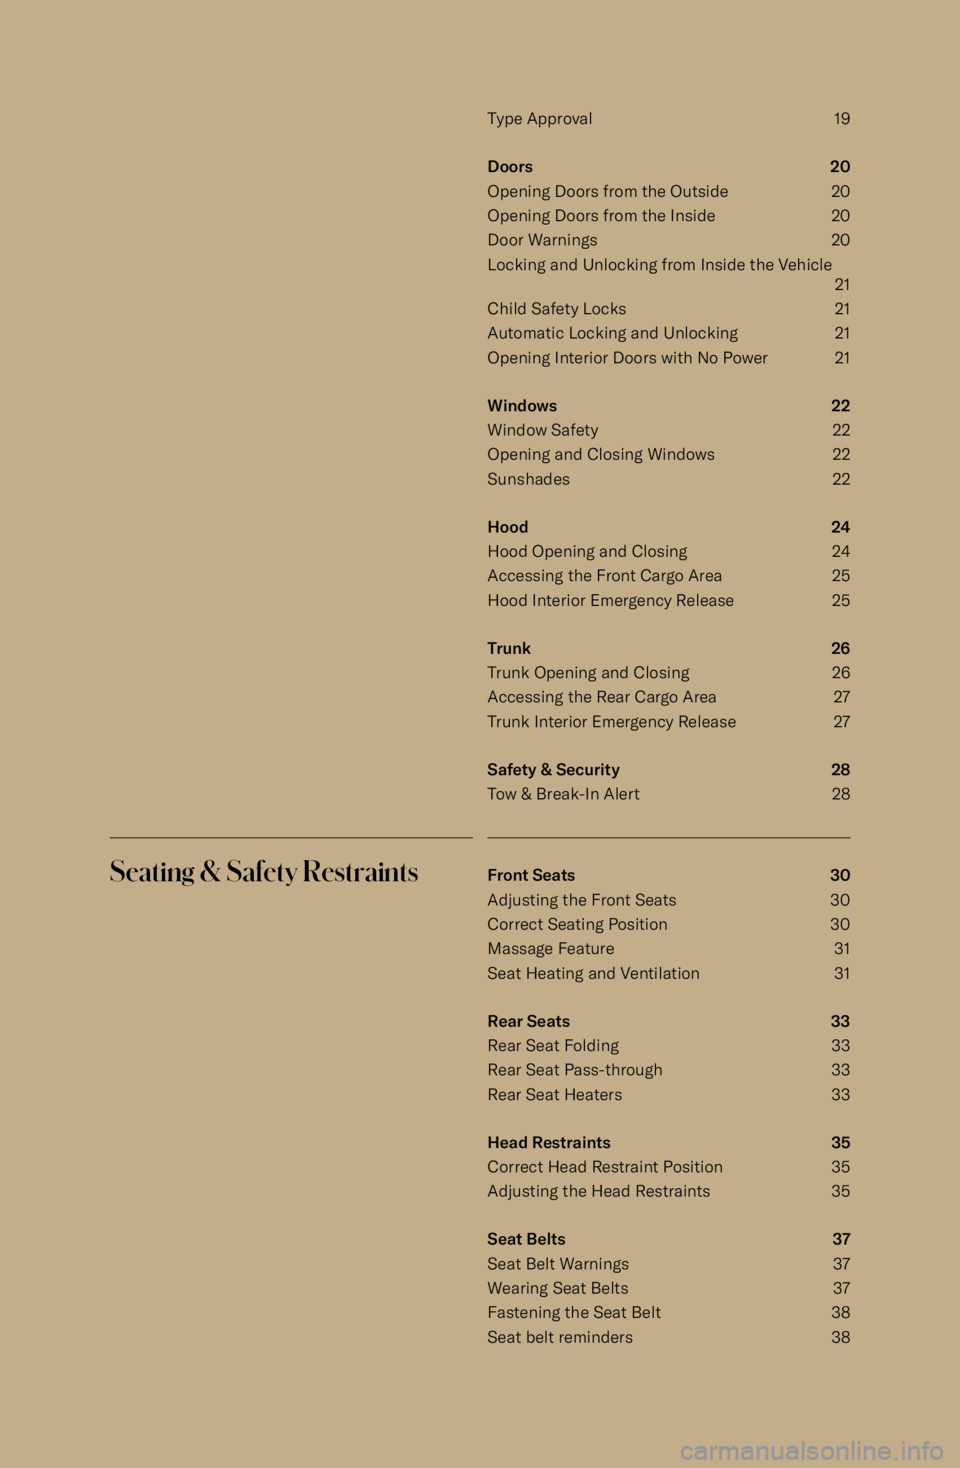
Type Approval 19
Doors 20
Opening Doors from the Outside 20 Opening Doors from the Inside 20Door Warnings 20Locking and Unlocking from Inside the Vehicle 21
Child Safety Locks 21
Automatic Locking and Unlocking 21
Opening Interior Doors with No Power 21
Windows 22
Window Safety 22
Opening and Closing Windows 22
Sunshades 22
Hood 24
Hood Opening and Closing 24
Accessing the Front Cargo Area 25
Hood Interior Emergency Release 25
Trunk 26
Trunk Opening and Closing 26 Accessing the Rear Cargo Area 27Trunk Interior Emergency Release 27
Safety & Security 28
Tow & Break-In Alert 28Seating & Safety RestraintsFront Seats 30 Adjusting the Front Seats 30
Correct Seating Position 30
Massage Feature 31
Seat Heating and Ventilation 31
Rear Seats 33
Rear Seat Folding 33
Rear Seat Pass-through 33 Rear Seat Heaters 33
Head Restraints 35
Correct Head Restraint Position 35
Adjusting the Head Restraints 35
Seat Belts 37
Seat Belt Warnings 37
Wearing Seat Belts 37
Fastening the Seat Belt 38 Seat belt reminders 38
Page 5 of 241
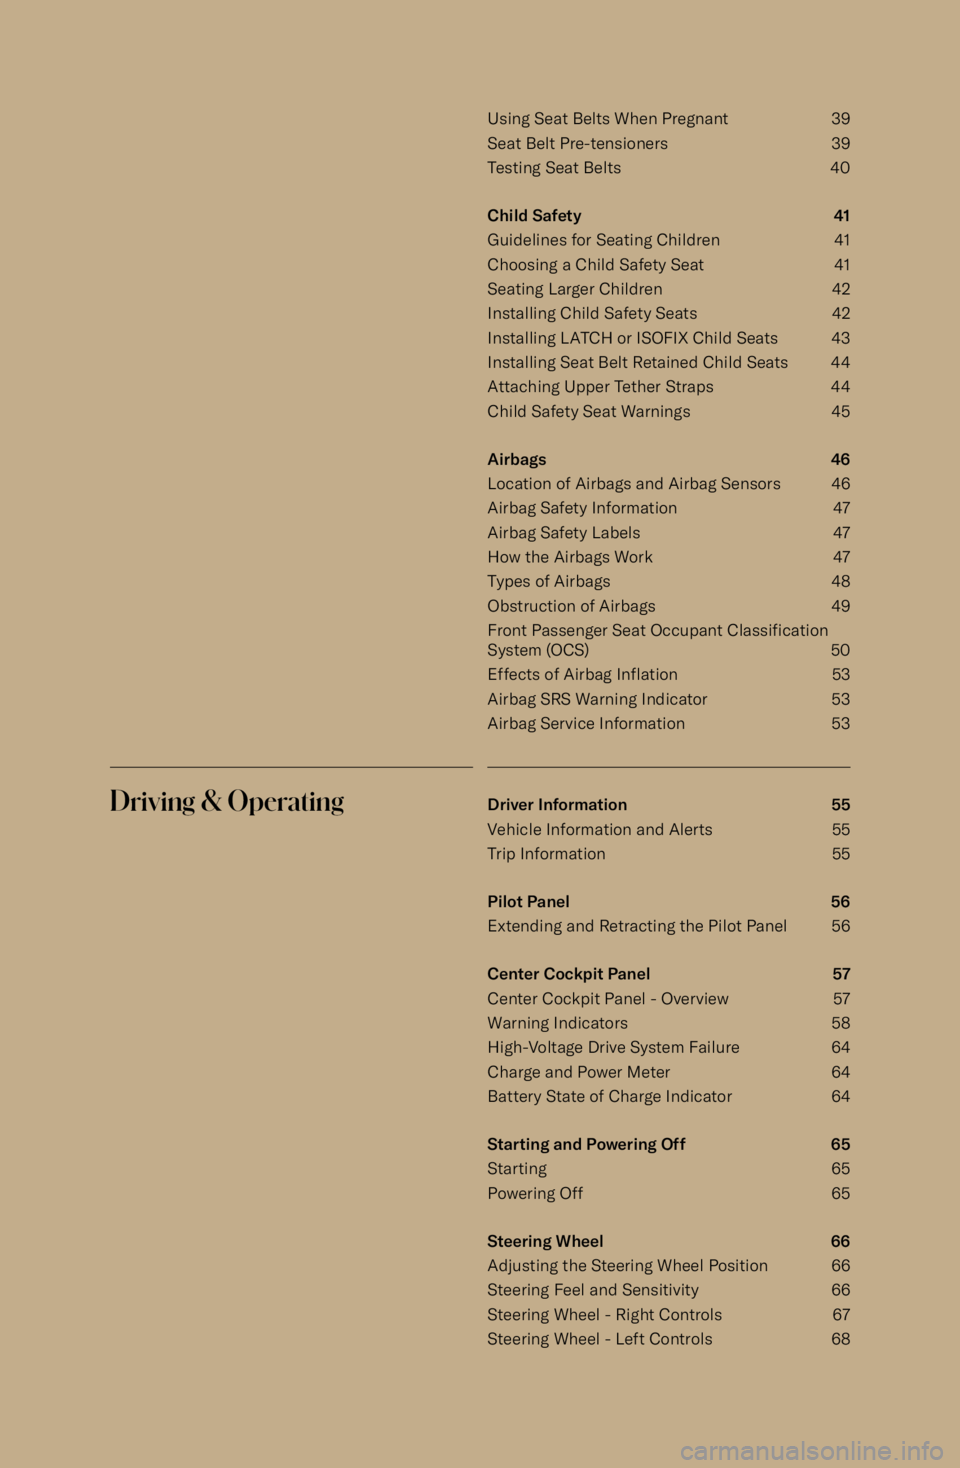
Using Seat Belts When Pregnant 39Seat Belt Pre-tensioners 39
Testing Seat Belts 40
Child Safety 41
Guidelines for Seating Children 41
Choosing a Child Safety Seat 41
Seating Larger Children 42
Installing Child Safety Seats 42
Installing LATCH or ISOFIX Child Seats 43 Installing Seat Belt Retained Child Seats 44
Attaching Upper Tether Straps 44
Child Safety Seat Warnings 45
Airbags 46 Location of Airbags and Airbag Sensors 46
Airbag Safety Information 47
Airbag Safety Labels 47
How the Airbags Work 47
Types of Airbags 48
Obstruction of Airbags 49
Front Passenger Seat Occupant Classification
System (OCS) 50
Effects of Airbag Inflation 53
Airbag SRS Warning Indicator 53
Airbag Service Information 53Driving & OperatingDriver Information 55
Vehicle Information and Alerts 55
Trip Information 55
Pilot Panel 56
Extending and Retracting the Pilot Panel 56
Center Cockpit Panel 57
Center Cockpit Panel - Overview 57
Warning Indicators 58
High-Voltage Drive System Failure 64
Charge and Power Meter 64
Battery State of Charge Indicator 64
Starting and Powering Off 65
Starting 65 Powering Off 65
Steering Wheel 66Adjusting the Steering Wheel Position 66
Steering Feel and Sensitivity 66
Steering Wheel - Right Controls 67
Steering Wheel - Left Controls 68
Page 6 of 241
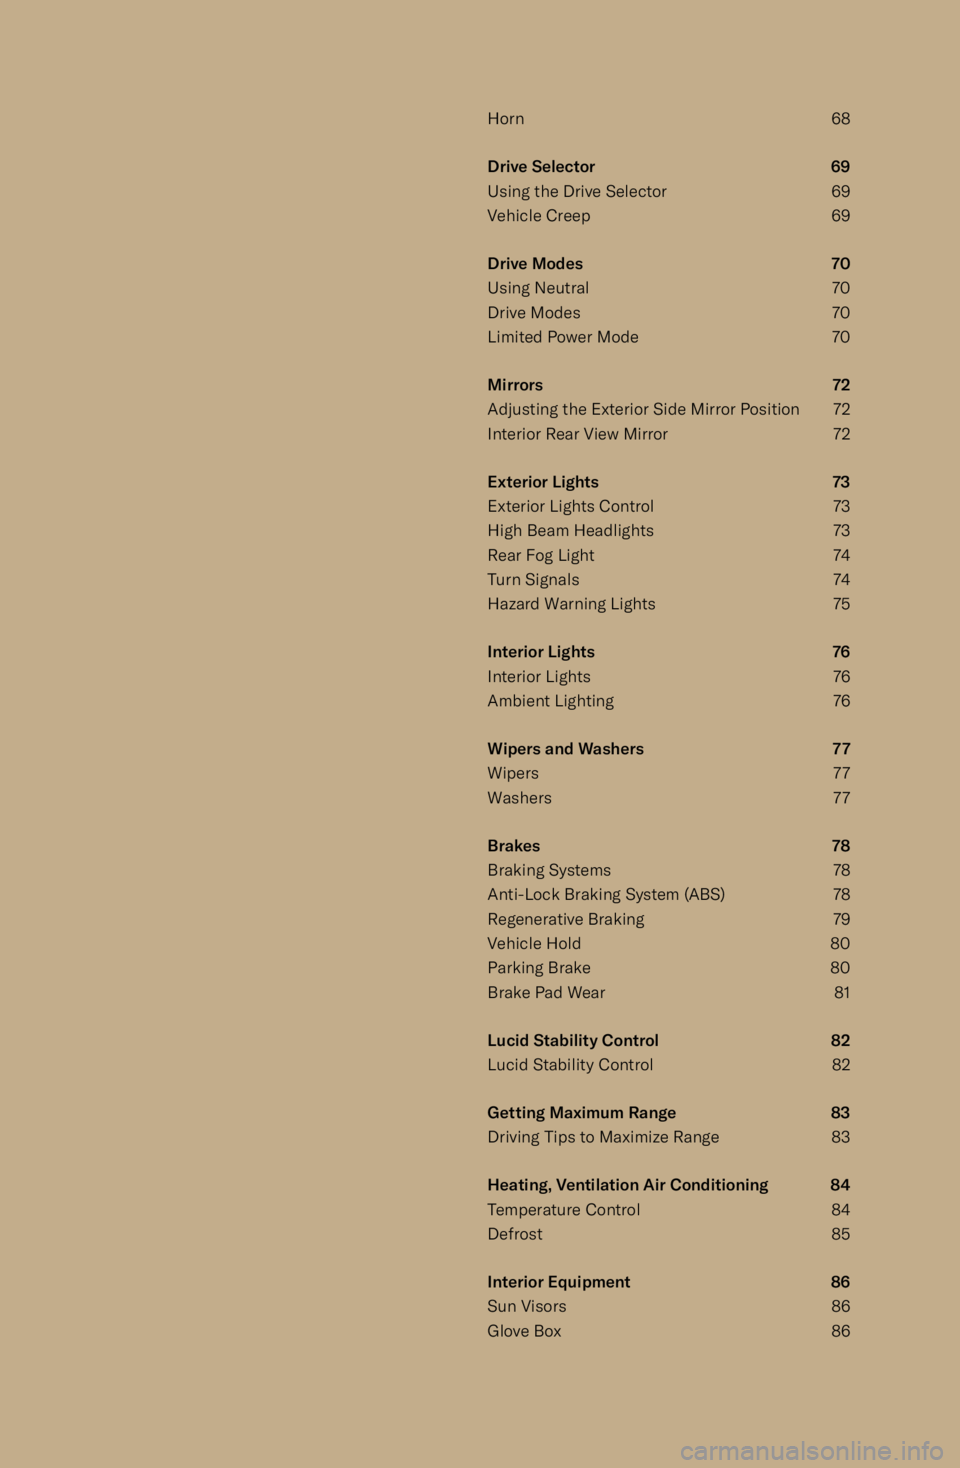
Horn 68Drive Selector 69Using the Drive Selector 69
Vehicle Creep 69
Drive Modes 70
Using Neutral 70
Drive Modes 70
Limited Power Mode 70
Mirrors 72
Adjusting the Exterior Side Mirror Position 72
Interior Rear View Mirror 72
Exterior Lights 73
Exterior Lights Control 73
High Beam Headlights 73
Rear Fog Light 74 Turn Signals 74Hazard Warning Lights 75
Interior Lights 76
Interior Lights 76
Ambient Lighting 76
Wipers and Washers 77
Wipers 77
Washers 77
Brakes 78Braking Systems 78
Anti-Lock Braking System (ABS) 78
Regenerative Braking 79
Vehicle Hold 80
Parking Brake 80
Brake Pad Wear 81
Lucid Stability Control 82
Lucid Stability Control 82
Getting Maximum Range 83
Driving Tips to Maximize Range 83
Heating, Ventilation Air Conditioning 84
Temperature Control 84
Defrost 85
Interior Equipment 86
Sun Visors 86
Glove Box 86
Page 7 of 241
Front Armrest and Storage Compartment 87
Center Console Storage Compartment 87
Rear Armrest and Storage Compartment 87
Cup Holders 87
Accessory Connections 89
USB Connections 89 Wireless Charging 89
12 Volt Power Socket 90DreamDriveAbout ADAS 92
ADAS Limitations 92
ADAS Features 93
ADAS Component Locations 94
Driving Experience 96
Steering Wheel DreamDrive Controls 96
DreamDrive Requirements 97
Adaptive Cruise Control 97
Highway Assist 99
Traffic Sign Recognition 101
Traffic Drive-Off Alert 102
Distracted Driver Alert 102 Drowsy Driver Alert 102High Beam Assist 103
Collision Detection and Protection 105
Collision Protection 105
Automatic Emergency Braking 105
Forward Collision Warning 106 Rear Pedestrian Collision Protection 107
Cross Traffic Protection 107
Lane Departure Protection 108
Blind Spot Warning 109
Blind Spot Display 109
Parking Experience 111
Automatic Park In 111
Automatic Park Out 112
Surround View Monitoring 114
Rear View Monitoring 115
Park Distance Warning 115InfotainmentUser Pro
Page 17 of 241
Information About This Vehicle
Quality Control
You may notice miles/kilometers on the
odometer when you take delivery of your
vehicle. The mileage is a result of the
comprehensive process used to ensure the
quality of your car.
Our quality control process includes extensive
inspections during and after production. The
final inspection takes place at the delivery
center and consists of a road test conducted by a trained Lucid technician.
Vehicle Modifications
WARNING: Lucid does not
recommend installing non-approved
parts and accessories or performing
non-approved vehicle modifications.
Doing so can negatively affect
your vehicle
Page 26 of 241
Pilot Panel
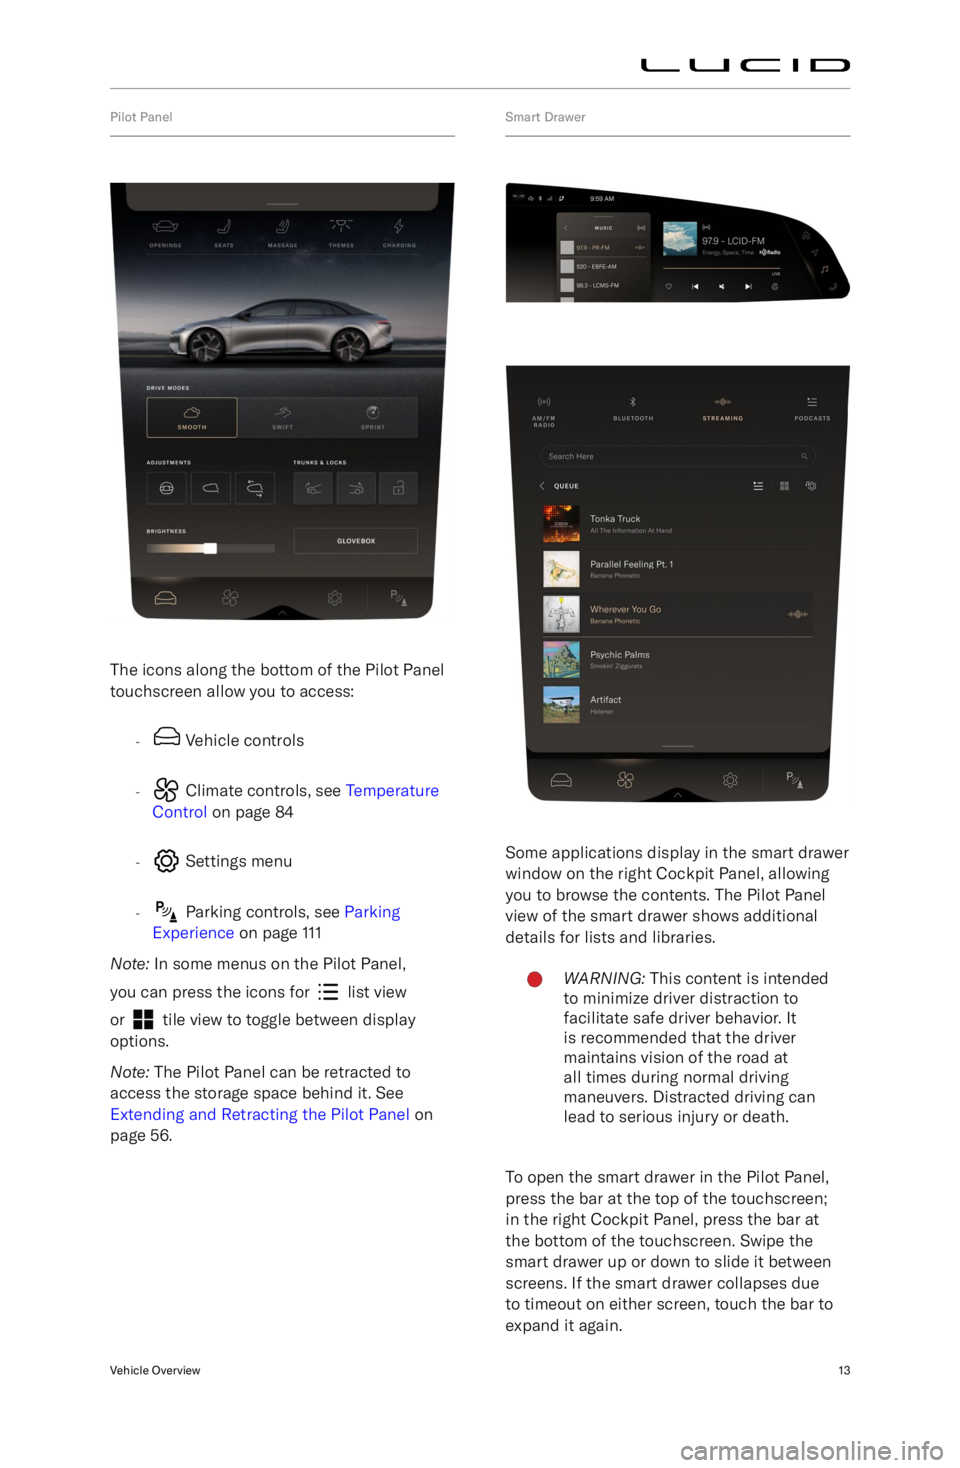
The icons along the bottom of the Pilot Panel
touchscreen allow you to access:
-
Vehicle controls
-
Climate controls, see Temperature
Control on page 84
-
Settings menu
-
Parking controls, see Parking
Experience on page 111
Note: In some menus on the Pilot Panel,
you can press the icons for
list view
or
tile view to toggle between display
options.
Note: The Pilot Panel can be retracted to
access the storage space behind it. See
Extending and Retracting the Pilot Panel on
page 56.
Smart Drawer
Some applications display in the smart drawer
window on the right Cockpit Panel, allowing
you to browse the contents. The Pilot Panel
view of the smart drawer shows additional
details for lists and libraries.
WARNING: This content is intended
to minimize driver distraction to
facilitate safe driver behavior. It
is recommended that the driver
maintains vision of the road at
all times during normal driving
maneuvers. Distracted driving can
lead to serious injury or death.
To open the smart drawer in the Pilot Panel,
press the bar at the top of the touchscreen;
in the right Cockpit Panel, press the bar at
the bottom of the touchscreen. Swipe the
smart drawer up or down to slide it between
screens. If the smart drawer collapses due
to timeout on either screen, touch the bar to
expand it again.
Vehicle Overview13
Page 34 of 241
Locking and Unlocking from Inside the Vehicle
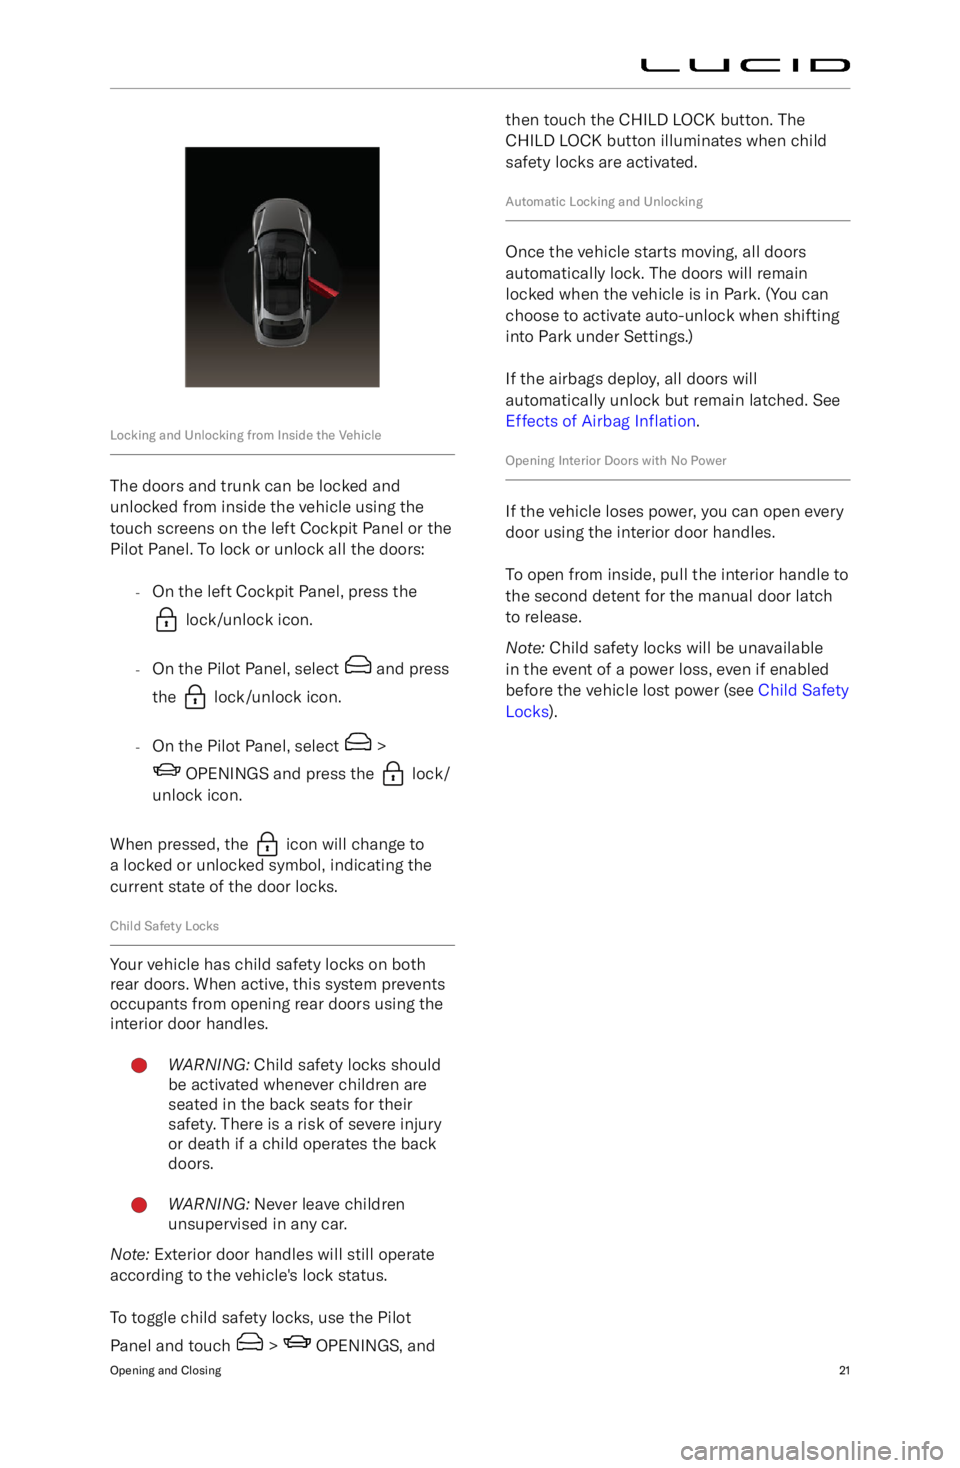
The doors and trunk can be locked andunlocked from inside the vehicle using thetouch screens on the left Cockpit Panel or thePilot Panel. To lock or unlock all the doors:
-On the left Cockpit Panel, press the
lock/unlock icon.
- On the Pilot Panel, select
and press
the
lock/unlock icon.
- On the Pilot Panel, select
>
OPENINGS and press the lock/
unlock icon.
When pressed, the
icon will change to
a locked or unlocked symbol, indicating the
current state of the door locks.
Child Safety Locks
Your vehicle has child safety locks on both
rear doors. When active, this system prevents
occupants from opening rear doors using the
interior door handles.
WARNING: Child safety locks should
be activated whenever children are
seated in the back seats for their
safety. There is a risk of severe injury
or death if a child operates the back
doors.WARNING: Never leave children
unsupervised in any car.
Note: Exterior door handles will still operate
according to the vehicle
Page 35 of 241
Windows
Window SafetyWARNING: Although your car is
equipped with obstacle detection
on all four windows, children, other
passengers, or objects can still be
trapped by moving windows. Use
caution when operating the windows.
- Do not allow children to play with
the window switches.
- Never stick objects or body parts
through an open window.WARNING: On hot days, the
temperature in the vehicle interior can
rise very quickly. Exposure to these
high temperatures for even a short
time can cause a heat-related injury or
death. Small children and animals are
particularly at risk and should never
be left unattended in a vehicle.
Opening and Closing Windows
The power windows operate only when the
vehicle is powered on.
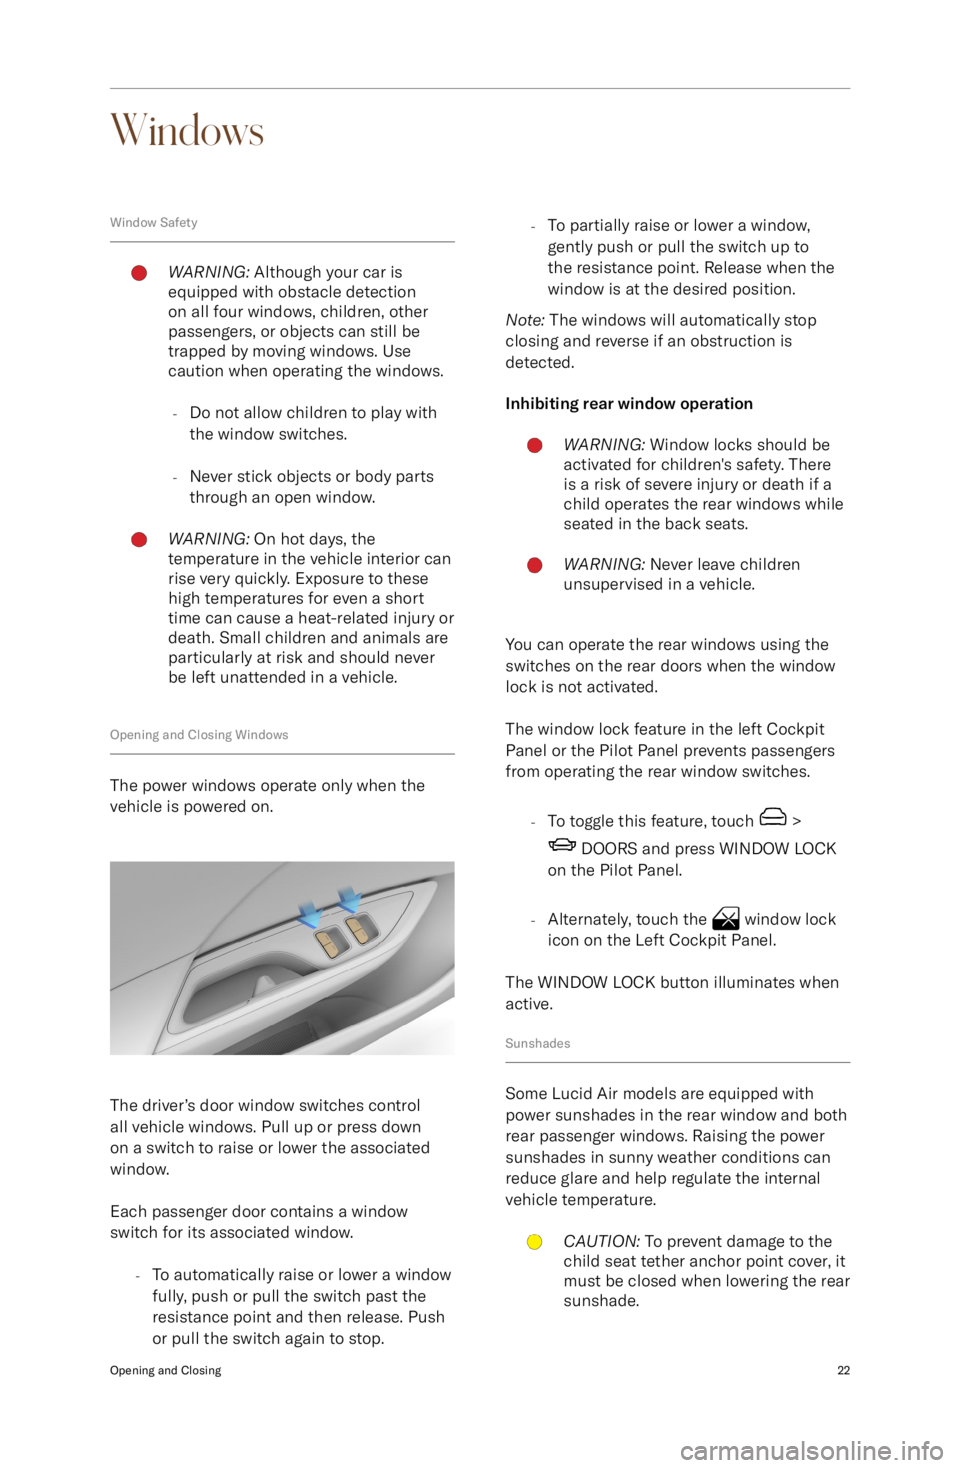
The driver
Page 37 of 241
Hood
Hood Opening and Closing
In the case of an unlatched hood,
the red Door Open warning indicator appears on the Cockpit Panel. If this
occurs, Lucid recommends you stop
the vehicle in a safe location and place the
vehicle in P (Park). Then check if the hood is correctly closed.
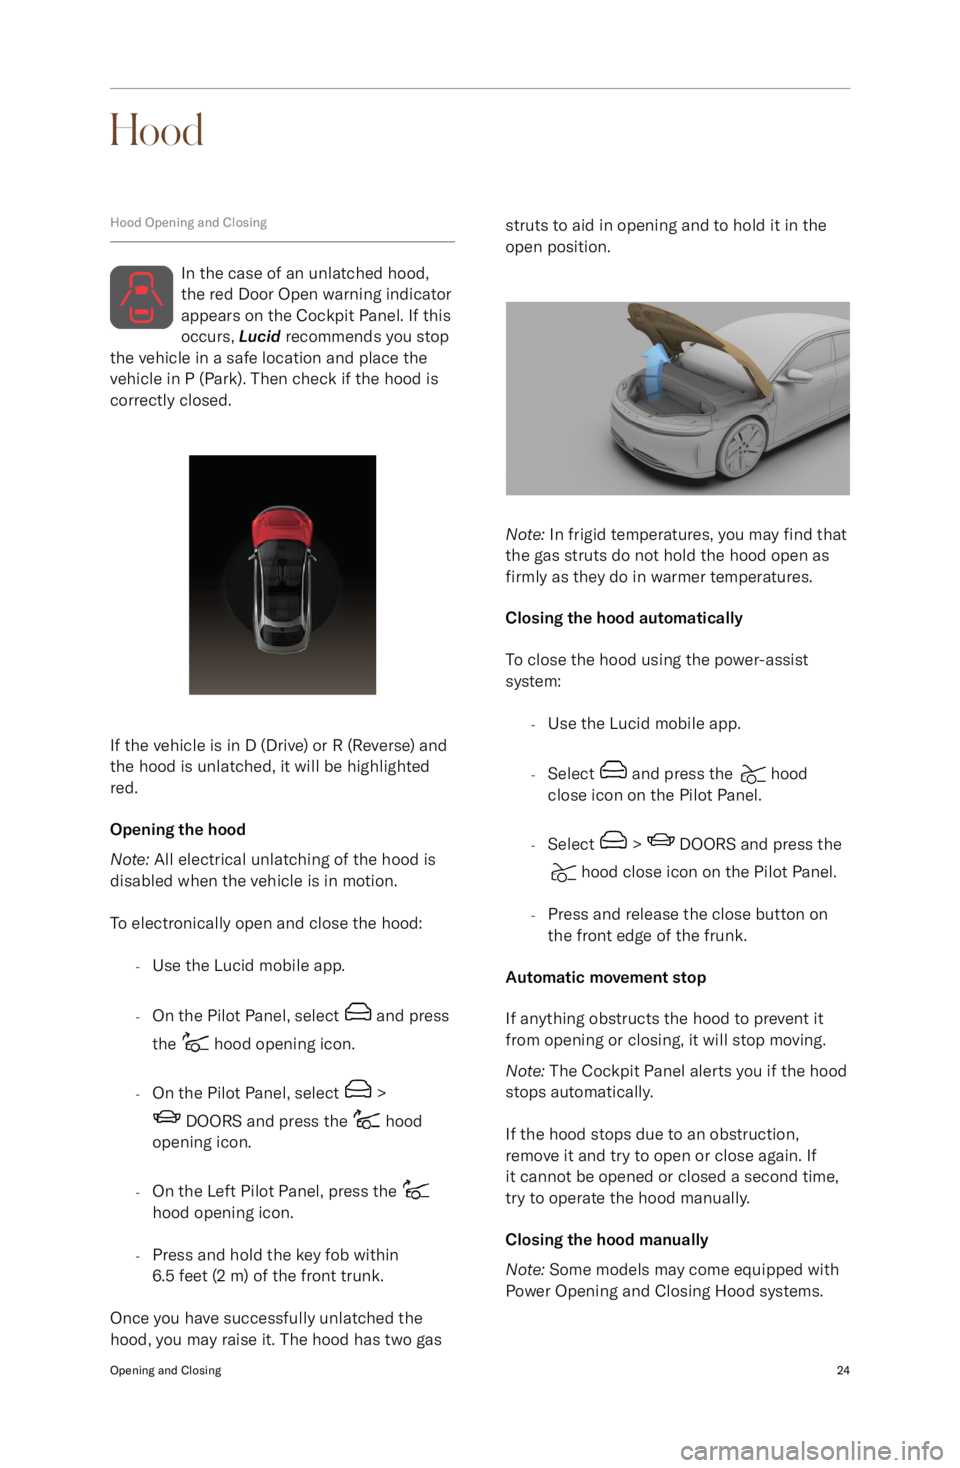
If the vehicle is in D (Drive) or R (Reverse) and
the hood is unlatched, it will be highlighted
red.
Opening the hood
Note: All electrical unlatching of the hood is
disabled when the vehicle is in motion.
To electronically open and close the hood: -Use the Lucid mobile app.
- On the Pilot Panel, select
and press
the
hood opening icon.
- On the Pilot Panel, select
>
DOORS and press the hood
opening icon.
- On the Left Pilot Panel, press the
hood opening icon.
- Press and hold the key fob within
6.5 feet (2 m) of the front trunk.
Once you have successfully unlatched the
hood, you may raise it. The hood has two gas
struts to aid in opening and to hold it in the
open position.
Note: In frigid temperatures, you may find that
the gas struts do not hold the hood open as
firmly as they do in warmer temperatures.
Closing the hood automatically
To close the hood using the power-assist
system:
-Use the Lucid mobile app.
- Select
and press the hood
close icon on the Pilot Panel.
- Select
> DOORS and press the
hood close icon on the Pilot Panel.
- Press and release the close button on
the front edge of the frunk.
Automatic movement stop
If anything obstructs the hood to prevent it
from opening or closing, it will stop moving.
Note: The Cockpit Panel alerts you if the hood
stops automatically.
If the hood stops due to an obstruction,
remove it and try to open or close again. If it cannot be opened or closed a second time,
try to operate the hood manually.
Closing the hood manually
Note: Some models may come equipped with
Power Opening and Closing Hood systems.
Opening and Closing24