warning lights MASERATI GHIBLI 2019 User Guide
[x] Cancel search | Manufacturer: MASERATI, Model Year: 2019, Model line: GHIBLI, Model: MASERATI GHIBLI 2019Pages: 384, PDF Size: 13.33 MB
Page 121 of 384

You can signal another vehicle with
your headlights by lightly pulling the
multifunction lever toward you. This
will turn on the high beams headlights
until the lever is released.
Flashing occurs also with lights off
(lights switch in position “0”) if the
ignition switch is RUN position.
CAUTION!
The high beams can only be switched
on manually by pushing the
multifunction lever forward.
WARNING!
If the high beams are activated, they
will turn on automatically every time
the low beams are switched on either
manually or automatically. We
recommend therefore that you switch them off when they are no longer
necessary and every time the twilight
sensor deactivates the external lights.
Automatic High Beams (if equipped)
The
Automatic High Beam headlight
control system provides increased
forward lighting at night by
automating high beam control
through the use of the forward digital
camera mounted behind the rearview
mirror, which is the same one used
also by the Lane Departure Warning
(LDW) system. This camera detects
vehicle specific light and automatically
switches from high beams to low
beams until the approaching vehicle is
out of view. Furthermore, the digital
camera is able to detect the urban
areas and the inhabited centers and to
turn off the high beams when driving
near of one of them.
The high beam can be turned back on
if there are all the necessary
conditions and if the vehicle speed
exceed 21.7 mph (35 km/h).
The “Auto High Beam Assist” feature
can be turned on or off using the
MTC+ System. Refer to “MTC+
Settings” in section "Dashboard
Instruments and Controls" for further
information. The function is enabled only if the
brightness sensor detects the right
lighting conditions.
To activate this function:
• Shift the multifunction lever onward
.
• Put the headlight switch in “AUTO”
position.
• Enable the “Auto High Beam Assist”
function on MTC+.
After these steps, the green indicator
on the upper right side of the TFT
display comes on.Understanding the Vehicle
3
117
Page 125 of 384
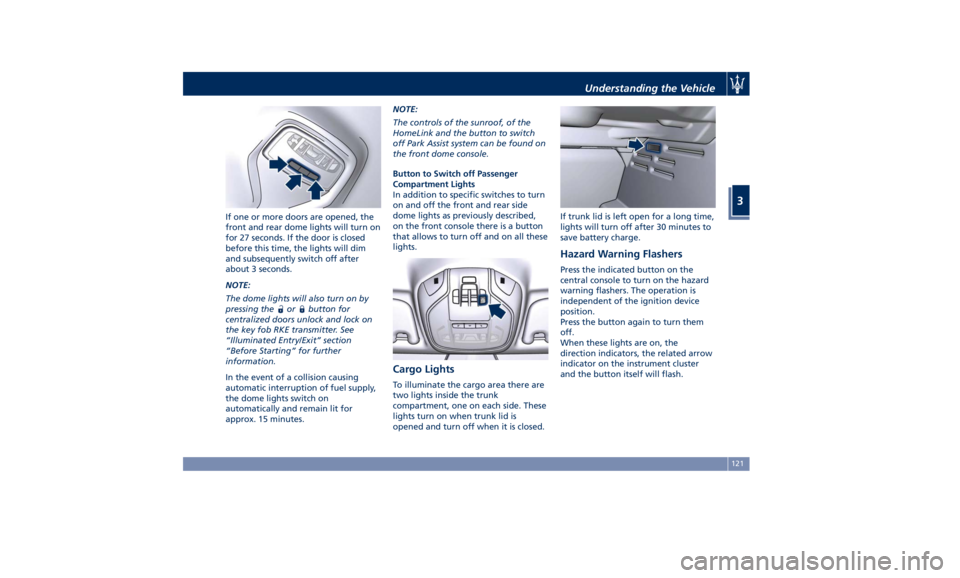
If one or more doors are opened, the
front and rear dome lights will turn on
for 27 seconds. If the door is closed
before this time, the lights will dim
and subsequently switch off after
about 3 seconds.
NOTE:
The dome lights will also turn on by
pressing the
or button for
centralized doors unlock and lock on
the key fob RKE transmitter. See
“Illuminated Entry/Exit” section
“Before Starting” for further
information.
In the event of a collision causing
automatic interruption of fuel supply,
the dome lights switch on
automatically and remain lit for
approx. 15 minutes. NOTE:
The controls of the sunroof, of the
HomeLink and the button to switch
off Park Assist system can be found on
the front dome console.
Button to Switch off Passenger
Compartment Lights
In addition to specific switches to turn
on and off the front and rear side
dome lights as previously described,
on the front console there is a button
that allows to turn off and on all these
lights.
Cargo Lights To illuminate the cargo area there are
two lights inside the trunk
compartment, one on each side. These
lights turn on when trunk lid is
opened and turn off when it is closed. If trunk lid is left open for a long time,
lights will turn off after 30 minutes to
save battery charge.
Hazard Warning Flashers Press the indicated button on the
central console to turn on the hazard
warning flashers. The operation is
independent of the ignition device
position.
Press the button again to turn them
off.
When these lights are on, the
direction indicators, the related arrow
indicator on the instrument cluster
and the button itself will flash.Understanding the Vehicle
3
121
Page 126 of 384
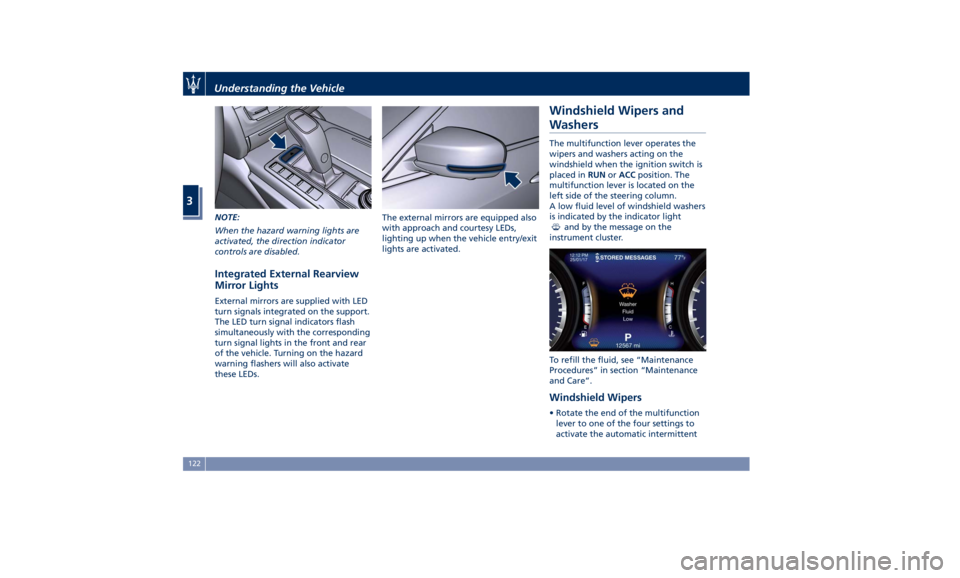
NOTE:
When the hazard warning lights are
activated, the direction indicator
controls are disabled.
Integrated External Rearview
Mirror Lights External mirrors are supplied with LED
turn signals integrated on the support.
The LED turn signal indicators flash
simultaneously with the corresponding
turn signal lights in the front and rear
of the vehicle. Turning on the hazard
warning flashers will also activate
these LEDs. The external mirrors are equipped also
with approach and courtesy LEDs,
lighting up when the vehicle entry/exit
lights are activated.
Windshield Wipers and
Washers The multifunction lever operates the
wipers and washers acting on the
windshield when the ignition switch is
placed in RUN or ACC position. The
multifunction lever is located on the
left side of the steering column.
A low fluid level of windshield washers
is indicated by the indicator light
and by the message on the
instrument cluster.
To refill the fluid, see “Maintenance
Procedures” in section “Maintenance
and Care”.
Windshield Wipers • Rotate the end of the multifunction
lever to one of the four settings to
activate the automatic intermittentUnderstanding the Vehicle
3
122
Page 128 of 384
arms. It will not operate under the
following conditions:
• Low Temperature Wipe Inhibit : the
rain sensing feature will not operate
when the ignition is in RUN position,
the vehicle is stationary and the
outside temperature is below 32°F
(0°C). To resume, set the automatic
feature on the multifunction lever,
start the engine and drive or wait
until the outside temperature rises
above freezing.
• Wipe Inhibit with Transmission in
Neutral Position : the rain sensing
feature will not operate when the
ignition is placed in the RUN
position, the transmission shift lever
is in the N (Neutral) position and the
vehicle speed is less than 5 mph
(8 km/h). To resume, set the
multifunction lever to the automatic
function or move the shift lever out
of N (Neutral).
Headlights On with Windshield
Wipers When activating this function, the
headlights will light up approximately
10 seconds after the wipers acting on
the windshield are turned on if the
light switch is placed in “AUTO”
position. In addition, the headlights switch off when the wipers are turned
off (position “OFF”) if they were
previously turned by using this
function. Powering on Headlights with
wipers can be activated and
deactivated with the MTC+ System, see
“MTC+ Settings” in section
“Dashboard Instruments and Controls”
for further information.
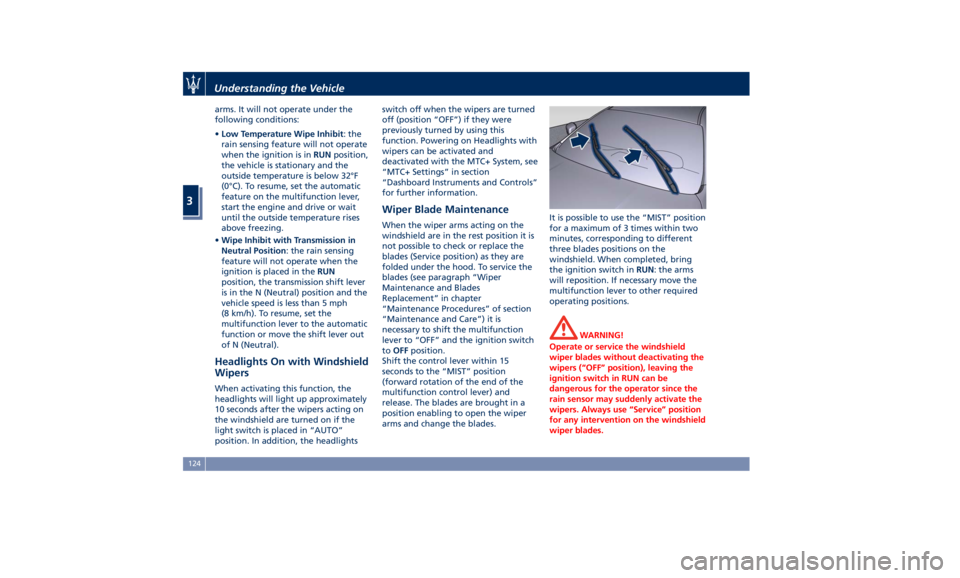
Wiper Blade Maintenance When the wiper arms acting on the
windshield are in the rest position it is
not possible to check or replace the
blades (Service position) as they are
folded under the hood. To service the
blades (see paragraph “Wiper
Maintenance and Blades
Replacement” in chapter
“Maintenance Procedures” of section
“Maintenance and Care”) it is
necessary to shift the multifunction
lever to “OFF” and the ignition switch
to OFF position.
Shift the control lever within 15
seconds to the “MIST” position
(forward rotation of the end of the
multifunction control lever) and
release. The blades are brought in a
position enabling to open the wiper
arms and change the blades. It is possible to use the “MIST” position
for a maximum of 3 times within two
minutes, corresponding to different
three blades positions on the
windshield. When completed, bring
the ignition switch in RUN : the arms
will reposition. If necessary move the
multifunction lever to other required
operating positions.
WARNING!
Operate or service the windshield
wiper blades without deactivating the
wipers (“OFF” position), leaving the
ignition switch in RUN can be
dangerous for the operator since the
rain sensor may suddenly activate the
wipers. Always use “Service” position
for any intervention on the windshield
wiper blades.Understanding the Vehicle
3
124
Page 137 of 384
please contact Client Service at
1-800-977.2107 or write to:
[email protected].
CAUTION!
When selling the vehicle, you should
contact the above mentioned Client
Service to have your device removed
from the list of activated devices
registered in your name. Do not
simply give your control unit password
to a new owner. To avoid improper
internet access in your name and
allow new owner registration you
must de-register with the service
provider. A new owner will not be
able to register the device if it still
appears registered in the prior
owner's name. If you are a subsequent
owner, the unit could be improperly
monitored (usage and location), if it is
still registered to a prior owner. Cargo Area WARNING!
To help protect against personal
injury, passengers must not be seated
in the rear cargo area. The rear cargo
space is intended for load carrying
purposes only, not for passengers,
who should sit in seats and use seat
belts.
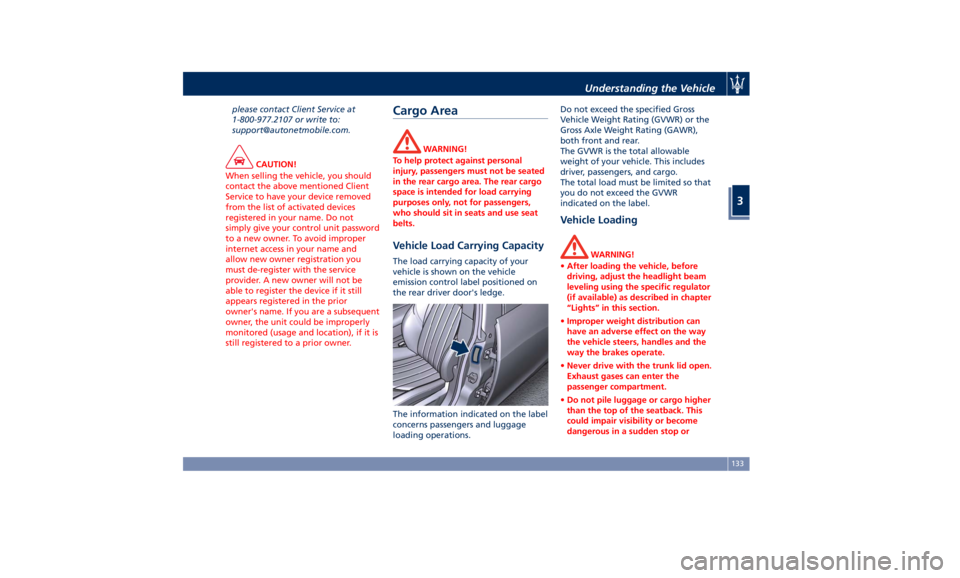
Vehicle Load Carrying Capacity The load carrying capacity of your
vehicle is shown on the vehicle
emission control label positioned on
the rear driver door's ledge.
The information indicated on the label
concerns passengers and luggage
loading operations. Do not exceed the specified Gross
Vehicle Weight Rating (GVWR) or the
Gross Axle Weight Rating (GAWR),
both front and rear.
The GVWR is the total allowable
weight of your vehicle. This includes
driver, passengers, and cargo.
The total load must be limited so that
you do not exceed the GVWR
indicated on the label.
Vehicle Loading WARNING!
• After loading the vehicle, before
driving, adjust the headlight beam
leveling using the specific regulator
(if available) as described in chapter
“Lights” in this section.
• Improper weight distribution can
have an adverse effect on the way
the vehicle steers, handles and the
way the brakes operate.
• Never drive with the trunk lid open.
Exhaust gases can enter the
passenger compartment.
• Do not pile luggage or cargo higher
than the top of the seatback. This
could impair visibility or become
dangerous in a sudden stop orUnderstanding the Vehicle
3
133
Page 150 of 384
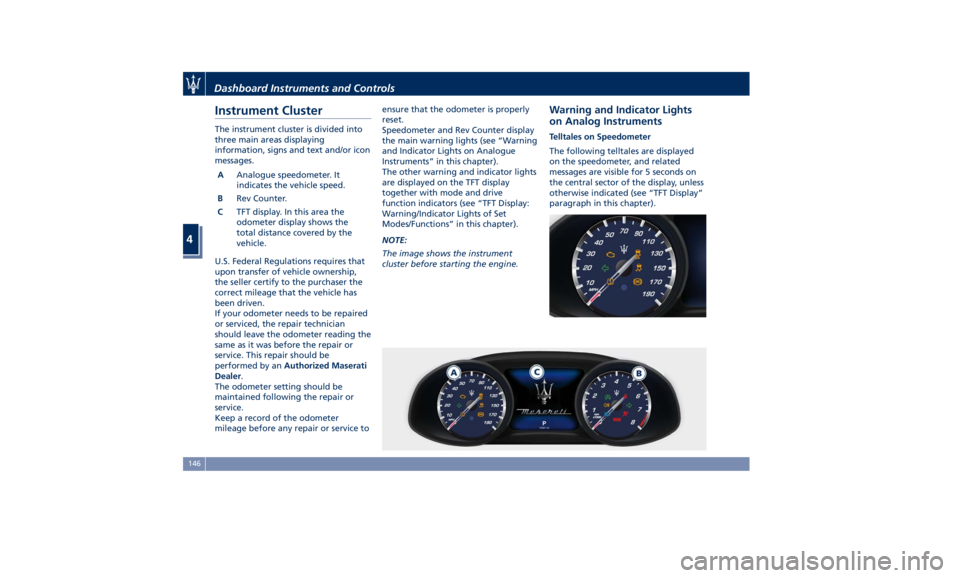
Instrument Cluster The instrument cluster is divided into
three main areas displaying
information, signs and text and/or icon
messages.
A Analogue speedometer. It
indicates the vehicle speed.
B Rev Counter.
C TFT display. In this area the
odometer display shows the
total distance covered by the
vehicle.
U.S. Federal Regulations requires that
upon transfer of vehicle ownership,
the seller certify to the purchaser the
correct mileage that the vehicle has
been driven.
If your odometer needs to be repaired
or serviced, the repair technician
should leave the odometer reading the
same as it was before the repair or
service. This repair should be
performed by an Authorized Maserati
Dealer .
The odometer setting should be
maintained following the repair or
service.
Keep a record of the odometer
mileage before any repair or service to ensure that the odometer is properly
reset.
Speedometer and Rev Counter display
the main warning lights (see “Warning
and Indicator Lights on Analogue
Instruments” in this chapter).
The other warning and indicator lights
are displayed on the TFT display
together with mode and drive
function indicators (see “TFT Display:
Warning/Indicator Lights of Set
Modes/Functions” in this chapter).
NOTE:
The image shows the instrument
cluster before starting the engine. Warning and Indicator Lights
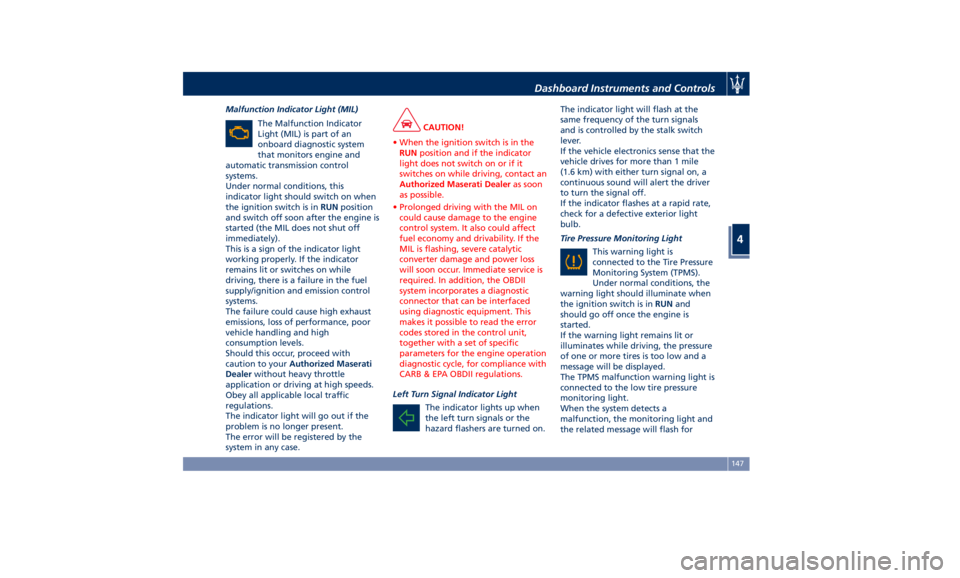
on Analog Instruments Telltales on Speedometer
The following telltales are displayed
on the speedometer, and related
messages are visible for 5 seconds on
the central sector of the display, unless
otherwise indicated (see “TFT Display”
paragraph in this chapter).Dashboard Instruments and Controls
4
146
Page 151 of 384
Malfunction Indicator Light (MIL)
The Malfunction Indicator
Light (MIL) is part of an
onboard diagnostic system
that monitors engine and
automatic transmission control
systems.
Under normal conditions, this
indicator light should switch on when
the ignition switch is in RUN position
and switch off soon after the engine is
started (the MIL does not shut off
immediately).
This is a sign of the indicator light
working properly. If the indicator
remains lit or switches on while
driving, there is a failure in the fuel
supply/ignition and emission control
systems.
The failure could cause high exhaust
emissions, loss of performance, poor
vehicle handling and high
consumption levels.
Should this occur, proceed with
caution to your Authorized Maserati
Dealer without heavy throttle
application or driving at high speeds.
Obey all applicable local traffic
regulations.
The indicator light will go out if the
problem is no longer present.
The error will be registered by the
system in any case. CAUTION!
• When the ignition switch is in the
RUN position and if the indicator
light does not switch on or if it
switches on while driving, contact an
Authorized Maserati Dealer as soon
as possible.
• Prolonged driving with the MIL on
could cause damage to the engine
control system. It also could affect
fuel economy and drivability. If the
MIL is flashing, severe catalytic
converter damage and power loss
will soon occur. Immediate service is
required. In addition, the OBDII
system incorporates a diagnostic
connector that can be interfaced
using diagnostic equipment. This
makes it possible to read the error
codes stored in the control unit,
together with a set of specific
parameters for the engine operation
diagnostic cycle, for compliance with
CARB & EPA OBDII regulations.
Left Turn Signal Indicator Light
The
indicator lights
up when
the left turn signals or the
hazard flashers are turned on. The indicator light will flash at the
same frequency of the turn signals
and is controlled by the stalk switch
lever.
If the vehicle electronics sense that the
vehicle drives for more than 1 mile
(1.6 km) with either turn signal on, a
continuous sound will alert the driver
to turn the signal off.
If the indicator flashes at a rapid rate,
check for a defective exterior light
bulb.
Tire Pressure Monitoring Light
This warning light is
connected to the Tire Pressure
Monitoring System (TPMS).
Under normal conditions, the
warning light should illuminate when
the ignition switch is in RUN and
should go off once the engine is
started.
If the warning light remains lit or
illuminates while driving, the pressure
of one or more tires is too low and a
message will be displayed.
The TPMS malfunction warning light is
connected to the low tire pressure
monitoring light.
When the system detects a
malfunction, the monitoring light and
the related message will flash forDashboard Instruments and Controls
4
147
Page 152 of 384
approximately one minute and then
remain lit.
This sequence will continue upon
subsequent vehicle startups as long as
the malfunction lasts.
When the malfunction warning lights
up, the system may not be able to
detect or signal low tire pressure
correctly.
Please refer to “Tire Pressure
Monitoring System (TPMS)” in section
“Driving” for further information.
Anti-Lock Braking System (ABS)
Malfunction Warning Light
This light, and its related
message, indicate possible
malfunctions of the Anti-Lock
Brake System (ABS).
The light will turn on when the
ignition switch is in RUN position and
may stay on for 4 seconds. If the ABS
light remains lit or turns on while
driving, the Anti-Lock portion of the
brake system is not functioning and
requires service. However, the
conventional brake system will
continue to operate normally if the
warning light is switched off. If
the ABS light turns on while driving, or
if it does not switch on when the
ignition switch is in RUN position,
please visit an Authorized Maserati Dealer as soon as possible to restore
the Anti-Lock brake function.
Electronic Stability Control (ESC)
Activation/Malfunction Indicator Light
The ESC activation/malfunction
indicator light on the
instrument cluster will display
when the ignition switch is in
RUN position.
It should switch off by starting the
engine.
If the light stays on with the engine
running, there is a malfunction in the
ESC system.
If the light still stays on after several
ignition cycles, and the vehicle has
been driven for several miles at more
than 30 mph (48 km/h) speed, visit an
Authorized Maserati Dealer as soon as
possible to have the problem
diagnosed and serviced.
NOTE:
Each time the ignition switch is in RUN :
• The ESC OFF indicator light
and
the ESC activation/malfunction
indicator light illuminates
temporarily.
• When the ESC is functioning, the
system will make buzzing or clicking
sounds. This is normal. The sounds
will stop once ESC becomes inactive and the road conditions that caused
the ESC activation no longer persist.
Electronic Stability Control (ESC) OFF
Indicator Light
This indicator notifies that the
Electronic Stability Control
(ESC) is disabled; the linked
message will be displayed.
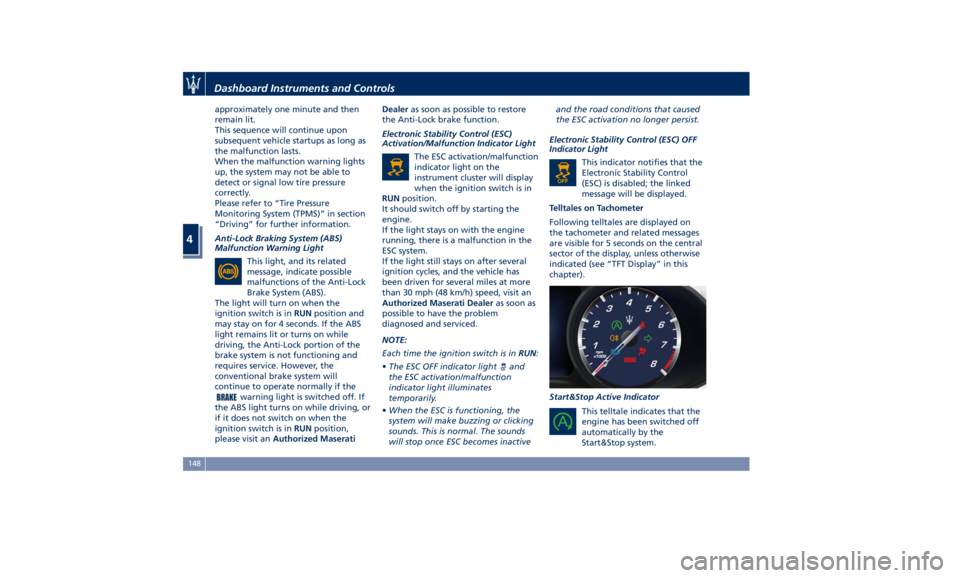
Telltales on Tachometer
Following telltales are displayed on
the tachometer and related messages
are visible for 5 seconds on the central
sector of the display, unless otherwise
indicated (see “TFT Display” in this
chapter).
Start&Stop Active Indicator
This telltale indicates that the
engine has been switched off
automatically by the
Start&Stop system.Dashboard Instruments and Controls
4
148
Page 153 of 384
When the engine starts again, the
telltale will switch off.
If the telltale during an automatic
engine shutdown (AutoStop) phase
starts flashing, it will be necessary to
restart the engine normally with the
ignition device while holding down
the brake pedal.
See chapter “Normal Starting of the
Engine” in section “Driving” for
further information.
Rear Fog Light Indicator
This indicator lights up when
the rear fog lights are
switched on.
High Beam Indicator
This indicator lights up when
the high beams are switched
on or when blinking.
Brake Indicator Light
This light monitors various
brake functions, including
brake fluid level, brake pads
wear and parking brake
engagement.
If the brake light illuminates the
parking brake may be engaged, the
brake pads have reached wear limit,
the brake fluid level may be low or a
problem with the anti-lock brake system (ABS) reservoir may have
occurred.
In all the above situations, a related
message will be displayed.
If the light still illuminates when the
parking brake has been disengaged,
and the fluid level is at the full mark
on the master cylinder reservoir, there
could be a brake hydraulic system
malfunction or a problem with the
brake booster detected by the
ABS/ESC system. If this occurs, the light
will remain lit until the problem has
been solved.
If the problem concerns the brake
booster, the ABS master cylinder will
run when engaging the brake and a
brake pedal pulsation may be felt
during each stop of the vehicle.
Inefficiency of one of the dual brake
system cycles is indicated by the brake
indicator light, which will turn on
when the brake fluid level in the
master cylinder has dropped below a
certain level.
The light will remain lit until the
problem has been solved.
If a brake failure occurs, visit an
Authorized Maserati Dealer as soon as
possible in order to check up the
brake system.
In the event of an Electronic Brake
Force Distribution (EBD) failure, both the brake indicator light and the ABS
light illuminate.
Immediate repair of the ABS system is
required.
Functioning of the brake indicator
light can be checked by turning the
ignition switch from OFF to RUN
position.
The light should illuminate for
approximately 2 seconds.
The light should switch off unless the
parking brake is engaged or a brake
fault is detected. If the light does not
illuminate, have the light system
repaired by an Authorized Maserati
Dealer .
The light will also switch on when the
parking brake is engaged with the
ignition switch in RUN position.
This light only indicates the brake is
engaged but not the clamping force
of the parking brake to the wheels.
WARNING!
Driving a vehicle with the red brake
light on can be very dangerous and is
not recommended. Part of the brake
system may have failed, resulting in
increased braking distances and the
risk of an accident. Have the vehicleDashboard Instruments and Controls
4
149
Page 154 of 384
(Continued)
checked as soon as possible at an
Authorized Maserati Dealer.
Air Bag Indicator Light
This
light will illuminate for a
few seconds for a bulb check
when the ignition switch is in
RUN . If the light does not
illuminate while starting the engine,
stays lit, or switches on while driving,
have the system checked at an
Authorized Maserati Dealer as soon as
possible.
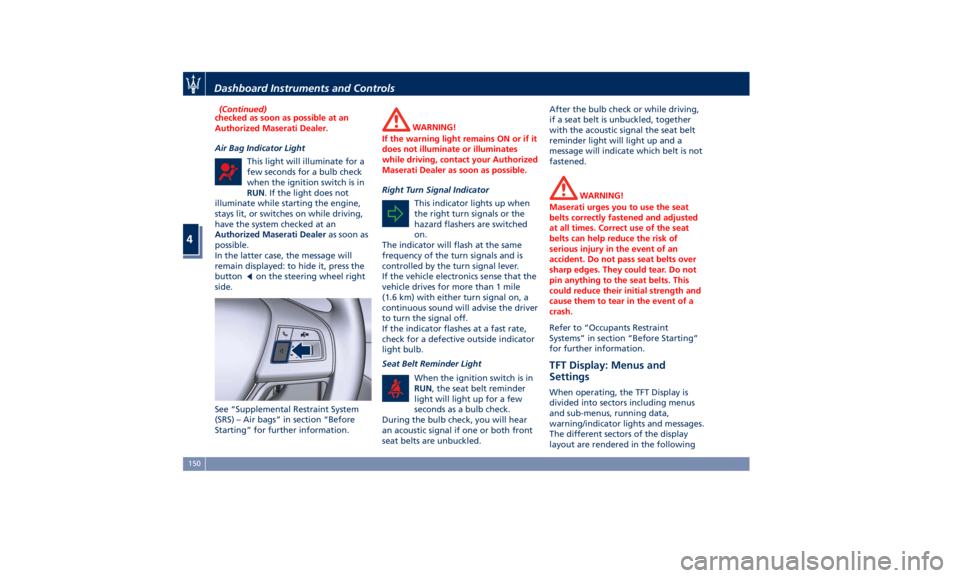
In the latter case, the message will
remain displayed: to hide it, press the
button
on the steering wheel right
side.
See “Supplemental Restraint System
(SRS) – Air bags” in section “Before
Starting” for further information. WARNING!
If the warning light remains ON or if it
does not illuminate or illuminates
while driving, contact your Authorized
Maserati Dealer as soon as possible.
Right Turn Signal Indicator
This
indicator lights
up when
the right turn signals or the
hazard flashers are switched
on.
The indicator will flash at the same
frequency of the turn signals and is
controlled by the turn signal lever.
If the vehicle electronics sense that the
vehicle drives for more than 1 mile
(1.6 km) with either turn signal on, a
continuous sound will advise the driver
to turn the signal off.
If the indicator flashes at a fast rate,
check for a defective outside indicator
light bulb.
Seat Belt Reminder Light
When the ignition switch is in
RUN , the seat belt reminder
light will light up for a few
seconds as a bulb check.
During the bulb check, you will hear
an acoustic signal if one or both front
seat belts are unbuckled. After the bulb check or while driving,
if a seat belt is unbuckled, together
with the acoustic signal the seat belt
reminder light will light up and a
message will indicate which belt is not
fastened.
WARNING!
Maserati urges you to use the seat
belts correctly fastened and adjusted
at all times. Correct use of the seat
belts can help reduce the risk of
serious injury in the event of an
accident. Do not pass seat belts over
sharp edges. They could tear. Do not
pin anything to the seat belts. This
could reduce their initial strength and
cause them to tear in the event of a
crash.
Refer to “Occupants Restraint
Systems”
in section
“Before Starting”
for further information.
TFT Display: Menus and
Settings When operating, the TFT Display is
divided into sectors including menus
and sub-menus, running data,
warning/indicator lights and messages.
The different sectors of the display
layout are rendered in the followingDashboard Instruments and Controls
4
150