ECU MAZDA MODEL CX-7 2009 (in English) Workshop Manual
[x] Cancel search | Manufacturer: MAZDA, Model Year: 2009, Model line: MODEL CX-7, Model: MAZDA MODEL CX-7 2009Pages: 454, PDF Size: 6.24 MB
Page 281 of 454
Black plate (281,1)
NOTElBefore using the auxiliary jack, read the
manufacturer's instructions for the product
being connected.
lUse a commercially-available, non-
impedance (3.5
) stereo mini plug for
connecting the portable audio unit to the
auxiliary jack. Before using the auxiliary
jack, read the manufacture's instructions
for connecting a portable audio unit to the
auxiliary jack.
lTo prevent discharging of the battery, do
not use the auxiliary input for long periods
with the engine off or idling.
lNoise may occur depending on the product
connected to the auxiliary jack.
lWith regard to connecting a portable audio
or similar device to a power source, use the
battery for the device, not the accessory
socket.
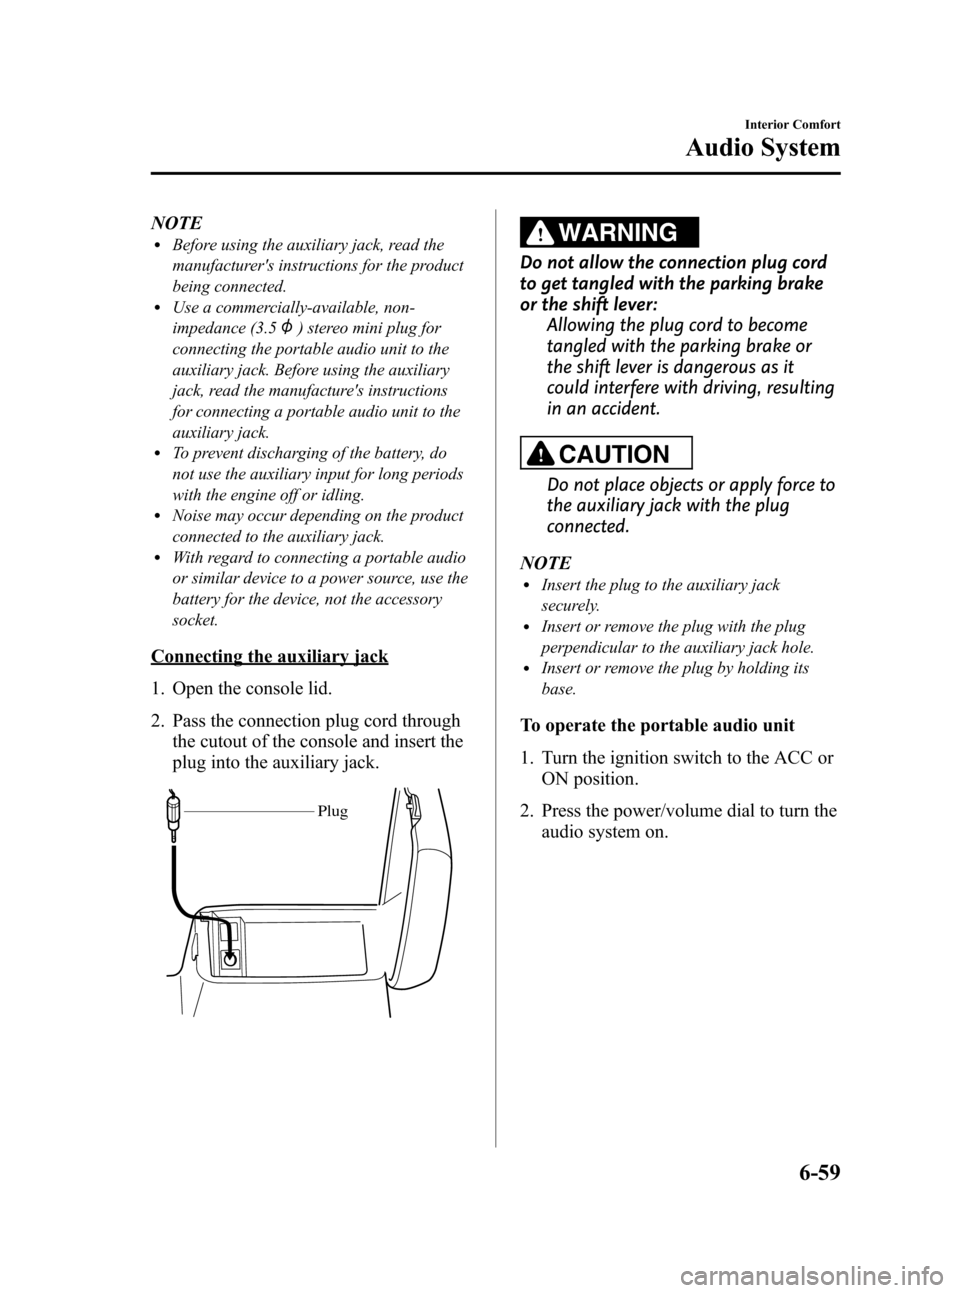
Connecting the auxiliary jack
1. Open the console lid.
2. Pass the connection plug cord through
the cutout of the console and insert the
plug into the auxiliary jack.
Plug
WARNING
Do not allow the connection plug cord
to get tangled with the parking brake
or the shift lever:
Allowing the plug cord to become
tangled with the parking brake or
the shift lever is dangerous as it
could interfere with driving, resulting
in an accident.
CAUTION
Do not place objects or apply force to
the auxiliary jack with the plug
connected.
NOTE
lInsert the plug to the auxiliary jack
securely.
lInsert or remove the plug with the plug
perpendicular to the auxiliary jack hole.
lInsert or remove the plug by holding its
base.
To operate the portable audio unit
1. Turn the ignition switch to the ACC or
ON position.
2. Press the power/volume dial to turn the
audio system on.
Interior Comfort
Audio System
6-59
CX-7_8Z60-EA-08D_Edition2 Page281
Friday, May 30 2008 5:28 PM
Form No.8Z60-EA-08D
Page 296 of 454
Black plate (296,1)
Read-out of names registered to the
Bluetooth Hands-Free phonebook
Bluetooth Hands-Free can read out the list
of names registered to its phonebook.
1. Activate Bluetooth Hands-Free (page
6-65).
2.Say:[Beep]“Phonebook”
3.Prompt:“Select one of the following:
new entry, edit, list names, delete or
erase all..., or say“cancel”to return to
main menu.”
4.Say:[Beep]“List names”
5.Prompt:“XXXXX..., XXXXX...,
XXXXX... (Ex.“John's phone”, Mary's
phone, Bill's phone)”(Voice guidance
reads out the voice tags registered to
the phonebook.)
Press the talk button (Short press) during
the read-out at the desired name, and then
say one of the following voice commands
to execute it.
l“Continue”: Continues the list read-
out.
l“Call”: Calls the registered phonebook
data when the talk button is short-
pressed.
l“Edit”: Edits the registered phonebook
data when the talk button is short-
pressed.
l“Delete”: Deletes the registered
phonebook data when the talk button is
short-pressed.
l“Previous”: Returns to the previous
phonebook data in read-out when the
talk button is short-pressed.
l“Cancel”: Returns to main menu.
6.Prompt:“End of list, would you like
to start from the beginning?”
7.Say:[Beep]“No”8.Prompt:“Returning to main menu.”
qDTMF (dual tone multi-
frequency signal) transmission
This function is used when transmitting
DTMF via the user's voice. The receiver
of a DTMF transmission is generally a
home telephone answering machine or a
company's automated guidance call center
(When you send tone signals back
according to the voice guidance
recording).
1. Press the talk button (Short press).
2.Say:[Beep]“XXXX... send”(Say
DTMF code)
3.Prompt:
“Sending XXXX... (DTMF code)”
6-74
Interior Comfort
Bluetooth Hands-Free
CX-7_8Z60-EA-08D_Edition2 Page296
Friday, May 30 2008 5:28 PM
Form No.8Z60-EA-08D
Page 297 of 454
Black plate (297,1)
Hands-Free Telephone Setting
qMobile phone
Mobile phone registration
For the registration of a Bluetooth
equipped mobile telephone to Bluetooth
Hands-Free, refer to“Bluetooth Hands-
Free preparation”(page 6-66).
Registered mobile phone read-out
Bluetooth Hands-Free can read-out the
mobile phones registered to its system.
1. Activate Bluetooth Hands-Free (page
6-65).
2.Say:[Beep]“Setup”
3.Prompt:“Select one of the following:
pairing options, confirmation prompts,
select phone, language, or passcode...,
or say“cancel”to return to main
menu.”
4.Say:[Beep]“Pairing options”
5.Prompt:“Do you want to pair a
phone, delete a phone, or list paired
phones?”
6.Say:[Beep]“List phones”
7.Prompt:“XXXXX..., XXXXX...,
XXXXX... (Ex. Phone A, phone B,
phone C)”(The voice guidance reads
out the phone tags registered to the
hands-free system.)
Press the talk button (Short press) during
the read-out at the desired phone, and then
say one of the following voice commands
to execute it.
l“Select”: Programmed the mobile
phone when the talk button is short-
pressed.
l“Continue”: Continues the list read-
out.
l“Delete”: Deletes the registered mobile
phone when the talk button is short-
pressed.
l“Previous”: Returns to the previous
mobile phone in read-out when the talk
button is short-pressed.
8.Prompt:“End of list, would you like
to start from the beginning?”
9.Say:[Beep]“No”
10.Prompt:“Returning to main menu.”
Mobile phone selection
This function is for switching to a
different mobile phone which has been
registered beforehand. The selected
mobile phone will remain in effect until
the ignition switch is turned off.
1. Activate Bluetooth Hands-Free (page
6-65).
2.Say:[Beep]“Setup”
3.Prompt:“Select one of the following:
pairing options, confirmation prompts,
select phone, language, or passcode...,
or say“cancel”to return to main
menu.”
4.Say:[Beep]“Select phone”
5.Prompt:“Please say 1 (priority 1) for
XXXXX... (Ex. phone A), 2 (priority
2) for XXXXX... (Ex. phone B...)”
6.Say:[Beep]“2”(Say the priority
number for the mobile phone to be
used as first priority.)
7.Prompt:“XXXXX... (Ex. phone B...)
(Registered phone tag) selected, is this
correct?”
8.Say:[Beep]“Ye s”
Interior Comfort
Bluetooth Hands-Free
6-75
CX-7_8Z60-EA-08D_Edition2 Page297
Friday, May 30 2008 5:28 PM
Form No.8Z60-EA-08D
Page 298 of 454
Black plate (298,1)
9.Prompt:“XXXXX... (Ex. phone B...)
(Phone tag) will temporarily override
phone priorities, returning to main
menu.”
Registered mobile phone deletion
Registered mobile phones can be deleted
individually or collectively.
1. Activate Bluetooth Hands-Free (page
6-65).
2.Say:[Beep]“Setup”
3.Prompt:“Select one of the following:
pairing options, confirmation prompts,
select phone, language, or passcode...,
or say“cancel”to return to main
menu.”
4.Say:[Beep]“Pairing options”
5.Prompt:“Do you want to pair a
phone, delete a phone, or list paired
phones?”
NOTE
A registered mobile phone can be deleted
using the registration list.
6.Say:[Beep]“Delete a phone”
7.Prompt:“Please say 1 (priority 1) for
XXXXX... (Ex. phone A), 2 (priority
2) for XXXXX... (Ex. phone B...)”
(The voice guidance reads out each
phone in the order of priority and the
phone tag).
8.Say:[Beep]“2”(Say the order of
priority of the mobile phone to be
deleted.)
NOTE
Say“All”to delete all mobile phones.
9.Prompt:“Removing XXXXX... (Ex.
phone B...) (Registered phone tag). Is
this correct?”10.Say:[Beep]“Ye s”
11.Prompt:“Deleted”
qSecurity setting
If a passcode is set, the system cannot be
activated unless the passcode is input.
Passcode setting
1. Activate Bluetooth Hands-Free (page
6-65).
2.Say:[Beep]“Setup”
3.Prompt:“Select one of the following:
pairing options, confirmation prompts,
select phone, language, or passcode...,
or say“cancel”to return to main
menu.”
4.Say:[Beep]“Passcode”
5.Prompt:“Passcode is disabled. Would
you like to enable it?”
6.Say:[Beep]“Ye s”
7.Prompt:“Please say a 4-digit passcode.
Remember this passcode. It will be
required to use this system.”
8.Say:[Beep]“XXXX”(Say a desired 4-
digit passcode,“PCode”.)
9.Prompt:“Passcode XXXX (Passcode,
PCode). Is this correct?”
10.Say:[Beep]“Ye s”
11.Prompt:“Passcode is enabled,
returning to main menu.”
Using Bluetooth Hands-Free with a
passcode
1. Activate Bluetooth Hands-Free (page
6-65).
2.Prompt:“Hands-Free system is locked.
State the passcode to continue.”
6-76
Interior Comfort
Bluetooth Hands-Free
CX-7_8Z60-EA-08D_Edition2 Page298
Friday, May 30 2008 5:28 PM
Form No.8Z60-EA-08D
Page 299 of 454
![MAZDA MODEL CX-7 2009 (in English) Workshop Manual Black plate (299,1)
3.Say:[Beep]“XXXX”(Say the set
passcode“PCode”.)
4. If the correct passcode is input, voice
guidance“XXXXXX... (Ex.“Marys
phone) (Phone tag) is connected”is
announce MAZDA MODEL CX-7 2009 (in English) Workshop Manual Black plate (299,1)
3.Say:[Beep]“XXXX”(Say the set
passcode“PCode”.)
4. If the correct passcode is input, voice
guidance“XXXXXX... (Ex.“Marys
phone) (Phone tag) is connected”is
announce](/img/28/13901/w960_13901-298.png)
Black plate (299,1)
3.Say:[Beep]“XXXX”(Say the set
passcode“PCode”.)
4. If the correct passcode is input, voice
guidance“XXXXXX... (Ex.“Mary's
phone) (Phone tag) is connected”is
announced.
If the passcode is incorrect, voice
guidance“XXXX (4-digit passcode,
Pcode) incorrect passcode, please try
again”is announced.
Canceling the passcode
1. Activate Bluetooth Hands-Free (page
6-65).
2.Say:[Beep]“Setup”
3.Prompt:“Select one of the following:
pairing options, confirmation prompts,
select phone, language, or passcode...,
or say“cancel”to return to main
menu.”
4.Say:[Beep]“Passcode”
5.Prompt:“Passcode is enabled. Would
you like to disable it?”
6.Say:[Beep]“Ye s”
7.Prompt:“Passcode is disabled,
returning to main menu.”
Confirmation Prompts
The confirmation prompt confirms the
command content to the user before
advancing to the operation requested by
the user. When this function is turned on,
the system reads out the voice input
command previously received and
confirms whether the command is correct
before advancing to the command
execution.When the confirmation prompt function is
turned on:
(Ex.“Calling John's phone. Is this
correct?”)
When the confirmation prompt function is
turned off:
(Ex.“Calling John's phone.”)
NOTE
If the confirmation prompt function is turned
off when making an emergency call, the system
reads out and confirms the command before
executing it.
1. Activate Bluetooth Hands-Free (page
6-65).
2.Say:[Beep]“Setup”
3.Prompt:“Select one of the following:
pairing options, confirmation prompts,
select phone, language, or passcode...,
or say“cancel”to return to main
menu.”
4.Say:[Beep]“Confirmation prompts”
5.Prompt:“Confirmation prompts are
on/off. Would you like to turn
confirmation prompts off/on?”
6.Say:[Beep]“Ye s”
7.Prompt:“Confirmation prompts are
off/on, returning to main menu.”
Interior Comfort
Bluetooth Hands-Free
6-77
CX-7_8Z60-EA-08D_Edition2 Page299
Friday, May 30 2008 5:28 PM
Form No.8Z60-EA-08D
Page 312 of 454

Black plate (312,1)
Installing to the front side
Storage box
Installing to the back side
Storage box
qCargo Securing Loops
WARNING
Make sure luggage and cargo is
secured before driving:
Not securing cargo while driving is
dangerous as it could move or be
crushed during sudden braking or a
collision and cause injury.Use the loops in the luggage compartment
to secure cargo with a rope or net. The
tensile strength of the loops is 196 N (20
kgf, 44 lbf). Do not apply excessive force
to the loops as it will damage them.
6-90
Interior Comfort
Interior Equipment
CX-7_8Z60-EA-08D_Edition2 Page312
Friday, May 30 2008 5:28 PM
Form No.8Z60-EA-08D
Page 318 of 454

Black plate (318,1)
qJack
To remove the jack
1. Remove the trunk board.
Trunk board
2. Turn the wing bolt and jack screw
counterclockwise.
Jack screwWing bolt
NOTE
The jack can be removed from the rear door if
the rear seatback is folded forward.
Refer to Rear Seat on page 2-8.
To secure the jack
1. Turn the wing bolt clockwise and
temporarily tighten it.
2. Turn the jack screw clockwise and
extend the jack to secure it to the
vehicle.3. Turn the wing bolt and tighten it
completely.
qSpare Tire
Your Mazda has a temporary spare tire.
The temporary spare tire is lighter and
smaller than a conventional tire, and is
designed only for emergency use and
should be used only for VERY short
periods. Temporary spare tires should
NEVER be used for long drives or
extended periods.
WARNING
Do not install the temporary spare tire
on the front wheels (driving wheels)
when driving on ice or snow:
Driving with a spare tire on the front
(driving) wheels on ice or snow is
dangerous. Handling will be affected.
You could lose control of the vehicle
and have an accident. Put the spare
tire on the rear axle and move a
regular tire to the front.
7-4
In Case of an Emergency
Flat Tire
CX-7_8Z60-EA-08D_Edition2 Page318
Friday, May 30 2008 5:28 PM
Form No.8Z60-EA-08D
Page 324 of 454
Black plate (324,1)
If you're unsure of how tight the nuts
should be, have them inspected at an
Authorized Mazda Dealer.
Nut tightening torque
N·m (kgf·m, ft·lbf) 88―118 (9―12, 65―87)
WARNING
Always securely and correctly tighten
the lug nuts:
Improperly or loosely tightened lug
nuts are dangerous. The wheel could
wobble or come off. This could result
in loss of vehicle control and cause a
serious accident.
Be sure to reinstall the same nuts you
removed or replace them with metric
nuts of the same configuration:
Because the wheel studs and lug nuts
on your Mazda have metric threads,
using a non-metric nut is dangerous.
On a metric stud, it would not secure
the wheel and would damage the
stud, which could cause the wheel to
slip off and cause an accident.
5. Remove the center cap by tapping it
with the jack lever.
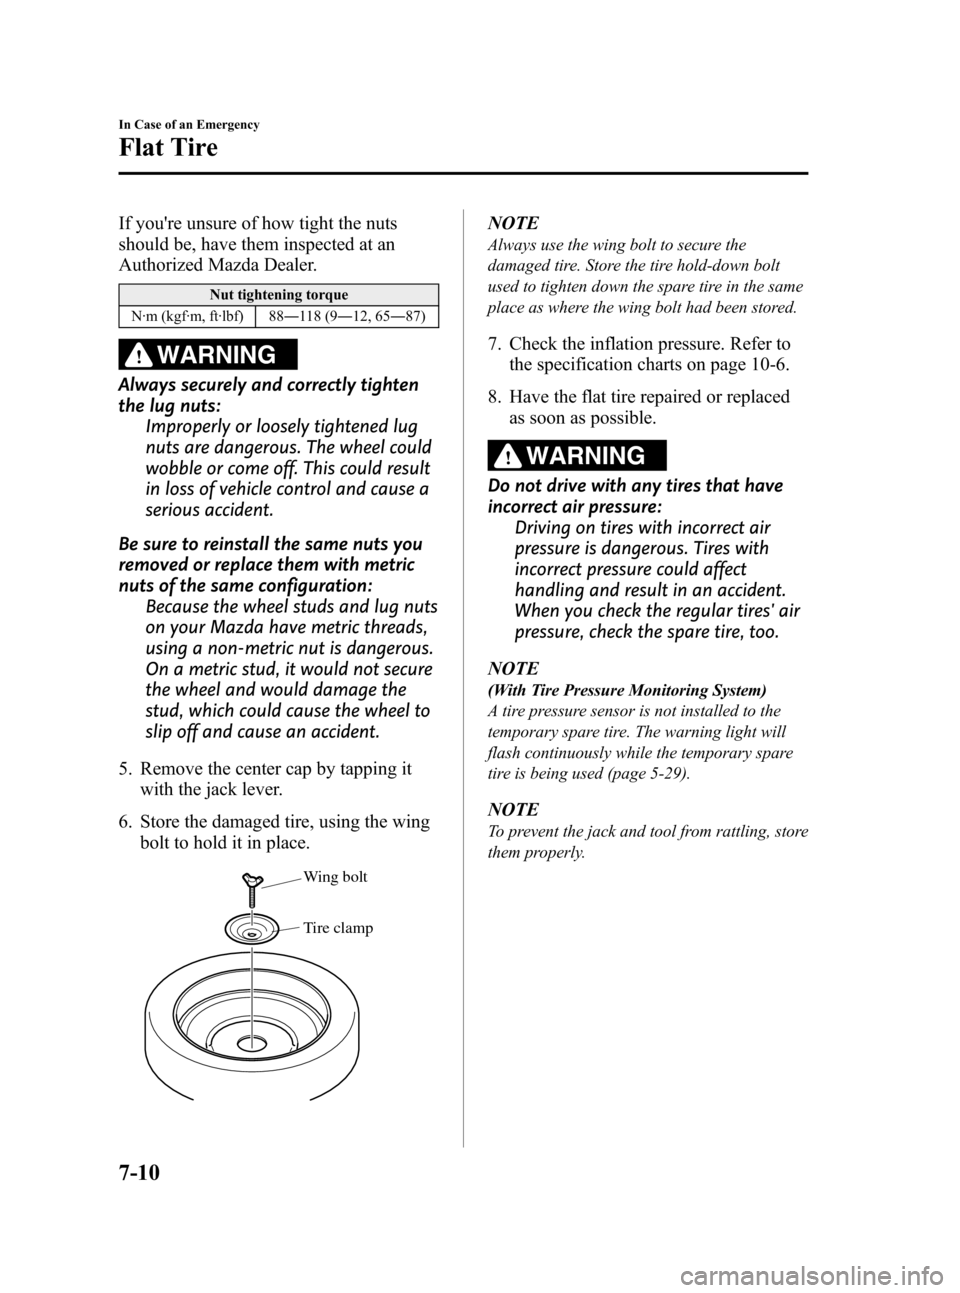
6. Store the damaged tire, using the wing
bolt to hold it in place.
Wing bolt
Tire clamp
NOTE
Always use the wing bolt to secure the
damaged tire. Store the tire hold-down bolt
used to tighten down the spare tire in the same
place as where the wing bolt had been stored.
7. Check the inflation pressure. Refer to
the specification charts on page 10-6.
8. Have the flat tire repaired or replaced
as soon as possible.
WARNING
Do not drive with any tires that have
incorrect air pressure:
Driving on tires with incorrect air
pressure is dangerous. Tires with
incorrect pressure could affect
handling and result in an accident.
When you check the regular tires' air
pressure, check the spare tire, too.
NOTE
(With Tire Pressure Monitoring System)
A tire pressure sensor is not installed to the
temporary spare tire. The warning light will
flash continuously while the temporary spare
tire is being used (page 5-29).
NOTE
To prevent the jack and tool from rattling, store
them properly.
7-10
In Case of an Emergency
Flat Tire
CX-7_8Z60-EA-08D_Edition2 Page324
Friday, May 30 2008 5:28 PM
Form No.8Z60-EA-08D
Page 330 of 454

Black plate (330,1)
1. Remove the battery cover.
2. Make sure the booster battery is 12 V
and that its negative terminal is
grounded.
3. If the booster battery is in another
vehicle, don't allow both vehicles to
touch. Turn off the engine of the
vehicle with the booster battery and all
unnecessary electrical loads in both
vehicles.
4. Connect the jumper cables in the exact
sequence as in the illustration.
lConnect one end of a cable to the
positive terminal on the discharged
battery (1).
lAttach the other end to the positive
terminal on the booster battery (2).
lConnect one end of the other cable
to the negative terminal of the
booster battery (3).
lConnect the other end to the ground
point indicated in the illustration
away from the discharged battery
(4).
5. Start the engine of the booster vehicle
and run it a few minutes. Then start the
engine of the other vehicle.6. When finished, carefully disconnect the
cables in the reverse order described in
the illustration.
7. If the battery cover has been removed,
install it in the reverse order of
removal.
NOTE
Verify that the covers are securely installed.
7-16
In Case of an Emergency
Emergency Starting
CX-7_8Z60-EA-08D_Edition2 Page330
Friday, May 30 2008 5:28 PM
Form No.8Z60-EA-08D
Page 334 of 454

Black plate (334,1)
CAUTION
The cap cannot be completely
removed. Do not use excessive force
as it may damage the cap or scratch
the painted bumper surface.
3. Securely install the tiedown eyelet
using the lug wrench.
Lug wrench
Lug wrench
4. Hook the tying rope to the tiedown
eyelet.
CAUTION
If the tiedown eyelet is not securely
tightened, it may loosen or disengage
from the bumper when tying down
the vehicle. Make sure that the
tiedown eyelet is securely tightened
to the bumper.
7-20
In Case of an Emergency
Emergency Towing
CX-7_8Z60-EA-08D_Edition2 Page334
Friday, May 30 2008 5:28 PM
Form No.8Z60-EA-08D