engine coolant MAZDA MODEL PROTÉGÉ 2001 Owners Manual (in English)
[x] Cancel search | Manufacturer: MAZDA, Model Year: 2001, Model line: MODEL PROTÉGÉ, Model: MAZDA MODEL PROTÉGÉ 2001Pages: 290, PDF Size: 5.53 MB
Page 124 of 290

Ddving You. Marda
AclurroN
Driving wift an overheated engine
can cause serious engine damage
(page 6-2).
I Water T€mperature Gauge
The water lemperature gauge sbows lhe
temperature of the ergine coolant,
If the needie exceeds normal range
toward H, it indicates overheating.
I Fuel Gauge
The fuel gauge shows approximately how
much fuel is i!1the lank. We recommend
keeping ihe tant over 1/4 full. When the
low fuel waming light illuminates or
when the needle is near E, refuel as soon
aspossible.
H.\
=
st til
= //'->) ?
=
.Y') /
-""'-4-r^-*-"
5-24
Page 189 of 290
ln Ca5€ of an Emergenry
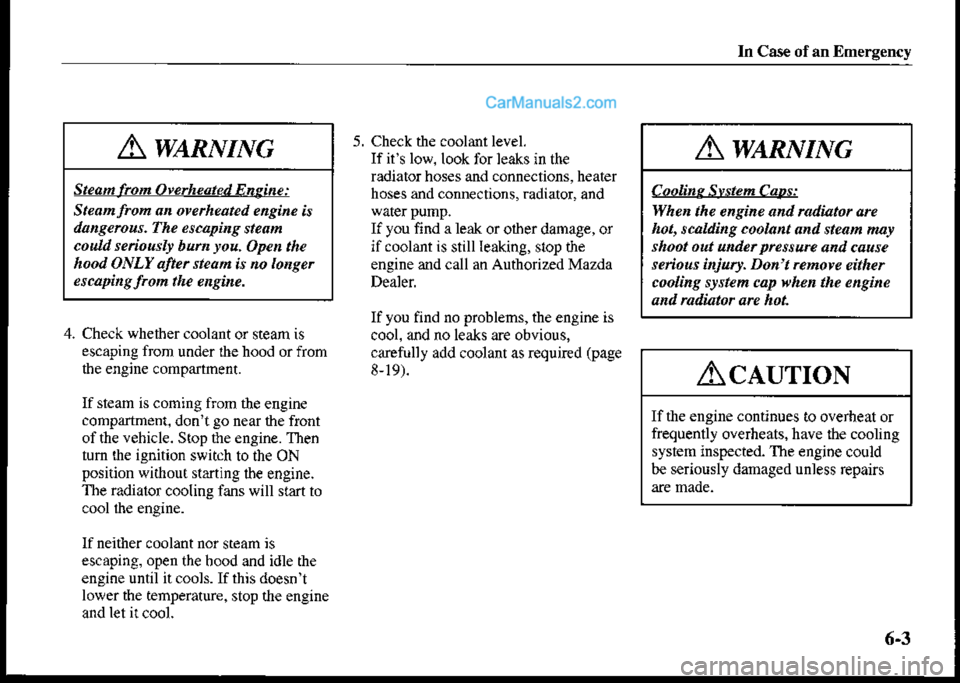
5. Check th€ coolant level.
Ifit low.look for leaks in the
radiator hoses and connections, heater
hoses and connections, radiator, and
warcr pump.
If you find a leak or oiher damage, or
ifcoolant is still leaking, stop the
engine and call an Authorized Mazda
Dealer
If you find no problems, the engine is
cool. and no leaks are obvious,
carefully add coolant as requir€d (page
8,19).
4. Check whethercoolant or steam is
escaping trom under lhe hood or from
the engine compartment.
If steam is coming from rhe engine
comp.nmeni. donit go near the front
of the vehicle. Stop the engine. Then
tum rhe ignition switch to the ON
position without sGning lbe engine.
The radiator cooling fans will st2n to
lf neither coolant nor steam is
escaping, open the bood and idle the
engine until it cools.If this doesn't
lower the temperature, stop the engine
and let i! cool.
A wARNlNc
Stean lrom Owrheated Engine:
Ste.nfron an overheated eneine 6
dangerous. The esuping steam
cou.ld senouslt bum rou.Open the
hood ONLY after steam is no longer
ercapi gf.om the engine.
Awl^nNntc
C oo lin e:SrtlelLtcaps:
When the engine and radiator are
hot, scalding coolant an,l steam nu!
shoot out uttder pntswe and cause
lerious i jury. Don't.emove either
coolinS srstem cap when the engi e
and ndiator are hot.
Ac.lurroll
If the engine contirues to overheat or
frequently overheats, have the cooling
sysiem inspected. The engine could
be seriously damaged unless repairs
6-3
Page 232 of 290
Owner Maintenance
I Owner Maintensnce Schedule
The owner or aqualified service
i,echnician sbould make thes€ vehicle
inspections at lhe indicated inteNals to
ensure saf€ and dependable operation.
Bring any problem to fte attention of an
Authorized Mazda Dealer or qualified
seNice technician as soon as possible.
V When refueling
. Brake and clutch fluid level
(page 8'23)
. Engine coolantlevel
(page 8 19)
. Engine oil level
(page 8 17)
. Washerfluid lev€l
(page 8-27)
V At least monthly
. Tire inflation pressures
(pase 8-34)
V At least twice a Jear(for example, every spring and fall)
. Automatic transaxle fluid level
(page 8-2s). Power steering lluid level
(page 8 2a)
You can do lhe following scheduled
maintenance items if you have some
nechanical ability and a few basic tools
and ifyou closely follow the directions in
ihis manual.
. Air filter
(page 8-28)
. Engine coolani
(page 8 19)
. Engine oil and oil filter
(page 8 18)
8-12
Page 239 of 290
Maintenence
3.
1.
Replace the plug iighdy after the oil
has thoroughly drained.
Fill the engine with new oil to the F
mark on the dipstick.
S€curely replace the oil-filler cap.
Slart the engine and inspecl around the
drain plug for leaks.
Tum il off and wait 5 minutes for the
oil to reiurn to ihe oil pan.
Check the oil level and fitl to the F mark
ifnecessary,
Oil capacity (General reference only.)
1.6-liter engine:
3.0 L (3.2 US qt, 2.6 ftnp qt)
1.8 and 2.o-lit€r ensines:
3.3 L (3.5 US qt,2.9Imp qt)
5.
NOTE
Use only specified engine oil (page
8 16).
Changing oil fflter
Because you need a special tool to
retighten the filter, an Authoriz€d Mazda
Dealer should do the work.
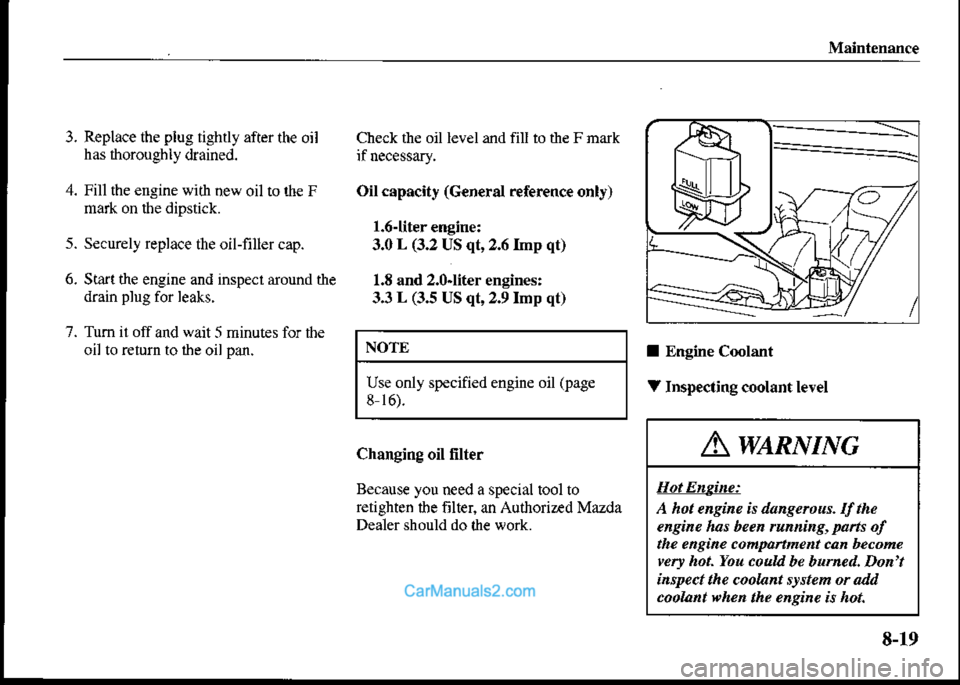
I Engine Coolant
V Inspeciing coolant level
A waruvnrc
Hot Engine:
A hot ensine h danserous. I! the
ensine has been runnins, pa.ts of
the engine compartment can becomeyery hot. You couu be b rned. Don't
inspect the coolant slstem or add
coola t r'hen the engine is hot
8-19
Page 240 of 290
Maint€nance
Inspect the antifreeze protection and Do not overlill,
coolant level in the coolant reservoir at
V Changing coolant
leasl once a year at the beginning of the If new coolan! is required fiequently, Change coolant according to Sch€duledwinter season-and before traveling consult an Authorized Mazda Dealer Maintenance (page 8-3).where temperatures may drop below
freezlng.
Inspect the condition and connections of
all cooling system and heaterhoses.
Replace any ihat are swollen or
The coolanr should be at fuil in the
radiator and between the FULL and
LOW marks on the coolant r€s€rvoir
when the engine is cool.
Ifit's ator near LOW add enough
coolant to the coolant reservoir to
provide freezing and corrosion proiection
and to bring the level to FULL.
AclurroN
Radiator coolant will damage paint.
Rinse ll offquickly.
8-20
Page 241 of 290

Ac.turron
Use only soft (demineralized)
waler in the coolant mixturc. Water
ihat conlains minerals will cut
down on the coolant's
Don't add only water. Aiways add
a proper coolant mixiure.
The engine has aluminum parts and
must be protected by an
ethylene-glycot-based coolant toprevent conosion and freezing.
DO NOT USE alcohol or melh3noi
anlifreeze. DO NOT MIX alcohol
ormethanol with lhe coolant. This
could damage the cooling system.
Don't use a solution that contains
more than 60 Eo aniifreeze.
This would reduce effectiveness.
Maintenance
For mixture percenlage:
8-21
Awnnvnve
Removing the Cooling SrstemCap,
Removing the cooling srsten capor
drain plug while the engine is
runnins or hot is dansenus.This
might lead to cooling slstem an.l
eng;ne danage and couA rcsulti
senous injury fron escapins hot
coolant or steam.Tum off the engine
and wat unfl it cool. Eren then, be
verr careful when nnovins the cap
or dtuitt plug. Wrap a thitk cloth
around it and slowlr tun it
countenbckwise to the frst stop.
Step back vhile the Uessure escapes.
When Jou'rc sure a theprcss.eis
gon., pr.ss .lown on the cap - still
using a cloth - tun the cap, and
Page 242 of 290
Msintenance
t'"n,."!_.-
$\".,*
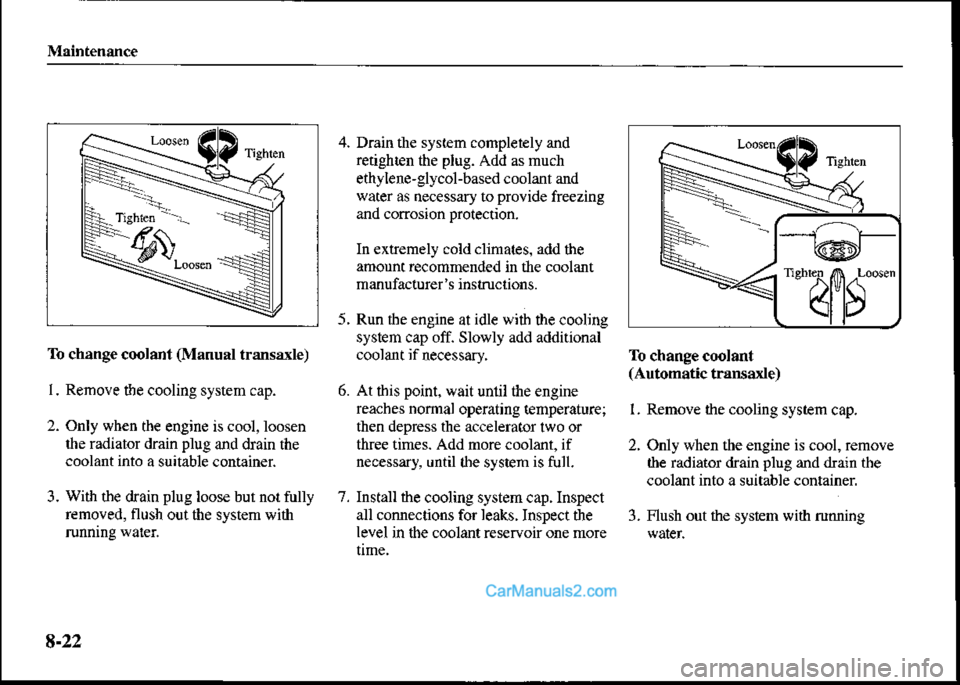
Ib change coolant (Manual trans le)
I. Remove the cooling system cap.
2. Only when the engine is cool,loosen
the radiator drain plug and drain the
coolaflt into a suitable container.
3. With the drain plug loose but not fully
removed, flush out the system with
funning waier.
4. Drain the sysi,em cornpletely and
retighten the plug. Add as much
ethylene'glycol-based coolani and
water as necessary to provide freezing
and corrosion protection.
In extremely cold climates, add the
amount recommended in the coolant
manufacturer instruciions.
5. Run lhe engine at idle with the cooling
system cap off. Slowly add additional
coolant ifnecessary,
6. At this point, wait unlil the engine
reaches normal operating tempenture;
then depress the accelerator two or
three times. Add more coolant, if
necessary, until lhe system is full.
7. Install the cooling system cap. Inspect
all connections for leaks. Inspect the
level in dre coolant res€rvoir one more
Ib change coolsnt(Automatic transaxle)
l Remove the cooling system cap.
2. Only when the ergine is cool, remove
lhe radiator drain plug and drain the
coolant into a suitable container.
3. Flush out the system with running
8.22
Page 243 of 290
Maintenance
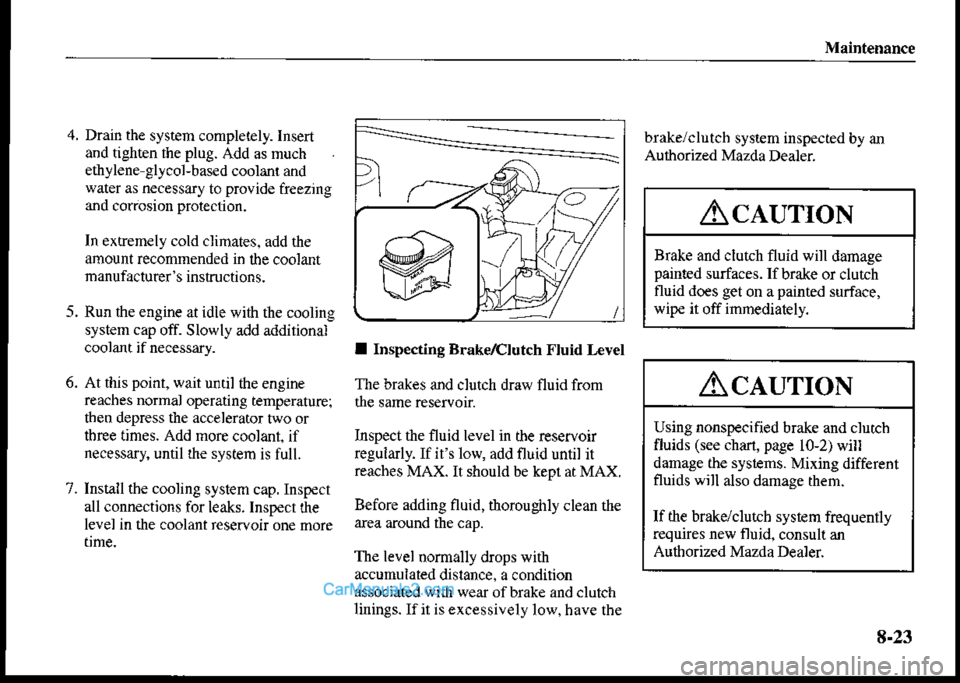
4. Drain the system completely. Insert
and tighten ihe plug. Add as nuch
ethylene gllcol,bas€d cootant and
water as necessary to provide ffeezing
and corrosion prot€clion.
In exlremely cold climates. add the
amount rccommended in lhe coolant
manufacturcr's instructions.
5. Run the engine at idie with the cooling
systen cap off. Slowly add additional
coolant if necessary.
6. At this point, wait until the engine
reaches normal operating temperaturei
then depress the accelerator two or
tbree times. Add more coolant. if
necessary, until rhe system is full.
7. Install the cooling system cap. Inspect
all connections for leai(s. Inspecr the
level in the coolant reservon one more
brake/clutch system inspectred by an
Authorized Mazda Dealer.
AcaurroN
Brake and clutch fluid will damagepainted surfaces. If brake or clurch
fluid does get on a painted surface,
wip€ it off immediately.
I Inspecting Brakerclutch Fluid L€v€l
The brakes and clutch draw fluid from
Inspect the fluid level in the reseNoir
reguiarly. If it's low, add flriid until it
reaches MAX. It should be kepl at MAX.
Before adding fluid, thoroughly clean the
The l€vel normally drops with
accumuiated distance. a condirion
associated with wear of brake and clutch
linings.Ifit isexcessively low. have the
Aclurror,l
Using nonspecified brake and clutch
fluids Gee chan, page 10,2) will
damage the systems. Mixing different
fluids will also damage thern.
If the brakdclutcb system frequently
requires new fluid, consult an
Authorized Mazda Dealer
4.23
Page 284 of 290
Page
A
Add'On Non Genuine Paris and
Accesories .................. -. -.. 9 7
Air Bag Restnint Syslem
Supplenental Resfiaint Syslem . . . . . 2-3O
waminglight ................... 5-31
Aluminun Wheel Maintenance ........ 7-8
Ant€nna ......................... 5-86
Antil@kBEke System (ABS) ........ 5 13
Waminglight .......-........-.. 5 30
Ashtmy.......-.................. 5-3E
ADdio System .... -. ......... - 5 56,5 57
Drivinglips...........-.......... 5 8
Fluid level . . . . . . . . . . . . . . . . . . . . . . 8-25
Overdnve ....................... 5-9
Shift-locksystem ................ 5-10
Transaxleranges .................. 5-7
Page
B
Battery .......................... 8-31
Charging system waming light .... -. 5 28
Jumpstaning ..........-...... -.. 6-4
Beforc Driling
Afte! getringin ..-... -..-..-.......1-6
Beforc g€ltingin ..,.,..,.,.,.,.,.. +6
Body Lubrication ...... - -... -...... a-27
Antilo.kbrakesysten (ABS) .. -.... 5 13
Pluidlevel ...................... E-23
Foo! brake . . . . . . . . . . . . . . . . . . . . . . 5 I I
Pad wear indicator . . . . . . . . . . - . - . . 5 12
ParKngbrake ......... -...... -.. 5-lZ
System weinS light -.. .. -.. -. ... 5-26
BEaklnPeriod ......-....-........ +6
BrighrMetal Mainiemnce, -. -....,.., 7-7
Headright......................- 8,37
Red........................... 8-43
Buld Replacenenr, Front,
interior ..................... 8-40, 8-41
Page
C
Capacities.............-.......... l0-4
(see Emission Conrol Slstem)
CenterConsole.................... 5-40
Chains ....-.....--...-...-...... 4-10
ChangingaFlatTirc--.....-....... - 6 16
ChdgiDgCoolani ............-.... 8'20
Chdging the Oil .................. 8-18
Cheging Systen wamjng Light .. .. .. 5-28
Check Engine Light . . . . . . . . . . . - . . . . 5-29
Ct'ecking
Automatic transaxlefluid ]evel...... 8-25
Brake/clulch fluid level............ E-23
Coolant1eveI.................... 8'19
Engineoillevel .................. 8-l?
Power steering fluid level ..........8-24
washer fluid level . . . . - . . . . . . . - . . . 8'27
Child Restnint, P@autions. ......... 2-20
Child Safety t-ockforRearD@r.. -. -.. 3-6
Child-RestFinr Syst€mr............. 2-22
Installing ....-................ -. 2-23
CigareueLighter .................. 5-3E
Ciean'ng
Dashb@rd....................... 7-9
Laphhoulderbeltwebbing -........ 7-10
rt-2
Page 285 of 290
lndex
Page
Uphohtery and inlerior ffin . . . . . . . . . 7 9
Windowinterio$................. 7-lO
Cumate Control Systen . . . .. .. .. .. . .5 A
Coolan!, Engine
Adding .,.,.,,..-.....,....,.,, 8 19
Changing....-.................. 8-20
Inspecting ....-.............-... 8-19
Cruise Control . . - . - . . . . . . . . . . . . . . . 5 15
CupHolder...............-....... 5-:lO
Customer Assistance . . . . - . . . . . . . 9-2, 9-4
Customerlnfomation :.............. 9-l
D
DashboardIllunination .........-.-. 5 25
Dashboard Ovedjew ................ l-3
Dashbosrd Precautions.... ...... -.. -. 7 9
Day/Night Minor.....-.... -....... 3-23
Rearwindow............ ........ 5 37
DoorLocks......-.-............... 3 2
Door-AjeWanine Lighr............ 5-30
Doos ...-..............-...-..... l-4
Driling in Fl@ded Areas.......... .. 4ll
Page
E
Energency Starting
Jump-sBning .................... 6-4
Push-starting ......-..,.,..,.,,.,. 6 6
Emission Control System .. . .... ... .. . +3
Engine Compaiment Oveniew. -. -... 8-14
Engine Coolant
Addingcoolant .................. 8 19
Changingcoolan! ................ 8-20
Inspectingcoolantlevel ........... 8-19
Overheann9................ -..... 6 2
Engine Coolanr Tenperature cauge
Engine ExhaDst
(carbon Monoxide) . ......... .. .. .. . +4
Engine Oil
Changingengineoilandiilter ...... 8-18
Inspecting engine oil level . . . . . . . . . 8- I 7
Re.onnendedoil .... -. -......... 8-16
Engine Oil Pressure waming Light . . . . 5-28
EngineSrat1ing..................... 5,4
Exhaust (Carbon Monoxide) .. .. ... .. . +4
ExteriorCarc .............,........ 7,4
page
F
FinishDanase .............. -......'7-7
Flashea Hazard Wamine ... . -. .... .. .6 2
Flat Tlre . . . . . . . . . . . . . . . . - . . . . . . . . 6 t 4
Automanc hnsaxle ,.,..,.... ..,. 8-25
Biake/clutch .................... 8-23
Powersteering.....-......... -... 8,24
Washer............. -... ........ a-27
FogLights ....................... 5,35
Foot Bmke .................. -. -.. 5- ll
Front Seat Belt Pretensioner and Load
Limiling Systems .................. 2-ll
Fron! Seat Belts . . . . . . . . . . . . . . . . . . . 2-t2
Headrcshinr .................... 2-l
Reline . . . . . . . . . . - . - . . . . . . . . . . . . 2 3
Slide .-......................... 2-z
Ilt(driver'sseao ............. -. -. 2-4
FuelGauge....................... 5 24
Fuel Requircments . .... . -. -. -.. . .. .. +2
Fuel-FillerCap.................... 3-19
Fuel'FillerLid .................... 3-19
Fuses ............................ 6-6
Fusepaneldescription . . ......... 6 9
Replacement ..................... 6 6
11-3