trailer MAZDA MODEL TRIBUTE 2002 (in English) User Guide
[x] Cancel search | Manufacturer: MAZDA, Model Year: 2002, Model line: MODEL TRIBUTE, Model: MAZDA MODEL TRIBUTE 2002Pages: 256, PDF Size: 2.66 MB
Page 171 of 256
Fuse/Relay
LocationFuse Amp
RatingPassenger Compartment Fuse
Panel Description
18 5A Illumination for: Cluster, Heater unit,
Radio, Hazard switch, Rear defrost
switch, 4WD switch, Front fog switch
19 10A Subwoofer amp
20 15A Turn Indicators, Front Side Turn
Lamps, Front turn lamps, Rear turn
lamps, Trailer turn, Flasher unit
21 10A Trailer position lamps
22 15A Not used
23 20A Horn
24 15A Stoplamps, High mounted stoplamp,
Trailer stoplamp, ABS unit, ASC unit
(Brake Pedal Position Switch), PCM,
Shift solenoid
25 30A Power window motors
26 30A Power door lock motors, GEM (door
lock relay coil), Power seat
27 10A Audio, Cluster, Interior lamp, Map
lamp Cargo lamp
ACC Ð Accessory relay
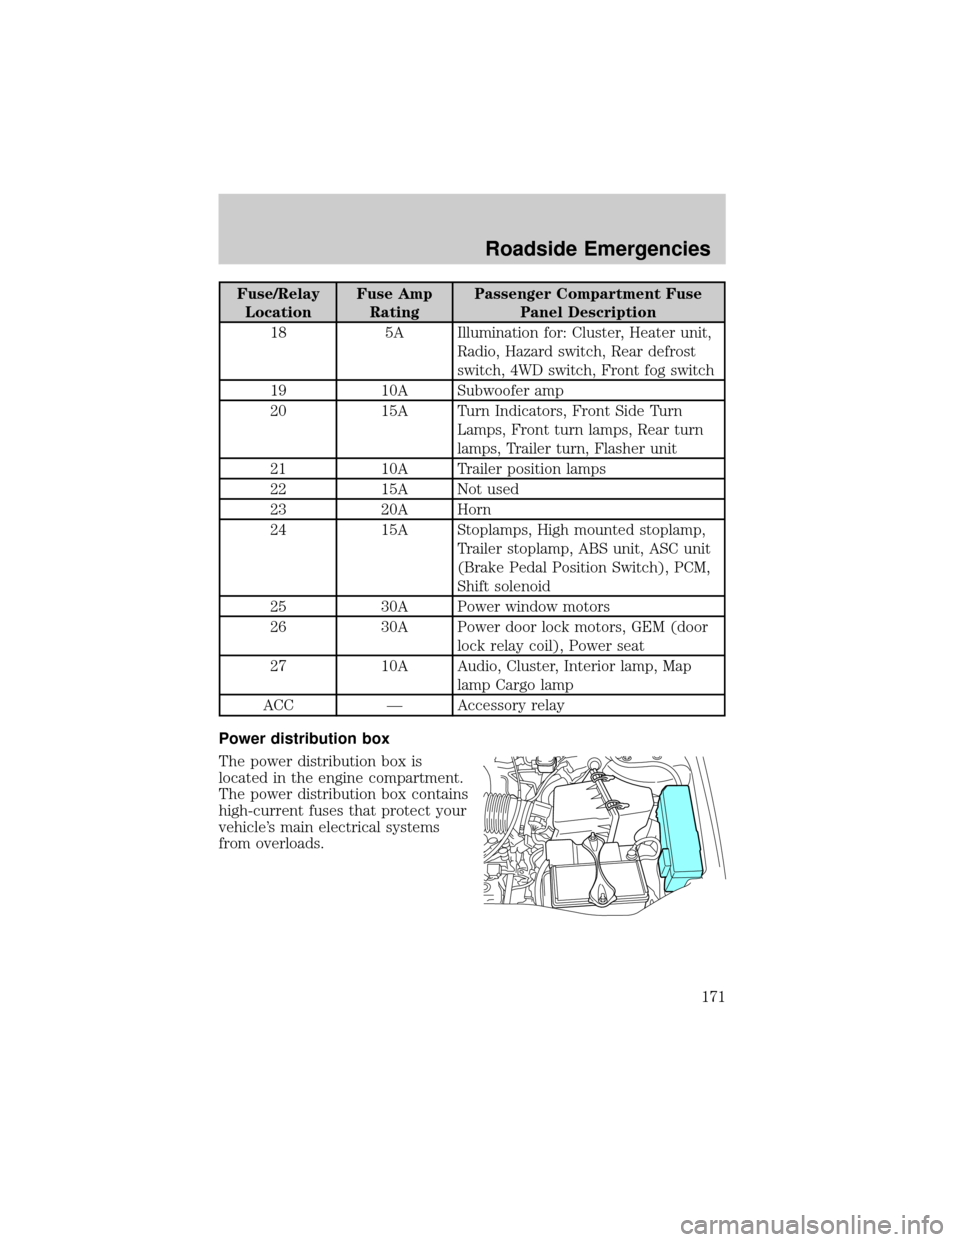
Power distribution box
The power distribution box is
located in the engine compartment.
The power distribution box contains
high-current fuses that protect your
vehicle's main electrical systems
from overloads.
Roadside Emergencies
171
Page 175 of 256

TEMPORARY SPARE TIRE INFORMATION
The temporary spare tire for your vehicle is labeled as such. It is smaller
than a regular tire and is designed for emergency use only.
WARNING: If you use the temporary spare tire continuously or
do not follow these precautions, the tire could fail, causing you
to lose control of the vehicle, possibly injuring yourself or
others.
When driving with the temporary spare tiredo not:
²use more than one temporary spare tire at a time
²exceed 80 km/h (50 mph) or drive further than 3 200 km (2 000
miles) total under any circumstances
²load the vehicle beyond maximum vehicle load rating listed on the
Safety Compliance Label
²tow a trailer
²use tire chains
²try to repair the temporary spare tire or remove it from its wheel
²use the wheel for any other type of vehicle
Use of a temporary spare tire at any one wheel location can lead to
impairment of the following:
²handling, stability and braking performance
²comfort and noise
²ground clearance and parking at curbs
²Winter driving capability
Temporary spare tire information
Your vehicle may have a temporary or conventional spare tire. The
temporary spare tire for your vehicle is labeled as such. It is smaller than
a regular tire and is designed for emergency use only. Replace this tire
with a full-size tire as soon as possible.
It is not recommended that the vehicle be operated in 4WD modes with
a temporary spare. If 4WD operation is necessary, do not operate above
speeds of 16 km/h (10 mph) or for distances above 80 km (50 miles).
Roadside Emergencies
175
Page 176 of 256

WARNING: If you use the temporary spare tire continuously or
do not follow these precautions, the tire could fail, causing you
to lose control of the vehicle, possibly injuring yourself or
others.
When driving with the temporary spare tiredo not:
²exceed 80 km/h (50 mph) under any circumstances
²load the vehicle beyond maximum vehicle load rating listed on the
Safety Compliance Label
²tow a trailer
²use tire chains
²drive through an automatic car wash, because of the vehicle's reduced
ground clearance
²try to repair the temporary spare tire or remove it from its wheel rim
²use the wheel for any other type of vehicle
Tire change procedure
WARNING: When one of the front wheels is off the ground, the
transmission alone will not prevent the vehicle from moving or
slipping off the jack, even if the vehicle is in P (Park)
(automatic transaxle) or R (Reverse) (manual transaxle).
WARNING: To prevent the vehicle from moving when you
change a tire, be sure the parking brake is set, then block (in
both directions) the wheel that is diagonally opposite (other
side and end of the vehicle) to the tire being changed.
WARNING: If the vehicle slips off the jack, you or someone
else could be seriously injured.
Roadside Emergencies
176
Page 187 of 256

In case of a roadside emergency with a disabled vehicle (without access
to wheel dollies, car hauling trailer or flatbed transport vehicle) your
vehicle (regardless of powertrain configuration) can be flat towed (all
wheels on the ground) under the following conditions:
²Place the transmission in N (Neutral).
²Maximum speed is 56 km/h (35 mph).
²Maximum distance is 80 km (50 miles).
Roadside Emergencies
187
Page 203 of 256
INTRODUCTION
Be extremely careful to prevent injury to yourself and others and
damage to your vehicle when using this manual for inspection and
maintenance.
If you're unsure about any procedure it describes, we strongly urge you
to have a reliable and qualified service shop perform the work, preferably
an Authorized Mazda Dealer.
Factory-trained Mazda technicians and genuine Mazda parts are best for
your vehicle. Without this expertise and the parts that have been
designed and made especially for your Mazda, inadequate, incomplete,
and insufficient servicing may result in problems. This could lead to
vehicle damage or an accident and injuries.
For expert advice and quality service, consult an Authorized Mazda
Dealer.
The owner should retain evidence that proper maintenance has been
performed as prescribed.
A claim against a warranty will not qualify if it results from lack of
maintenance and not from defective material or authorized Mazda
workmanship.
Any auto repair shop using parts equivalent to your Mazda's original
equipment may perform maintenance.But we recommend that it
always be done by an Authorized Mazda Dealer using genuine
Mazda parts.
SCHEDULED MAINTENANCE
Follow Schedule 1 if the vehicle is operated mainly where none of the
following conditions apply. If any do apply, follow Schedule 2.
²Repeated short trips of less than 16 kilometers (10 miles)
²Driving in dusty, sandy or wet conditions
²Driving with an extended use of brakes
²Driving in areas where salt or other corrosive materials are being used
²Driving on rough or muddy roads
²Extended periods of idling or low-speed operation
²Driving for long periods in cold temperatures or extremely humid
climates
²Towing a trailer or using a car-top carrier
NOTE:After the described period, continue to follow the described
maintenance at the recommended intervals.
Maintenance and Specifications
203
Page 231 of 256
²Warming up a vehicle on cold mornings is not required and may
reduce fuel economy.
²Resting your foot on the brake pedal while driving may reduce fuel
economy.
²Combine errands and minimize stop-and-go driving.
Maintenance
²Keep tires properly inflated and use only recommended size.
²Operating a vehicle with the wheels out of alignment will reduce fuel
economy.
²Use recommended engine oil. Refer toLubricant specificationsin
this chapter.
²Perform all regularly scheduled maintenance items. Follow the
recommended maintenance schedule and owner maintenance checks
found in your vehicle service maintenance section.
Conditions
²Heavily loading a vehicle or towing a trailer may reduce fuel economy
at any speed.
²Carrying unnecessary weight may reduce fuel economy (approximately
0.4 km/L [1 mpg] is lost for every 180 kg [400 lb] of weight carried).
²Adding certain accessories to your vehicle (for example bug
deflectors, rollbars/light bars, running boards, ski/luggage racks) may
reduce fuel economy.
²Using fuel blended with alcohol may lower fuel economy.
²Fuel economy may decrease with lower temperatures during the first
12±16 km (8±10 miles) of driving.
²Driving on flat terrain offers improved fuel economy as compared to
driving on hilly terrain.
²Transmissions give their best fuel economy when operated in the top
cruise gear and with steady pressure on the gas pedal.
²Close windows for high speed driving.
EPA window sticker
Every new vehicle should have the EPA window sticker. Contact your
dealer if the window sticker is not supplied with your vehicle. The EPA
window sticker should be your guide for the fuel economy comparisons
with other vehicles.
Maintenance and Specifications
231
Page 236 of 256

TRANSMISSION FLUID
Checking automatic transmission fluid
Refer to your scheduled maintenance section for scheduled intervals for
fluid checks and changes. Your transaxle does not consume fluid.
However, the fluid level should be checked if the transaxle is not working
properly, i.e., if the transaxle slips or shifts slowly or if you notice some
sign of fluid leakage.
Automatic transmission fluid expands when warmed. To obtain an
accurate fluid check, drive the vehicle until it is warmed up
(approximately 30 km [20 miles]). If your vehicle has been
operated for an extended period at high speeds, in city traffic
during hot weather or pulling a trailer, the vehicle should be
turned off for about 30 minutes to allow fluid to cool before
checking.
1. Drive the vehicle 30 km (20 miles) or until it reaches normal
operating temperature.
2. Park the vehicle on a level surface and engage the parking brake.
3. With the parking brake engaged and your foot on the brake pedal,
start the engine and move the gearshift lever through all of the gear
ranges. Allow sufficient time for each gear to engage.
4. Latch the gearshift lever in P (Park) and leave the engine running.
5. Remove the dipstick, wiping it clean with a clean, dry lint free rag. If
necessary, refer toIdentifying components in the engine
compartmentin this chapter for the location of the dipstick.
6. Install the dipstick making sure it is fully seated in the filler tube.
7. Remove the dipstick and inspect the fluid level. The fluid should be
in the crosshatch zone for normal operating temperature.
Low fluid level
Do not drive the vehicle if the fluid
level is at the bottom of the dipstick
and the outside temperatures are
above 10ÉC (50ÉF).
Correct fluid level
The transmission fluid should be checked at normal operating
temperatures 66ÉC-77ÉC (150ÉF-170ÉF) on a level surface. The normal
operating temperature can be reached after approximately 30 km (20
miles) of driving.
Maintenance and Specifications
236
Page 254 of 256
lighting up panel and
interior .......................................55
location of components ............10
J
Jump-starting your vehicle ......180
K
Keys .......................................82±84
key in ignition chime ...............15
positions of the ignition .........130
L
Lamps
bulb replacement
specifications chart ..................58
cargo lamps ...............................55
daytime running light ...............54
fog lamps ...................................55
headlamps .................................54
headlamps, flash to pass ..........55
instrument panel, dimming .....55
interior lamps .....................56, 58
replacing bulbs .............57, 59±61
Lane change indicator (see
Turn signal) .................................56
Liftgate ........................................75
Lights, warning and indicator ....10
air bag ........................................12
anti-lock brakes (ABS) ....13, 136
anti-theft ...................................13
brake ..........................................12
charging system ........................13
cruise indicator .........................13
door ajar ....................................14
fuel cap light .............................15
high beam .................................13
low coolant ................................14low fuel ......................................12
oil pressure ...............................14
overdrive off ..............................14
safety belt .................................12
service engine soon ..................10
turn signal indicator .................13
Load limits .................................157
GAWR ......................................157
GVWR ......................................157
trailer towing ..........................157
Loading instructions .................159
Locks
childproof ..................................78
doors ..........................................77
Lubricant specifications ...........246
Lumbar support, seats ...............89
M
Manual transaxle .......................144
fluid, checking and adding ....238
reverse .....................................146
Manual transmission
fluid capacities ........................244
Mirrors
fold away ...................................69
side view mirrors (power) .......68
Moon roof ....................................74
Motorcraft parts ........................228
O
Octane rating ............................226
Odometer .....................................18
Oil (see Engine oil) ..................213
Overdrive ...................................141
Index
254
Page 256 of 256
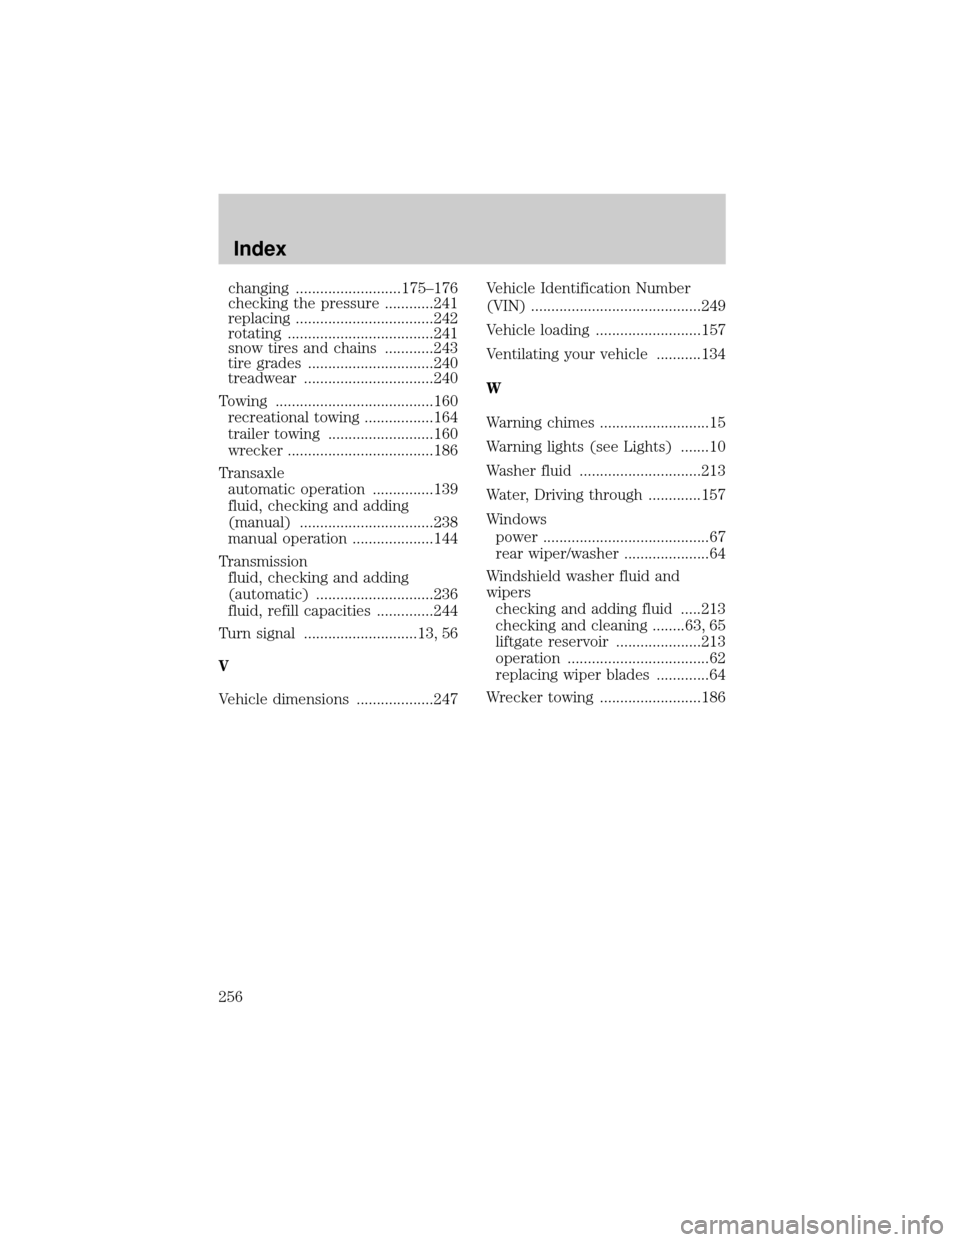
changing ..........................175±176
checking the pressure ............241
replacing ..................................242
rotating ....................................241
snow tires and chains ............243
tire grades ...............................240
treadwear ................................240
Towing .......................................160
recreational towing .................164
trailer towing ..........................160
wrecker ....................................186
Transaxle
automatic operation ...............139
fluid, checking and adding
(manual) .................................238
manual operation ....................144
Transmission
fluid, checking and adding
(automatic) .............................236
fluid, refill capacities ..............244
Turn signal ............................13, 56
V
Vehicle dimensions ...................247Vehicle Identification Number
(VIN) ..........................................249
Vehicle loading ..........................157
Ventilating your vehicle ...........134
W
Warning chimes ...........................15
Warning lights (see Lights) .......10
Washer fluid ..............................213
Water, Driving through .............157
Windows
power .........................................67
rear wiper/washer .....................64
Windshield washer fluid and
wipers
checking and adding fluid .....213
checking and cleaning ........63, 65
liftgate reservoir .....................213
operation ...................................62
replacing wiper blades .............64
Wrecker towing .........................186
Index
256