warning MAZDA MODEL TRIBUTE 2002 (in English) User Guide
[x] Cancel search | Manufacturer: MAZDA, Model Year: 2002, Model line: MODEL TRIBUTE, Model: MAZDA MODEL TRIBUTE 2002Pages: 256, PDF Size: 2.66 MB
Page 15 of 256

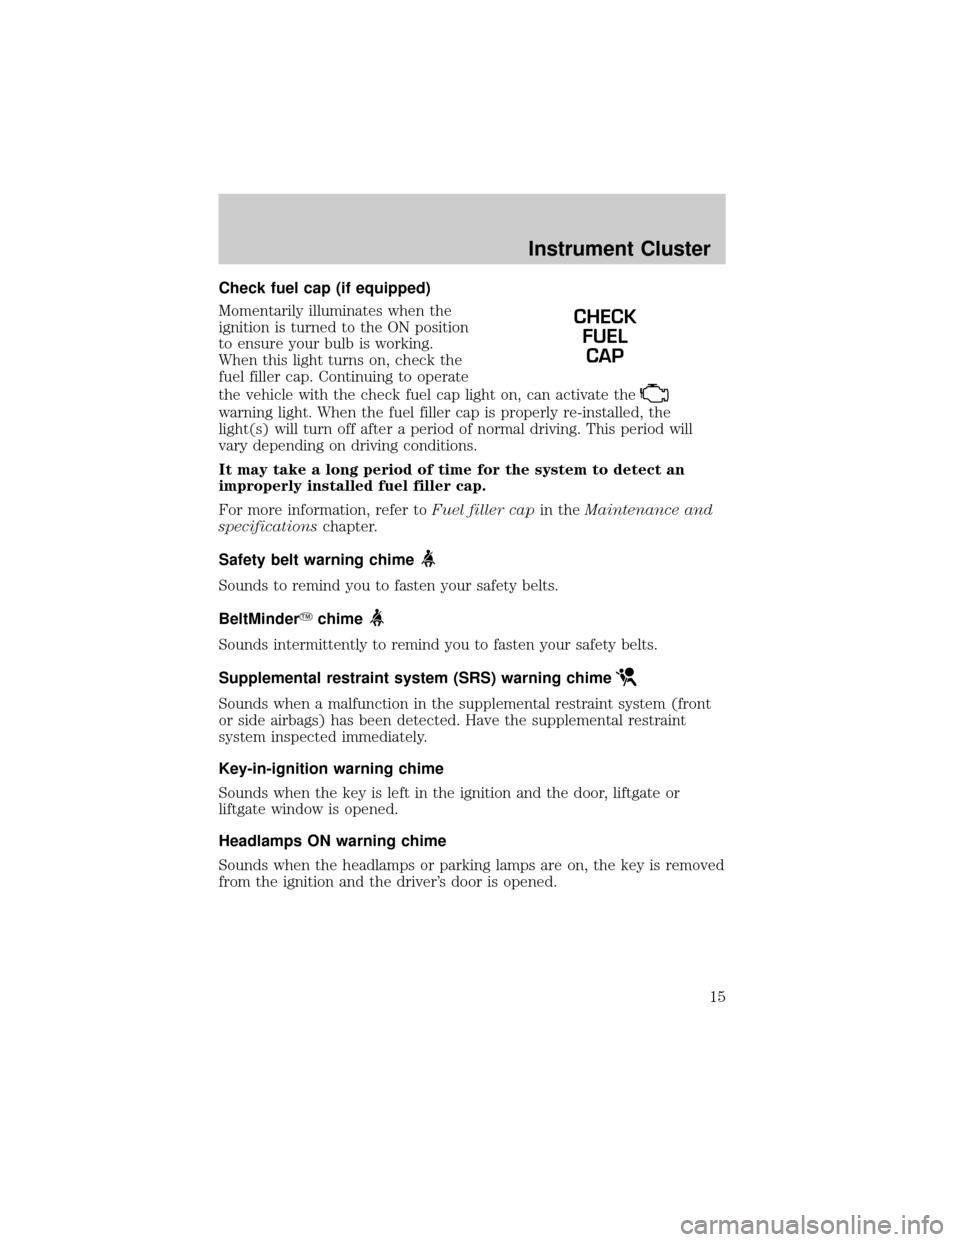
Check fuel cap (if equipped)
Momentarily illuminates when the
ignition is turned to the ON position
to ensure your bulb is working.
When this light turns on, check the
fuel filler cap. Continuing to operate
the vehicle with the check fuel cap light on, can activate the
warning light. When the fuel filler cap is properly re-installed, the
light(s) will turn off after a period of normal driving. This period will
vary depending on driving conditions.
It may take a long period of time for the system to detect an
improperly installed fuel filler cap.
For more information, refer toFuel filler capin theMaintenance and
specificationschapter.
Safety belt warning chime
Sounds to remind you to fasten your safety belts.
BeltMinderYchime
Sounds intermittently to remind you to fasten your safety belts.
Supplemental restraint system (SRS) warning chime
Sounds when a malfunction in the supplemental restraint system (front
or side airbags) has been detected. Have the supplemental restraint
system inspected immediately.
Key-in-ignition warning chime
Sounds when the key is left in the ignition and the door, liftgate or
liftgate window is opened.
Headlamps ON warning chime
Sounds when the headlamps or parking lamps are on, the key is removed
from the ignition and the driver's door is opened.
CHECK
FUEL
CAP
Instrument Cluster
15
Page 16 of 256

GAUGES
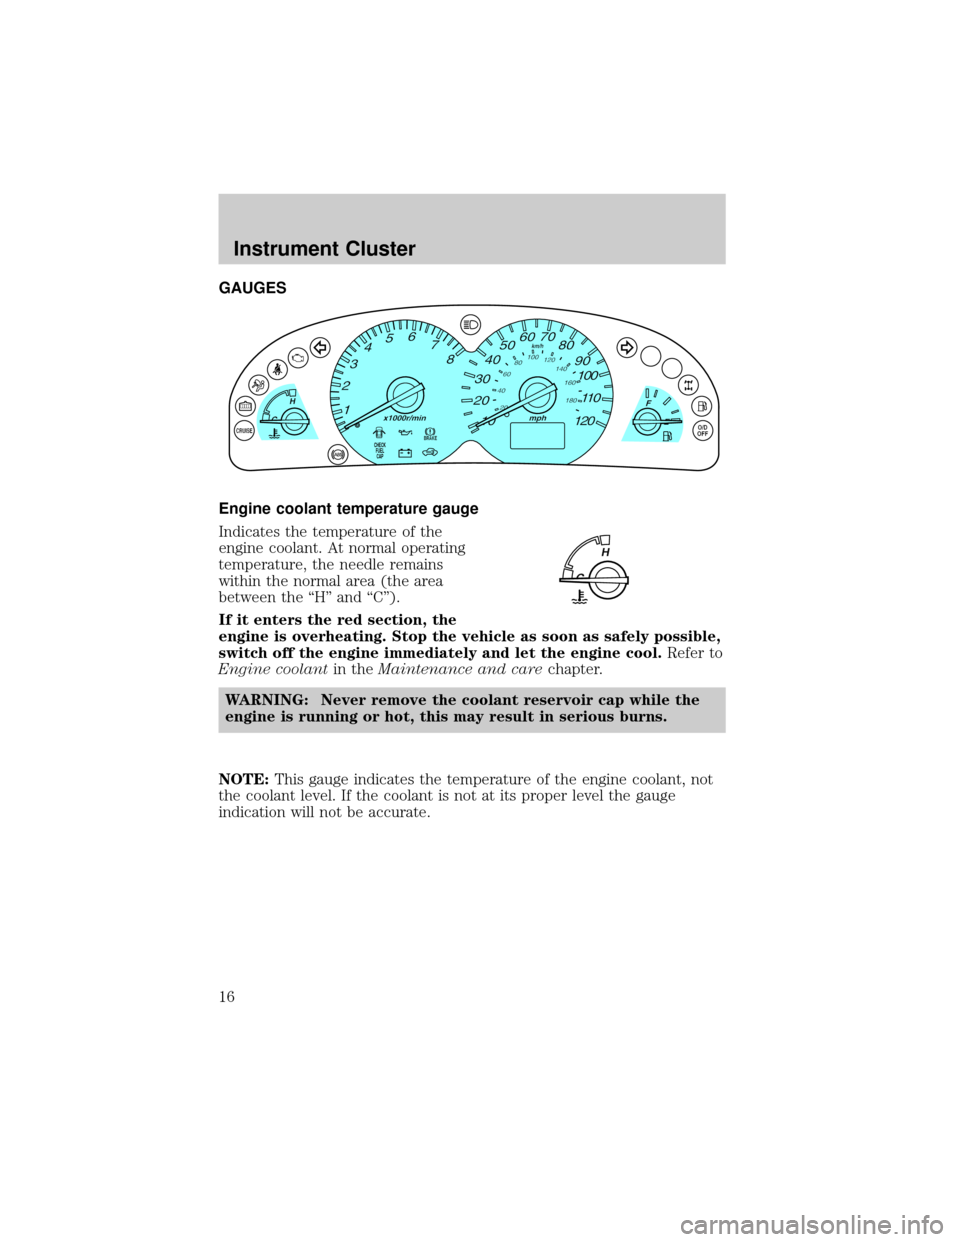
Engine coolant temperature gauge
Indicates the temperature of the
engine coolant. At normal operating
temperature, the needle remains
within the normal area (the area
between the ªHº and ªCº).
If it enters the red section, the
engine is overheating. Stop the vehicle as soon as safely possible,
switch off the engine immediately and let the engine cool.Refer to
Engine coolantin theMaintenance and carechapter.
WARNING: Never remove the coolant reservoir cap while the
engine is running or hot, this may result in serious burns.
NOTE:This gauge indicates the temperature of the engine coolant, not
the coolant level. If the coolant is not at its proper level the gauge
indication will not be accurate.
CHECK
FUEL
CAP
Instrument Cluster
16
Page 53 of 256

To aid in side window defogging/demisting in cold weather conditions:
1. Select the position that distributes air through the Panel and Floor.
2. Set the temperature control to full heat.
3. Set the fan speed to full fan.
4. Direct the outer panel vents towards the side windows.
5. To increase airflow to the outer panel vents, close the central panel
vents.
WARNING: Do not place objects on top of the instrument panel
as these objects may become projectiles in a collision or sudden
stop.
REAR WINDOW DEFROSTER CONTROL
The rear defroster control is located
on the instrument panel.
Press the rear defroster control to
clear the rear window of thin ice
and fog.
²The small LED will illuminate
when the rear defroster is
activated.
The ignition must be in the ON position to operate the rear window
defroster.
NOTE:The rear defroster does not turn off automatically. Press the
control to turn it off after the screen has been cleared. If the heated rear
screen is still in operation when the ignition is turned off, the heating
function will be reactivated when the ignition is switched on again.
Climate Controls
53
Page 54 of 256

HEADLAMP CONTROL
Rotate the headlamp control to the
first position to turn on the parking
lamps.
Rotate to the second position to
turn on the headlamps.
Daytime running lamps (DRL) (if equipped)
Turns the headlamps on with a reduced output.
To activate:
²the ignition must be in the ON position and
²the headlamp control is in the OFF or Parking lamps position.
WARNING: Always remember to turn on your headlamps at
dusk or during inclement weather. The Daytime Running Lamp
(DRL) system does not activate with your tail lamps and
generally may not provide adequate lighting during these
conditions. Failure to activate your headlamps under these
conditions may result in a collision.
High beams
Push the lever toward the
instrument panel to activate. Pull
the lever towards you to deactivate.
OFF
OFF
Lights
54
Page 65 of 256

Rear window wiper blade
Refer toWindshield wiper bladesin this section for more information
on rear wiper blades.
MANUAL TILT STEERING COLUMN
Push the tilt steering wheel lever
downward to move the steering
wheel up or down. Pull the control
up into the original position to lock
the steering wheel in position.
WARNING: Never adjust the steering wheel when the vehicle is
moving. You could lose control of the vehicle.
OVERHEAD CONSOLE (IF EQUIPPED)
The appearance of your vehicle's overhead console will vary according to
your option package.
Driver Controls
65
Page 66 of 256

Storage compartment (if equipped)
Press the OPEN control to open the
storage compartment. The door will
open slightly and can be moved to
full open.
Installing a garage door opener (if equipped)
The storage compartment can be converted to accommodate a variety of
aftermarket garage door openers:
²Remove the Velcro pad from the
storage compartment door.
²Place Velcro on aftermarket
transmitter opposite of actuator
control.
²Install the transmitter on to
storage compartment door
aligning the actuator control with
the rubber plunger.
²Close the door and press the
storage compartment door to activate the transmitter.
AUXILIARY POWER POINT
WARNING: Power outlets are
designed for accessory plugs
only. Do not hang any type of
accessory or accessory bracket
from the plug. Improper use of
the power outlet can cause
damage not covered by your
warranty.
Driver Controls
66
Page 67 of 256

The auxiliary power point is located on the instrument panel below the
radio.
Do not plug optional electrical accessories into the cigarette
lighter. Use the power point.
CARGO AREA AUXILIARY POWER POINT
An additional auxiliary power point
is located in the cargo area.
WARNING: Power outlets are
designed for accessory plugs
only. Do not hang any type of
accessory or accessory bracket
from the plug. Improper use of
the power outlet can cause
damage not covered by your
warranty.
POWER WINDOWS
Press and hold the rocker switches to open and close windows.
²Press the top portion of the
rocker switch to close.
Driver Controls
67
Page 70 of 256

WARNING: Do not use the speed control in heavy traffic or on
roads that are winding, slippery, or unpaved. You may lose
control of the vehicle.
WARNING: Do not shift the gearshift lever into N (Neutral)
with the speed control on. You may lose control of the vehicle
or cause engine system damage.
To turn speed control off
²Press OFF.
NOTE:Once speed control is
turned off or the ignition is switched
off, the previously programmed set
speed will be erased.
To set a speed
²Press SET ACC.
NOTE:For speed control to
operate, the speed control must be
ON and the vehicle speed must be
greater than 48 km/h (30 mph).
If you drive up or down a steep hill, your vehicle speed may vary
momentarily slower or faster than the set speed. This is normal.
Speed control cannot reduce the vehicle speed if it increases above the
set speed on a downhill. If your vehicle speed is faster than the set
speed while driving on a downhill, you may want to shift to the next
lower gear or apply the brakes to reduce your vehicle speed.
ON
OFF
RSM
CST
SET
ACC
Driver Controls
70
Page 71 of 256

If your vehicle slows down more than 16 km/h (10 mph) below your set
speed on an uphill, your speed control will disengage. This is normal.
Pressing RSM will re-engage it.
WARNING: Do not use the speed control in heavy traffic or on
roads that are winding, slippery, mountainous, hilly, or unpaved.
This may cause an accident.
To set a higher set speed
²Press and hold SET ACC. Release
the control when the desired
vehicle speed is reached or
²Press and release SET ACC to
operate the Tap-Up function.
Each press will increase the set
speed by 1.6 km/h (1 mph) or
²Accelerate with your accelerator
pedal. When the desired vehicle
speed is reached, press and
release SET ACC.
NOTE:You can accelerate with the accelerator pedal at any time during
speed control usage. Releasing the accelerator pedal will return your
vehicle to the previously programmed set speed.
To set a lower set speed
²Press and hold CST. Release the
control when the desired speed is
reached or
²Press and release CST to operate
the Tap-Down function. Each
press will decrease the set speed
by 1.6 km/h (1 mph) or
RSM
CST
SET
ACC
RSM
CST
SET
ACC
Driver Controls
71
Page 74 of 256

MOON ROOF (IF EQUIPPED)
To operate the moon roof:
²The moon roof is equipped with
an automatic, one-touch, express
opening feature. Press and
release the rear portion of the
control. To stop motion at any
time during the one-touch
opening, press the control a
second time.
²To close, press and hold the front portion of the control.
To operate the moon roof vent position:
²To open, press and hold the front portion of the control. This will
open the vent.
²To close, press and hold the rear portion of the control.
NOTE:If the battery is disconnected, discharged, or a new battery is
installed, the moon roof needs to be opened to the vent position to reset
the moon roof positions.
NOTE:If you open and close the moon roof repeatedly, the moon roof
motor may overheat and shut down for 45 seconds while the motor
cools.
WARNING: Do not let children play with the moon roof. They
may seriously injure themselves.
CENTER CONSOLE
Your vehicle may be equipped with a variety of console features. These
include:
²Utility compartment
²Cupholders
²Ashcup
WARNING: Use only soft cups in the cupholder. Hard objects
can injure you in a collision.
CARGO COVER (IF EQUIPPED)
Your vehicle may be equipped with a cargo area shade that covers the
luggage compartment of your vehicle.
Driver Controls
74