fuse MAZDA MODEL TRIBUTE 2002 Owners Manual (in English)
[x] Cancel search | Manufacturer: MAZDA, Model Year: 2002, Model line: MODEL TRIBUTE, Model: MAZDA MODEL TRIBUTE 2002Pages: 256, PDF Size: 2.66 MB
Page 2 of 256

Transmission operation 139
Vehicle loading 157
Trailer towing 160
Roadside Emergencies 165
Hazard flasher switch 167
Fuel pump shut-off switch 167
Fuses and relays 168
Jump starting 180
Wrecker towing 186
Customer Assistance 188
Reporting safety defects (U.S. only) 197
Cleaning 198
Maintenance and Specifications 203
Engine compartment 211
Engine oil 213
Battery 217
Fuel information 224
Air filter(s) 238
Refill capacities 244
Engine data 246
Accessories 250
Index 251
All rights reserved. Reproduction by any means, electronic or mechanical
including photocopying, recording or by any information storage and retrieval
system or translation in whole or part is not permitted without written
authorization from Mazda Motor Corporation. Mazda may change the contents
without notice and without incurring obligation.
Copyright 2002 Mazda Motor Corporation
Table of Contents
2
Page 6 of 256

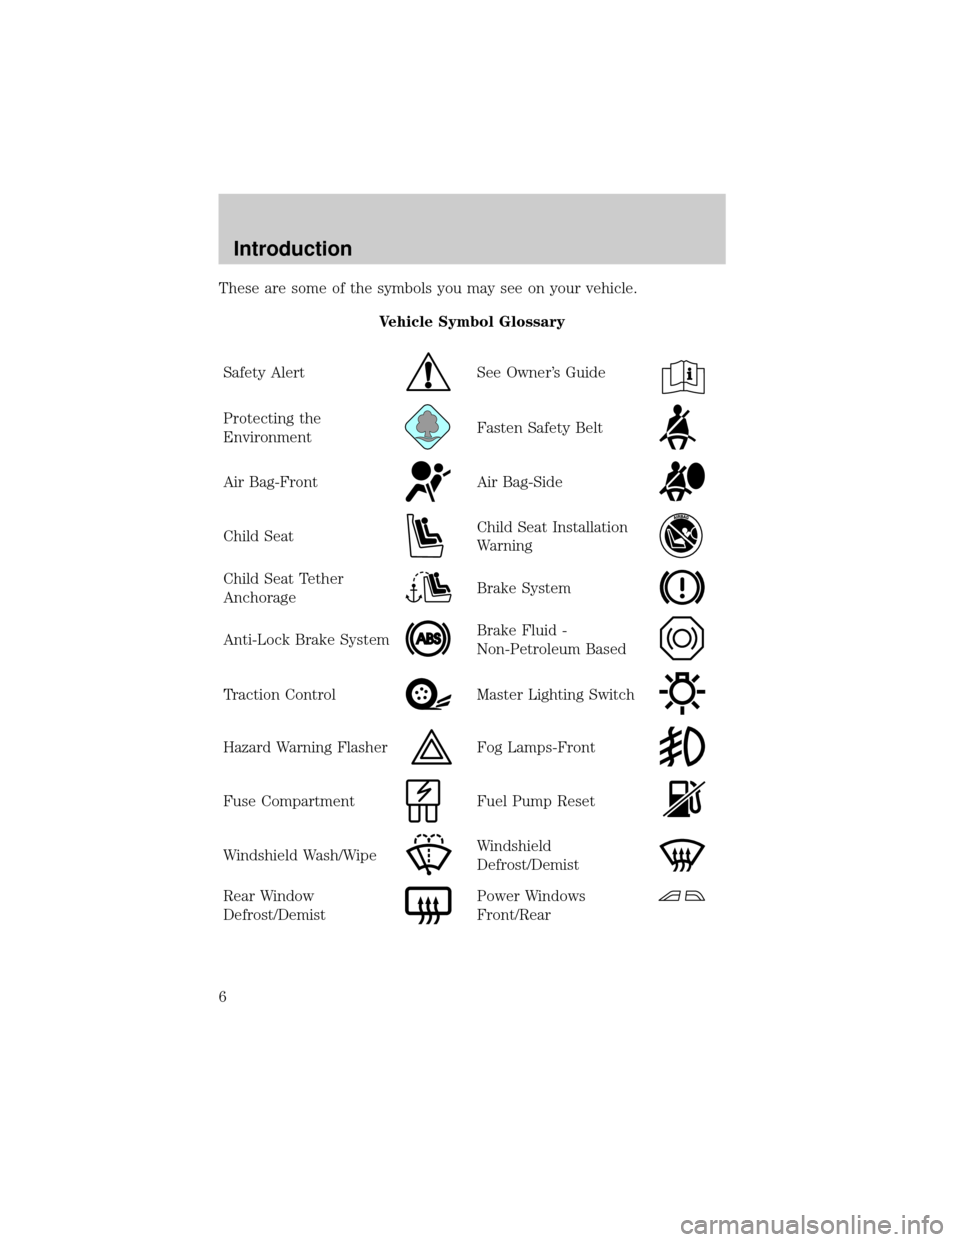
These are some of the symbols you may see on your vehicle.
Vehicle Symbol Glossary
Safety Alert
See Owner's Guide
Protecting the
EnvironmentFasten Safety Belt
Air Bag-FrontAir Bag-Side
Child SeatChild Seat Installation
Warning
Child Seat Tether
AnchorageBrake System
Anti-Lock Brake SystemBrake Fluid -
Non-Petroleum Based
Traction ControlMaster Lighting Switch
Hazard Warning FlasherFog Lamps-Front
Fuse CompartmentFuel Pump Reset
Windshield Wash/WipeWindshield
Defrost/Demist
Rear Window
Defrost/DemistPower Windows
Front/Rear
Introduction
6
Page 27 of 256

Auto memory tuning
Auto memory tuning allows you to set strong radio stations without
losing your original manually set preset stations. This feature is helpful
on trips when you travel between cities with different radio stations.
Starting autoset memory preset
1. Press the AM or FM1/2 control
to select a frequency.
2. Press and momentarily hold the
AUTO-M (Auto memory)
control. The system will beep.
3. When the first six strong
stations are filled, the strongest
station will start playing.
4. Press the AUTO-M (Auto memory) control to select from the stored
stations. One stored station will be selected and played each time
the control is pressed. The frequency and channel number will be
displayed.
NOTE:If no stations can be tuned after scanning operations, A will
appear in the display.
NOTE:If the power supply is interrupted, (fuse blows or the battery is
disconnected), the preset channels will be canceled.
Tape select
To begin tape play, insert a cassette tape into the cassette slot, with the
open edge facing the right. Once inserted, the cassette tape will
automatically begin play and TAPE will appear in the display. At the end
of the cassette tape, the unit will automatically reverse the cassette tape
play.
To begin tape play (with a tape
loaded into the audio system), press
the TAPE control. If there is not a
cassette tape in the cassette slot,
NO TAPE will flash in the display.
Entertainment Systems
27
Page 30 of 256

NOTE:When a CD is ejected during play, the next CD will be played
automatically.
Random play
The random play feature works in CD mode and plays the selections on
the current CD in random order.
Random play in CD mode
Press the RDM control during play.
RDM will illuminate in the display.
The next selection will be randomly
selected.
To disengage random play, press the
RDM control again.
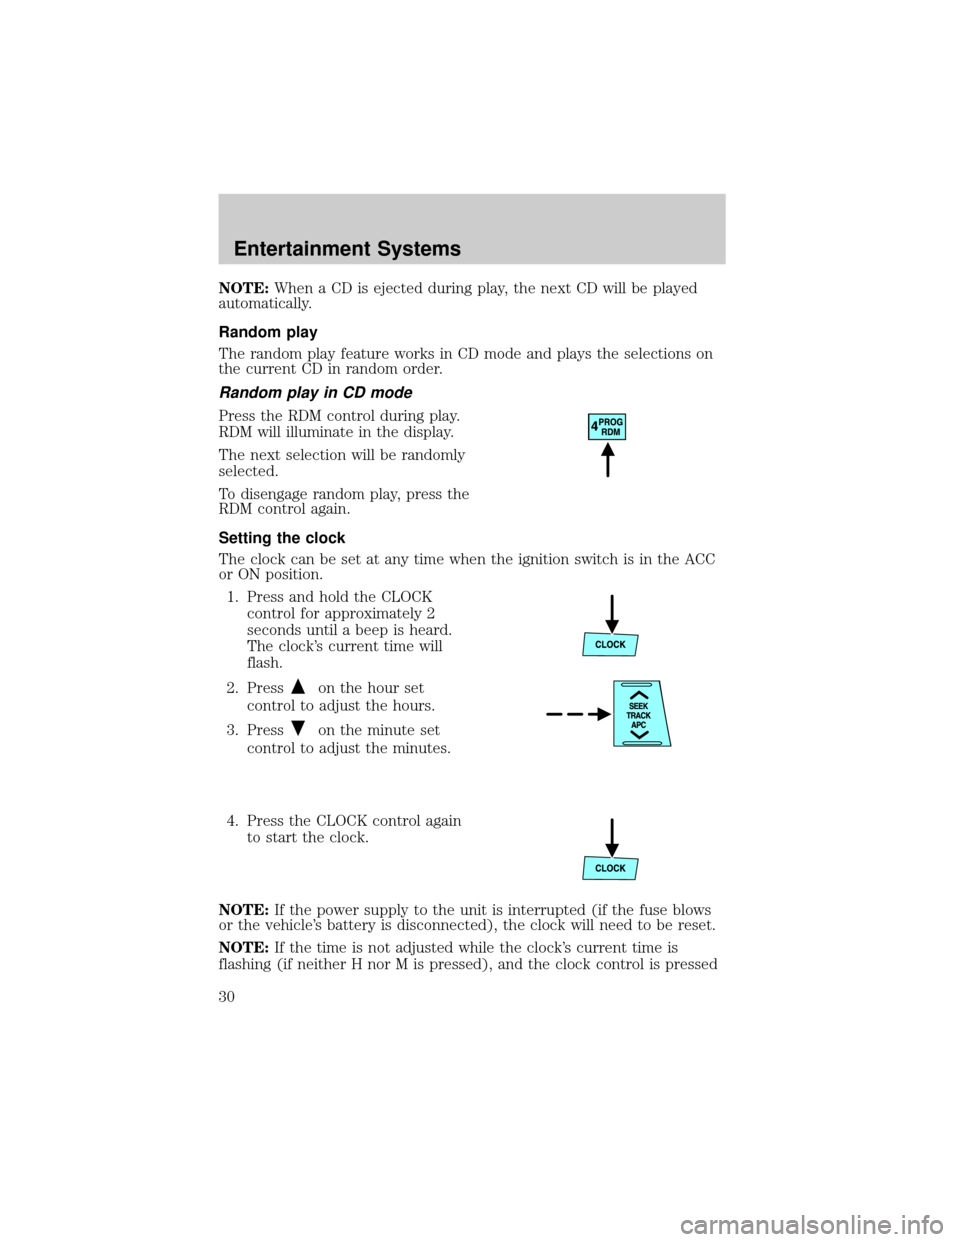
Setting the clock
The clock can be set at any time when the ignition switch is in the ACC
or ON position.
1. Press and hold the CLOCK
control for approximately 2
seconds until a beep is heard.
The clock's current time will
flash.
2. Press
on the hour set
control to adjust the hours.
3. Press
on the minute set
control to adjust the minutes.
4. Press the CLOCK control again
to start the clock.
NOTE:If the power supply to the unit is interrupted (if the fuse blows
or the vehicle's battery is disconnected), the clock will need to be reset.
NOTE:If the time is not adjusted while the clock's current time is
flashing (if neither H nor M is pressed), and the clock control is pressed
Entertainment Systems
30
Page 39 of 256

Auto memory tuning
Auto memory tuning allows you to set strong radio stations without
losing your original manually set preset stations. This feature is helpful
on trips when you travel between cities with different radio stations.
Starting autoset memory preset
1. Press the AM or FM1/2 control
to select a frequency.
2. Press and momentarily hold the
AUTO-M (Auto memory)
control. The system will beep.
3. When the first six strong
stations are filled, the strongest
station will start playing.
4. Press the AUTO-M (Auto memory) control to select from the stored
stations. One stored station will be selected and played each time
the control is pressed. The frequency and channel number will be
displayed.
NOTE:If no stations can be tuned after scanning operations, A will
appear in the display.
NOTE:If the power supply is interrupted, (fuse blows or the battery is
disconnected), the preset channels will be canceled.
Tape select
To begin tape play, insert a cassette tape into the cassette slot, with the
open edge facing the right. Once inserted, the cassette tape will
automatically begin play and TAPE will appear in the display. At the end
of the cassette tape, the unit will automatically reverse the cassette tape
play.
To begin tape play (with a tape
loaded into the audio system), press
the TAPE control. If there is not a
cassette tape in the cassette slot,
NO TAPE will flash in the display.
Entertainment Systems
39
Page 45 of 256

²Cds can be ejected when the ignition switch is OFF. Press and hold
the CD eject control for approximately 2 seconds and all CDs will
eject.
Random play
The random play feature works in CD mode and plays the selections on
the current CD in random order.
Random play in CD mode
Press the RDM control during play.
RDM will illuminate in the display.
The next selection will be randomly
selected.
To disengage random play, press the
RDM control again.
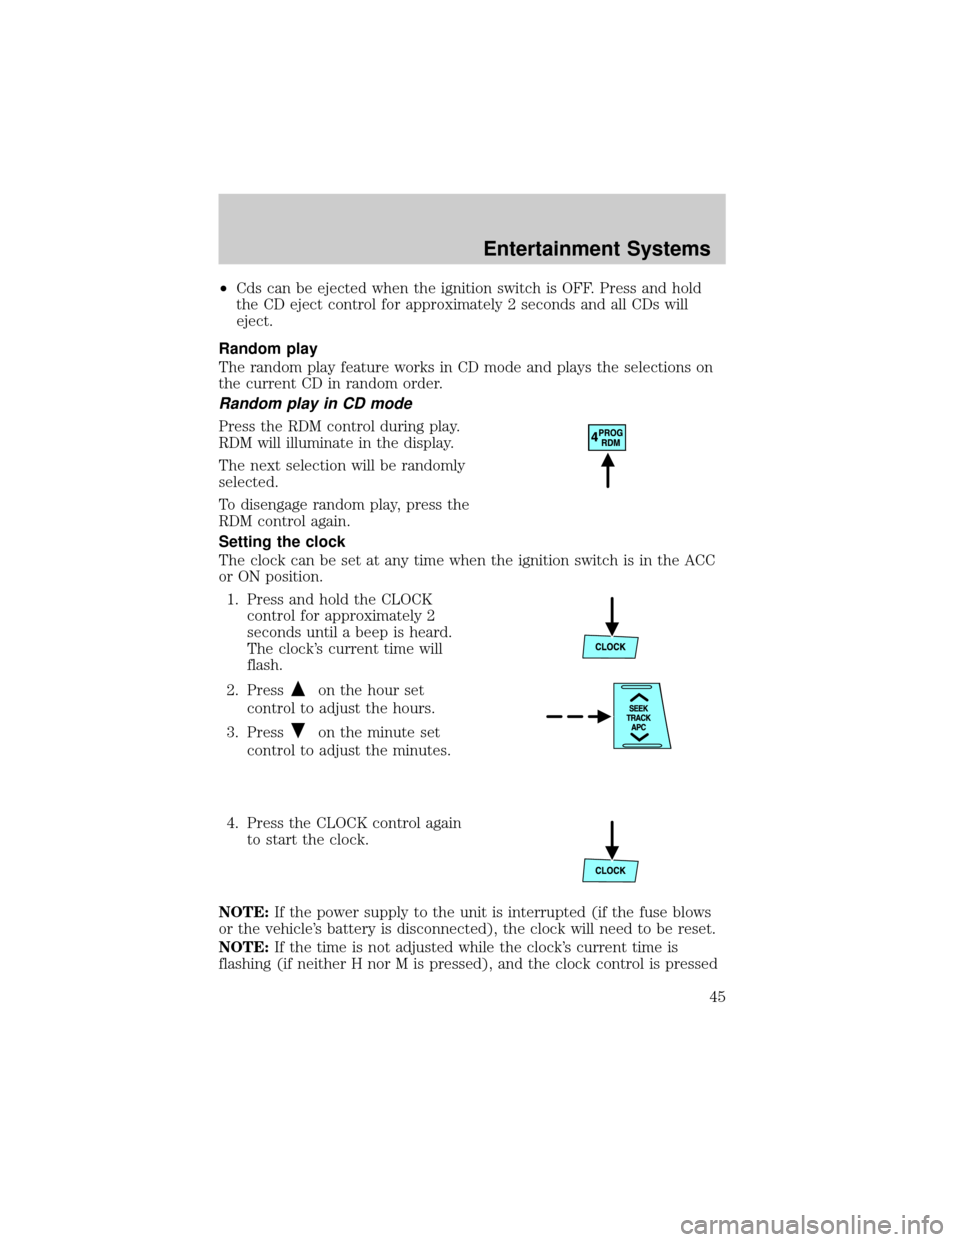
Setting the clock
The clock can be set at any time when the ignition switch is in the ACC
or ON position.
1. Press and hold the CLOCK
control for approximately 2
seconds until a beep is heard.
The clock's current time will
flash.
2. Press
on the hour set
control to adjust the hours.
3. Press
on the minute set
control to adjust the minutes.
4. Press the CLOCK control again
to start the clock.
NOTE:If the power supply to the unit is interrupted (if the fuse blows
or the vehicle's battery is disconnected), the clock will need to be reset.
NOTE:If the time is not adjusted while the clock's current time is
flashing (if neither H nor M is pressed), and the clock control is pressed
Entertainment Systems
45
Page 110 of 256

WARNING: National Highway Traffic Safety Administration
(NHTSA) recommends a minimum distance of at least 25 cm (10
inches) between an occupant's chest and the driver air bag
module.
WARNING: Never place your arm over the air bag module as a
deploying air bag can result in serious arm fractures or other
injuries.
Steps you can take to properly position yourself away from the air bag:
²Move your seat to the rear as far as you can while still reaching the
pedals comfortably.
²Recline the seat slightly (one or two degrees) from the upright
position.
WARNING: Do not put anything on or over the air bag module
including hands or feet. Placing objects on or over the air bag
inflation area may cause those objects to be propelled by the
air bag into your face and torso causing serious injury.
WARNING: Do not attempt to service, repair, or modify the Air
Bag Supplemental Restraint Systems or its fuses. See your
authorized Mazda dealership.
WARNING: Modifications to the front end of the vehicle,
including frame, bumper, front end body structure, tow hooks,
B-pillar surrounding parts, and snow plows may effect the
performance of the air bag sensors increasing the risk of injury.
Do not modify the front end of the vehicle.
WARNING: Additional equipment may effect the performance
of the air bag sensors increasing the risk of injury. Consult your
authorized Mazda dealership before installation of additional
equipment.
Seating and Safety Restraints
110
Page 115 of 256

WARNING: Seating Position with Side Air Bags
Sitting too close to the side air bag storage compartments or
placing hands on them is extremely dangerous. A side air bag
inflates with great force and speed directly out of the outboard
shoulder of the front seat and expands along the front door on
the side the car is hit. Serious injury could occur if someone is
sitting too close to the door or leaning against a window in the
front seats or if rear seat occupants grab the sides of the front
seatbacks. Furthermore, sleeping up against the door or
hanging out the driver's-side window while driving could block
the side air bag and eliminate the advantages of supplemental
protection. Give the side air bags room to work by sitting in the
center of the seat while the vehicle is moving with seat belts
worn properly.
WARNING: Modification of the Supplemental Restraint System
Modifying the components or wiring of the supplemental
restraint system is dangerous. You could accidentally activate it
or make it inoperable. Don't make any modifications to the
supplemental restraint system. This includes installing trim,
badges, or anything else over the air bag storage areas. It also
includes installing extra electric equipment on or near system
components or wiring.
An Authorized Mazda Dealer can provide the special care
needed in the removal and installation of front seats. It is
important to protect the side air bag wiring and connections to
assure that the bags do not accidently deploy and that the seats
retain an undamaged air bag connection.
WARNING: Disposing of an air bag can be dangerous. Unless all
safety procedures are followed, injury can result. Ask an
Authorized Mazda Dealer how to safely dispose of an air bag or
how to scrap an air bag equipped vehicle.
WARNING: Do not attempt to service, repair, or modify the air
bag Supplemental Restraint System, its fuses or the seat cover
on a seat containing an air bag. See your authorized Mazda
dealer.
Seating and Safety Restraints
115
Page 140 of 256

4. Insert a tool (or screw driver)
into the access hole to override
the brake-shift interlock. Apply
the brake and shift into Neutral
while holding down the override
tab.
If it is necessary to use the above procedure to move the gearshift lever,
it is possible that a fuse has blown or the vehicle's brakelamps are not
operating properly. Refer toFuses and relaysin theRoadside
emergencieschapter.
WARNING: Do not drive your vehicle until you verify that the
brakelamps are working. Failure to check the brakelights and
subsequent use of the brakes may result in a rear-end collision.
If your vehicle gets stuck in mud or snow it may be rocked out by
shifting between forward and reverse gears, stopping between shifts, in a
steady pattern. Press lightly on the accelerator in each gear.
Do not rock the vehicle if the engine is not at normal operating
temperature or damage to the transmission may occur.
Do not rock the vehicle for more than a few minutes or damage
to the transmission and tires may occur or the engine may
overheat.
WARNING: Always set the parking brake fully and make sure
the gearshift is latched in P (Park). Turn the ignition to the
LOCK position and remove the key whenever you leave your
vehicle.
WARNING: If the parking brake is fully released, but the brake
warning lamp remains illuminated, the brakes may not be
working properly. See your authorized Mazda dealership.
Driving
140
Page 168 of 256

2. Check the fuel system for leaks.
3. If no fuel leak is apparent, reset the fuel pump shut-off switch by
pushing in on the reset button.
4. Turn the ignition to the ON position. Pause for a few seconds and
return the key to the LOCK/OFF position.
5. Make a further check for leaks in the fuel system.
FUSES AND RELAYS
Fuses
If electrical components in the
vehicle are not working, a fuse may
have blown. Blown fuses are
identified by a broken wire within
the fuse. Check the appropriate
fuses before replacing any electrical
components.
Note:Always replace a fuse with one that has the specified amperage
rating. Using a fuse with a higher amperage rating can cause severe wire
damage and could start a fire.
Standard fuse amperage rating and color
COLOR
Fuse
ratingMini
fusesStandard
fusesMaxi
fusesCartridge
maxi
fusesFuse link
cartridge
2A Grey Grey Ð Ð Ð
3A Violet Violet Ð Ð Ð
4A Pink Pink Ð Ð Ð
5A Tan Tan Ð Ð Ð
7.5A Brown Brown Ð Ð Ð
10A Red Red Ð Ð Ð
15A Blue Blue Ð Ð Ð
20A Yellow Yellow Yellow Blue Blue
25A Natural Natural Ð Ð Ð
30A Green Green Green Pink Pink
15
Roadside Emergencies
168