check engine MAZDA MODEL TRIBUTE 2004 (in English) User Guide
[x] Cancel search | Manufacturer: MAZDA, Model Year: 2004, Model line: MODEL TRIBUTE, Model: MAZDA MODEL TRIBUTE 2004Pages: 256, PDF Size: 2.64 MB
Page 131 of 256

WARNING: Do not drive your vehicle until you verify that the
brakelamps are working. Failure to check the brakelights and
subsequent use of the brakes may result in a rear-end collision.
WARNING: Always set the parking brake fully and make sure
the gearshift is latched in P (Park). Turn the ignition to the
LOCK position and remove the key whenever you leave your
vehicle.
WARNING: If the parking brake is fully released, but the brake
warning lamp remains illuminated, the brakes may not be
working properly. See your authorized Mazda dealership.
Driving with an automatic overdrive transaxle
Your automatic transaxle electronically controls the shift feel by using an
adaptive learning strategy. This feature is designed to optimize shift
smoothness.NOTE:It is normal for your transaxle to shift firmly during
the first few hundred kilometers (miles) of operation until the adaptive
strategy has been learned. The adaptive learning strategy is maintained
by power from the battery. When the battery is disconnected or a new
battery is installed, the transaxle must relearn its adaptive strategy.
Optimal shifting will resume within a few hundred kilometers (miles) of
operation.
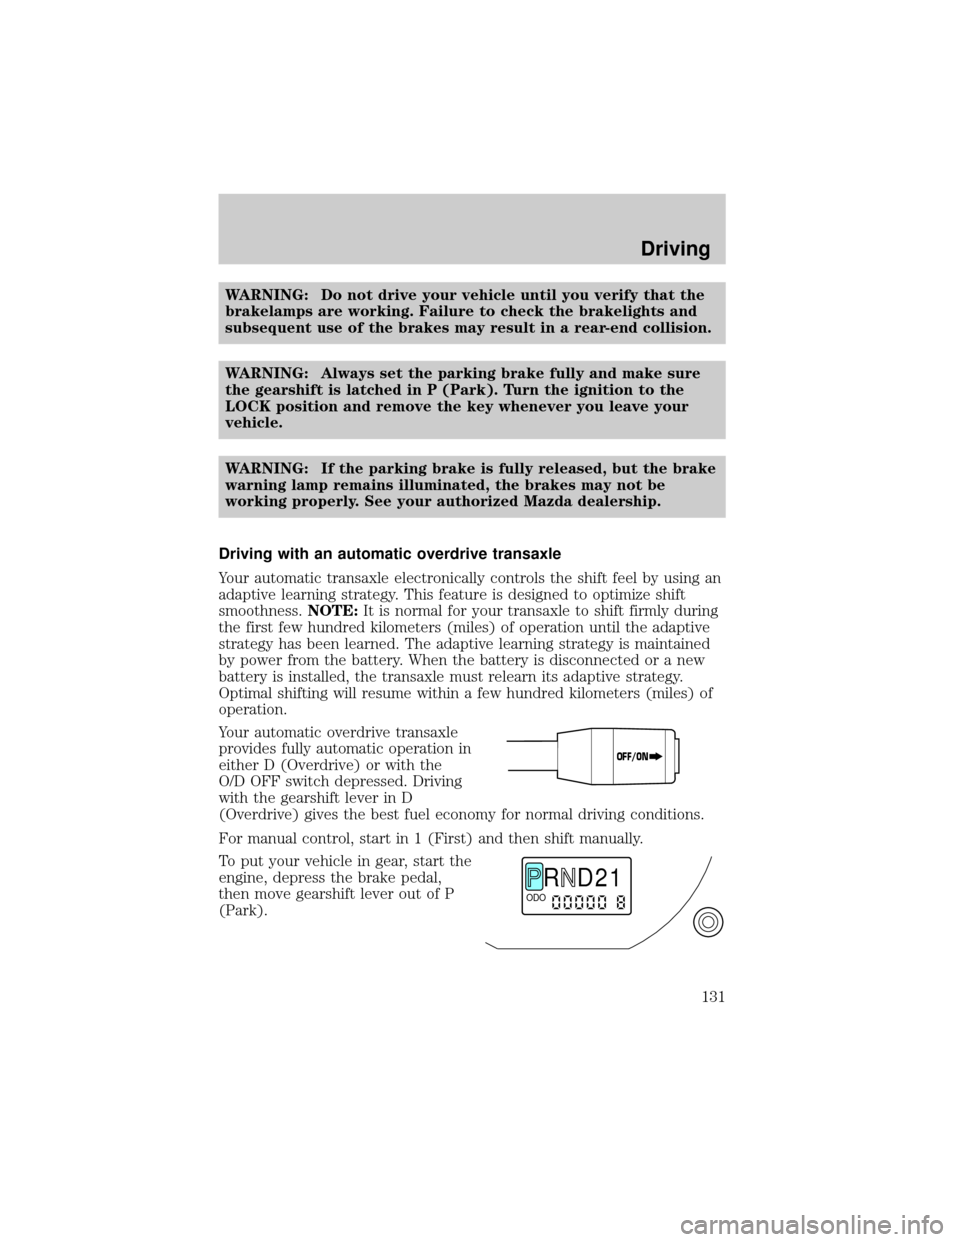
Your automatic overdrive transaxle
provides fully automatic operation in
either D (Overdrive) or with the
O/D OFF switch depressed. Driving
with the gearshift lever in D
(Overdrive) gives the best fuel economy for normal driving conditions.
For manual control, start in 1 (First) and then shift manually.
To put your vehicle in gear, start the
engine, depress the brake pedal,
then move gearshift lever out of P
(Park).
OFF/ON
R D 2 1ODO
Driving
131
Page 144 of 256

that does not normally require a lubricant change for the life of the
vehicle. Rear axle lubricant quantities should not need to be checked
unless a leak is suspected.
ªTread Lightlyº is an educational
program designed to increase public
awareness of land-use regulations
and responsibilities in our nations
wilderness areas. Mazda Motor
Corporation joins the U.S. Forest Service and the Bureau of Land
Management in encouraging you to help preserve our national forest and
other public and private lands by ªtreading lightly.º
Driving on hilly or sloping terrain
Although natural obstacles may make it necessary to travel diagonally up
or down a hill or steep incline, you should always try to drive straight up
or straight down.Avoid driving crosswise or turning on steep
slopes or hills. A danger lies in losing traction, slipping sideways and
possibly rolling over. Whenever driving on a hill, determine beforehand
the route you will use. Do not drive over the crest of a hill without
seeing what conditions are on the other side. Do not drive in reverse
over a hill without the aid of an observer.
When climbing a steep slope or hill,
start in a lower gear rather than
downshifting to a lower gear from a
higher gear once the ascent has
started. This reduces strain on the
engine and the possibility of stalling.
If you do stall out, Do not try to
turnaround because you might roll
over. It is better to back down to a
safe location.
Apply just enough power to the wheels to climb the hill. Too much
power will cause the tires to slip, spin or lose traction, resulting in loss of
vehicle control.
Driving
144
Page 148 of 256

and if the ignition system gets wet, your engine may stall. Water
may also enter your engine's air intake and severely damage your
engine.
If driving through deep or standing water is unavoidable, proceed very
slowly. Never drive through water that is higher than the bottom of the
hubs (for trucks) or the bottom of the wheel rims (for cars).
Once through the water, always try the brakes. Wet brakes do not stop
the vehicle as effectively as dry brakes. Drying can be improved by
moving your vehicle slowly while applying light pressure on the brake
pedal.
Driving through deep water where the transmission vent tube is
submerged may allow water into the transmission and cause
internal transmission damage. Have the fluid checked and, if
water is found, replace the fluid.
VEHICLE LOADING ± WITH AND WITHOUT A TRAILER
This section will guide you in the proper loading of your vehicle and/or
trailer, to keep your loaded vehicle weight within its design rating
capability, with or without a trailer. Properly loading your vehicle will
provide maximum return of vehicle design performance. Before loading
your vehicle, familiarize yourself with the following terms for determining
your vehicle's weight ratings, with or without a trailer, from the vehicle's
Safety Certification Label and Tire and Load Information Label:
Base Curb Weight± is the weight of the vehicle including a full tank of
fuel and all standard equipment. It does not include passengers, cargo, or
optional equipment.
Vehicle Curb Weight± is the weight of your new vehicle when you
picked it up from your dealer plus any aftermarket equipment.
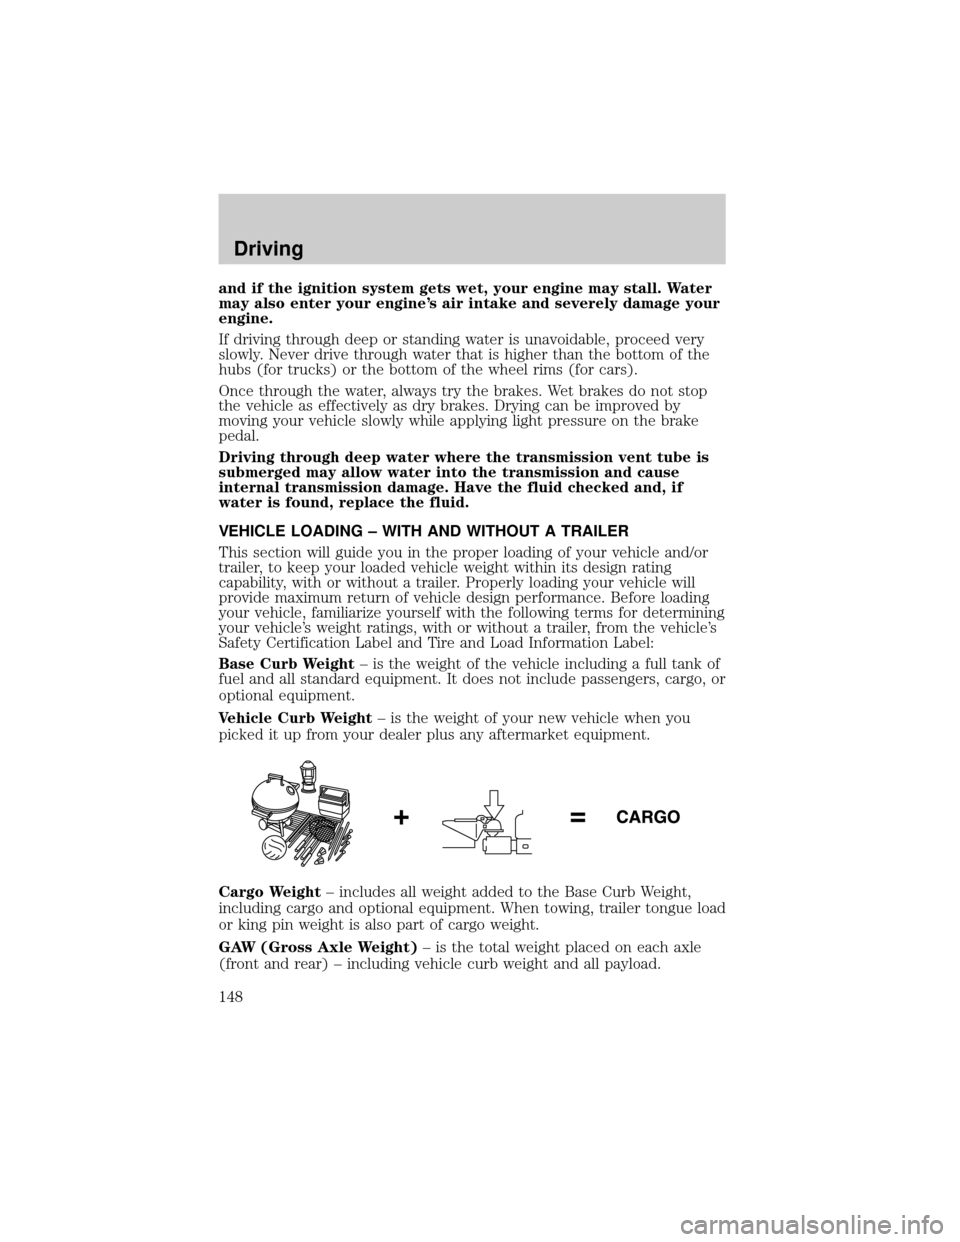
Cargo Weight± includes all weight added to the Base Curb Weight,
including cargo and optional equipment. When towing, trailer tongue load
or king pin weight is also part of cargo weight.
GAW (Gross Axle Weight)± is the total weight placed on each axle
(front and rear) ± including vehicle curb weight and all payload.
Driving
148
Page 155 of 256

²Anticipate stops and brake gradually.
²Do not exceed the GCWR rating or transmission damage may occur.
Servicing after towing
If you tow a trailer for long distances, your vehicle will require more
frequent service intervals. Refer to the ªScheduled Maintenanceº section
for more information.
Trailer towing tips
²Practice turning, stopping and backing up before starting on a trip to
get the feel of the vehicle trailer combination. When turning, make
wider turns so the trailer wheels will clear curbs and other obstacles.
²Allow more distance for stopping with a trailer attached.
²The trailer tongue weight should be 10±15% of the loaded trailer
weight.
²After you have traveled 80 km (50 miles), thoroughly check your
hitch, electrical connections and trailer wheel lug nuts.
²To aid in engine/transmission cooling and A/C efficiency during hot
weather while stopped in traffic, place the gearshift lever in P (Park)
(automatic transmission) or N (Neutral) (manual transmissions).
²Vehicles with trailers should not be parked on a grade. If you must
park on a grade, place wheel chocks under the trailer's wheels.
Launching or retrieving a boat
When backing down a ramp during boat launching or retrieval,
²Do not allow the static water level to rise above the bottom edge of
the rear bumper.
²Do not allow waves to break higher than 15 cm (6 inches) above the
bottom edge of the rear bumper.
Exceeding these limits may allow water to enter critical vehicle
components, adversely affecting driveability, emissions, reliability
and causing internal transmission damage.
Replace the rear axle lubricant any time the axle has been
submerged in water. Rear axle lubricant quantities are not to be
checked or changed unless a leak is suspected or repair required.
Disconnect the wiring to the trailer before backing the trailer into the
water. Reconnect the wiring to the trailer after the trailer is removed
from the water. Water entering these areas, while connected, could
short-circuit the system.
Driving
155
Page 157 of 256

HAZARD FLASHER CONTROL
The hazard flasher is located on the
instrument panel by the radio. The
hazard flashers will operate when
the ignition is off.
Push in the flasher control and all front and rear direction signals will
flash. Press the flasher control again to turn them off. Use it when your
vehicle is disabled and is creating a safety hazard for other motorists.
Note:With extended use, the flasher may run down your battery.
FUEL PUMP SHUT-OFF SWITCH
FUEL
RESET
This device stops the electric fuel pump from sending fuel to the engine
when your vehicle has had a substantial jolt.
After an accident, if the engine cranks but does not start, this switch
may have been activated.
This switch is located in the front
passenger's footwell, by the kick
panel access cover.
To reset the switch:
1. Turn the ignition OFF.
2. Check the fuel system for leaks.
3. Remove the kick panel access
cover, located in the front
passenger's footwell.
4. If no leaks are apparent, reset
the switch by pushing in on the
reset button.
5. Turn the ignition ON.
6. Wait a few seconds and return
the key to OFF.
7. Make another check of leaks.
Roadside Emergencies
Roadside Emergencies
157
Page 165 of 256

3. Turn off the air conditioner.
WARNING: Steam from an overheated engine is dangerous. The
escaping steam could seriously burn you. Open the hood ONLY
after steam is no longer escaping from the engine.
4. Check whether coolant or steam is escaping from under the hood or
from the engine compartment.
²If steam is coming from the engine compartment:do not go near
the front of the vehicle. Stop the engine, then turn the ignition switch
to the ON position without starting the engine. The radiator cooling
fans will start to cool the engine.
²If neither coolant nor steam is escaping:open the hood and idle
the engine until it cools. If this does not lower the temperature, stop
the engine and let it cool.
5. Check the coolant level. If it is low, look for leaks in the radiator
hoses and connections, heater hoses and connections, radiator and
water pump.
If you find a leak or other damage, or if coolant is still leaking, stop the
engine and call an Authorized Mazda dealer.
SeeAdding coolantin theMaintenance and specificationssection. If
you find no problems, the engine is cool and no leaks are obvious,
carefully add coolant as required.
WARNING: When the engine and radiator are hot, scalding
coolant and steam may shoot out under pressure and cause
serious injury. Do not remove the cooling system cap when the
engine and radiator are hot.
Note:If the engine continues to overheat or frequently overheats, have
the cooling system inspected. The engine could be seriously damaged
unless repairs are made.
TEMPORARY SPARE TIRE INFORMATION
Your vehicle may have a temporary or conventional spare tire. The
temporary spare tire for your vehicle is labeled as such. It is smaller than
a regular tire and is designed for emergency use only. Replace this tire
with a full-size tire as soon as possible.
It is not recommended that the vehicle be operated in 4WD modes with
a temporary spare. If 4WD operation is necessary, do not operate above
speeds of 16 km/h (10 mph) or for distances above 80 km (50 miles).
Roadside Emergencies
165
Page 172 of 256

Preparing your vehicle
When the battery is disconnected or a new battery is installed, the
transmission must relearn its shift strategy. As a result, the transmission
may have firm and/or soft shifts. This operation is considered normal and
will not affect function or durability of the transmission. Over time, the
adaptive learning process will fully update transmission operation.
²Use only a 12±volt supply to start your vehicle.
²Do not disconnect the battery of the disabled vehicle as this could
damage the vehicle's electrical system.
²Park the booster vehicle close to the hood of the disabled vehicle
making sure the two vehiclesdo nottouch. Set the parking brake on
both vehicles and stay clear of the engine cooling fan and other
moving parts.
²Check all battery terminals and remove any excessive corrosion before
you attach the battery cables. Ensure the vent caps are tight and
level.
²Turn the heater fan on in both vehicles to protect any electrical
surges. Turn all other accessories off.
Connecting the jumper cables
1. Connect the positive (+) jumper cable to the positive (+) terminal of
the discharged battery.
Note:In the illustrations,lightning boltsare used to designate the
assisting (boosting) battery.
+–+–
Roadside Emergencies
172
Page 201 of 256

at the recommended time or mileage (kilometrage) period to ensure
long-term reliability.
*2 If this component has been submerged in water, the oil should be
changed.
OWNER MAINTENANCE SCHEDULE
The owner or a qualified service technician should make these vehicle
inspections at the indicated intervals to ensure safe and dependable
operation.
Bring any problem to the attention of an Authorized Mazda Dealer or
qualified service technician as soon as possible.
When Refueling
²Brake and clutch fluid level
²Engine coolant level
²Engine oil level
²Washer fluid level
At Least Monthly
²Tire inflation pressures
At Least Twice a Year (For Example, Every Spring and Fall)
²Automatic transaxle fluid level
²Power steering fluid level
SERVICE RECOMMENDATIONS
To help you service your vehicle:
²We highlight do-it-yourself items in the engine compartment for easy
location.
²We provide a Scheduled Maintenance section which makes tracking
routine service easy.
If your vehicle requires professional service, your dealership can provide
necessary parts and service. Check your ªWarranty Informationº to find
out which parts and services are covered.
Use only recommended fuels, lubricants, fluids and service parts
conforming to specifications. Genuine Mazda parts are designed and built
to provide the best performance in your vehicle.
Maintenance and Specifications
201
Page 206 of 256

WINDSHIELD WASHER FLUID
Check the washer fluid whenever
you stop for fuel. The reservoir is
highlighted with a
symbol.
Add fluid to fill the reservoir if the
level is low. In very cold weather, do
not fill the reservoir completely.
Only use a washer fluid that meets Mazda specifications. Refer toRefill
capacitiesin this chapter.
WARNING: If you operate your vehicle in temperatures below
4.5É C (40É F), use washer fluid with antifreeze protection.
Failure to use washer fluid with antifreeze protection in cold
weather could result in impaired windshield vision and increase
the risk of injury or accident.
NOTE:State or local regulations on volatile organic compounds may
restrict the use of methanol, a common windshield washer antifreeze
additive. Washer fluids containing non-methanol antifreeze agents should
be used only if they provide cold weather protection without damaging
the vehicle's paint finish, wiper blades or washer system.
Note:Do not put washer fluid in the engine coolant reservoir. Washer
fluid placed in the cooling system may harm engine and cooling system
components.
Checking and adding washer fluid for the liftgate
Washer fluid for the liftgate is supplied by the same reservoir as the
windshield.
ENGINE OIL
Checking the engine oil
Refer to the service maintenance section for the appropriate intervals for
checking the engine oil.
1. Make sure the vehicle is on level ground.
2. Turn the engine off and wait a few minutes for the oil to drain into
the oil pan.
Maintenance and Specifications
206
Page 208 of 256

6. Wipe the indicator clean. Insert the indicator fully, then remove it
again.
²If the oil level isbetween the MIN-MAX or ADD-FULL marks,the
oil level is acceptable.DO NOT ADD OIL.
²If the oil level is below the MIN or ADD mark, add enough oil to raise
the level within the MIN±MAX or ADD-FULL range.
²2.0L DOHC I4 Zetec engine
²3.0L DOHC V6 Duratec engine
²Oil levels above the MAX or FULL mark may cause engine damage.
Some oil must be removed from the engine by a service technician.
7. Put the indicator back in and ensure it is fully seated.
Adding engine oil
1. Check the engine oil. For instructions, refer toChecking the engine
oilin this chapter.
2. If the engine oil level is not within the normal range, add only
certified engine oil of the recommended viscosity. Remove the engine
oil filler cap and use a funnel to pour the engine oil into the opening.
3. Recheck the engine oil level. Make sure the oil level is not above the
MAX or FULL mark on the engine oil level indicator (dipstick).
4. Install the indicator and ensure it is fully seated.
Maintenance and Specifications
208