brake MAZDA MODEL TRIBUTE 4WD 2001 Owners Manual
[x] Cancel search | Manufacturer: MAZDA, Model Year: 2001, Model line: MODEL TRIBUTE 4WD, Model: MAZDA MODEL TRIBUTE 4WD 2001Pages: 232, PDF Size: 1.74 MB
Page 4 of 232
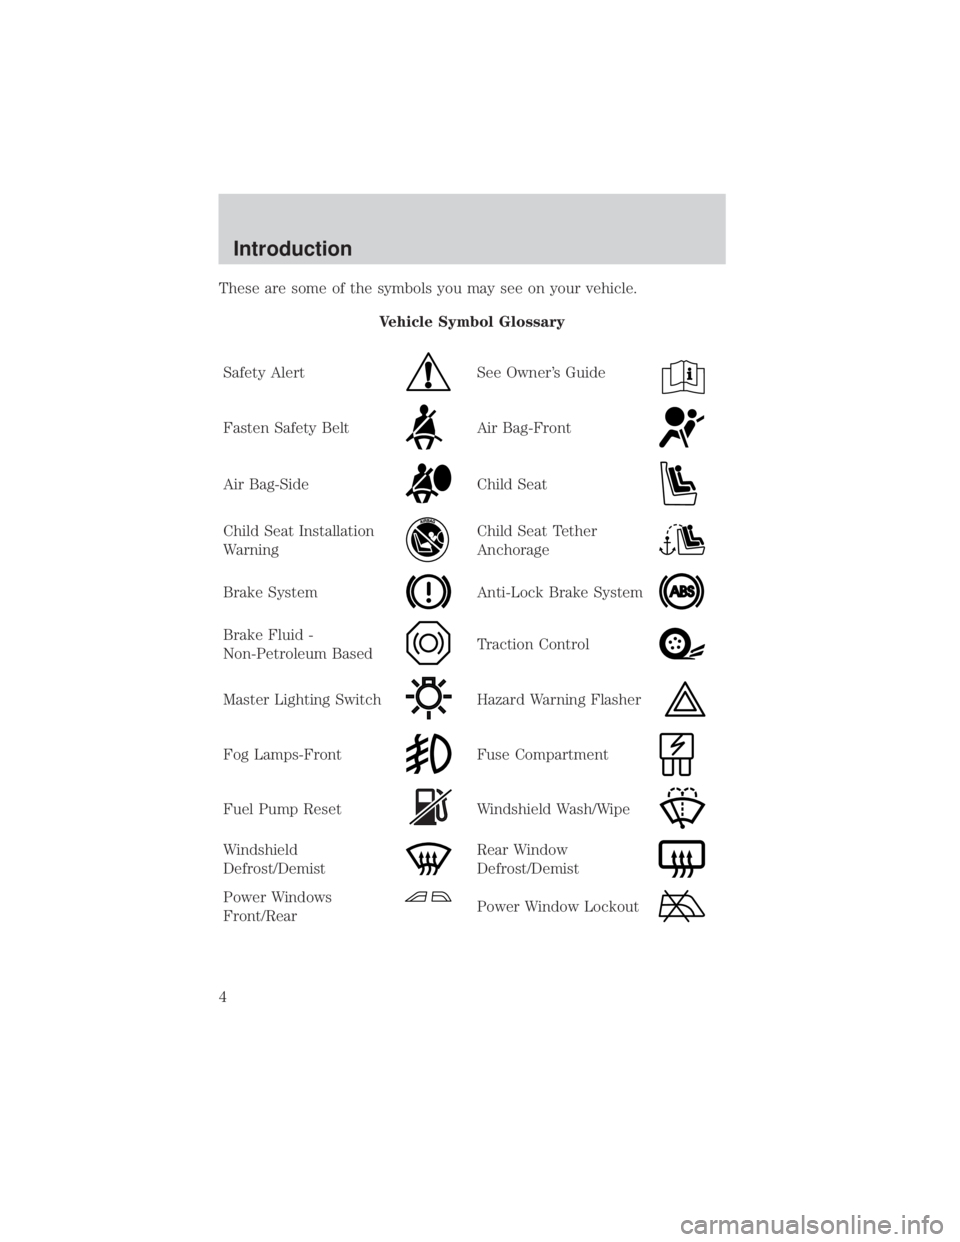
These are some of the symbols you may see on your vehicle.Vehicle Symbol Glossary
Safety Alert
See Owner's Guide
Fasten Safety BeltAir Bag-Front
Air Bag-SideChild Seat
Child Seat Installation
WarningChild Seat Tether
Anchorage
Brake SystemAnti-Lock Brake System
Brake Fluid -
Non-Petroleum BasedTraction Control
Master Lighting SwitchHazard Warning Flasher
Fog Lamps-FrontFuse Compartment
Fuel Pump ResetWindshield Wash/Wipe
Windshield
Defrost/DemistRear Window
Defrost/Demist
Power Windows
Front/RearPower Window Lockout
Introduction
4
Page 10 of 232
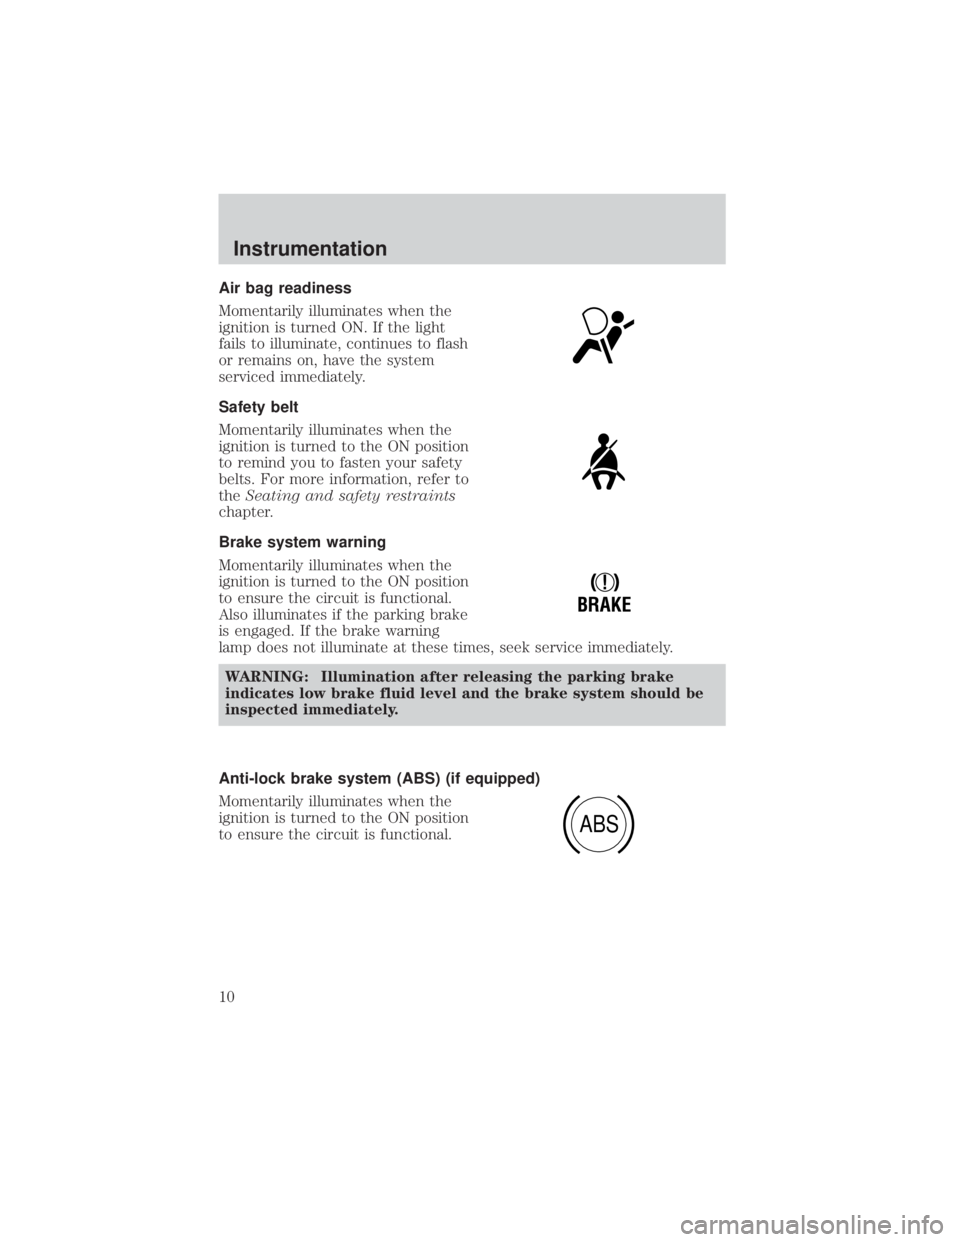
Air bag readiness
Momentarily illuminates when the
ignition is turned ON. If the light
fails to illuminate, continues to flash
or remains on, have the system
serviced immediately.
Safety belt
Momentarily illuminates when the
ignition is turned to the ON position
to remind you to fasten your safety
belts. For more information, refer to
theSeating and safety restraints
chapter.
Brake system warning
Momentarily illuminates when the
ignition is turned to the ON position
to ensure the circuit is functional.
Also illuminates if the parking brake
is engaged. If the brake warning
lamp does not illuminate at these times, seek service immediately.
WARNING: Illumination after releasing the parking brake
indicates low brake fluid level and the brake system should be
inspected immediately.
Anti-lock brake system (ABS) (if equipped)
Momentarily illuminates when the
ignition is turned to the ON position
to ensure the circuit is functional.
!
BRAKE
ABS
Instrumentation
10
Page 11 of 232
WARNING: If the light remains on, continues to flash or fails
to illuminate, have the system serviced immediately. With the
ABS light on, the anti-lock brake system is disabled and normal
braking is still effective unless the brake warning light also
remains illuminated with the parking brake released.
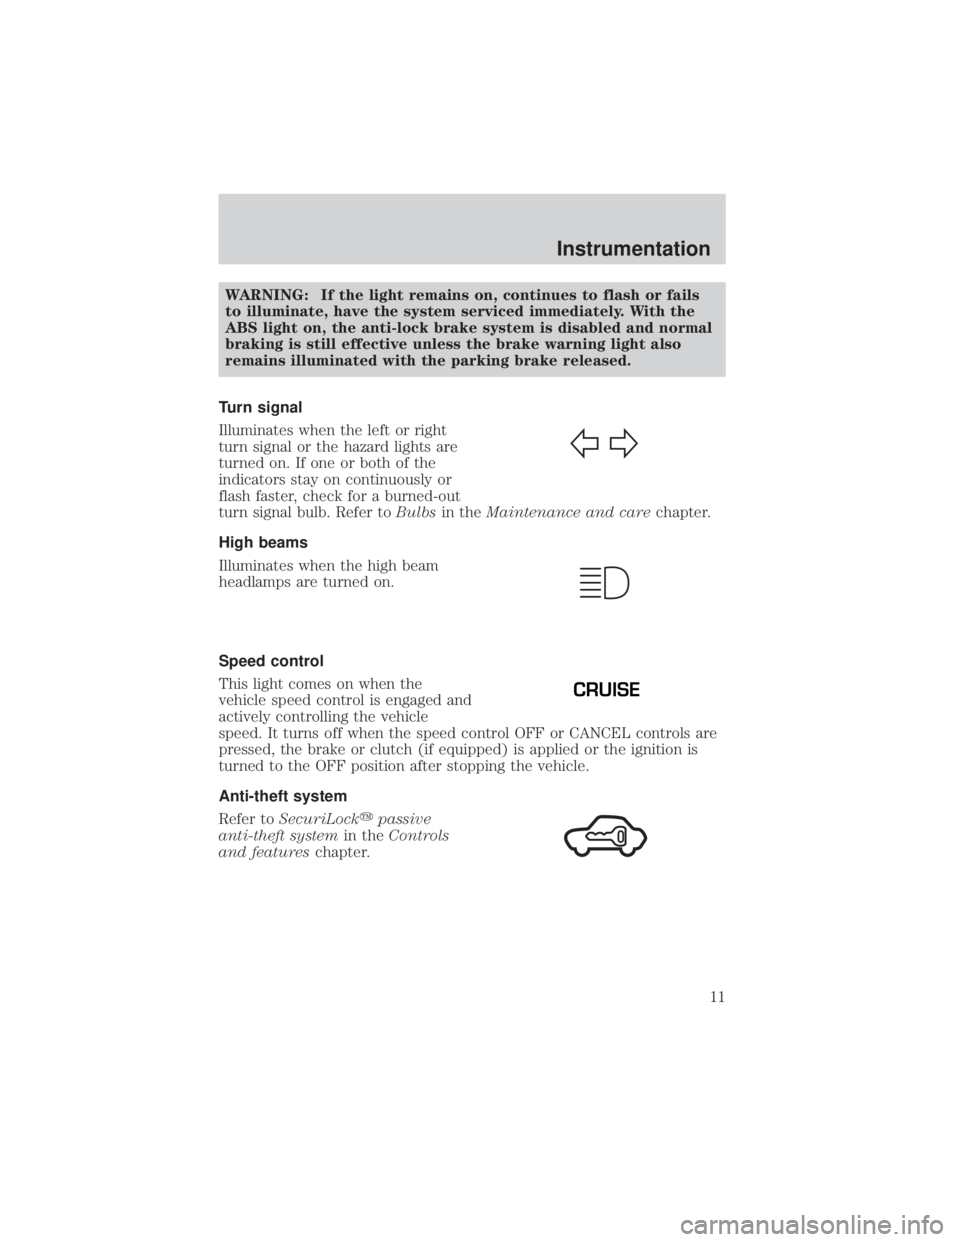
Turn signal
Illuminates when the left or right
turn signal or the hazard lights are
turned on. If one or both of the
indicators stay on continuously or
flash faster, check for a burned-out
turn signal bulb. Refer to Bulbsin the Maintenance and care chapter.
High beams
Illuminates when the high beam
headlamps are turned on.
Speed control
This light comes on when the
vehicle speed control is engaged and
actively controlling the vehicle
speed. It turns off when the speed control OFF or CANCEL controls are
pressed, the brake or clutch (if equipped) is applied or the ignition is
turned to the OFF position after stopping the vehicle.
Anti-theft system
Refer to SecuriLock ypassive
anti-theft system in theControls
and features chapter.
CRUISE
Instrumentation
11
Page 41 of 232

To set a speed
²Press SET ACC.
NOTE:For speed control to operate,
the speed control must be ON and
the vehicle speed must be greater
than 48 km/h (30 mph).
If you drive up or down a steep hill, your vehicle speed may vary
momentarily slower or faster than the set speed. This is normal.
Speed control cannot reduce the vehicle speed if it increases above the
set speed on a downhill. If your vehicle speed is faster than the set
speed while driving on a downhill, you may want to shift to the next
lower gear or apply the brakes to reduce your vehicle speed.
If your vehicle slows down more than 16 km/h (10 mph) below your set
speed on an uphill, your speed control will disengage. This is normal.
Pressing RSM will re-engage it.
WARNING: Do not use the speed control in heavy traffic or on
roads that are winding, slippery, or unpaved. This may cause an
accident.
RSM
CST
SET
ACC
Controls and features
41
Page 42 of 232

To set a higher set speed
²Press and hold SET ACC. Release
the control when the desired
vehicle speed is reached or
² Press and release SET ACC to
operate the Tap-Up function.
Each press will increase the set
speed by 1.6 km/h (1 mph) or
² Accelerate with your accelerator
pedal. When the desired vehicle
speed is reached, press and
release SET ACC.
NOTE:You can accelerate with the accelerator pedal at any time during
speed control usage. Releasing the accelerator pedal will return your
vehicle to the previously programmed set speed.
To set a lower set speed
² Press and hold CST. Release the
control when the desired speed is
reached or
² Press and release CST to operate
the Tap-Down function. Each
press will decrease the set speed
by 1.6 km/h (1 mph) or
² Depress the brake pedal. When
the desired vehicle speed is
reached, press SET ACC.
RSM
CST
SET
ACC
RSM
CST
SET
ACC
RSM
CST
SET
ACC
Controls and features
42
Page 43 of 232

To disengage speed control
²Depress the brake pedal or
² Depress the clutch pedal
(if equipped).
NOTE:Disengaging the speed
control will not erase the previously
programmed set speed.
NOTE:Fully depressing the clutch
pedal may cause a flare in engine
RPM as the throttle is returned to
idle. This is normal.
NOTE:Pressing OFF will erase the
previously programmed set speed.
ON
OFF
Controls and features
43
Page 77 of 232
The front and rear outboard safety restraints in the vehicle are
combination lap and shoulder belts. The front passenger and rear seat
outboard safety belts have two types of locking modes described below:
Vehicle sensitive mode
The vehicle sensitive mode is the normal retractor mode, allowing free
shoulder belt length adjustment to your movements and locking in
response to vehicle movement. For example, if the driver brakes
suddenly or turns a corner sharply, or the vehicle receives an impact of
approximately 8 km/h (5 mph) or more, the combination safety belts will
lock to help reduce forward movement of the driver and passengers.
Automatic locking mode
In this mode, the shoulder belt is automatically pre-locked. The belt will
still retract to remove any slack in the shoulder belt.
The automatic locking mode is not available on the driver safety belt.
When to use the automatic locking mode
²Any time a child safety seat is installed in a passenger front or
outboard rear seating position (if equipped). Children 12 years old and
under should be properly restrained in the rear seat whenever
possible. Refer to Safety Restraints for Children orSafety Seats for
Children later in this chapter.
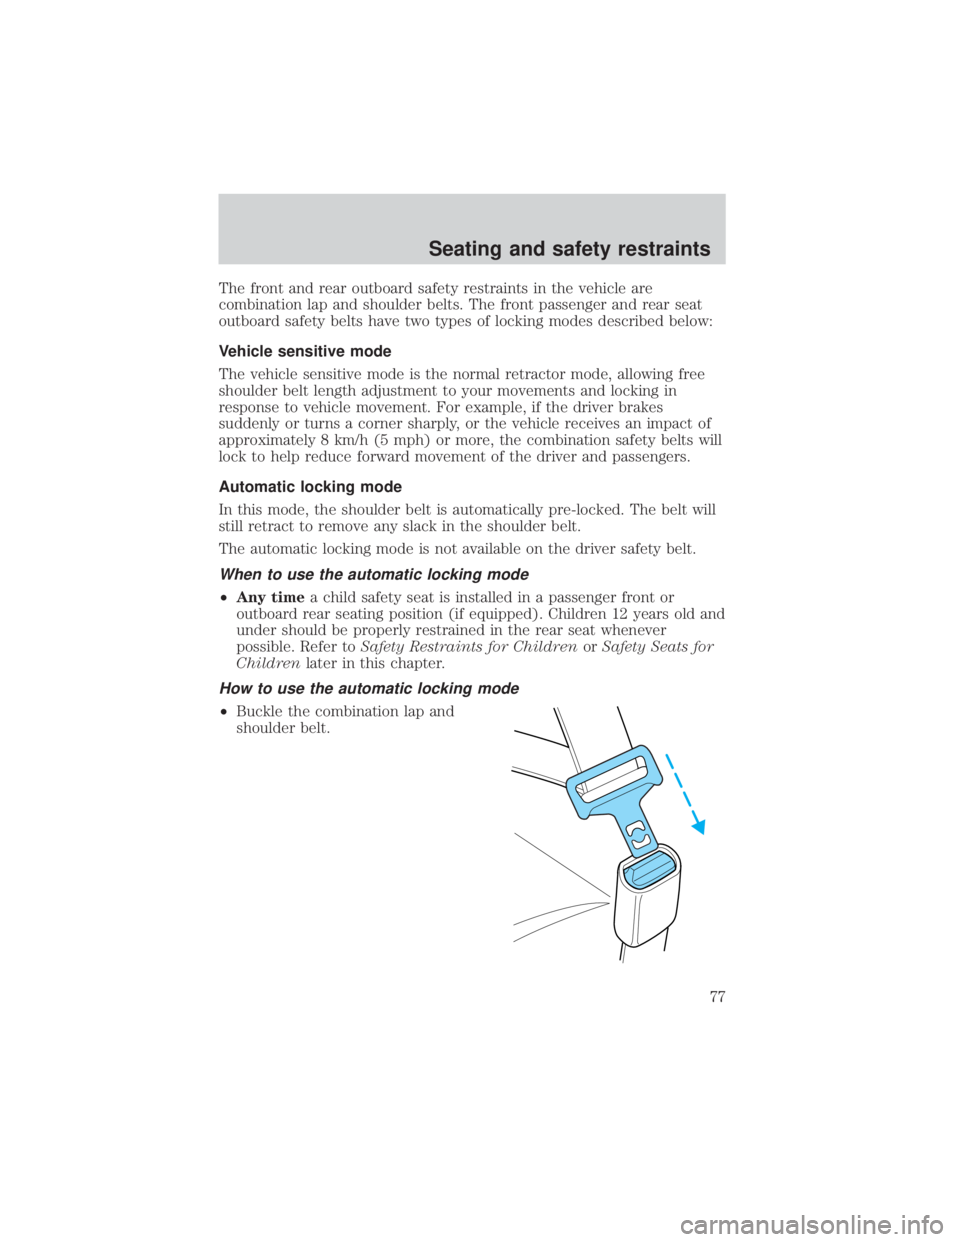
How to use the automatic locking mode
²Buckle the combination lap and
shoulder belt.
Seating and safety restraints
77
Page 103 of 232
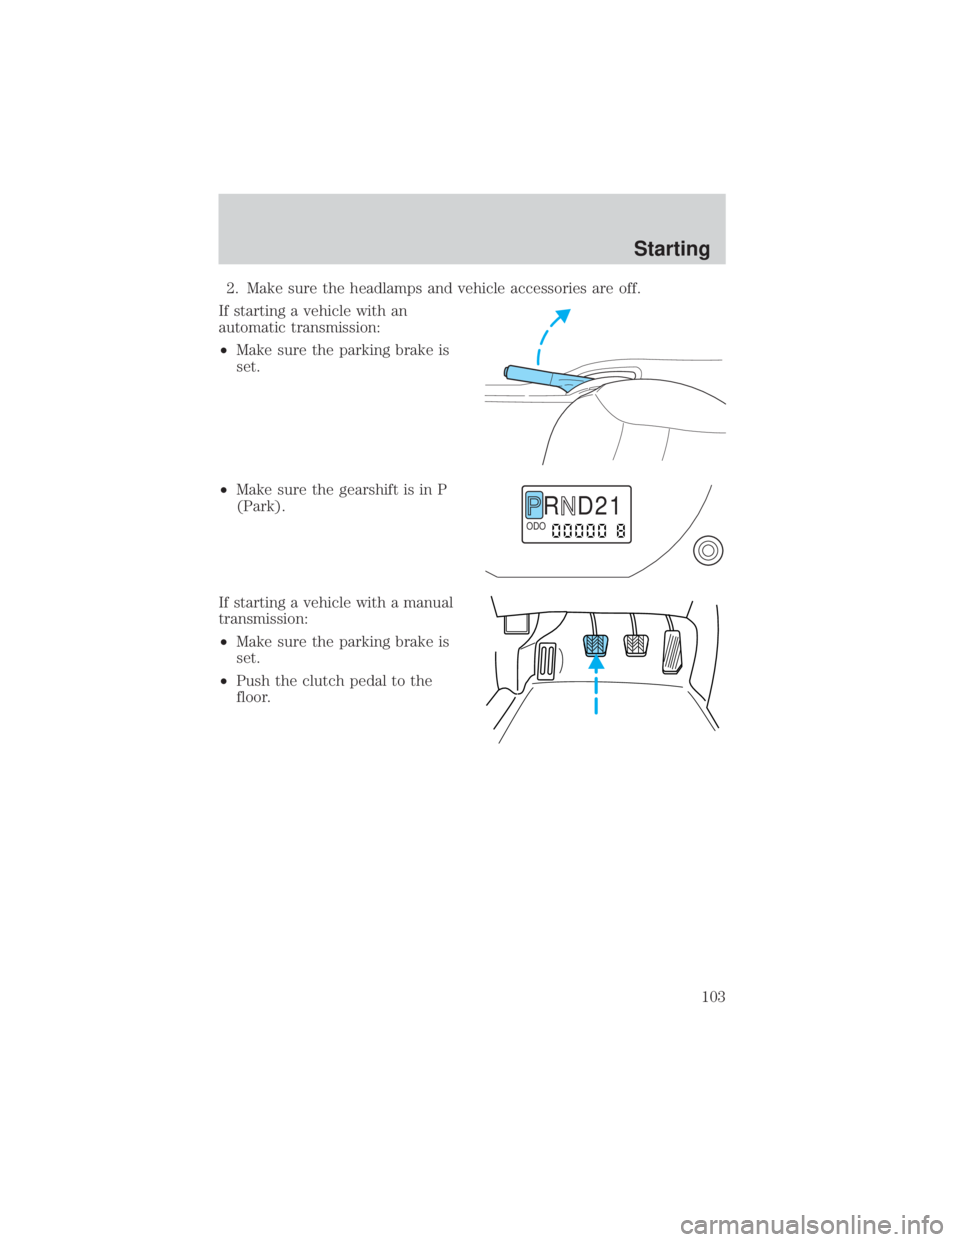
2. Make sure the headlamps and vehicle accessories are off.
If starting a vehicle with an
automatic transmission:
² Make sure the parking brake is
set.
² Make sure the gearshift is in P
(Park).
If starting a vehicle with a manual
transmission:
² Make sure the parking brake is
set.
² Push the clutch pedal to the
floor.
R D 2 1ODO
Starting
103
Page 104 of 232
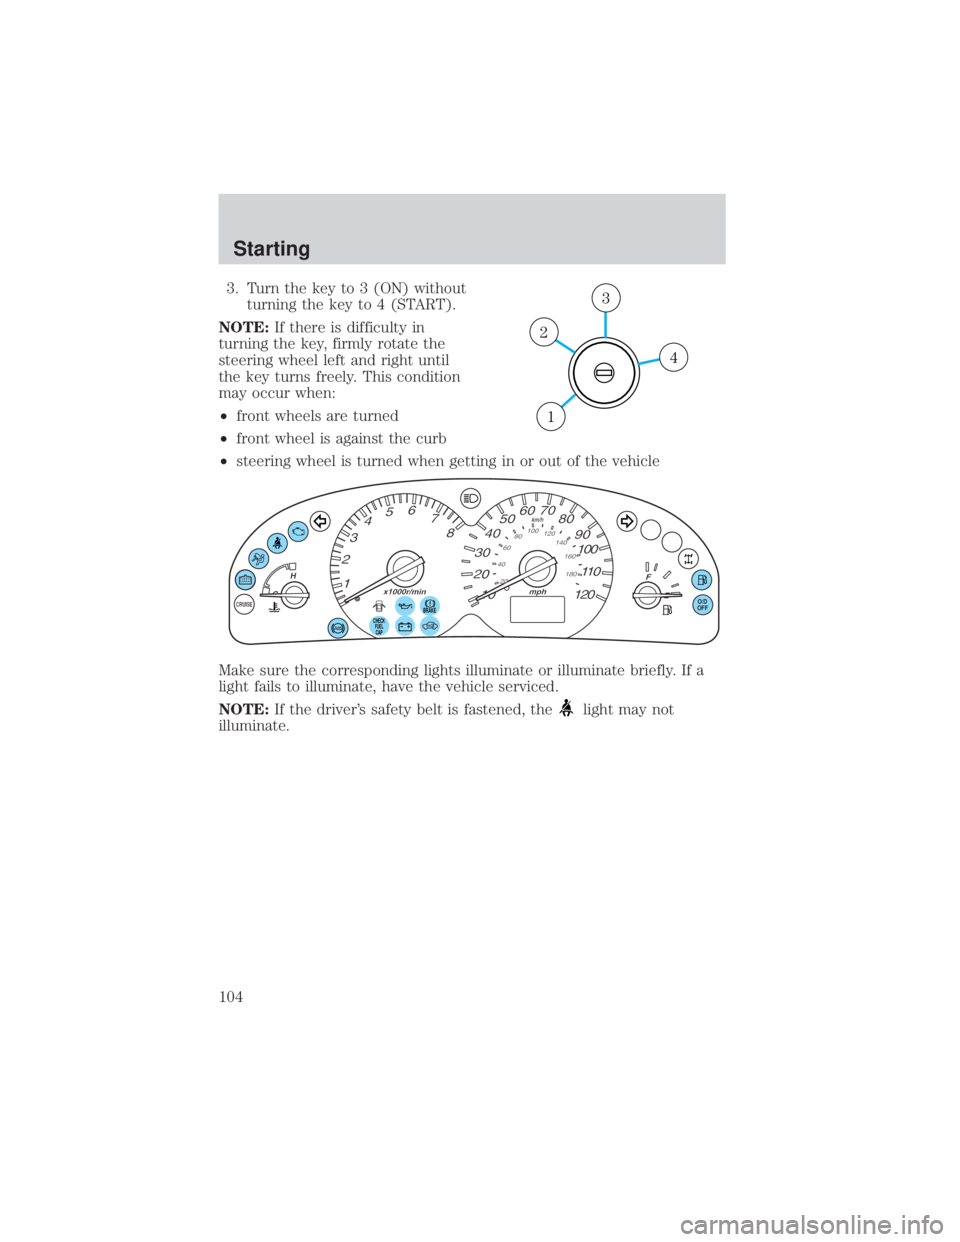
3. Turn the key to 3 (ON) withoutturning the key to 4 (START).
NOTE: If there is difficulty in
turning the key, firmly rotate the
steering wheel left and right until
the key turns freely. This condition
may occur when:
² front wheels are turned
² front wheel is against the curb
² steering wheel is turned when getting in or out of the vehicle
Make sure the corresponding lights illuminate or illuminate briefly. If a
light fails to illuminate, have the vehicle serviced.
NOTE: If the driver's safety belt is fastened, the
light may not
illuminate.
4
3
2
1
BRAKEO/D
OFF
CHECK FUELCAP
Starting
104
Page 105 of 232
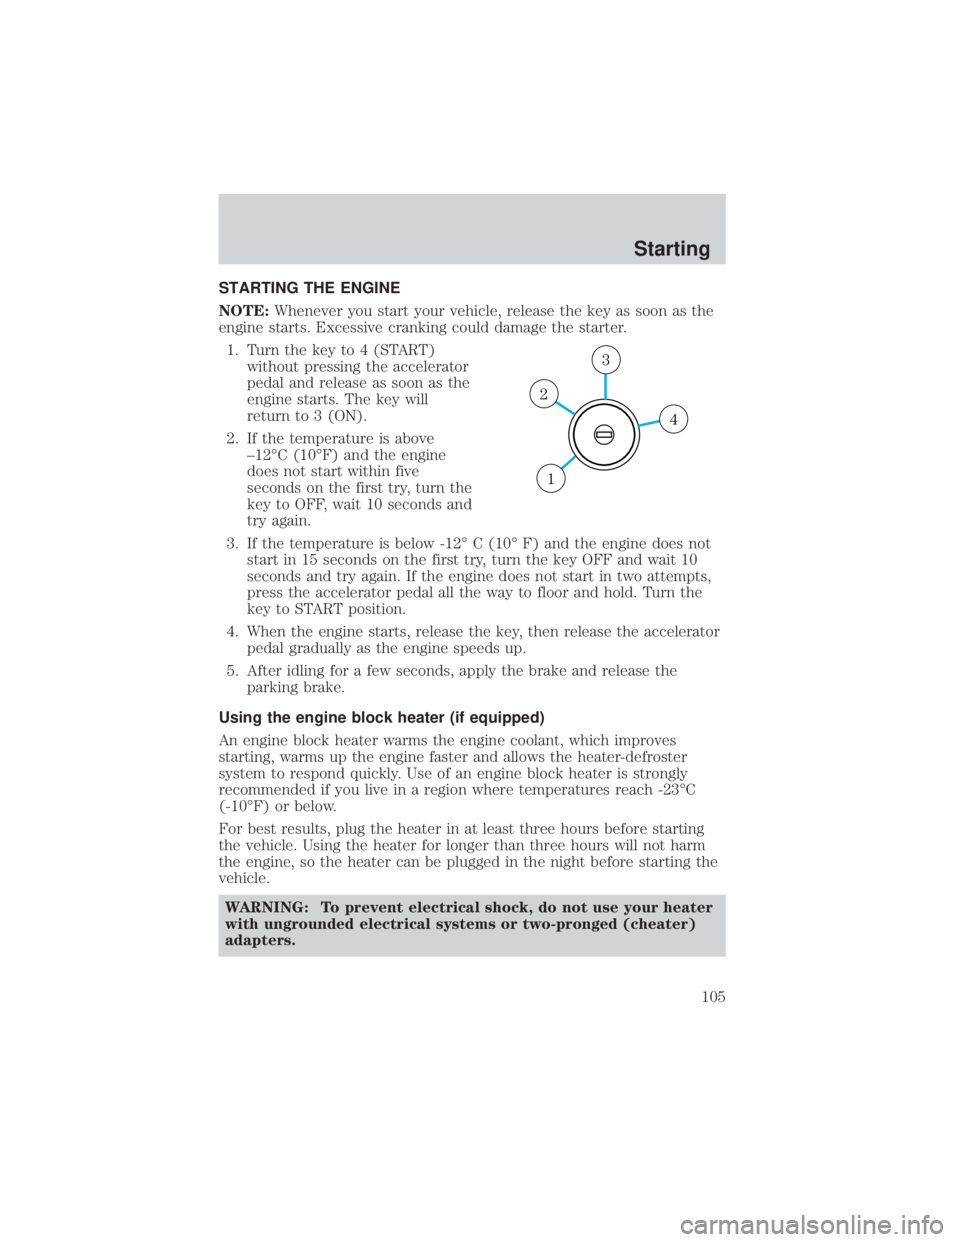
STARTING THE ENGINE
NOTE:Whenever you start your vehicle, release the key as soon as the
engine starts. Excessive cranking could damage the starter.
1. Turn the key to 4 (START) without pressing the accelerator
pedal and release as soon as the
engine starts. The key will
return to 3 (ON).
2. If the temperature is above ±12ÉC (10ÉF) and the engine
does not start within five
seconds on the first try, turn the
key to OFF, wait 10 seconds and
try again.
3. If the temperature is below -12É C (10É F) and the engine does not start in 15 seconds on the first try, turn the key OFF and wait 10
seconds and try again. If the engine does not start in two attempts,
press the accelerator pedal all the way to floor and hold. Turn the
key to START position.
4. When the engine starts, release the key, then release the accelerator pedal gradually as the engine speeds up.
5. After idling for a few seconds, apply the brake and release the parking brake.
Using the engine block heater (if equipped)
An engine block heater warms the engine coolant, which improves
starting, warms up the engine faster and allows the heater-defroster
system to respond quickly. Use of an engine block heater is strongly
recommended if you live in a region where temperatures reach -23ÉC
(-10ÉF) or below.
For best results, plug the heater in at least three hours before starting
the vehicle. Using the heater for longer than three hours will not harm
the engine, so the heater can be plugged in the night before starting the
vehicle. WARNING: To prevent electrical shock, do not use your heater
with ungrounded electrical systems or two-pronged (cheater)
adapters.
4
3
2
1
Starting
105