ad blue MERCEDES-BENZ A-CLASS SALOON 2018 Owners Manual
[x] Cancel search | Manufacturer: MERCEDES-BENZ, Model Year: 2018, Model line: A-CLASS SALOON, Model: MERCEDES-BENZ A-CLASS SALOON 2018Pages: 621, PDF Size: 10.5 MB
Page 153 of 621
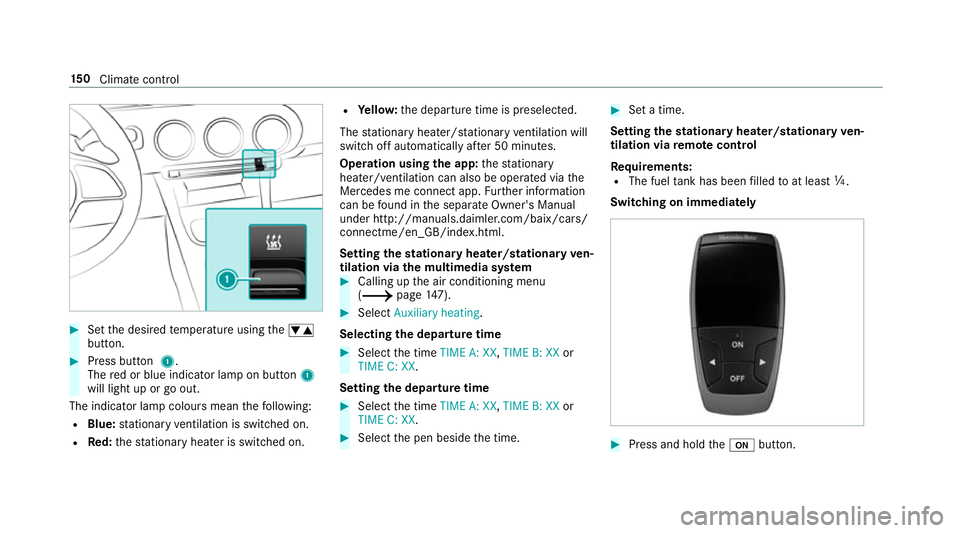
#
Set the desired temp erature using thew
button. #
Press button 1.
The red or blue indicator lamp on button 1
will light up or go out.
The indicator lamp colours mean thefo llowing:
R Blue: stationary ventilation is switched on.
R Red:thest ationary heater is swit ched on. R
Yello w: the departure time is preselected.
The stationary heater/ stationary ventilation will
switch off au tomatically af ter 50 minutes.
Operation using the app: thest ationary
heater/ ventilation can also be operated via the
Mercedes me connect app. Further information
can be found in the separate Owner's Manual
under http://manuals.daimler.com/baix/cars/
connectme/en_GB/index.html.
Setting thest ationary heater/stationary ven‐
tilation via the multimedia sy stem #
Calling up the air conditioning menu
(/ page147). #
Select Auxiliary heating.
Selecting the departu retime #
Select the time TIME A: XX, TIME B: XXor
TIME C: XX.
Setting the departu retime #
Select the time TIME A: XX, TIME B: XXor
TIME C: XX. #
Select the pen beside the time. #
Set a time.
Setting thest ationary heater/stationary ven‐
tilation via remo tecont rol
Re quirements:
R The fuel tank has been filled toat least Õ.
Swit ching on immediately #
Press and hold theu button. 15 0
Climate cont rol
Page 180 of 621
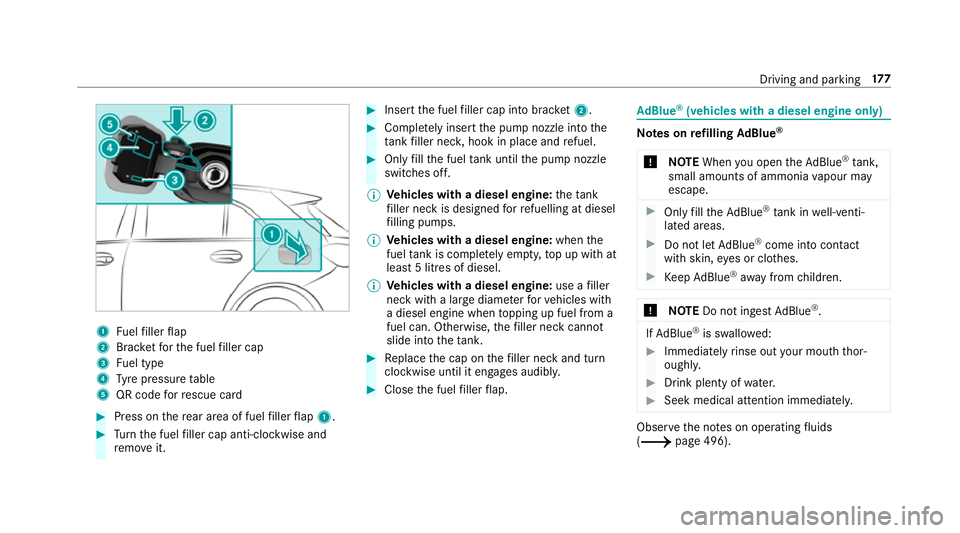
1
Fuelfiller flap
2 Brac ketfo rth e fuel filler cap
3 Fuel type
4 Tyre pressure table
5 QR code forre scue card #
Press on there ar area of fuel filler flap 1. #
Turn the fuel filler cap anti-clockwise and
re mo veit. #
Insert the fuel filler cap into brac ket2. #
Comp lete ly inse rtthe pump nozzle into the
ta nk filler nec k,hook in place and refuel. #
Only fill th e fuel tank until the pump nozzle
switches off.
% Vehicles with a diesel engine: theta nk
fi ller neck is designed forre fuelling at diesel
fi lling pumps.
% Vehicles with a diesel engine: whenthe
fuel tank is compl etely em pty, top up with at
least 5 litres of diesel.
% Vehicles with a diesel engine: use afiller
neck with a lar gediame terfo rve hicles with
a diesel engine when topping up fuel from a
fuel can. Otherwise, thefiller neck cannot
slide into theta nk. #
Replace the cap on thefiller neck and turn
clockwise until it engages audibl y. #
Close the fuel filler flap. Ad
Blue ®
(vehicles with a diesel engine on ly) Note
s onrefilling AdBlue ®
* NOTEWhen you open theAd Blue ®
tank,
small amounts of ammonia vapour may
escape. #
Only fill th eAd Blue ®
tank in well-venti‐
lated areas. #
Do not let AdBlue ®
come into contact
wi th skin, eyes or clo thes. #
Keep AdBlue ®
aw ay from children. *
NOTEDo not ingest AdBlue ®
. If
Ad Blue ®
is swallo wed: #
Immediately rinse out your mouth thor‐
oughl y. #
Drink plenty of water. #
Seek medical attention immediately. Obser
vethe no tes on operating fluids
(/ page 496). Driving and parking
17 7
Page 181 of 621
Ad
Blue ®
is a wate r-soluble fluid forth e NOx
ex haust gas af tertre atment of diesel engines. In
order forth eex haust gas af tertre atment tofunc‐
tion proper ly, only use AdBlue ®
in accordance
wi th ISO 222 41 .
Ad Blue ®
is ch aracterised bythefo llowing:
R non-t oxic
R colourless and odourless
R non-flammable
Ad Blue ®
is available here:
R AdBlue ®
may be topped up byfast service at
a qu alified specialist workshop, e.g. a
Mercedes-Benz Service Centre.
R AdBlue ®
is available at many filling stations
from AdBlue ®
filling pumps.
R Alternativel y,Ad Blue ®
is available at qualified
specialist workshops, e.g. Mercedes-Benz
Service Centres, and at many filling stations
in Ad Blue ®
re fill canis ters or AdBlue ®
re fill
bottles. %
Ensure the connection between there fill
con tainer and vehicle filler neck does not
drip.
To pping up AdBlue ®
* NOTEEngine dama gedue toAd Blue ®
being in the fuel #
AdBlue ®
must not be used tofill the
fuel tank. #
Only use AdBlue ®
to fill th eAd Blue ®
ta nk. #
Do not overfill theAd Blue ®
tank. *
NO
TEContamination of theve hicle inte‐
ri or due toAd Blue ®
lea kage #
Afterto pping up, carefully close the
Ad Blue ®
re fill con tainer. #
Avoid car rying AdBlue ®
re fill con tainers
permanently in theve hicle. Re
quirements:
R The vehicle is unloc ked. The
following messages appear in order in the
multifunction display when theAd Blue ®
tank
requ iresrefilling:
R Refill AdBlue See Owner’s Manual . The
Ad Blue ®
tank is down tothere ser veleve l.
R Refill AdBlue No start in XXX miles. You can
on ly drive theve hicle over the dis tance
shown. Refill Ad Blue ®
as soon as possible.
R Top up AdBlue Perf. reduced: XXX km/h No
start in XXX km You can on lydrive theve hi‐
cle at the speed shown and overth e dis tance
shown. Refill Ad Blue ®
as soon as possible.
R Refill AdBlue Engine start not possible. The
vehicle can no longer be star ted.
Yo u can see theAd Blue ®
ra nge and le vel in the
multifunction display (/ page 260).
% The AdBlue ®
ra nge shown depends strongly
on the driving style and operating condi‐
tions. The actual range can therefore deviate
from the calculated range. 17 8
Driving and pa rking
Page 182 of 621
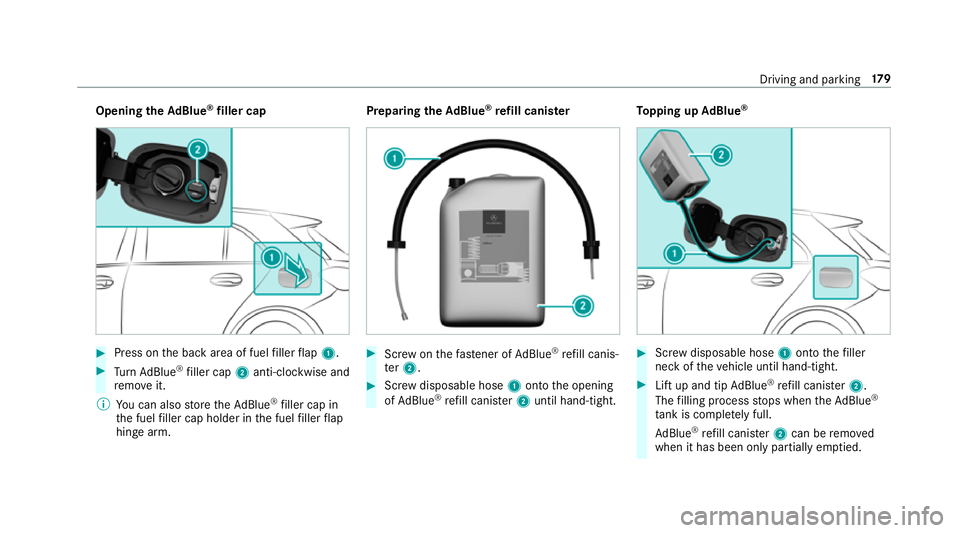
Opening
theAd Blue ®
filler cap #
Press on the back area of fuel filler flap 1. #
Turn AdBlue ®
filler cap 2anti-clockwise and
re mo veit.
% You can also store theAd Blue ®
filler cap in
th e fuel filler cap holder in the fuel filler flap
hin gearm. Prepa
ring theAd Blue ®
re fill canis ter #
Screw onthefast ener of AdBlue ®
re fill canis‐
te r2. #
Screw disposable hose 1onto the opening
of Ad Blue ®
re fill canis ter2 until hand-tight. To
pping up AdBlue ® #
Screw disposable hose 1onto thefiller
neck of theve hicle until hand-tight. #
Lift up and tip AdBlue ®
re fill canis ter2.
The filling process stops when theAd Blue ®
ta nk is compl etely full.
Ad Blue ®
re fill canis ter2 can be remo ved
when it has been only partially em ptied. Driving and parking
17 9
Page 183 of 621
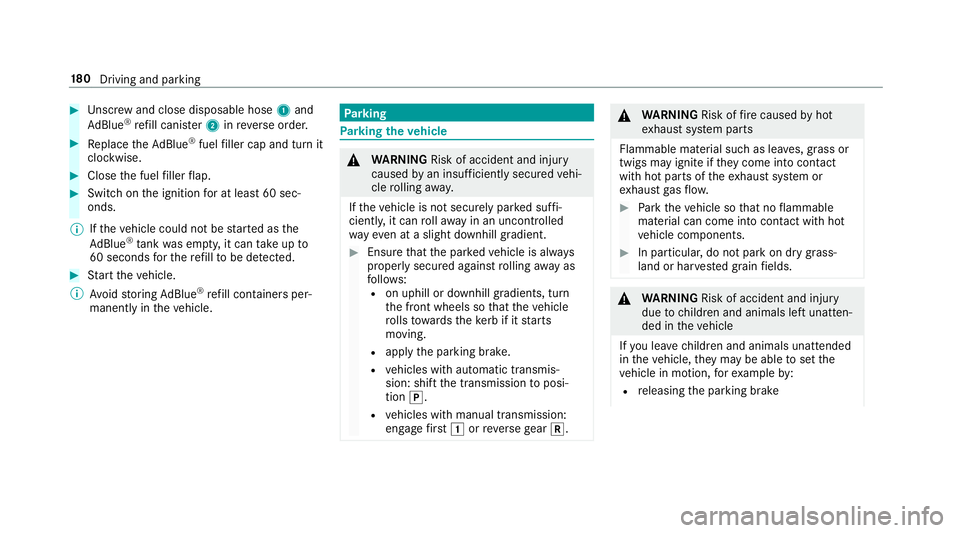
#
Unscr ew and close disposable hose 1and
Ad Blue ®
re fill canis ter2 inreve rse order. #
Replace theAd Blue ®
fuel filler cap and turn it
clockwise. #
Close the fuel filler flap. #
Swit chon the ignition for at least 60 sec‐
onds.
% Ifth eve hicle could not be star ted as the
Ad Blue ®
tan kwa s em pty, it can take up to
60 seconds forth ere fill to be de tected. #
Start theve hicle.
% Avoid storing AdBlue ®
re fill con tainers per‐
manently in theve hicle. Pa
rking Pa
rking theve hicle &
WARNING Risk of accident and inju ry
caused byan insuf ficiently secu redve hi‐
cle rolling away.
If th eve hicle is not securely par ked suf fi‐
ciently, it can rollaw ay in an uncont rolled
wa yev en at a slight downhill gradient. #
Ensure that the par kedve hicle is alw ays
properly secured against rolling away as
fo llo ws:
R on uphill or downhill gradients, turn
the front wheels so that theve hicle
ro lls towa rdsth eke rb if it starts
moving.
R apply the parking brake.
R vehicles with automatic transmis‐
sion: shift the transmission toposi‐
tion j.
R vehicles with manual transmission:
engage firs t1 orreve rsege ar k. &
WARNING Risk offire caused byhot
ex haust sy stem parts
Flammable material such as lea ves, grass or
twigs may ignite if they come into contact
wi th hot parts of theex haust sy stem or
ex haust gasflow. #
Park theve hicle so that no flammable
material can come into con tact wi thhot
ve hicle components. #
In particular, do not park on dry grass‐
land or har vested grain fields. &
WARNING Risk of accident and inju ry
due tochildren and animals left unat ten‐
ded in theve hicle
If yo u lea vechildren and animals unat tended
in theve hicle, they may be able toset the
ve hicle in motion, forex ample by:
R releasing the parking brake 18 0
Driving and pa rking
Page 263 of 621
ë
HOLD function (/
page 217)
_ Ad
aptive Highbeam Assist
(/ page132)
Ad aptive Highbeam Assist Plus
(/ page133)
ð Maximum permissible speed
exceeded
(for cer tain countries only)
Ve hicles with Speed Limit Assis t:de tected
instructions and traf fic signs (/ page 238).
Ve hicles with Traf fic Sign Assis t:de tected
instructions and traf fic signs (/ page 240). Ad
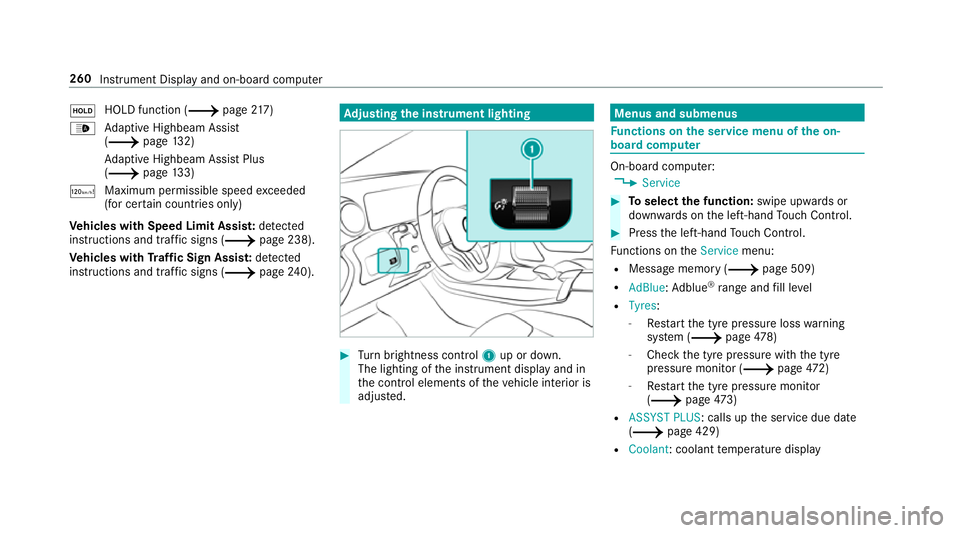
justing the in stru ment lighting #
Turn brightness control 1up or down.
The lighting of the instrument display and in
th e control elements of theve hicle interior is
adjus ted. Menus and submenus
Fu
nctions on the service menu of the on-
board compu ter On-board computer:
4 Service #
Toselect the function: swipe upwards or
down wards on the left-hand Touch Control. #
Press the left-hand Touch Control.
Fu nctions on theService menu:
R Message memory (/ page 509)
R AdBlue :Ad blue ®
ra nge and fill le vel
R Tyres:
- Restart the tyre pressure loss warning
sy stem (/ page478)
- Che ckthe tyre pressure with the tyre
pressure monitor (/ page472)
- Restart the tyre pressure monitor
(/ page473)
R ASSYST PLUS: calls up the service due date
(/ page 429)
R Coolant : coolant temp erature display 260
Instrument Display and on-board computer
Page 269 of 621
The
following displa ysmay appear ins tead of the
te lephone numbers dialled:
R Please wait :th e application is starting. If a
Blue tooth ®
connection tothe mobile phone
is not es tablished, the menu for auth orising
and connecting a mobile phone will be dis‐
pla yed on the multimedia sy stem
(/ page378).
R Updating data :th e call list is being updated.
R Importing contacts : contacts are being
impor ted from the mobile phone or a storage
medium.
Ac cepting/rejecting a call
Ve hicles with head-up displa y:When you
re cei vea call, theIncoming call message will
appear on the head-up displa y.#
Swipe up wards or down wards on the left-
hand Touch Control and select 6(Accept)
or ~ (Reject). #
Press the left-hand Touch Control.
Yo u may accept/ reject the call using button
6 or~ onthesteering wheel. Setting
the head-up display using the on-
board compu ter On-board computer:
4 HEAD-UP DISPLAY
The following head-up display settings can be
selec ted:
R Position
R Brightness
R Displa ys #
Toselect a setting: swipe upwards or down‐
wa rds on the left-hand Touch Control. #
Press the left-hand Touch Control. #
Toadjust the position: swipe upwards or
down wards on the left-hand Touch Control. #
Toadjust the brightness: swipetothe left
or right on the left-hand Touch Control. #
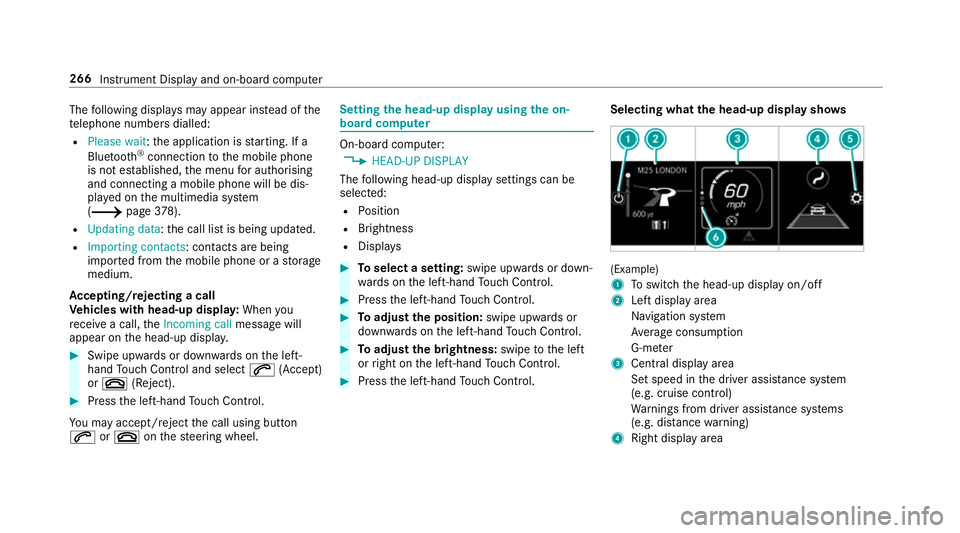
Press the left-hand Touch Control. Selecting what
the head-up display sho ws (Example)
1
Toswitch the head-up display on/off
2 Left display area
Navigation sy stem
Av erage consum ption
G-me ter
3 Central displ ayarea
Set speed in the driver assis tance sy stem
(e.g. cruise control)
Wa rnings from driver assis tance sy stems
(e.g. dis tance warning)
4 Right display area 266
Instrument Display and on-board computer
Page 287 of 621
Ve
hicle voice commands Vo
ice command Colloquialexample Function
Temperature colder I would like to reduce the tempera-
tureRe
duces thete mp erature of the air conditioning sy stem
Air recirculation on I would like to activate the air circu-
lationSwitches on air
recirculation mode forth e air conditioning sy stem
Automatic climate control driver on I would like to switch on the auto- matic climate control for the driv-
er's seatSwitches on automatic climate control
forth e driver's or front passenger
side
Ambient light blue Switch ambient light to blueSwitches ambient lighting, e.g.
toblue
Wave massage driver on I would like to switch on the wave
massage for the driver's seatSwitches on
thewav e massage forth e driver's or front passenger seat
Massage driver's seat off Switch the driver's side massage
offSwitches off
the massage function forth e driver's or front passenger seat
Seat heating driver on I would like to switch on the seat
heating for the driver's seatSwitches on
the seat heating forth e driver's or front passenger seat
Seat heating front passenger level
2 Seat heating front-passenger on
level 2Sets
the seat heating forth e driver's or front passenger seat toleve l 2 284
LINGU ATRO NIC
Page 323 of 621
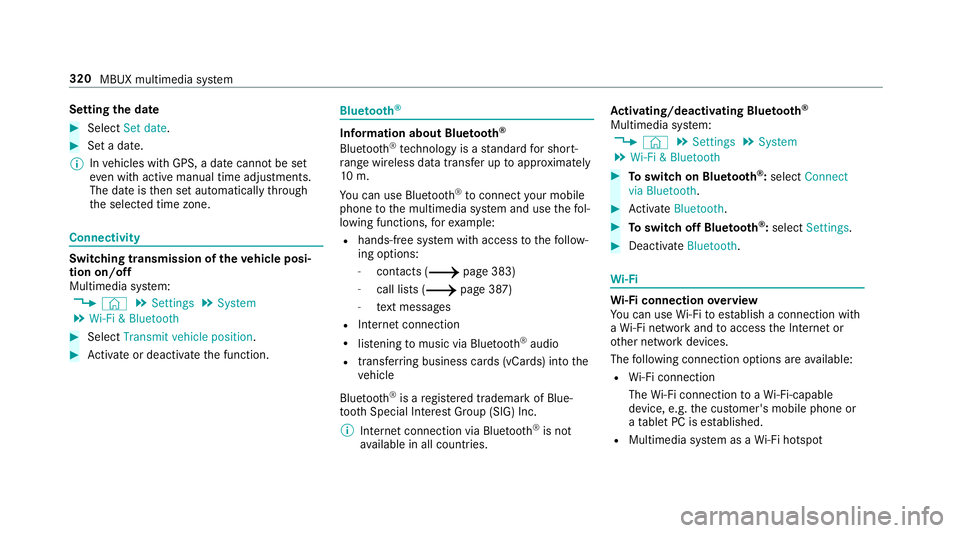
Setting
the da te #
Select Set date . #
Set a da te.
% Invehicles with GPS, a date cannot be set
eve n wi thactive manual time adjustments.
The date is then set automatically thro ugh
th e selected time zone. Connectivity
Switching transmission of
theve hicle posi‐
tion on/off
Multimedia sy stem:
4 © 5
Settings 5
System
5 Wi-Fi & Bluetooth #
Select Transmit vehicle position .#
Activate or deacti vate the function. Blue
tooth ® Information about Blu
etoo th®
Bl ue tooth ®
tech nology is a standard for short-
ra nge wi reless data transfer up toappr oximately
10 m.
Yo u can use Blue tooth®
to connect your mobile
phone tothe multimedia sy stem and use thefo l‐
lowing functions, forex ample:
R hands-free sy stem with access tothefo llow‐
ing options:
- con tacts (/ page 383)
- call lists (/ page 387)
- text messa ges
R Internet connection
R listening tomusic via Blue tooth®
audio
R transfer ring business cards (vCards) into the
ve hicle
Blue tooth ®
is a regis tere d trademark of Blue‐
toot h Special Interest Group (SIG) Inc.
% Internet connection via Blue tooth®
is not
av ailable in all countries. Ac
tivating/deactivating Blue tooth ®
Multimedia sy stem:
4 © 5
Settings 5
System
5 Wi-Fi & Bluetooth #
Toswitch on Blue tooth ®
:select Connect
via Bluetooth. #
Activate Bluetooth. #
Toswitch off Blue tooth ®
:select Settings . #
Deactivate Bluetooth. Wi
-Fi Wi
-Fi connection overview
Yo u can use Wi-Fi toestablish a connection with
a Wi -Fi network and toaccess the Internet or
ot her network devices.
The following connection options are available:
R Wi-Fi connection
The Wi-Fi connection toaWi -Fi-capable
device, e.g. the cus tomer's mobile phone or
a ta blet PC is es tablished.
R Multimedia sy stem as a Wi-Fi hotspot 320
MBUX multimedia sy stem
Page 324 of 621
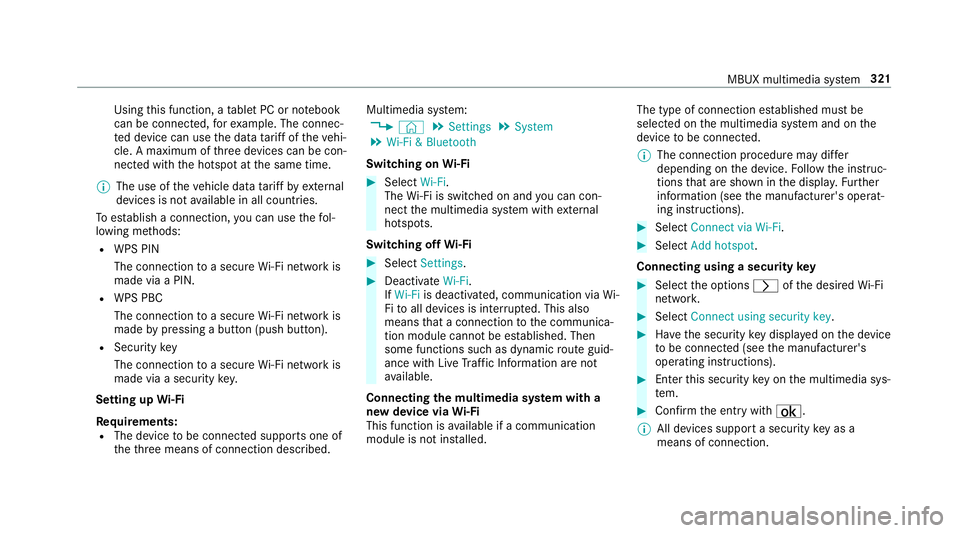
Using
this function, a tablet PC or no tebook
can be connec ted, forex ample. The connec‐
te d device can use the data tariff of theve hi‐
cle. A maximum of thre e devices can be con‐
nected with the hotspot at the same time.
% The use of theve hicle data tariff by extern al
devices is not available in all countries.
To estab lish a connection, you can use thefo l‐
lowing me thods:
R WPS PIN
The connection toa secure Wi-Fi network is
made via a PIN.
R WPS PBC
The connection toa secure Wi-Fi network is
made bypressing a button (push button).
R Security key
The connection toa secure Wi-Fi network is
made via a secu rity key.
Setting up Wi-Fi
Requ irements:
R The device tobe connec ted supports one of
th eth re e means of connection described. Multimedia sy
stem:
4 © 5
Settings 5
System
5 Wi-Fi & Bluetooth
Switching on Wi-Fi #
Select Wi-Fi.
The Wi-Fi is switched on and you can con‐
nect the multimedia sy stem with extern al
hotspots.
Swit ching off Wi-Fi #
Select Settings . #
Deactivate Wi-Fi.
If Wi-Fi is deactivated, communication via Wi-
Fi to all devices is inter rupte d. This also
means that a connection tothe communica‐
tion module cann otbe es tablished. Then
some functions such as dynamic route guid‐
ance with Live Traf fic Information are not
av ailable.
Connecting the multimedia sy stem with a
new device via Wi-Fi
This function is available if a communication
module is not ins talled. The type of connection es
tablished must be
selected on the multimedia sy stem and on the
device tobe connec ted.
% The connection procedure may dif fer
depending on the device. Follow the instruc‐
tions that are shown in the displa y.Fu rther
information (see the manufacturer's operat‐
ing instructions). #
Select Connect via Wi-Fi. #
Select Add hotspot.
Connecting using a security key #
Select the options rofthe desired Wi-Fi
networ k. #
Select Connect using security key . #
Have the security key displa yed on the device
to be connec ted (see the manufacturer's
operating instructions). #
Ente rth is security key on the multimedia sys‐
te m. #
Confirm the entry with¡.
% All devices support a security key as a
means of connection. MBUX multimedia sy
stem 321