key MERCEDES-BENZ AMG GT COUPE 2018 COMAND Manual
[x] Cancel search | Manufacturer: MERCEDES-BENZ, Model Year: 2018, Model line: AMG GT COUPE, Model: MERCEDES-BENZ AMG GT COUPE 2018Pages: 174, PDF Size: 4.14 MB
Page 6 of 174
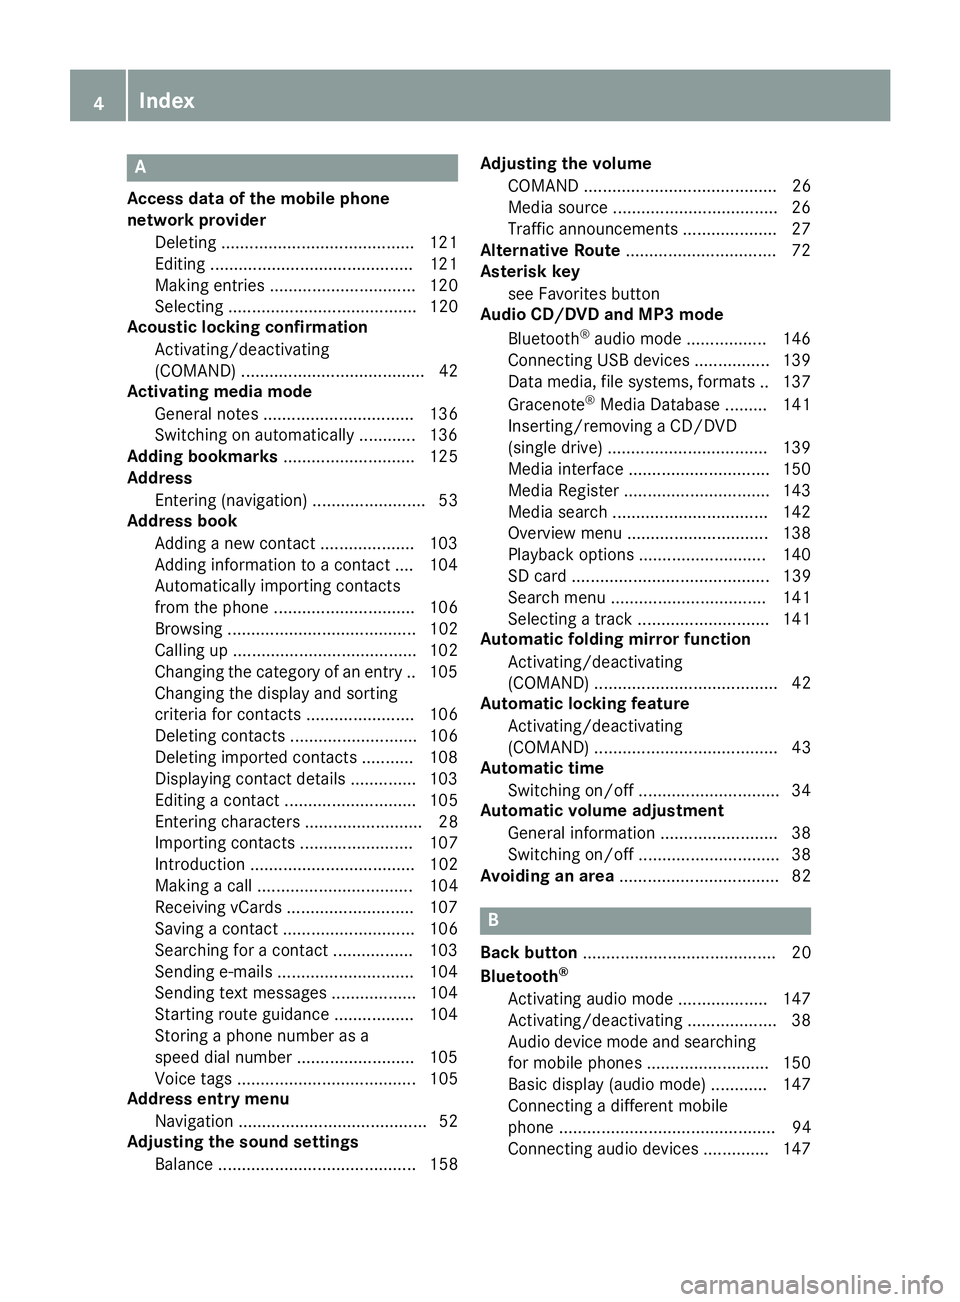
A
Access dataof the mobile phone
network provider
Deleting ........................................ .121
Editing ...........................................1 21
Making entries ............................... 120
Selecting ........................................ 120
Acoustic locking confirmation
Activating/deactivating
(COMAND) ....................................... 42
Activating media mode
General notes ................................ 136
Switching on automatically ............ 136
Adding bookmarks ............................ 125
Address
Entering (navigation) ........................ 53
Address book
Adding a new contact .................... 103
Adding information to a contact .... 104
Automatically importing contacts
from the phone .............................. 106
Browsing ........................................ 102
Calling up ....................................... 102
Changing the category of an entry .. 105
Changing the display and sorting
criteria for contacts ....................... 106
Deleting contacts ........................... 106
Deleting imported contacts ........... 108
Displaying contact details .............. 103
Editing a contact ............................ 105
Entering characters ......................... 28
Importing contacts ........................ 107
Introduction ................................... 102
Making a call ................................. 104
Receiving vCards ........................... 107
Saving a contact ............................ 106
Searching for a contact ................. 103
Sending e-mails .............................1 04
Sending text messages .................. 104
Starting route guidance ................. 104
Storing a phone number as a
speed dial number ......................... 105
Voice tags ...................................... 105
Address entry menu
Navigation ........................................ 52
Adjusting the sound settings
Balance .......................................... 158 Adjusting the volume
COMAND ......................................... 26
Media source ................................... 26
Traffic announcements .................... 27
Al ternati
ve Route
................................ 72
Asterisk key
see Favorites button
Audio CD/DVD and MP3 mode
Bluetooth
®audio mode ................. 146
Connecting USB devices ................ 139
Data media, file systems, formats .. 137
Gracenote
®Media Database ......... 141
Inserting/removing a CD/DVD
(single drive) .................................. 139
Media interface .............................. 150
Media Register ............................... 143
Media search ................................. 142
Overview menu .............................. 138
Playback options ........................... 140
SD card .......................................... 139
Search menu ................................. 141
Selecting a track ............................ 141
Automatic folding mirror function
Activating/deactivating
(COMAND) ....................................... 42
Automatic locking feature
Activating/deactivating
(COMAND) ....................................... 43
Automatic time
Switching on/off .............................. 34
Automatic volume adjustment
General information ......................... 38
Switching on/off .............................. 38
Avoiding an area .................................. 82
B
Back button......................................... 20
Bluetooth®
Activating audio mode ................... 147
Activating/deactivating ................... 38
Audio device mode and searching
for mobile phones .......................... 150
Basic display (audio mode) ............ 147
Connecting a different mobile
phone .............................................. 94
Connecting audio devices .............. 147
4Index
Page 8 of 174
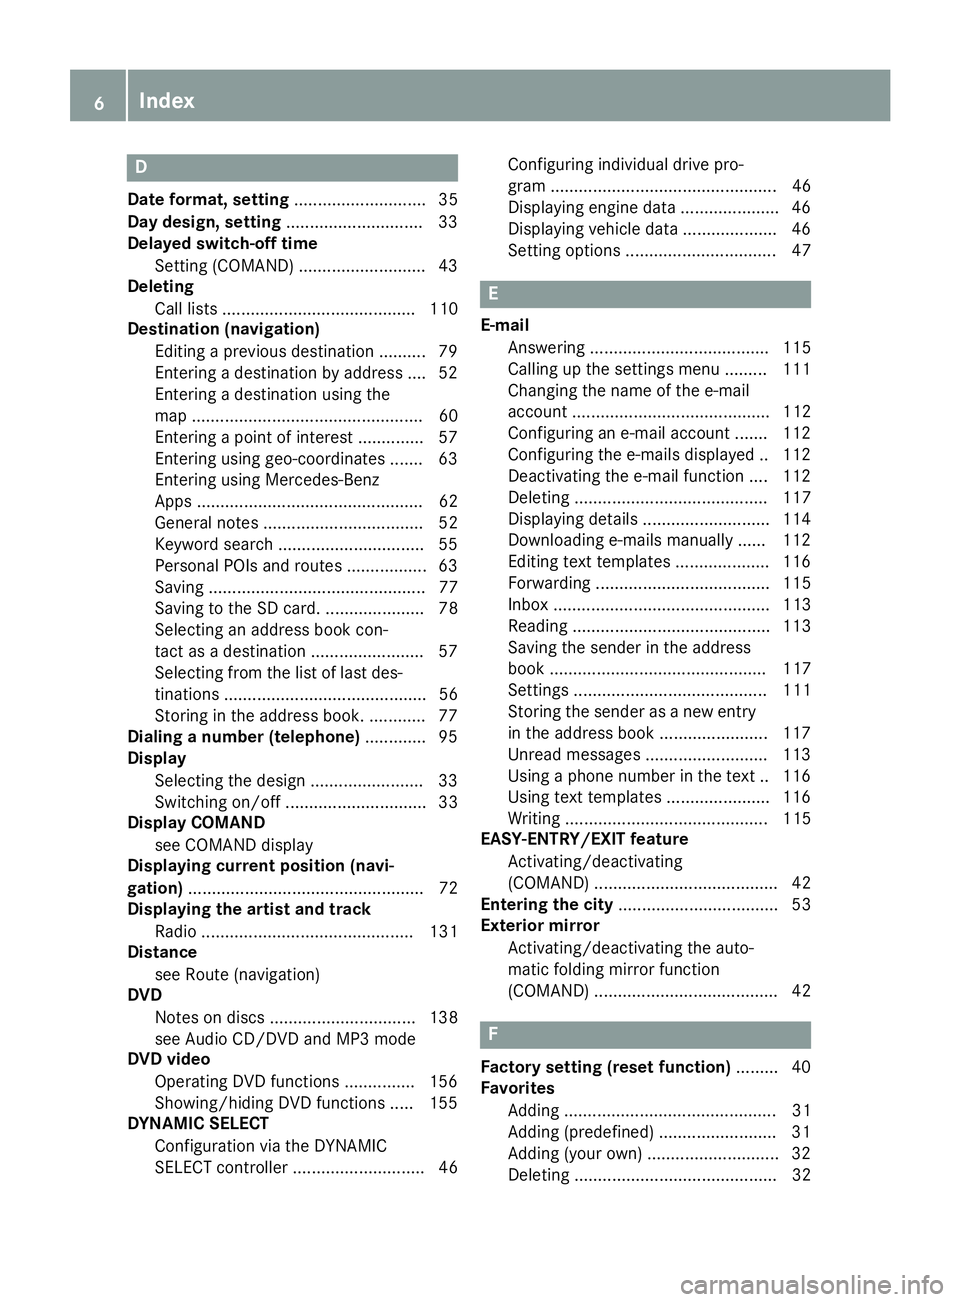
D
Dateformat, setting ............................ 35
Day design, setting .............................33
Delayed switch-off time
Settin g(COMAND) .......................... .43
Deleting
Call list s ......................................... 110
Destination (navigation)
Editing a previous destination .......... 79
Entering a destination by address .... 52
Entering a destination using the
map ................................................. 60
Entering a point of interest .............. 57
Entering using geo-coordinates ....... 63
Entering using Mercedes-Benz
Apps ................................................ 62
General notes .................................. 52
Keyword search ............................... 55
Personal POIs and routes ................. 63
Saving .............................................. 77
Saving to the SD card. ..................... 78
Selecting an address book con-
tact as a destination ........................ 57
Selecting from the list of last des-
tinations ........................................... 56
Storing in the address book. ............ 77
Dialing a number (telephone) ............. 95
Display
Selecting the design ........................ 33
Switching on/off .............................. 33
Display COMAND
see COMAND display
Displaying current position (navi-
gation) .................................................. 72
Displaying the artist and track
Radio ............................................. 131
Distance
see Route (navigation)
DVD
Notes on discs ............................... 138
see Audio CD/DVD and MP3 mode
DVD video
Operating DVD functions ............... 156
Showing/hiding DVD functions ..... 155
DYNAMIC SELECT
Configuration via the DYNAMIC
SELECT controller ............................ 46 Configuring individual drive pro-
gram ................................................ 46
Displaying engi
ne data ..................... 46
Displaying vehicle data .................... 46
Setting options ................................ 47
E
E-mail
Answering ...................................... 115
Calling up the settings menu ......... 111
Changing the name of the e-mail
account .......................................... 112
Configuring an e-mail account ....... 112
Configuring the e-mails displayed .. 112
Deactivating the e-mail function .... 112
Deleting ......................................... 117
Displaying details ........................... 114
Downloading e-mails manually ...... 112
Editing text templates .................... 116
Forwarding ..................................... 115
Inbox .............................................. 113
Reading .......................................... 113
Saving the sender in the address
book .............................................. 117
Settings ......................................... 111
Storing the sender as a new entryin the address book ....................... 117
Unread messages .......................... 113
Using a phone number in the text .. 116
Using text templates ...................... 116
Writing ........................................... 115
EASY-ENTRY/EXIT feature
Activating/deactivating
(COMAND) ....................................... 42
Entering the city .................................. 53
Exterior mirror
Activating/deactivating the auto-
matic folding mirror function
(COMAND) ....................................... 42
F
Factory setting (reset function) ......... 40
Favorites
Adding ............................................. 31
Adding (predefined) ......................... 31
Adding (your own) ............................ 32
Deleting ........................................... 32
6Index
Page 9 of 174
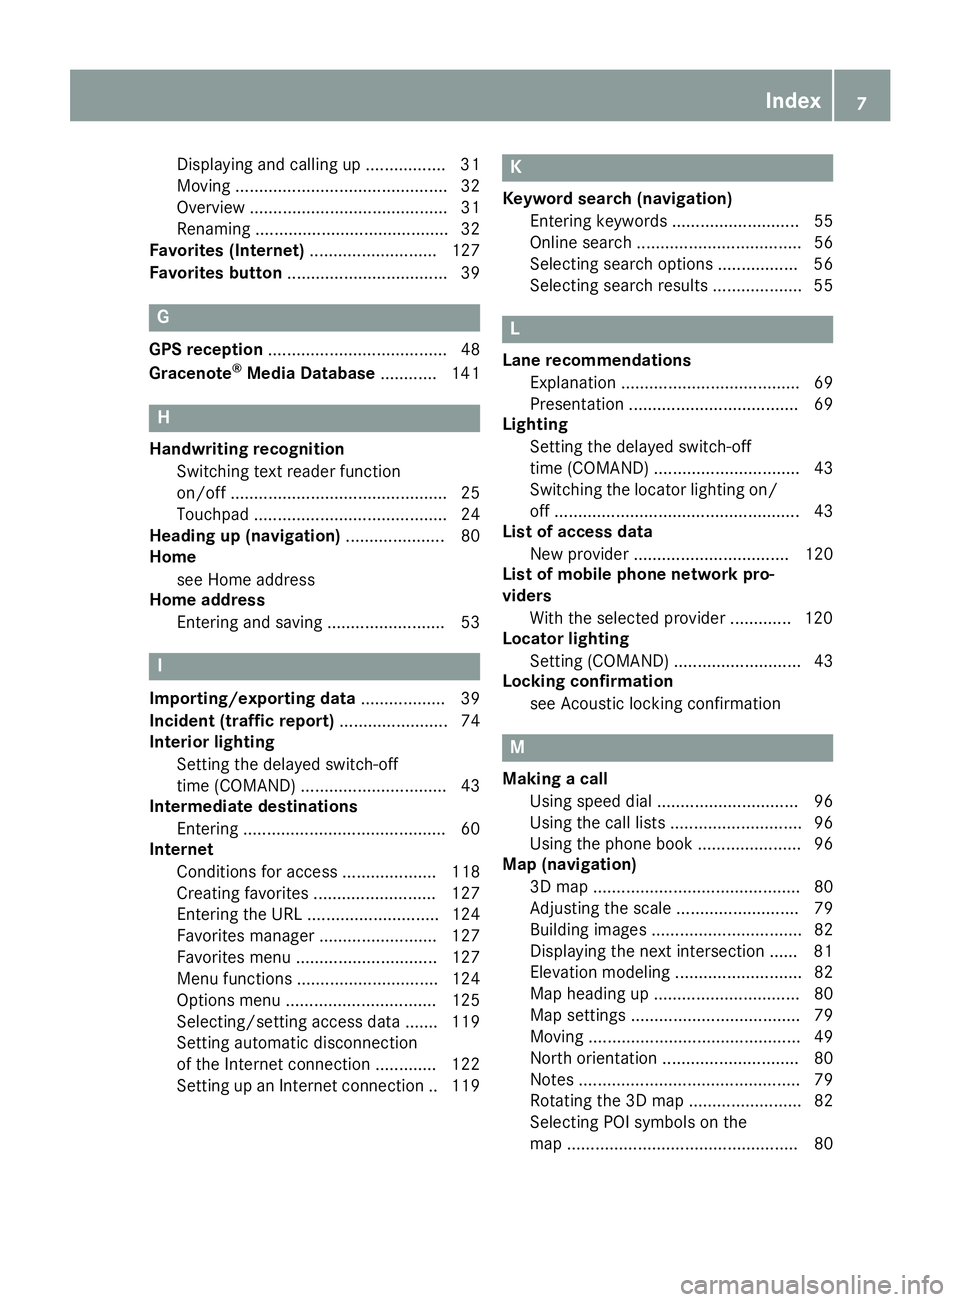
Displaying and calling up ................. 31
Moving ............................................. 32
Overview .......................................... 31
Renaming ......................................... 32
Favorites (Internet) ........................... 127
Favorites button .................................. 39
G
GPS reception...................................... 48
Gracenote®Media Database ............ 141
H
Handwriting recognition
Switching text reader function
on/off .............................................. 25
Touchpad ......................................... 24
Heading up (navigation) ..................... 80
Home
see Home address
Home address
Entering and saving ......................... 53
I
Importing/exporting data .................. 39
Incident (traffic report) ....................... 74
Interior lighting
Setting the delayed switch-off
time (COMAND) ............................... 43
Intermediate destinations
Entering ........................................... 60
Internet
Conditions for access .................... 118
Creating favorites .......................... 127
Entering the URL ............................ 124
Favorites manager ......................... 127
Favorites menu .............................. 127
Menu functions .............................. 124
Options menu ................................ 125
Selecting/setting access data ....... 119
Setting automatic disconnection
of the Internet connection ............. 122
Setting up an Internet connection .. 119
K
Keyword search (navigation)Entering keywords ........................... 55
Online search ................................... 56
Selecting search options ................. 56
Selecting search results ................... 55
L
Lane recommendationsExplanation ...................................... 69
Presentation .................................... 69
Lighting
Setting the delayed switch-off
time (COMAND) ............................... 43
Switching the locator lighting on/
off .................................................... 43
List of access data
New provider ................................. 120
List of mobile phone network pro-
viders
With the selected provider ............. 120
Locator lighting
Setting (COMAND) ........................... 43
Locking confirmation
see Acoustic locking confirmation
M
Making a callUsing speed dial .............................. 96
Using the call lists ............................ 96
Using the phone book ...................... 96
Map (navigation)
3D map ............................................ 80
Adjusting the scale .......................... 79
Building images ................................ 82
Displaying the next intersection ...... 81
Elevation modeling ........................... 82
Map heading up ............................... 80
Map settings .................................... 79
Moving ............................................. 49
North orientation ............................. 80
Notes ............................................... 79
Rotating the 3D map ........................ 82
Selecting POI symbols on the
map ................................................. 80
Index7
Page 10 of 174
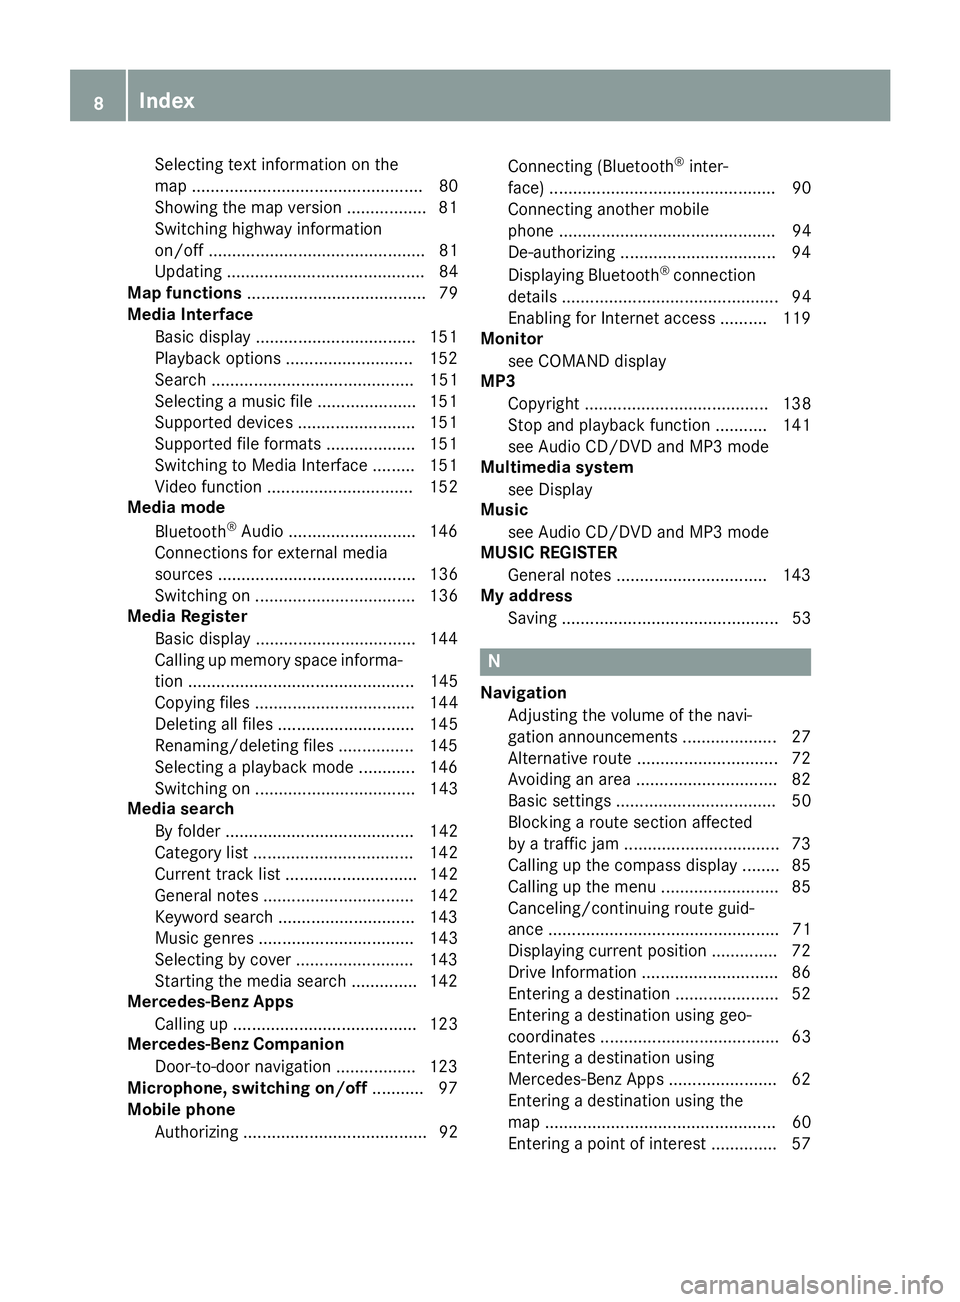
Selecting text information on the
map ................................................. 80
Showing the map version ................. 81
Switching highway information
on/off .............................................. 81
Updating .......................................... 84
Map functions ...................................... 79
Media Interface
Basic display .................................. 151
Playback options ........................... 152
Search ........................................... 151
Selecting a music file ..................... 151
Supported devices ......................... 151
Supported file formats ................... 151
Switching to Media Interface ......... 151
Video function ............................... 152
Media mode
Bluetooth
®Audio ........................... 146
Connections for external media
sources .......................................... 136
Switching on .................................. 136
Media Register
Basic display .................................. 144
Calling up memory space informa-
tion ................................................ 145
Copying files .................................. 144
Deleting all files ............................. 145
Renaming/deleting files ................ 145
Selecting a playback mode ............ 146
Switching on .................................. 143
Media search
By folder ........................................ 142
Category list .................................. 142
Current track list ............................ 142
General notes ................................ 142
Keyword search ............................. 143
Music genres ................................. 143
Selecting by cover ......................... 143
Starting the media search .............. 142
Mercedes-Benz Apps
Calling up ....................................... 123
Mercedes-Benz Companion
Door-to-door navigation ................. 123
Microphone, switching on/off ........... 97
Mobile phone
Authorizing ....................................... 92 Connecting (Bluetooth
®inter-
face) ................................................ 90
Connecting another mobile
phone .............................................. 94
De-authorizing ................................. 94
Displaying Bluetooth
®connection
details .............................................. 94
Enabling for Internet access .......... 119
Monitor
see COMAND display
MP3
Copyright ....................................... 138
Stop and playback function ........... 141
see Audio CD/DVD and MP3 mo
de
Multimedia system
see Display
Music
see Audio CD/DVD and MP3 mode
MUSIC REGISTER
General notes ................................ 143
My address
Saving .............................................. 53
N
NavigationAdjusting the volume of the navi-
gation announcements .................... 27
Alternative route .............................. 72
Avoiding an area .............................. 82
Basic settings .................................. 50
Blocking a route section affected
by a traffic jam ................................. 73
Calling up the compass display ........ 85
Calling up the menu ......................... 85
Canceling/continuing route guid-
ance ................................................. 71
Displaying current position .............. 72
Drive Information ............................. 86
Entering a destination ...................... 52
Entering a destination using geo-
coordinates ...................................... 63
Entering a destination using
Mercedes-Benz Apps ....................... 62
Entering a destination using the
map ................................................. 60
Entering a point of interest .............. 57
8Index
Page 15 of 174
USB audio modeSelecting a track ............................ 141
USB devices
Connecting to the Media Inter-
face .............................................. .139
see Audio CD/DVD and MP3 mode
V
Vehicle
Data acquisition ............................... 15
Vehicle settings
Calling up ......................................... 42
Video
see Video DVD
Video DVD
Control option ................................ 153
DVD menu ..................................... 155
DVD's control menu ......................1 55
Full-screen mode ........................... 154
Function restrictions ......................1 53
Menu options ................................. 154
Notes on discs ............................... 153
Overview ........................................ 154
Overview of DVD functions ............ 155
Pause function ............................... 156
Picture settings .............................. 154
Playing conditions .......................... 153
Safety notes .................................. 152
Selecting a scene/chapter ............ 156
Stop function ................................. 156
Switching to ................................... 154
Video menu ................................... 155
Voice Control System
Settings ...........................................3 6
see Voice Control System
Volume, adjusting
Navigation messages ....................... 27
W
Weather map (SIRIUS)Activating/deactivating display
levels ............................................. 166
Calling up ....................................... 165
Legend ...........................................1 68
Moving ...........................................1 65
Showing/hiding the menu ............. 165
Storm overview .............................. 169 Storm watch areas ......................... 168
Time stamp ....................................1
68
Weather memory (SIRIUS)
Selecting an area ........................... 165
Storing an area .............................. 165
Web browser
Entering a web address ................. 124
WiFi
Activating ......................................... 36
Changing the name of the SSID ....... 37
Connecting the device ..................... 36
Connecting via security key ............. 37
Connecting via WPS PBC ................. 37
Connecting via WPS PIN .................. 36
Index13
Page 20 of 174
Overview
Components
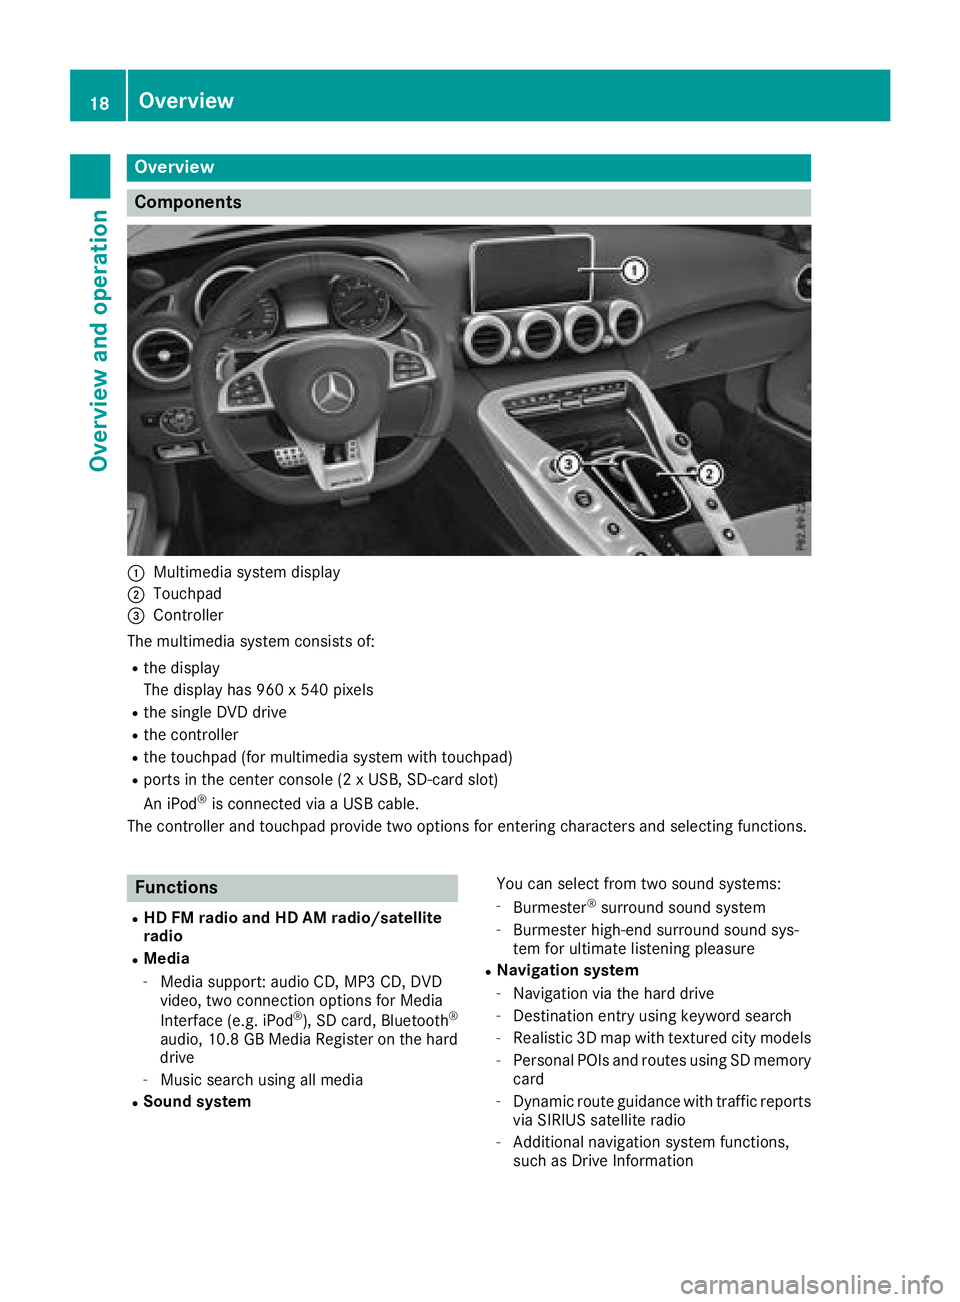
:Multimedia system display
;Touchpad
=Controller
The multimedia system consists of:
Rthe display
The display has 960 x 540 pixels
Rthe single DVD drive
Rthe controller
Rthe touchpad (for multimedia system with touchpad)
Rports in the center console (2 x USB, SD-card slot)
An iPod®is connected via a USB cable.
The controller and touchpad provide two options for entering characters and selecting functions.
Functions
RHD FM radio and HD AM radio/satellite
radio
RMedia
-Media support: audio CD, MP3 CD, DVD
video, two connection options for Media
Interface (e.g. iPod
®), SD card, Bluetooth®
audio, 10.8 GB Media Register on the hard
drive
-Music search using all media
RSound system You can select from two sound systems:
-Burmester®surround sound system
-Burmester high-end surround sound sys-
tem for ultimate listening pleasure
RNavigation system
-Navigation via the hard drive
-Destination entry using keyword search
-Realistic 3D map with textured city models
-Personal POIs and routes using SD memory
card
-Dynamic route guidance with traffic reports
via SIRIUS satellite radio
-Additional navigation system functions,
such as Drive Information
18Overview
Overview and operation
Page 31 of 174
XTo select a character:turn and press the
controller.
The character selected in character bar ?is
entered into text message input line =.
XTo delete a character:to switch to the bot-
tom line of the character bar: slide 6the
controller.
XTo select: turn and press the control-
ler.
The character last entered is deleted.
XTo delete a whole entry: to switch to the
bottom line of the character bar: slide 6the
controller.
XTo select: turn the controller.
XPress and hold the controller until the entire
entry is deleted.
XTo change the country setting of the char-
acter bar: to switch to the bottom line of the
character bar: slide 6the controller.
XTo select B, turn and press the controller.
The available languages are displayed.
XTurn and press the controller.
Functions in the character bar
RÄ
Switches between digits and symbols
R*
Switches the character bar to uppercase/
lowercase letters
RB
Changes the country setting for the character
bar
R
Deletes a character/an entry
R45
Selects the input line
R23
Moves the cursor within the input line
R¬
Confirms an entry
R&
Cancels input
RS
Inserts a paragraph
Ry
Uses a text template
Character entry (navigation)
Character entry options
You can enter characters using the controller or
the touchpad. With the controller, you enter
characters using a character bar. To enter using the touchpad, draw the character in the entry
field. The multimedia system supports this using
a handwriting recognition function.
Entering characters using the charac-
ter bar
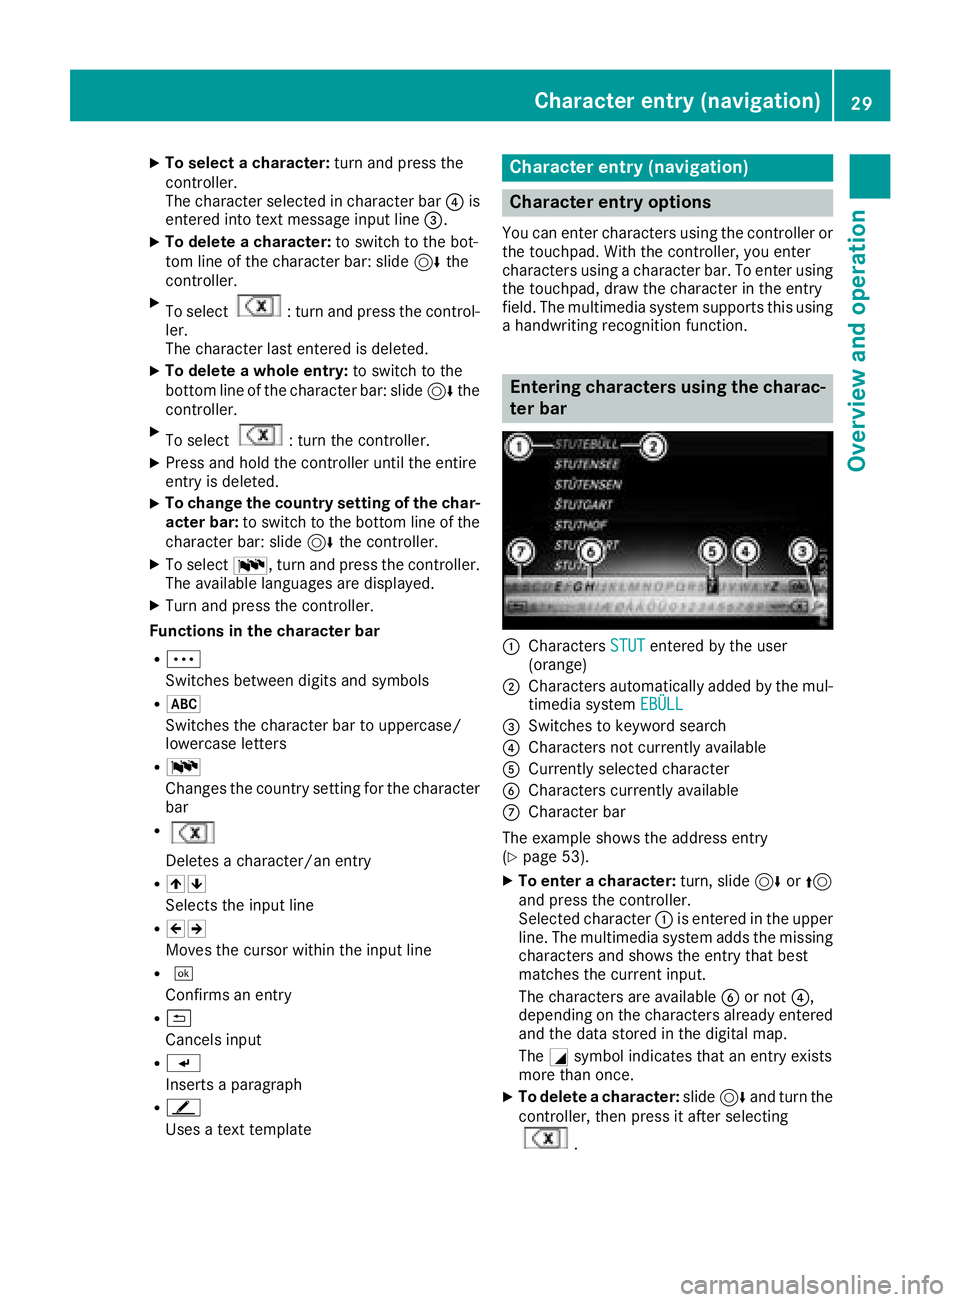
:Characters STUTentered by the user
(orange)
;Characters automatically added by the mul-
timedia system EBÜLL
=Switches to keyword search
?Characters not currently available
ACurrently selected character
BCharacters currently available
CCharacter bar
The example shows the address entry
(
Ypage 53).
XTo enter a character: turn, slide6or5
and press the controller.
Selected character :is entered in the upper
line. The multimedia system adds the missing
characters and shows the entry that best
matches the current input.
The characters are available Bor not ?,
depending on the characters already entered and the data stored in the digital map.
The Gsymbol indicates that an entry exists
more than once.
XTo delete a character: slide6and turn the
controller, then press it after selecting
.
Character entry (navigation)29
Overview and operation
Page 32 of 174
XTo delete an entire entry:slide6and turn
the controller, then after selecting
press and hold down the controller until the
entire entry is deleted.
XTo switch to keyword search: slide6and
turn the controller, then press it after select-
ing =(
Ypage 55).
XTo confirm an entry: slide6and turn the
controller, then press it after selecting ¬.
or
XSlide 5the controller repeatedly until the
character bar disappears.
The location selection list appears. The selec-
ted entry is highlighted.
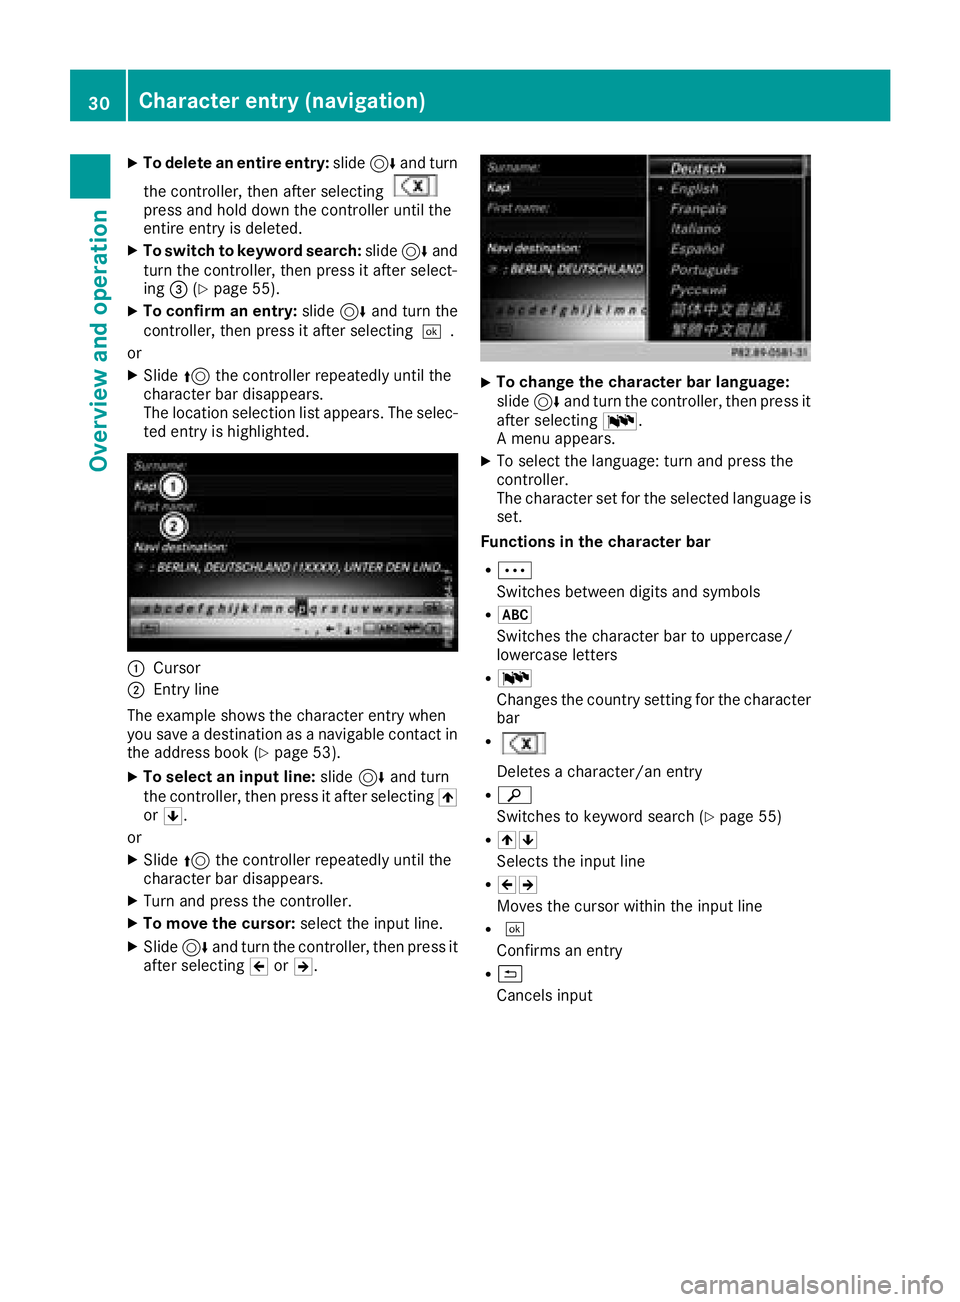
:Cursor
;Entry line
The example shows the character entry when
you save a destination as a navigable contact in
the address book (
Ypage 53).
XTo select an input line: slide6and turn
the controller, then press it after selecting 4
or 5.
or
XSlide 5the controller repeatedly until the
character bar disappears.
XTurn and press the controller.
XTo move the cursor: select the input line.
XSlide6and turn the controller, then press it
after selecting 2or3.
XTo change the character bar language:
slide 6and turn the controller, then press it
after selecting B.
A menu appears.
XTo select the language: turn and press the
controller.
The character set for the selected language is set.
Functions in the character bar
RÄ
Switches between digits and symbols
R*
Switches the character bar to uppercase/
lowercase letters
RB
Changes the country setting for the character
bar
R
Deletes a character/an entry
Rè
Switches to keyword search (
Ypage 55)
R45
Selects the input line
R23
Moves the cursor within the input line
R¬
Confirms an entry
R&
Cancels input
30Character entry (navigation)
Overview and operation
Page 39 of 174
vehicle is displayed with the SSIDMB WLANXXXXX.
The device to be connected generates a PIN.
XAlso enter this PIN into the multimedia sys-
tem.
Connecting the device by pressing a
button (push button)
Requirement: for this type of connection, the
device to be connected must support "Connect
via push button".
XTo select Vehiclefrom the main function bar:
turn and press the controller.
XTo switch to the menu bar: slide 6the con-
troller.
XSelect System Settings.
XSelectWiFi.
The Wi-Fi menu appears.
XSelect Connect via WPS PBC.
XSelect the vehicle from the device to be con-
nected and ConnectviaWPSPBC. The vehi-
cle is displayed with the SSID MB WLAN
XXXXX.
XSelectContinuein the multimedia system.
Connecting the device via the security
key
XTo select Vehiclefrom the main function bar:
turn and press the controller.
XTo switch to the menu bar: slide 6the con-
troller.
XSelect System Settings.
XSelectWiFi.
The Wi-Fi menu appears.
XSelect Connect Using Security Key.
XSelect the vehicle from the device to be con-
nected. The vehicle is displayed with the SSID
MB WLAN XXXXX
.
XEnter the security key that appears on the
multimedia system display into the device to
be connected.
XConfirm the entry.
Generating a new security key
XTo select Vehiclefrom the main function bar:
turn and press the controller.
XTo switch to the menu bar: slide 6the con-
troller.
XSelect System Settings.
XSelectWiFi.
The Wi-Fi menu appears.
XSelect Generate Security Key.
XSelectRegenerate.
A new security key is generated.
XTo save the security key: turn the controller
and select Save.
The Wi-Fi menu appears. The new security key
will now be displayed and verified when a Wi-
Fi connection is established. The connection
must be re-established with the newly cre-
ated security key.
iDevice connections established using the
previous security key will no longer work after
the security key is changed. You have to
reconnect these devices (
Ypage 36).
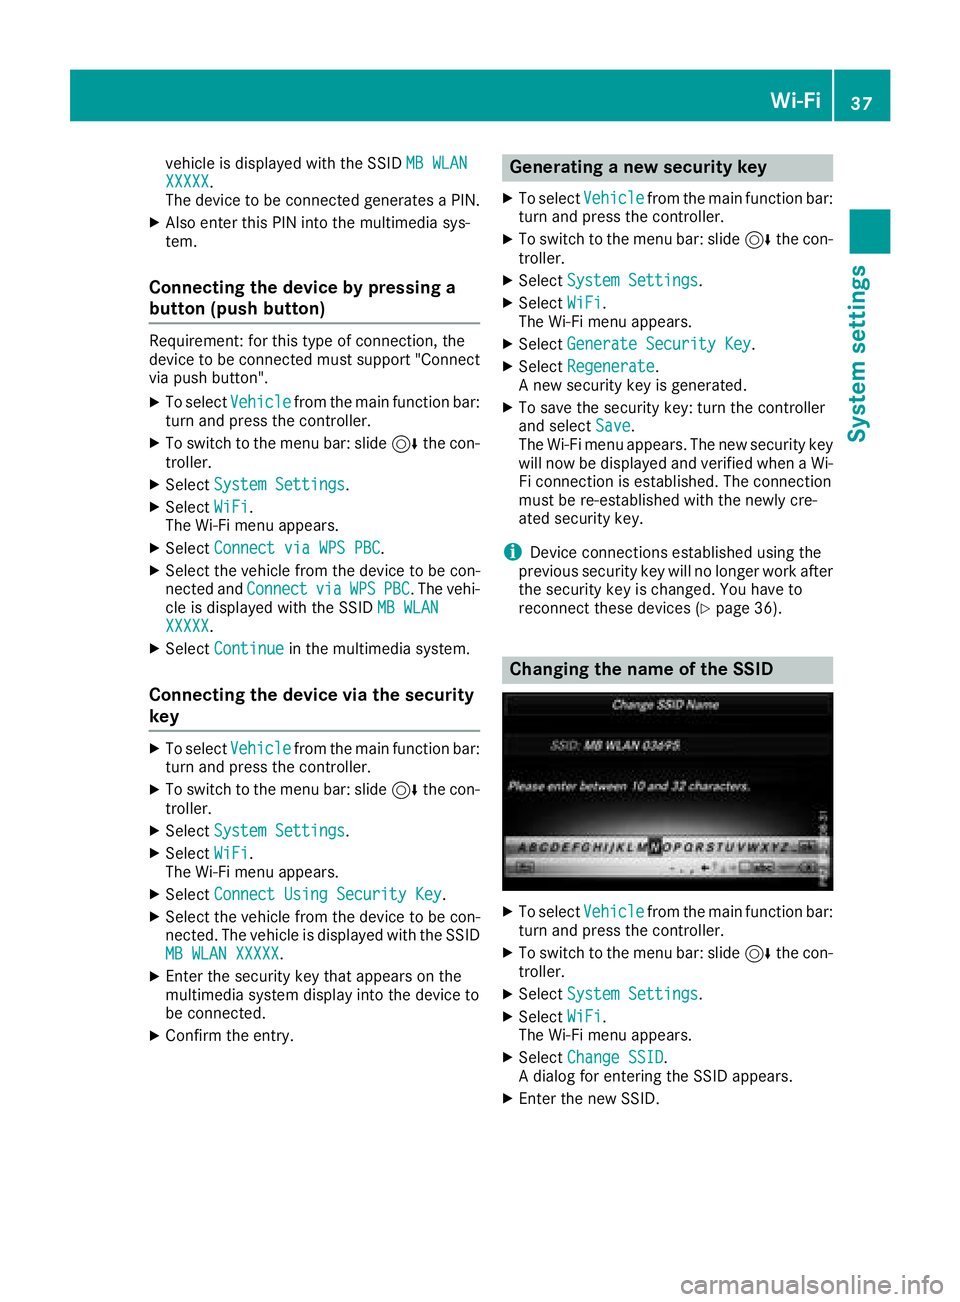
Changing the name of the SSID
XTo select Vehiclefrom the main function bar:
turn and press the controller.
XTo switch to the menu bar: slide 6the con-
troller.
XSelect System Settings.
XSelectWiFi.
The Wi-Fi menu appears.
XSelect Change SSID.
A dialog for entering the SSID appears.
XEnter the new SSID.
Wi-Fi37
System settings
Z
Page 40 of 174
XSelect¬.
XPress the controller.
From now on, when establishing a connec-
tion, the vehicle will be shown with the new
SSID both on the device to be connected and
in theConnect
UsingSecurityKeymenu.
iDevice connections established using the
previous SSID will no longer work after the
SSID is changed. You have to reconnect these
devices (
Ypage 36).
Bluetooth®settings
General information about Blue-
tooth®
Bluetooth®-capable devices, e. g. mobile
phones, need to comply with a certain profile in
order to be connected to the multimedia sys-
tem. Every Bluetooth
®device has its own spe-
cific Bluetooth®name.
Bluetooth®technology is a standard for short-
range wireless data transmissions up to approx-
imately 10 m.
Yo u can use Bluetooth
®to connect your mobile
phone to the multimedia system, for example:
Ruse the hands-free system
Restablish an Internet connection
Rlisten to music using Bluetooth®Audio
Rexchange vCards
Bluetooth®is a registered trademark of Blue-
tooth Special Interest Group (SIG) Inc.
Activating/deactivating Bluetooth®
X
Press Vehiclein the main function bar.
The vehicle menu is displayed.
XTo switch to the menu bar: slide 6the con-
troller.
XTo select System Settings: turn and press
the controller.
A menu appears.
XTo activate Oor deactivate ªActivateBluetooth: turn and press the controller.
Automatic volume adjustment
General information
With the AutomaticVolumeAdjustmentfunc-
tion, the volumes of different audio sources are
adjusted for each other, to compensate for rel-
ative differences in volume.
For example: changing from a relatively quiet to
a relatively loud radio station. The volume for
both stations sounds the same. Manual read-
justment of the volume is not required.
The Automatic Volume Adjustment
function
is deactivated ªwhen the vehicle leaves the
factory. Using this function, the dynamic range
of the music is slightly reduced. To make the
most of the audiophile sound quality, it is rec-
ommended to leave it off.
Switching the automatic volume
adjustment on/off
XPress Vehiclein the main function bar.
The vehicle menu is displayed.
XTo switch to the menu bar: slide 6the con-
troller.
XTo select System Settings: turn and press
the controller.
A menu appears.
XTo select Automatic Volume Adjustment:
turn and press the controller.
Switch the Automatic Volume Adjustment
function on Oor off ª.
Setting the system language
General information
This function allows you to determine the lan-
guage for the menu displays and the navigation
messages. The selected language affects the
characters available for entry.
iThe navigation announcements are not
available in all languages. If a language is not
available, the navigation announcements will
be in English.
iWhen you set the system language, the lan-
guage of the Voice Control System will
change accordingly. If it is not supported by
the Voice Control System, English will be
selected.
38Setting the system language
System settings