battery MERCEDES-BENZ AMG GT ROADSTER 2018 Owner's Manual
[x] Cancel search | Manufacturer: MERCEDES-BENZ, Model Year: 2018, Model line: AMG GT ROADSTER, Model: MERCEDES-BENZ AMG GT ROADSTER 2018Pages: 294, PDF Size: 4.8 MB
Page 5 of 294
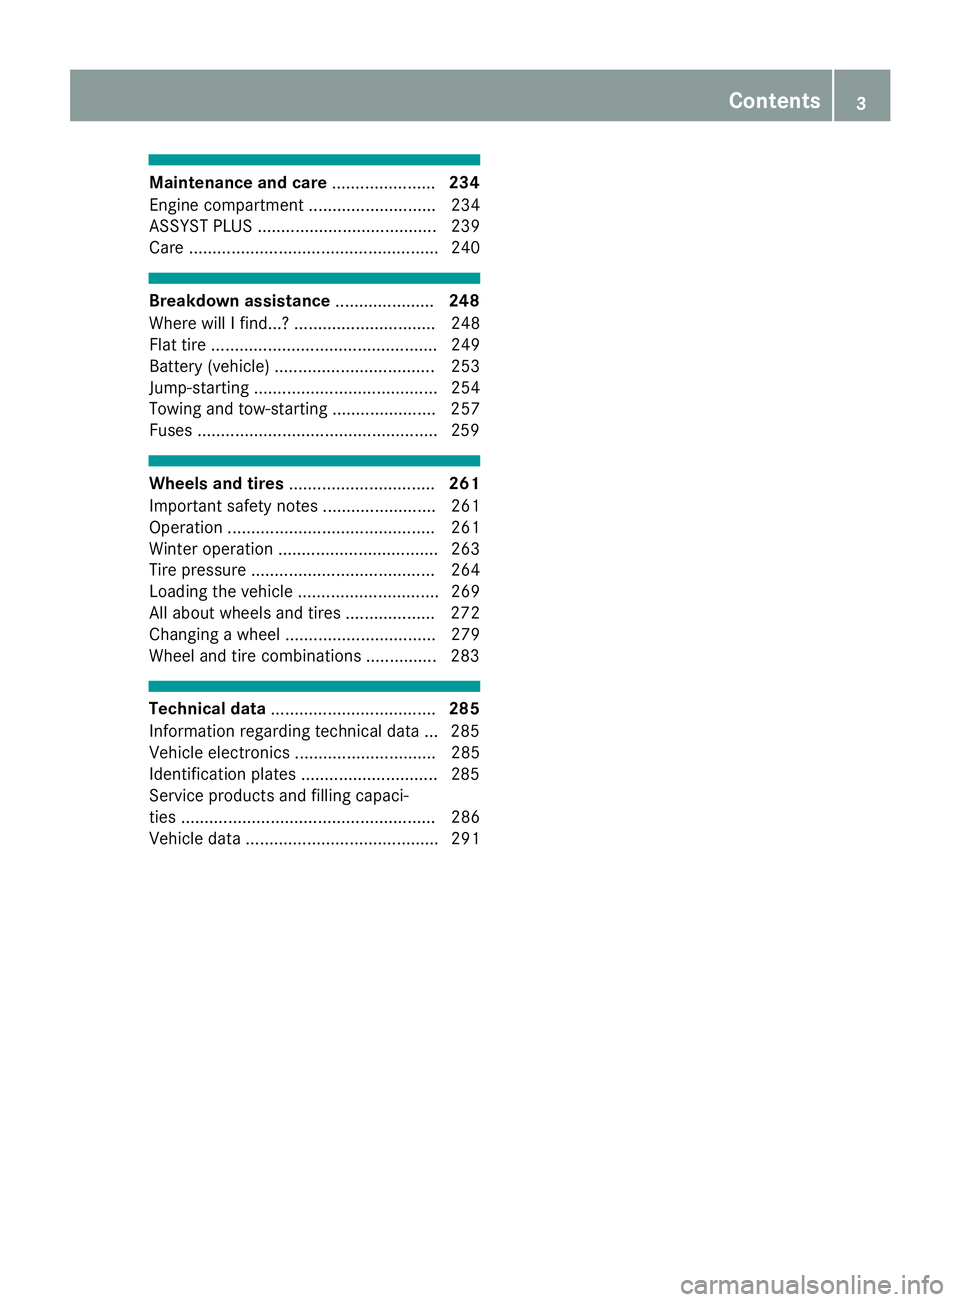
Maintenance and care......................234
Engine compartment ........................... 234
ASSYST PLUS ...................................... 239
Care ..................................................... 240
Breakdown assistance .....................248
Where will I find...? .............................. 248
Flat tire ................................................ 249
Battery (vehicle) .................................. 253
Jump-starting ....................................... 254
Towing and tow-starting ...................... 257
Fuses ...................................................2 59
Wheels and tires............................... 261
Important safety notes ........................ 261
Operation ............................................ 261
Winter operation .................................. 263
Tire pressure ....................................... 264
Loading the vehicle .............................. 269
All about wheels and tires ................... 272
Changing a wheel ................................ 279
Wheel and tire combinations ...............2 83
Technical data................................... 285
Information regarding technical data ... 285
Vehicle electronics .............................. 285
Identification plates .............................2 85
Service products and filling capaci-
ties ...................................................... 286
Vehicle data ......................................... 291
Contents3
Page 7 of 294
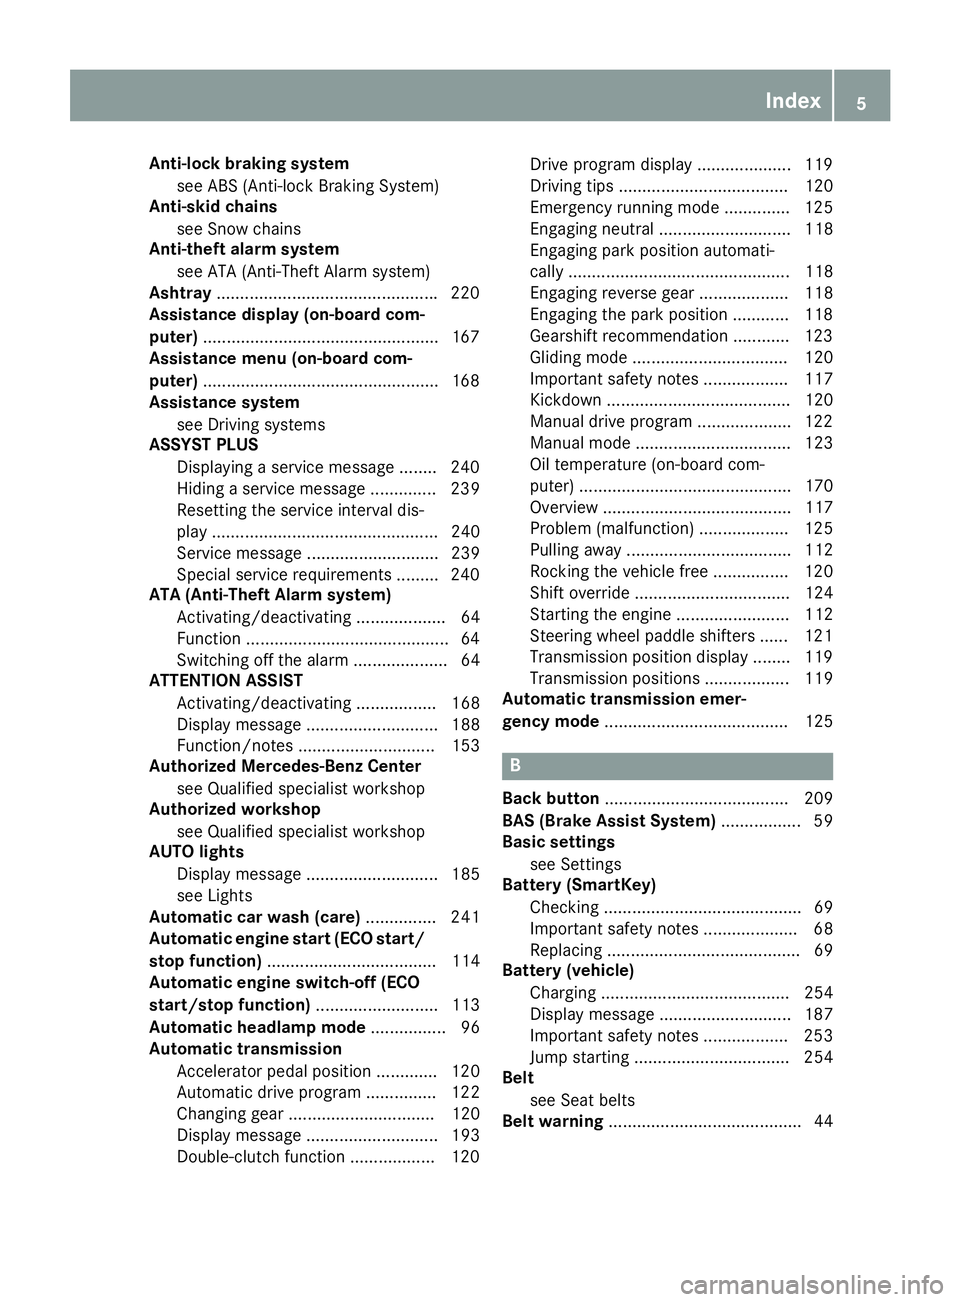
Anti-lock braking systemsee ABS (Anti-lock Braking System)
Anti-skid chains
see Snow chains
Anti-theft ala rmsystem
see ATA (Anti-Theft Alarm system)
Asht ray.............................................. .220
Assistance display (on-board com-
puter) ..................................................1 67
Assistance menu (on-board com-
puter) ..................................................1 68
Assistance system
see Driving systems
ASSYST PLUS
Displaying a service message ........2 40
Hiding a service message .............. 239
Resetting the service interval dis-
play ................................................ 240
Service message ............................ 239
Special service requirements ......... 240
ATA (Anti-Theft Alarm system)
Activating/deactivating ................... 64
Function ...........................................6 4
Switching off the alarm .................... 64
ATTENTION ASSIST
Activating/deactivating ................. 168
Display message ............................ 188
Function/notes ............................. 153
Authorized Mercedes-Benz Center
see Qualified specialist workshop
Authorized workshop
see Qualified specialist workshop
AUTO lights
Display message ............................ 185
see Lights
Automatic car wash (care) ............... 241
Automatic engine start (ECO start/
stop function) .................................... 114
Automatic engine switch-off (ECO
start/stop function) .......................... 113
Automatic headlamp mode ................ 96
Automatic transmission
Accelerator pedal position ............. 120
Automatic drive program ............... 122
Changing gear ............................... 120
Display message ............................ 193
Double-clutch function .................. 120Dri
ve program display .................... 119
Driving tips .................................... 120
Emergency running mode .............. 125
Engaging neutral ............................ 118
Engaging park position automati-
cally ............................................... 118
Engaging reverse gear ................... 118
Engaging the park position ............ 118
Gearshift recommendation ............ 123
Gliding mode ................................. 120
Important safety notes .................. 117
Kickdown ....................................... 120
Manual drive program .................... 122
Manual mode ................................. 123
Oil temperature (on-board com-
puter) ............................................. 170
Overview ........................................ 117
Problem (malfunction) ................... 125
Pulling away ................................... 112
Rocking the vehicle free ................ 120
Shift override ................................. 124
Starting the engine ........................ 112
Steering wheel paddle shifters ...... 121
Transmission position display ........ 119
Transmission positions .................. 119
Automatic transmission emer-
gency mode ....................................... 125
B
Back button ....................................... 209
BAS (Brake Assist System) ................. 59
Basic settings
see Settings
Battery (SmartKey)
Checking .......................................... 69
Important safety notes .................... 68
Replacing ......................................... 69
Battery (vehicle)
Charging ........................................ 254
Display message ............................ 187
Important safety notes .................. 253
Jump starting ................................. 254
Belt
see Seat belts
Belt warning ......................................... 44
Index5
Page 19 of 294
Important safety guidelines .............42
Introduction .....................................4 1
Releasin g ......................................... 44
Warning lamp ................................. 198
Warning lamp (function) ................... 44
Seat function
see Seat
Seats
Adjusting (electrically) ..................... 86
Adjusting (manually) ........................ 85
Adjusting (Performance Seat) .......... 87
Adjusting lumbar support ................ 86
Adjusting the head restraint ............ 86
Calling up a stored setting (mem-
ory function) .................................... 95
Cleaning the cover ......................... 246
Important safety notes .................... 84
Seat heating problem ...................... 88
Seat ventilation problem .................. 88
Storing settings (memory func-
tion) ................................................. 94
Switching AIRSCARF on/off ............ 89
Switching seat heating on/off ......... 87
Switching seat ventilation on/off .... 88
Selecting a gear
see Automatic transmission
Selector lever
Cleaning ......................................... 246
Positions ........................................ 117
Sensors (cleaning instructions) ....... 245
Service Center
see Qualified specialist workshop
Service menu (on-board com-
puter) .................................................. 168
Service message
see ASSYST PLUS
Service products
Brake fluid ..................................... 289
Coolant (engine) ............................ 290
Engine oil ....................................... 289
Fuel ................................................ 286
Important safety notes .................. 286
Refrigerant (air-conditioning sys-
tem) ............................................... 291
Washer fluid ................................... 290
Setting the date/time format
see also Digital Operator's Man-
ual .................................................. 208 Setting the language
see also Digital Operator's Man-
ual .................................................. 208
Setting the time
see also Digital Operator's Man-
ual .................................................. 208
Settings
Factory (on-board compu
ter) ......... 170
On-board computer ....................... 168
SETUP (on-board computer,
Mercedes-AMG vehicles) .................. 171
Side impact air bag ............................. 47
Side marker lamp (display mes-
sage) ................................................... 185
Side windows
Cleaning ......................................... 243
Convenience closing feature ............ 78
Convenience opening feature .......... 78
Important safety information ........... 76
Opening/closing .............................. 77
Problem (malfunction) ..................... 79
Resetting ......................................... 78
Reversing feature ............................. 77
SIRIUS services
see also Digital Operator's Man-
ual .................................................. 208
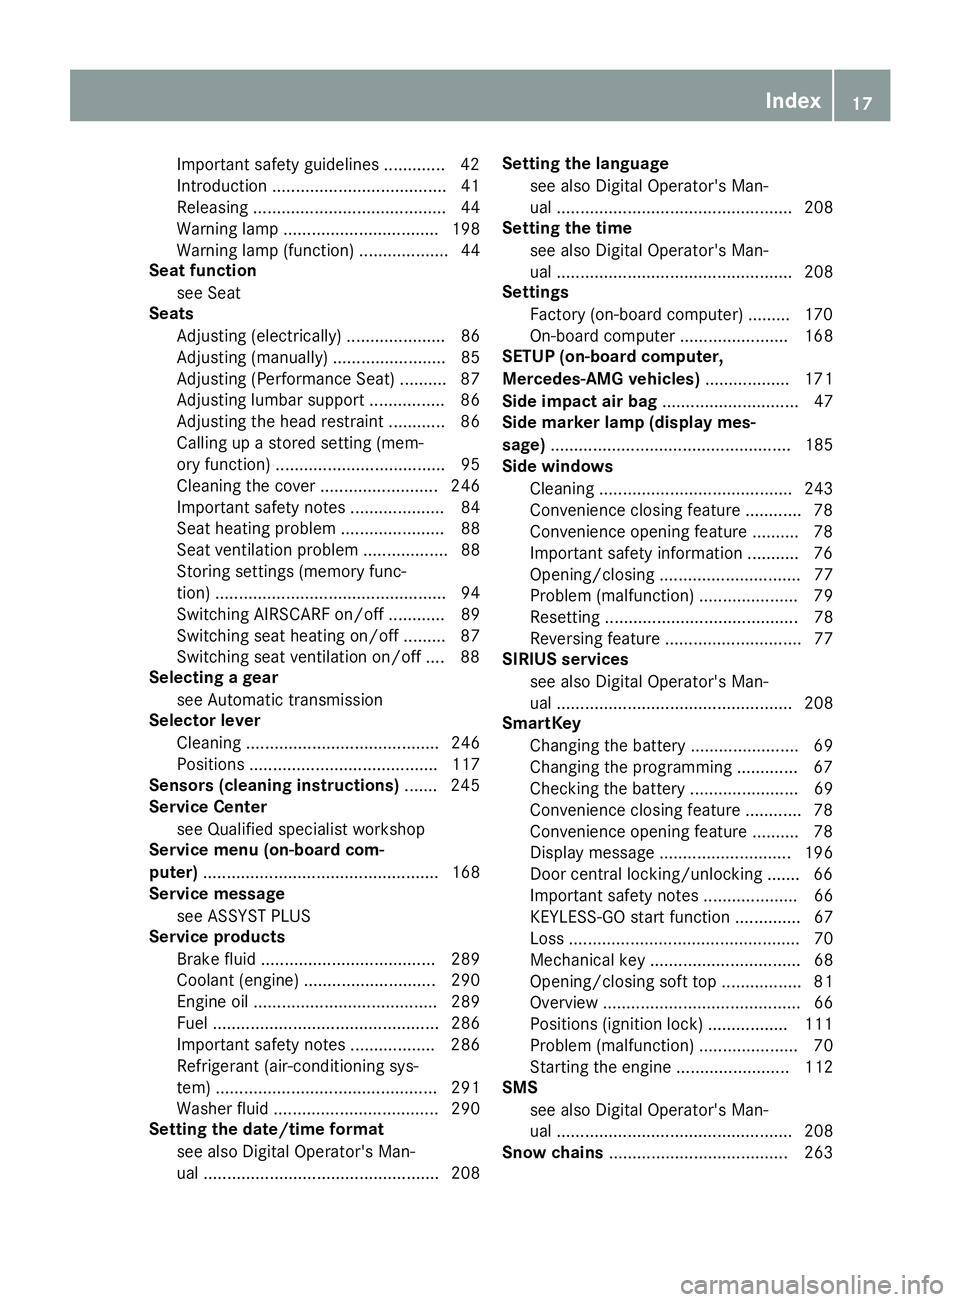
SmartKey
Changing the battery ....................... 69
Changing the programming ............. 67
Checking the battery ....................... 69
Convenience closing feature ............ 78
Convenience opening feature .......... 78
Display message ............................ 196
Door central locking/unlocking ....... 66
Important safety notes .................... 66
KEYLESS-GO start function .............. 67
Loss ................................................. 70
Mechanical key ................................ 68
Opening/closing soft top ................. 81
Overview .......................................... 66
Positions (ignition lock) ................. 111
Problem (malfunction) ..................... 70
Starting the engine ........................ 112
SMS
see also Digital Operator's Man-
ual .................................................. 208
Snow chains ...................................... 263
Index17
Page 23 of 294
Two-way radioFrequencies ................................... 285
Installation ..................................... 285
Transmission output (maximum) .... 285
Type identification plate
see Vehicle identification plate
U
UnlockingEmergency unlocking ....................... 73
From inside the vehicle (central
unlocking button) ............................. 72
USB devices
Connecting to the Media Inter-
face ...............................................2 16
V
Vanity mirror (in the sun visor)........220
Vehicle
Correct use ...................................... 28
Data acquisition ............................... 29
Display message ............................ 193
Electronics ..................................... 285
Equipment ....................................... 25
Individual settings .......................... 168
Limited Warranty .............................2 9
Loading .......................................... 269
Locking (in an emergency) ............... 73
Locking (SmartKey) .......................... 66
Lowering ........................................ 283
Maintenance .................................... 26
Operating safety .............................. 27
Parking .......................................... 127
Parking for a long period ................ 130
Pulling away ................................... 112
Raising ........................................... 280
Reporting problems ......................... 28
Securing from rolling away ............ 280
Towing away .................................. 257
Transporting .................................. 259
Unlocking (in an emergency) ........... 73
Unlocking (SmartKey) ...................... 66
Vehicle data ................................... 291
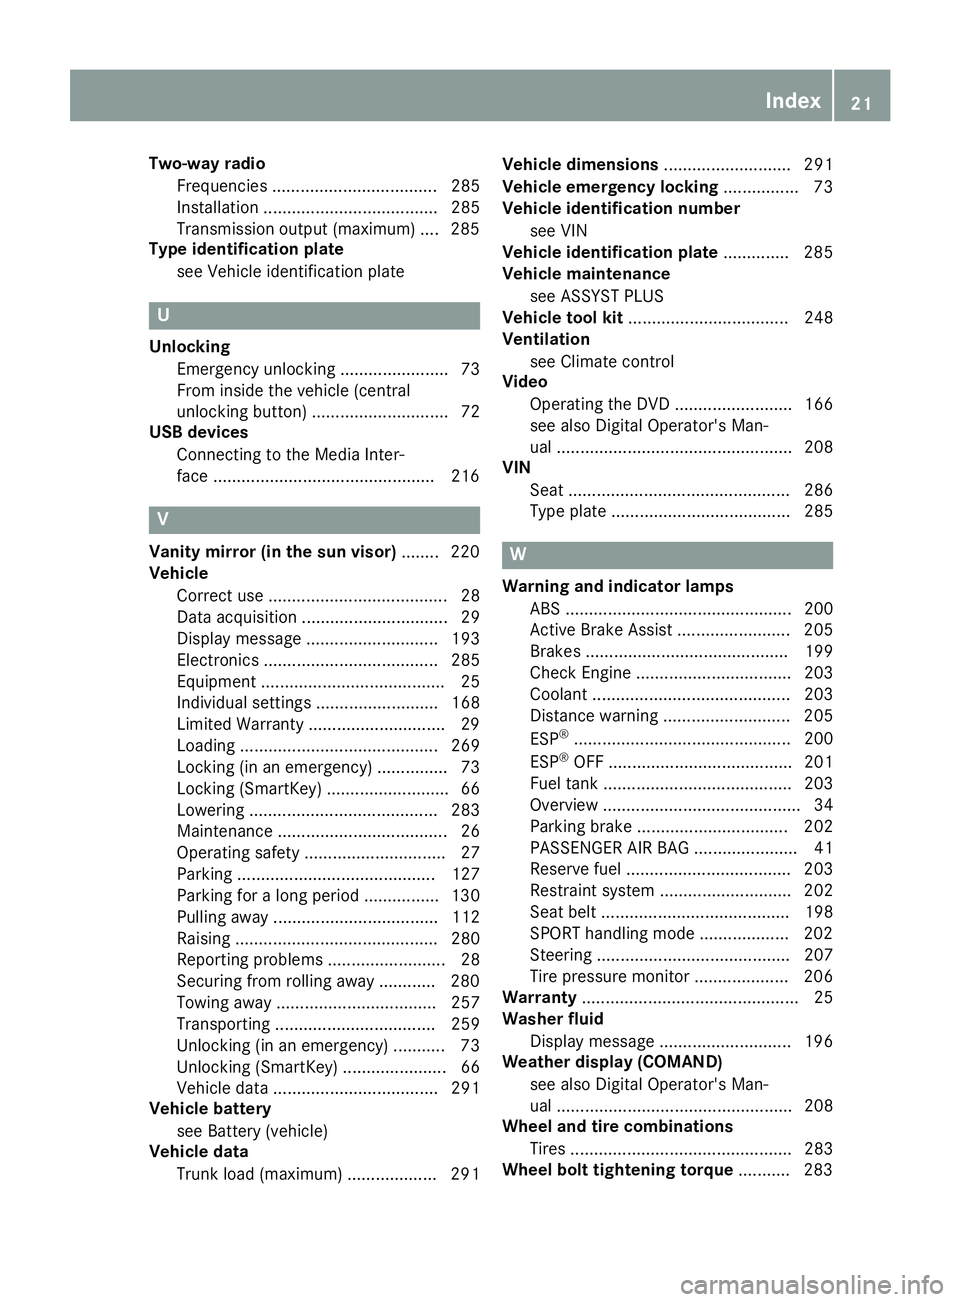
Vehicle battery
see Battery (vehicle)
Vehicle data
Trunk load (maximum) ................... 291 Vehicle dimensions
........................... 291
Vehicle emergency locking ................ 73
Vehicle identification number
see VIN
Vehicle identification plate .............. 285
Vehicle maintenance
see ASSYST PLUS
Vehicle tool kit .................................. 248
Ventilation
see Climate control
Video
Operating the DVD ......................... 166
see also Digital Operator's Man-
ual .................................................. 208
VIN
Seat ............................................... 286
Type plate ...................................... 285W
Warning and indicator lampsABS ................................................ 200
Active Brake Assist ........................ 205
Brakes ........................................... 199
Check Engine ................................. 203
Coolant .......................................... 203
Distance warning ........................... 205
ESP
®.............................................. 200
ESP®OFF ....................................... 201
Fuel tank ........................................ 203
Overview .......................................... 34
Parking brake ................................ 202
PASSENGER AIR BAG ...................... 41
Reserve fuel ................................... 203
Restraint system ............................ 202
Seat belt ........................................ 198
SPORT handling mode ................... 202
Steering ......................................... 207
Tire pressure monitor .................... 206
Warranty .............................................. 25
Washer fluid
Display message ............................ 196
Weather display (COMAND)
see also Digital Operator's Man-
ual .................................................. 208
Wheel and tire combinations
Tires ............................................... 283
Wheel bolt tightening torque ........... 283
Index21
Page 30 of 294
Diagnostics connection
The diagnosticsconnection is only intended fo r
th econnection of diagnostic equipmen tat a
qualified specialis tworkshop .
GWARNING
If you connec tequipmen tto adiagnostic s
connection in th evehicle, it may affec tth e
operation of vehicle systems .As aresult ,th e
operatin gsafet yof th evehicle could be affec -
ted. There is aris kof an accident.
Only connec tequipmen tto adiagnostic scon-
nection in th evehicle, whic his approved fo r
your vehicle by Mercedes-Benz.
GWARNING
Objects in th edriver's footwell can restric tth e
peda ltrave lor obstruct adepressed pedal.
The operatin gand road safet yof th evehicle is
jeopardized. There is aris kof an accident.
Mak esur ethat all objects in th evehicle are
stowed correctly, and that they canno tente r
th edriver's footwell. Install th efloormat s
securely and as specifie din order to ensur e
sufficien tclearanc efo rth epedals. Do no tuse
loose floormat sand do no tplac efloormat son
to pof on eanother.
!If th eengin eis switched of fand equipmen t
on th ediagnostic sconnection is used ,th e
starter battery may discharge.
Connectin gequipmen tto th ediagnostic scon-
nection can lead to emission smonitorin ginfor-
mation bein greset ,fo rexample. Thi smay lead
to th evehicle failin gto mee tth erequirements of
th enext emission stest durin gth emain inspec-
tion .
Qualified specialist workshop
An authorized Mercedes-Ben zCente ris aquali-
fie dspecialis tworkshop .It has th enecessary
specialis tknowledge ,tools and qualification sto
correctl ycarry out th ewor krequire don your
vehicle. Thi sis especially th ecas efo rwor krel -
evant to safety. Always hav
eth efollowin gwor kcarrie dout at an
authorized Mercedes-Ben zCenter:
Rwor krelevant to safet y
Rserviceand maintenance wor k
Rrepair work
Ralterations, installation wor kand modifica-
tion s
Rworkon electronic component s
Correct use
If you remov eany warnin gstickers ,you or oth-
ers could fail to recogniz ecertain dangers.
Leave warnin gstickers in position .
Observ eth efollowin ginformation when drivin g
your vehicle:
Rth esafet ynote sin this manual
Rth evehicle technical dat a
Rtraffic rulesand regulation s
Rlaws and safetystandard spertainin gto moto r
vehicles
Problem swit hyou rvehicle
If you should experience aproblem wit hyour
vehicle, particularly on ethat you believe may
affec tit s saf eoperation ,we urg eyou to contact
an authorized Mercedes-Ben zCente rimmedi-
ately to hav eth eproblem diagnosed and recti -
fied. If th eproblem is no tresolved to your sat -
isfaction ,please discus sth eproblem again wit h
th eauthorized Mercedes-Ben zCente ror ,if nec-
essary, contact us at on eof th efollowin g
addresses.
In th eUSA
Customer Assistanc eCente r
Mercedes-Ben zUSA, LL C
On eMercedes Drive
Montvale, NJ 07645-0350
In Canad a
Customer Relation sDepartmen t
Mercedes-Ben zCanada, Inc.
98 Vanderhoo fAvenue
Toronto ,Ontario M4 G4C9
Reporting safet ydefect s
USAonly:
28Operating safety
Introduction
Page 31 of 294
The following text is published as required of
manufacturers under Title 49, Code of U.S. Fed-
eral Regulations, Part 575 pursuant to the
"National Traffic and Motor Vehicle Safety Act of
1966".
If you believe that your vehicle has a defect
which could cause a crash or could cause injury
or death, you should immediately inform the
National Highway Traffic Safety Administration
(NHTSA) in addition to notifying Mercedes-Benz USA, LLC.
If NHTSA receives similar complaints, it may
open an investigation, and if it finds that a safety
defect exists in a group of vehicles, it may order
a recall and remedy campaign. However, NHTSA
cannot become involved in individual problems
between you, your dealer, or Mercedes-Benz
USA, LLC.
To contact NHTSA, you may call the Vehicle
Safety Hotline toll-free at 1-888-327-4236
(TTY: 1-800-424-9153); go tohttp://
www.safercar.gov; or write to: Administrator,
NHTSA, 400 Seventh Street, SW., Washington,
DC 20590.
You can also obtain other information about
motor vehicle safety at:
http://www.safercar.gov
Limited Warranty
!
Observe the notes in this Operator's Manual
regarding the correct operation of your vehi-
cle and possible damage to the vehicle. Dam-
age to the vehicle which is caused by violation
of these notes is not covered by the
Mercedes-Benz implied warranty or the new
or used-vehicle warranty.
QR codes for the rescue card
The QR codes are secured in the fuel filler flap
and on the opposite side on the B-pillar. In the
event of an accident, rescue services can use
the QR code to quickly find the appropriate res-
cue card for your vehicle. The current rescue
card contains the most important information
about your vehicle in a compact form, e.g. the
routing of the electric cables.
You can find more information under
www.mercedes-benz.de/qr-code.
Data stored in the vehicle
Information from electronic control
units
There are electronic control units installed in
your vehicle. Some of these are necessary for
your vehicle to operate safely, while some offer
support during driving (driver assistance sys-
tems). In addition, your vehicle offers comfort
and entertainment functions that are also made
possible by electronic control units.
Electronic control units contain data storage
systems that can temporarily or permanently
save technical information concerning the vehi-
cle's condition, component stress and mainte-
nance requirements as well as technical events
and malfunctions.
This information generally documents the con-
dition of a component, a module, a system or the
surroundings, for example:
Roperating states of system components (e.g.
fill levels, battery status, tire pressure)
Rstatus messages concerning the vehicle or its
individual components (e.g. wheel rpm/
speed, deceleration, lateral acceleration, indi-
cation of whether seat belts are fastened)
Rmalfunctions and defects in important system
components (e.g. lights, brakes)
Rinformation about events leading to vehicle
damage
Rsystem responses in special driving situations
(e.g. air bag deployment, intervention of sta-
bility control systems)
Rambient conditions (e.g. temperature, rain
sensor)
In addition to performing the actual control unit function, these data are used by manufacturers
to detect and rectify malfunctions and to opti-
mize vehicle functions. Most of these data are
volatile and processed only in the vehicle itself.
Only a small part of the data is stored in event or malfunction memories.
When you use services, the technical data from
the vehicle can be read out by service network
employees or third parties. Services can include
repair services, maintenance processes, war-
ranty cases and quality assurance measures.
The data is read out via the legally prescribed
diagnostics connection in the vehicle. The rele-
vant offices in the service network or third par-
ties collect, process and use the data. These
data document the vehicle's technical states,
Data stored in the vehicle29
Introduction
Z
Page 66 of 294
The spinning of the wheels results in a cut for
better traction on loose surfaces.
Rtraction control is still activated
RAdaptive Brake Assist is unavailable
Active Brake Assist is also not activated if you
brake firmly with assistance from ESP
®.
RPRE-SAFE®is unavailable
PRE-SAFE®is also not activated if you brake
firmly with assistance from ESP®.
RESP®still provides support when you brake
firmly
EBD (electronic brake force distribu-
tion)
General information
EBD monitors and controls the brake pressure
on the rear wheels to improve driving stability
while braking.
Important safety notes
iObserve the "Important safety notes" sec-
tion (Ypage 58).
GWARNING
If EBD is malfunctioning, the rear wheels can
lock, e.g. under full braking. This increases the
risk of skidding and an accident.
You should therefore adapt your driving style
to the different handling characteristics. Have
the brake system checked at a qualified spe-
cialist workshop.
Observe information regarding indicator and
warning lamps (
Ypage 200) as well as display
messages (Ypage 177).
ADAPTIVE BRAKE
ADAPTIVE BRAKE enhances braking safety and
offers increased braking comfort. In addition to
the braking function, ADAPTIVE BRAKE also fea-
tures the hill start assist function (
Ypage 112).
Protection against theft
Immobilizer
The immobilizer prevents your vehicle from
being started without the correct SmartKey.
XTo activate with KEYLESS-GO start-func-
tion or KEYLESS-GO: switch the ignition off
and open the driver's door.
XTo activate with the SmartKey: remove the
SmartKey from the ignition lock.
XTo deactivate: switch on the ignition.
When leaving the vehicle, always take the
SmartKey with you and lock the vehicle. Anyone
can start the engine if a valid SmartKey has been
left inside the vehicle.
iThe immobilizer is always deactivated when
you start the engine.
In the event that the engine cannot be started
(yet the vehicle's battery is charged), the sys-
tem is not operational. Contact an authorized
Mercedes-Benz Center or call
1-800-FOR-MERCedes (in the USA) or
1-800-387-0100 (in Canada).
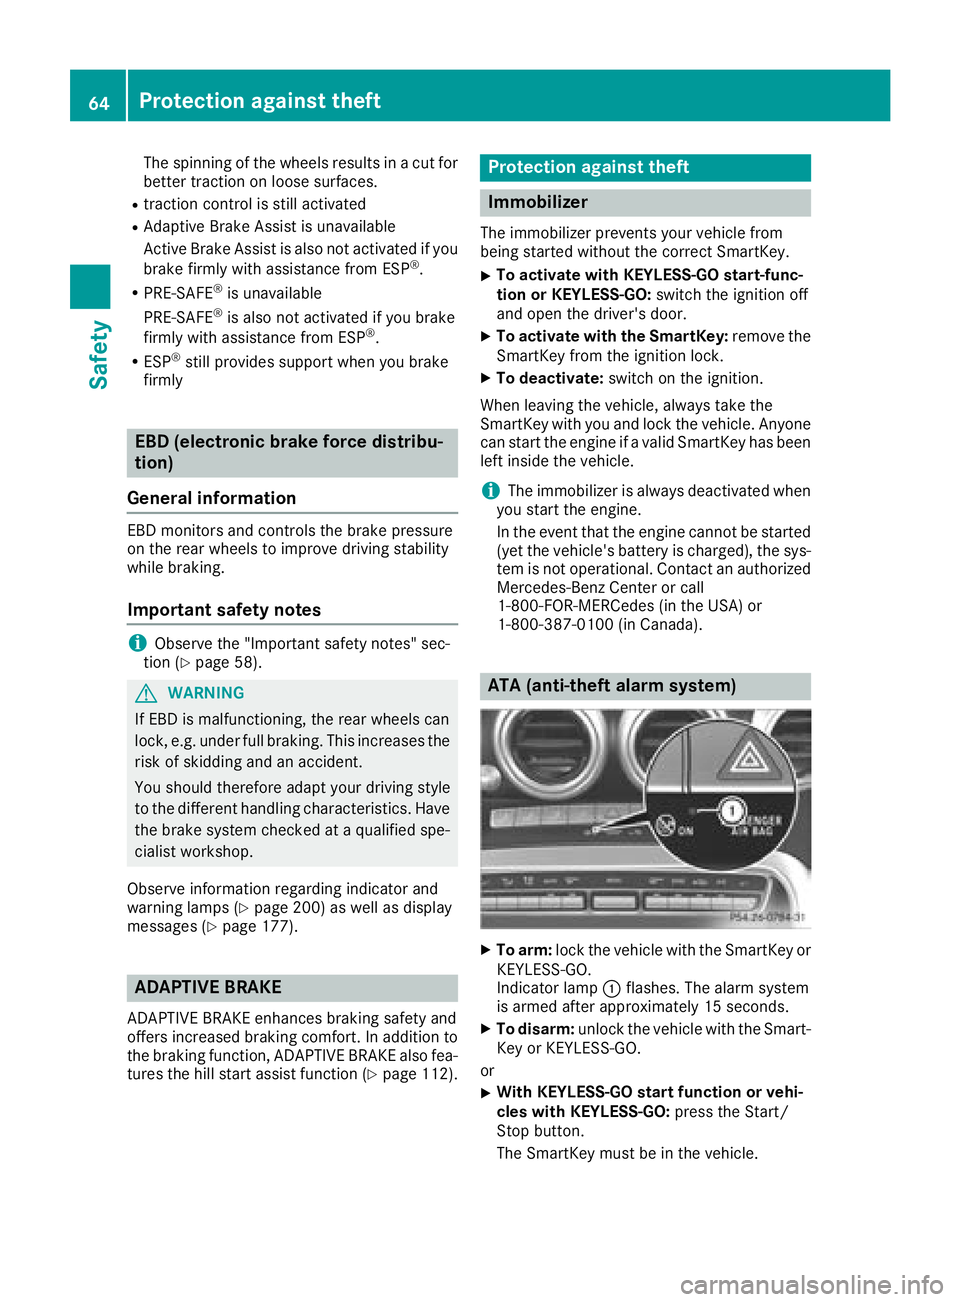
ATA (anti-theft alarm system)
XTo arm: lock the vehicle with the SmartKey or
KEYLESS-GO.
Indicator lamp :flashes. The alarm system
is armed after approximately 15 seconds.
XTo disarm: unlock the vehicle with the Smart-
Key or KEYLESS-GO.
or
XWith KEYLESS-GO start function or vehi-
cles with KEYLESS-GO: press the Start/
Stop button.
The SmartKey must be in the vehicle.
64Protection against theft
Safety
Page 69 of 294
Information on activating and deactivating the
locator lighting can be found in the Digital Oper-
ator's Manual.
XTo open the trunk lid:press and hold the
F button until the trunk lid opens.
KEYLESS-GO
General notes
Bear in mind that the engine can be started by
any of the vehicle occupants if there is a Smart-
Key in the vehicle (
Ypage 112).
Locking/unlocking centrally
You can start, lock or unlock the vehicle using
KEYLESS-GO. To do this, you only need carry the
SmartKey with you. You can combine the func-
tions of KEYLESS-GO with those of a conven-
tional SmartKey. Unlock the vehicle by using
KEYLESS-GO, for instance, and lock it using the
& button on the SmartKey.
The driver's door and the door at which the han-
dle is used, must both be closed. The SmartKey
must be outside the vehicle. When locking or
unlocking with KEYLESS-GO, the distance
between the SmartKey and the corresponding
door handle must not be greater than 3 ft (1 m).
A check which periodically establishes a radio
connection between the vehicle and the Smart-
Key determines whether a valid SmartKey is in
the vehicle. This occurs, for example:
Rwhen starting the engine
Rwhile driving
Rwhen using the remote trunk lid opening sen- sor
Rwhen the external door handles are touched
Rduring convenience closing
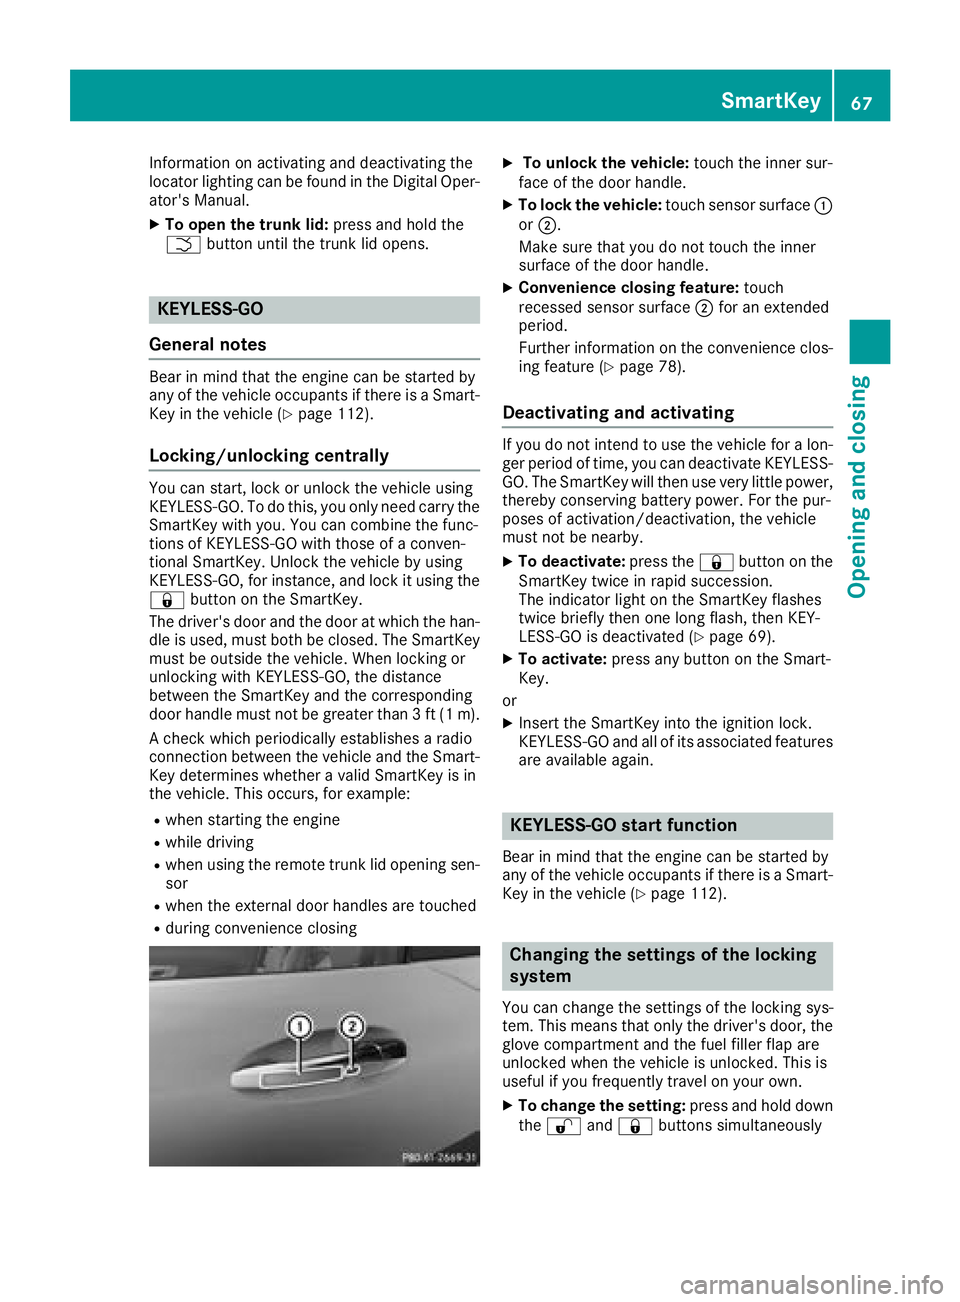
XTo unlock the vehicle: touch the inner sur-
face of the door handle.
XTo lock the vehicle: touch sensor surface :
or ;.
Make sure that you do not touch the inner
surface of the door handle.
XConvenience closing feature: touch
recessed sensor surface ;for an extended
period.
Further information on the convenience clos-
ing feature (
Ypage 78).
Deactivating and activating
If you do not intend to use the vehicle for a lon-
ger period of time, you can deactivate KEYLESS-
GO. The SmartKey will then use very little power,
thereby conserving battery power. For the pur-
poses of activation/deactivation, the vehicle
must not be nearby.
XTo deactivate: press the&button on the
SmartKey twice in rapid succession.
The indicator light on the SmartKey flashes
twice briefly then one long flash, then KEY-
LESS-GO is deactivated (
Ypage 69).
XTo activate: press any button on the Smart-
Key.
or
XInsert the SmartKey into the ignition lock.
KEYLESS-GO and all of its associated features
are available again.
KEYLESS-GO start function
Bear in mind that the engine can be started by
any of the vehicle occupants if there is a Smart-
Key in the vehicle (
Ypage 112).
Changing the settings of the locking
system
You can change the settings of the locking sys-
tem. This means that only the driver's door, the
glove compartment and the fuel filler flap are
unlocked when the vehicle is unlocked. This is
useful if you frequently travel on your own.
XTo change the setting: press and hold down
the % and& buttons simultaneously
SmartKey67
Opening and closing
Z
Page 70 of 294
for about six seconds until the battery indica-
tor lamp flashes twice (Ypage 69).
If the setting of the locking system is changed
within the signal range of the vehicle, pressing
the & or% button:
Rlocks or
Runlocks the vehicle
The SmartKey now functions as follows:
XTo unlock: press the%button once.
XTo unlock centrally: press the%button
twice.
XTo lock: press the &button.
The KEYLESS-GO functions can be changed as
follows:
XTo unlock the driver's door: touch the inner
surface of the door handle on the driver's
door.
XTo unlock centrally: touch the inner surface
of the front-passenger door handle.
XTo lock centrally: touch the outer sensor
surface on one of the door handles.
Restoring factory settings:
XPress the %and& buttons simultane-
ously for approximately six seconds until the
battery check lamp flashes twice
(
Ypage 69).
Mechanical key
General notes
If the vehicle can no longer be locked or
unlocked with the SmartKey or KEYLESS-GO,
use the mechanical key.
If you use the mechanical key to unlock and
open the driver's door, the anti-theft alarm sys-
tem will be triggered. Switch off the alarm
(
Ypage 64).
If you unlock the vehicle using the mechanical
key, the fuel filler flap will not be unlocked auto-
matically.
XTo unlock the fuel filler flap: insert the
SmartKey into the ignition lock.
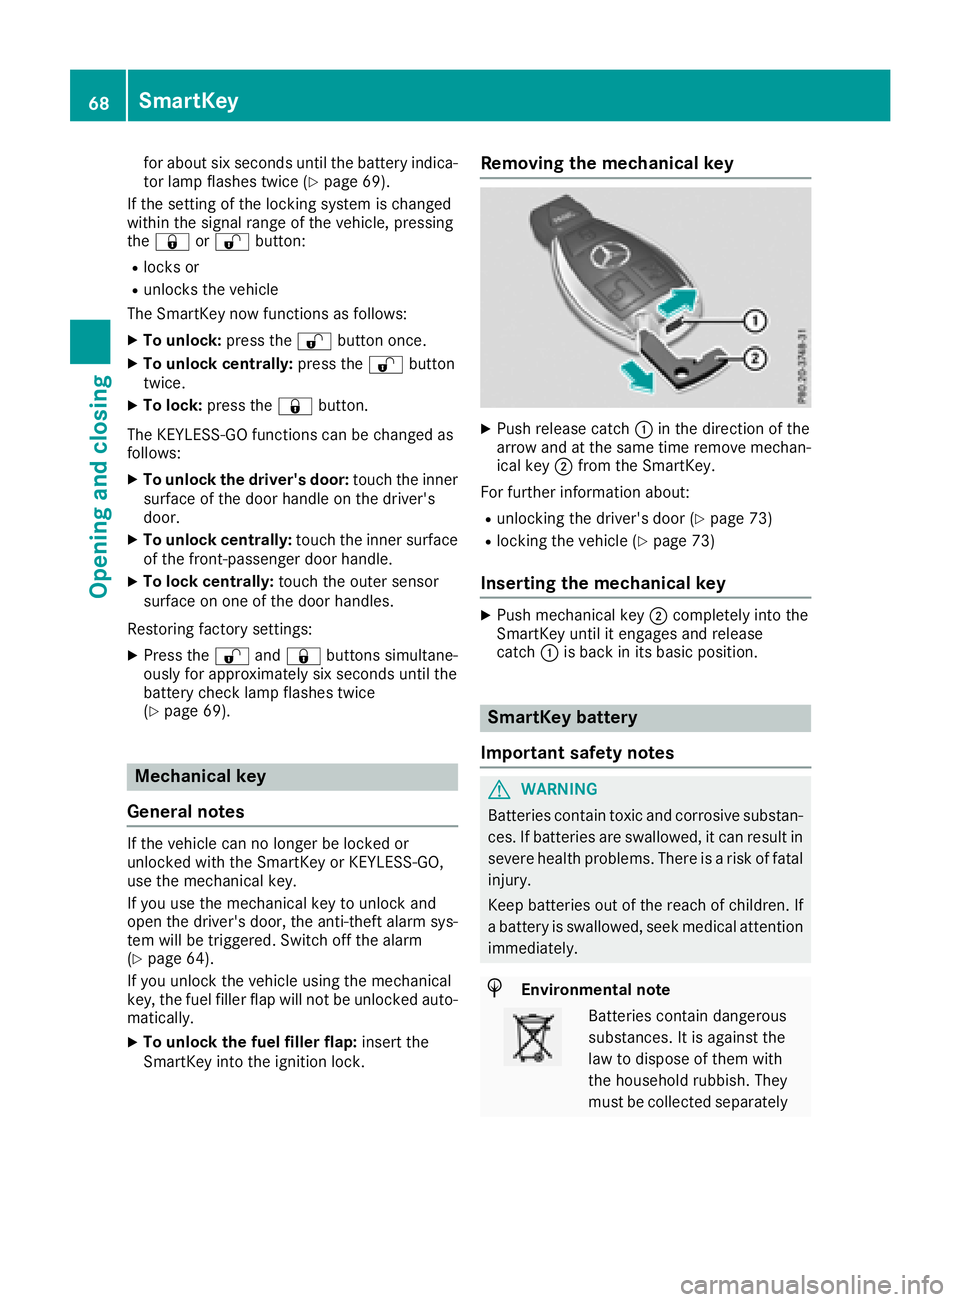
Removing the mechanical key
XPush release catch :in the direction of the
arrow and at the same time remove mechan- ical key ;from the SmartKey.
For further information about:
Runlocking the driver's door (Ypage 73)
Rlocking the vehicle (Ypage 73)
Inserting the mechanical key
XPush mechanical key ;completely into the
SmartKey until it engages and release
catch :is back in its basic position.
SmartKey battery
Important safety notes
GWARNING
Batteries contain toxic and corrosive substan- ces. If batteries are swallowed, it can result in
severe health problems. There is a risk of fatalinjury.
Keep batteries out of the reach of children. If
a battery is swallowed, seek medical attention immediately.
HEnvironmental note
Batteries contain dangerous
substances. It is against the
law to dispose of them with
the household rubbish. They
must be collected separately
68SmartKey
Opening and closing
Page 71 of 294
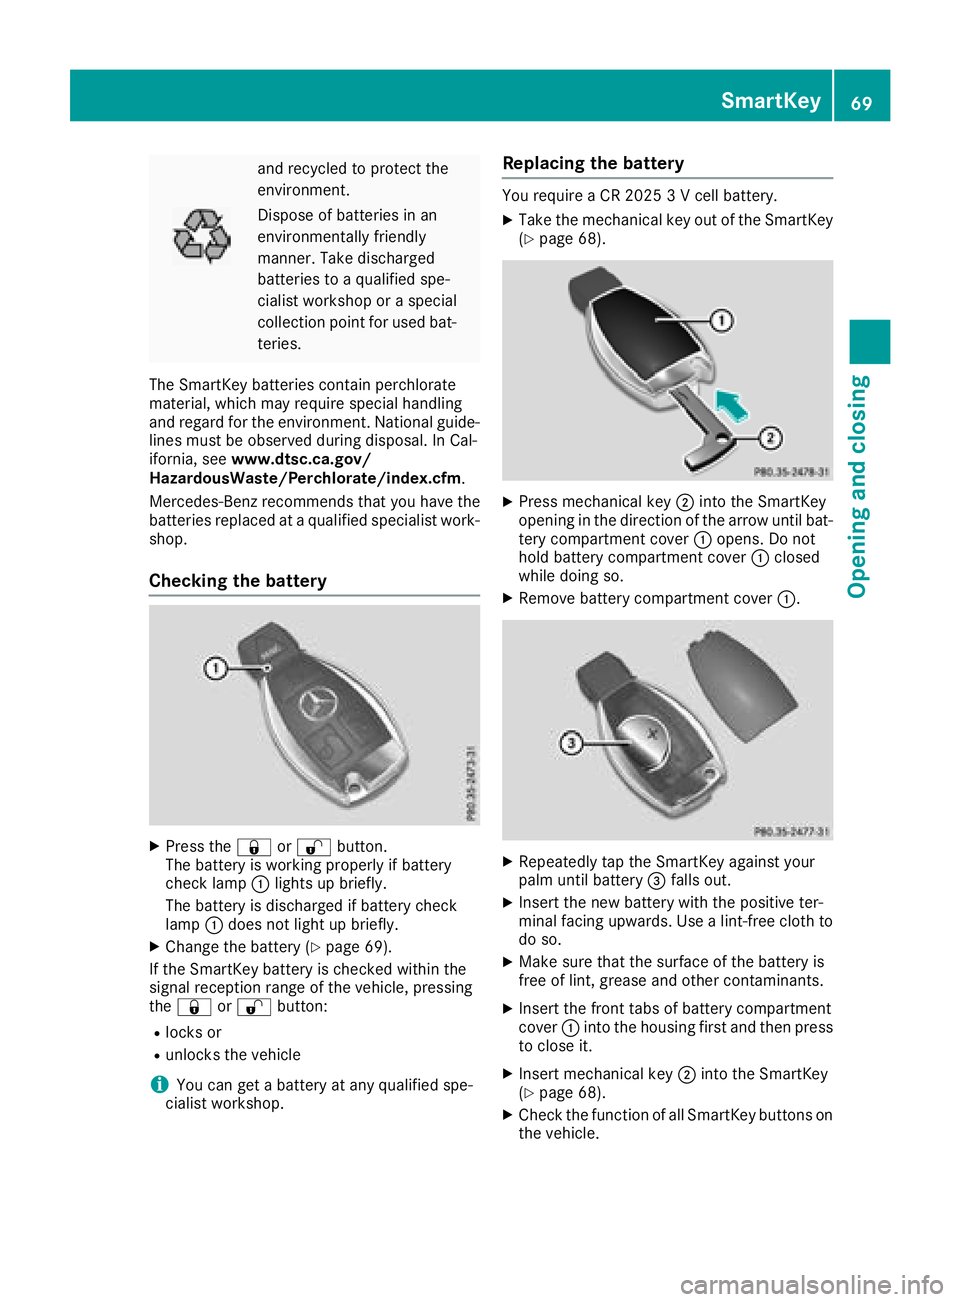
and recycled to protect the
environment.
Dispose of batteries in an
environmentally friendly
manner. Take discharged
batteries to a qualified spe-
cialist workshop or a special
collection point for used bat-
teries.
The SmartKey batteries contain perchlorate
material, which may require special handling
and regard for the environment. National guide-
lines must be observed during disposal. In Cal-
ifornia, see www.dtsc.ca.gov/
HazardousWaste/Perchlorate/index.cfm .
Mercedes-Benz recommends that you have the
batteries replaced at a qualified specialist work-
shop.
Checking the battery
XPress the &or% button.
The battery is working properly if battery
check lamp :lights up briefly.
The battery is discharged if battery check
lamp :does not light up briefly.
XChange the battery (Ypage 69).
If the SmartKey battery is checked within the
signal reception range of the vehicle, pressing
the & or% button:
Rlocks or
Runlocks the vehicle
iYou can get a battery at any qualified spe-
cialist workshop.
Replacing the battery
You require a CR 2025 3 V cell battery.
XTake the mechanical key out of the SmartKey
(Ypage 68).
XPress mechanical key ;into the SmartKey
opening in the direction of the arrow until bat-
tery compartment cover :opens. Do not
hold battery compartment cover :closed
while doing so.
XRemove battery compartment cover :.
XRepeatedly tap the SmartKey against your
palm until battery=falls out.
XInsert the new battery with the positive ter-
minal facing upwards. Use a lint-free cloth to
do so.
XMake sure that the surface of the battery is
free of lint, grease and other contaminants.
XInsert the front tabs of battery compartment
cover :into the housing first and then press
to close it.
XInsert mechanical key ;into the SmartKey
(Ypage 68).
XCheck the function of all SmartKey buttons on
the vehicle.
SmartKey69
Opening and closing
Z