Third brake lamp MERCEDES-BENZ B-CLASS HATCHBACK 2008 Owners Manual
[x] Cancel search | Manufacturer: MERCEDES-BENZ, Model Year: 2008, Model line: B-CLASS HATCHBACK, Model: MERCEDES-BENZ B-CLASS HATCHBACK 2008Pages: 305, PDF Size: 5.1 MB
Page 15 of 305
12Boxes under the driver's seat/
front-passenger seat....................... 159
Centre console. .............................. 159
Glove compartment. .......................158
Luggage compartment. ...................160
Stowage compartments
Cup holder ...................................... 143
Rear. ............................................... 160
Submenu (on-board computer)......... 106
Convenience ................................... 107
Instrument cluster .......................... 106
Lighting........................................... 107
Time/date. ..................................... 106
Vehicle............................................ 107
Summer opening
see Convenience opening
Sun visor............................................. 161
Supplemental Restraint System see SRS
Surround lighting
Switching on/off (on-board com-
puter). ............................................. 109
Switching off the alarm
ATA. .................................................. 57 T
Tailgate Display message ............................. 212
Opening/closing. .............................. 62
Tail lamp
Display message ............................. 219
Tail lamps
changing. ........................................ 249
Display message ............................. 219
Tank
see Fuel tank
Tank capacity ..................................... 291
Technical data Acceleration. .................................. 280
Engine............................................ .278
Speed. ............................................ 280
Trailer loads .................................... 290
Tyres. .............................................. 283
Vehicle dimensions. ........................286
Vehicle weights............................... 286
Wheels. ........................................... 283
Telephone
see Mobile phone
Telephone compartment ...................159
Temperature Coolant. ............................................ 97
Outside temperature......................... 98
Thermotronic
Malfunction indicator lamp. ............222Third brake lamp
Display message ............................. 218
Through-loading ................................. 147
Tightening torque............................... 261
Time Setting (on-board computer).......... .108
Setting the time (on-board com-
puter). ............................................. 108
TIREFIT kit
Using. ............................................. 253
TopTether .............................................. 49
Total distance recorder................. 26, 99
Tow-away protection........................... 58
Towing................................................. 269
Towing eye Fitting ............................................. 268
Removing....................................... .270
Tow-starting ........................................ 269
Trailer 7-pin connector .............................. 191
Display message..................... 216, 217
Power supply. ................................. 190
Trailer loads
Technical data. ............................... 290
Trailer tow hitch
Notes on care ................................. 196
Trailer towing
Active parking assist .......................126
Driving tips ..................................... 188
Malfunction..................................... 240 Index
245_AKB; 2; 7, en-GB
wdomann,
Version: 2.11.4 2008-10-17T11:22:31+02:00 - Seite 12Dateiname: 6515_1640_02_buchblock.pdf; preflight
Page 221 of 305
Display
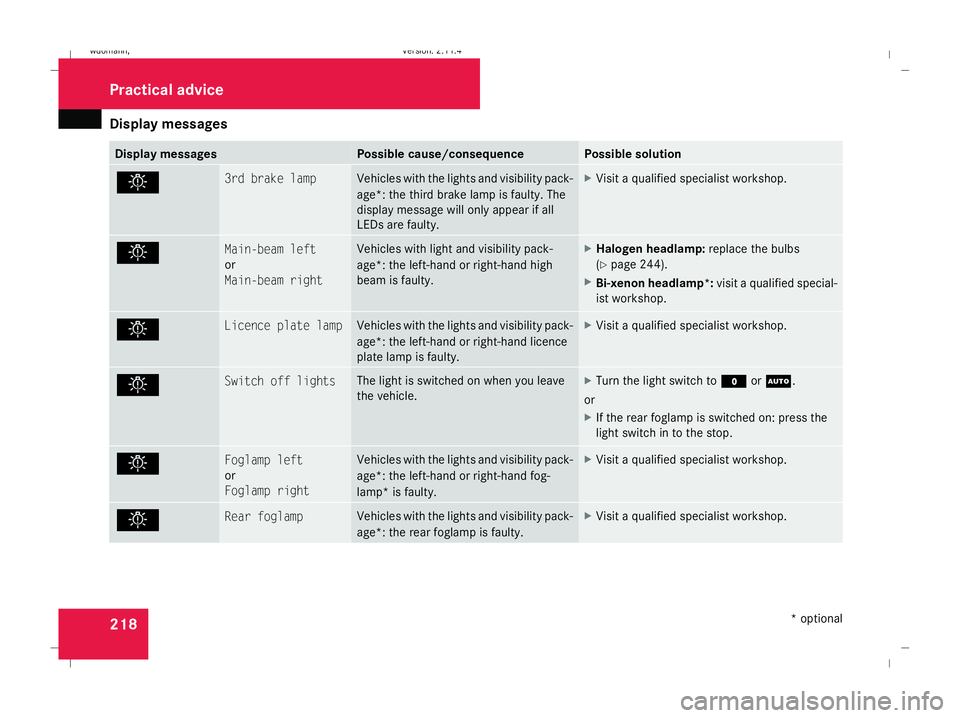
messages 218 Display messages Possible cause/consequence Possible solution
. 3rd brake lamp Vehicles with the lights and visibility pack-
age*: the third brake lamp is faulty. The
display message will only appear if all
LEDs are faulty. X
Visit a qualified specialist workshop. . Main-beam left
or
Main-beam right Vehicles with light and visibility pack-
age*: the left-hand or right-hand high
beam is faulty. X
Halogen headlamp: replace the bulbs
(Y page 244).
X Bi-xenon headlamp*: visit a qualified special-
ist workshop. . Licence plate lamp Vehicles with the lights and visibility pack-
age*: the left-hand or right-hand licence
plate lamp is faulty. X
Visit a qualified specialist workshop. . Switch off lights The light is switched on when you leave
the vehicle. X
Turn the light switch to MorU.
or
X If the rear foglamp is switched on: press the
light switch in to the stop. . Foglamp left
or
Foglamp right Vehicles with the lights and visibility pack-
age*: the left-hand or right-hand fog-
lamp* is faulty. X
Visit a qualified specialist workshop. . Rear foglamp Vehicles with the lights and visibility pack-
age*: the rear foglamp is faulty. X
Visit a qualified specialist workshop. Practical advi
ce
* optional
245_AKB; 2; 7, en-GB
wdomann,
Version: 2.11.4 2008-10-17T11:22:31+02:00 - Seite 218Dateiname: 6515_1640_02_buchblock.pdf; preflight
Page 249 of 305
Changing bulbs
246
Rear bulbs Bulb Type
7
Third brake
lamp LED
8
Turn signal lamp PY 21 W
9
Reversing lamp P 21 W
a
Licence plate
lamp C 5 W
b
Rear foglamp P 21 W
c
Tail lamp P 5 W
d
Brake lamp P 21 W
Before changing bulbs
You can replace the following bulbs:
R
Dipped-beam headlamps (halogen head-
lamps)
R Main-beam headlamps (halogen head-
lamps)
R Side lamp/parking lamp
R Cornering light* (vehicles with bi-xenon
headlamps *)
R Front turn signal lamp R
Brake lamp
R Tail lamp
R Turn signal lamp (rear)
R Licence plate lamp
Observe the following points:
R Use only the bulb types specified here.
R To prevent a short-circuit, switch off the
lights before changing a bulb.
R Only hold bulbs with a clean, lint-free cloth.
R Do not work with wet or greasy fingers.
R If the new bulb still does not light up, con-
sult a qualified specialist workshop, e.g. a
Mercedes-Benz Service Centre.
i Due to the location of the bulbs in the
front headlamps, it is best to have these
changed at a qualified specialist workshop,
e.g. a Mercedes-Benz Service Centre.
i Have the headlamp setting checked reg-
ularly at a qualified specialist workshop,
e.g. a Mercedes-Benz Service Centre. Changing the front bulbs
Removing/fitting the washer fluid res-
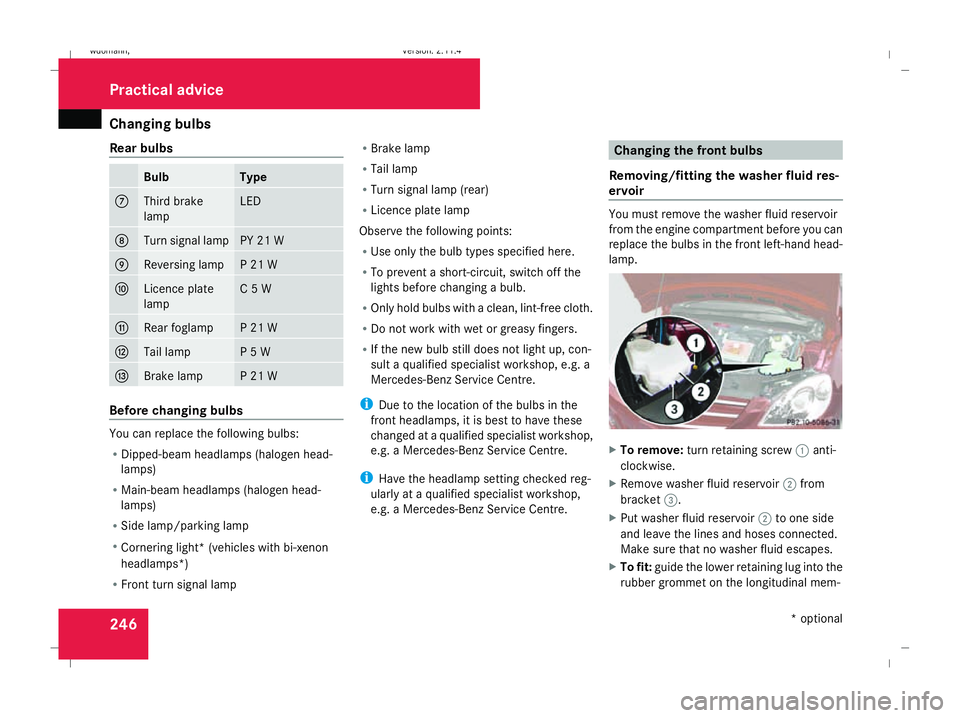
ervoir You must remove the washer fluid reservoir
from the engine compartment before you can
replace the bulbs in the front left-hand head-
lamp.
X
To remove: turn retaining screw 1anti-
clockwise.
X Remove washer fluid reservoir 2from
bracket 3.
X Put washer fluid reservoir 2to one side
and leave the lines and hoses connected.
Make sure that no washer fluid escapes.
X To fit: guide the lower retaining lug into the
rubber grommet on the longitudinal mem- Practical advice
* optional
245_AKB; 2; 7, en-GB
wdomann,
Version: 2.11.4 2008-10-17T11:22:31+02:00 - Seite 246Dateiname: 6515_1640_02_buchblock.pdf; preflight