MERCEDES-BENZ B-CLASS HATCHBACK 2011 Owners Manual
Manufacturer: MERCEDES-BENZ, Model Year: 2011, Model line: B-CLASS HATCHBACK, Model: MERCEDES-BENZ B-CLASS HATCHBACK 2011Pages: 329, PDF Size: 7.91 MB
Page 141 of 329
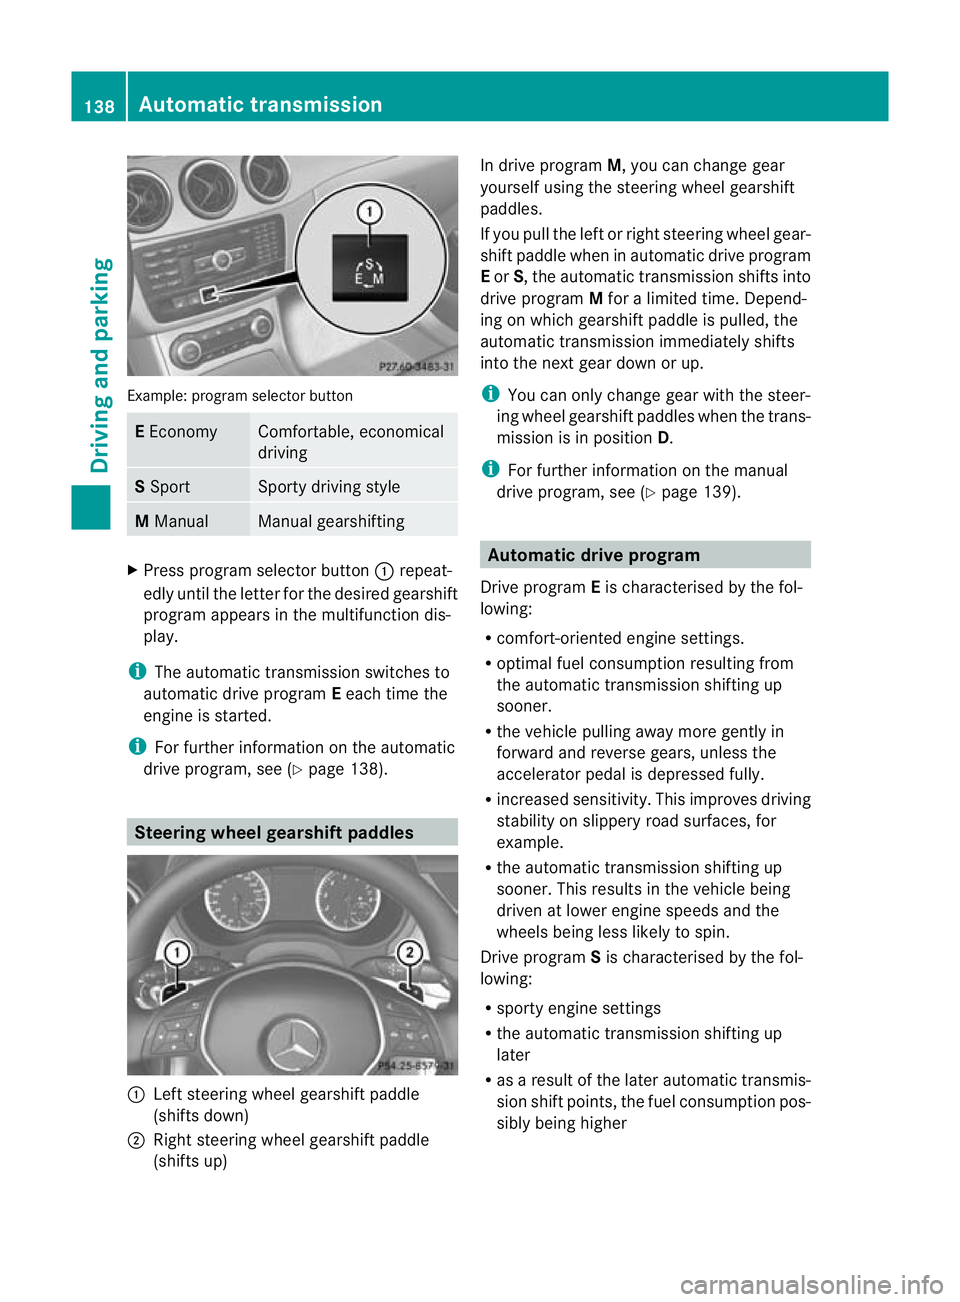
Example: progra
mselector button E
Economy Comfortable, economical
driving
S
Sport Sporty driving style
M
Manual Manual gearshifting
X
Press program selecto rbutton :repeat-
edly until the lette rfor the desired gearshift
program appears in the multifunction dis-
play.
i The automatic transmission switches to
automatic drive program Eeach time the
engine is started.
i For further information on the automatic
drive program, see (Y page 138).Steering wheel gearshift paddles
:
Left steering wheel gearshift paddle
(shifts down)
; Right steering wheel gearshift paddle
(shifts up) In drive program
M, you can change gear
yourself using the steering wheel gearshift
paddles.
If you pull the left or right steering wheel gear-
shift paddle when in automatic drive program
E or S, the automatic transmission shifts into
drive program Mfor a limited time. Depend-
ing on which gearshift paddle is pulled, the
automatic transmission immediately shifts
into the next gear down or up.
i You can only change gear with the steer-
ing wheel gearshift paddles when the trans-
mission is in position D.
i For further information on the manual
drive program, see (Y page 139). Automatic drive program
Drive program Eis characterised by the fol-
lowing:
R comfort-oriented engine settings.
R optimal fuel consumption resulting from
the automatic transmission shifting up
sooner.
R the vehicle pulling away more gently in
forward and reverse gears, unless the
accelerator pedal is depressed fully.
R increased sensitivity. This improves driving
stability on slippery road surfaces, for
example.
R the automatic transmission shifting up
sooner. This results in the vehicle being
driven at lower engine speeds and the
wheels being less likely to spin.
Drive program Sis characterised by the fol-
lowing:
R sporty engine settings
R the automatic transmission shifting up
later
R as a result of the later automatic transmis-
sion shift points, the fuel consumption pos-
sibly being higher 138
Automatic transmissionDriving and parking
Page 142 of 329
Manual drive program
Introduction In manual drive program
M, you can change
geary ourself by using the steering wheel
gearshift paddles. For this, the transmission
must be in position D. The gear currently
selected and engaged is shown in the multi-
function display.
Manual drive program Mdiffers from drive
programs Eand Swith regard spontaneity,
responsiveness and smoothness of gear
changes. Gear Driving situations
=
To use the engine's braking effect
5
To use the braking effect of the
engine on downhill gradients and
for driving:
R
on steep mountain roads
R in mountainous terrain
R in arduous conditions 4
To use the braking effect of the
engine on extremely steep downhill
gradients and on long downhill
stretches
Activating the manual drive program
Activating permanently
X
Press the program selector button
(Y page 137) repeatedly until Mappears in
the multifunction display.
Manual drive program Mremains active
until drive program Eor Sis engaged.
Activating temporarily
X Pull the right or left steering wheel gearshift
paddle (Y page 138).
M is shown in the multifunction display.
Manual drive program Mis temporarily
active. Depending on which gearshift pad-
dle is pulled, the automatic transmission
immediately shifts into the next gear down
or up. i
When manual drive program Mis activa-
ted via the steering wheel gearshift pad-
dles, the temporarily active manual drive
program Mwill be deactivated automati-
cally after a limited time, if the driving sit-
uation permits. In this case, the automatic
transmission shifts into the automatic drive
program that was last engaged, i.e. Eor S.
When driving on downhill gradients, the
temporarily active manual drive program
M will only be deactivated if the accelerator
pedal is depressed while the vehicle is roll-
ing downhill.
Upshifting X
Pull the right-hand steering wheel gearshift
paddle (Y page 138).
The automatic transmission shifts up to the
next gear.
i If the maximum engine speed on the cur-
rently engaged gear is reached and you
continue to accelerate, the automatic
transmission automatically shifts up in
order to prevent engine damage.
Downshifting X
Pull the left-hand steerin gwheel gearshift
paddle (Y page 138).
The automatic transmission shifts down to
the next gear.
i If you brake the vehicle or stop without
shifting down, the automatic transmission
will shift down to a gear that will allow the
vehicle to accelerate or pull away again.
i For maximum acceleration, pull the left-
hand steering wheel gearshift paddle until
the transmission selects the optimum gear
for the current speed.
i If the engine exceeds the maximum
engine speed when shifting down, the auto-
matic transmission protects against engine
damage by not shifting down. Automatic transmission
139Driving and parking Z
Page 143 of 329

Kickdown
You can also use kickdown for maximum
acceleration in manual drive program M.
X Depress the accelerato rpedal beyond the
pressure point.
The transmission shifts to a lower gear
depending on the engine speed.
X Shift back up once the desired speed is
reached.
i During kickdown, you cannot shift gears
using the steering wheel gearshift paddles.
i If you apply full throttle, the automatic
transmission shifts up to the nextg ear
when the maximum engine speed is
reached. This prevents the engine from
overrevving.
Switching off the manual drive program X
Press the program selector button
(Y page 137) repeatedly until Eor S
appears in the multifunction display.
Deactivating the temporary manual drive
program
X Pull and hold the right steering wheel gear-
shift paddle until the automatic transmis-
sion shifts into the last active automatic
drive program Eor S.
i When manual drive program Mis deacti-
vated, the automatic transmission in auto-
matic drive program Eor Smay shift from
the curren tgear into a higher or lower gear.
This is dependen tonthe position of the
accelerator pedal, speed and load. 140
Automatic transmissionDriving and parking
Page 144 of 329
Problems with the transmission
Problem Possible causes/consequences and
M Solutions
The transmission has
problems shifting gear. The transmission is losing oil.
X
Have the transmission checked at a qualified specialist work-
shop immediately. The acceleration ability
is deteriorating.
The transmission no
longer shifts into all of
the gears.
Reverse gear can no
longer be engaged. The transmission is in emergency mode.
X Stop.
X Shift the transmission to position P.
X Switch off the engine.
X Wait at least 10seconds before restarting the engine.
X Shift the transmission to position D.
X Have the transmission checked at a qualified specialist work-
shop immediately. Refuelling
Important safety notes
G
WARNING
Fuel is highly flammable. Fire, naked flames
and smoking are therefore prohibited when
handling fuels.
Switch off the engine before refuelling. G
WARNING
Avoid contact with fuels.
It is hazardous to your health if your skin
comes into direct contact with fuels or you
breathe in fuel vapours. G
WARNING
Do not use petrol to refuel a diesel tank.N ever
mix diesel with petrol. Doing so could damage
the fuel system and the engine. The vehicle
could also catch fire.
! Do not use petrol to refuel vehicles with a
diesel engine. Do not use diesel to refuel
vehicles with a petrol engine. Even small
amounts of the wrong fuel result in damage
to the fuel system and the engine. !
Do not switch on the ignition if you acci-
dentally refuel with the wrong fuel. Other-
wise, the fuel will enter the fuel lines. Notify
a qualified specialist workshop and have
the fuel tank and fuel lines drained com-
pletely.
! Overfilling the fuel tank could damage the
fuel system.
! Take care not to spill any fuel on painted
surfaces. You could otherwise damage the
paintwork.
! Use a filter when adding fuel from a fuel
can. The fuel lines and/or the diesel injec-
tion system could otherwise be blocked by
particles from the fuel can.
Further information on fuel and on fuel grades
can be found in the "Fuel" section
(Y page 312). Refuelling
141Driving and parking Z
Page 145 of 329
Refuelling
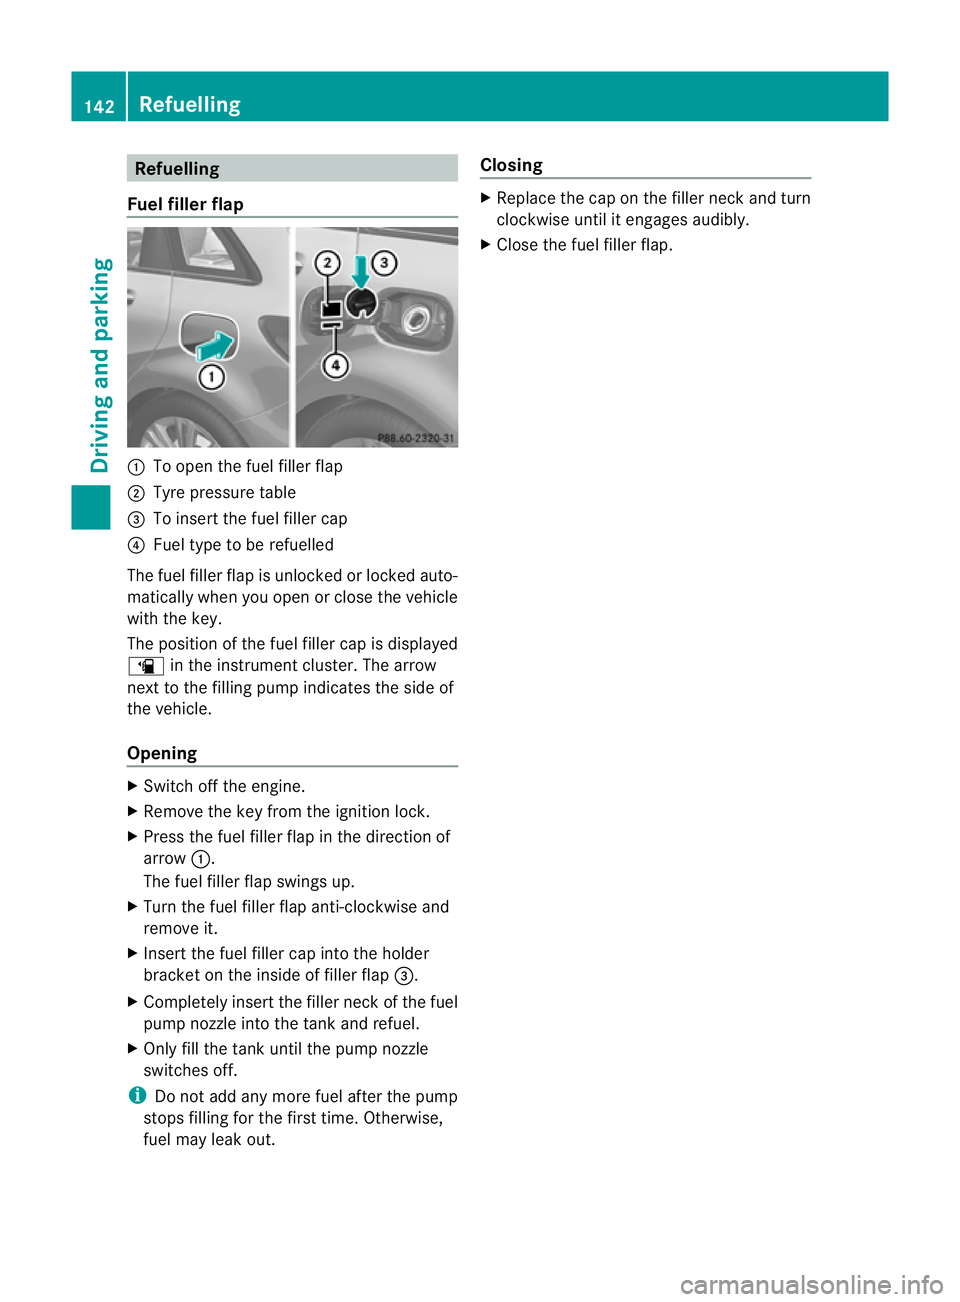
Fuel fille rflap :
To open the fuel filler flap
; Tyre pressure table
= To inser tthe fuel filler cap
? Fuel type to be refuelled
The fuel filler flap is unlocked or locked auto-
matically when you open or close the vehicle
with the key.
The position of the fuel filler cap is displayed
æ in the instrument cluster. The arrow
next to the filling pump indicates the side of
the vehicle.
Opening X
Switch off the engine.
X Remove the key from the ignition lock.
X Press the fuel filler flap in the direction of
arrow :.
The fuel filler flap swings up.
X Turn the fuel filler flap anti-clockwise and
remove it.
X Insert the fuel filler cap into the holder
bracket on the inside of filler flap =.
X Completely insert the filler neck of the fuel
pump nozzle into the tank and refuel.
X Only fill the tank until the pump nozzle
switches off.
i Do not add any more fuel after the pump
stops filling for the first time. Otherwise,
fuel may leak out. Closing X
Replace the cap on the filler neck and turn
clockwise until it engages audibly.
X Close the fuel filler flap. 142
RefuellingDriving and parking
Page 146 of 329
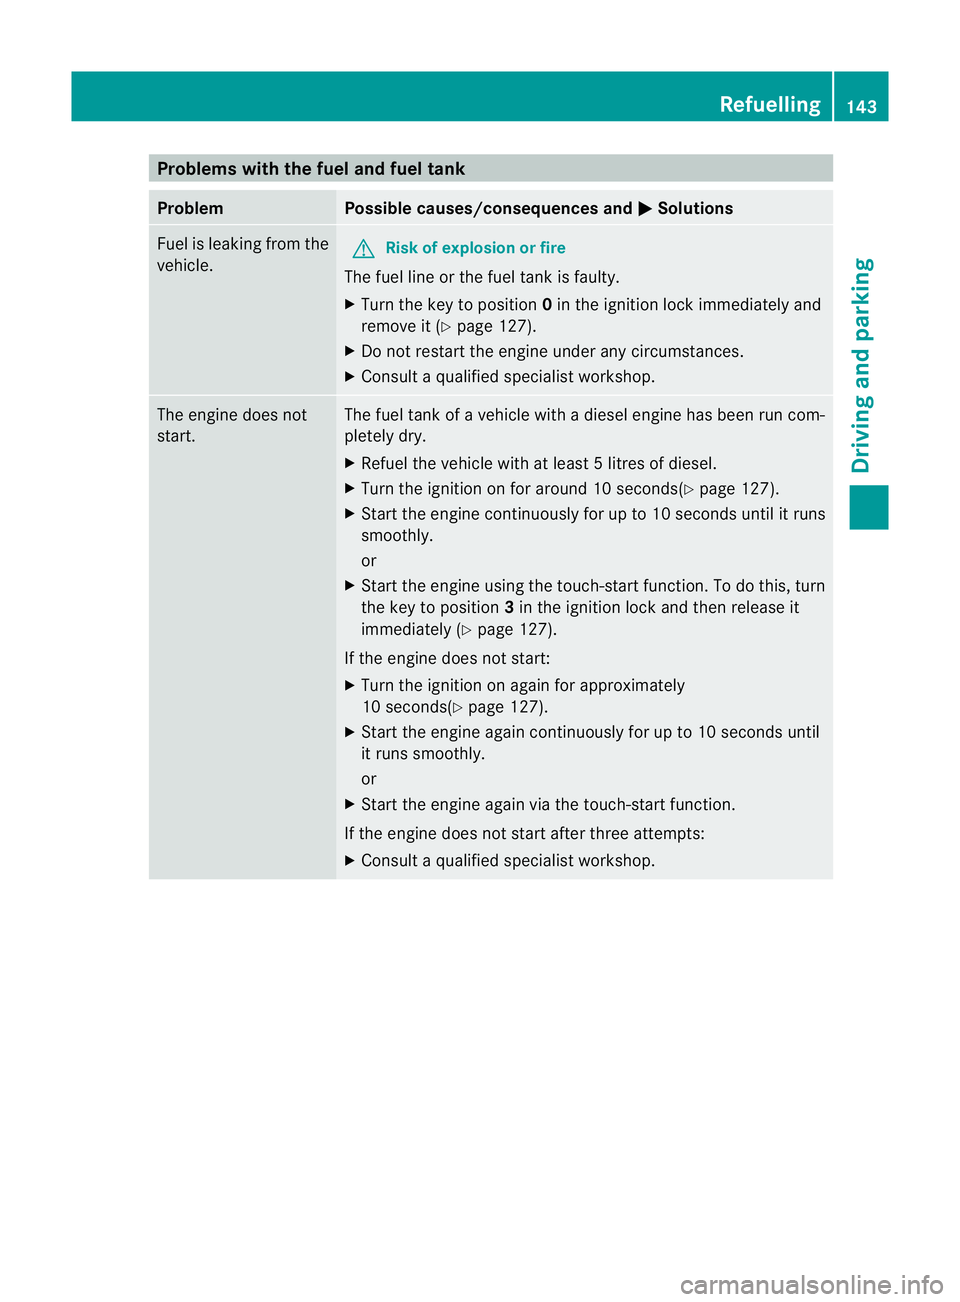
Problems with the fuel and fuel tank
Problem Possible causes/consequences and
M Solutions
Fuel is leaking from the
vehicle.
G
Risk of explosion or fire
The fuel line or the fuel tank is faulty.
X Turn the key to position 0in the ignition lock immediately and
remove it (Y page 127).
X Do not restart the engine under any circumstances.
X Consult a qualified specialist workshop. The engine does not
start. The fuel tank of a vehicle with a diesel engine has been run com-
pletely dry.
X
Refuel the vehicle with at least 5litres of diesel.
X Turn the ignition on for around 10 seconds(Y page 127).
X Start the engine continuously for up to 10 seconds until it runs
smoothly.
or
X Start the engine using the touch-star tfunction .To do this, turn
the key to position 3in the ignition lock and then release it
immediately (Y page 127).
If the engine does not start:
X Turn the ignition on again for approximately
10 seconds(Y page 127).
X Start the engine again continuously for up to 10 seconds until
it runs smoothly.
or
X Start the engine again via the touch-start function.
If the engine does not start after three attempts:
X Consult a qualified specialist workshop. Refuelling
143Driving and parking Z
Page 147 of 329
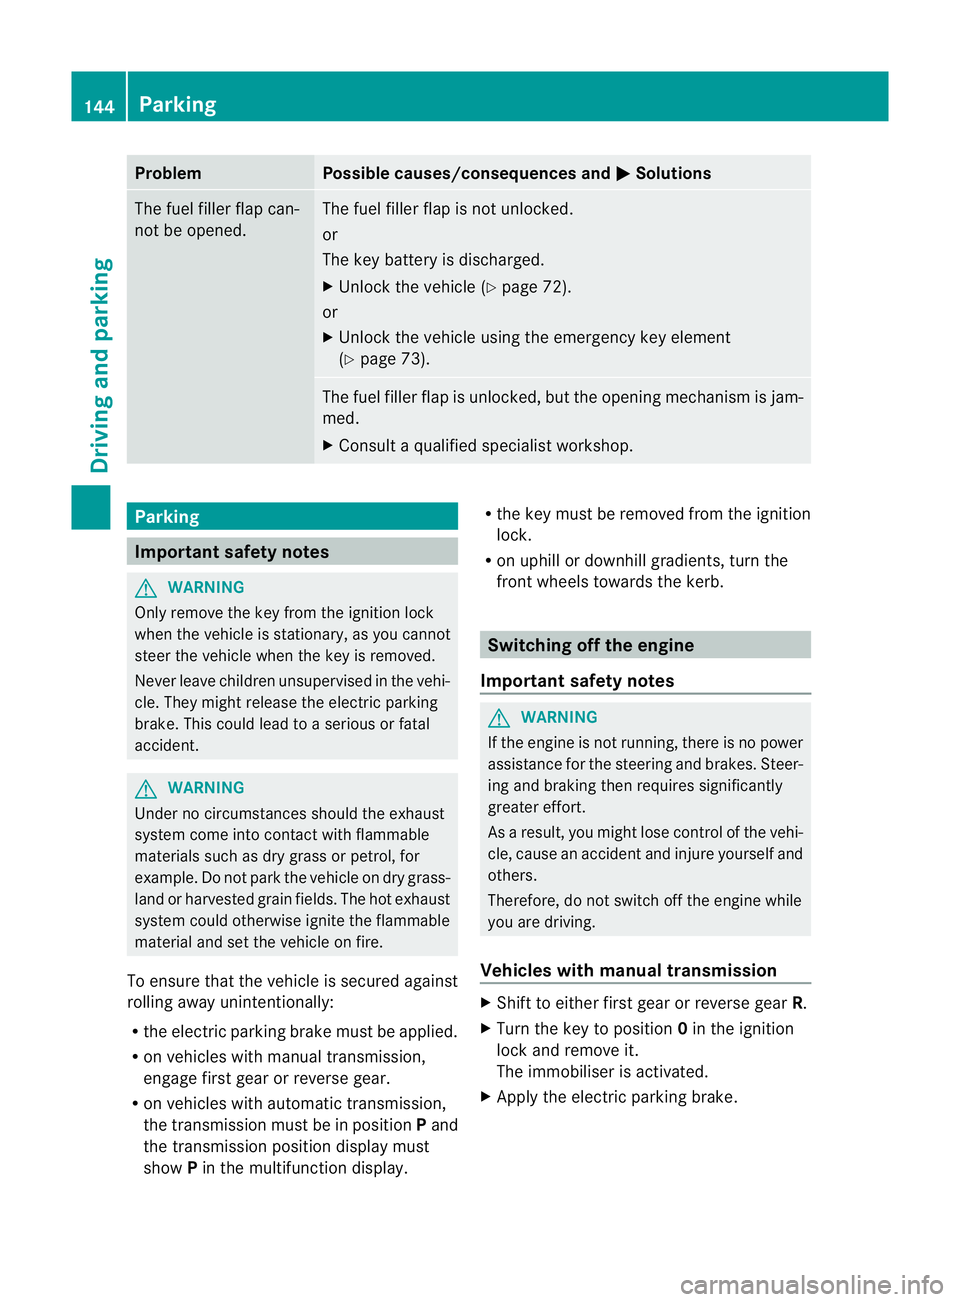
Problem Possible causes/consequences and
M Solutions
The fuel filler flap can-
not be opened. The fuel filler flap is not unlocked.
or
The key battery is discharged.
X
Unlock the vehicle (Y page 72).
or
X Unlock the vehicle using the emergency key element
(Y page 73). The fuel filler flap is unlocked, but the opening mechanism is jam-
med.
X
Consult a qualified specialist workshop. Parking
Important safety notes
G
WARNING
Only remove the key from the ignition lock
when the vehicle is stationary, as you cannot
steer the vehicle when the key is removed.
Never leave children unsupervised in the vehi-
cle. They might release the electric parking
brake. This could lead to aserious or fatal
accident. G
WARNING
Under no circumstances should the exhaust
system come into contact with flammable
materials such as dry grass or petrol, for
example. Do not park the vehicle on dry grass-
land or harvested grain fields. The hot exhaust
system could otherwise ignite the flammable
material and set the vehicle on fire.
To ensure that the vehicle is secured against
rolling away unintentionally:
R the electric parking brake must be applied.
R on vehicles with manual transmission,
engage first gear or reverse gear.
R on vehicles with automatic transmission,
the transmission must be in position Pand
the transmission position display must
show Pin the multifunction display. R
the key must be removed from the ignition
lock.
R on uphill or downhill gradients, turn the
fron twheels towards the kerb. Switching off the engine
Important safety notes G
WARNING
If the engine is not running, there is no power
assistance for the steering and brakes. Steer-
ing and braking then requires significantly
greater effort.
As a result, you might lose control of the vehi-
cle, cause an accident and injure yourself and
others.
Therefore, do not switch off the engine while
you are driving.
Vehicles with manual transmission X
Shift to either first gear or reverse gear R.
X Turn the key to position 0in the ignition
lock and remove it.
The immobiliser is activated.
X Apply the electric parking brake. 144
ParkingDriving and parking
Page 148 of 329
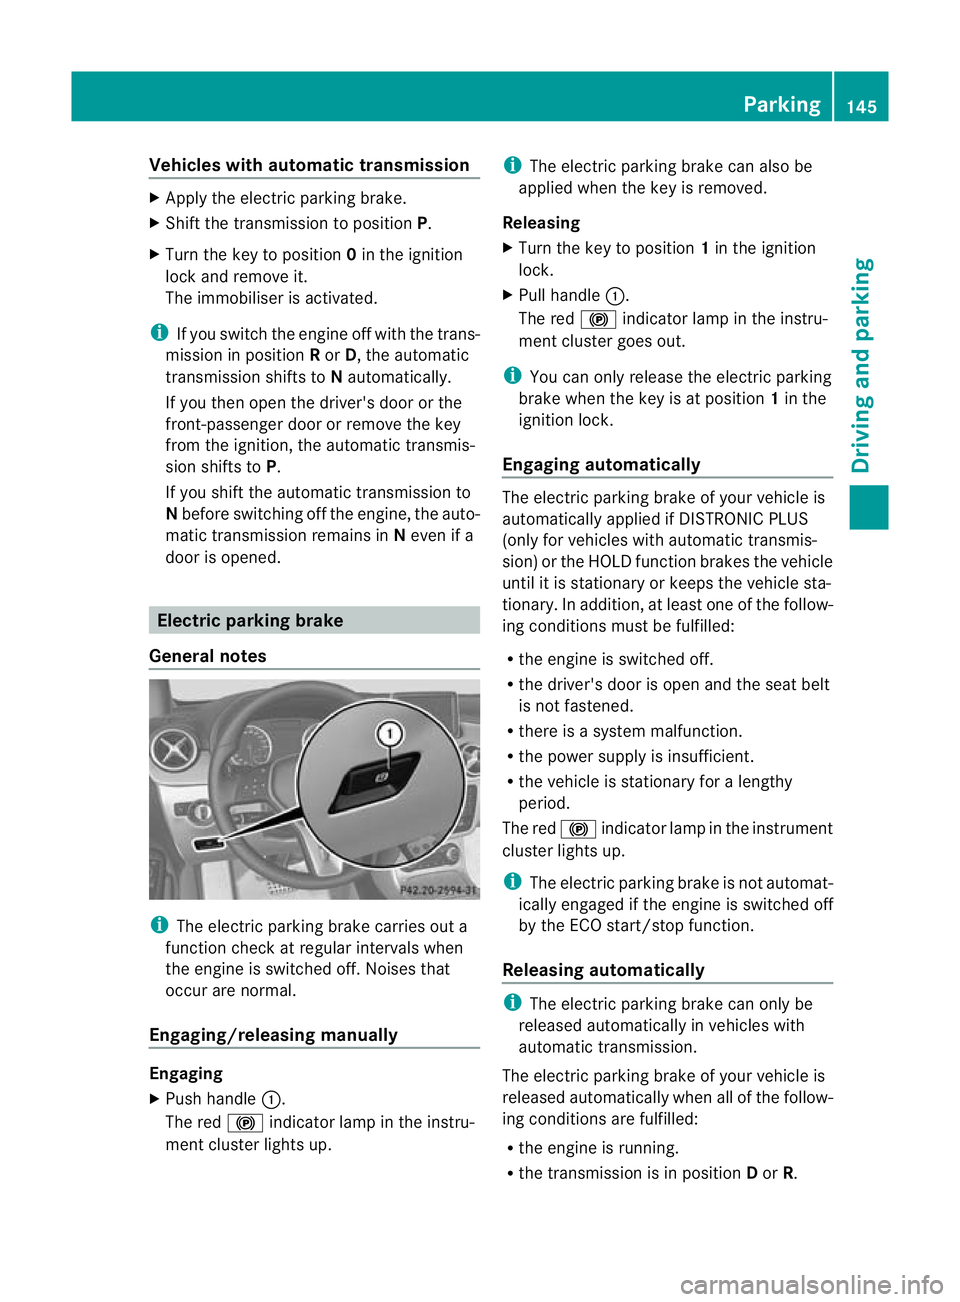
Vehicles with automatic transmission
X
Apply the electri cparking brake.
X Shift the transmission to position P.
X Turn the key to position 0in the ignition
lock and remove it.
The immobiliser is activated.
i If you switch the engine off with the trans-
mission in position Ror D, the automatic
transmission shifts to Nautomatically.
If you then open the driver's door or the
front-passenger door or remove the key
from the ignition, the automatic transmis-
sion shifts to P.
If you shift the automatic transmission to
N before switching off the engine, the auto-
matic transmission remains in Neven if a
door is opened. Electric parking brake
General notes i
The electric parking brake carries out a
function check at regular intervals when
the engine is switched off .Noises that
occur are normal.
Engaging/releasing manually Engaging
X
Push handle :.
The red !indicator lamp in the instru-
ment cluster lights up. i
The electric parking brake can also be
applied when the key is removed.
Releasing
X Turn the key to position 1in the ignition
lock.
X Pull handle :.
The red !indicator lamp in the instru-
ment cluster goes out.
i You can only release the electric parking
brake when the key is at position 1in the
ignition lock.
Engaging automatically The electric parking brake of your vehicle is
automatically applied if DISTRONIC PLUS
(only for vehicles with automatic transmis-
sion) or the HOLD function brakes the vehicle
until it is stationary or keeps the vehicle sta-
tionary. In addition, at least one of the follow-
ing conditions must be fulfilled:
R
the engine is switched off.
R the driver's door is open and the seat belt
is not fastened.
R there is a system malfunction.
R the power supply is insufficient.
R the vehicle is stationary for a lengthy
period.
The red !indicator lamp in the instrument
cluster lights up.
i The electric parking brake is not automat-
ically engaged if the engine is switched off
by the ECO start/stop function.
Releasing automatically i
The electric parking brake can only be
released automatically in vehicles with
automatic transmission.
The electric parking brake of your vehicle is
released automatically when all of the follow-
ing conditions are fulfilled:
R the engine is running.
R the transmission is in position Dor R. Parking
145Driving and parking Z
Page 149 of 329
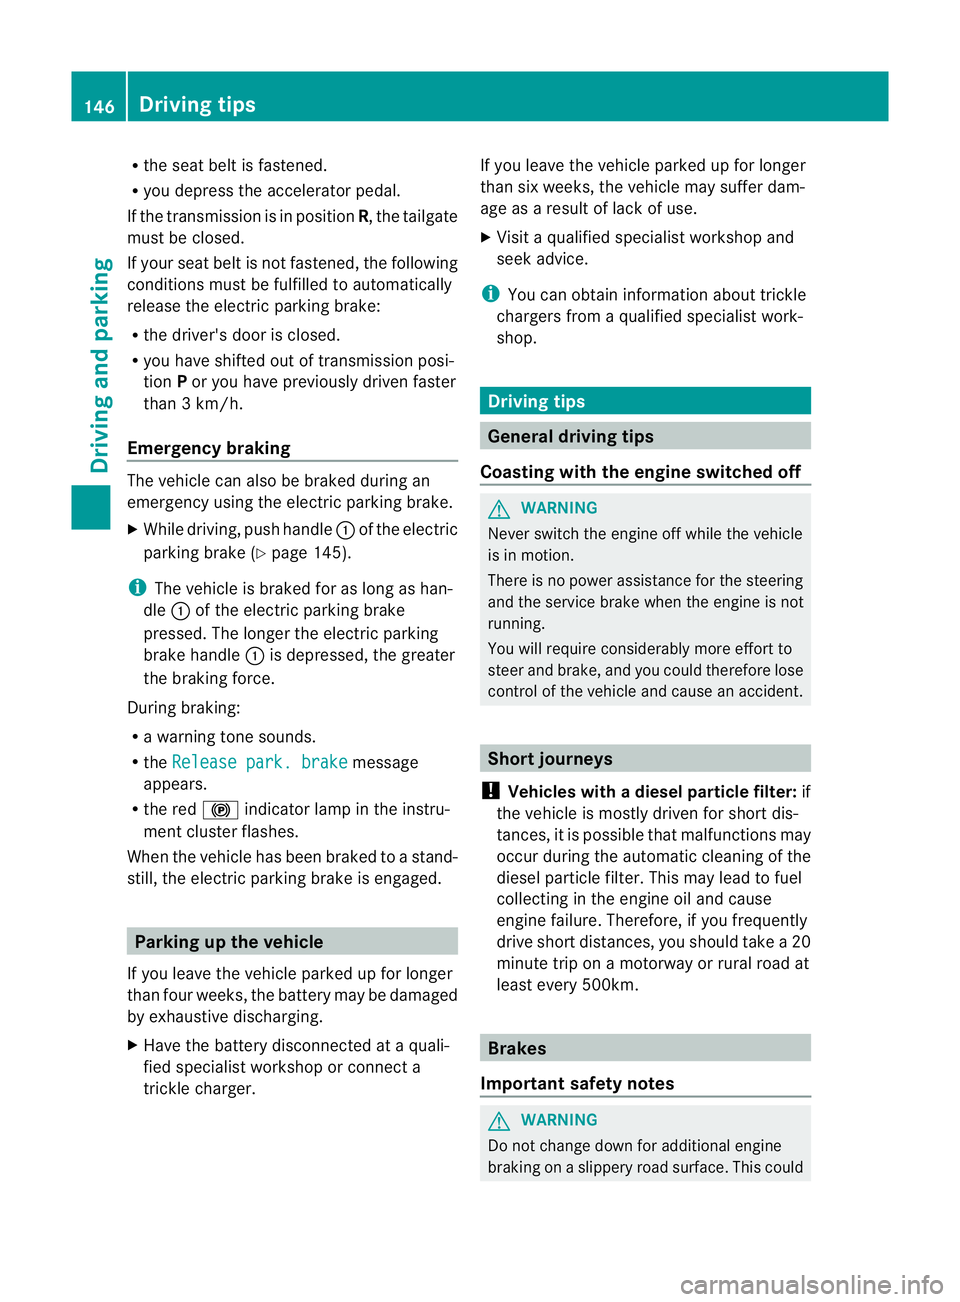
R
the seat belt is fastened.
R you depress the accelerator pedal.
If the transmission is in position R, the tailgate
must be closed.
If your seat belt is not fastened, the following
conditions must be fulfilled to automatically
release the electric parking brake:
R the driver's door is closed.
R you have shifted ou toftransmission posi-
tion Por you have previously drive nfaster
than 3 km/h.
Emergency braking The vehicle can also be braked during an
emergency using the electric parking brake.
X While driving, push handle :of the electric
parking brake (Y page 145).
i The vehicle is braked for as long as han-
dle :of the electric parking brake
pressed. The longer the electric parking
brake handle :is depressed, the greater
the braking force.
During braking:
R a warning tone sounds.
R the Release park. brake message
appears.
R the red !indicator lamp in the instru-
men tcluste rflashes.
When the vehicle has been braked to a stand-
still, the electric parking brake is engaged. Parking up the vehicle
If you leave the vehicle parked up for longer
than four weeks, the battery may be damaged
by exhaustive discharging.
X Have the battery disconnected at a quali-
fied specialist workshop or connec ta
trickle charger. If you leave the vehicle parked up for longer
tha
nsix weeks, the vehicle may suffer dam-
age as a result of lack of use.
X Visit a qualified specialist workshop and
seek advice.
i You can obtain information about trickle
chargers fro maqualified specialist work-
shop. Driving tips
General driving tips
Coasting with the engine switched off G
WARNING
Never switch the engine off while the vehicle
is in motion.
There is no power assistance for the steering
and the service brake when the engine is not
running.
You will require considerably more effor tto
steer and brake, and you could therefore lose
control of the vehicle and cause an accident. Short journeys
! Vehicles with adiesel particle filter: if
the vehicle is mostly driven for short dis-
tances, it is possible that malfunctions may
occur during the automatic cleaning of the
diesel particle filter. This may lead to fuel
collecting in the engine oil and cause
engine failure. Therefore, if you frequently
drive short distances, you should take a 20
minute trip on a motorway or rural road at
least every 500km. Brakes
Important safety notes G
WARNING
Do not change down for additional engine
braking on a slippery road surface. This could 146
Driving tipsDriving and parking
Page 150 of 329
cause the drive wheels to los
etheir grip and
the vehicle could skid. G
WARNING
Make sure that other road users are not
endangered by your braking.
Downhill gradients You must select a lower gear in good time on
long and steep downhill gradients, especially
if the vehicle is laden or towing a trailer. To
do so in vehicles with an automatic transmis-
sion, you will need to select the manual drive
program Min advance (Y page 139).
i This also applies if you have activated
cruise control, SPEEDTRONIC or DIS-
TRONIC PLUS.
This will use the braking effect of the engine,
so less braking will be required to prevent the
vehicle from gaining speed. This relieves the
load on the brake system and prevents the
brakes from overheating and wearing too
quickly.
i Vehicles with automatic transmis-
sion: if the accelerator pedal is depressed
briefly on downhill gradients while the man-
ual drive program Mis temporarily activa-
ted, the automatic transmission may
switch back to the last active automatic
drive program Eor S.T he automatic trans-
mission may shift to a higher gear. This can
reduce the engine's braking effect.
Heavy and light loads G
WARNING
Never depress the brake pedal continuously
while the vehicle is in motion, e.g. never cause
the brakes to rub by applying constant slight
pedal pressure. This causes the brake system
to overheat, increases the braking distance
and can lead to the brakes failing completely.
If the brakes have been subjected to a heavy
load, do not stop the vehicle immediately, but drive on for a short while. This allows the air-
flow to cool the brakes more quickly.
If the brakes have been used only moderately,
you should occasionally test their effective-
ness. To do this, brake more firmly from a
higher speed. This improves the grip of the
brakes.
Wet road surfaces
If driving in heavy rain for a prolonged period
of time without braking, there may be a
delayed reaction from the brakes when brak-
ing for the first time. This may also occur after
the vehicle has been washed.
You have to depress the brake pedal more
firmly. Maintain a greater distance from the
vehicle in front.
After driving on a wet road or having the vehi-
cle washed, brake firmly while paying atten-
tion to the traffic conditions. This will warm
up the brake discs, thereby drying them more
quickly and protecting them against corro-
sion.
Limited braking performance on salt-
treated roads
G
WARNING
The layerofs alt on thebrake discs and the
brake pads/linings may caus eadelay in the
braking effect, resulting in a significantly lon-
ger braking distance, which could lead to an
accident.
To avoid this danger, you should:
R occasionally brake carefully, without put-
ting other road users at risk, when you are
driving on salted roads. This helps to
remove any salt that may have started to
build up on the brake discs and the brake
pads/linings.
R maintain a greater distanc eto the vehicle
ahead and drive with particular care.
R carefully apply the brakes at the end of a
trip and immediately after commencing a
new trip, so that salt residues are removed
from the brake discs. Driving tips
147Driving and parking Z