boot MERCEDES-BENZ B-CLASS HATCHBACK 2015 Owners Manual
[x] Cancel search | Manufacturer: MERCEDES-BENZ, Model Year: 2015, Model line: B-CLASS HATCHBACK, Model: MERCEDES-BENZ B-CLASS HATCHBACK 2015Pages: 293, PDF Size: 10.83 MB
Page 7 of 293
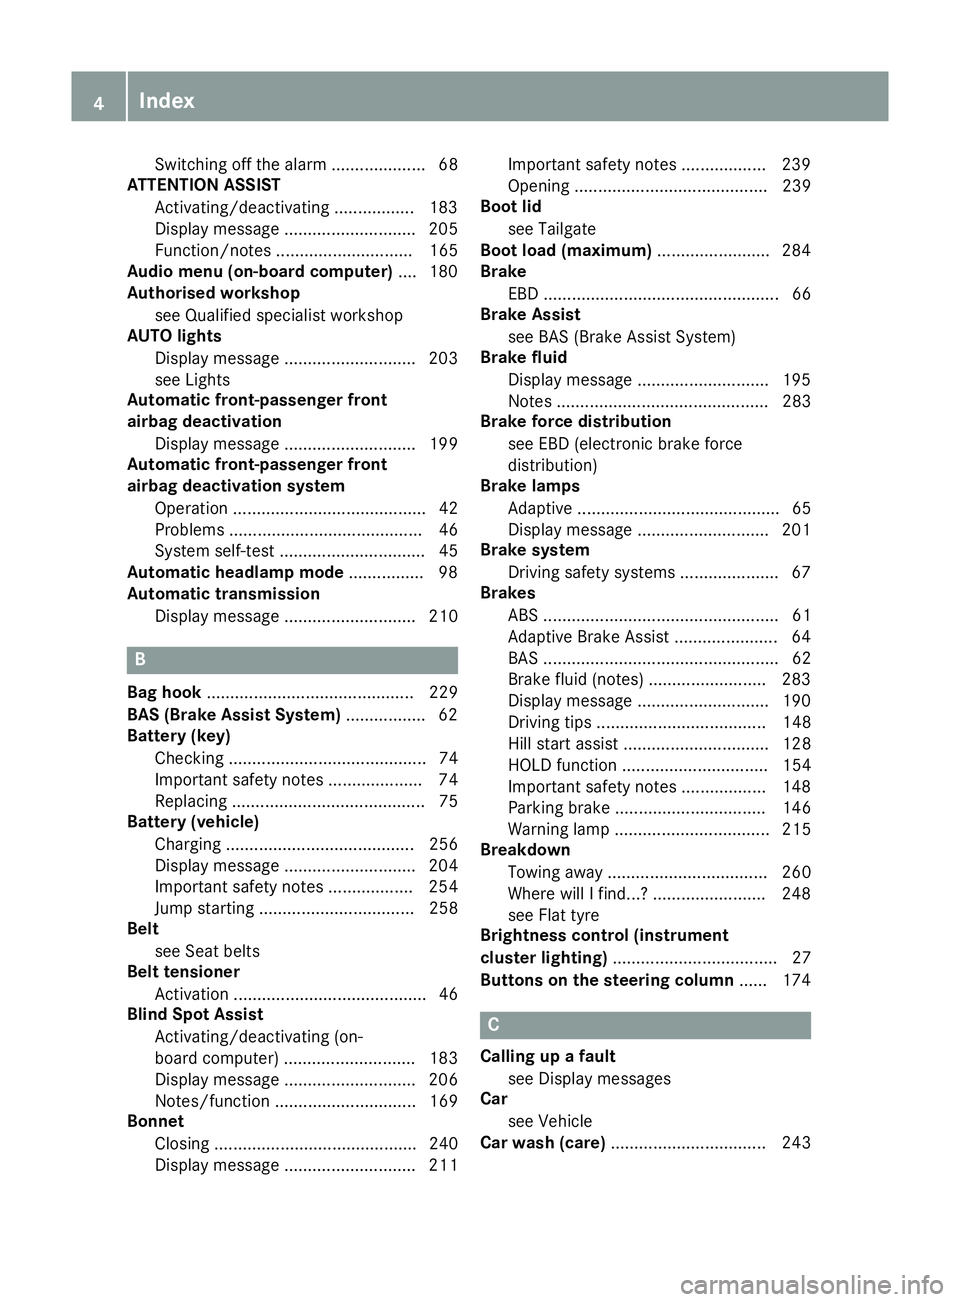
Switching off the alarm .................... 68
ATTENTION ASSIST
Activating/deactivating ................. 183
Display message ............................ 205
Function/note s............................. 165
Audio menu (on-board computer) .... 180
Authorised workshop
see Qualified specialist workshop
AUTO lights
Display message ............................ 203
see Lights
Automatic front-passenger front
airbag deactivation
Display message ............................ 199
Automatic front-passenger front
airbag deactivation system
Operation ......................................... 42
Problems ......................................... 46
System self-test ............................... 45
Automatic headlamp mode ................ 98
Automatic transmission
Display message ............................ 210 B
Bag hook ............................................ 229
BAS (Brake Assist System) ................. 62
Battery (key)
Checking .......................................... 74
Important safety notes .................... 74
Replacing ......................................... 75
Battery (vehicle)
Charging ........................................ 256
Display message ............................ 204
Important safety notes .................. 254
Jump starting ................................. 258
Belt
see Seat belts
Belt tensioner
Activation ......................................... 46
Blind Spot Assist
Activating/deactivating (on-
board computer) ............................ 183
Display message ............................ 206
Notes/function .............................. 169
Bonnet
Closing ........................................... 240
Display message ............................ 211 Important safety notes .................. 239
Opening ......................................... 239
Boot lid
see Tailgate
Boot load (maximum) ........................ 284
Brake
EBD .................................................. 66
Brake Assist
see BAS (Brake Assist System)
Brake fluid
Display message ............................ 195
Notes ............................................. 283
Brake force distribution
see EBD (electronic brake force
distribution)
Brake lamps
Adaptive ........................................... 65
Display message ............................ 201
Brake system
Driving safety systems ..................... 67
Brakes
ABS .................................................. 61
Adaptive Brake Assist ...................... 64
BAS .................................................. 62
Brake fluid (notes) ......................... 283
Display message ............................ 190
Driving tips .................................... 148
Hill start assist ............................... 128
HOLD function ............................... 154
Important safety notes .................. 148
Parking brake ................................ 146
Warning lamp ................................. 215
Breakdown
Towing away .................................. 260
Where will I find...? ........................ 248
see Flat tyre
Brightness control (instrument
cluster lighting) ................................... 27
Buttons on the steering column ...... 174 C
Calling up a fault see Display messages
Car
see Vehicle
Car wash (care) ................................. 2434
Index
Page 20 of 293
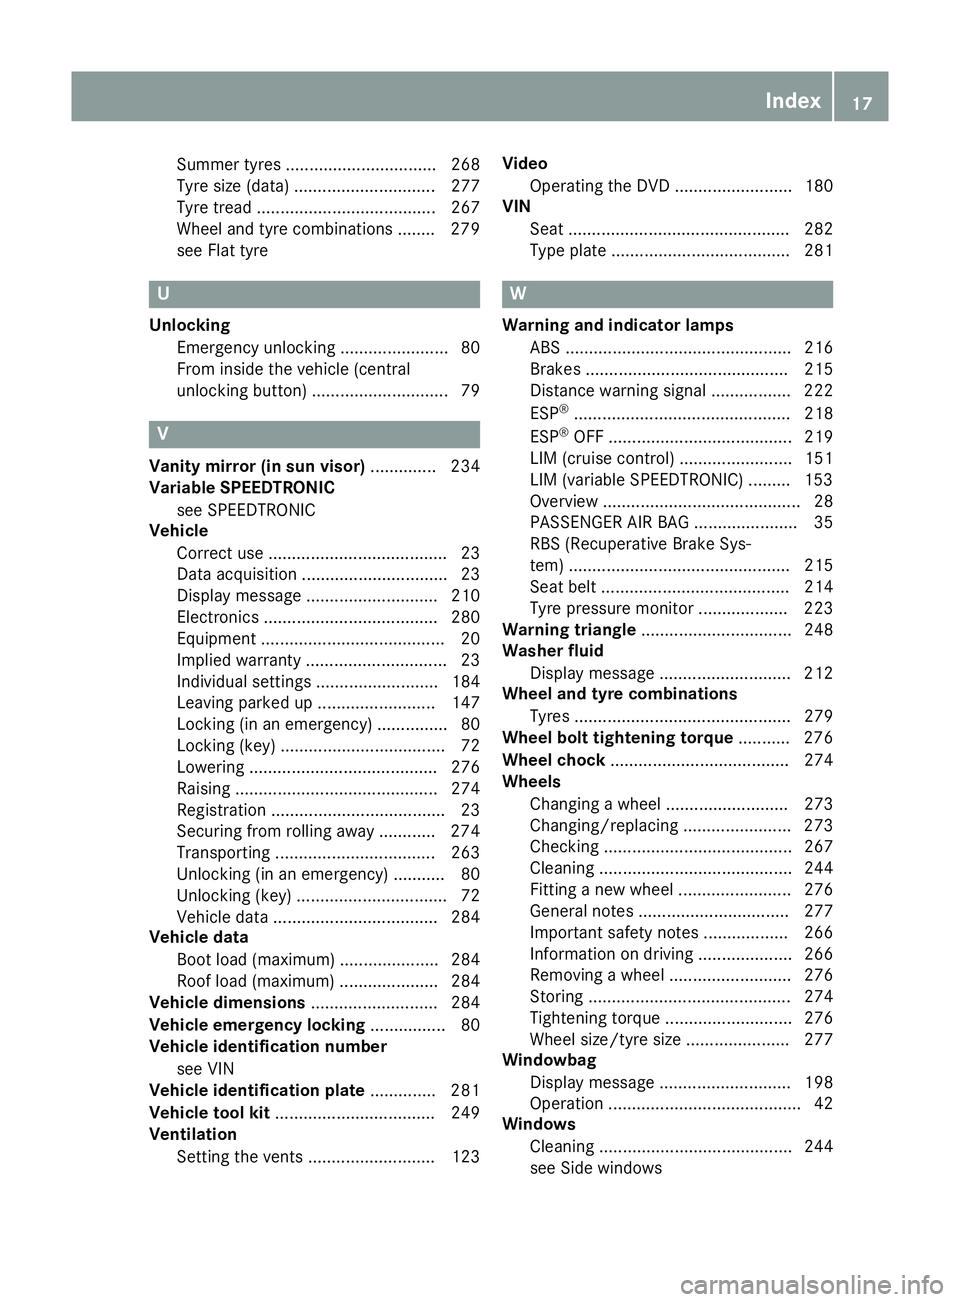
Summer tyres ................................ 268
Tyre size (data
).............................. 277
Tyre tread ...................................... 267
Wheel and tyre combinations ........ 279
see Flat tyre U
Unlocking Emergency unlocking ....................... 80
From inside the vehicle (central
unlocking button) ............................. 79 V
Vanity mirror (in sun visor) .............. 234
Variable SPEEDTRONIC
see SPEEDTRONIC
Vehicle
Correct use ...................................... 23
Data acquisition ............................... 23
Display message ............................ 210
Electronics ..................................... 280
Equipment ....................................... 20
Implied warranty .............................. 23
Individual settings .......................... 184
Leaving parked up ......................... 147
Locking (in an emergency) ............... 80
Locking (key) ................................... 72
Lowering ........................................ 276
Raising ........................................... 274
Registration ..................................... 23
Securing from rolling away ............ 274
Transporting .................................. 263
Unlocking (in an emergency) ........... 80
Unlocking (key) ................................ 72
Vehicle data ................................... 284
Vehicle data
Boot load (maximum) ..................... 284
Roof load (maximum) ..................... 284
Vehicle dimensions ........................... 284
Vehicle emergency locking ................ 80
Vehicle identification number
see VIN
Vehicle identification plate .............. 281
Vehicle tool kit .................................. 249
Ventilation
Setting the vents ........................... 123 Video
Operating the DVD ......................... 180
VIN
Seat ............................................... 282
Type plate ...................................... 281 W
Warning and indicator lamps ABS ................................................ 216
Brakes ........................................... 215
Distance warning signal ................. 222
ESP ®
.............................................. 218
ESP ®
OFF ....................................... 219
LIM (cruise control )........................ 151
LIM (variable SPEEDTRONIC) ......... 153
Overview .......................................... 28
PASSENGER AIR BAG ...................... 35
RBS (Recuperative Brake Sys-
tem) ............................................... 215
Seat belt ........................................ 214
Tyre pressure monitor ................... 223
Warning triangle ................................ 248
Washer fluid
Display message ............................ 212
Wheel and tyre combinations
Tyres .............................................. 279
Wheel bolt tightening torque ........... 276
Wheel chock ...................................... 274
Wheels
Changing a whee l.......................... 273
Changing/replacing ....................... 273
Checking ........................................ 267
Cleaning ......................................... 244
Fitting a new wheel ........................ 276
General notes ................................ 277
Important safety notes .................. 266
Information on driving .................... 266
Removing a wheel .......................... 276
Storing ........................................... 274
Tightening torque ........................... 276
Wheel size/tyre size ...................... 277
Windowbag
Display message ............................ 198
Operation ......................................... 42
Windows
Cleaning ......................................... 244
see Side windows Index
17
Page 143 of 293
Stowing the charging cable
The charging cable can be stowed in a bag in the
boot of the vehicle. To do so, the bag must be
secured to the lashing eyelets using the retain-
ing strap provided.
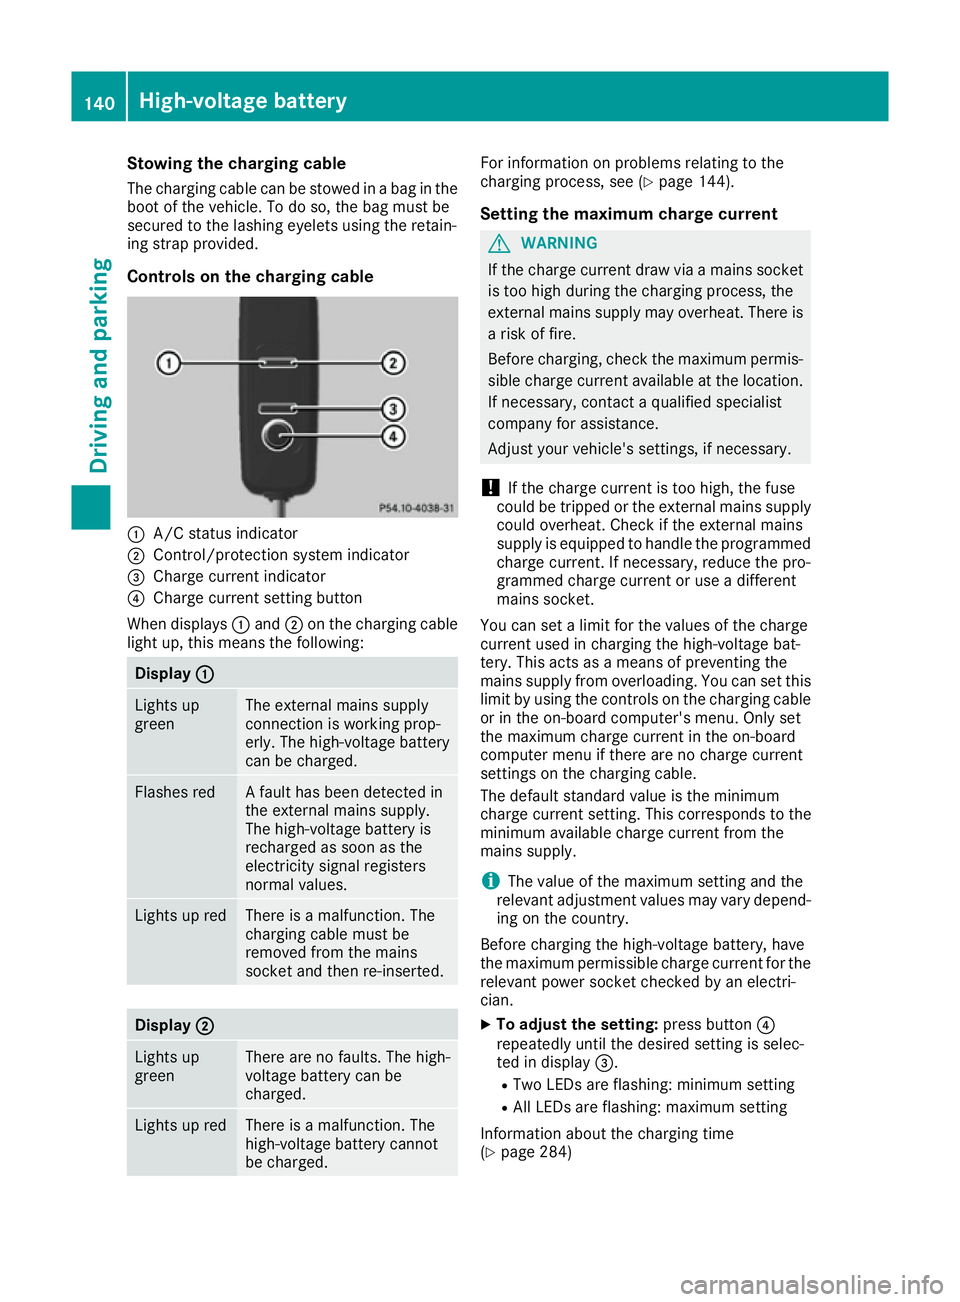
Controls on the charging cable :
A/C status indicator
; Control/protection system indicator
= Charge current indicator
? Charge current setting button
When displays :and ;on the charging cable
light up, this means the following: Display
:
: Lights up
green The external mains supply
connection is working prop-
erly. The high-voltage battery
can be charged.
Flashes red A fault has been detected in
the external mains supply.
The high-voltage battery is
recharged as soon as the
electricity signal registers
normal values.
Lights up red There is a malfunction. The
charging cable must be
removed from the mains
socket and then re-inserted.
Display
; ; Lights up
green There are no faults. The high-
voltage battery can be
charged.
Lights up red There is a malfunction. The
high-voltage battery cannot
be charged. For information on problems relating to the
charging process, see (Y
page 144).
Setting the maximum charge current G
WARNING
If the charge current draw via a mains socket is too high during the charging process, the
external mains supply may overheat. There isa risk of fire.
Before charging, check the maximum permis-
sible charge current available at the location.
If necessary, contact a qualified specialist
company for assistance.
Adjust your vehicle's settings, if necessary.
! If the charge current is too high, the fuse
could be tripped or the external mains supply could overheat. Check if the external mains
supply is equipped to handle the programmed charge current. If necessary, reduce the pro-
grammed charge current or use a different
mains socket.
You can set a limit for the values of the charge
current used in charging the high-voltage bat-
tery. This acts as a means of preventing the
mains supply from overloading. You can set this
limit by using the controls on the charging cable
or in the on-board computer's menu. Only set
the maximum charge current in the on-board
computer menu if there are no charge current
settings on the charging cable.
The default standard value is the minimum
charge current setting. This corresponds to the
minimum available charge current from the
mains supply.
i The value of the maximum setting and the
relevant adjustment values may vary depend-
ing on the country.
Before charging the high-voltage battery, have
the maximum permissible charge current for the relevant power socket checked by an electri-
cian.
X To adjust the setting: press button?
repeatedly until the desired setting is selec-
ted in display =.
R Two LEDs are flashing: minimum setting
R All LEDs are flashing: maximum setting
Information about the charging time
(Y page 284) 140
High-voltage batteryDriving and parking
Page 145 of 293
i
Depending on the temperature, the engine
cooling system and battery cooling system
may audibly switch on when the charging
cable is connected or during the charging
process.
Removing the charging cable !
Before driving away, you must ensure that,
for your own safety and to avoid damage, the charging cable has been removed from the
vehicle socket. Otherwise, you cannot shift
the transmission out of position P.
When the charge level display reaches 100%,
the battery is fully charged (Y page 174).
The indicator lamps in the vehicle socket and on the charging cable may stay on for up to
30 seconds after the charging cable has been
disconnected.
When the battery is charged:
X Unlock the vehicle.
The Ý right indicator lamp Bon vehicle
socket Cgoes out. The Ìleft indicator
lamp Aon vehicle socket Clights up white.
X Remove the charging cable from vehicle
socket Cwithin 30 second s. Otherwise the
vehicle will relock the vehicle socket.
X Close socket cap =.
X Close the charge socket flap.
X Remove the charging cable from the mains
socket.
X Stow the charging cable safely in the vehicle
(Y page 140).
If the charging cable cannot be removed from
the vehicle socket, unlock the charge socket
flap manually using the emergency release
(Y page 143). Charging a high-voltage battery at a
charging station/wallbox
General notes When charging your vehicle from a wallbox, use
the three-phase 32 A charging cable supplied.
The charging cable is stored in a bag in the boot.
Only use charging cables that have been tested
and approved by the manufacturer for charging
the high-voltage battery in an electric vehicle.
Observe the "Important safety notes"
(Y page 134). Charging communication at a charging
station The charging station first has to be activated
before you can charge at a charging station. You
can activate the charging station by using an
RFID card or via telephone activation. Observe
the on-site operator instructions for the charg-
ing station.
When the vehicle is connected to the charging
station, information and details on technical
parameters are exchanged. It can thus take up
to 30 seconds for the charging process to begin.
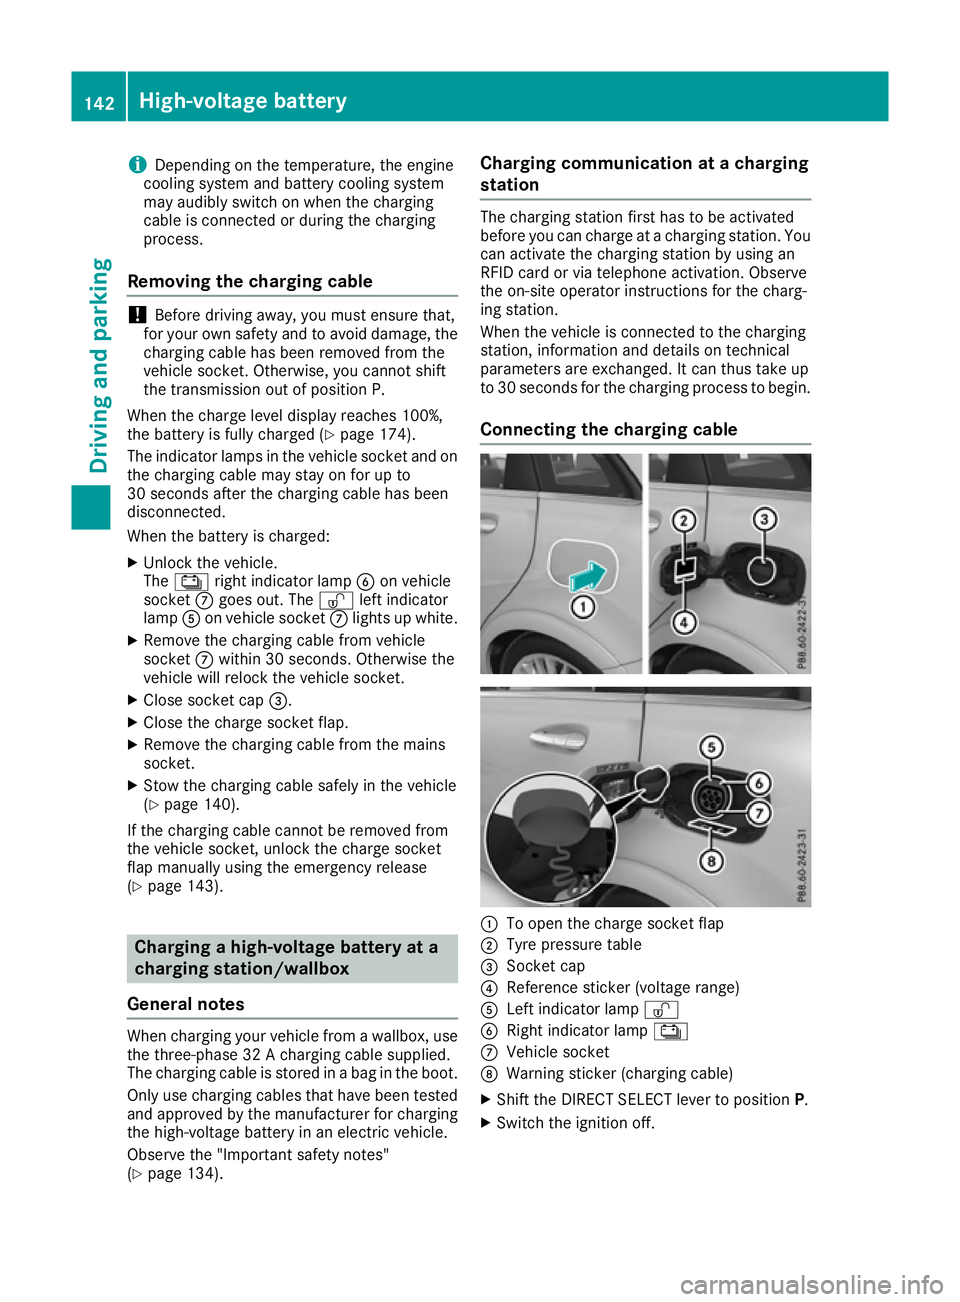
Connecting the charging cable :
To open the charge socket flap
; Tyre pressure table
= Socket cap
? Reference sticker (voltage range)
A Left indicator lamp Ì
B Right indicator lamp Ý
C Vehicle socket
D Warning sticker (charging cable)
X Shift the DIRECT SELECT lever to position P.
X Switch the ignition off. 142
High-voltage batteryDriving and parking
Page 231 of 293
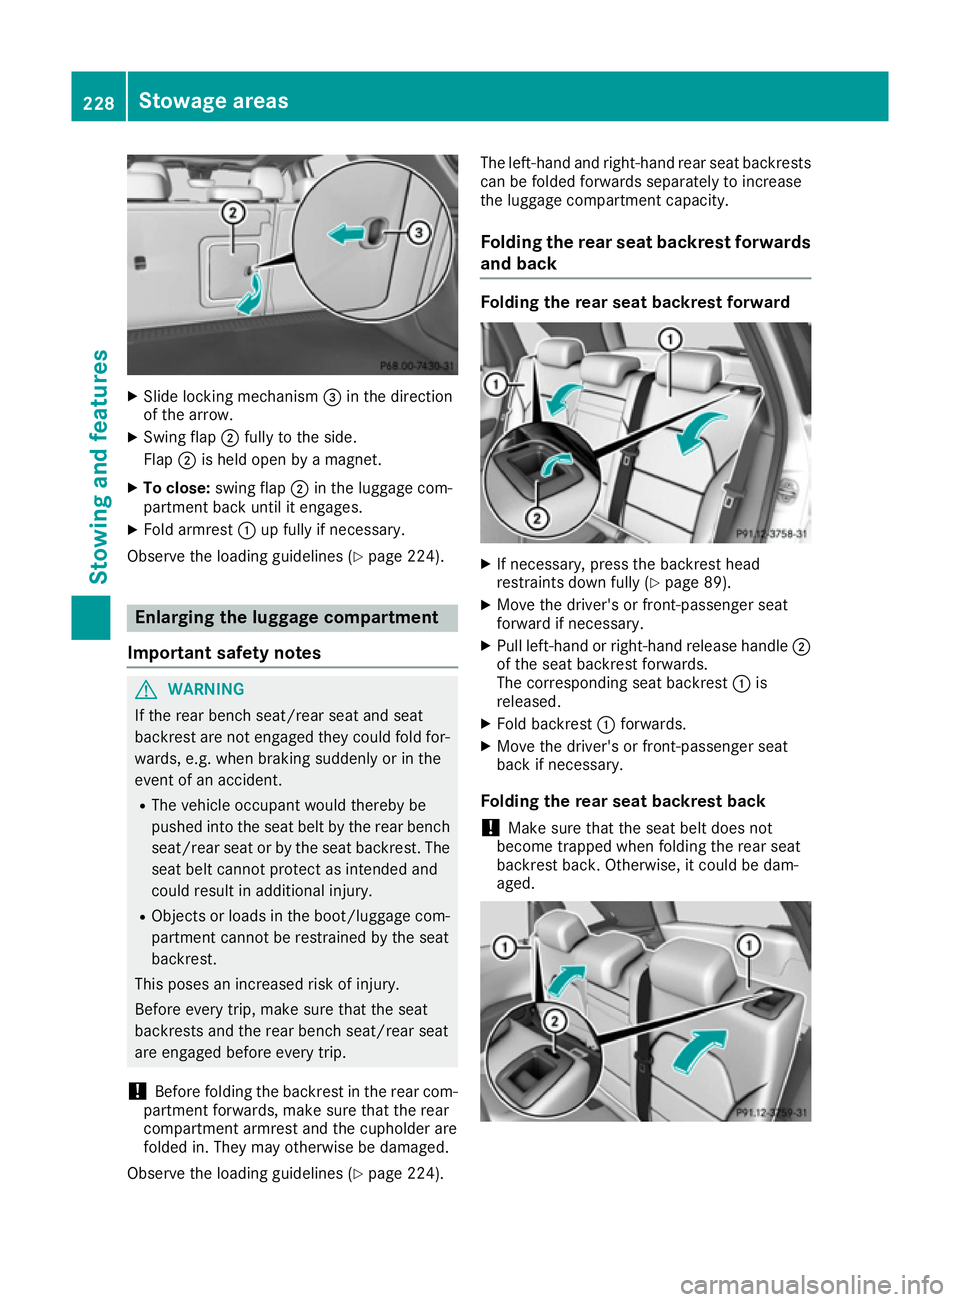
X
Slide locking mechanism =in the direction
of the arrow.
X Swing flap ;fully to the side.
Flap ;is held open by a magnet.
X To close: swing flap ;in the luggage com-
partment back until it engages.
X Fold armrest :up fully if necessary.
Observe the loading guidelines (Y page 224).Enlarging the luggage compartment
Important safety notes G
WARNING
If the rear bench seat/rear seat and seat
backrest are not engaged they could fold for- wards, e.g. when braking suddenly or in the
event of an accident.
R The vehicle occupant would thereby be
pushed into the seat belt by the rear bench
seat/rear seat or by the seat backrest. The
seat belt cannot protect as intended and
could result in additional injury.
R Objects or loads in the boot/luggage com-
partment cannot be restrained by the seat
backrest.
This poses an increased risk of injury.
Before every trip, make sure that the seat
backrests and the rear bench seat/rear seat
are engaged before every trip.
! Before folding the backrest in the rear com-
partment forwards, make sure that the rear
compartment armrest and the cupholder are
folded in. They may otherwise be damaged.
Observe the loading guidelines (Y page 224).The left-hand and right-hand rear seat backrests
can be folded forwards separately to increase
the luggage compartment capacity.
Folding the rear seat backrest forwards and back Folding the rear seat backrest forward
X
If necessary, press the backrest head
restraints down fully (Y page 89).
X Move the driver's or front-passenger seat
forward if necessary.
X Pull left-hand or right-hand release handle ;
of the seat backrest forwards.
The corresponding seat backrest :is
released.
X Fold backrest :forwards.
X Move the driver's or front-passenger seat
back if necessary.
Folding the rear seat backrest back
! Make sure that the seat belt does not
become trapped when folding the rear seat
backrest back. Otherwise, it could be dam-
aged. 228
Stowage areasStowing and features
Page 288 of 293
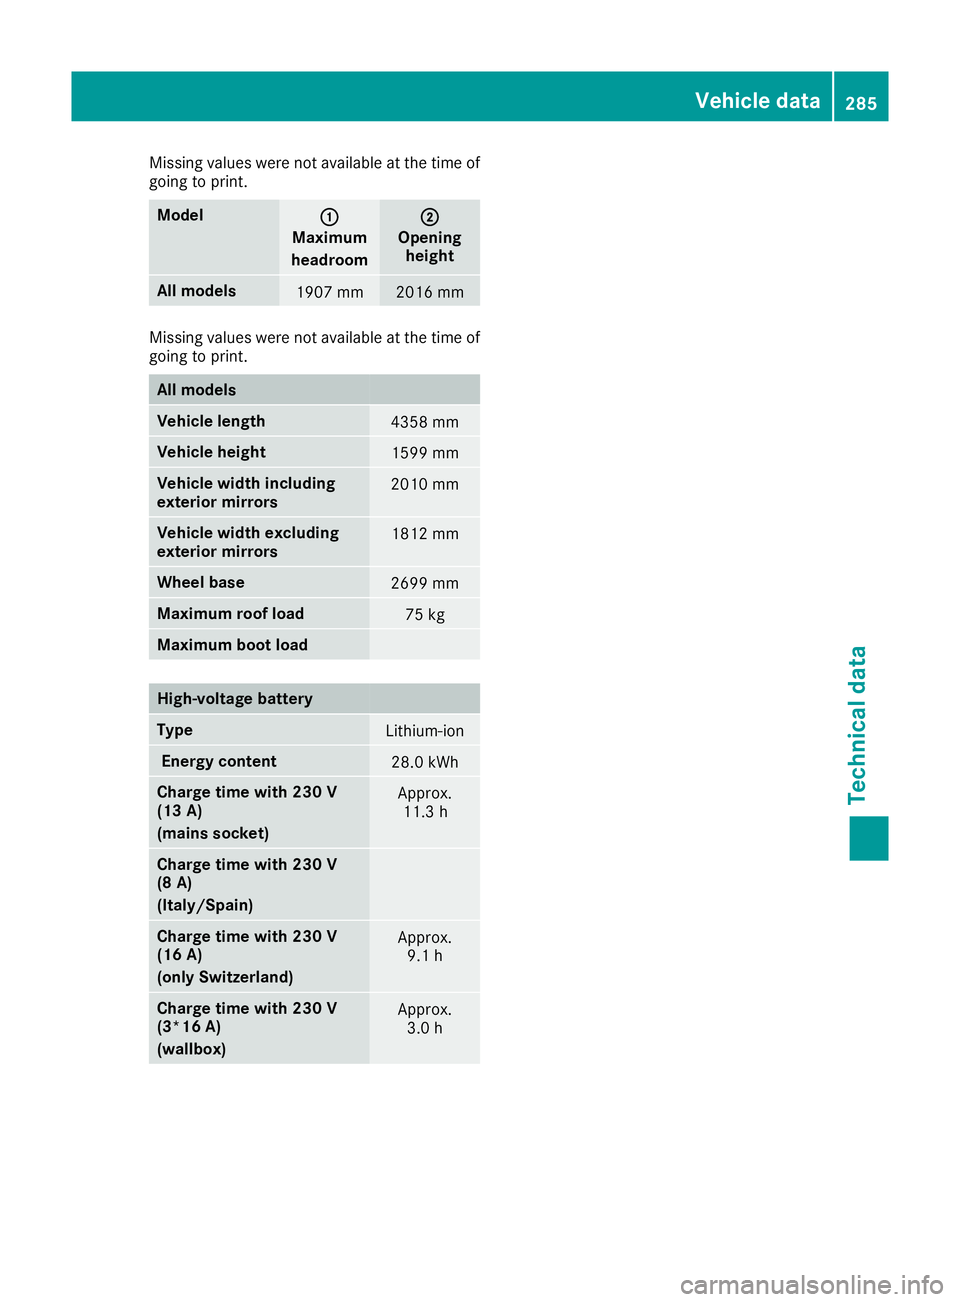
Missing values were not available at the time of
going to print. Model
:
:
Maximum
headroom ;
;
Opening height All models
1907 mm 2016 mm
Missing values were not available at the time of
going to print. All models
Vehicle length
4358 mm
Vehicle height
1599 mm
Vehicle width including
exterior mirrors
2010 mm
Vehicle width excluding
exterior mirrors
1812 mm
Wheel base
2699 mm
Maximum roof load
75 kg
Maximum boot load
High-voltage battery
Type
Lithium-ion
Energy content
28.0 kWh
Charge time with 230 V
(13 A)
(mains socket)
Approx.
11.3 h Charge time with 230 V
(8 A)
(Italy/Spain)
Charge time with 230 V
(16 A)
(only Switzerland)
Approx.
9.1 h Charge time with 230 V
(3*16 A)
(wallbox)
Approx.
3.0 h Vehicle data
285Technical data Z