key MERCEDES-BENZ C-Class 2015 W205 Comand Manual
[x] Cancel search | Manufacturer: MERCEDES-BENZ, Model Year: 2015, Model line: C-Class, Model: MERCEDES-BENZ C-Class 2015 W205Pages: 214, PDF Size: 5.16 MB
Page 72 of 214
Set as Intermediate Destination
Set as Intermediate Destination
adds the new destination in addition to the
existing destination and opens the inter-
mediate destinations list.
i The route is calculated using the digital
map data. The calculation time depends on
the distance from the destination, for
example.
The calculated route may differ from the
ideal route, e.g. due to road works or
incomplete map data. Please also refer to
the notes about the digital map
(Y page 96).
Calling up the keyword search
X To select the magnifying glass symbol:
while in the address entry menu, slide
6, turn and then press the controller.
Viewing the vicinity of the destination
X To select symbol 0043: turn the controller and
press to confirm.
You can explore the destination area.
Requirement for exploring a destination:
mbrace must be activated for Internet
access (Y page 136). Keyword search
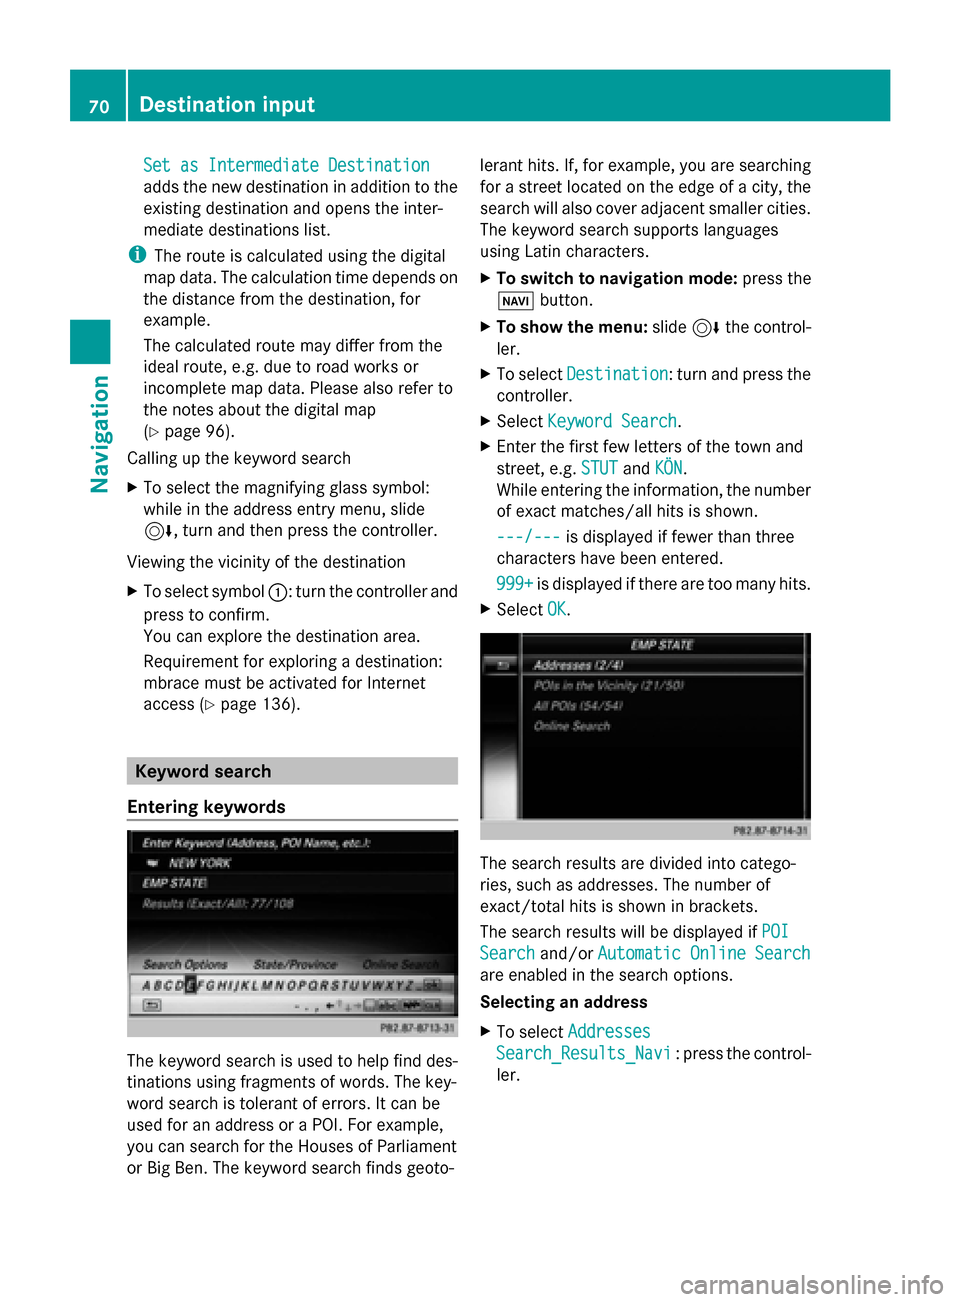
Entering keywords The keyword search is used to help find des-
tinations using fragments of words. The key-
word search is tolerant of errors. It can be
used for an address or a POI. For example,
you can search for the Houses of Parliament
or Big Ben. The keyword search finds geoto- lerant hits. If, for example, you are searching
for a street located on the edge of a city, the
search will also cover adjacent smaller cities.
The keyword search supports languages
using Latin characters.
X
To switch to navigation mode: press the
00BE button.
X To show the menu: slide6the control-
ler.
X To select Destination Destination: turn and press the
controller.
X Select Keyword Search
Keyword Search.
X Enter the first few letters of the town and
street, e.g. STUT STUTandKÖN
KÖN.
While entering the information, the number
of exact matches/all hits is shown.
---/--- ---/--- is displayed if fewer than three
characters have been entered.
999+ 999+ is displayed if there are too many hits.
X Select OK
OK. The search results are divided into catego-
ries, such as addresses. The number of
exact/total hits is shown in brackets.
The search results will be displayed if
POI POI
Search
Search and/orAutomatic Online Search
Automatic Online Search
are enabled in the search options.
Selecting an address
X To select Addresses Addresses
Search_Results_Navi Search_Results_Navi : press the control-
ler. 70
Destination inputNavigation
Page 73 of 214
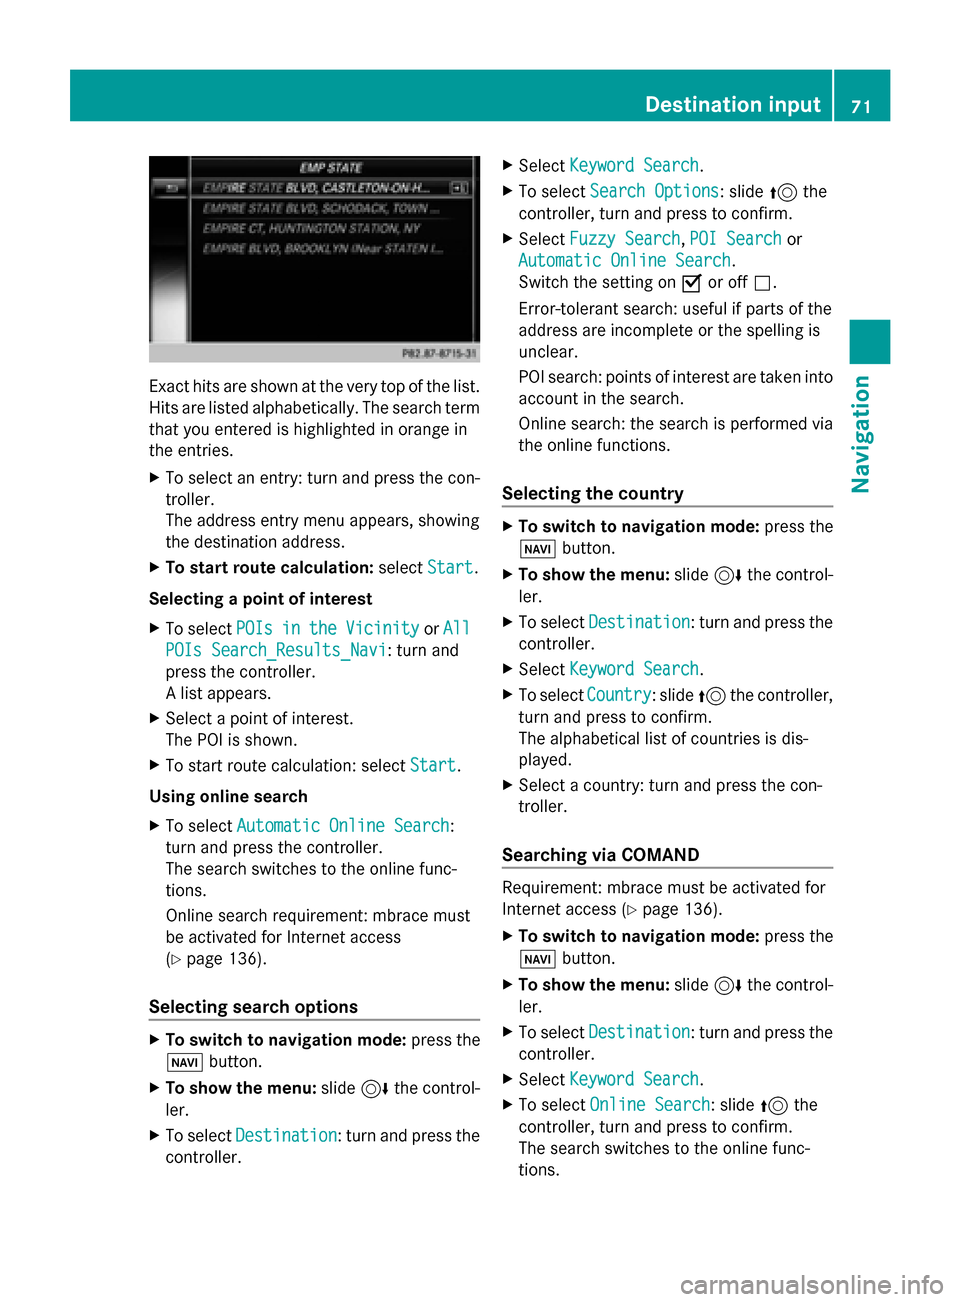
Exact hits are shown at the very top of the list.
Hits are listed alphabetically. The search term
that you entered is highlighted in orange in
the entries.
X To select an entry: turn and press the con-
troller.
The address entry menu appears, showing
the destination address.
X To start route calculation: selectStart
Start.
Selecting a point of interest
X To select POIs POIsin
inthe
the Vicinity
Vicinity orAll
All
POIs Search_Results_Navi
POIs Search_Results_Navi: turn and
press the controller.
A list appears.
X Select a point of interest.
The POI is shown.
X To start route calculation: select Start Start.
Using online search
X To select Automatic Online Search
Automatic Online Search :
turn and press the controller.
The search switches to the online func-
tions.
Online search requirement: mbrace must
be activated for Internet access
(Y page 136).
Selecting search options X
To switch to navigation mode: press the
00BE button.
X To show the menu: slide6the control-
ler.
X To select Destination Destination: turn and press the
controller. X
Select Keyword Search
Keyword Search .
X To select Search Options
Search Options: slide 5the
controller, turn and press to confirm.
X Select Fuzzy Search
Fuzzy Search ,POI Search
POI Search or
Automatic Online Search
Automatic Online Search .
Switch the setting on 0073or off 0053.
Error-tolerant search: useful if parts of the
address are incomplete or the spelling is
unclear.
POI search: points of interest are taken into
account in the search.
Online search: the search is performed via
the online functions.
Selecting the country X
To switch to navigation mode: press the
00BE button.
X To show the menu: slide6the control-
ler.
X To select Destination Destination: turn and press the
controller.
X Select Keyword Search
Keyword Search .
X To select Country
Country: slide 5the controller,
turn and press to confirm.
The alphabetical list of countries is dis-
played.
X Select a country: turn and press the con-
troller.
Searching via COMAND Requirement: mbrace must be activated for
Internet access (
Ypage 136).
X To switch to navigation mode: press the
00BE button.
X To show the menu: slide6the control-
ler.
X To select Destination Destination: turn and press the
controller.
X Select Keyword Search
Keyword Search .
X To select Online Search Online Search : slide5the
controller, turn and press to confirm.
The search switches to the online func-
tions. Destina
tion input
71Navigation Z
Page 79 of 214
Selection Action
Address
Address
Entry Entry X
Enter a destination by
address (Y page 68). Keyword Keyword
Search Search X
Select a destination by
means of a keyword
search (Y page 70). From Previ‐ From Previ‐
ous Destina‐ ous Destina‐
tions tions X
Select a destination
from the list of last des-
tinations (Y page 72). From POIs From POIs X
Select a point of inter-
est (Y page 72). Using Map
Using Map X
Enter a destination
using the map
(Y page 75). From From
Mercedes- Mercedes-
Benz Apps Benz Apps X
Enter a destination
from Mercedes-Benz
Apps (Y page 78). Using Geo- Using Geo-
Coordinates Coordinates X
Enter a destination
using the geo-coordi-
nates (Y page 79). X
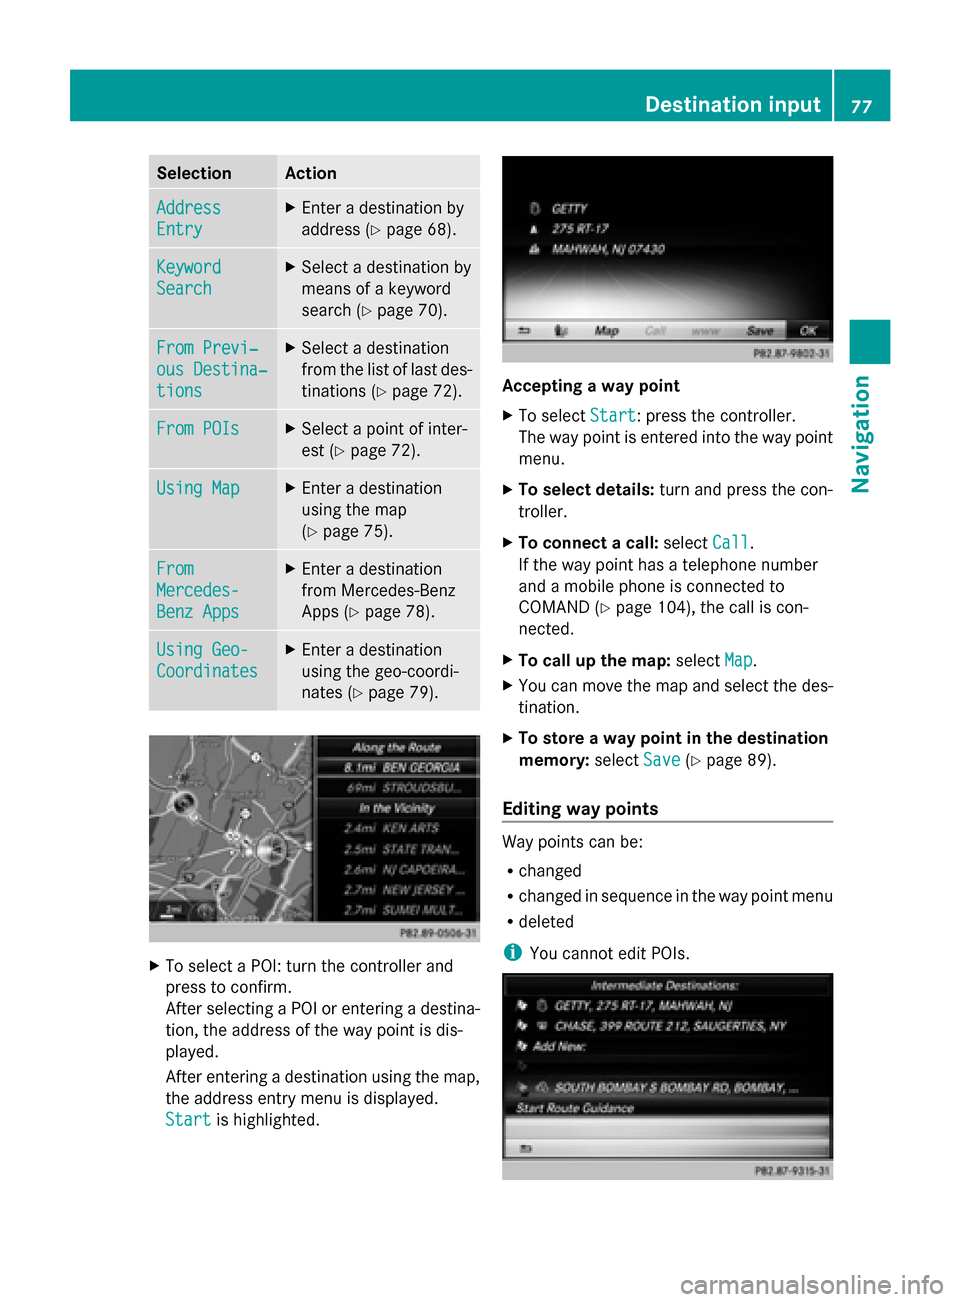
To select a POI: turn the controller and
press to confirm.
After selecting a POI or entering a destina-
tion, the address of the way point is dis-
played.
After entering a destination using the map,
the address entry menu is displayed.
Start
Start is highlighted. Accepting a way point
X
To select Start Start: press the controller.
The way point is entered into the way point
menu.
X To select details: turn and press the con-
troller.
X To connect a call: selectCall
Call.
If the way point has a telephone number
and a mobile phone is connected to
COMAND (Y page 104), the call is con-
nected.
X To call up the map: selectMap Map.
X You can move the map and select the des-
tination.
X To store a way point in the destination
memory: selectSave Save(Ypage 89).
Editing way points Way points can be:
R
changed
R changed in sequence in the way point menu
R deleted
i You cannot edit POIs. Destination input
77Navigation Z
Page 107 of 214
Procedure and general information
Searching for and authorizing (connect-
ing) a mobile phone
Before using your mobile phone with
COMAND for the first time, you will need to
search for the phone (Y page 105) and then
authorize it (Y page 106). Depending on the
mobile phone, authorization either takes
place by means of Secure Simple Pairing or
by entering a passkey. COMAND automati-
cally makes the system suitable for your
mobile phone available. You can recognize
Secure Simple Pairing by a code which is dis-
played in COMAND and on the mobile phone.
You can recognize the passkey system by the
fact that you have to enter a code on the
mobile phone and in COMAND. The mobile
phone is always connected automatically
after authorization.
If COMAND does not detect your mobile
phone, this may be due to particular security
settings on your mobile phone. You can also
start the search procedure and authorization
on the mobile phone (Y page 107).
Device-specific information on authorizing
and connecting Bluetooth ®
-capable mobile
phones can be found on the Internet at
http://www.mercedes-benz.com/
connect .
You can authorize up to 15 mobile phones.
Only one mobile phone can be connected to
COMAND at any one time.
De-authorizing (disconnecting) a mobile
phone
The connection is terminated automatically if
you leave the receiver range of COMAND or
deactivate Bluetooth ®
on your mobile phone.
If you no longer want the Bluetooth ®
connec-
tion to be established automatically, the
mobile phone must be de-authorized (discon-
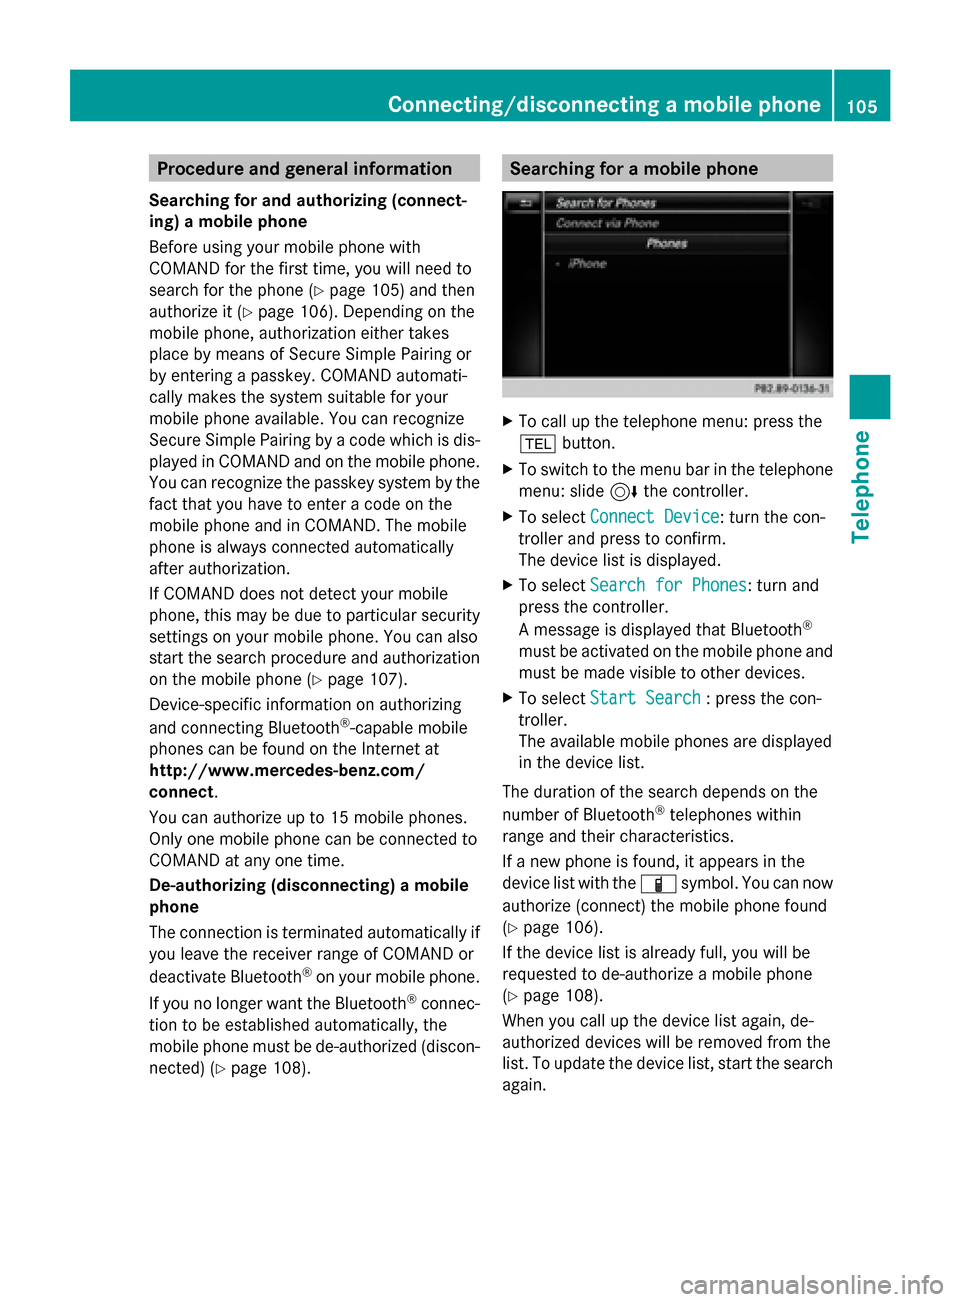
nected) (Y page 108). Searching for a mobile phone
X
To call up the telephone menu: press the
002B button.
X To switch to the menu bar in the telephone
menu: slide 6the controller.
X To select Connect Device
Connect Device: turn the con-
troller and press to confirm.
The device list is displayed.
X To select Search for Phones Search for Phones: turn and
press the controller.
A message is displayed that Bluetooth ®
must be activated on the mobile phone and
must be made visible to other devices.
X To select Start Search Start Search : press the con-
troller.
The available mobile phones are displayed
in the device list.
The duration of the search depends on the
number of Bluetooth ®
telephones within
range and their characteristics.
If a new phone is found, it appears in the
device list with the 00D3symbol. You can now
authorize (connect) the mobile phone found
(Y page 106).
If the device list is already full, you will be
requested to de-authorize a mobile phone
(Y page 108).
When you call up the device list again, de-
authorized devices will be removed from the
list. To update the device list, start the search
again. Connecting/disconnecting a mobile phone
105Telephone Z
Page 108 of 214
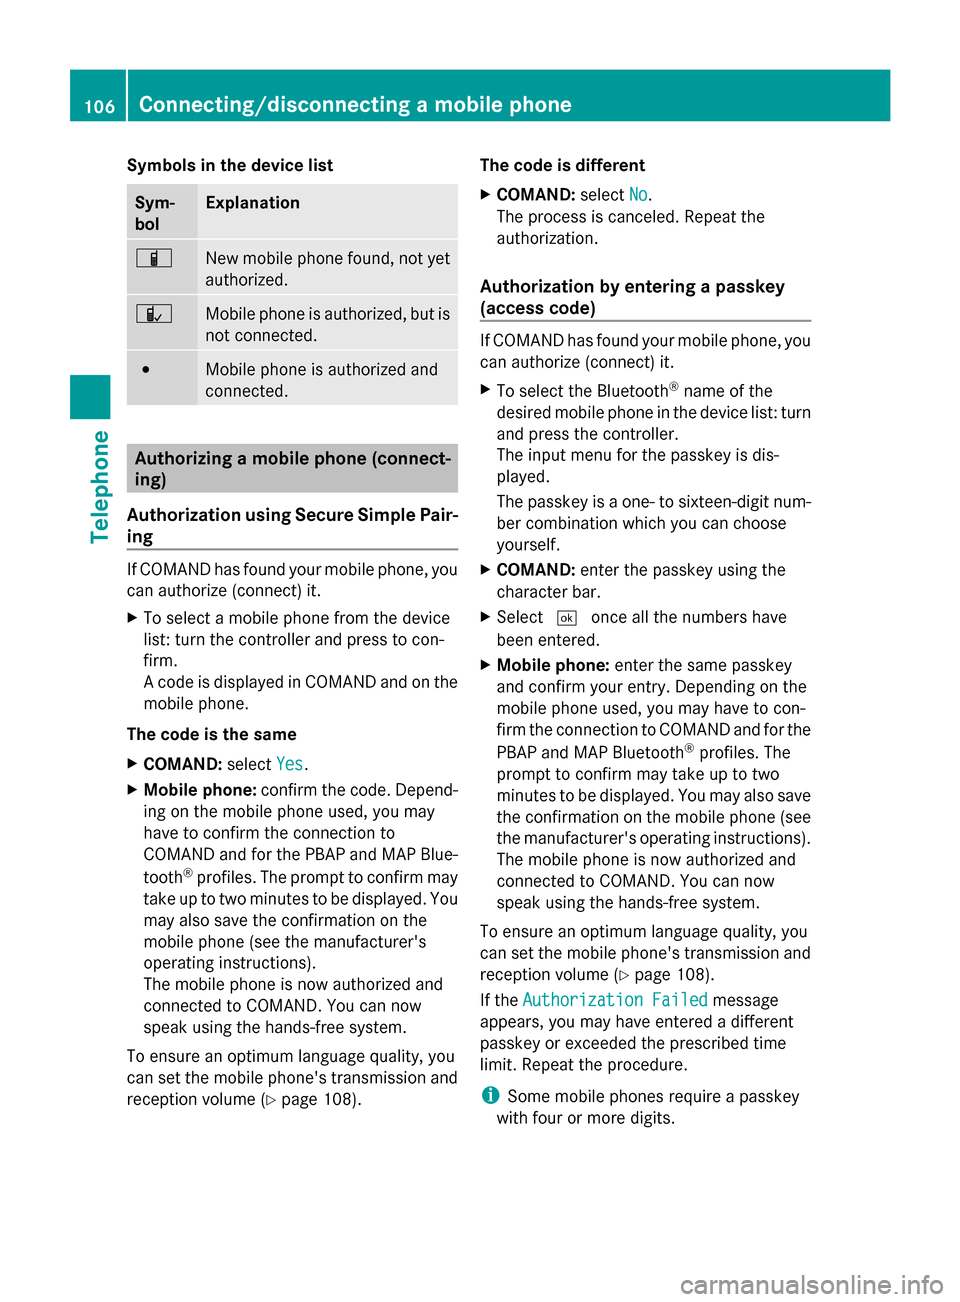
Symbols in the device list
Sym-
bol Explanation
00D3
New mobile phone found, not yet
authorized.
00DC
Mobile phone is authorized, but is
not connected.
0036
Mobile phone is authorized and
connected.
Authorizing a mobile phone (connect-
ing)
Authorization using Secure Simple Pair-
ing If COMAND has found your mobile phone, you
can authorize (connect) it.
X To select a mobile phone from the device
list: turn the controller and press to con-
firm.
A code is displayed in COMAND and on the
mobile phone.
The code is the same
X COMAND: selectYes Yes.
X Mobile phone: confirm the code. Depend-
ing on the mobile phone used, you may
have to confirm the connection to
COMAND and for the PBAP and MAP Blue-
tooth ®
profiles. The prompt to confirm may
take up to two minutes to be displayed. You
may also save the confirmation on the
mobile phone (see the manufacturer's
operating instructions).
The mobile phone is now authorized and
connected to COMAND. You can now
speak using the hands-free system.
To ensure an optimum language quality, you
can set the mobile phone's transmission and
reception volume (Y page 108). The code is different
X
COMAND: selectNo
No.
The process is canceled. Repeat the
authorization.
Authorization by entering a passkey
(access code) If COMAND has found your mobile phone, you
can authorize (connect) it.
X
To select the Bluetooth ®
name of the
desired mobile phone in the device list: turn
and press the controller.
The input menu for the passkey is dis-
played.
The passkey is a one- to sixteen-digit num-
ber combination which you can choose
yourself.
X COMAND: enter the passkey using the
character bar.
X Select 0054once all the numbers have
been entered.
X Mobile phone: enter the same passkey
and confirm your entry. Depending on the
mobile phone used, you may have to con-
firm the connection to COMAND and for the
PBAP and MAP Bluetooth ®
profiles. The
prompt to confirm may take up to two
minutes to be displayed. You may also save
the confirmation on the mobile phone (see
the manufacturer's operating instructions).
The mobile phone is now authorized and
connected to COMAND. You can now
speak using the hands-free system.
To ensure an optimum language quality, you
can set the mobile phone's transmission and
reception volume (Y page 108).
If the Authorization Failed
Authorization Failed message
appears, you may have entered a different
passkey or exceeded the prescribed time
limit. Repeat the procedure.
i Some mobile phones require a passkey
with four or more digits. 106
Connecting/disconnecting a mobile phoneTelephone
Page 109 of 214
i
If you wish to re-authorize the mobile
phone after de-authorizing it, you can
choose another passkey for it. Establishing the connection from the
mobile phone
The Bluetooth ®
device name of COMAND is
"MB Bluetooth".
X COMAND: call up the telephone menu.
X To switch to the menu bar: slide 6the
controller.
X To select Connect Device Connect Device: turn the con-
troller and press to confirm.
The device list is displayed.
X To select Connect via Phone
Connect via Phone: turn and
press the controller.
A message is displayed, stating that you
can start the search on your mobile phone.
X Mobile phone: start the search for a Blue-
tooth ®
device (see manufacturer's operat-
ing instructions).
COMAND is displayed with the name "MB
Bluetooth" in the mobile phone's device
list.
X Select "MB Bluetooth".
A prompt appears in the COMAND display
asking whether the mobile phone should be
authorized.
X COMAND: selectYes
Yes.
If No No is selected, the procedure is canceled.
If your mobile phone supports Secure Sim-
ple Pairing, a code is now displayed on both
devices.
The code is the same
X COMAND: selectYes
Yes.
X Mobile phone: confirm the code. Depend-
ing on the mobile phone used, you may
have to confirm the connection to
COMAND and for the PBAP and MAP Blue-
tooth ®
profiles. The prompt to confirm may
take up to two minutes to be displayed. You
may also save the confirmation on the mobile phone (see the manufacturer's
operating instructions).
The mobile phone is now authorized and
connected to COMAND. You can now
speak using the hands-free system.
To ensure an optimum language quality, you
can set the mobile phone's transmission and
reception volume (Y page 108).
The code is different
X COMAND: selectNo
No.
The process is canceled. Repeat the pro-
cedure.
If your mobile phone does not support Secure
Simple Pairing, an input menu is displayed for
the passkey. The passkey is a one- to sixteen-
digit number combination which you can
choose yourself. Enter the same passkey on
both COMAND and the mobile phone and
confirm. Depending on the mobile phone
used, you may have to confirm the connection
to COMAND and for the PBAP and MAP Blue-
tooth ®
profiles. Reconnecting automatically
COMAND always searches for the last con-
nected mobile phone.
If no connection can be made to the most
recently connected mobile phone, the system
searches for the mobile phone that was con-
nected before that one. Switching between mobile phones
If you have authorized more than one mobile
phone, you can switch between the individual
phones.
X To call up the telephone menu: press the
002B button.
X To show the menu bar: slide 6the con-
troller. Connecting/disconnecting a mobile phone
107Telephone Z
Page 140 of 214
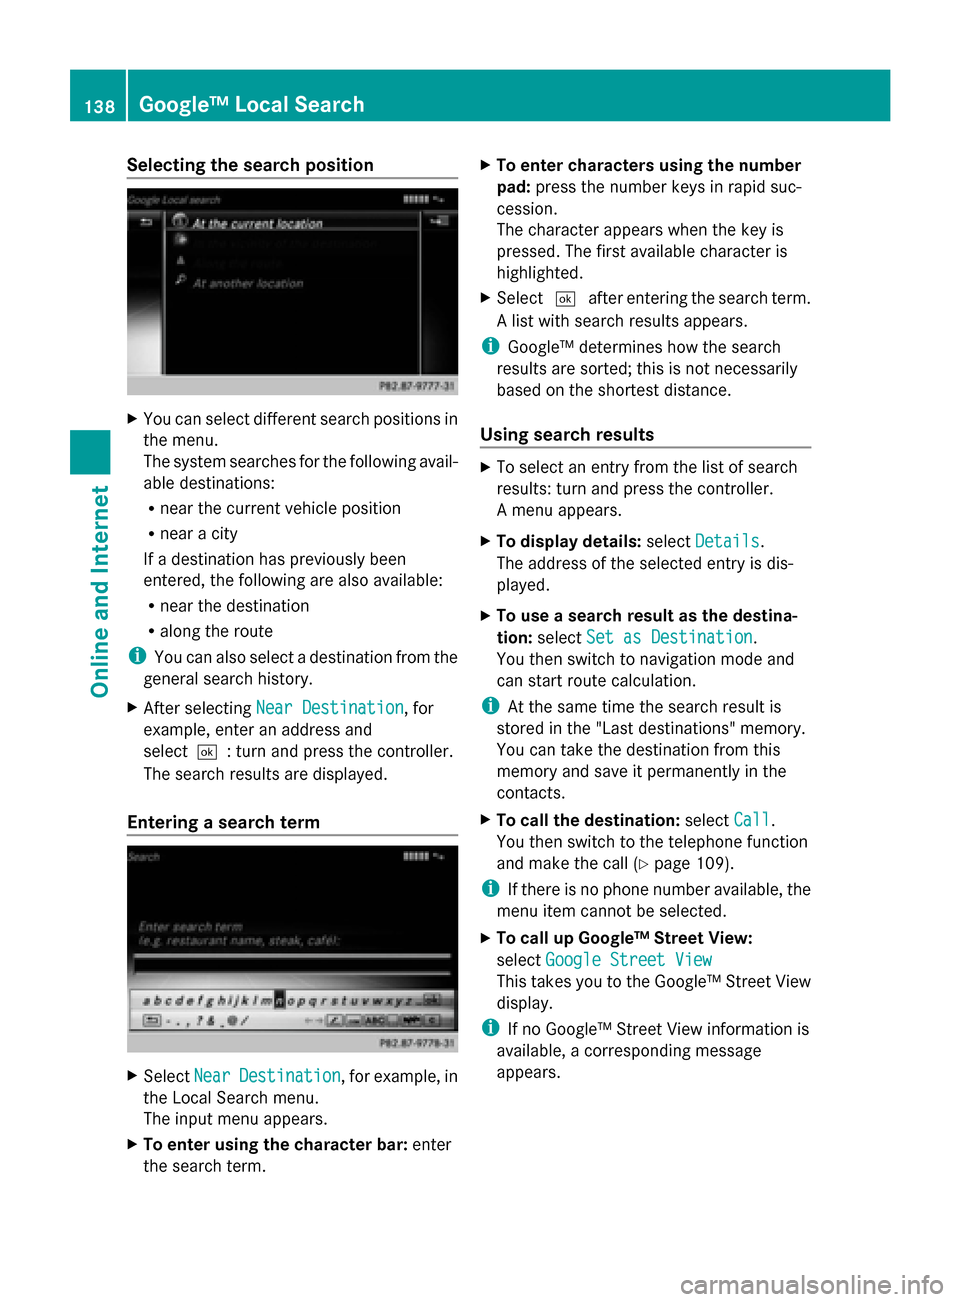
Selecting the search position
X
You can select different search positions in
the menu.
The system searches for the following avail-
able destinations:
R near the current vehicle position
R near a city
If a destination has previously been
entered, the following are also available:
R near the destination
R along the route
i You can also select a destination from the
general search history.
X After selecting Near Destination
Near Destination, for
example, enter an address and
select0054: turn and press the controller.
The search results are displayed.
Entering a search term X
Select Near NearDestination
Destination , for example, in
the Local Search menu.
The input menu appears.
X To enter using the character bar: enter
the search term. X
To enter characters using the number
pad: press the number keys in rapid suc-
cession.
The character appears when the key is
pressed. The first available character is
highlighted.
X Select 0054after entering the search term.
A list with search results appears.
i Google™ determines how the search
results are sorted; this is not necessarily
based on the shortest distance.
Using search results X
To select an entry from the list of search
results: turn and press the controller.
A menu appears.
X To display details: selectDetails Details.
The address of the selected entry is dis-
played.
X To use a search result as the destina-
tion: select Set as Destination Set as Destination.
You then switch to navigation mode and
can start route calculation.
i At the same time the search result is
stored in the "Last destinations" memory.
You can take the destination from this
memory and save it permanently in the
contacts.
X To call the destination: selectCall
Call.
You then switch to the telephone function
and make the call (Y page 109).
i If there is no phone number available, the
menu item cannot be selected.
X To call up Google™ Street View:
select Google Street View Google Street View
This takes you to the Google™ Street View
display.
i If no Google™ Street View information is
available, a corresponding message
appears. 138
Google™ Local SearchOnline and Internet
Page 150 of 214
X
Press the 002Bbutton.
The last function called up appears.
X Select TEL/
TEL/00A7 in the main function bar by
sliding 5, turning and pressing the con-
troller.
A menu appears.
X To select Internet
Internet: turn and press the
controller.
The menu for the Internet functions
appears.
X To select www
www: turn the controller and press
to confirm.
An input menu appears.
You can enter the web address using either
the character bar or the number keypad.
X To select a web address from the list:
when the character bar is displayed, slide
5 the controller.
The list is activated.
X Select the desired web address.
The web address can still be changed as
desired.
X Select 0054.
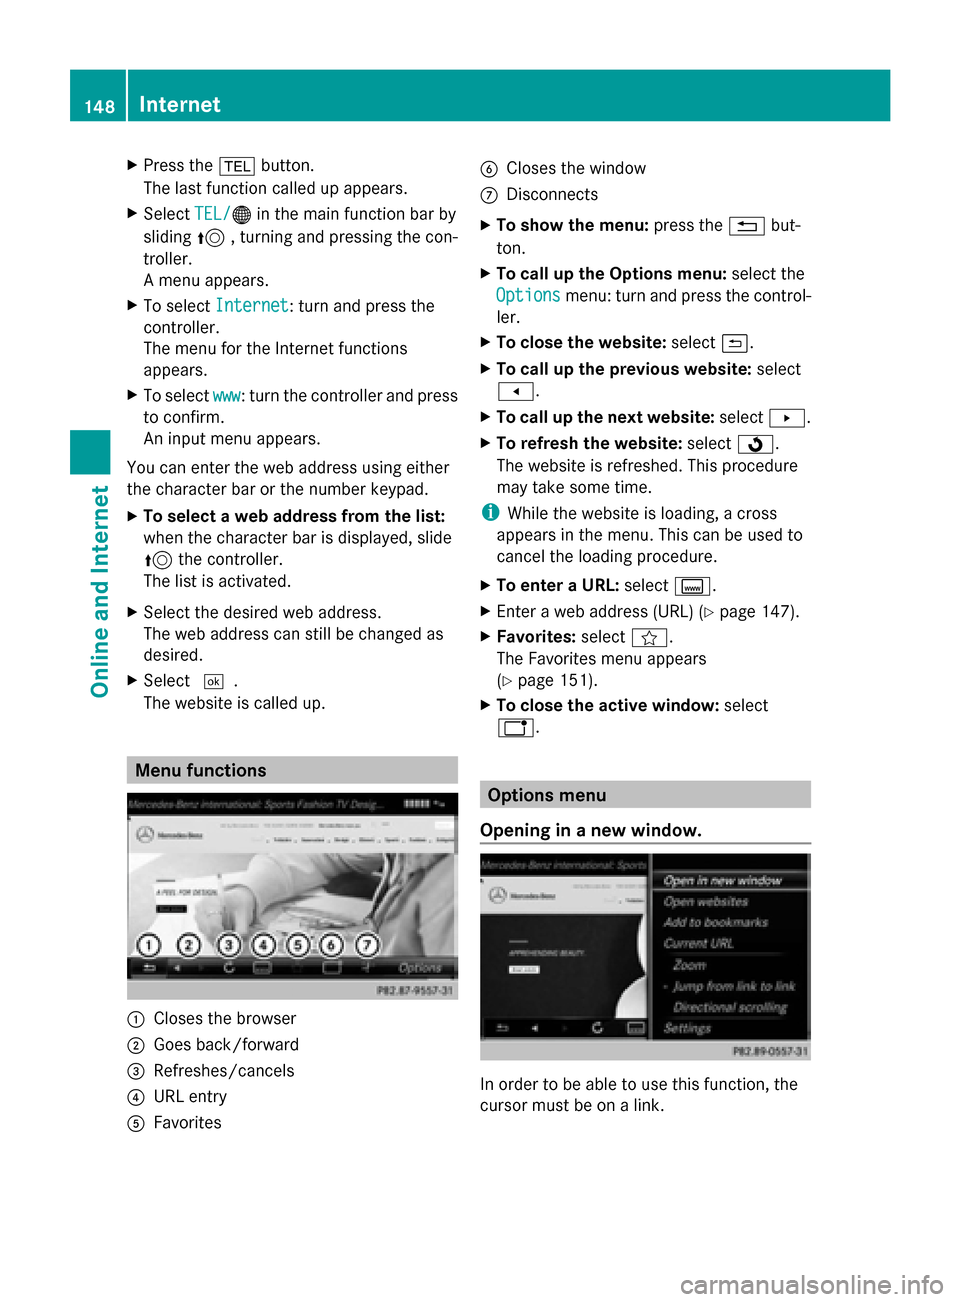
The website is called up. Menu functions
0043
Closes the browser
0044 Goes back/forward
0087 Refreshes/cancels
0085 URL entry
0083 Favorites 0084
Closes the window
006B Disconnects
X To show the menu: press the0038but-
ton.
X To call up the Options menu: select the
Options
Options menu: turn and press the control-
ler.
X To close the website: select0039.
X To call up the previous website: select
007F.
X To call up the next website: select0080.
X To refresh the website: select0080.
The website is refreshed. This procedure
may take some time.
i While the website is loading, a cross
appears in the menu. This can be used to
cancel the loading procedure.
X To enter a URL: selectg.
X Enter a web address (URL) (Y page 147).
X Favorites: selectf.
The Favorites menu appears
(Y page 151).
X To close the active window: select
h. Options menu
Opening in a new window. In order to be able to use this function, the
cursor must be on a link.148
InternetOnline and Internet
Page 157 of 214

Using the main function bar
X
In radio mode: slide 00970052the controller.
The radio main function bar and menu bar
appear. Radio Radiois active.
X Press the controller.
A menu appears with a selection of HD HDFM
FM
Radio
Radio, HD AM Radio
HD AM Radio, Radio Station
Radio Station
Presets
Presets, Info on Radio
Info on Radio andInternet
Internet
Radio
Radio.
X Turn the controller until the required wave-
band is in the center. Press the controller.
Using the radio menu bar X
In radio mode: slide 00520064the controller.
The radio main function bar and menu bar
appear.
X To select Waveband Waveband: turn and press the
controller.
A menu appears with a selection of HD
HD FM FM
Radio
Radio, HD AM Radio
HD AM Radio, Radio Station
Radio Station
Presets
Presets, Info on Radio
Info on Radio andInternet
Internet
Radio
Radio.
X Turn the controller until the required wave-
band is in the center. Press the controller. Selecting a station
From the main display field All currently available stations are displayed.
X In radio mode: turn the controller until the
desired station is in the center. Using the current station list
i
The station list is available in the HD AM
and HD FM wavebands. It includes all sta-
tions that can be received.
X In radio mode: press the controller.
The station list appears with the stations
currently available.
X To select the desired station: turn and
press the controller.
Using frequency entry X
In radio mode: slide 00520064the controller.
The radio menu bar appears.
X To select Options Options: turn and press the con-
troller.
X Select Enter Frequency
Enter Frequency .
X Using the telephone keypad, enter the sta-
tion frequency in the entry field.
Using the search function X
In radio mode: slide 00520064the controller.
The radio menu bar appears.
X Select 00D3and enter the first letters of the
required station using the controller.
As soon as enough characters have been
entered, COMAND shows a list of the avail-
able stations.
X To select stations from the list: turn the
controller and press to confirm. Radio mode
155Radio
Page 161 of 214
0085
Channel information
0083 Category list
0084 Keyword search
006B Options menu
Channel information 0085can be viewed in
detail ( Ypage 161).
X To select Radio
Radio in the main function bar:
turn the controller and press to confirm.
If satellite radio mode was the last mode
selected, it will now be active.
If another radio mode is switched on, you
can now switch to satellite radio mode in
the carousel menu.
X To select Options Options: slide 00520064and press the
controller.
The message No Service
No Serviceappears if there is
no signal.
If the satellite receiver is not installed or is not
installed correctly, the Device Not Avail‐
Device Not Avail‐
able
able message will appear (Y page 158).Selecting a category
Satellite radio channels are sorted into vari-
ous categories. You can choose between var-
ious categories such as News/Discussions,
Sports and Country (if available). The cate-
gory list is sorted alphabetically. The content
of the categories is sorted by channel num-
bers.
X To call up the category list: selectCat‐
Cat‐
egory
egory in the menu bar: slide 00520064and press
the controller.
The category list appears.
X To select a category: turn the controller
and press to confirm.
The category selected is shown in the dis-
play. You hear the station last selected for
this category.
The 0036dot indicates the current setting.
The All Channels
All Channels category is at the top
of the category list. This category enables
you to browse all available channels. Selecting a channel
Channel search X
When the display/section window is
selected, slide 009500520096the controller.
COMAND searches in both directions
(ascending and descending) and stops at
the next channel found in the selected cat-
egory.
Entering channel numbers directly X
To select Options Optionsin the menu bar: slide
00520064 and press the controller.
The satellite radio menu appears.
X To select Enter Channel
Enter Channel: turn and press
the controller.
An input menu appears.
X For the channel number, press the corre-
sponding number keys on the control panel
one after the other.
COMAND sets the selected channel.
i You can only select currently permitted
digits.
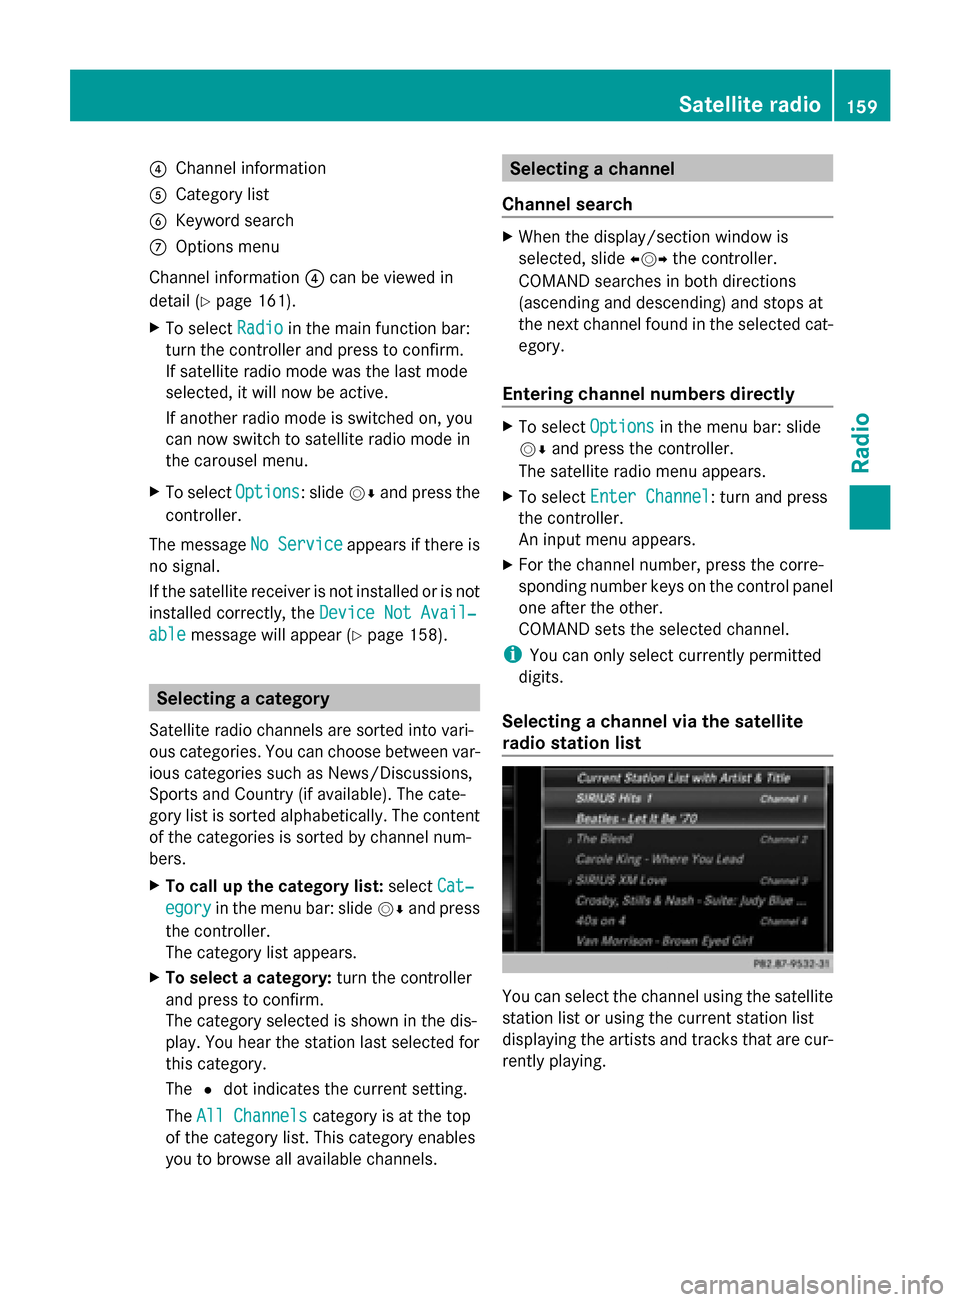
Selecting a channel via the satellite
radio station list You can select the channel using the satellite
station list or using the current station list
displaying the artists and tracks that are cur-
rently playing. Satellite radio
159Radio