reset MERCEDES-BENZ C-Class 2015 W205 Comand Manual
[x] Cancel search | Manufacturer: MERCEDES-BENZ, Model Year: 2015, Model line: C-Class, Model: MERCEDES-BENZ C-Class 2015 W205Pages: 214, PDF Size: 5.16 MB
Page 129 of 214
X
To select Call Lists
Call Lists: turn and press the
controller.
X Select Speed Dial Preset List
Speed Dial Preset List.
The speed dial list is displayed.
X To highlight the desired memory position:
turn the controller.
X To select G: slide 9the controller.
X To select Delete All Speed Dial Pre‐
Delete All Speed Dial Pre‐
sets sets: turn and press the controller.
X To select Yes
Yes: turn and press the controller.
All speed dials are deleted.
or
X To select No
No: turn and press the controller.
The process is canceled. Messages (text messages and e-
mails) General notes
New messages are identified by the 008F
symbol in the COMAND display and an audi-
ble signal. Once you have read all the mes-
sages, the symbol is no longer displayed.
COMAND displays the 100 newest text mes-
sages and e-mails.
The ú symbol is displayed when the
mobile phone's message memory is full. The
symbol is no longer displayed if you delete
messages on the mobile phone. Prerequisites
To use the message functions, the connected
mobile phone must support the Bluetooth ®
MAP profile. The prompt for the MAP Blue-
tooth ®
profile may have to be confirmed on
the mobile phone.
With some mobile phones, some settings still
have to be made after connecting to
COMAND (see the manufacturer's operating
instructions). The messages are displayed the
next time you connect to COMAND. An e-mail account must be set up on the
mobile phone for the e-mail function (see the
manufacturer’s operating instructions).
To read and write e-mails in COMAND, the e-
mail account first needs to be configured
(Y page 128).
Some mobile phones with the MAP Blue-
tooth ®
profile:
R only show new text messages.
R do not support the deleting or editing of
text messages.
R do not support the drafts folder for text
messages.
R do not support the sending of text mes-
sages.
R do not support the e-mail function.
R do not send messages in a locked status.
Not all mobile phones available on the market
are equally suitable. You can obtain further
information about settings and supported
functions of Bluetooth ®
-capable mobile
phones on the Internet at
http://www.mbusa-mobile.com. Or call
the Mercedes-Benz Customer Assistance
Center at 1-800-FOR-MERCedes
(1-800-367-6372)( for the USA) or Customer
Relations at 1-800-387-0100 (for Canada). Settings
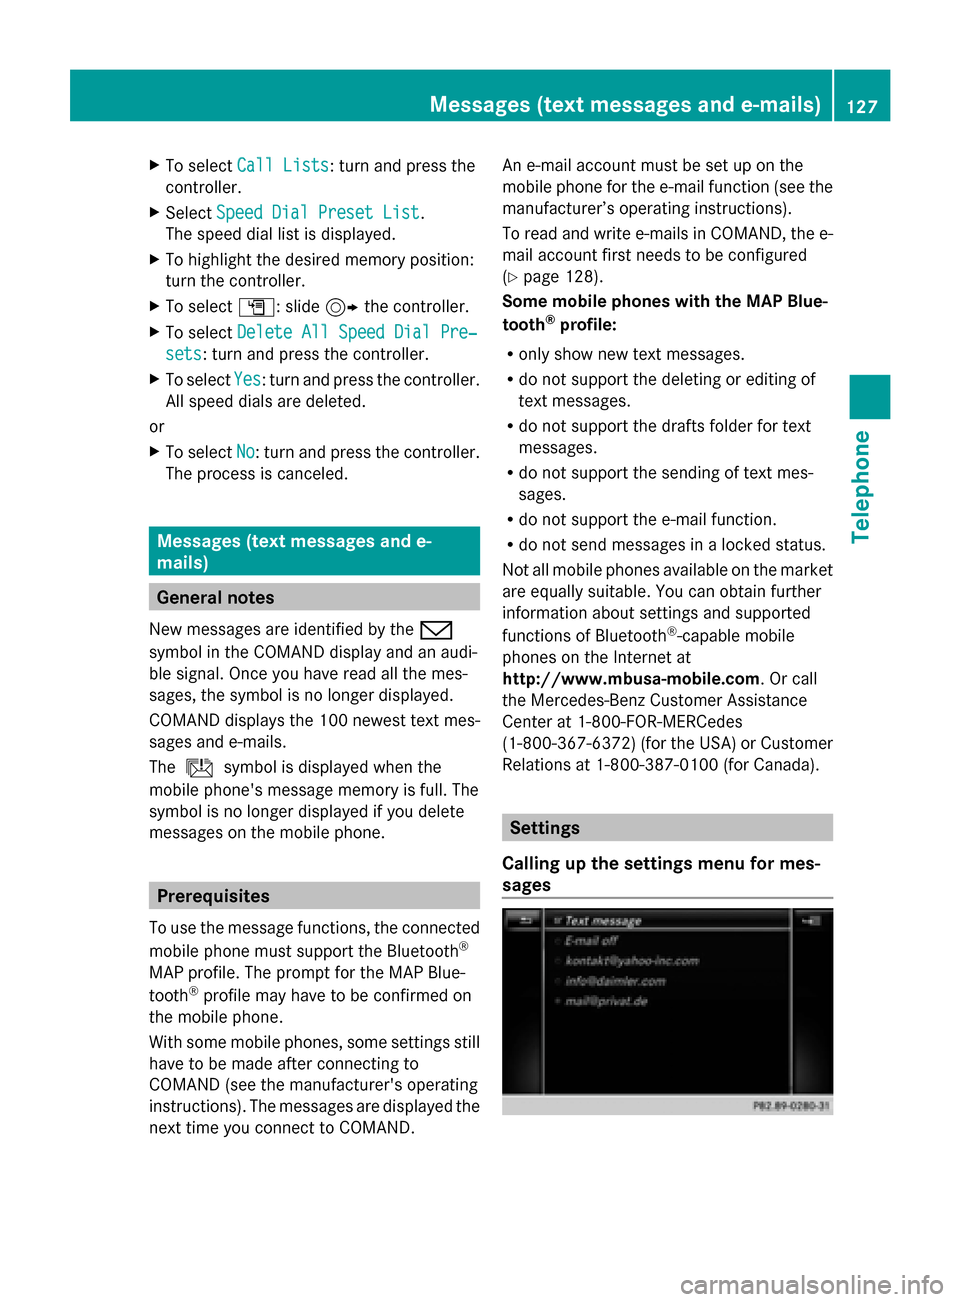
Calling up the settings menu for mes-
sages Messages (text messages and e-mails)
127Telephone Z
Page 142 of 214
X
To select Mercedes-Benz Apps
Mercedes-Benz Apps: turn the
controller and press to confirm.
The list of Mercedes-Benz Apps appears.
X To select Google Local Search Google Local Search: slide
9 the controller and press to confirm.
X To select Options
Options: slide 9and press the
controller.
The menu shows the current settings.
X To select Suchradius
Suchradius (Search (Searchradius)
radius):
turn and press the controller.
A menu appears.
X Select the desired entry.
The selected setting is accepted.
X To exit the menu: select0039.
Deleting search queries X
Select the Options menu for the Google
Google
Local Search Local Search App (Ypage 145).
The menu shows the current settings.
X To select Reset last location
Reset last location
searches
searches: turn the controller and press to
confirm.
A prompt appears, asking whether you
really wish to delete the search.
X Select Yes
Yes orNo No.
If you select Yes
Yesthe search queries are
deleted.
If you select No
No the process will be can-
celed.
Resetting search history X
Select the Options menu for the Google
Google
Local Search Local Search App (Ypage 145).
The menu shows the current settings.
X To select Delete All Searches
Delete All Searches : turn the
controller and press to confirm.
A prompt appears, asking whether you
really wish to reset the search history.
X Select Yes
Yes orNo No.
If you select Yes
Yesthe last search queries are
deleted. If you select
No
Nothe process will be can-
celed. Destination/route download
Introduction
You can use Google™ Maps to send naviga-
tion destinations to the server and then down-
load them from the vehicle. You can use des-
tinations for route guidance and save them in
the system for further use.
In order to use the destination download func-
tion, the mbrace system must be:
R activated
R operational
R activated for the services of the system and
for Internet access
For information on the mbrace system, see
the separate vehicle Operator's Manual. Sending destinations to the server
X Call up the website for Google™ Maps on
the Internet.
X Enter a destination.
X Click "More" at the destination.
X Click "Send".
X Click "Send to vehicle".
X Select Mercedes-Benz as the vehicle
brand.
X Enter the mbrace e-mail address or the
vehicle identification number.
Vehicle identification number
(Y page 142).
X Click "Send".
The destination is sent to the server.
i The availability of the destination/route
download function is country-dependent. 140
Destination/route downloadOnline and Internet
Page 144 of 214
X
Select Call
Callin the menu.
You then switch to the telephone function
and make the call (Y page 109).
Importing destinations You can save destinations and routes to an
SD card when importing.
X Insert the SD memory card (Y page 167).
X To select an entry from the list: turn the
controller and press to confirm.
X Select Import
Import .
The entry is saved on the SD card.
Deleting a destination from the server X
To select an entry from the list: turn the
controller and press to confirm.
X Select Delete
Delete .
A prompt appears asking whether you
really wish to reset.
X Select Yes
Yes orNo No.
If you select Yes
Yesthe settings are reset.
If you select No
No the process is canceled. Setting options for destination down-
load
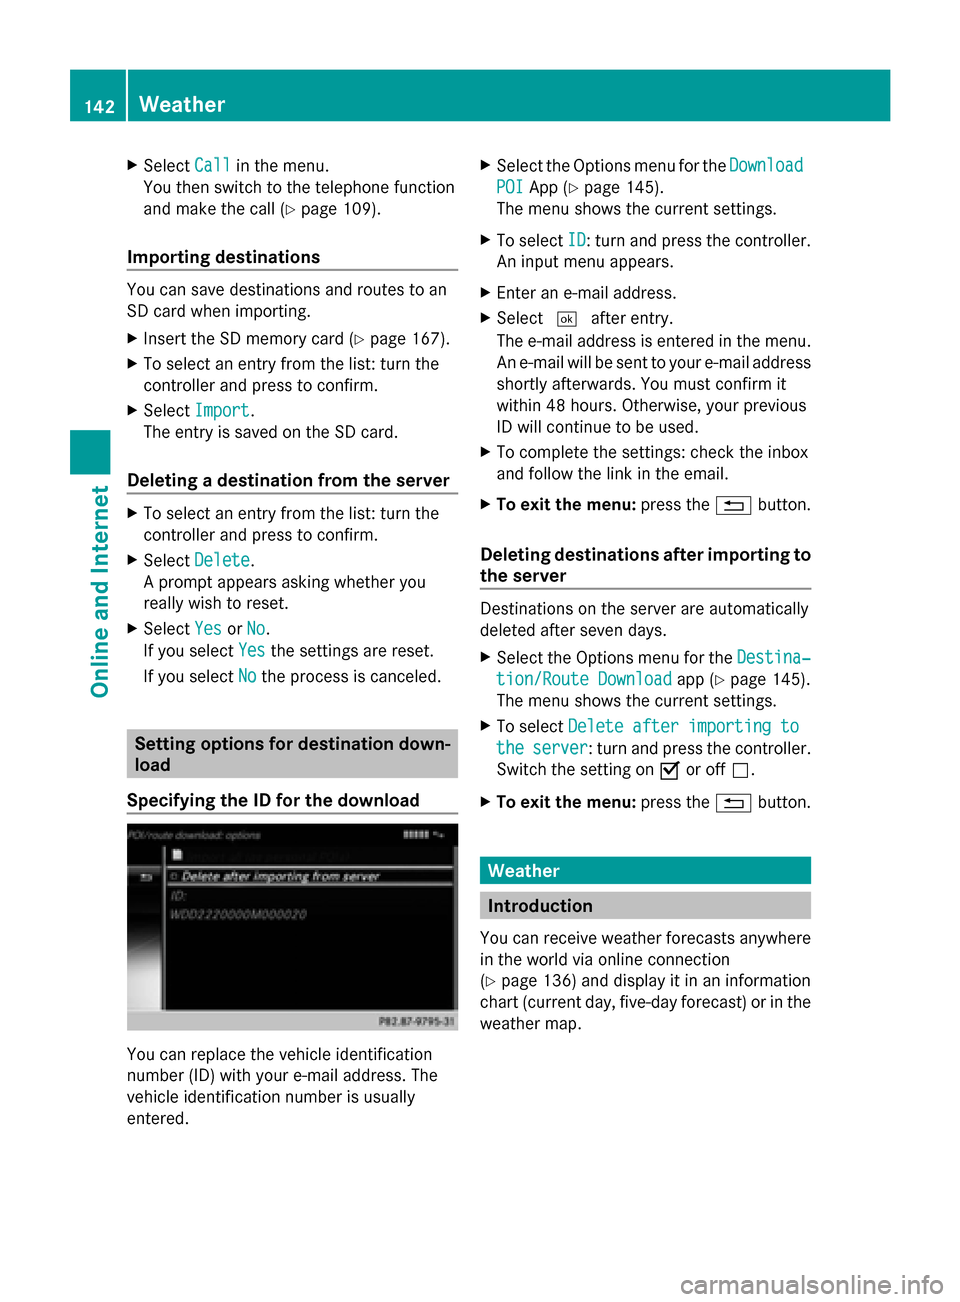
Specifying the ID for the download You can replace the vehicle identification
number (ID) with your e-mail address. The
vehicle identification number is usually
entered. X
Select the Options menu for the Download
Download
POI
POI App (Y page 145).
The menu shows the current settings.
X To select ID
ID: turn and press the controller.
An input menu appears.
X Enter an e-mail address.
X Select 0054after entry.
The e-mail address is entered in the menu.
An e-mail will be sent to your e-mail address
shortly afterwards. You must confirm it
within 48 hours. Otherwise, your previous
ID will continue to be used.
X To complete the settings: check the inbox
and follow the link in the email.
X To exit the menu: press the0038button.
Deleting destinations after importing to
the server Destinations on the server are automatically
deleted after seven days.
X
Select the Options menu for the Destina‐ Destina‐
tion/Route Download
tion/Route Download app (Ypage 145).
The menu shows the current settings.
X To select Delete after importing to
Delete after importing to
the
the server
server: turn and press the controller.
Switch the setting on 0073or off 0053.
X To exit the menu: press the0038button. Weather
Introduction
You can receive weather forecasts anywhere
in the world via online connection
(Y page 136) and display it in an information
chart (current day, five-day forecast) or in the
weather map. 142
WeatherOnline and Internet
Page 145 of 214
Opening/closing the Weather App
X To open: press the 002Bbutton.
The last function called up appears.
X Select TEL/
TEL/00A7 in the main function bar by
sliding 00970052, turning and pressing the con-
troller.
The menu appears.
X To select Internet
Internet: turn and press the
controller.
The Internet menu appears.
X Select the Mercedes-Benz Apps
Mercedes-Benz Apps menu.
The Mercedes-Benz Apps menu is dis-
played.
X Select Weather
Weather from the list.
You see the following information:
R the time of the current weather report
R the current temperature
R information on the weather (e.g. cloudy,
rain)
R the maximum daytime temperature
R the minimum daytime temperature
R the probability of rain
R the forecast for the current day (three time
intervals)
X To switch to the 5-day forecast: select
Current
Current.
A menu appears.
X Select 5-Day
5-Day .
The information chart displays the forecast
for the next five days in the currently
selected location.
X To return to the current weather infor-
mation: select5-Day
5-Day .
A menu appears.
X Select Current
Current.
The information chart shows the current
forecast at the currently selected location.
X To switch to information: selectCur‐
Cur‐
rent rent.
A menu appears. X
Select Info Info.
The information chart displays information
for the selected location.
X To close: press the0038button.
The menu appears. Weather map
Calling up the weather map X
To select Map Mapin the menu: turn and press
the controller.
The map appears in a scale of 20 km.
X To display the crosshair: slide5the
controller.
X To scroll the weather map: slide1,
4 or2 the controller.
The weather map moves in the correspond-
ing direction under the crosshair.
X To change the map scale: as soon as you
turn the controller, the scale bar appears.
X Turn until the desired scale is set.
i The data is downloaded again from the
server for these functions. This can delay
the display of the weather map.
Showing/hiding the menu in the
weather map X
To show: press the controller in the
weather map.
X To hide: slide5the controller. Memory functions
Storing a location in the memory You can save locations that are called up fre-
quently in ten preset positions (0, 1 – 9).
X
Select a location.
The weather data for the location is dis-
played.
X Select Location Location in the menu. Weather
143Online and Internet
Page 146 of 214
X
Select Presets
Presets.
X To select a preset: turn the controller.
X Press the COMAND controller for longer
than two seconds.
When the location is saved, the number of
the selected preset comes before the name
of the place in the caption.
Selecting a location from the memory X
From the weather memory: to select
Location
Location in the information chart: turn
and press the controller.
X Select Presets
Presets.
X Select the desired preset.
The information chart appears and displays
the weather information. Mercedes-Benz Apps
General notes
To be able to use Mercedes-Benz Apps, you
first have to register. To do so, you have to
enter your name and postal address once in
the vehicle and confirm the general terms and
conditions. A message to this effect appears
the first time you call up the online and Inter-
net functions.
For individual Mercedes-Benz Apps, it may be
necessary to pay license fees before using.
Use is then limited to a certain period of time.
License fees must be paid again for use
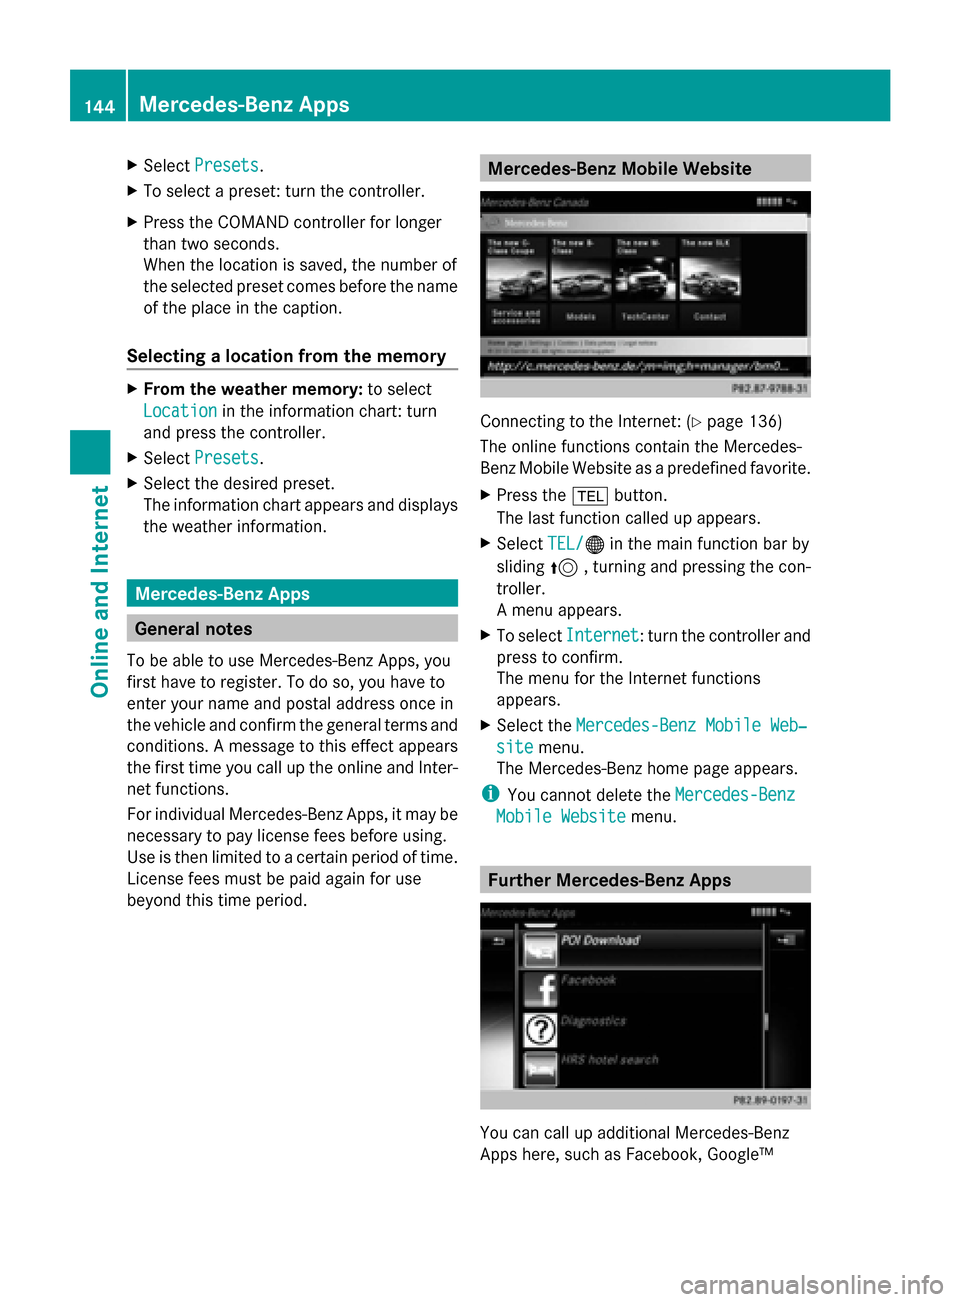
beyond this time period. Mercedes-Benz Mobile Website
Connecting to the Internet: (
Ypage 136)
The online functions contain the Mercedes-
Benz Mobile Website as a predefined favorite.
X Press the 002Bbutton.
The last function called up appears.
X Select TEL/ TEL/00A7 in the main function bar by
sliding 5, turning and pressing the con-
troller.
A menu appears.
X To select Internet Internet: turn the controller and
press to confirm.
The menu for the Internet functions
appears.
X Select the Mercedes-Benz Mobile Web‐ Mercedes-Benz Mobile Web‐
site
site menu.
The Mercedes-Benz home page appears.
i You cannot delete the Mercedes-Benz
Mercedes-Benz
Mobile Website
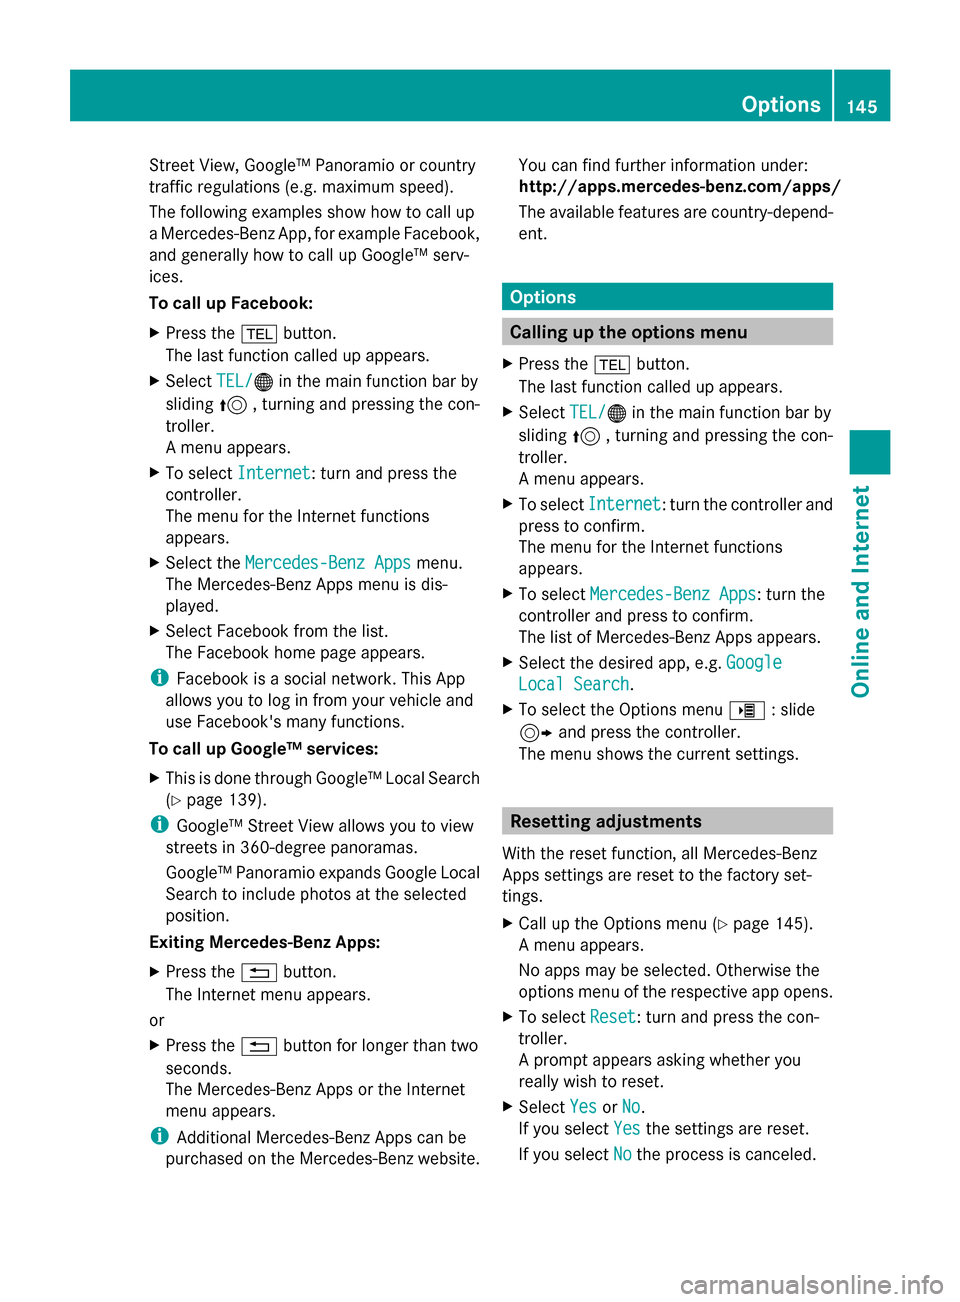
Mobile Website menu. Further Mercedes-Benz Apps
You can call up additional Mercedes-Benz
Apps here, such as Facebook, Google™144
Mercedes-Benz AppsOnline and Internet
Page 147 of 214
Street View, Google™ Panoramio or country
traffic regulations (e.g. maximum speed).
The following examples show how to call up
a Mercedes-Benz App, for example Facebook,
and generally how to call up Google™ serv-
ices.
To call up Facebook:
X Press the 002Bbutton.
The last function called up appears.
X Select TEL/
TEL/00A7 in the main function bar by
sliding 5, turning and pressing the con-
troller.
A menu appears.
X To select Internet
Internet: turn and press the
controller.
The menu for the Internet functions
appears.
X Select the Mercedes-Benz Apps Mercedes-Benz Apps menu.
The Mercedes-Benz Apps menu is dis-
played.
X Select Facebook from the list.
The Facebook home page appears.
i Facebook is a social network. This App
allows you to log in from your vehicle and
use Facebook's many functions.
To call up Google™ services:
X This is done through Google™ Local Search
(Y page 139).
i Google™ Street View allows you to view
streets in 360-degree panoramas.
Google™ Panoramio expands Google Local
Search to include photos at the selected
position.
Exiting Mercedes-Benz Apps:
X Press the 0038button.
The Internet menu appears.
or
X Press the 0038button for longer than two
seconds.
The Mercedes-Benz Apps or the Internet
menu appears.
i Additional Mercedes-Benz Apps can be
purchased on the Mercedes-Benz website. You can find further information under:
http://apps.mercedes-benz.com/apps/
The available features are country-depend-
ent. Options
Calling up the options menu
X Press the 002Bbutton.
The last function called up appears.
X Select TEL/ TEL/00A7 in the main function bar by
sliding 5, turning and pressing the con-
troller.
A menu appears.
X To select Internet
Internet: turn the controller and
press to confirm.
The menu for the Internet functions
appears.
X To select Mercedes-Benz Apps Mercedes-Benz Apps: turn the
controller and press to confirm.
The list of Mercedes-Benz Apps appears.
X Select the desired app, e.g. Google Google
Local Search Local Search .
X To select the Options menu 00DE: slide
9 and press the controller.
The menu shows the current settings. Resetting adjustments
With the reset function, all Mercedes-Benz
Apps settings are reset to the factory set-
tings.
X Call up the Options menu (Y page 145).
A menu appears.
No apps may be selected. Otherwise the
options menu of the respective app opens.
X To select Reset Reset: turn and press the con-
troller.
A prompt appears asking whether you
really wish to reset.
X Select Yes YesorNo
No.
If you select Yes
Yesthe settings are reset.
If you select No
Nothe process is canceled. Options
145Online and Internet
Page 153 of 214

X
Select the setting.
The 003Bdot indicates the current setting.
or
X Select Delete All Data On Exit
Delete All Data On Exit.
Switch the setting on 0073or off 0053. Option Function
All All Deletes all private
data.
Cache Cache Deletes data in the
cache.
Cookies Cookies Deletes cookies that
are created by web-
sites which you have
called up.
URL History URL History Deletes all websites
visited (path).
0073
Delete All Delete All
Data On Exit
Data On Exit If this function is
activated
0073, all pri-
vate data is deleted
when you exit the
Internet browser. i
If you reset COMAND to the factory set-
tings (reset function), these data and set-
tings are deleted (Y page 44). Favorites
Introduction Favorites/bookmarks are frequently visited
websites. Creating favorites Adding a favorite in the menu
X
Press the 002Bbutton.
The last function called up appears.
X Select TEL/ TEL/00A7 in the main function bar by
sliding 5, turning and pressing the con-
troller.
A menu appears.
X To select Internet
Internet: turn and press the
controller.
The menu for the Internet functions
appears.
X Select www www.
X Enter the web address (URL) and name
using the character bar and press 0054to
select.
Adding to favorites
X To call up the menu: press the 0038button.
X To select Options Options: turn and press the con-
troller.
X Select Add to Bookmarks Add to Bookmarks (Ypage 149).
Selecting favorites X
Press the 002Bbutton.
The last function called up appears.
X Select TEL/
TEL/00A7 in the main function bar by
sliding 5, turning and pressing the con-
troller.
A menu appears.
X To select Internet
Internet: turn and press the
controller.
The menu for the Internet functions
appears.
X To select the Internet InternetFavorites
Favorites menu:
turn and press the controller.
The Favorites menu appears.
X Select the desired bookmark.
The favorite is opened in a new window. Internet
151Online and Internet
Page 156 of 214

Radio mode
Switching to radio mode
X Press the 002Abutton.
The radio display appears. You will hear the
last station played on the last waveband
selected. Radio overview
0043
Main function bar
0044 Status bar with compass display
0087 Main display field with available stations
and displays
0085 Display of radio station selected
0083 Radio menu bar
0084 Climate control status bar
X To activate the main function and menu
bar: in radio mode, slide 009700520064the control-
ler. Radio menu overview
Radio main function bar
R HD FM Radio HD FM Radio: HD FM radio mode
R HD AM Radio
HD AM Radio: HD/MW radio mode
R Sat Radio
Sat Radio: satellite radio
R Radio Station Presets
Radio Station Presets : 99 preset posi-
tions for radio stations
R Info
Info on
onRadio
Radio : Digital Operator's Manual
R Internet Radio
Internet Radio: Internet radio Radio menu bar "Options"
R Tag This Track
Tag This Track: saves track information
on an Apple device for a later purchase
option via iTunes
R Enter Frequency Enter Frequency: manual frequency
entry
R Current Current Station/Channel
Station/Channel Listing
Listing: list
of available stations
R Edit List
Edit List : selects and edits station pre-
sets
R Show Station Information
Show Station Information: switches
artist and track display and station name
on/off
R HD Radio HD Radio: switches HD Radio on/off
Radio menu bar
R 00D3: searches for stations by name
R Waveband Waveband : waveband selection
R Info Info : displays additional information about
the current station (radio text)
R Sound
Sound: sound settings, Burmester sound Setting the waveband
Button activation X
Press the 002Abutton again.
You can switch between HD
HDFM
FM Radio
Radio, HD
HD
AM Radio
AM Radio andRadio Station Presets
Radio Station Presets. 154
Radio modeRadio
Page 157 of 214

Using the main function bar
X
In radio mode: slide 00970052the controller.
The radio main function bar and menu bar
appear. Radio Radiois active.
X Press the controller.
A menu appears with a selection of HD HDFM
FM
Radio
Radio, HD AM Radio
HD AM Radio, Radio Station
Radio Station
Presets
Presets, Info on Radio
Info on Radio andInternet
Internet
Radio
Radio.
X Turn the controller until the required wave-
band is in the center. Press the controller.
Using the radio menu bar X
In radio mode: slide 00520064the controller.
The radio main function bar and menu bar
appear.
X To select Waveband Waveband: turn and press the
controller.
A menu appears with a selection of HD
HD FM FM
Radio
Radio, HD AM Radio
HD AM Radio, Radio Station
Radio Station
Presets
Presets, Info on Radio
Info on Radio andInternet
Internet
Radio
Radio.
X Turn the controller until the required wave-
band is in the center. Press the controller. Selecting a station
From the main display field All currently available stations are displayed.
X In radio mode: turn the controller until the
desired station is in the center. Using the current station list
i
The station list is available in the HD AM
and HD FM wavebands. It includes all sta-
tions that can be received.
X In radio mode: press the controller.
The station list appears with the stations
currently available.
X To select the desired station: turn and
press the controller.
Using frequency entry X
In radio mode: slide 00520064the controller.
The radio menu bar appears.
X To select Options Options: turn and press the con-
troller.
X Select Enter Frequency
Enter Frequency .
X Using the telephone keypad, enter the sta-
tion frequency in the entry field.
Using the search function X
In radio mode: slide 00520064the controller.
The radio menu bar appears.
X Select 00D3and enter the first letters of the
required station using the controller.
As soon as enough characters have been
entered, COMAND shows a list of the avail-
able stations.
X To select stations from the list: turn the
controller and press to confirm. Radio mode
155Radio
Page 158 of 214
Tagging music tracks
If an Apple ®
device is connected, the music
tracks and artist displayed in the radio text
can be stored. Using iTunes you have the
option of purchasing this track.
X In radio mode: slide 00520064the controller.
X Select Options Options.
X Select Tag This Track
Tag This Track.
A message appears in COMAND about stor-
ing the track information. Station Information
X In radio mode: slide 00520064the controller.
X To select Options
Options: turn and press the con-
troller.
X You can determine whether or not the
artist, track or station name are shown in
the main display area with 0073or0053 before
Show Station Information
Show Station Information. Station list
i The station list is only available in the FM/
AM waveband. It includes all FM and AM
stations that can currently be received.
X In radio mode: press the controller.
The station list appears with the stations
currently available. Storing a station
i The available stations for your region are
already saved in COMAND. There are 99
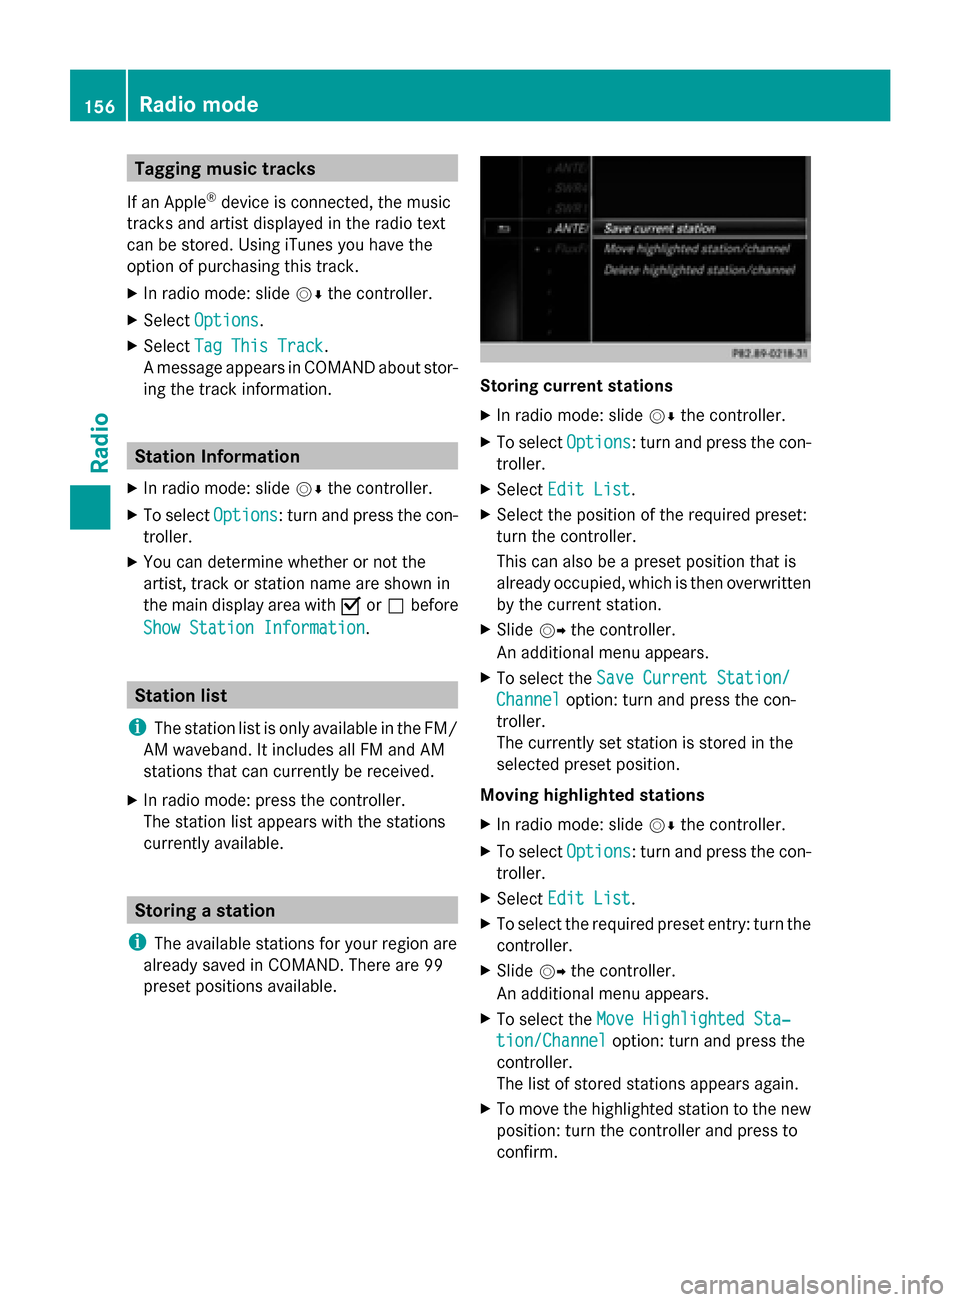
preset positions available. Storing current stations
X
In radio mode: slide 00520064the controller.
X To select Options Options: turn and press the con-
troller.
X Select Edit List
Edit List.
X Select the position of the required preset:
turn the controller.
This can also be a preset position that is
already occupied, which is then overwritten
by the current station.
X Slide 00520096the controller.
An additional menu appears.
X To select the Save Current Station/ Save Current Station/
Channel Channel option: turn and press the con-
troller.
The currently set station is stored in the
selected preset position.
Moving highlighted stations
X In radio mode: slide 00520064the controller.
X To select Options Options: turn and press the con-
troller.
X Select Edit List
Edit List.
X To select the required preset entry: turn the
controller.
X Slide 00520096the controller.
An additional menu appears.
X To select the Move Highlighted Sta‐
Move Highlighted Sta‐
tion/Channel
tion/Channel option: turn and press the
controller.
The list of stored stations appears again.
X To move the highlighted station to the new
position: turn the controller and press to
confirm. 156
Radio modeRadio