navigation MERCEDES-BENZ C-Class 2015 W205 Comand Manual
[x] Cancel search | Manufacturer: MERCEDES-BENZ, Model Year: 2015, Model line: C-Class, Model: MERCEDES-BENZ C-Class 2015 W205Pages: 214, PDF Size: 5.16 MB
Page 102 of 214
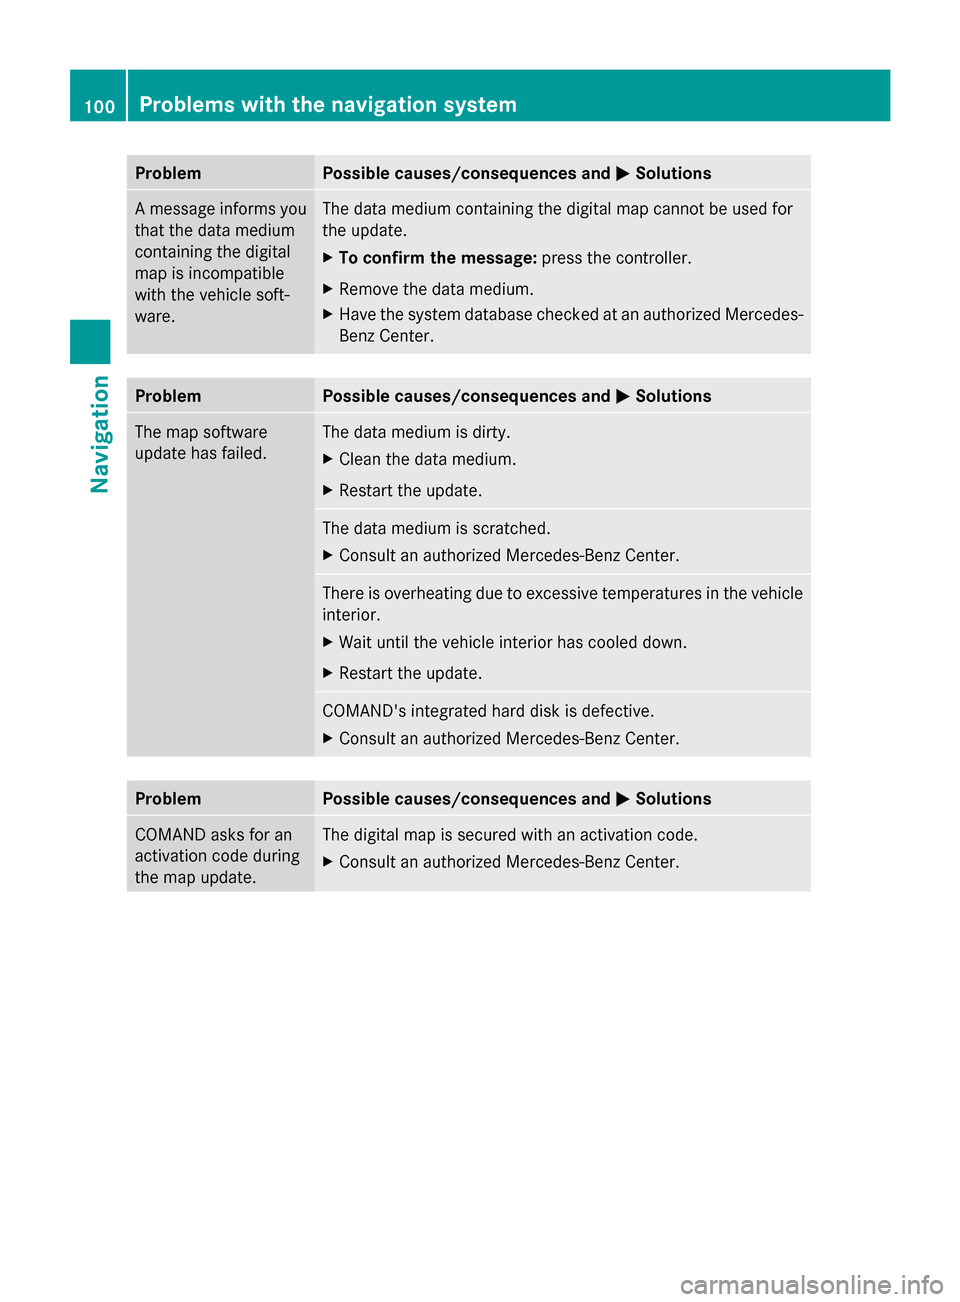
Problem Possible causes/consequences and
0050
0050Solutions A message informs you
that the data medium
containing the digital
map is incompatible
with the vehicle soft-
ware. The data medium containing the digital map cannot be used for
the update.
X
To confirm the message: press the controller.
X Remove the data medium.
X Have the system database checked at an authorized Mercedes-
Benz Center. Problem Possible causes/consequences and
0050 0050Solutions The map software
update has failed. The data medium is dirty.
X
Clean the data medium.
X Restart the update. The data medium is scratched.
X
Consult an authorized Mercedes-Benz Center. There is overheating due to excessive temperatures in the vehicle
interior.
X
Wait until the vehicle interior has cooled down.
X Restart the update. COMAND's integrated hard disk is defective.
X
Consult an authorized Mercedes-Benz Center. Problem Possible causes/consequences and
0050 0050Solutions COMAND asks for an
activation code during
the map update. The digital map is secured with an activation code.
X
Consult an authorized Mercedes-Benz Center. 100
Problems with the navigation systemNavigation
Page 118 of 214
Saving a contact
Saved contacts are indicated in the phone
book by different symbols (Y page 113).
X Search for a contact on the mobile phone
0034 (Ypage 114).
X To select G: slide 9the controller.
X To select Save
Save: turn and press the control-
ler.
The contact has now been saved. The con-
tact is identified by the ¥symbol in the
phone book.
i Saved contacts are also displayed in the
address book.
Saving or editing the contact data on
COMAND does not change the contacts on
the mobile phone. If automatic calling up of
phone contacts is activated, COMAND dis-
plays the copy ¥with the changed data.
To add additional data, such as additional
phone numbers or e-mail addresses, select
this contact. In this way, you avoid creating
additional copies of the mobile phone
entry. Deleting the contact
You can delete contacts that have been
added, supplemented, saved or imported in
COMAND.
If there are only phone numbers saved under
the contact, the contact is deleted from the
phone book and the address book.
If there are additional entries under the con-
tact, such as a navigable destination, only the
phone numbers are deleted. The contact is
retained in the address book with the remain-
ing entries.
X To highlight a contact in the phone book:
turn the controller.
X To select G: slide 9the controller. X
To select Delete Contacts
Delete Contacts: turn and
press the controller.
A prompt appears asking whether the con-
tact should be deleted.
X To select Yes Yes: turn and press the controller.
The phone number is deleted.
or
X To select No No: turn and press the controller.
The process is canceled. Closing the phone book
X To select 0039from the character bar: turn
the controller and press to confirm.
or
X Press the 0038button. Address book
Introduction
Always pay attention to traffic conditions.
Familiarize yourself with the address book
functions before beginning your journey.
You can use COMAND when the road and
traffic conditions permit. You could otherwise
become involved in an accident in which you
or others could be injured.
The address book displays all the contacts
from the various sources (mobile phone,
memory card, USB device, COMAND phone
book, navigation).
You can use the contacts to make telephone
calls, navigate and to write messages.
If a mobile phone is connected to COMAND
and automatic calling up is activated
(Y page 121), the mobile phone's contacts
are displayed in the address book. If you dis-
connect the mobile phone from COMAND,
these contacts are no longer displayed in the
address book.
When you import, save, edit or add contacts,
they will be saved in COMAND. These con-
tacts will remain there even when you con-
nect COMAND to a different mobile phone. 116
Address bookTelephone
Page 120 of 214
X
Draw the letter on the touchpad surface.
The first contact with the selected first
character is highlighted in the address
book.
Further information on handwriting recog-
nition on the touchpad ( Ypage 23).
X Draw additional letters on the touchpad
surface one after another.
X To complete the search and return to the
phone book: press the touchpad.
X To select and call the contact: glide up or
down and press. Adding a new contact
You can enter address data directly into the
address book. If you store telephone num-
bers in the COMAND phone book, these are
also saved in the address book. If you store a
navigation destination, COMAND creates an
address book entry which includes the com-
plete navigable address data.
X Call up the address book (Y page 117).
X To switch to the menu bar: slide 6the
controller.
X To select New
New : turn and press the controller.
The surname and first name input lines are
displayed.
X Enter characters using the controller
(Y page 28) or the touchpad (Y page 23).
X To save the surname and first name: select
0054.
The details for the contact are displayed.
X To add a desired entry (e.g. Add E-Mail
Add E-Mail
Address
Address): turn and press the controller.
Depending on the type of entry, the corre-
sponding input menu appears.
X Enter characters using the controller
(Y page 28) or the touchpad (Y page 23).
X To finish and save an entry: select 0054. Displaying contact details
X
Call up the address book (Y page 117).
X To select a contact: turn and press the con-
troller.
The details for the contact are displayed.
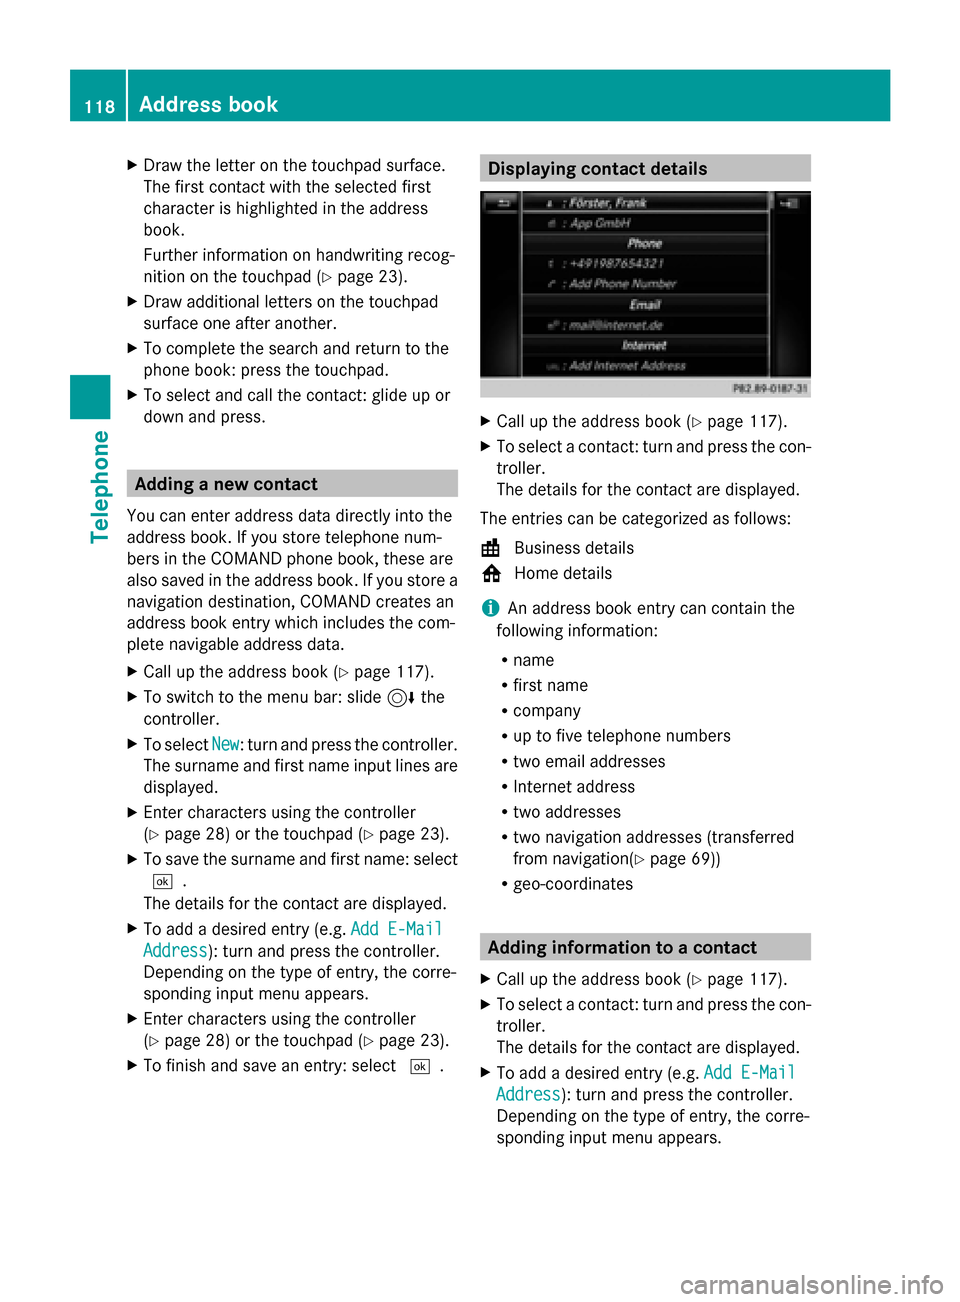
The entries can be categorized as follows:
\ Business details
0088 Home details
i An address book entry can contain the
following information:
R name
R first name
R company
R up to five telephone numbers
R two email addresses
R Internet address
R two addresses
R two navigation addresses (transferred
from navigation( Ypage 69))
R geo-coordinates Adding information to a contact
X Call up the address book (Y page 117).
X To select a contact: turn and press the con-
troller.
The details for the contact are displayed.
X To add a desired entry (e.g. Add E-Mail Add E-Mail
Address
Address): turn and press the controller.
Depending on the type of entry, the corre-
sponding input menu appears. 118
Address bookTelephone
Page 121 of 214
X
Enter characters using the controller
(Y page 28) or the touchpad (Y page 23).
X To finish and save an entry: select 0054.
A maximum of five telephone numbers can be
saved for one contact. Starting route guidance to an address
or geo-coordinates
If an address with a ZIP code is saved, the
address can be used for route guidance. If the
ZIP code cannot be assigned to an exact
address, you can adjust the destination sub-
sequently using the controller.
X Call up the address book (Y page 117).
X To select a contact: turn and press the con-
troller.
The details for the contact are displayed.
X To select an address: turn and press the
controller.
or
X To select an entry with geo-coordinates:
turn and press the controller.
The navigation menu is displayed.
X To select Start
Start: slide 6and press the
controller.
The route to the destination address is cal-
culated and route guidance starts. Making a call
X Call up the address book (Y page 117).
X To select a contact: turn and press the con-
troller.
The details for the contact are displayed.
X To select a telephone number: turn and
press the controller.
The number is dialed. Further information
about the functions during a call
(Y page 110). Sending text messages
X Call up the address book (Y page 117).
X To select a contact: turn and press the con-
troller.
The details for the contact are displayed.
X To highlight the telephone number: turn the
controller.
X To select G: slide 9the controller.
X To select Send Text Message
Send Text Message: turn and
press the controller.
The entry fields for a text message are dis-
played (Y page 131).
Observe the requirements for the message
function ( Ypage 127). Sending e-mail
X Call up the address book (Y page 117).
X To select an entry: turn and press the con-
troller.
The details for the contact are displayed.
X To select an e-mail address: turn and press
the controller.
The entry fields for an e-mail are displayed
(Y page 131).
Observe the requirements for the message
function ( Ypage 127). Displaying sub-entry information
X Call up the address book (Y page 117).
X To select an entry: turn and press the con-
troller.
The details for the contact are displayed.
X To highlight the desired entry: turn the con-
troller.
X To select G: slide 9the controller.
X To select Details
Details: turn and press the con-
troller.
The display is shown in full.
X To close the detailed display: press the
0038 button. Address book
119Telephone Z
Page 125 of 214
X
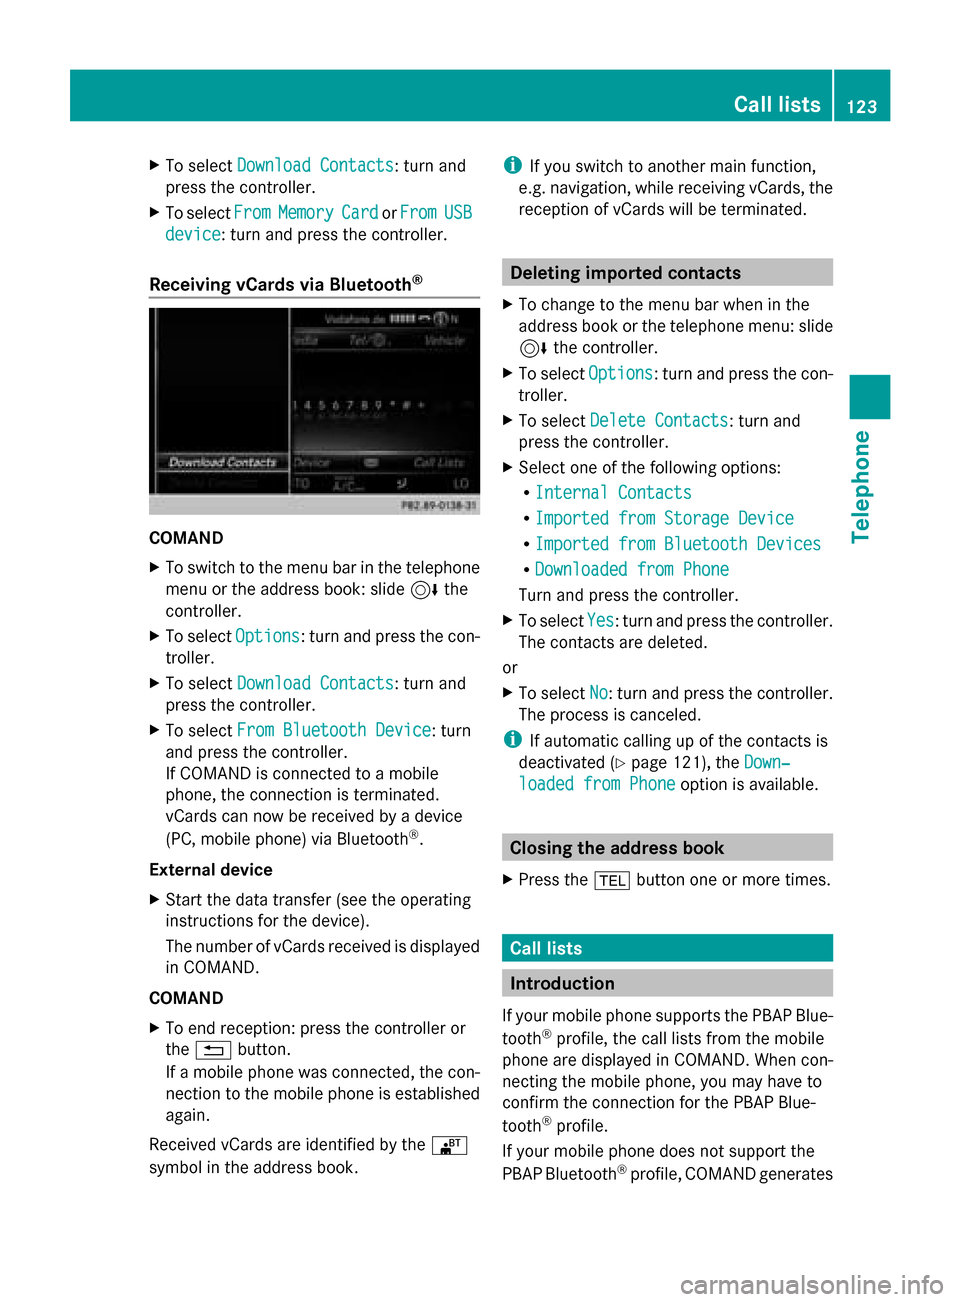
To select Download Contacts
Download Contacts: turn and
press the controller.
X To select From
From Memory
Memory Card
CardorFrom
From USB
USB
device
device: turn and press the controller.
Receiving vCards via Bluetooth ®COMAND
X
To switch to the menu bar in the telephone
menu or the address book: slide 6the
controller.
X To select Options
Options: turn and press the con-
troller.
X To select Download Contacts
Download Contacts: turn and
press the controller.
X To select From Bluetooth Device
From Bluetooth Device: turn
and press the controller.
If COMAND is connected to a mobile
phone, the connection is terminated.
vCards can now be received by a device
(PC, mobile phone) via Bluetooth ®
.
External device
X Start the data transfer (see the operating
instructions for the device).
The number of vCards received is displayed
in COMAND.
COMAND
X To end reception: press the controller or
the 0038 button.
If a mobile phone was connected, the con-
nection to the mobile phone is established
again.
Received vCards are identified by the 00BA
symbol in the address book. i
If you switch to another main function,
e.g. navigation, while receiving vCards, the
reception of vCards will be terminated. Deleting imported contacts
X To change to the menu bar when in the
address book or the telephone menu: slide
6 the controller.
X To select Options Options: turn and press the con-
troller.
X To select Delete Contacts Delete Contacts: turn and
press the controller.
X Select one of the following options:
R
Internal Contacts Internal Contacts
R Imported from Storage Device
Imported from Storage Device
R Imported from Bluetooth Devices
Imported from Bluetooth Devices
R Downloaded from Phone
Downloaded from Phone
Turn and press the controller.
X To select Yes
Yes: turn and press the controller.
The contacts are deleted.
or
X To select No No: turn and press the controller.
The process is canceled.
i If automatic calling up of the contacts is
deactivated (Y page 121), the Down‐
Down‐
loaded from Phone
loaded from Phone option is available. Closing the address book
X Press the 002Bbutton one or more times. Call lists
Introduction
If your mobile phone supports the PBAP Blue-
tooth ®
profile, the call lists from the mobile
phone are displayed in COMAND. When con-
necting the mobile phone, you may have to
confirm the connection for the PBAP Blue-
tooth ®
profile.
If your mobile phone does not support the
PBAP Bluetooth ®
profile, COMAND generates Call lists
123Telephone Z
Page 140 of 214
Selecting the search position
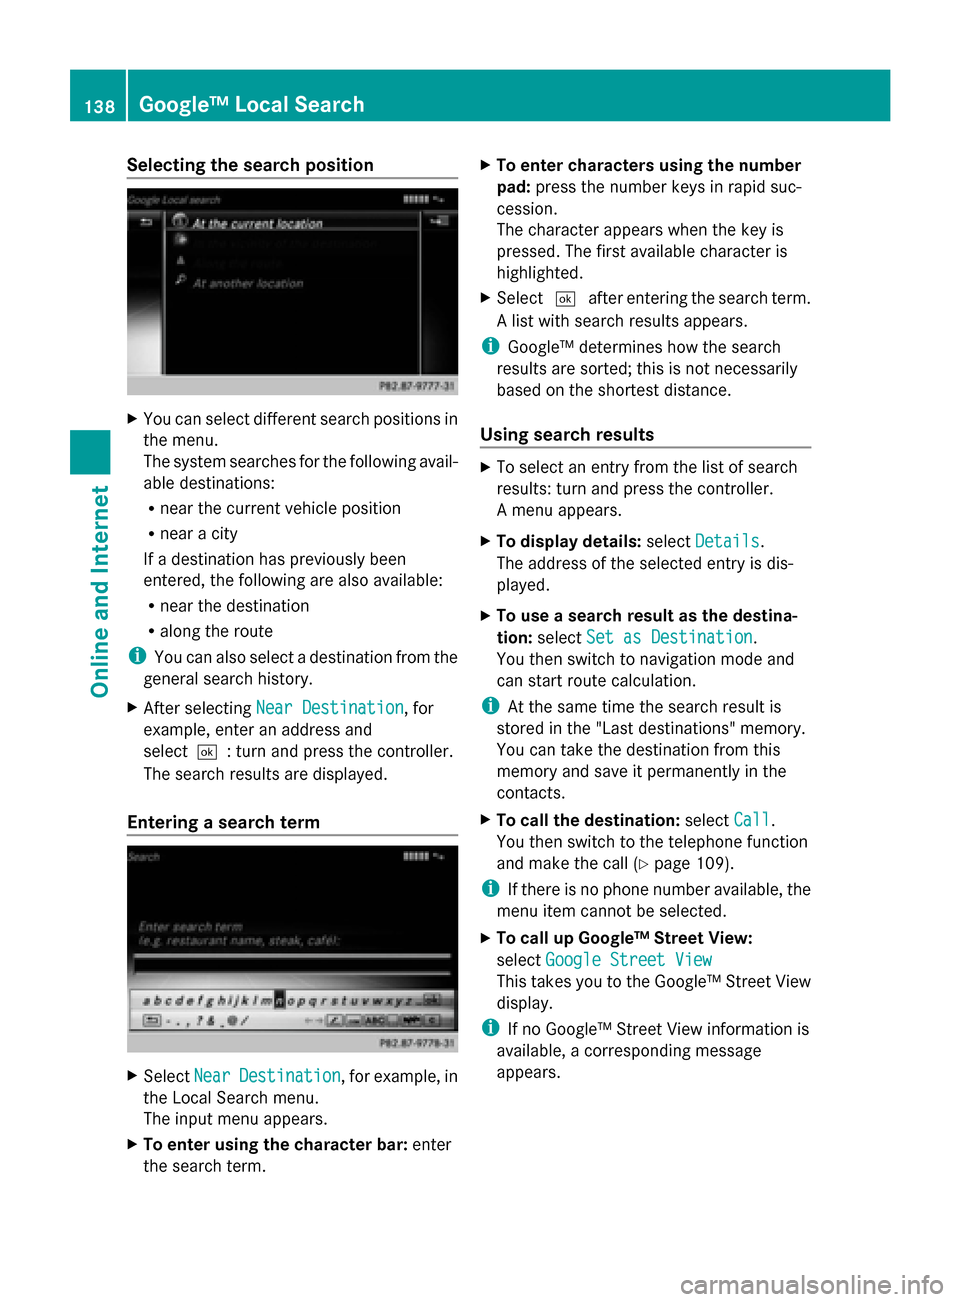
X
You can select different search positions in
the menu.
The system searches for the following avail-
able destinations:
R near the current vehicle position
R near a city
If a destination has previously been
entered, the following are also available:
R near the destination
R along the route
i You can also select a destination from the
general search history.
X After selecting Near Destination
Near Destination, for
example, enter an address and
select0054: turn and press the controller.
The search results are displayed.
Entering a search term X
Select Near NearDestination
Destination , for example, in
the Local Search menu.
The input menu appears.
X To enter using the character bar: enter
the search term. X
To enter characters using the number
pad: press the number keys in rapid suc-
cession.
The character appears when the key is
pressed. The first available character is
highlighted.
X Select 0054after entering the search term.
A list with search results appears.
i Google™ determines how the search
results are sorted; this is not necessarily
based on the shortest distance.
Using search results X
To select an entry from the list of search
results: turn and press the controller.
A menu appears.
X To display details: selectDetails Details.
The address of the selected entry is dis-
played.
X To use a search result as the destina-
tion: select Set as Destination Set as Destination.
You then switch to navigation mode and
can start route calculation.
i At the same time the search result is
stored in the "Last destinations" memory.
You can take the destination from this
memory and save it permanently in the
contacts.
X To call the destination: selectCall
Call.
You then switch to the telephone function
and make the call (Y page 109).
i If there is no phone number available, the
menu item cannot be selected.
X To call up Google™ Street View:
select Google Street View Google Street View
This takes you to the Google™ Street View
display.
i If no Google™ Street View information is
available, a corresponding message
appears. 138
Google™ Local SearchOnline and Internet
Page 143 of 214
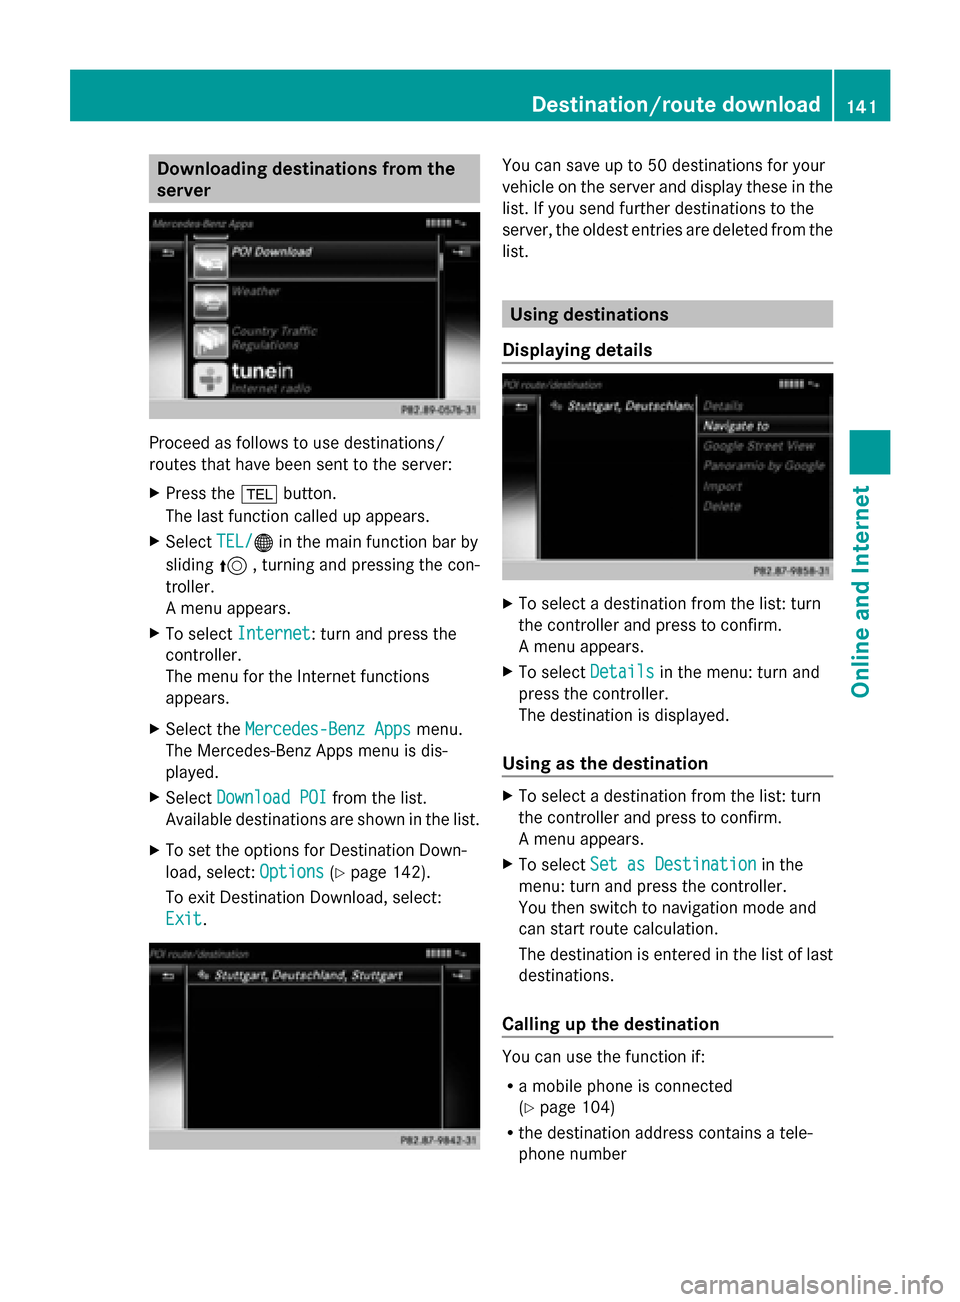
Downloading destinations from the
server Proceed as follows to use destinations/
routes that have been sent to the server:
X Press the 002Bbutton.
The last function called up appears.
X Select TEL/
TEL/00A7 in the main function bar by
sliding 5, turning and pressing the con-
troller.
A menu appears.
X To select Internet
Internet: turn and press the
controller.
The menu for the Internet functions
appears.
X Select the Mercedes-Benz Apps
Mercedes-Benz Apps menu.
The Mercedes-Benz Apps menu is dis-
played.
X Select Download POI Download POI from the list.
Available destinations are shown in the list.
X To set the options for Destination Down-
load, select: Options
Options (Ypage 142).
To exit Destination Download, select:
Exit Exit. You can save up to 50 destinations for your
vehicle on the server and display these in the
list. If you send further destinations to the
server, the oldest entries are deleted from the
list.
Using destinations
Displaying details X
To select a destination from the list: turn
the controller and press to confirm.
A menu appears.
X To select Details Detailsin the menu: turn and
press the controller.
The destination is displayed.
Using as the destination X
To select a destination from the list: turn
the controller and press to confirm.
A menu appears.
X To select Set as Destination Set as Destination in the
menu: turn and press the controller.
You then switch to navigation mode and
can start route calculation.
The destination is entered in the list of last
destinations.
Calling up the destination You can use the function if:
R
a mobile phone is connected
(Y page 104)
R the destination address contains a tele-
phone number Destination/route download
141Online and Internet
Page 148 of 214
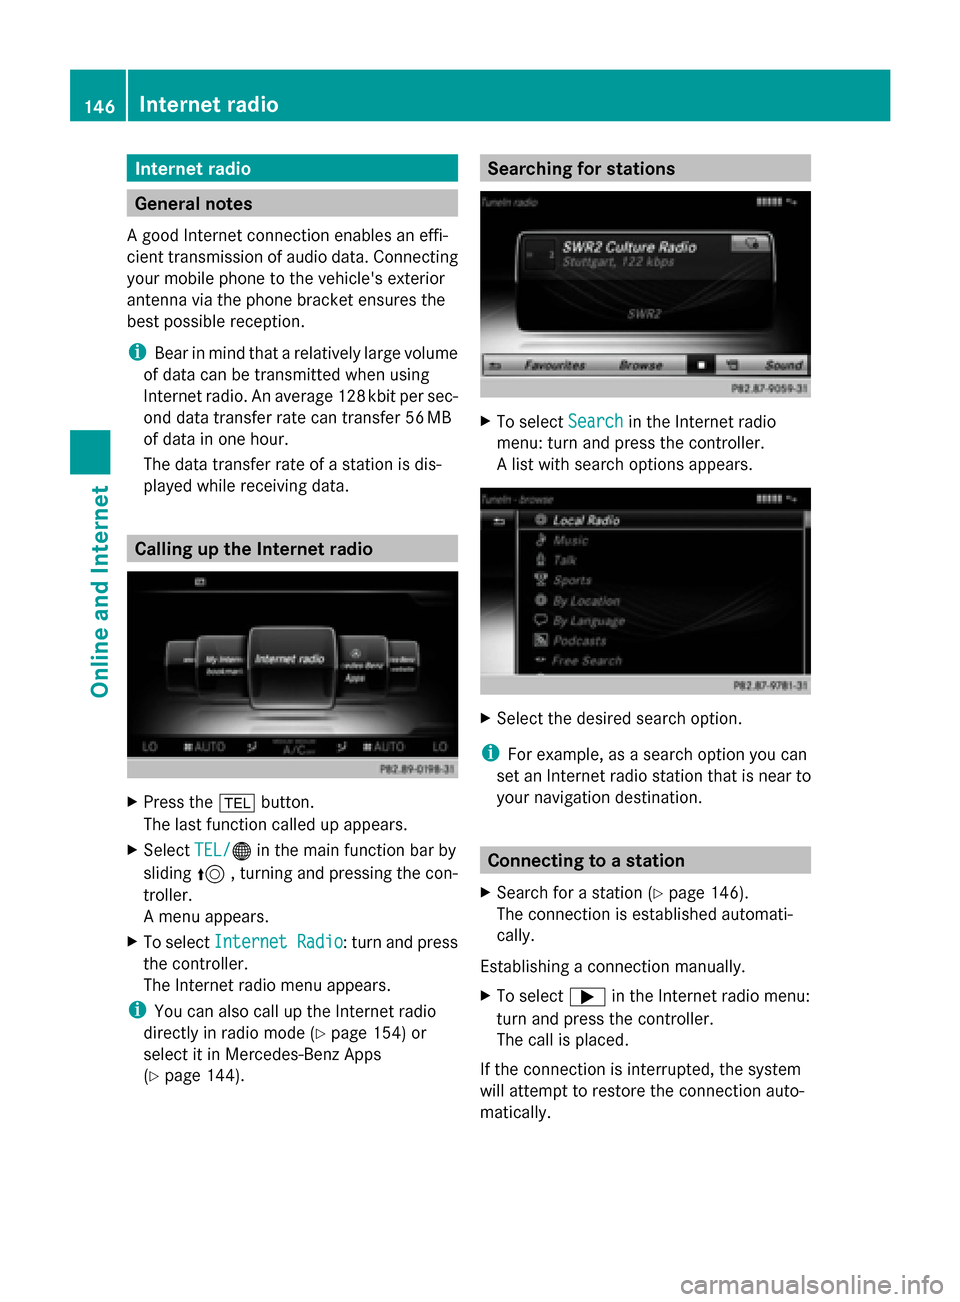
Internet radio
General notes
A good Internet connection enables an effi-
cient transmission of audio data. Connecting
your mobile phone to the vehicle's exterior
antenna via the phone bracket ensures the
best possible reception.
i Bear in mind that a relatively large volume
of data can be transmitted when using
Internet radio. An average 12 8kbit per sec-
ond data transfer rate can transfer 56 MB
of data in one hour.
The data transfer rate of a station is dis-
played while receiving data. Calling up the Internet radio
X
Press the 002Bbutton.
The last function called up appears.
X Select TEL/ TEL/00A7 in the main function bar by
sliding 5, turning and pressing the con-
troller.
A menu appears.
X To select Internet Radio
Internet Radio : turn and press
the controller.
The Internet radio menu appears.
i You can also call up the Internet radio
directly in radio mode (Y page 154) or
select it in Mercedes-Benz Apps
(Y page 144). Searching for stations
X
To select Search Searchin the Internet radio
menu: turn and press the controller.
A list with search options appears. X
Select the desired search option.
i For example, as a search option you can
set an Internet radio station that is near to
your navigation destination. Connecting to a station
X Search for a station (Y page 146).
The connection is established automati-
cally.
Establishing a connection manually.
X To select 0065in the Internet radio menu:
turn and press the controller.
The call is placed.
If the connection is interrupted, the system
will attempt to restore the connection auto-
matically. 146
Internet radioOnline and Internet
Page 149 of 214
Manually re-establishing a connection
X
Select 0065again in the Internet radio
menu.
Ending data transfer:
X Select 00DBin the Internet radio menu.
or
X Change to another audio source, for exam-
ple Media
Media.
If you change to a main function that is not an
audio source, e.g. navigation, the data con-
nection remains on. You can continue listen-
ing to the set station. Pressing the 002Bbut-
ton takes you back to Internet radio. Saving a station as a favorite
X To select the Favorites Favoritesmenu: turn and
press the controller.
X Select Save ... as Favorite
Save ... as Favorite.
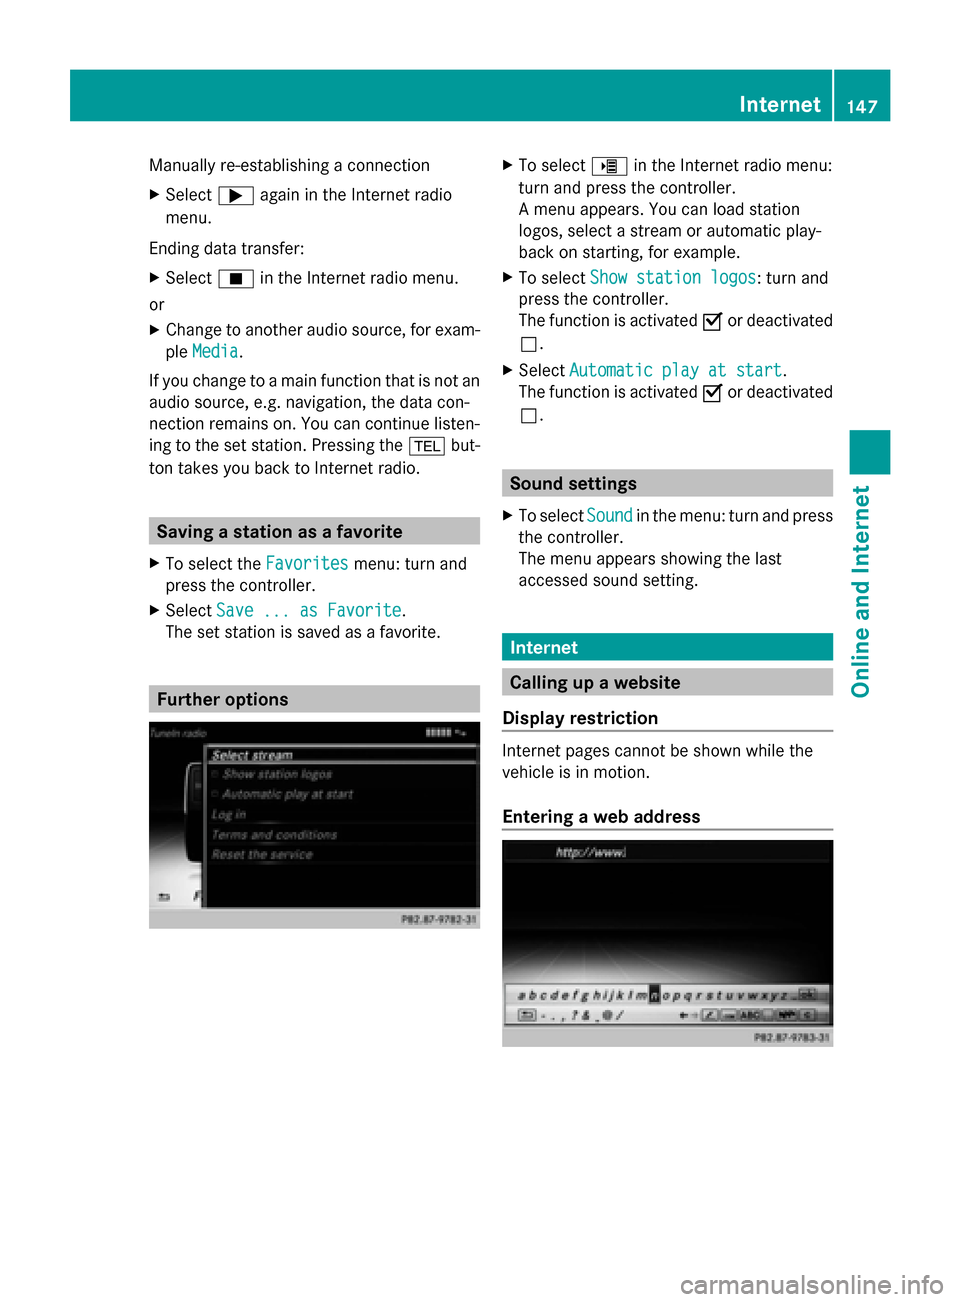
The set station is saved as a favorite. Further options X
To select 00DEin the Internet radio menu:
turn and press the controller.
A menu appears. You can load station
logos, select a stream or automatic play-
back on starting, for example.
X To select Show station logos Show station logos: turn and
press the controller.
The function is activated 0073or deactivated
0053.
X Select Automatic play at start
Automatic play at start.
The function is activated 0073or deactivated
0053. Sound settings
X To select Sound
Soundin the menu: turn and press
the controller.
The menu appears showing the last
accessed sound setting. Internet
Calling up a website
Display restriction Internet pages cannot be shown while the
vehicle is in motion.
Entering a web address Internet
147Online and Internet
Page 166 of 214
Your COMAND equipment
These operating instructions describe all
standard and optional equipment available
for your COMAND system at the time of pur-
chase. Country-specific differences are pos-
sible. Please note that your COMAND system
may not be equipped with all the features
described. This also applies to safety-relevant
systems and functions. Therefore, the equip-
ment on your COMAND system may differ
from that in the descriptions and illustrations.
Should you have any questions concerning
equipment and operation, please consult an
authorized Mercedes-Benz Center. Activating media mode
General notes
There are several ways to activate media
sources using COMAND.
The relevant sections of the Operator's Man-
ual describe the simplest way to activate a
media source.
This section describes all options for activat-
ing media sources. Using the MEDIA button
X Press the 00FDbutton.
The menu for the last accessed media
source appears.
X To select the media source: keep pressing
the 00FD button until the required media
source has been set.
The media sources appear in the following
order:
R CD/DVD
R Memory card
R Media Register
R Vehicles without Media Interface: USB 1
and USB 2
R Vehicles with Media Interface: Media
Interface 1 and Media Interface 2 R
BT audio
R TV (if your vehicle is equipped with a TV)
R AUX
If playable music files are found, they will
be played by COMAND.
X To display the function bars: slide 00520064the
controller. Switching on automatically
After an external media source has been con-
nected, COMAND will only activate the cor-
responding media mode automatically in the
case of CDs and SD cards. When using USB
devices, depending on the vehicle's equip-
ment, the relevant Media Interface 1, 2 or
USB 1, 2 basic display must already be acti-
vated.
External media sources:
R Apple devices (e.g. iPhone ®
)
R USB devices (e.g. USB stick, MP3 player)
R CD
R DVD
R SD cards
R via AUX cable (automatic activation
depends on the device connected)
R via devices connected by Bluetooth ®
If playable music files are found, they will be
played by COMAND.
i If a media function is already switched on
in COMAND, this will be interrupted and the
basic display of the newly connected
device will appear.
If another function, such as navigation, is
operating, the basic display will not change.
Only the music from the newly connected
media source will play 164
Activa
ting media modeMedia