navigation MERCEDES-BENZ C-Class 2015 W205 Comand Manual
[x] Cancel search | Manufacturer: MERCEDES-BENZ, Model Year: 2015, Model line: C-Class, Model: MERCEDES-BENZ C-Class 2015 W205Pages: 214, PDF Size: 5.16 MB
Page 168 of 214

Inserting and removing a disc from
the single CD/DVD drive
Before inserting a CD/DVD, ensure that the
cup holder is empty.
X To insert: press the00F8button on the
single drive.
If there is a disc already inserted, it will be
ejected.
X Insert a disc into the disc slot with the
printed side facing upwards.
The drive closes and the disc is played.
If the CD/DVD is operated in Media mode,
the corresponding basic menu will be
shown. If the CD/DVD is started using
another application (e.g. navigation), the
display will not change.
i The drive may not be able to play discs
with copy protection.
X To remove: press the00F8button.
The drive ejects the disc.
X Remove the ejected disc from the slot.
If you do not take the disc out of the slot, it
is drawn in again automatically after a short
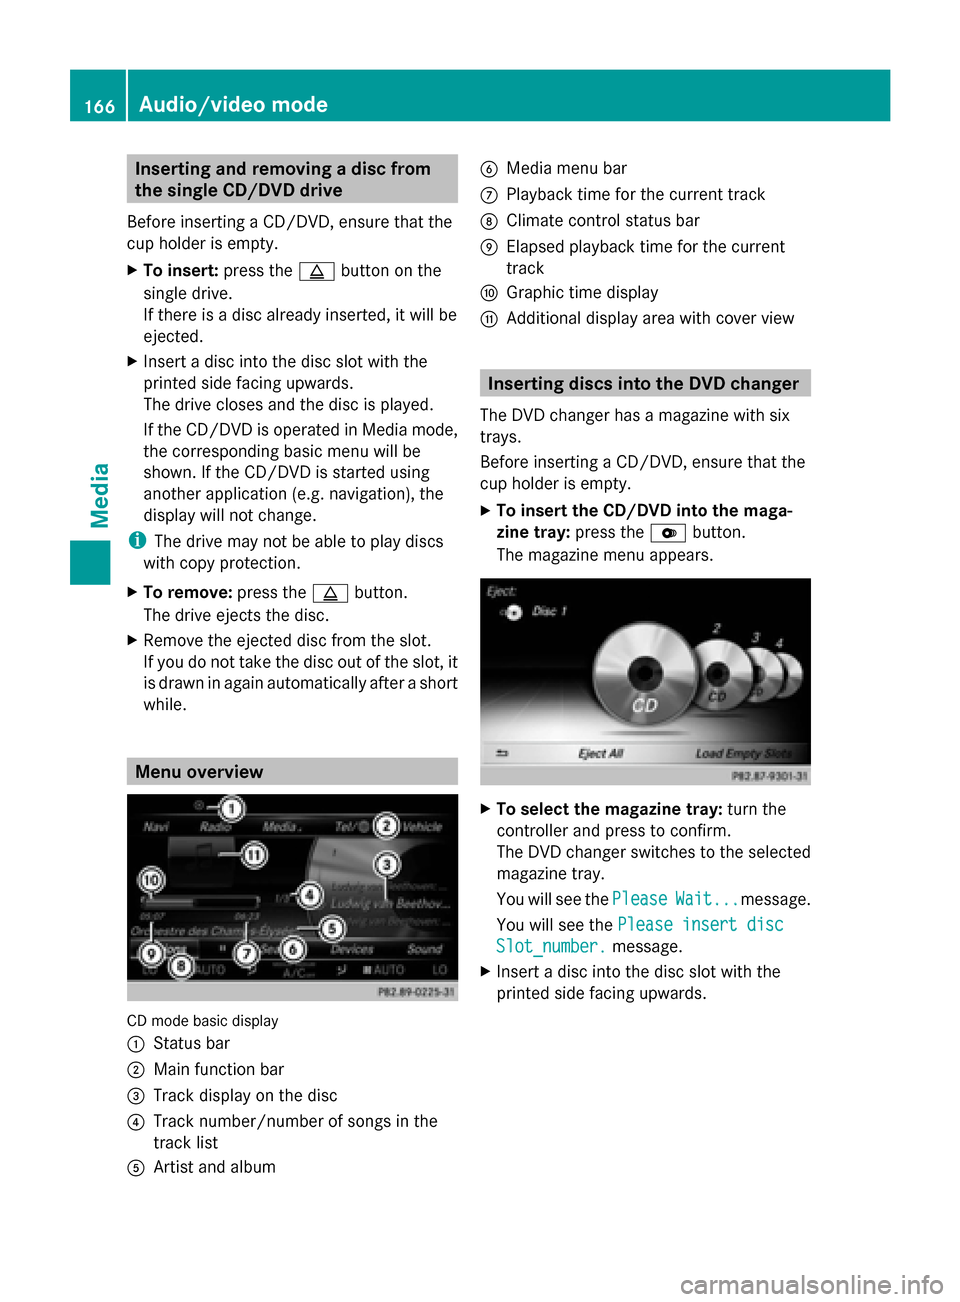
while. Menu overview
CD mode basic display
0043
Status bar
0044 Main function bar
0087 Track display on the disc
0085 Track number/number of songs in the
track list
0083 Artist and album 0084
Media menu bar
006B Playback time for the current track
006C Climate control status bar
006D Elapsed playback time for the current
track
006E Graphic time display
006F Additional display area with cover view Inserting discs into the DVD changer
The DVD changer has a magazine with six
trays.
Before inserting a CD/DVD, ensure that the
cup holder is empty.
X To insert the CD/DVD into the maga-
zine tray: press the0065button.
The magazine menu appears. X
To select the magazine tray: turn the
controller and press to confirm.
The DVD changer switches to the selected
magazine tray.
You will see the Please PleaseWait...
Wait...message.
You will see the Please insert disc
Please insert disc
Slot_number.
Slot_number. message.
X Insert a disc into the disc slot with the
printed side facing upwards. 166
Audio/video modeMedia
Page 170 of 214

poses an increased risk of injury or even fatal
injury.
Keep SD memory cards out of the reach of
children. If an SD memory card is swallowed,
seek immediate medical attention.
! If you are no longer using the SD memory
card, you should remove it. High tempera-
tures can damage the card.
COMAND supports SD memory cards
(Secure Digital), SDHC memory cards
(Secure DigitalHighCapacity), and SDXC
memory cards (Secure Digital eXtended
Capacity.
Inserting an SD memory card X
Insert the SD memory card into the SD card
slot in the stowage space under the arm-
rest until the SD memory card engages into
place. The side with the contacts must face
downwards.
The music is played while the files are
loaded in the background. If there are no
supported audio/video files, you will see a
message to this effect.
Ejecting an SD memory card X
Press the memory card.
The memory card is ejected.
X Remove the memory card. Connecting USB devices
There are two USB ports in the stowage space
under the armrest.
X Connect the USB device to the USB port.
The data medium will only be played and
the files will only be loaded in the back-
ground if the corresponding media display
is visible. Otherwise, the system does not
automatically switch to USB. If there are no
supported audio/video files, you will see a
message to this effect. i
MP3 players must support Media Transfer
Protocol (MTP). Activating media mode
Switching on automatically After an external media source has been con-
nected, COMAND will only activate the cor-
responding media mode automatically and
show the basic display in the case of CDs and
SD cards. If the CD/DVD is started using
another application (e.g. navigation), the dis-
play will not change.
When using USB devices, depending on the
vehicle's equipment, the relevant Media
Interface 1, 2 or USB 1, 2 basic display must
already be activated.
X Insert the CDs/DVDs (Y page 166)
or
X Insert a SD memory card: (Y page 168)
or
X Connect a USB device: (Y page 168)
COMAND loads the medium inserted and
starts to play it automatically.
Further options for switching on R
Using the number keypad: (Y page 165)
R Using the main function bar: (Y page 165)
R Using the device list: (Y page 165)
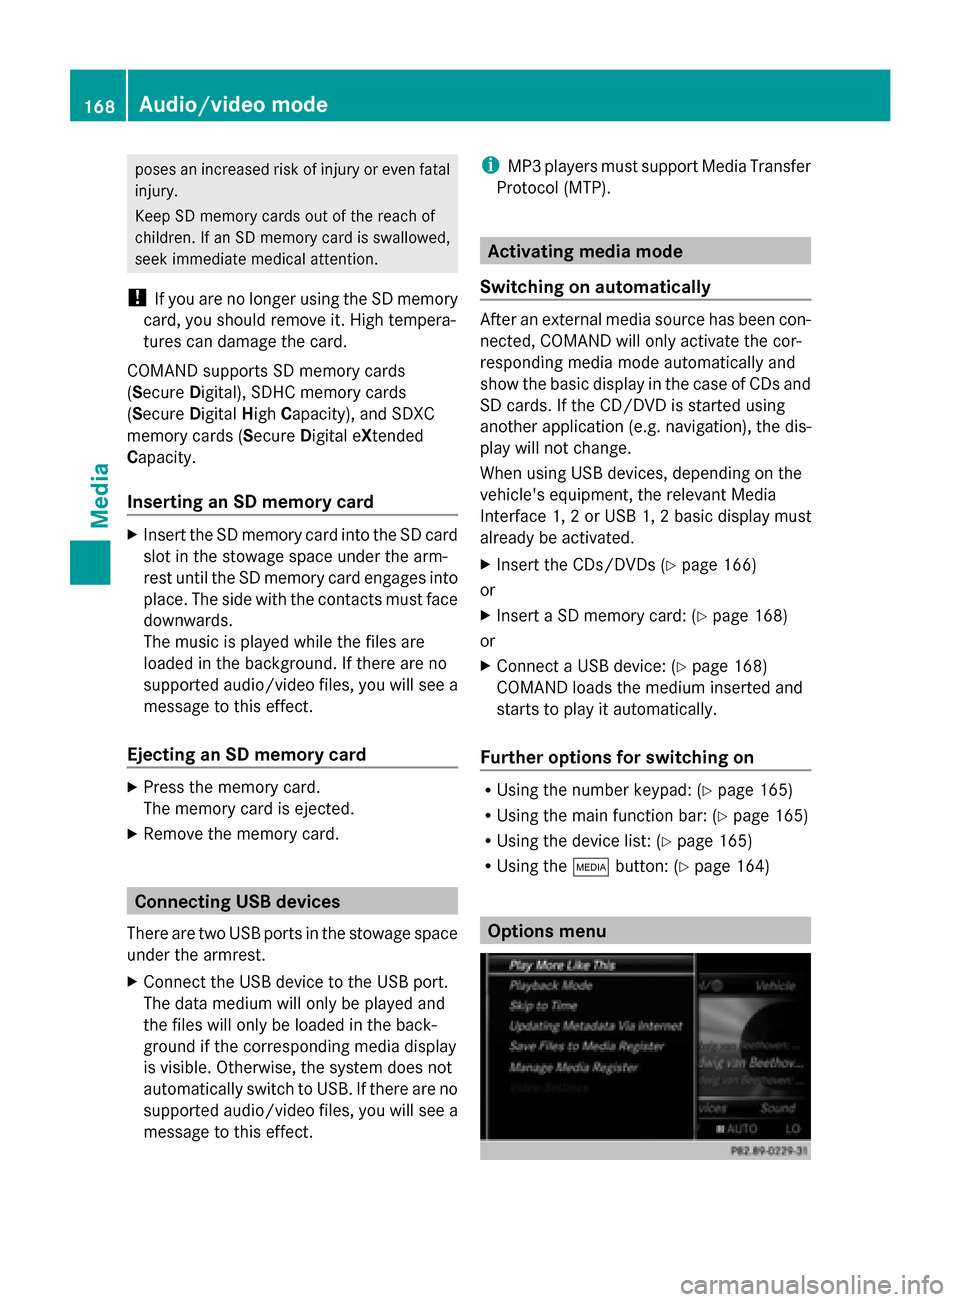
R Using the 00FDbutton: (Y page 164) Options menu168
Audio/video modeMedia
Page 191 of 214

X
To switch on full-screen mode: press the
controller in the basic display.
X To show the video menu: slide 005200C5the
controller in full-screen mode.
The Media Interface menu bar appears.
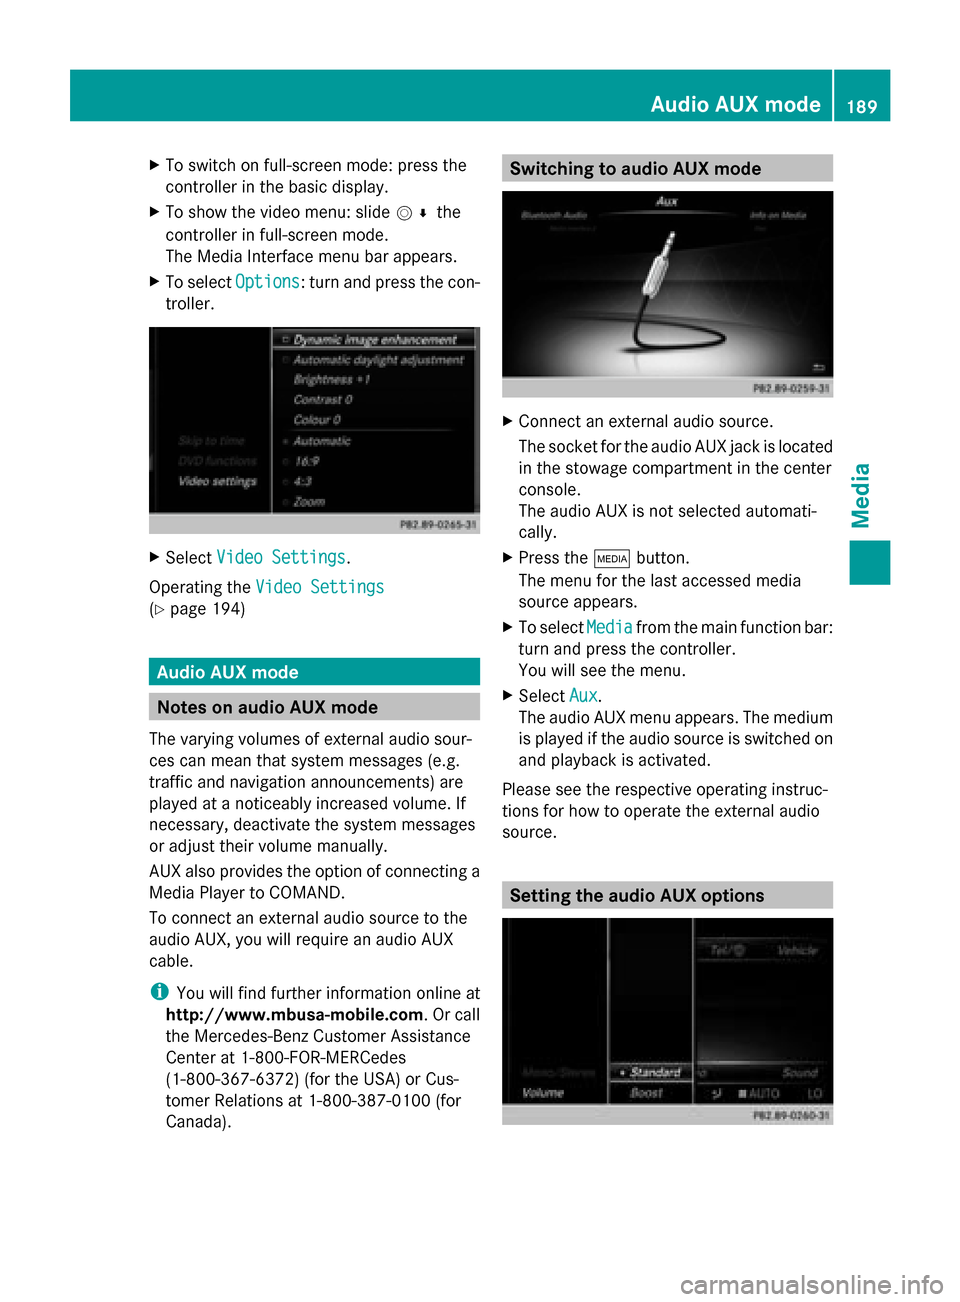
X To select Options
Options: turn and press the con-
troller. X
Select Video Settings
Video Settings.
Operating the Video Settings Video Settings
(Y page 194) Audio AUX mode
Notes on audio AUX mode
The varying volumes of external audio sour-
ces can mean that system messages (e.g.
traffic and navigation announcements) are
played at a noticeably increased volume. If
necessary, deactivate the system messages
or adjust their volume manually.
AUX also provides the option of connecting a
Media Player to COMAND.
To connect an external audio source to the
audio AUX, you will require an audio AUX
cable.
i You will find further information online at
http://www.mbusa-mobile.com. Or call
the Mercedes-Benz Customer Assistance
Center at 1-800-FOR-MERCedes
(1-800-367-6372) (for the USA) or Cus-
tomer Relations at 1-800-387-010 0(for
Canada). Switching to audio AUX mode
X
Connect an external audio source.
The socket for the audio AUX jack is located
in the stowage compartment in the center
console.
The audio AUX is not selected automati-
cally.
X Press the 00FDbutton.
The menu for the last accessed media
source appears.
X To select Media Mediafrom the main function bar:
turn and press the controller.
You will see the menu.
X Select Aux Aux.
The audio AUX menu appears. The medium
is played if the audio source is switched on
and playback is activated.
Please see the respective operating instruc-
tions for how to operate the external audio
source. Setting the audio AUX options Audio AUX mode
189Media Z
Page 192 of 214

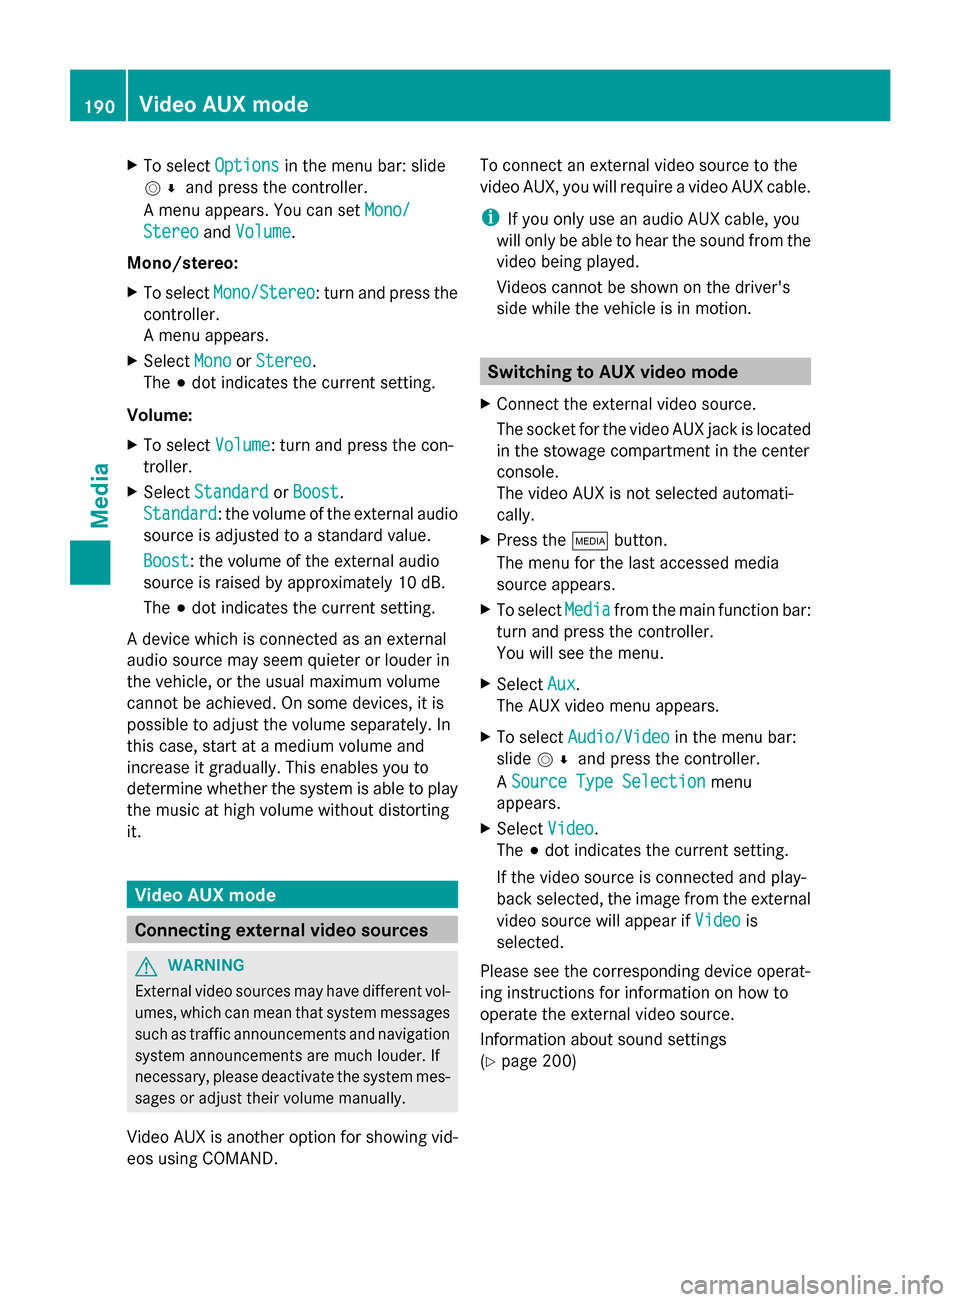
X
To select Options
Optionsin the menu bar: slide
005200C5 and press the controller.
A menu appears. You can set Mono/
Mono/
Stereo
Stereo andVolume
Volume.
Mono/stereo:
X To select Mono/Stereo
Mono/Stereo: turn and press the
controller.
A menu appears.
X Select Mono
Mono orStereo Stereo.
The 003Bdot indicates the current setting.
Volume:
X To select Volume
Volume: turn and press the con-
troller.
X Select Standard
Standard orBoost Boost.
Standard
Standard: the volume of the external audio
source is adjusted to a standard value.
Boost
Boost: the volume of the external audio
source is raised by approximately 10 dB.
The 003Bdot indicates the current setting.
A device which is connected as an external
audio source may seem quieter or louder in
the vehicle, or the usual maximum volume
cannot be achieved. On some devices, it is
possible to adjust the volume separately. In
this case, start at a medium volume and
increase it gradually. This enables you to
determine whether the system is able to play
the music at high volume without distorting
it. Video AUX mode
Connecting external video sources
G
WARNING
External video sources may have different vol-
umes, which can mean that system messages
such as traffic announcements and navigation
system announcements are much louder. If
necessary, please deactivate the system mes-
sages or adjust their volume manually.
Video AUX is another option for showing vid-
eos using COMAND. To connect an external video source to the
video AUX, you will require a video AUX cable.
i
If you only use an audio AUX cable, you
will only be able to hear the sound from the
video being played.
Videos cannot be shown on the driver's
side while the vehicle is in motion. Switching to AUX video mode
X Connect the external video source.
The socket for the video AUX jack is located
in the stowage compartment in the center
console.
The video AUX is not selected automati-
cally.
X Press the 00FDbutton.
The menu for the last accessed media
source appears.
X To select Media
Media from the main function bar:
turn and press the controller.
You will see the menu.
X Select Aux Aux.
The AUX video menu appears.
X To select Audio/Video Audio/Video in the menu bar:
slide 005200C5 and press the controller.
A Source Type Selection
Source Type Selection menu
appears.
X Select Video Video.
The 003Bdot indicates the current setting.
If the video source is connected and play-
back selected, the image from the external
video source will appear if Video Videois
selected.
Please see the corresponding device operat-
ing instructions for information on how to
operate the external video source.
Information about sound settings
(Y page 200) 190
Video AUX modeMedia