reset MERCEDES-BENZ C CLASS 2016 Owners Manual
[x] Cancel search | Manufacturer: MERCEDES-BENZ, Model Year: 2016, Model line: C CLASS, Model: MERCEDES-BENZ C CLASS 2016Pages: 398, PDF Size: 11.64 MB
Page 6 of 398
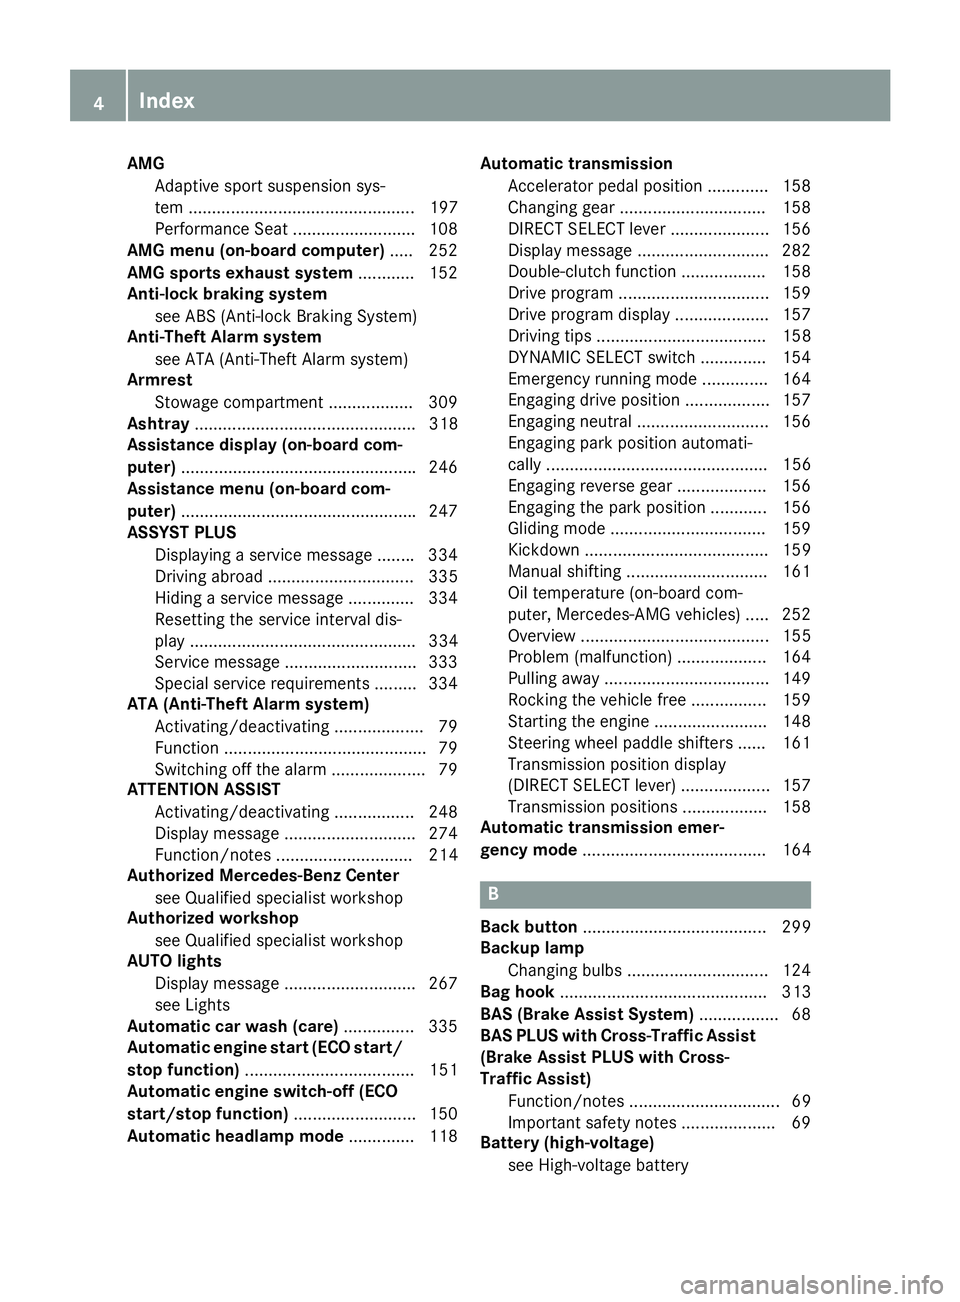
AMG
Adaptive sport suspension sys-
tem ................................................ 197
Performance Se at .......................... 108
AMG menu (on-board computer) .... .2 52
AMG sports exhaust system ............ 152
Anti-lock braking system
see ABS (Anti-lock Braking System)
Anti-Theft Alarm system
see ATA (Anti-Theft Alarm system)
Armrest
Stowage compartment .................. 309
Ashtray ............................................... 318
Assistance display (on-board com-
puter) ................................................. .2 46
Assistance menu (on-board com-
puter) ................................................. .2 47
ASSYST PLUS
Displaying a service message ....... .3 34
Driving abroad ............................... 335
Hiding a service message .............. 334
Resetting the service interval dis-
play ................................................ 334
Service message ............................ 333
Special service requirements ......... 334
ATA (Anti-Theft Alarm system)
Activating/deactivating ................... 79
Function .......................................... .7 9
Switching off the alarm .................... 79
ATTENTION ASSIST
Activating/deactivating ................. 248
Display message ............................ 274
Function/notes ............................. 214
Authorized Mercedes-Benz Center
see Qualified specialist workshop
Authorized workshop
see Qualified specialist workshop
AUTO lights
Display message ............................ 267
see Lights
Automatic car wash (care) ............... 335
Automatic engine start (ECO start/
stop function) .................................... 151
Automatic engine switch-off (ECO
start/stop function) .......................... 150
Automatic headlamp mode .............. 118 Automatic transmission
Accelerato r pedal position ............. 158
C hanging gear ............................... 158
DIRECT SELECT lever ..................... 156
Display message ............................ 282
Double-clutch function .................. 158
Drive program ................................ 159
Drive program display .................... 157
Driving tips .................................... 158
DYNAMIC SELECT switch .............. 154
Emergency running mode .............. 164
Engaging drive position .................. 157
Engaging neutral ............................ 156
Engaging park position automati-
cally ............................................... 156
Engaging reverse gear ................... 156
Engaging the park position ............ 156
Gliding mode ................................. 159
Kickdown ....................................... 159
Manual shifting .............................. 161
Oil temperature (on-board com-
puter, Mercedes-AMG vehicles) ..... 252
Overview ........................................ 155
Problem (malfunction) ................... 164
Pulling away ................................... 149
Rocking the vehicle free ................ 159
Starting the engine ........................ 148
Steering wheel paddle shifters ...... 161
Transmission position display
(DIRECT SELECT lever) ................... 157
Transmission positions .................. 158
Automatic transmission emer-
gency mode ....................................... 164
B
Back button ....................................... 299
Backup lamp
Changing bulbs .............................. 124
Bag hook ............................................ 313
BAS (Brake Assist System) ................. 68
BAS PLUS with Cross-Traffic Assist
(Brake Assist PLUS with Cross-
Traffic Assist)
Function/notes ................................ 69
Important safety notes .................... 69
Battery (high-voltage)
see High-voltage battery4
Index
Page 18 of 398
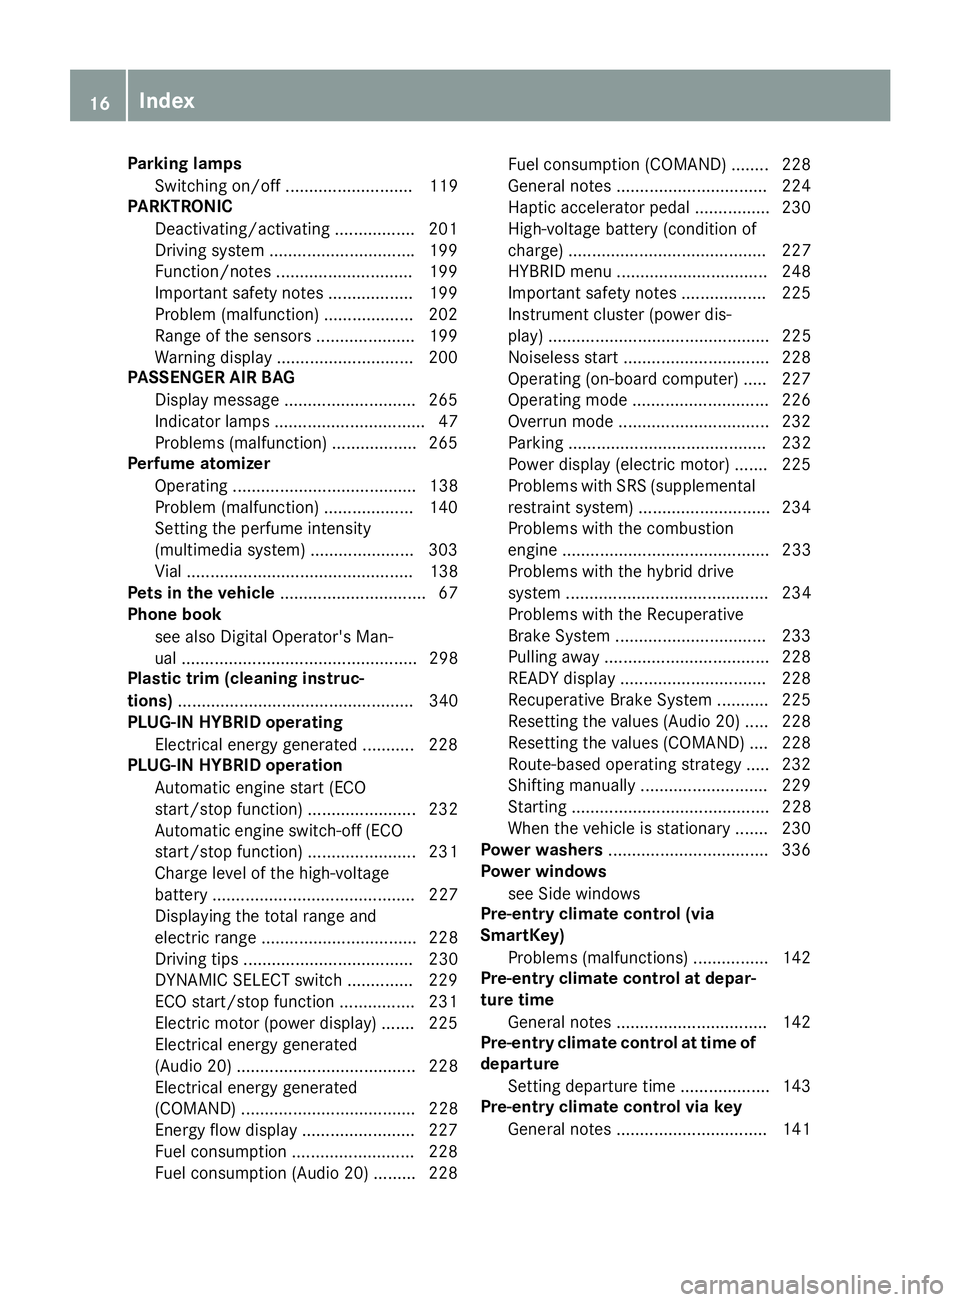
Parking lamps
Switching on/off ........................... 119
PARKTRONIC
Deactivating/activating ................. 201
Driving system .............................. .1 99
Function/notes ............................ .1 99
Important safety notes .................. 199
Problem (malfunction) ................... 202
Range of the sensors ..................... 199
Warning display ............................. 200
PASSENGER AIR BAG
Display message ............................ 265
Indicator lamps ................................ 47
Problems (malfunction) .................. 265
Perfume atomizer
Operating ....................................... 138
Problem (malfunction) ................... 140
Setting the perfume intensity
(multimedia system) ...................... 303
Vial ................................................ 138
Pets in the vehicle ............................... 67
Phone book
see also Digital Operator's Man-
ual .................................................. 298
Plastic trim (cleaning instruc-
tions) .................................................. 340
PLUG-IN HYBRID operating
Electrical energy generated ........... 228
PLUG-IN HYBRID operation
Automatic engine start (ECO
start/stop function) ....................... 232
Automatic engine switch-off (ECO
start/stop function) ....................... 231
Charge level of the high-voltage
battery ........................................... 227
Displaying the total range and
electric range ................................. 228
Driving tips .................................... 230
DYNAMIC SELECT switch .............. 229
ECO start/stop function ................ 231
Electric motor (power display) ....... 225
Electrical energy generated
(Audio 20) ...................................... 228
Electrical energy generated
(COMAND) ..................................... 228
Energy flow display ........................ 227
Fuel consumption .......................... 228
Fuel consumption (Audio 20) ......... 228 Fuel consumption (COMAND) ........ 228
General notes ................................ 224
Haptic accelerator pedal ................ 230
High-voltage battery (condition of
cha rge) .......................................... 227
HY BR
ID menu ................................ 248
Important safety notes .................. 225
Instrument cluster (power dis-
play) ............................................... 225
Noiseless start ............................... 228
Operating (on-board computer) ..... 227
Operating mode ............................. 226
Overrun mode ................................ 232
Parking .......................................... 232
Power display (electric motor) ....... 225
Problems with SRS (supplemental
restraint system) ............................ 234
Problems with the combustion
engine ............................................ 233
Problems with the hybrid drive
system ........................................... 234
Problems with the Recuperative
Brake System ................................ 233
Pulling away ................................... 228
READY display ............................... 228
Recuperative Brake System ........... 225
Resetting the values (Audio 20) ..... 228
Resetting the values (COMAND) .... 228
Route-based operating strategy ..... 232
Shifting manually ........................... 229
Starting .......................................... 228
When the vehicle is stationary ....... 230
Power washers .................................. 336
Power windows
see Side windows
Pre-entry climate control (via
SmartKey)
Problems (malfunctions) ................ 142
Pre-entry climate control at depar-
ture time
General notes ................................ 142
Pre-entry climate control at time of
departure
Setting departure time ................... 143
Pre-entry climate control via key
General notes ................................ 14116
Index
Page 21 of 398
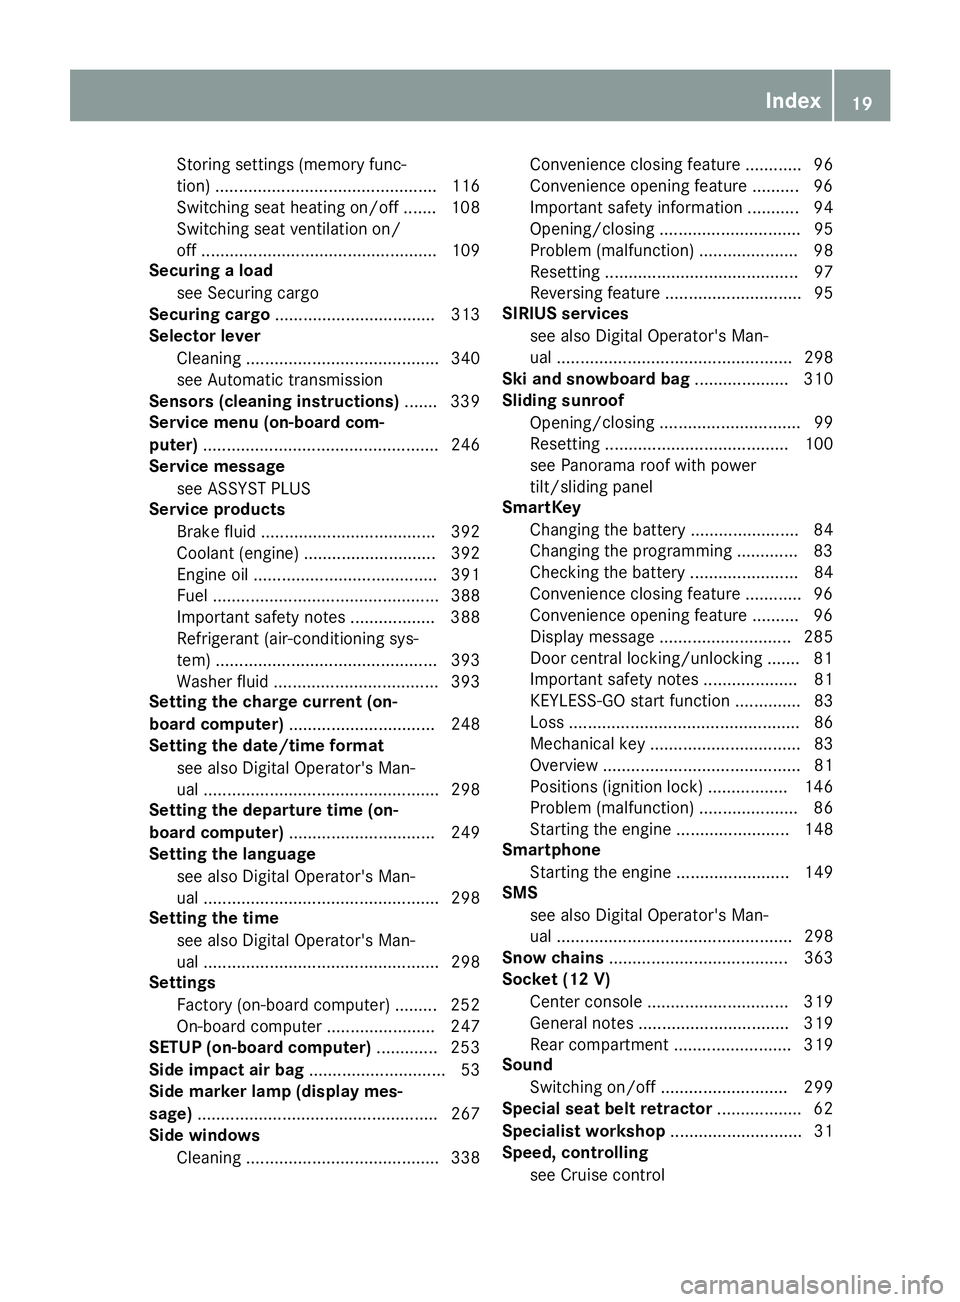
Storing settings (memory func-
tion) ............................................... 116
Switching seat heating on/off ....... 108
Switching seat ventilation on/
off .................................................. 109
Securing a load
see Securing cargo
Securing cargo .................................. 313
Selector lever
Cleaning ......................................... 340
see Automatic transmission
Sensors (cleaning instructions) ....... 339
Service menu (on-board com-
puter) .................................................. 246
Service message
see ASSYST PLUS
Service products
Brake fluid ..................................... 392
Coolant (engine) ............................ 392
Engine oil ....................................... 391
Fuel ................................................ 388
Important safety notes .................. 388
Refrigerant (air-conditioning sys-
tem) ............................................... 393
Washer fluid ................................... 393
Setting the charge current (on-
board computer) ............................... 248
Setting the date/time format
see also Digital Operator's Man-
ual .................................................. 298
Setting the departure time (on-
board computer) ............................... 249
Setting the language
see also Digital Operator's Man-
ual .................................................. 298
Setting the time
see also Digital Operator's Man-
ual .................................................. 298
Settings
Factory (on-board computer) ......... 252
On-board computer ....................... 247
SETUP (on-board computer) ............. 253
Side impact air bag ............................. 53
Side marker lamp (display mes-
sage) ................................................... 267
Side windows
Cleaning ......................................... 338 Convenience closing feature ............ 96
Convenience opening feature .......... 96
Important safety information ........... 94
Opening/closing .............................. 95
Problem (malfunction) ..................... 98
Resetting ......................................... 97
Reversing feature ............................. 95
SIRIUS services
see also Digital Operator's Man-
ual .................................................. 298
Ski and snowboard bag .................... 310
Sliding sunroof
Opening/ closi ng .............................. 99
R
esetting ....................................... 100
see Panorama roof with power
tilt/sliding panel
SmartKey
Changing the battery ....................... 84
Changing the programming ............. 83
Checking the battery ....................... 84
Convenience closing feature ............ 96
Convenience opening feature .......... 96
Display message ............................ 285
Door central locking/unlocking ....... 81
Important safety notes .................... 81
KEYLESS-GO start function .............. 83
Loss ................................................. 86
Mechanical key ................................ 83
Overview .......................................... 81
Positions (ignition lock) ................. 146
Problem (malfunction) ..................... 86
Starting the engine ........................ 148
Smartphone
Starting the engine ........................ 149
SMS
see also Digital Operator's Man-
ual .................................................. 298
Snow chains ...................................... 363
Socket (12 V)
Center console .............................. 319
General notes ................................ 319
Rear compartment ......................... 319
Sound
Switching on/off ........................... 299
Special seat belt retractor .................. 62
Specialist workshop ............................ 31
Speed, controlling
see Cruise control Index 19
Page 24 of 398
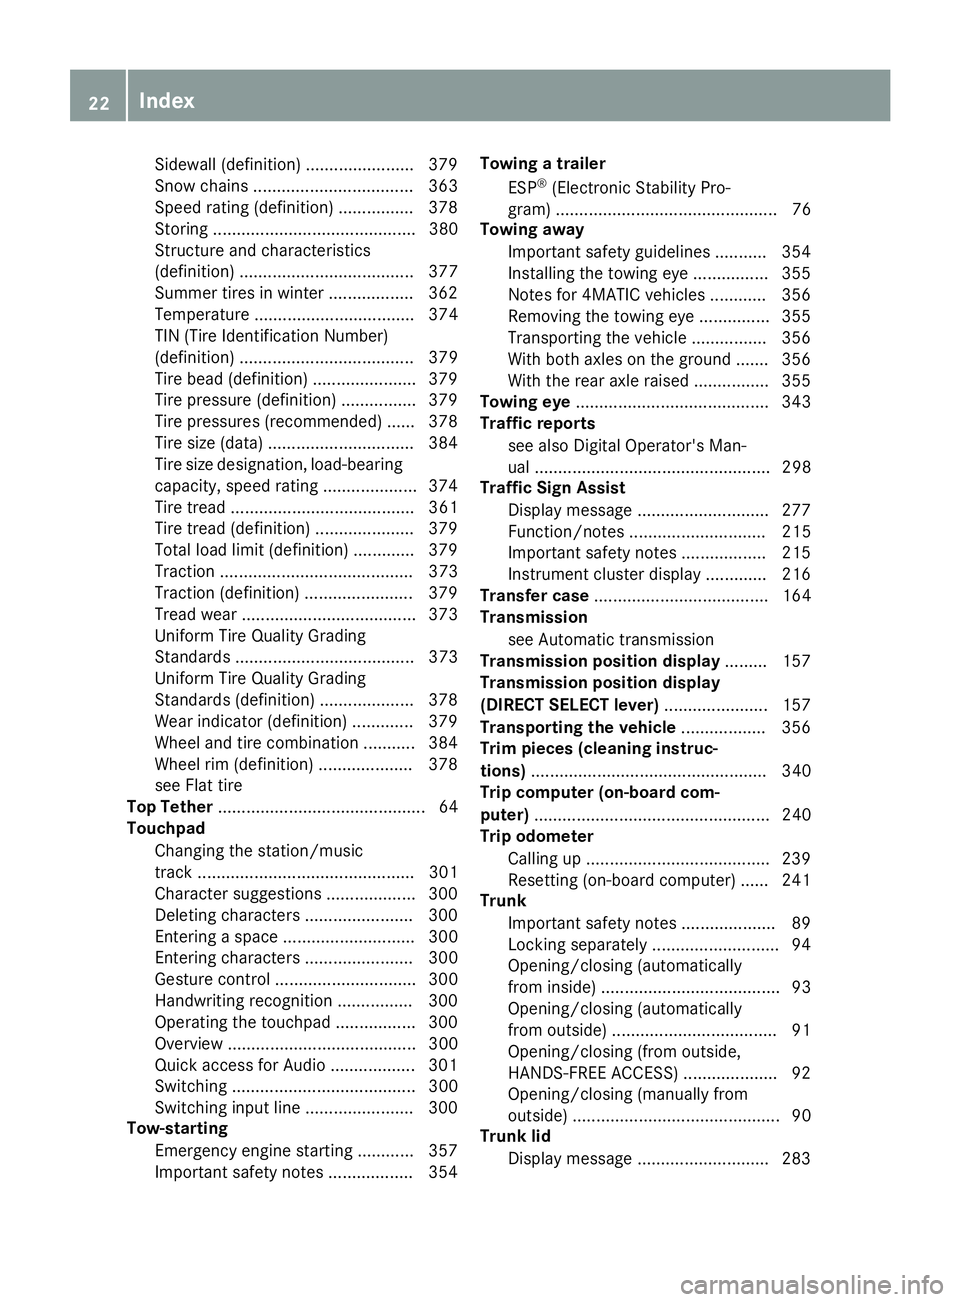
Sidewall (definition) ....................... 379
Snow chains .................................. 363
Speed rating (definition) ................ 378
Storing ........................................... 380
Structure and characteristics
(definition) ..................................... 377
Summer tires in winter .................. 362
Temperature .................................. 374
TIN (Tire Identification Number)
(definition) ..................................... 379
Tire bead (definition) ...................... 379
Tire pressure (definition) ................ 379
Tire pressures (recommended) ...... 378
Tire size (data) ............................... 384
Tire size designation, load-bearing
capacity, speed rating .................... 374
Tire tread ....................................... 361
Tire tread (definition) ..................... 379
Total load limit (definition) ............. 379
Traction ......................................... 373
Traction (definition) ....................... 379
Tread wear ..................................... 373
Uniform Tire Quality Grading
Standards ...................................... 373
Uniform Tire Quality Grading
Standards (definition) .................... 378
Wear indicator (definition) ............. 379
Wheel and tire combination ........... 384
Wheel rim (definition) .................... 378
see Flat tire
Top Tether ............................................ 64
Touchpad
Changing the station/music
track .............................................. 301
Character suggestions ................... 300
Deleting characters ....................... 300
Entering a space ............................ 300
Entering characters ....................... 300
Gesture control .............................. 300
Handwriting recognition ................ 300
Operating the touchpad ................. 300
Overview ........................................ 300
Quick access for Audio .................. 301
Switching ....................................... 300
Switching input line ....................... 300
Tow-starting
Emergency engine starting ............ 357
Important safety notes .................. 354 Towing a trailer
ESP ®
(Electronic Stability Pro-
gram) ............................................... 76
Towing away
Important safety guidelines ........... 354
Insta l ling the towing eye ................ 355
Notes for 4MATIC vehicles ............ 356
Removing the towing eye ............... 355
Transporting the vehicle ................ 356
With both axles on the ground ....... 356
With the rear axle raised ................ 355
Towing eye ......................................... 343
Traffic reports
see also Digital Operator's Man-
ual .................................................. 298
Traffic Sign Assist
Display message ............................ 277
Function/notes ............................. 215
Important safety notes .................. 215
Instrument cluster display ............. 216
Transfer case ..................................... 164
Transmission
see Automatic transmission
Transmission position display ......... 157
Transmission position display
(DIRECT SELECT lever) ...................... 157
Transporting the vehicle .................. 356
Trim pieces (cleaning instruc-
tions) .................................................. 340
Trip computer (on-board com-
puter) .................................................. 240
Trip odometer
Calling up ....................................... 239
Resetting (on-board computer) ...... 241
Trunk
Important safety notes .................... 89
Locking separately ........................... 94
Opening/closing (automatically
from inside) ...................................... 93
Opening/closing (automatically
from outside) ................................... 91
Opening/closing (from outside,
HANDS-FREE ACCESS) .................... 92
Opening/closing (manually from
outside) ............................................ 90
Trunk lid
Display message ............................ 28322
Index
Page 33 of 398
the vehicle's high-voltage electrical system
checked by a qualified specialist workshop.
The components of the vehicle's high-voltage
electrical system are marked with yellow warn-
ing stickers. The cables of the vehicle's high-
voltage electrical system are orange in color.
Vehicles with an electric motor generate much
less driving noise than vehicles with internal
combustion engines. As a result, your vehicle
may not be heard by other road users in certain
situations. This can happen, for example, when
you are parking and your vehicle is not seen by
other road users. This requires you to adopt a
particularly anticipatory driving style, as it is
necessary to allow for the possibility that other
road users may behave erratically.
Declarations of conformity
Vehicle components which receive
and/or transmit radio waves USA: "The wireless devices of this vehicle com-
ply with Part 15 of the FCC Rules. Operation is
subject to the two following two conditions: 1)
These devices may not cause harmful interfer-
ence, and 2) These devices must accept any
interference received, including interference
that may cause undesired operation. Changes
or modifications not expressly approved by the
party responsible for compliance could void the
user’s authority to operate the equipment."
Canada: "The wireless devices of this vehicle
comply with Industry Canada license-exempt
RSS standard(s). Operation is subject to the fol-
lowing two conditions: (1) These devices may
not cause interference, and (2) These devices
must accept any interference, including inter-
ference that may cause undesired operation of
the device."
Diagnostics connection
The diagnostics connection is only intended for
the connection of diagnostic equipment at a
qualified specialist workshop.
G WARNING
If you connect equipment to the diagnostics
connection in the vehicle, it may affect the operation of the vehicle systems. As a result,
the operating safety of the vehicle could be
affected. There is a risk of an accident.
Do not connect any equipment to a diagnos-
tics connection in the vehicle.
G WARNING
Objects in the driver's footwell can restrict the
pedal travel or obstruct a depressed pedal.
The operating and road safety of the vehicle is
jeopardized. There is a risk of an accident.
Make sure that all objects in the vehicle are
stowed correctly, and that they cannot enter
the driver's footwell. Install the floormats
securely and as specified in order to ensure
sufficient clearance for the pedals. Do not use
loose floormats and do not place floormats on
top of one another.
! If the engine is switched off and equipment
on the diagnostics connection is used, the
starter battery may discharge.
Connecting equipment to the diagnostics con-
nection can lead to emissions monitoring infor-
mation being reset, for example. This may lead
to the vehicle failing to meet the requirements of
the next emissions test during the main inspec-
tion.
Qualified specialist workshop An authorized Mercedes-Benz Center is a quali-
fied specialist workshop. It has the necessary
specialist knowledge, tools and qualifications to
correctly carry out the work required on your
vehicle. This is especially the case for work rel-
evant to safety.
Observe the notes in the Maintenance Booklet.
Always have the following work carried out at an
authorized Mercedes-Benz Center: R
work relevant to safety R
service and maintenance work R
repair work R
alterations, installation work and modifica-
tions R
work on electronic components R
work on the hybrid drive systemOperating safety 31
Introduction Z
Page 97 of 398
body becomes trapped, release the switch or
pull the switch to close the side window again.
G WARNING
While closing the side windows, body parts in
the closing area could become trapped. There
is a risk of injury.
When closing make sure that no parts of the
body are in the closing area. If somebody
becomes trapped, release the switch or press
the switch to open the side window again.
G WARNING
If children operate the side windows they
could become trapped, particularly if they are
left unsupervised. There is a risk of injury.
Activate the override feature for the rear side
windows. When leaving the vehicle, always
take the SmartKey with you and lock the vehi-
cle. Never leave children unsupervised in the
vehicle.
Side window reversing feature The side windows are equipped with an auto-
matic reversing feature. If a solid object blocks
or restricts a side window from traveling
upwards during the automatic closing process,
the side window opens again automatically. Dur-
ing the manual closing process, the side window
only opens again automatically after the corre-
sponding switch is released. The automatic
reversing feature is only an aid and is no substi-
tute for your attention when closing a side win-
dow.
G WARNING
The reversing feature does not react: R
to soft, light and thin objects, e.g. small fin-
gers R
while resetting
This means that the reversing feature cannot
prevent someone being trapped in these sit-
uations. There is a risk of injury.
Make sure that no body parts are in close
proximity during the closing procedure. If someone becomes trapped, press the switch
to open the side window again.
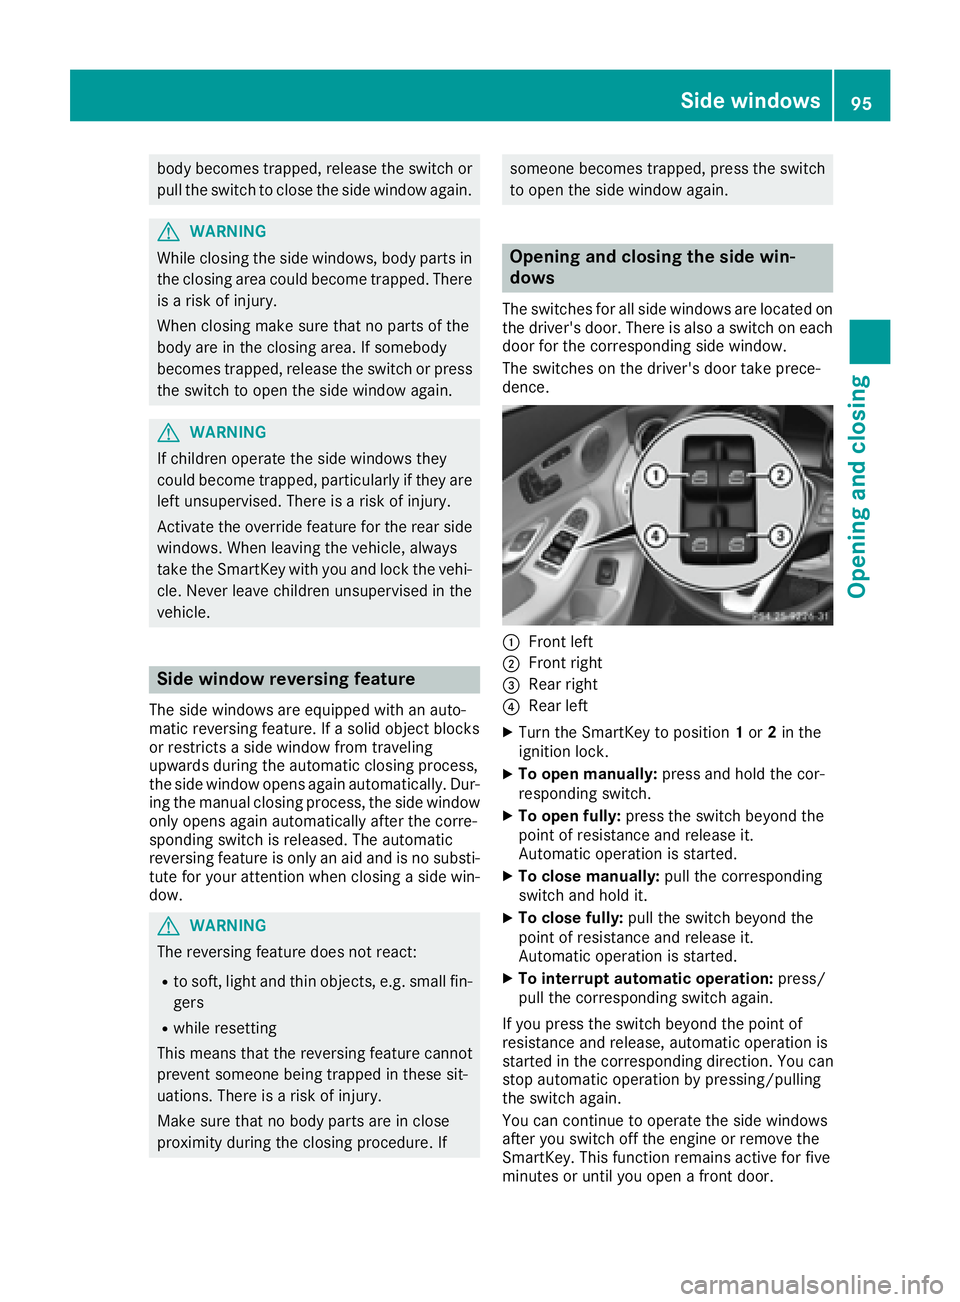
Opening and closing the side win-
dows The switches for all side windows are located on
the driver's door. There is also a switch on each
door for the corresponding side window.
The switches on the driver's door take prece-
dence.
�C
Front left �D
Front right �
Page 99 of 398
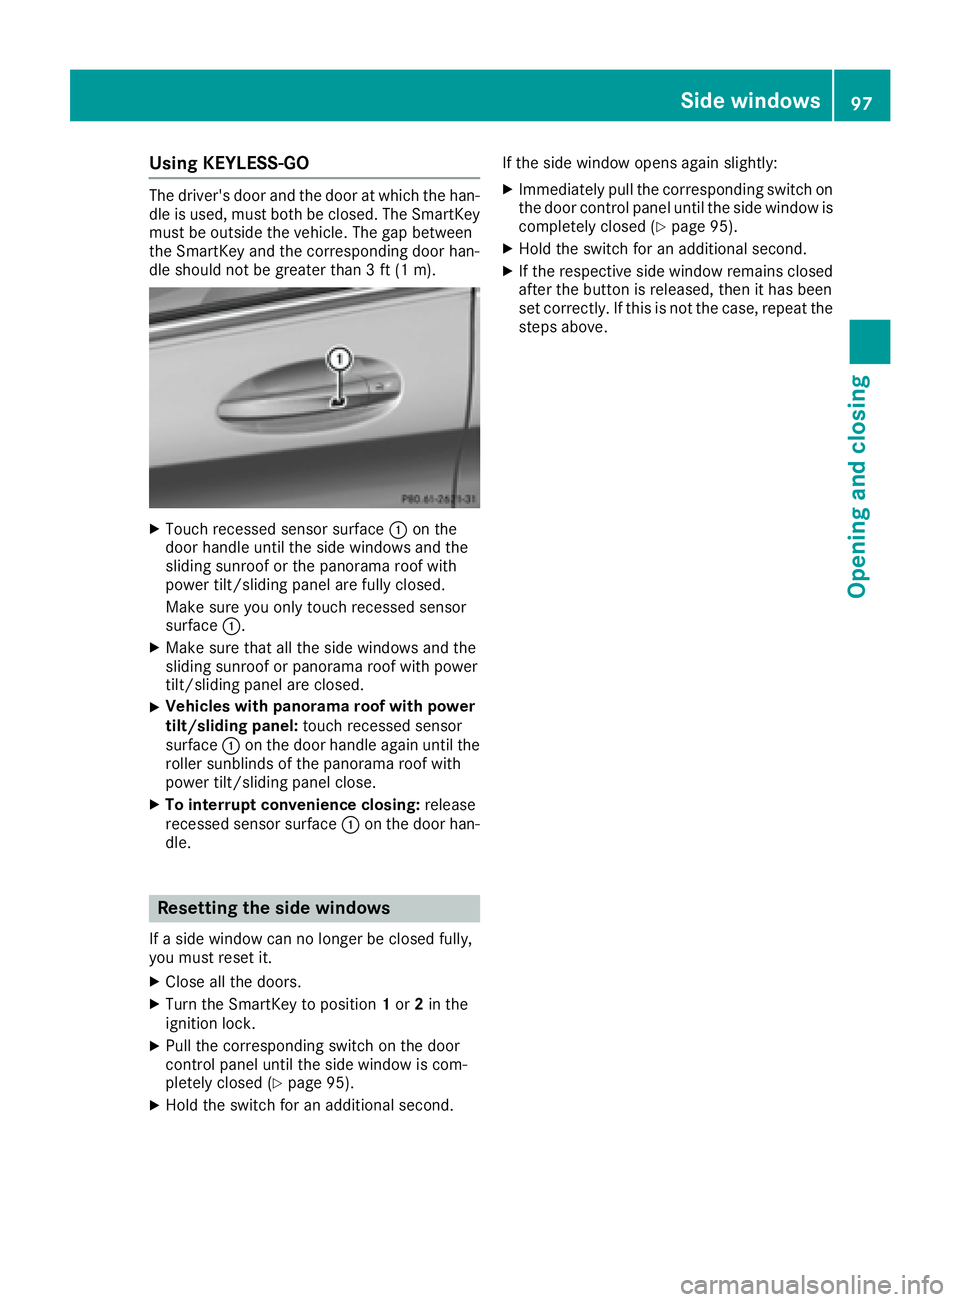
Using KEYLESS-GO The driver's door and the door at which the han-
dle is used, must both be closed. The SmartKey
must be outside the vehicle. The gap between
the SmartKey and the corresponding door han-
dle should not be greater than 3 ft (1 m).
X
Touch recessed sensor surface �C on the
door handle until the side windows and the
sliding sunroof or the panorama roof with
power tilt/sliding panel are fully closed.
Make sure you only touch recessed sensor
surface �C .X
Make sure that all the side windows and the
sliding sunroof or panorama roof with power
tilt/sliding panel are closed. X
Vehicles with panorama roof with power
tilt/sliding panel: touch recessed sensor
surface �C on the door handle again until the
roller sunblinds of the panorama roof with
power tilt/sliding panel close. X
To interrupt convenience closing: release
recessed sensor surface �C on the door han-
dle.
Resetting the side windows If a side window can no longer be closed fully,
you must reset it. X
Close all the doors. X
Turn the SmartKey to position 1 or 2 in the
ignition lock. X
Pull the corresponding switch on the door
control panel until the side window is com-
pletely closed ( Y
page 95).X
Hold the switch for an additional second. If the side window opens again slightly: X
Immediately pull the corresponding switch on
the door control panel until the side window is
completely closed ( Y
page 95).X
Hold the switch for an additional second. X
If the respective side window remains closed
after the button is released, then it has been
set correctly. If this is not the case, repeat the
steps above.
Side windows 97
Opening and closing Z
Page 100 of 398
Problems with the side windows
G WARNING
If you close a side window again immediately after it has been blocked or reset, the side window
closes with increased or maximum force. The reversing feature is then not active. Parts of the
body could be trapped in the closing area in the process. This poses an increased risk of injury or
even fatal injury.
Make sure that no parts of the body are in the closing area. To stop the closing process, release
the switch or push the switch again to reopen the side window.
Problem
Possible causes/consequences and �P Solutions
A side window cannot be
closed because it is
blocked by objects, e.g.
leaves in the window
guide. X
Remove the objects. X
Close the side window.
A side window cannot be
closed and you cannot
see the cause. If a side window is obstructed during closing and reopens again
slightly: X
Immediately after the window blocks, pull the corresponding switch
again until the side window has closed.
The side window is closed with increased force.
If a side window is obstructed again during closing and reopens again
slightly: X
Immediately after the window blocks, pull the corresponding switch
again until the side window has closed.
The side windows are closed without the automatic reversing fea-
ture.
Sliding sunroof
Important safety notes Your vehicle may be equipped with a sliding
sunroof or a panorama roof with power tilt/slid-
ing panel. In this section, the term "sliding sun-
roof" refers to both types of sliding sunroof.
G WARNING
While opening and closing the sliding sunroof,
body parts in close proximity could become
trapped. There is a risk of injury.
Make sure that no body parts are in close
proximity during the opening and closing pro-
cedures. If somebody becomes trapped: R
release the switch immediately, or R
during automatic operation, push the
switch briefly in any direction
The opening or closing procedure will be stop-
ped.
G WARNING
If children operate the sliding sunroof they
could become trapped, particularly if they are
left unsupervised. There is a risk of injury.
When leaving the vehicle, always take the
SmartKey with you and lock the vehicle. Never
leave children unsupervised in the vehicle.98
Sliding sunroof
Opening and closing
Page 101 of 398
! Only open the sliding sunroof if it is free of
snow and ice. Otherwise, malfunctions may
occur.
Do not allow anything to protrude from the
sliding sunroof. Otherwise, the seals could be
damaged.
! The weather can change abruptly. It could
start to rain or snow. Make sure that the slid-
ing sunroof is closed when you leave the vehi-
cle. The vehicle electronics can be damaged if
water enters the vehicle interior.
Resonance noises can occur in addition to the
usual airflow noises when the sliding sunroof is
open. They are caused by minor pressure fluc-
tuations in the vehicle interior. Change the posi-
tion of the sliding sunroof or open a side window
slightly to reduce or eliminate these noises.
Only for vehicles with panorama roof with
power tilt/sliding panel:
G WARNING
At high speeds the raised sliding sunroof auto-
matically lowers slightly at the rear. This could
trap you or other persons. There is a risk of
injury. Make sure that nobody reaches into
the sweep of the sliding sunroof whilst the
vehicle is in motion.
If somebody becomes trapped, immediately
pull back the sliding sunroof switch. The slid-
ing sunroof lifts during opening.
Sliding sunroof reversing feature Your vehicle may be equipped with a sliding
sunroof or a panorama roof with power tilt/slid-
ing panel. In this section, the term "sliding sun-
roof" refers to both types of sliding sunroof.
The sliding sunroof is equipped with an auto-
matic reversing feature. If a solid object blocks
or restricts the sliding sunroof during the closing
process, the sliding sunroof opens again auto-
matically. The automatic reversing feature is
only an aid and is no substitute for your attention
when closing the sliding roof. G WARNING
The reversing feature does not react: R
to soft, light and thin objects, e.g. small fin-
gers R
over the last 1/6 in (4 mm) of the closing
movement R
during resetting R
when closing the sliding sunroof again man-
ually immediately after automatic reversing
This means that the reversing feature cannot
prevent someone being trapped in these sit-
uations. There is a risk of injury.
Make sure that no body parts are in close
proximity during the closing procedure.
If somebody becomes trapped: R
release the switch immediately, or R
press the switch in any direction during the
automatic closing process
The closing process is stopped.
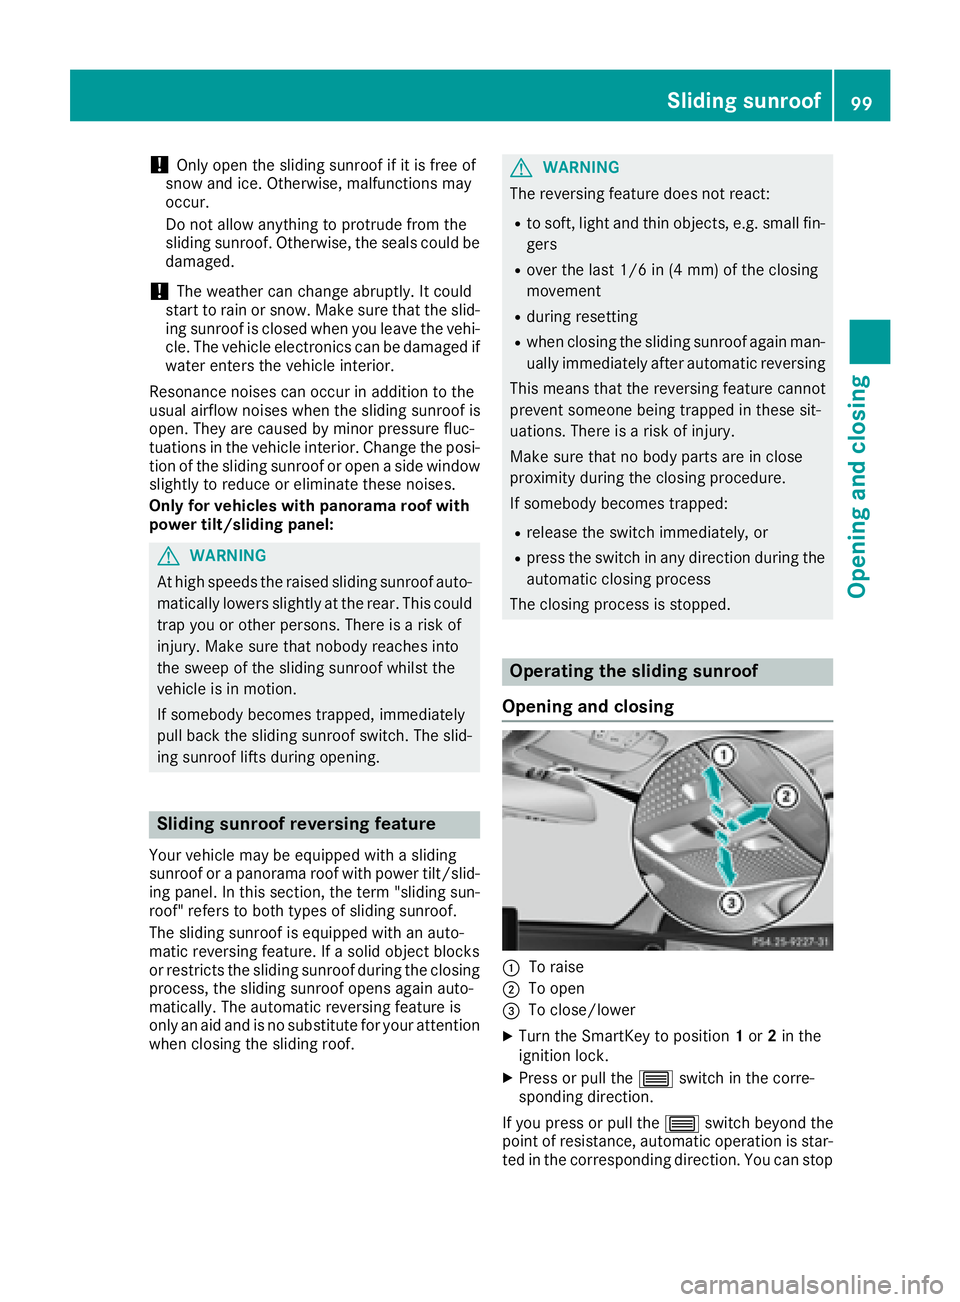
Operating the sliding sunroof
Opening and closing
�C
To raise
�D
To open
�
Page 102 of 398
automatic operation by pressing or pulling
again.
When opening and raising the roof, automatic
operation is only available if the sliding sunroof
is in the closed position.
The sun protection cover automatically opens
along with the sliding sunroof. You can open or
close the sun protection cover manually when
the sliding sunroof is raised or closed.
You can continue to operate the sliding sunroof
after switching off the engine or removing the
SmartKey from the ignition lock. This function is
available for up to five minutes or until the driv-
er's or front-passenger door is opened.
Resetting
! If the sliding sunroof still cannot be opened
or closed fully after resetting, contact a quali-
fied specialist workshop.
Reset the sliding sunroof if it does not move
smoothly. X
Turn the SmartKey to position 1 or 2 in the
ignition lock. X
Raise the sliding sunroof fully at the rear
( Y
page 99).X
Keep the �W switch pressed for another
second. X
Make sure that the sliding sunroof can be fully
opened and closed again ( Y
page 99).X
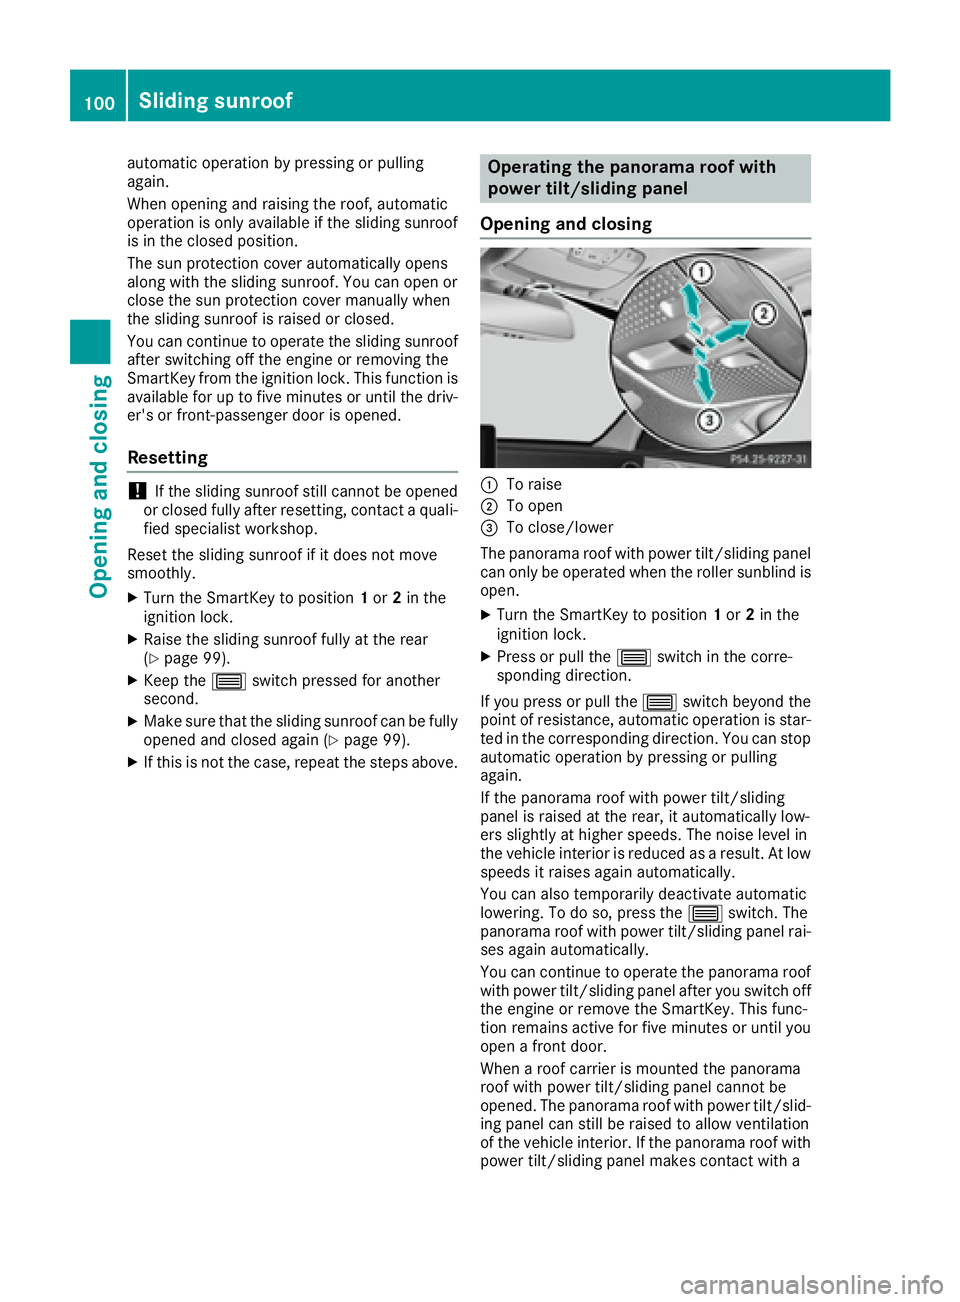
If this is not the case, repeat the steps above. Operating the panorama roof with
power tilt/sliding panel
Opening and closing
�C
To raise �D
To open �