key MERCEDES-BENZ C-Class SEDAN 2016 W205 Comand Manual
[x] Cancel search | Manufacturer: MERCEDES-BENZ, Model Year: 2016, Model line: C-Class SEDAN, Model: MERCEDES-BENZ C-Class SEDAN 2016 W205Pages: 190, PDF Size: 6.21 MB
Page 5 of 190
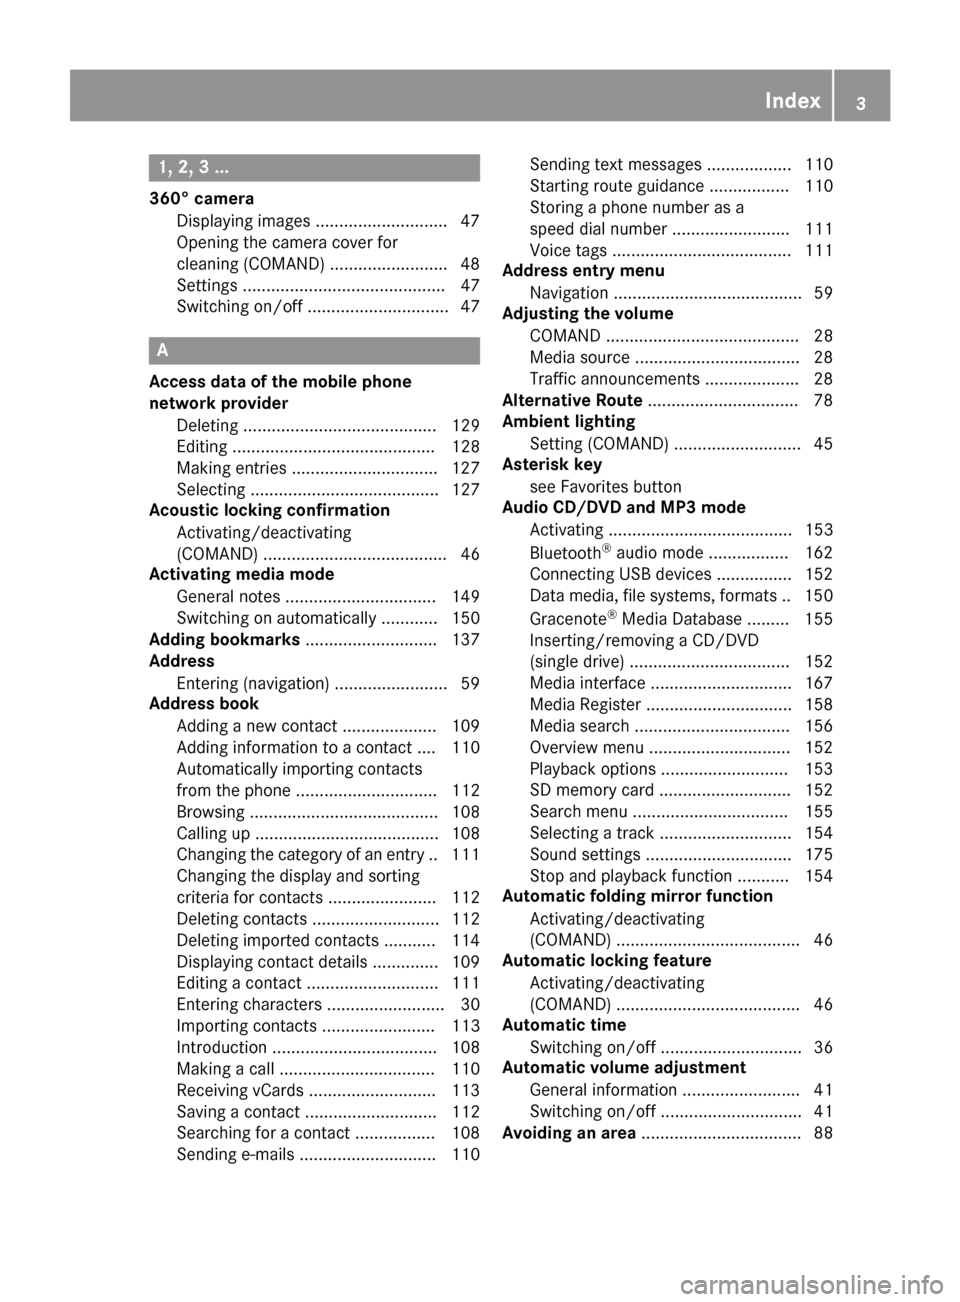
1, 2, 3 ...
360° cameraDisplaying images ............................ 47
Opening the camera cover for
cleaning (COMAND) .........................4 8
Settings ........................................... 47
Switching on/off .............................. 47
A
Access data of the mobile phone
network provider
Deleting ......................................... 129
Editing ........................................... 128
Making entries ............................... 127
Selecting ........................................ 127
Acoustic locking confirmation
Activating/deactivating
(COMAND) ....................................... 46
Activating media mode
General notes ................................ 149
Switching on automatically ............ 150
Adding bookmarks ............................ 137
Address
Entering (navigation) ........................ 59
Address book
Adding a new contact .................... 109
Adding information to a contact .... 110
Automatically importing contacts
from the phone .............................. 112
Browsing ........................................ 108
Calling up ....................................... 108
Changing the category of an entry .. 111
Changing the display and sorting
criteria for contacts ....................... 112
Deleting contacts ........................... 112
Deleting imported contacts ........... 114
Displaying contact details .............. 109
Editing a contact ............................ 111
Entering characters ......................... 30
Importing contacts ........................ 113
Introduction ................................... 108
Making a call ................................. 110
Receiving vCards ........................... 113
Saving a contact ............................ 112
Searching for a contact ................. 108
Sending e-mails ............................. 110 Sending text messages .................. 110
Starting route guidance ................. 110
Storing a phone number as a
speed dial number ......................... 111
Voice tags ...................................... 111
Address entry menu
Navigation ........................................ 59
Adjusting the volume
COMAND ......................................... 28
Media source ................................... 28
Traffic announcements .................... 28
Alternative Route ................................ 78
Ambient lighting
Setting (COMAND) ........................... 45
Asterisk key
see Favorites button
Audio CD/DVD and MP3 mode
Activating ....................................... 153
Bluetooth
®audio mode ................. 162
Connecting USB devices ................ 152
Data me
dia, file systems, formats .. 150
Gracenote®Media Database ......... 155
Inserting/removing a CD/DVD
(single drive) .................................. 152
Media interface .............................. 167
Media Register ............................... 158
Media search ................................. 156
Overview menu .............................. 152
Playback options ........................... 153
SD memory card ............................ 152
Search menu ................................. 155
Selecting a track ............................ 154
Sound settings ............................... 175
Stop and playback function ........... 154
Automatic folding mirror function
Activating/deactivating
(COMAND) ....................................... 46
Automatic locking feature
Activating/deactivating
(COMAND) ....................................... 46
Automatic time
Switching on/off .............................. 36
Automatic volume adjustment
General information ......................... 41
Switching on/off .............................. 41
Avoiding an area .................................. 88
Index3
Page 7 of 190
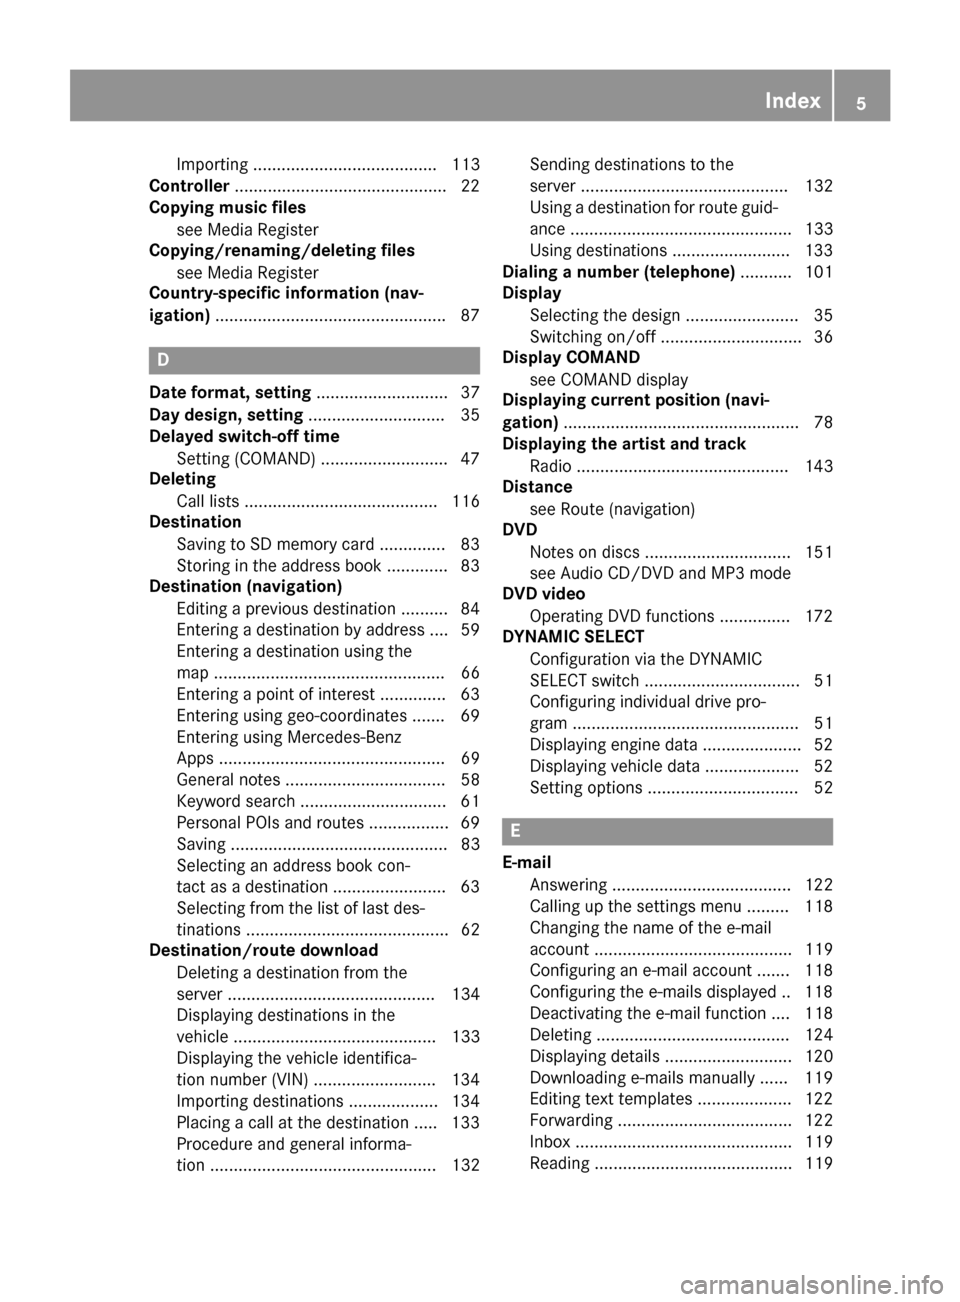
Importing ....................................... 113
Controller .............................................2 2
Copying music files
see Media Register
Copying/renaming/deleting files
see Media Register
Country-specific information (nav-
igation) ................................................ .87
D
Dateformat, setting ............................ 37
Day design, setting .............................35
Delayed switch-off time
Settin g(COMAND) .......................... .47
Deleting
Call list s ......................................... 116
Destination
Saving to SD memory card .............. 83
Storing in the address book ............. 83
Destination (navigation)
Editing a previous destination .......... 84
Entering a destination by address .... 59
Entering a destination using the
map ................................................. 66
Entering a point of interest .............. 63
Entering using geo-coordinates ....... 69
Entering using Mercedes-Benz
Apps ................................................ 69
General notes .................................. 58
Keyword search ............................... 61
Personal POIs and routes ................. 69
Saving .............................................. 83
Selecting an address book con-
tact as a destination ........................ 63
Selecting from the list of last des-
tinations ........................................... 62
Destination/route download
Deleting a destination from the
server ............................................ 134
Displaying destinations in the
vehicle ........................................... 133
Displaying the vehicle identifica-
tion number (VIN) .......................... 134
Importing destinations ................... 134
Placing a call at the destination ..... 133
Procedure and general informa-
tion ................................................ 132 Sending destinations to the
server ............................................ 132
Using a destination for route guid-
ance ............................................... 133
Using destinations ......................... 133
Dialing a number (telephone) ........... 101
Display
Selecting the design ........................ 35
Switching on/off .............................. 36
Display COMAND
see COMAND display
Displaying current position (navi-
gation) .................................................. 78
Displaying the artist and track
Radio ............................................. 143
Distance
see Route (navigation)
DVD
Notes on discs ............................... 151
see Audio CD/DVD and MP3 mode
DVD video
Operating DVD functions ............... 172
DYNAMIC SELECT
Configuration via the DYNAMIC
SELECT switch ................................. 51
Configuring individual drive pro-
gram ................................................ 51
Displaying engine data ..................... 52
Displaying vehicle data .................... 52
Setting options ................................ 52
E
E-mailAnswering ...................................... 122
Calling up the settings menu ......... 118
Changing the name of the e-mail
account .......................................... 119
Configuring an e-mail account ....... 118
Configuring the e-mails displayed .. 118
Deactivating the e-mail function .... 118
Deleting ......................................... 124
Displaying details ........................... 120
Downloading e-mails manually ...... 119
Editing text templates .................... 122
Forwarding ..................................... 122
Inbox .............................................. 119
Reading .......................................... 119
Index5
Page 8 of 190
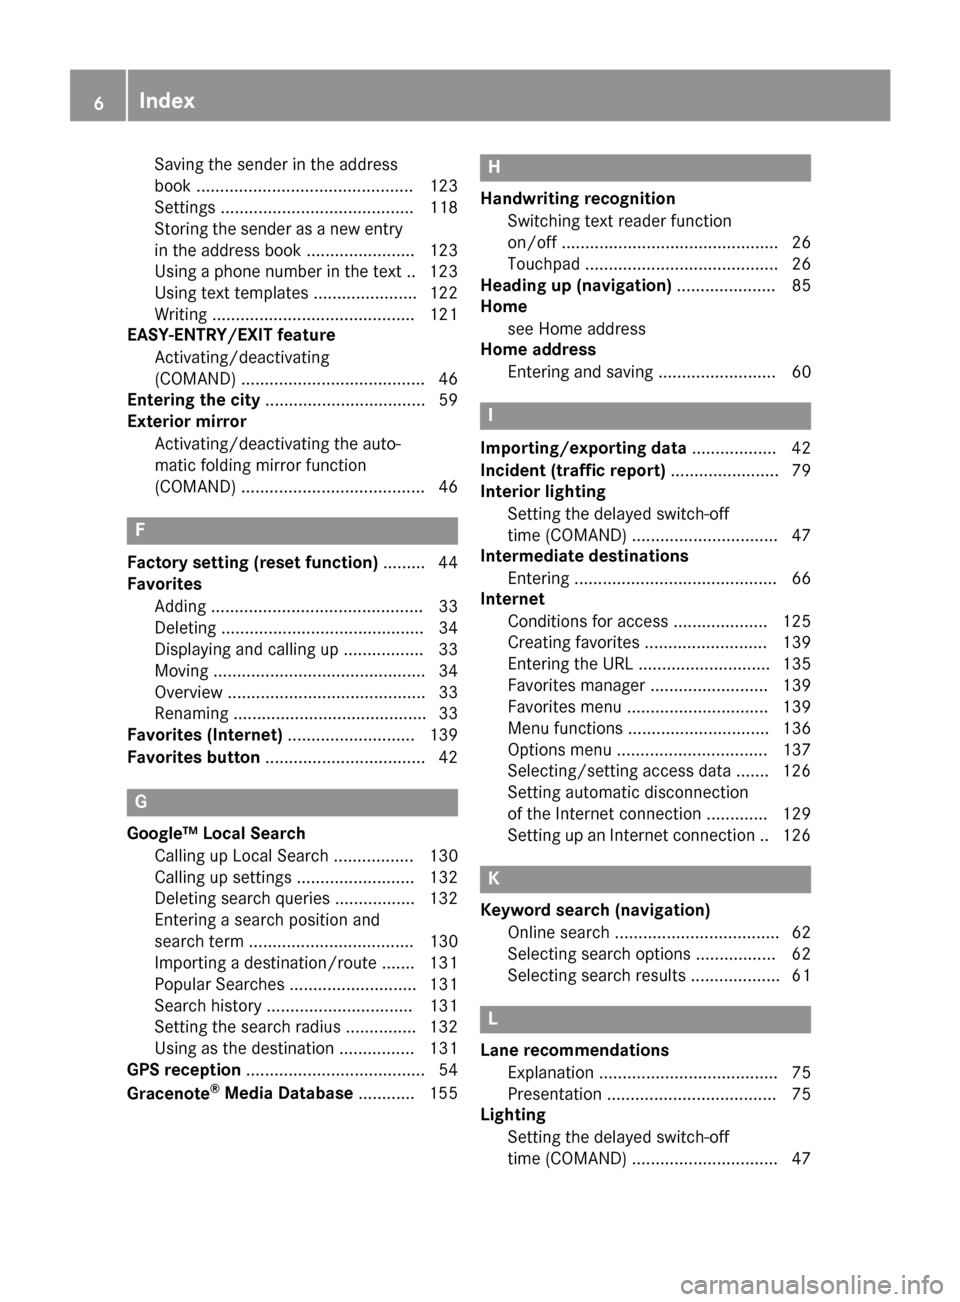
Saving the sender in the address
book .............................................. 123
Settings ......................................... 118
Storing the sender as a new entry
in the address book ....................... 123
Using a phone number in the text .. 123Using text templates ...................... 122
Writing ........................................... 121
EASY-ENTRY/EXIT feature
Activating/deactivating
(COMAND) ....................................... 46
Entering the city .................................. 59
Exterior mirror
Activating/deactivating the auto-
matic folding mirror function
(COMAND) ....................................... 46
F
Factory setting (reset function) ......... 44
Favorites
Adding ............................................. 33
Deleting ........................................... 34
Displaying and calling up ................. 33
Moving ............................................. 34
Overview .......................................... 33
Renaming ......................................... 33
Favorites (Internet) ........................... 139
Favorites button .................................. 42
G
Google™ Local Search
Calling up Local Search ................. 130
Calling up settings ......................... 132
Deleting search queries ................. 132
Entering a search position and
search term ................................... 130
Importing a destination/route ....... 131
Popular Searches ........................... 131
Search history ............................... 131
Setting the search radius ............... 132
Using as the destination ................ 131
GPS reception ...................................... 54
Gracenote
®Media Database ............ 155
H
Handwriting recognition
Switching text reader function
on/off .............................................. 26
Touchpad ......................................... 26
Heading up (navigation) ..................... 85
Home
see Home address
Home address
Entering and saving ......................... 60
I
Importing/exporting data .................. 42
Incident (traffic report) ....................... 79
Interior lighting
Setting the delayed switch-off
time (COMAND) ............................... 47
Intermediate destinations
Entering ........................................... 66
Internet
Conditions for access .................... 125
Creating favorites .......................... 139
Entering the URL ............................ 135
Favorites manager ......................... 139
Favorites menu .............................. 139
Menu functions .............................. 136
Options menu ................................ 137
Selecting/setting access data ....... 126
Setting automatic disconnection
of the Internet connection ............. 129
Setting up an Internet connection .. 126
K
Keyword search (navigation)Online search ................................... 62
Selecting search options ................. 62
Selecting search results ................... 61
L
Lane recommendationsExplanation ...................................... 75
Presentation .................................... 75
Lighting
Setting the delayed switch-off
time (COMAND) ............................... 47
6Index
Page 9 of 190
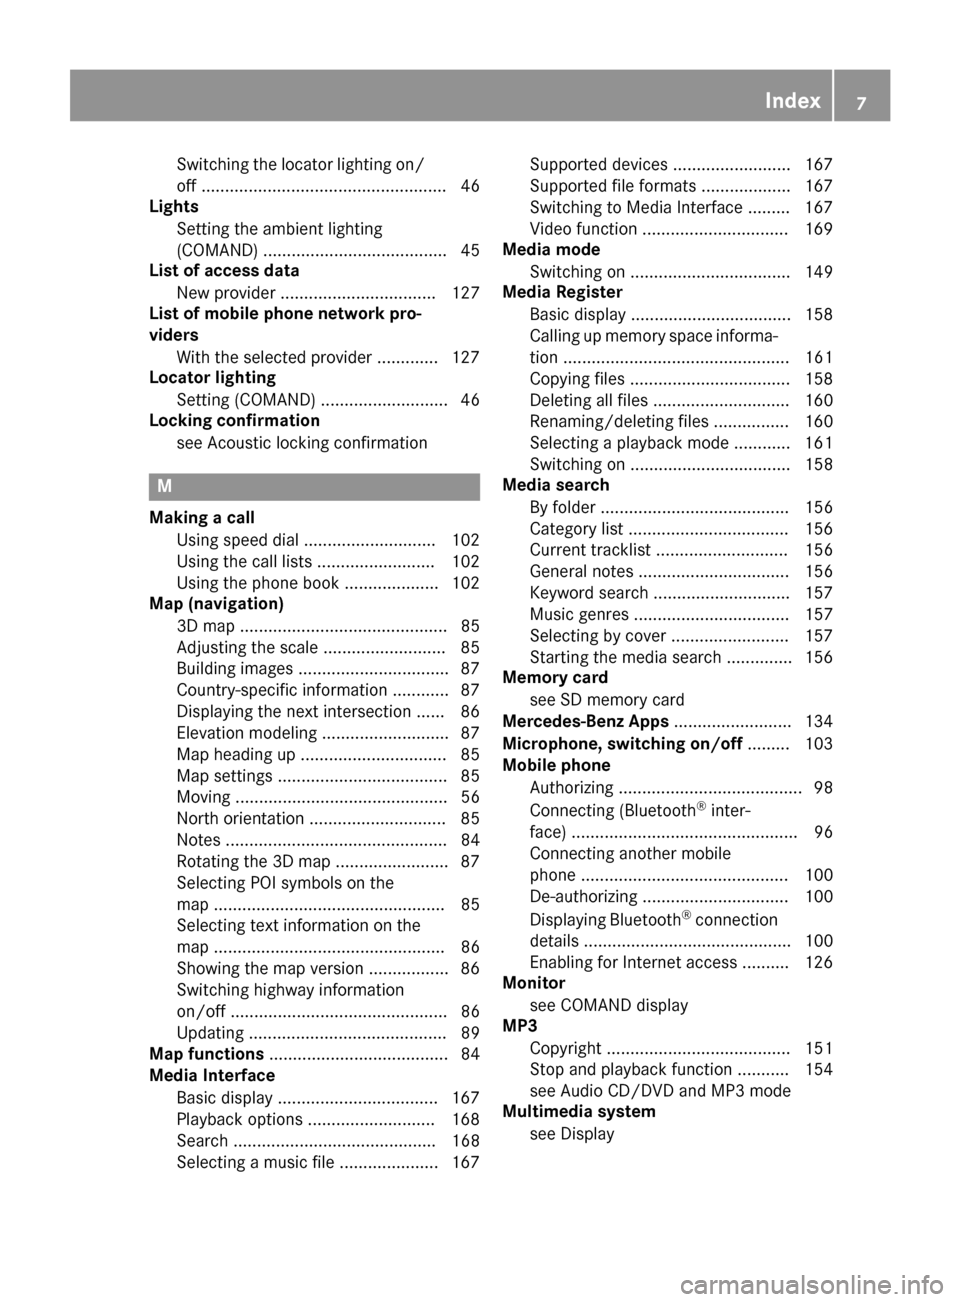
Switching the locator lighting on/
off .................................................... 46
Lights
Setting the ambient lighting
(COMAND) ....................................... 45
List of access data
New provider ................................. 127
List of mobile phone network pro-
viders
With the selected provider ............. 127
Locator lighting
Setting (COMAND) ........................... 46
Locking confirmation
see Acoustic locking confirmation
M
Making a callUsing speed dial ............................ 102
Using the call lists ......................... 102
Using the phone book .................... 102
Map (navigation)
3D map ............................................ 85
Adjusting the scale .......................... 85
Building images ................................ 87
Country-specific information ............ 87
Displaying the next intersection ...... 86
Elevation modeling ........................... 87
Map heading up ............................... 85
Map settings .................................... 85
Moving ............................................. 56
North orientation ............................. 85
Notes ............................................... 84
Rotating the 3D map ........................ 87
Selecting POI symbols on the
map ................................................. 85
Selecting text information on the
map ................................................. 86
Showing the map version ................. 86
Switching highway information
on/off .............................................. 86
Updating .......................................... 89
Map functions ...................................... 84
Media Interface
Basic display .................................. 167
Playback options ........................... 168
Search ........................................... 168
Selecting a music file ..................... 167 Supported devices ......................... 167
Supported file formats ................... 167
Switching to Media Interface ......... 167
Video function ............................... 169
Media mode
Switching on .................................. 149
Media Register
Basic display .................................. 158
Calling up memory space informa-
tion ................................................ 161
Copying files .................................. 158
Deleting all files ............................. 160
Renaming/deleting files ................ 160
Selecting a playback mode ............ 161
Switching on .................................. 158
Media search
By folder ........................................ 156
Category list .................................. 156
Current tracklist ............................ 156
General notes ................................ 156
Keyword search ............................. 157
Music genres ................................. 157
Selecting by cover ......................... 157
Starting the media search .............. 156
Memory card
see SD memory card
Mercedes-Benz Apps ......................... 134
Microphone, switc hing o
n/off
......... 103
Mobile phone
Authorizing ....................................... 98
Connecting (Bluetooth
®inter-
face) ................................................ 96
Connecting another mobile
phone ............................................ 100
De-authorizing ............................... 100
Displaying Bluetooth
®connection
details ............................................ 100
Enabling for Internet access .......... 126
Monitor
see COMAND display
MP3
Copyright ....................................... 151
Stop and playback function ........... 154
see Audio CD/DVD and MP3 mode
Multimedia system
see Display
Index7
Page 21 of 190
RNavigation system
-Navigation via the hard drive
-Destination entry using keyword search
-Realistic 3D map with textured city models
-Personal POIs and routes using SD memory
card
-Navigation functions, e.g. Drive Informa-
tion
-Dynamic route guidance with traffic reports
via SIRIUS satellite radio
RCommunication
-Messaging functions (text messages,
email)
-Address book
-Internet browser
-Mercedes-Benz Apps with Google Local
Search™, destination/route download,
Facebook, Google Street View™, stock pri-
ces, news and much more
-Mercedes-Benz Mobile Website
-WiFi interface for the connection of a
smartphone to the multimedia system
RSIRIUS Weather
-Weather data as an information chart (cur-
rent forecast, 5-day preview, detailed infor-
mation)
-Weather data on the weather map, e.g. rain
radar data, storm characteristics and the
track of tropical cyclones (hurricanes,
typhoons)
RVehicle functions
-Vehicle settings, such as ambient lighting,
belt adjustment and tow-away alarm
-360° camera
-Rear view camera
-Climate control functions, such as climate
mode, perfume atomizer and auxiliary heat-
ing
-DYNAMIC SELECT (individual drive pro-
gram)
RFavorites button
Fast access to favorites functions using the
favorites button on the controller or on the
touchpad
Display
General notes
!Avoid any direct contact with the display
surface. Pressure on the display surface may
result in impairments to the display, which
could be irreversible.
Wearing polarized sunglasses may impair your
ability to read the display.
The display has an automatic temperature-con-
trolled switch-off feature. The brightness is
automatically reduced if the temperature is too
high. The display may then temporarily switch
off completely.
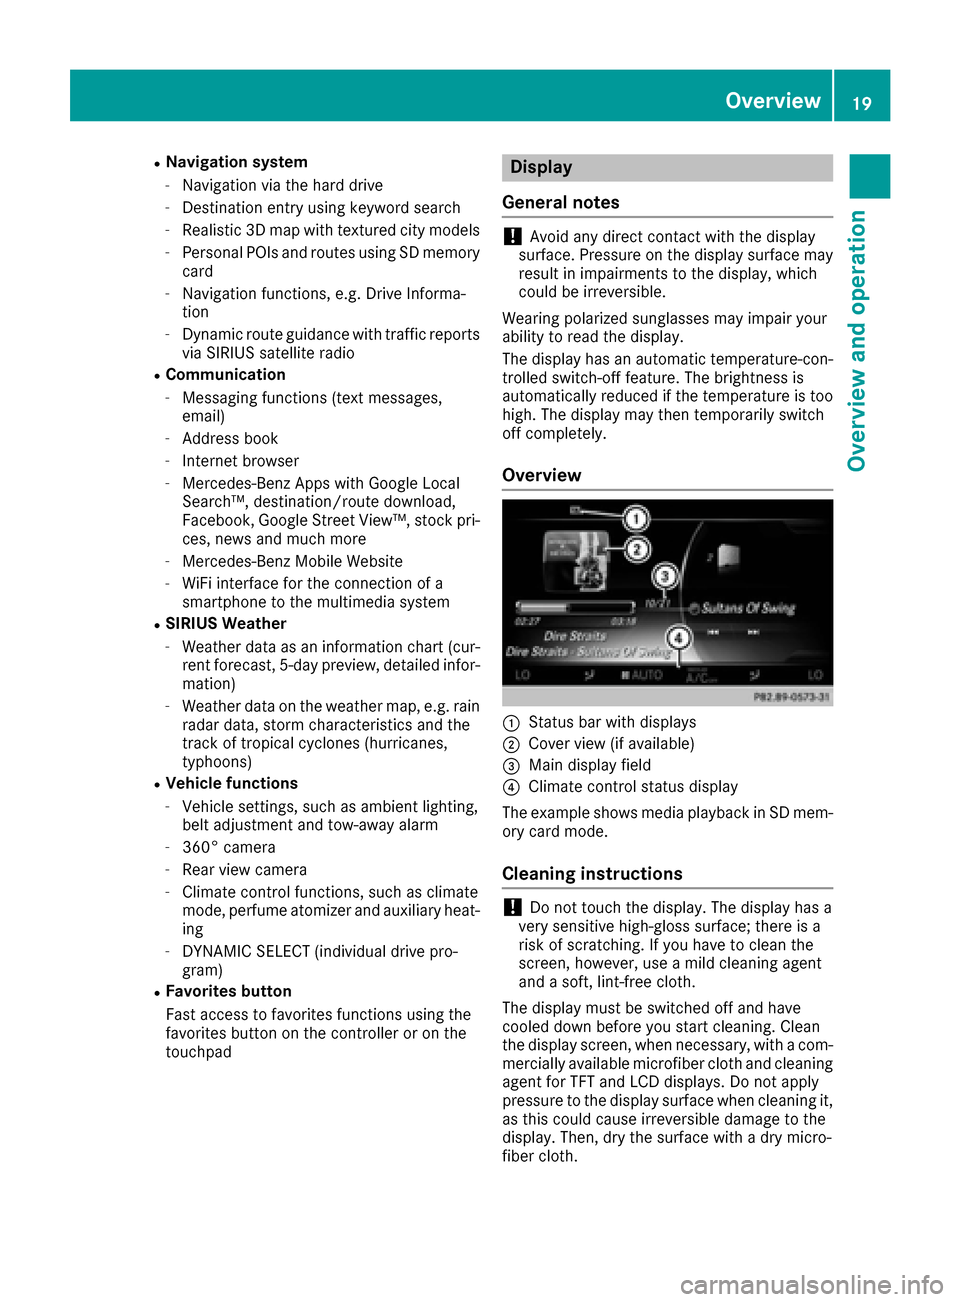
Overview
:Status bar with displays
;Cover view (if available)
=Main display field
?Climate control status display
The example shows media playback in SD mem-
ory card mode.
Cleaning instructions
!Do not touch the display. The display has a
very sensitive high-gloss surface; there is a
risk of scratching. If you have to clean the
screen, however, use a mild cleaning agent
and a soft, lint-free cloth.
The display must be switched off and have
cooled down before you start cleaning. Clean
the display screen, when necessary, with a com- mercially available microfiber cloth and cleaning
agent for TFT and LCD displays. Do not apply
pressure to the display surface when cleaning it,
as this could cause irreversible damage to the
display. Then, dry the surface with a dry micro-
fiber cloth.
Overview19
Overview and operation
Page 33 of 190
R¬
Confirms an entry
R&
Cancels input
RS
Inserts a paragraph
Character entry (navigation)
Character entry options
You can enter characters using the controller or
the touch pad.With the controller, you enter
characters using a character bar. To enter using
the touch pad,draw the character inthe entry
fiel d.The multimedia system supports th isusing
a handwrit ing recognition function.
Entering characters using the charac-
ter bar
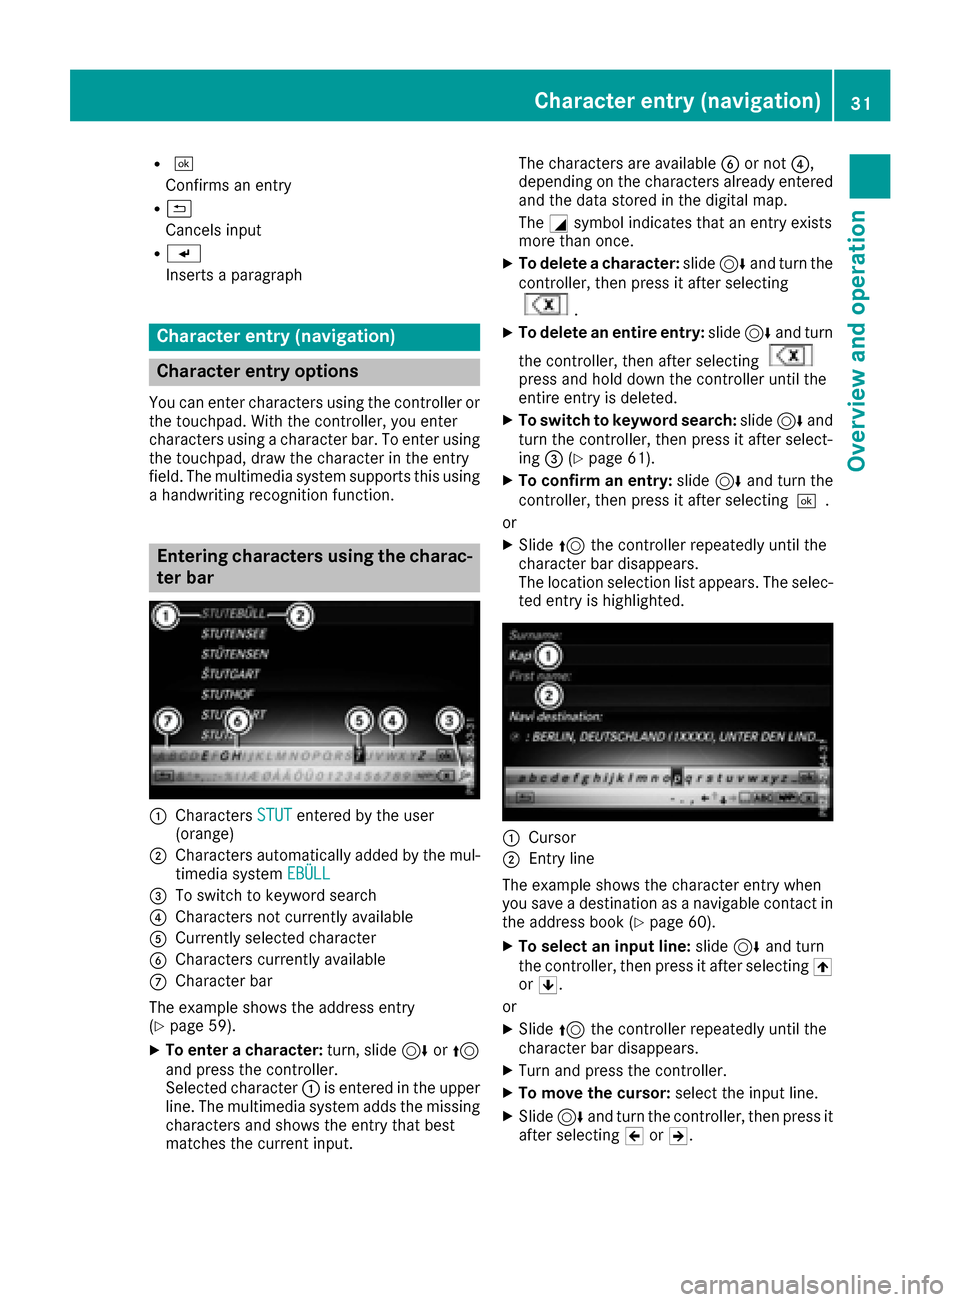
:Characters STUTenteredbythe user
(orange)
;Characters automatically added bythe mul-
tim edia system EBÜLL
=Toswit ch to keyword search
?Characters not currently availab le
ACurrently selected character
BCharacters currently available
CCharacter bar
The example shows theaddr ess entry
(
Ypage 59).
XTo enter a cha racter: turn,slide6or5
and press the controller.
Selected character :isentered inthe upper
lin e. The multimedia systemaddsthe missing
characters and shows the entry that best
matches the current input. The characters are available
Bor not ?,
depending on the characters already entered
and the data stored inthe digital map.
The Gsymbol indicates that an entry exists
more than once.
XTo delete a cha racter: slide6and turn the
controller, then press itafter selecting
.
XTo delete an entire entry :slide 6and turn
the controller, then after selecting
press and hold downthe controller until the
entire entry is deleted.
XTo switch tokey word search: slide6and
turn the controller, then press it after select-
ing =(
Ypage 61 ).
XTo confi rman entry :slide 6and turn the
controller, then press it after selecting¬.
or
XSlide 5the controller repeatedly until the
character bar disappears.
The location selection list appears. The selec-
ted entry is highlighted.
:Cursor
;Entry line
The example shows the character entry when
you save a destination as a nav igablecontact in
the addr ess book (
Ypage 60).
XTo select an input line: slide6and turn
the controller, then press itafter selecting 4
or 5.
or
XSlid e5 the controller repeatedly until the
character bar disappears.
XTurn and press the controller.
XTo move the cursor: select the input line.
XSlide6 and turn the controller, then press it
after selecting 2or3.
Character entry (navigation)31
Overview and operation
Page 34 of 190
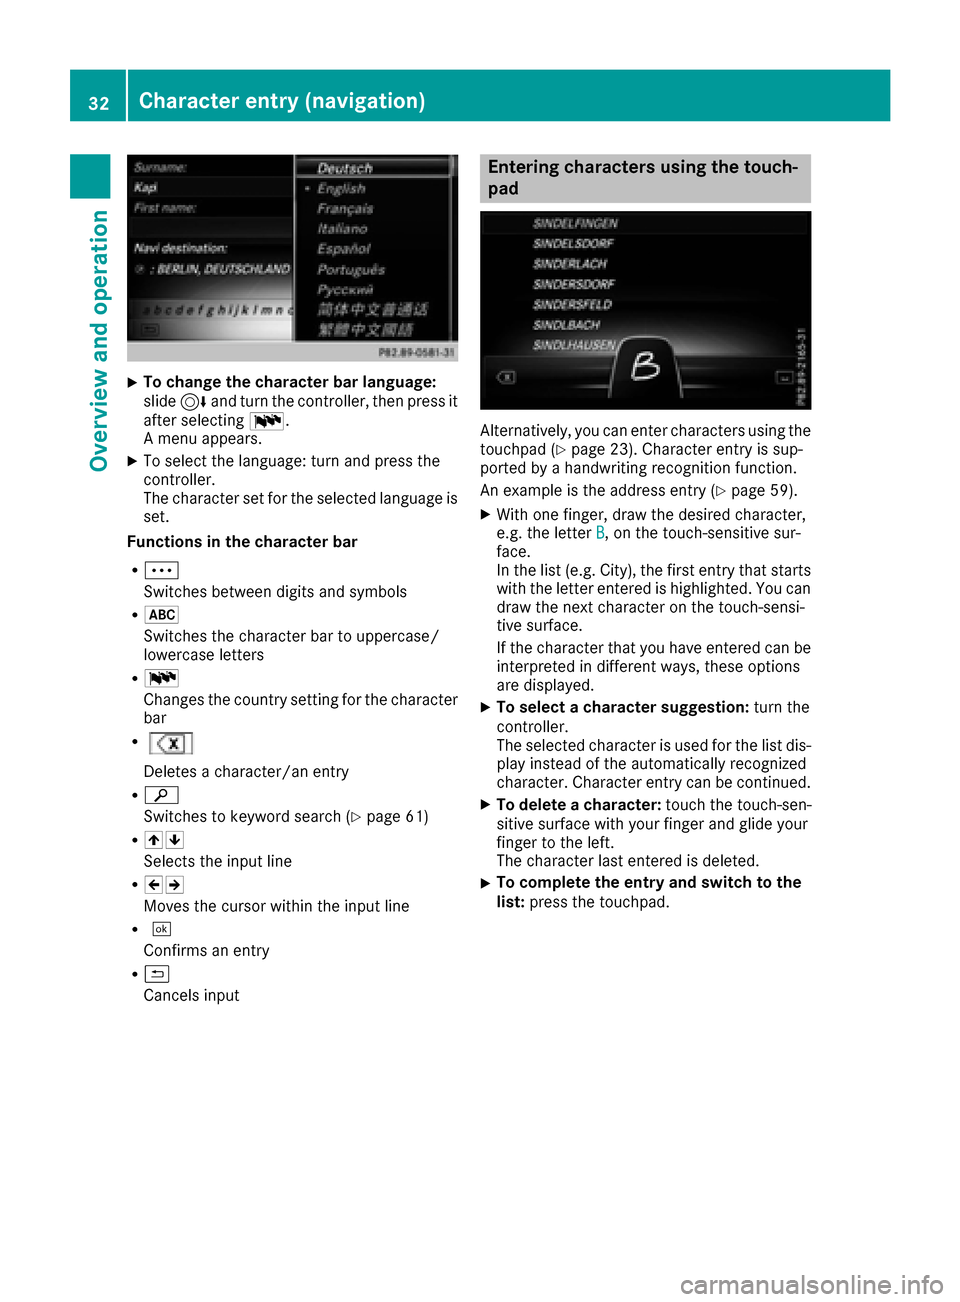
XTo change the character bar language:
slide6and turn the controller, then press it
after selecting B.
A menu appears.
XTo select the language: turn and press the
controller.
The character set for the selected language is set.
Functions in the character bar
RÄ
Switches between digits and symbols
R*
Switches the character bar to uppercase/
lowercase letters
RB
Changes the country setting for the character
bar
R
Deletes a character/an entry
Rè
Switches to keyword search (
Ypage 61)
R45
Selects the input line
R23
Moves the cursor within the input line
R¬
Confirms an entry
R&
Cancels input
Entering characters using the touch-
pad
Alternatively, you can enter characters using the
touchpad (Ypage 23). Character entry is sup-
ported by a handwriting recognition function.
An example is the address entry (
Ypage 59).
XWith one finger, draw the desired character,
e.g. the letter B, on the touch-sensitive sur-
face.
In the list (e.g. City), the first entry that starts
with the letter entered is highlighted. You can
draw the next character on the touch-sensi-
tive surface.
If the character that you have entered can be
interpreted in different ways, these options
are displayed.
XTo select a character suggestion: turn the
controller.
The selected character is used for the list dis-
play instead of the automatically recognized
character. Character entry can be continued.
XTo delete a character: touch the touch-sen-
sitive surface with your finger and glide your
finger to the left.
The character last entered is deleted.
XTo complete the entry and switch to the
list: press the touchpad.
32Character entry (navigation)
Overview and operation
Page 41 of 190
Connecting the device
General notes
iThe exact WiFi connection procedure may
vary depending on the device to be connec-
ted. Follow the instructions that are shown in
the display. Further information; see the man-
ufacturer's operating instructions.
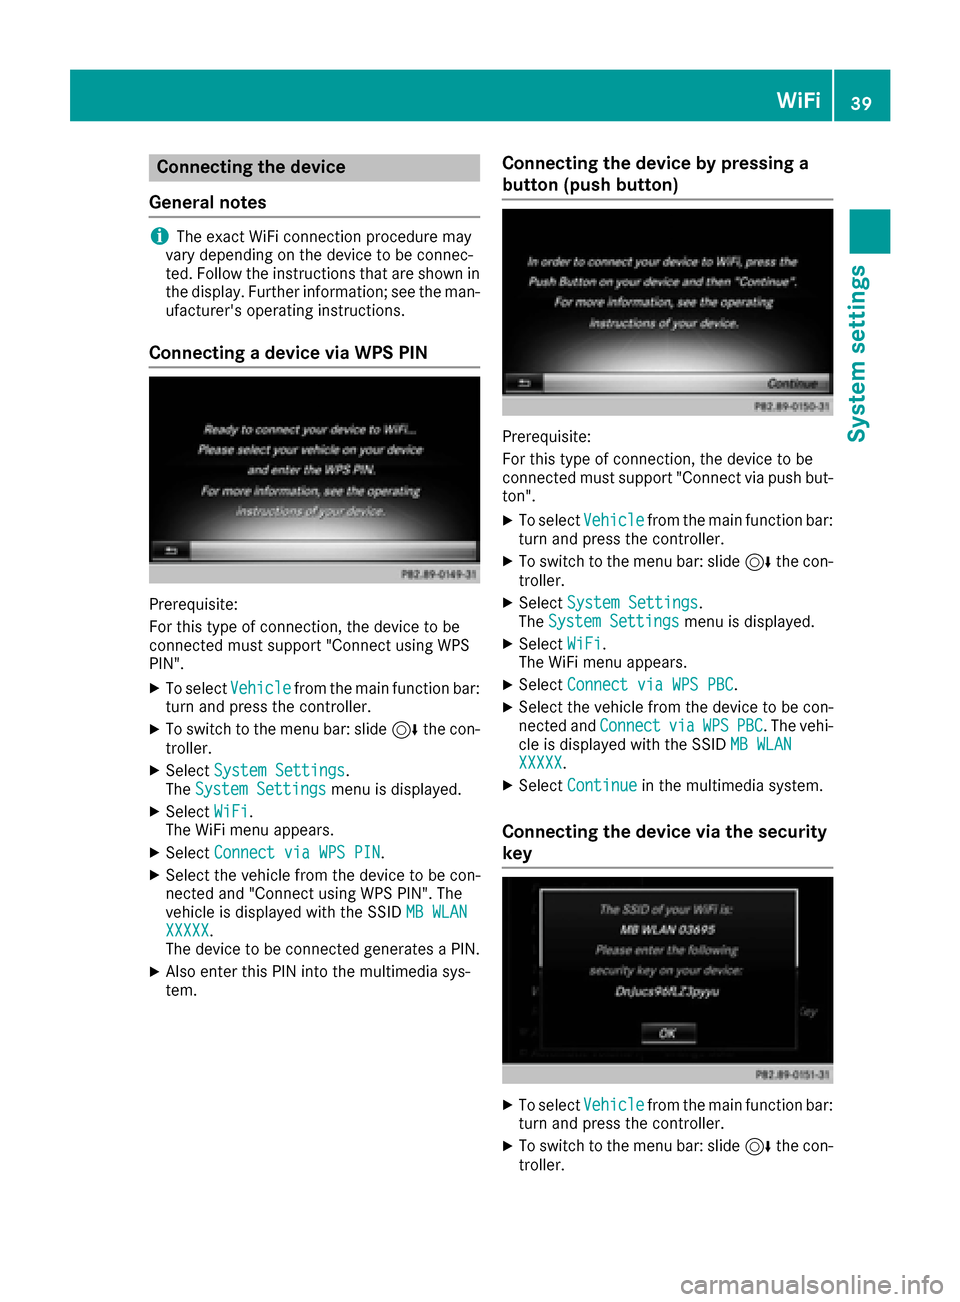
Connecting a device via WPS PIN
Prerequisite:
For this type of connection, the device to be
connected must support "Connect using WPS
PIN".
XTo select Vehiclefrom the main function bar:
turn and press the controller.
XTo switch to the menu bar: slide 6the con-
troller.
XSelect System Settings.
The System Settingsmenu is displayed.
XSelect WiFi.
The WiFi menu appears.
XSelect Connect via WPS PIN.
XSelect the vehicle from the device to be con-
nected and "Connect using WPS PIN". The
vehicle is displayed with the SSID MB WLAN
XXXXX.
The device to be connected generates a PIN.
XAlso enter this PIN into the multimedia sys-
tem.
Connecting the device by pressing a
button (push button)
Prerequisite:
For this type of connection, the device to be
connected must support "Connect via push but-
ton".
XTo select Vehiclefrom the main function bar:
turn and press the controller.
XTo switch to the menu bar: slide 6the con-
troller.
XSelect System Settings.
The System Settingsmenu is displayed.
XSelect WiFi.
The WiFi menu appears.
XSelect Connect via WPS PBC.
XSelect the vehicle from the device to be con-
nected and ConnectviaWPSPBC. The vehi-
cle is displayed with the SSID MB WLAN
XXXXX.
XSelectContinuein the multimedia system.
Connecting the device via the security
key
XTo select Vehiclefrom the main function bar:
turn and press the controller.
XTo switch to the menu bar: slide 6the con-
troller.
WiFi39
System settings
Z
Page 42 of 190
XSelectSystem Settings.
The System Settingsmenu is displayed.
XSelect WiFi.
The WiFi menu appears.
XSelect Connect Using Security Key.
XSelect the vehicle from the device to be con-
nected. The vehicle is displayed with the SSID
MB WLAN XXXXX
.
XEnter the security key that appears on the
multimedia system display into the device to
be connected.
XConfirm the entry.
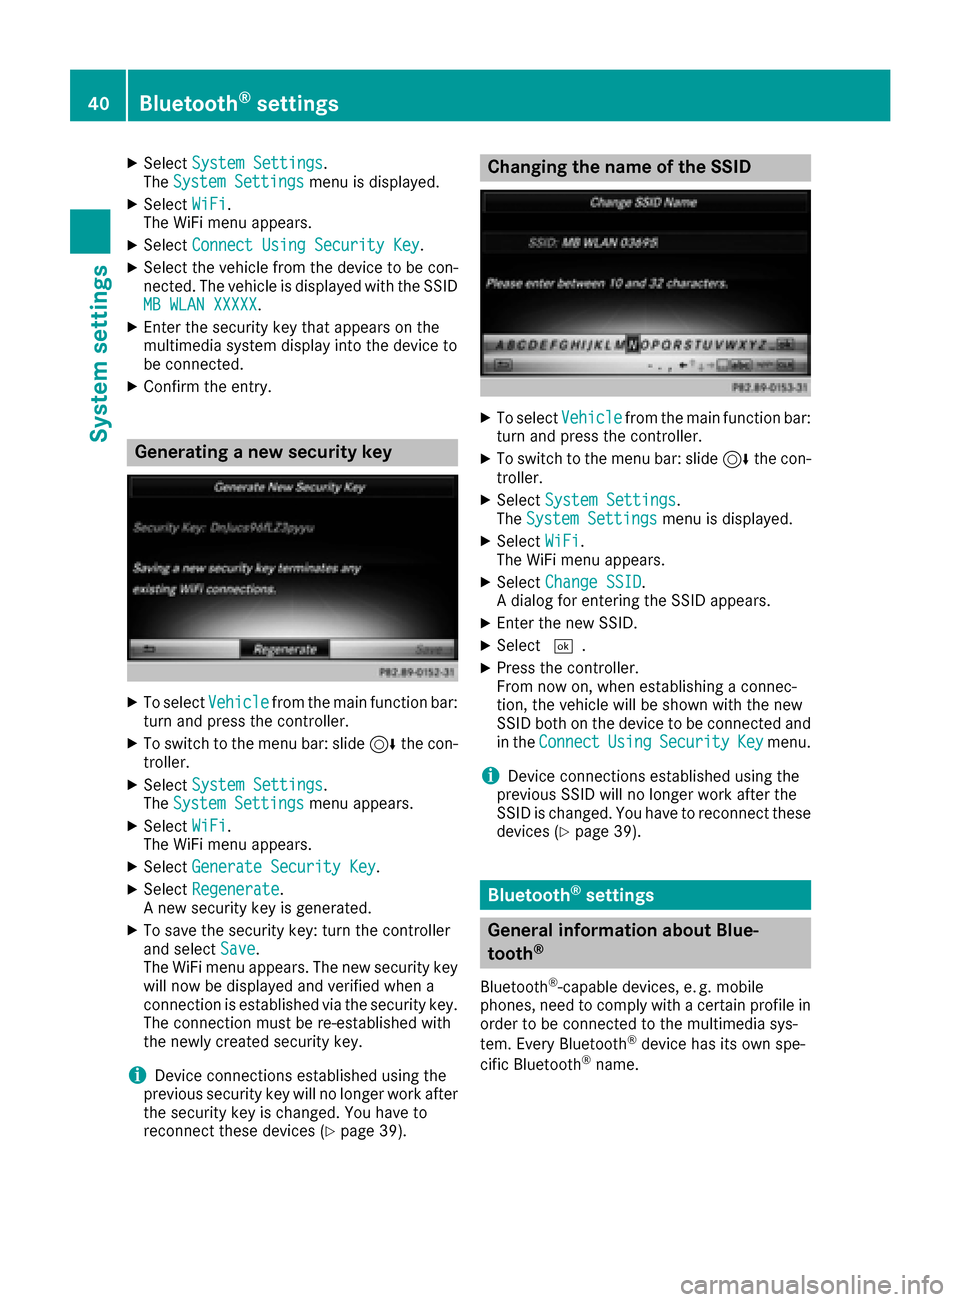
Generating a new security key
XTo select Vehiclefrom the main function bar:
turn and press the controller.
XTo switch to the menu bar: slide 6the con-
troller.
XSelect System Settings.
The System Settingsmenu appears.
XSelect WiFi.
The WiFi menu appears.
XSelect Generate Security Key.
XSelectRegenerate.
A new security key is generated.
XTo save the security key: turn the controller
and select Save.
The WiFi menu appears. The new security key
will now be displayed and verified when a
connection is established via the security key.
The connection must be re-established with
the newly created security key.
iDevice connections established using the
previous security key will no longer work after
the security key is changed. You have to
reconnect these devices (
Ypage 39).
Changing the name of the SSID
XTo select Vehiclefrom the main function bar:
turn and press the controller.
XTo switch to the menu bar: slide 6the con-
troller.
XSelect System Settings.
The System Settingsmenu is displayed.
XSelect WiFi.
The WiFi menu appears.
XSelect Change SSID.
A dialog for entering the SSID appears.
XEnter the new SSID.
XSelect ¬.
XPress the controller.
From now on, when establishing a connec-
tion, the vehicle will be shown with the new
SSID both on the device to be connected and
in the Connect
UsingSecurityKeymenu.
iDevice connections established using the
previous SSID will no longer work after the
SSID is changed. You have to reconnect these
devices (
Ypage 39).
Bluetooth®settings
General information about Blue-
tooth®
Bluetooth®-capable devices, e. g. mobile
phones, need to comply with a certain profile in
order to be connected to the multimedia sys-
tem. Every Bluetooth
®device has its own spe-
cific Bluetooth®name.
40Bluetooth®settings
System settings
Page 49 of 190
You can find further information on the locking
feature in the vehicle Operator's Manual.
Setting the delayed switch-off time
Interior lighting delayed switch-off
The interior lighting is activated for the duration
of the delayed switch-off time when the Smart-
Key is removed from the ignition lock.
XCall up Vehicle Settings(Ypage 45).
XTo select Interior Lighting DelayedSwitch-off: turn and press the controller.
The setting element is active.
XTo change the delayed switch-off time: turn
the controller.
You can find further information on the interior
lighting in the vehicle Operator's Manual.
Exterior lighting delayed switch-off
If you switch on the Exterior LightingDelayed Switch-offfunction, the exterior
lighting is switched on for a short time after the
engine is switched off. The light switch must be
set to Ã(see the vehicle Operator's Manual).
The exterior lighting remains on for 60 seconds
after the engine is switched off. If you close all
the doors and the tailgate, the exterior lighting
switches off after the set time.
XCall up Vehicle Settings(Ypage 45).
XTo select Exterior Lighting DelayedSwitch-off: turn and press the controller.
The setting element is active.
XTo change the delayed switch-off time: turn
the controller.
Activating/deactivating the trunk lid
opening height restriction
Activating the Trunk Opening-heightRestrictionfunction allows you to avoid
bumping the trunk lid on a low garage ceiling, for
example. Setting via the multimedia system is
available for the Sedan and Coupe.
XCall up Vehicle Settings(Ypage 45).
XTo select Trunk Opening-heightRestriction: turn and press the controller.
The function switches on or off, depending on
the previous setting.
360° camera
General notes
The 360° camera surveys the vehicle surround- ings and assists you, for example when parking
or at exits with reduced visibility.
The 360° camera is only an aid. It is not a
replacement for your attention to your immedi-
ate surroundings. You are always responsible
for safe maneuvering and parking. Make sure
that no persons or animals are in the maneu-
vering range.
For more information on the 360° camera see
the vehicle Operator's Manual.
Displaying the 360° camera image
The 360° camera image can be displayed if:
Ryour vehicle is equipped with a 360° camera
Rthe 360°Camerafunction is switched on; see
the vehicle Operator's Manual
XPress the Øbutton.
or
XPress Vehiclein the main function bar.
The vehicle menu is displayed.
XTo select 360° Camera: turn and press the
controller.
The 360° camera image appears in split-
screen mode.
You will see the previous view on the display if,
when the function is switched on:
Ryou turn the SmartKey to position 1in the
ignition lock
Ryou select transmission position P
Rwhen you are driving at moderate speeds
Switching the display off manually
XTo select &: slide 6and press the con-
troller.
Switching the display on automatically
XYou can automatically switch the 360 camera
display using reverse gear (Ypage 47).
Switching the 360° camera auto-
matic mode on/off
This function activates the 360° camera when
reverse gear is engaged.
360° camera47
Vehicle functions
Z