engine mount MERCEDES-BENZ C-Class SEDAN 2016 W205 User Guide
[x] Cancel search | Manufacturer: MERCEDES-BENZ, Model Year: 2016, Model line: C-Class SEDAN, Model: MERCEDES-BENZ C-Class SEDAN 2016 W205Pages: 398, PDF Size: 9.57 MB
Page 336 of 398
Information on the type of service and service
intervals (see the separate Maintenance Book-
let).
You can obtain further information from an
authorized Mercedes-Benz Center or at
http://www.mbusa.com (USA only).
iThe ASSYST PLUS service interval display
does not show any information on the engine
oil level. Observe the notes on the engine oil
level (
Ypage 331).
The multifunction display shows a service mes-
sage for several seconds, e.g.:
RService A in XX Days
RService A Due
RService A Overdue by XX Days
Depending on the operating conditions of the
vehicle, the remaining time or distance until the next service due date is displayed.
The letter A
orB, possibly in connection with a
number or another letter, indicates the type of
service. A
stands for a minor service and Bfor a
major service.
You can obtain further information from an
authorized Mercedes-Benz Center.
The ASSYST PLUS service interval display does
not take into account any periods of time during
which the battery is disconnected.
Maintaining the time-dependent service sched-
ule:
XNote down the service due date displayed in
the multifunction display before disconnect-
ing the battery.
or
XAfter reconnecting the battery, subtract the
battery disconnection periods from the ser-
vice date shown on the display.
Hiding a service message
XPress the aor% button on the steering
wheel.
Displaying service messages
XSwitch on the ignition.
XUse ò on the steering wheel to call up the
list of menus.
XPress 9or: on the steering wheel to
select the Servicemenu and confirm with
a.
XPress 9or: on the steering wheel to
select the ASSYST PLUSsubmenu and con-
firm with a.
The service due date appears in the multi-
function display.
Information about Service
Resetting the ASSYST PLUS service
interval display
!If the ASSYST PLUS service interval display
has been inadvertently reset, this setting can
be corrected at a qualified specialist work-
shop.
Have service work carried out as described in
the Maintenance Booklet. This may otherwise
lead to increased wear and damage to the
major assemblies or the vehicle.
A qualified specialist workshop, e.g. an author-
ized Mercedes-Benz Center, will reset the
ASSYST PLUS service interval display after the
service work has been carried out. You can also
obtain further information on maintenance
work, for example.
Special service requirements
The specified maintenance interval takes only
the normal operation of the vehicle into
account. Under arduous operating conditions or
increased load on the vehicle, maintenance
work must be carried out more frequently, for
example:
Rregular city driving with frequent intermediate
stops
Rif the vehicle is primarily used to travel short
distances
Ruse in mountainous terrain or on poor road
surfaces
Rif the engine is often left idling for long periods
Under these or similar conditions, have, for
example, the air filter, engine oil and oil filter
replaced or changed more frequently. Under
arduous operating conditions, the tires must be
checked more often. Further information can be obtained at a qualified specialist workshop, e.g.
an authorized Mercedes-Benz Center.
334ASSYST PLUS
Maintenance and care
Page 345 of 398
Vehicle tool kit
General notes
In vehicles with MOExtended tires (tires with
run-flat characteristics) and on PLUG-IN HYBRID
vehicles, the towing eye is in a bracket under the
parcel shelf.
Apart from certain country-specific variations,
the vehicles are not equipped with a tire-change
tool kit.
Some tools for changing a wheel are specific to
the vehicle. For more information on which tire
changing tools are required and approved to
perform a wheel change on your vehicle, consult
a qualified specialist workshop.
Tools required for changing a wheel may
include, for example:
RJack
RWheel chock
RLug wrench
RRatchet wrench
RAlignment bolt
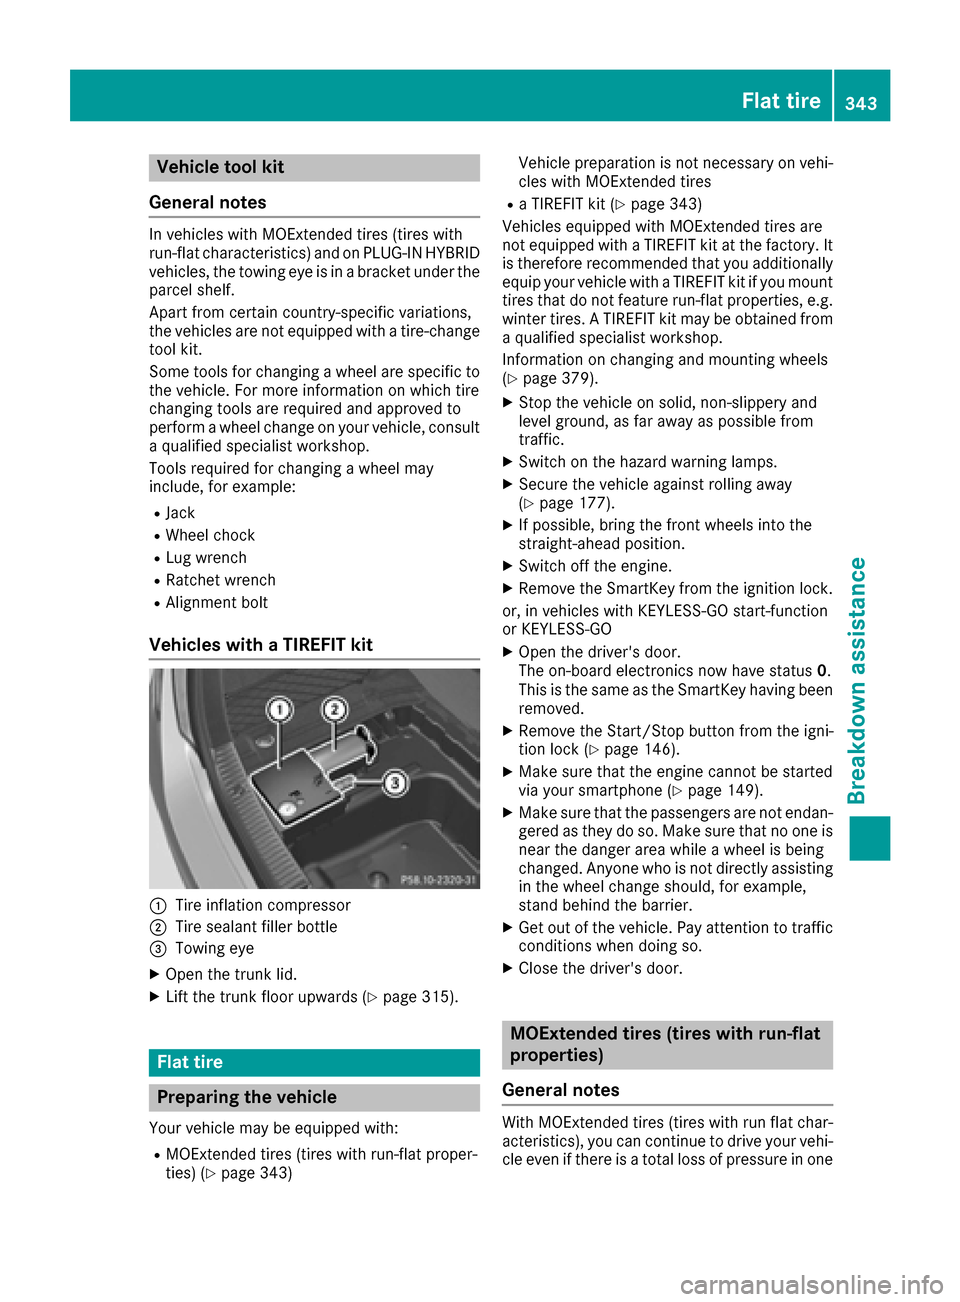
Vehicles with a TIREFIT kit
:Tire inflation compressor
;Tire sealant filler bottle
=Towing eye
XOpen the trunk lid.
XLift the trunk floor upwards (Ypage 315).
Flat tire
Preparing the vehicle
Your vehicle may be equipped with:
RMOExtended tires (tires with run-flat proper-
ties) (Ypage 343) Vehicle preparation is not necessary on vehi-
cles with MOExtended tires
Ra TIREFIT kit (Ypage 343)
Vehicles equipped with MOExtended tires are
not equipped with a TIREFIT kit at the factory. It
is therefore recommended that you additionally
equip your vehicle with a TIREFIT kit if you mount
tires that do not feature run-flat properties, e.g.
winter tires. A TIREFIT kit may be obtained from
a qualified specialist workshop.
Information on changing and mounting wheels
(
Ypage 379).
XStop the vehicle on solid, non-slippery and
level ground, as far away as possible from
traffic.
XSwitch on the hazard warning lamps.
XSecure the vehicle against rolling away
(Ypage 177).
XIf possible, bring the front wheels into the
straight-ahead position.
XSwitch off the engine.
XRemove the SmartKey from the ignition lock.
or, in vehicles with KEYLESS-GO start-function
or KEYLESS ‑GO
XOpen the driver's door.
The on-board electronics now have status 0.
This is the same as the SmartKey having been
removed.
XRemove the Start/Stop button from the igni-
tion lock (Ypage 146).
XMake sure that the engine cannot be started
via your smartphone (Ypage 149).
XMake sure that the passengers are not endan-
gered as they do so. Make sure that no one is
near the danger area while a wheel is being
changed. Anyone who is not directly assisting
in the wheel change should, for example,
stand behind the barrier.
XGet out of the vehicle. Pay attention to traffic
conditions when doing so.
XClose the driver's door.
MOExtended tires (tires with run-flat
properties)
General notes
With MOExtended tires (tires with run flat char-
acteristics), you can continue to drive your vehi-
cle even if there is a total loss of pressure in one
Flat tire343
Breakdo wn assis tance
Page 382 of 398
Tire-mounting tools should not be used near
the valve. This could damage the electronic
components.
Only have tires changed at a qualified spe-
cialist workshop.
Always observe the instructions and safety
notes in the "Mounting a wheel" section
(
Ypage 380).
The wear patterns on the front and rear tires
differ, depending on the operating conditions.
Rotate the wheels before a clear wear pattern
has formed on the tires. Front tires typically
wear more on the shoulders and the rear tires in the center.
On vehicles that have the same size front and
rear wheels, you can rotate the wheels accord-
ing to the intervals in the tire manufacturer's
warranty book in your vehicle documents. If no
warranty book is available, the tires should be
rotated every 3,000 to 6,000 miles (5,000 to
10,000 km). Earlier may be necessary, depend-
ing on the degree of tire wear. Do not change the
direction of wheel rotation.
Clean the contact surfaces of the wheel and the
brake disc thoroughly every time a wheel is rota- ted. Check the tire pressure and, if necessary,
restart the tire pressure loss warning system
(
Ypage 367) or the tire pressure monitor
(Ypage 369).
Direction of rotation
Tires with a specified direction of rotation have
additional benefits, e.g. if there is a risk of hydro-
planing. These advantages can only be gained if
the tires are installed corresponding to the
direction of rotation.
An arrow on the sidewall of the tire indicates its
correct direction of rotation.
Storing wheels
Store wheels that are not being used in a cool,
dry and preferably dark place. Protect the tires
from oil, grease, gasoline and diesel.
Mounting a wheel
Preparing the vehicle
XStop the vehicle on solid, non-slippery and
level ground.
XApply the electric parking brake manually.
XBring the front wheels into the straight-ahead position.
XShift the transmission to position P.
XMake sure that the vehicle level is set to "Nor-
mal" on vehicles with AIRMATIC (Ypage 196).
XSwitch off the engine.
XVehicles without KEYLESS-GO:remove the
SmartKey from the ignition lock.
XVehicles with KEYLESS-GO start-function
or KEYLESS-GO: open the driver's door.
The on-board electronics now have status 0.
This is the same as the SmartKey having been
removed.
XVehicles with KEYLESS-GO start-function
or KEYLESS-GO: remove the Start/Stop but-
ton from the ignition lock (
Ypage 146).
XMake sure that the engine cannot be started
via your smartphone (Ypage 149).
XIf included in the vehicle equipment, remove
the tire-change tool kit from the vehicle.
XSafeguard the vehicle against rolling away.
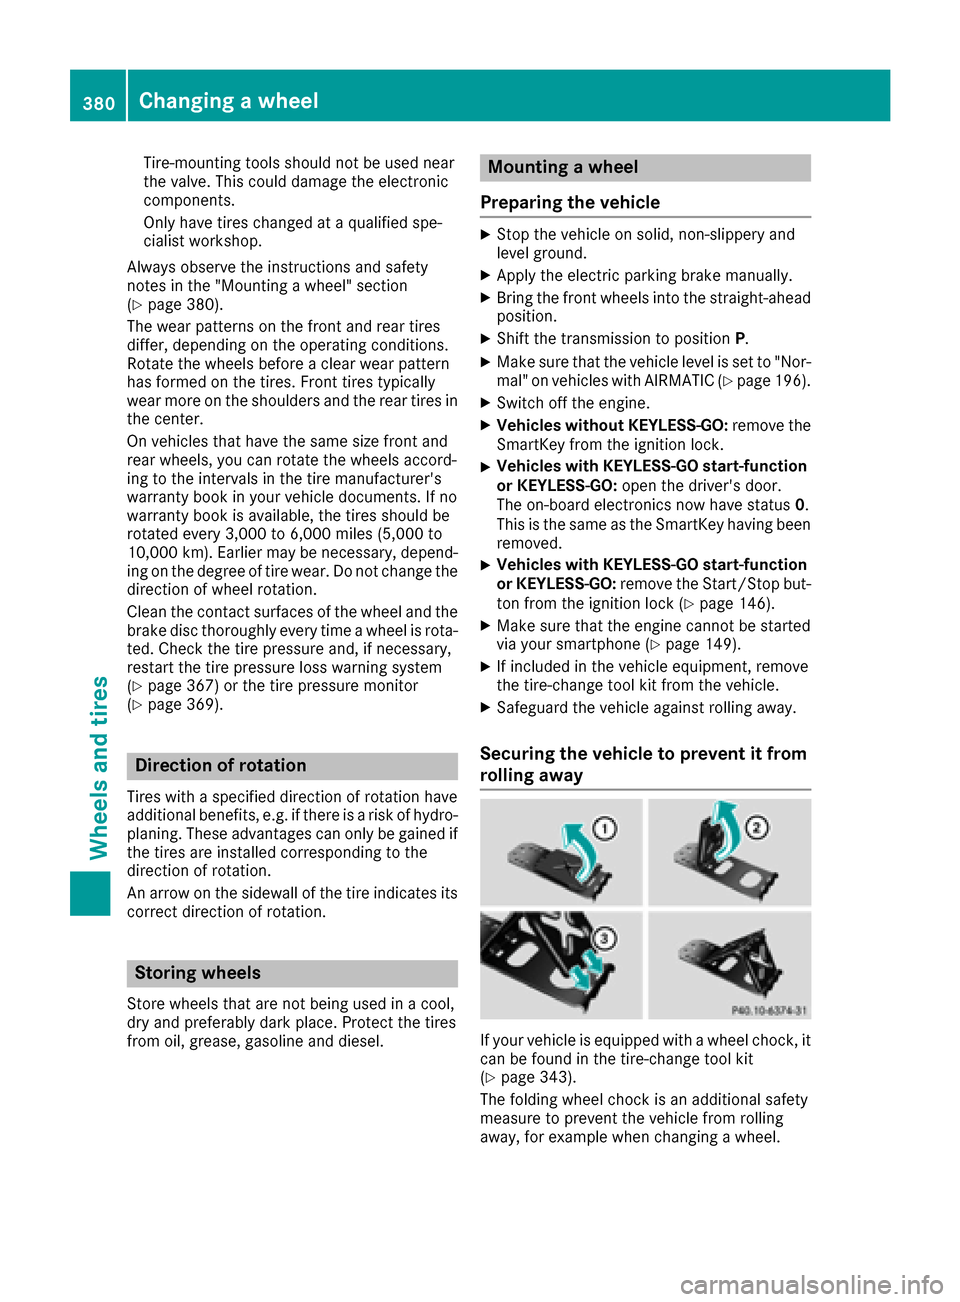
Securing the vehicle to prevent it from
rolling away
If your vehicle is equipped with a wheel chock, it can be found in the tire-change tool kit
(
Ypage 343).
The folding wheel chock is an additional safety
measure to prevent the vehicle from rolling
away, for example when changing a wheel.
380Changing a wheel
Wheels and tires
Page 391 of 398

Other identifications, for example:
R0 W-30
R5 W-30
R5 W-40
Fuel
Important safety notes
GWARNING
Fuel is highly flammable. If you handle fuel
incorrectly, there is a risk of fire and explo-
sion.
You must avoid fire, open flames, creating
sparks and smoking. Switch off the engine
and, if applicable, the auxiliary heating before refueling.
GWARNING
Fuel is poisonous and hazardous to health.
There is a risk of injury.
You must make sure that fuel does not come into contact with your skin, eyes or clothing
and that it is not swallowed. Do not inhale fuel
vapors. Keep fuel away from children.
If you or others come into contact with fuel,
observe the following:
RWash away fuel from skin immediately
using soap and water.
RIf fuel comes into contact with your eyes,
immediately rinse them thoroughly with
clean water. Seek medical assistance with-
out delay.
RIf fuel is swallowed, seek medical assis-
tance without delay. Do not induce vomit-
ing.
RImmediately change out of clothing which
has come into contact with fuel.
Tank capacity
ModelTotal capacity
C 350 e13.2 US gal (50.0 l)
Allot her models17.4 US gal
(66.0 l)
ModelOf which
reserve
Mercedes‑AMG vehiclesApprox.
2.6 US gal (10.0 l)
Allot her modelsApprox.
1.8 US gal (7.0 l)
Gasoline
Fuel grade
!Do not use diesel to refuel vehicles with a
gasoline engine. Do not switch on the ignition
if you accidentally refuel with the wrong fuel.
Otherwise, the fuel will enter the fuel system.
Even small amounts of the wrong fuel could
result in damage to the fuel system and the
engine. Notify a qualified specialist workshop
and have the fuel tank and fuel lines drained
completely.
!Only refuel using unleaded premium grade
gasoline with at least 91 AKI/95 RON.
iE10 fuel contains up to 10% bioethanol.
Your vehicle is E10-compatible. You can
refuel your vehicle using E10 fuel.
!Only use the fuel recommended. Operating
the vehicle with other fuels can lead to engine
failure.
!Do not use the following:
RE15 (gasoline with 15% ethanol)
RE85 (gasoline with 85% ethanol)
RE100 (100% ethanol)
RM15 (gasoline with 15% methanol)
RM30 (gasoline with 30% methanol)
RM85 (gasoline with 85% methanol)
RM100 (100% methanol)
RGasoline with metalliferous additives
RDiesel
Service products and filling capacities389
Technical data
Z
Page 393 of 398
Flexible Fuel vehicles can be refueled with the
following fuel types:
Rpremium-grade unleaded gasoline
RE85 fuel
Ra mixture of E85 fuel and premium-grade
unleaded gasoline
iFlexible Fuel vehicles can be recognized by
the Ethanol up to E85 sticker on the inside of
the fuel filler flap.
Fuel consumption
The energy content of E85 fuel is less than that
of the same amount of premium-grade gasoline.
The amount of fuel consumed when operating
the vehicle with E85 fuel is therefore higher than
with premium-grade gasoline.
Maintenance
Inform your authorized Mercedes-Benz Center
that you are operating or have operated the
vehicle with E85 fuel.
Low outside temperatures
If the outside temperature is below 32 ‡(0 †),
the starting procedure can take noticeably lon-
ger when operating with E85 fuel.
E85 fuel is not suitable for use at outside tem-
peratures under -4 ‡ (-20 †).
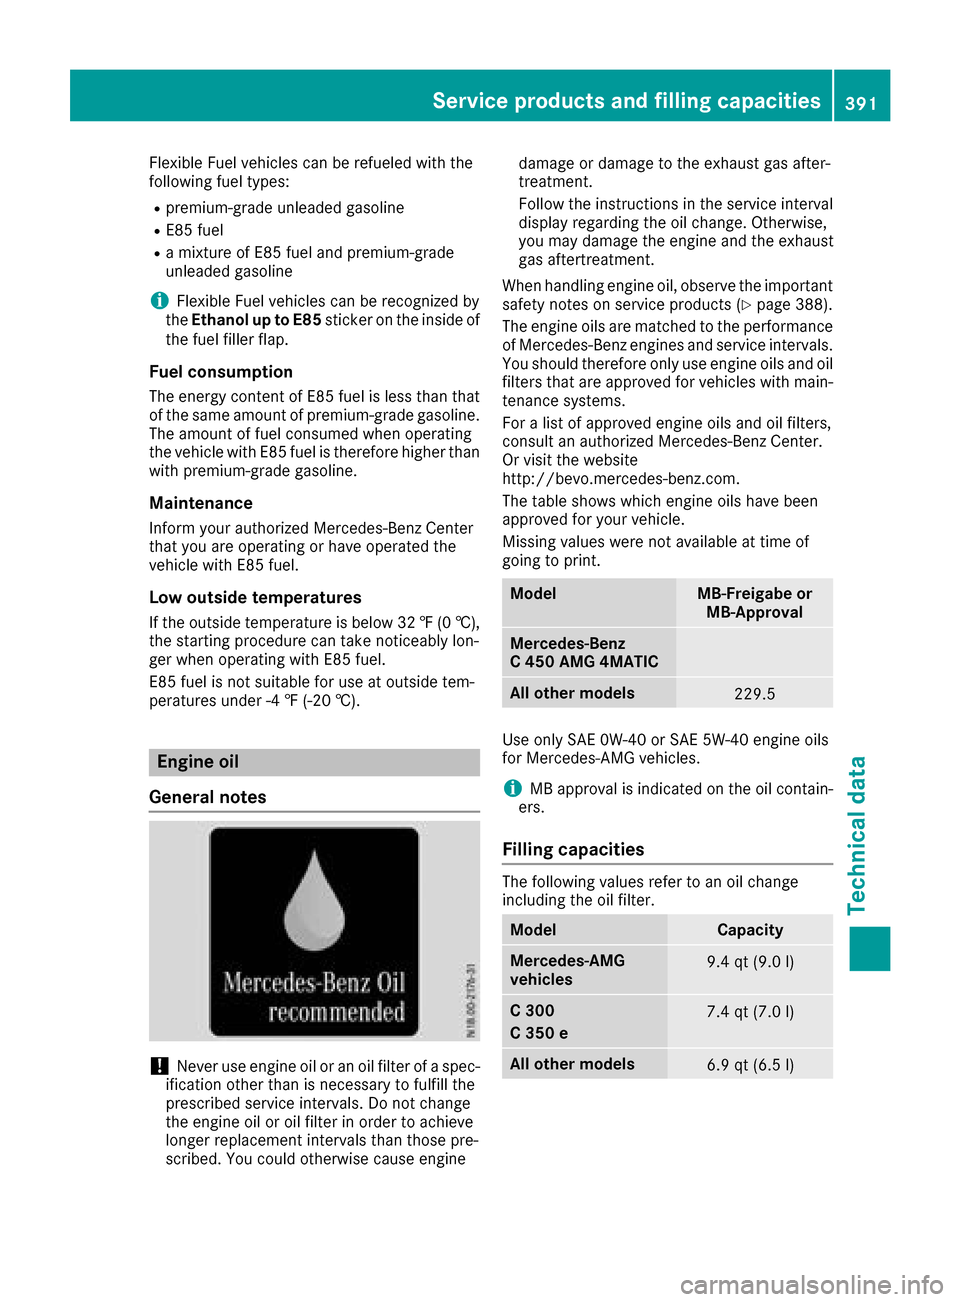
Engine oil
General notes
!Never use engine oil or an oil filter of a spec-
ification other than is necessary to fulfill the
prescribed service intervals. Do not change
the engine oil or oil filter in order to achieve
longer replacement intervals than those pre-
scribed. You could otherwise cause engine damage or damage to the exhaust gas after-
treatment.
Follow the instructions in the service interval
display regarding the oil change. Otherwise,
you may damage the engine and the exhaust
gas aftertreatment.
When handling engine oil, observe the important
safety notes on service products (
Ypage 388).
The engine oils are matched to the performance
of Mercedes-Benz engines and service intervals.
You should therefore only use engine oils and oil filters that are approved for vehicles with main-
tenance systems.
For a list of approved engine oils and oil filters,
consult an authorized Mercedes-Benz Center.
Or visit the website
http://bevo.mercedes-benz.com.
The table shows which engine oils have been
approved for your vehicle.
Missing values were not available at time of
going to print.
ModelMB-Freigabe or MB-Approval
Mercedes-Benz
C 450 AMG 4MATIC
All other models229.5
Use only SAE 0W-40 or SAE 5W-40 engine oils
for Mercedes‑AMG vehicles.
iMB approval is indicated on the oil contain-
ers.
Filling capacities
The following values refer to an oil change
including the oil filter.
ModelCapacity
Mercedes‑AMG
vehicles9.4 qt (9.0 l)
C 300
C 350 e7.4 qt (7.0l)
Allot her models6.9 qt (6.5 l)
Service products and filling capacities391
Technical data
Z