Fault MERCEDES-BENZ C-Class SEDAN 2016 W205 Owner's Manual
[x] Cancel search | Manufacturer: MERCEDES-BENZ, Model Year: 2016, Model line: C-Class SEDAN, Model: MERCEDES-BENZ C-Class SEDAN 2016 W205Pages: 398, PDF Size: 9.57 MB
Page 15 of 398
Lane Tracking package.....................216
Lap time (RACETIMER) ......................253
LATCH-type (ISOFIX) child seat
anchors ................................................ 64
License plate lamp (display mes-
sage) ................................................... 267
Light function, active
Display message ............................ 267
Light sensor (display message) ....... 267
Lights
Adaptive Highbeam Assist ............. 120
Automatic headlamp mode ............ 118
Cornering light function ................. 120
Fogged up headlamps .................... 121
General notes ................................ 118
Hazard warning lamps ................... 120
High beam flasher .......................... 119
High-beam headlamps ................... 119
Light switch ................................... 118
Low-beam headlamps .................... 119
Parking lamps ................................ 119
Rear fog lamp ................................ 119
Setting exterior lighting ................. 118
Standing lamps .............................. 119
Switching the daytime running
lamps on/off (on-board com-
puter) ............................................. 250
Turn signals ................................... 119
see Interior lighting
Loading guidelines ............................ 308
Locking
see Central locking
Locking (doors)
Automatic ........................................ 89
Emergency locking ........................... 89
From inside (central locking but-
ton) ..................................................8 8
Locking centrally
see Central locking
Low-beam headlamps
Changing bulbs .............................. 123
Display message ............................ 267
Switching on/off .......................... .119
Lumbar support
Adjusting the 4-way lumbar sup-
port ....... ......................................... 108M
M+S tires
............................................ 362
Malfunction message
see Display messages
Matte finish (cleaning instruc-
tions) ..................................................3 37
Maximum charge current
Setting (charging cable) ................. 172
Setting (on-board computer) .......... 248
mbrace
Call priority ....................................3 23
Display message ............................ 261
Downloading destinations
(COMAND) ..................................... 323
Downloading routes ....................... 326
Emergency call .............................. 320
General notes ................................ 320
Geo fencing ................................... 326
Locating a stolen vehicle ...............3 25
MB info call button ........................ 322
Remote fault diagnosis .................. 325
Remote vehicle locking .................. 324
Roadside Assistance button .......... 321
Search & Send ............................... 323
Self-test ......................................... 320
Speed alert ....................................3 26
System .......................................... 320
Triggering the vehicle alarm ........... 326
Vehicle remote unlocking .............. 324
Mechanical key
Function/notes ................................ 83
General notes .................................. 83
Inserting .......................................... 83
Locking vehicle ................................ 89
Removing ......................................... 83
Unlocking the driver's door .............. 89
Memory card (audio) ......................... 244
Memory function
Seats, steering wheel, exterior
mirrors ...........................................1 16
Mercedes-Benz Intelligent Drive
360°camera .................................. 210
Active Blind Spot Assist ................. 219
Active Lane Keeping Assist ............ 222
Active Parking Assist ..................... 202
ATTENTION ASSIST ........................ 214
Blind Spot Assist ............................ 216
Index13
Page 16 of 398
DISTRONIC PLUS ........................... 186
DISTRONIC PLUS with Steering
Assist and Stop&Go Pilot ............... 192
General notes ................................ 185
Lane Keeping Assist ...................... 218
PARKTRONIC ................................. 199
PRE-SAFE
®(anticipatory occu-
pant protection) ............................... 60
PRE-SAFE
®PLUS (anticipatory
occupant protection PLUS) .............. 61
Rear view camera .......................... 206
Traffic Sign Assist .......................... 215
Message memory (on-board com-
puter) .................................................. 255
Messages
see Display messages
see Warning and indicator lamps
Mirror turn signal
Cleaning ......................................... 339
Mirrors
see Exterior mirrors
see Rear-view mirror
see Vanity mirror (in the sun visor)
Mobile phone
Connecting (Bluetooth
®inter-
face) .............................................. 305
Connecting another mobile
phone ............................................ 306
Frequencies ................................... 386
Installation .....................................3 86
Menu (on-board computer) ............ 245
Transmission output (maximum) .... 386
Modifying the programming
(SmartKey) ...........................................8 3
MOExtended tires .............................. 343
Mounting wheels
Lowering the vehicle ...................... 384
Mounting a new wheel ................... 383
Preparing the vehicle .....................3 80
Raising the vehicle ......................... 381
Removing a wheel .......................... 383
Securing the vehicle against roll-
ing away ........................................ 380
MP3
Operation ....................................... 244
see also Digital Operator's Man-
ual..................................................2
98Multifunc
tion display
Function/notes .............................2 37
Permanent display ......................... 251
Multifunction steering wheel
Operating the on-board computer .. 236
Overview .......................................... 38
Multimedia system
Switching on and off ......................2 99
Music files
see also Digital Operator's Man-
ual ..................................................2 98
N
Navigation
Menu (on-board computer) ............ 241
see also Digital Operator's Man-
ual ..................................................2 98
Notes on breaking-in a new vehi-
cle ....................................................... 145
O
Occupant Classification System
(OCS)
Conditions ....................................... 54
Faults ............................................... 58
Operation ......................................... 54
System self-test ............................... 56
Occupant safety
Air bags ...........................................5 1
Automatic measures after an acci-
dent ................................................. 61
Children in the vehicle ..................... 62
Important safety notes .................... 46
Introduction to the restraint sys-
tem .................................................. 46
Occupant Classification System
(OCS) ............................................... 54
PASSENGER AIR BAG indicator
lamps ............................................... 47
Pets in the vehicle ........................... 67
PRE-SAFE
®(anticipatory occu-
pant protection) ............................... 60
PRE-SAFE
®PLUS (anticipatory
occupant protection PLUS) .............. 61
Restraint system warning lamp ........ 46
Seat belt .......................................... 48
14Index
Page 17 of 398
OCSConditions ....................................... 54
Faults ............................................... 58
Operation ......................................... 54
System self-test ...............................5 6
Odometer .......................................... .239
Oil
see Engine oil
On-board computer
AMG menu ..................................... 252
Assistance graphic menu ...............2 46
Assistance menu ........................... 247
Display messages .......................... 255
Displaying a service message ........3 34
DISTRONIC PLUS ........................... 191
Factory settings .............................2 52
G-Meter ......................................... 252
Head-up display ............................. 238
HYBRID menu ................................ 248
Important safety notes .................. 235
Instrument cluster menu ............... 251
Lights menu ................................... 250
Media menu ................................... 243
Menu overview .............................. 239
Message memory .......................... 255
Navigation menu ............................ 241
Operation ....................................... 236
RACETIMER ................................... 253
Radio menu ................................... 243
Service menu ................................. 246
Settings menu ............................... 247
Standard display ............................ 239
Telephone menu ............................ 245
Trip menu ...................................... 239
Video DVD operation ..................... 244
Online access to the vehicle
Data protection .............................. 176
Functions ....................................... 176
General information ....................... 176
Internet .......................................... 176
Opening and closing the side trim
panels ................................................. 124
Opening the fuel filler flap
(PLUG-IN HYBRID vehicles) ............ 166
Operating safety
Declaration of conformity ................ 31
Important safety notes .................... 30 Operating system
see On-board computer
Operation
Digital Operator's Manual ................ 25
Operator's Manual
Overview .......................................... 28
Vehicle eq uip
ment ........................... 28
Outside temperature display ........... 236
Overhead control panel ...................... 42
Override feature
Rear side windows ........................... 67
P
Paddle shifterssee Steering wheel paddle shifters
Paint code number ............................ 387
Paintwork (cleaning instructions) ... 337
Panic alarm .......................................... 46
Panorama roof with power tilt/
sliding panel
Important safety notes .................... 98
Operating ....................................... 100
Operating the roller sunblinds for
the sliding sunroof ......................... 101
Problem (malfunction) ................... 103
Rain closing feature ....................... 101
Reversing feature ............................. 99
Parking ............................................... 177
Important safety notes .................. 177
Parking brake ................................ 178
Position of exterior mirror, front-
passenger side ............................... 115
Rear view camera .......................... 206
Switching off the engine ................ 177
see PARKTRONIC
Parking aid
see 360° camera
see Active Parking Assist
see Exterior mirrors
see PARKTRONIC
see Rear view camera
Parking assistance
see PARKTRONIC
Parking brake
Display message ............................ 258
Electric parking brake .................... 178
Warning lamp ................................. 292
Index15
Page 70 of 398
Important safety notes
If you fail to adapt your driving style or if you are
inattentive, thedriving safet ysystems can nei-
ther reduce th eris kof an acciden tno roverride
th elaws of physics .Drivin gsafet ysystems are
merely aids designed to assist driving .You are
responsible for maintainin gth edistanc eto th e
vehicl ein front, for vehicl espeed, for braking in
goo dtime, and for staying in lane. Always adapt
your driving style to suit th eprevailing road and
weather condition sand maintai n asafedistanc e
from th evehicl ein front. Drive carefully.
The driving safet ysystems describe donly wor k
as effectivel yas possible when there is ade-
quat econtact between th etires and th eroad
surface. Pay particular attention to th einforma-
tion regarding tires ,recommended minimum
tire tread depths etc. in th e"Wheels and tires "
section (
Ypage 360).
In wintr ydriving conditions, always use winte r
tires (M+ Stires )and if necessary, snow chains.
Only in this way will the driving safety systems
described in this section work as effectively as
possible.
ABS (Anti-lock Braking System)
General information
ABS regulates brake pressure in such a way that
the wheels do not lock when you brake. This
allows you to continue steering the vehicle when
braking.
The ! ABS warning lamp in the instrument
cluster lights up when the ignition is switched
on. It goes out when the engine is running.
ABS works from a speed of about 5 mph
(8 km/h), regardless of road-surface conditions.
ABS works on slippery surfaces, even when you
only brake gently.
Important safety notes
iObserve the "Important safety notes" sec-
tion (Ypage 68).
GWARNING
If ABS is faulty, the wheels could lock when
braking. The steerability and braking charac-
teristics may be severely impaired. Addition-
ally, further driving safety systems are deac-
tivated. There is an increased danger of skid-
ding and accidents.
Drive on carefully. Have ABS checked imme-
diately at a qualified specialist workshop.
When ABS is malfunctioning, other systems,
including driving safety systems, will also
become inoperative. Observe the information
on the ABS warning lamp (
Ypage 289) and dis-
play messages which may be shown in the
instrument cluster (
Ypage 256).
Braking
XIf ABS intervenes: continue to depress the
brake pedal vigorously until the braking sit-
uation is over.
XTo make a full brake application: depress
the brake pedal with full force.
If ABS intervenes when braking, you will feel a
pulsing in the brake pedal.
The pulsating brake pedal can be an indication
of hazardous road conditions, and functions as a reminder to take extra care while driving.
BAS (Brake Assist System)
General information
BAS operates in emergency braking situations.
If you depress the brake pedal quickly, BAS
automatically boosts the braking force, thus
shortening the stopping distance.
Important safety notes
iObserve the "Important safety notes" sec-
tion (Ypage 68).
GWARNING
If BAS is malfunctioning, the braking distance
in an emergency braking situation is
increased. There is a risk of an accident.
In an emergency braking situation, depress
the brake pedal with full force. ABS prevents
the wheels from locking.
68Driving safety systems
Safety
Page 81 of 398
This steering assistance is provided in particular
if:
Rboth right wheels or both left wheels are on awet or slippery road surface when you brake.
Rthe vehicle starts to skid.
Important safety notes
iObserve the "Important safety notes" sec-
tion (Ypage 68).
No steering support is provided from STEER
CONTROL, if:
RESP®is deactivated
RESP®is malfunctioning.
Rthe lighting is faulty.
If ESP®is malfunctioning, you will be assisted
further by the electrical power steering.
Protection against theft
Immobilizer
The immobilizer prevents your vehicle from
being started without the correct SmartKey.
XTo activate with the SmartKey: remove the
SmartKey from the ignition lock.
XTo activate with KEYLESS-GO start-func-
tion or KEYLESS-GO: switch the ignition off
and open the driver's door.
XTo deactivate: switch on the ignition.
When leaving the vehicle, always take the
SmartKey with you and lock the vehicle. Anyone
can start the engine if a valid SmartKey has been
left inside the vehicle.
iThe immobilizer is always deactivated when
you start the engine.
In the event that the engine cannot be started
(yet the vehicle's battery is charged), the sys- tem is not operational. Contact an authorized
Mercedes-Benz Center or call
1-800-FOR-MERCedes (in the USA) or
1-800-387-0100 (in Canada).
ATA (anti-theft alarm system)
XTo arm: lock the vehicle with the SmartKey or
KEYLESS-GO.
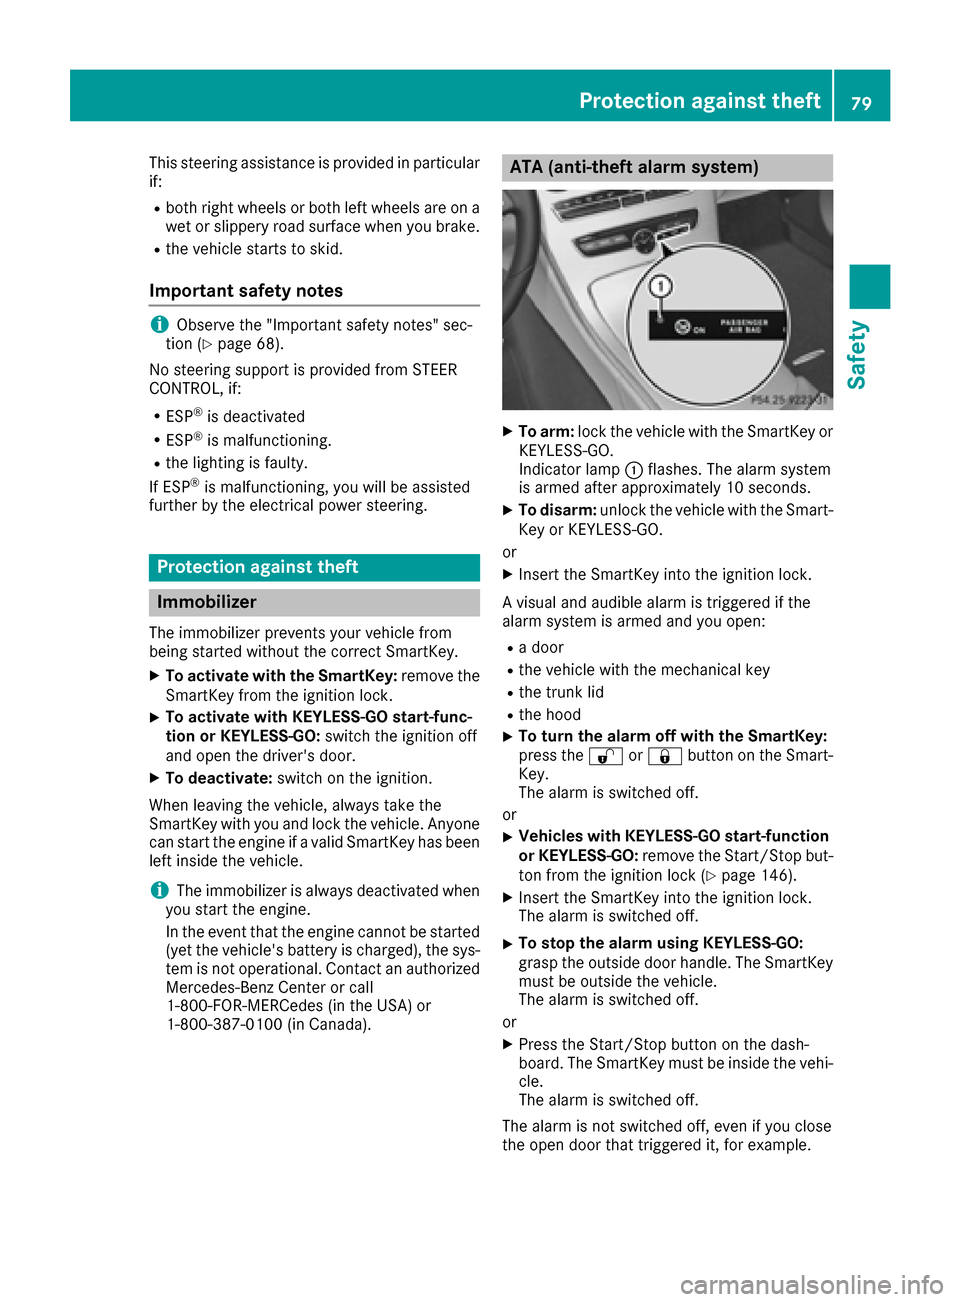
Indicator lamp :flashes. The alarm system
is armed after approximately 10 seconds.
XTo disarm: unlock the vehicle with the Smart-
Key or KEYLESS-GO.
or
XInsert the SmartKey into the ignition lock.
A visual and audible alarm is triggered if the
alarm system is armed and you open:
Ra door
Rthe vehicle with the mechanical key
Rthe trunk lid
Rthe hood
XTo turn the alarm off with the SmartKey:
press the %or& button on the Smart-
Key.
The alarm is switched off.
or
XVehicles with KEYLESS-GO start-function
or KEYLESS-GO: remove the Start/Stop but-
ton from the ignition lock (
Ypage 146).
XInsert the SmartKey into the ignition lock.
The alarm is switched off.
XTo stop the alarm using KEYLESS-GO:
grasp the outside door handle. The SmartKey
must be outside the vehicle.
The alarm is switched off.
or
XPress the Start/Stop button on the dash-
board. The SmartKey must be inside the vehi- cle.
The alarm is switched off.
The alarm is not switched off, even if you close
the open door that triggered it, for example.
Protection against theft79
Safety
Z
Page 88 of 398
Problems with the SmartKey
ProblemPossible causes/consequences andMSolutions
You can no longer lock or
unlock the vehicle using
the SmartKey.The SmartKey battery is discharged or nearly discharged.
XCheck the SmartKey battery (Ypage 84) and replace it if necessary
(Ypage 84).
If this does not work:
XUnlock (Ypage 89) or lock (Ypage 89) the vehicle using the
mechanical key.
There is interference from a powerful source of radio waves.
XUnlock (Ypage 89) or lock (Ypage 89) the vehicle using the
mechanical key.
The SmartKey is faulty.
XUnlock (Ypage 89) or lock (Ypage 89) the vehicle using the
mechanical key.
XHave the SmartKey checked at a qualified specialist workshop.
You can no longer lock or
unlock the vehicle using
KEYLESS-GO.KEYLESS-GO was deactivated.
XReactivate KEYLESS-GO (Ypage 82).
The SmartKey battery is discharged or nearly discharged.
XCheck the SmartKey battery (Ypage 84) and replace it if necessary
(Ypage 84).
If this does not work:
XUnlock (Ypage 89) or lock (Ypage 89) the vehicle using the
mechanical key.
There is interference from a powerful source of radio waves.
XUnlock (Ypage 89) or lock (Ypage 89) the vehicle using the
mechanical key.
KEYLESS-GO is malfunctioning.
XLock/unlock the vehicle using the remote control function of the
SmartKey.
XHave the vehicle and SmartKey checked at a qualified specialist
workshop.
If the vehicle can also not be locked/unlocked using the remote con-
trol function:
XUnlock (Ypage 89) or lock (Ypage 89) the vehicle using the
mechanical key.
XHave the vehicle and SmartKey checked at a qualified specialist
workshop.
86SmartKey
Opening and closing
Page 142 of 398
Problems with the perfume atomizer
ProblemPossible causes/consequences andMSolutions
The vehicle interior is not
perfumed although the
perfume atomizer is acti-
vated.The perfume vial has not been pushed into the holder as far as it will
go.
XSlide the perfume vial into the holder as far as it will go.
The perfume vial is not filled sufficiently.
XPre-filled vials:dispose of the empty vial.
XUse a new pre-filled vial.
XRefillable vials: refill the vial with a maximum of 0.5 fl. oz. (15 ml)
of the same perfume.
The perfume atomizer is faulty.
XHave the perfume atomizer checked at a qualified specialist work-
shop.
Ionization
Ionization is used to purify the air in the vehicle
interior and attain an improved interior climate.
The ionization of the interior air is odorless and
cannot be perceived directly in the vehicle inte-
rior.
You can switch ionization on or off using the
multimedia system (
Ypage 303).
Ionization can only be operated when the auto-
matic climate control is switched on. The side air
vent on the driver's side must be open.
140Operating the climate control systems
Climate control
Page 160 of 398
Transmission positions
BPark position
This prevents the vehicle from rolling
away when stopped.
Only shift the transmission into posi-
tion Pwhen the vehicle is stationary
(
Ypage 156). The parking lock
should not be used as a brake when
parking. Always apply the electronic
parking brake in addition to the park-
ing lock in order to secure the vehi-
cle.
Park position Pis automatically
engaged if:
Ryou switch off the engine using the SmartKey and remove the Smart-
Key
Ryou switch off the engine using thekey or using the Start/Stop button
and open the driver's door or front-
passenger door
Rthe driver's door is opened when
the vehicle is stationary or driving
at very low speed and the trans-
mission is in position Dor R
If the vehicle electronics are malfunc-
tioning, the transmission may be
locked in position P. Have the vehicle
electronics checked immediately at a
qualified specialist workshop.
CReverse gear
Only shift the transmission into posi-
tion Rwhen the vehicle is stationary.
ANeutral
Do not shift the transmission to N
while driving. Otherwise, the auto-
matic transmission could be dam-
aged.
No power is transmitted from the
engine to the drive wheels.
Releasing the brake pedal will allow
you to move the vehicle freely, e.g. to
push it or tow it.
If ESP
®is deactivated or faulty: shift
the transmission to position Nif the
vehicle is in danger of skidding, e.g.
on icy roads.
If you switch the engine off with the
transmission in position Ror D, the
automatic transmission shifts to N
automatically.
!Rolling in neutral Ncan damage
the drive train.
7Drive
The automatic transmission changes
gear automatically. All forward gears
are available.
Driving tips
Changing gear
The automatic transmission shifts to the indi-
vidual gears automatically when it is in trans-
mission position D. This automatic gear shifting
behavior is determined by:
Rthe selected drive program
Rthe position of the accelerator pedal
Rthe road speed
Accelerator pedal position
Your style of driving influences how the auto-
matic transmission shifts gear:
Rlittle throttle: early upshifts
Rmore throttle: late upshifts
Double-clutch function
When shifting down, the double-clutch function
is active regardless of the currently selected
drive program. The double-clutch function
158Automatic transmission
Driving an d parking
Page 170 of 398
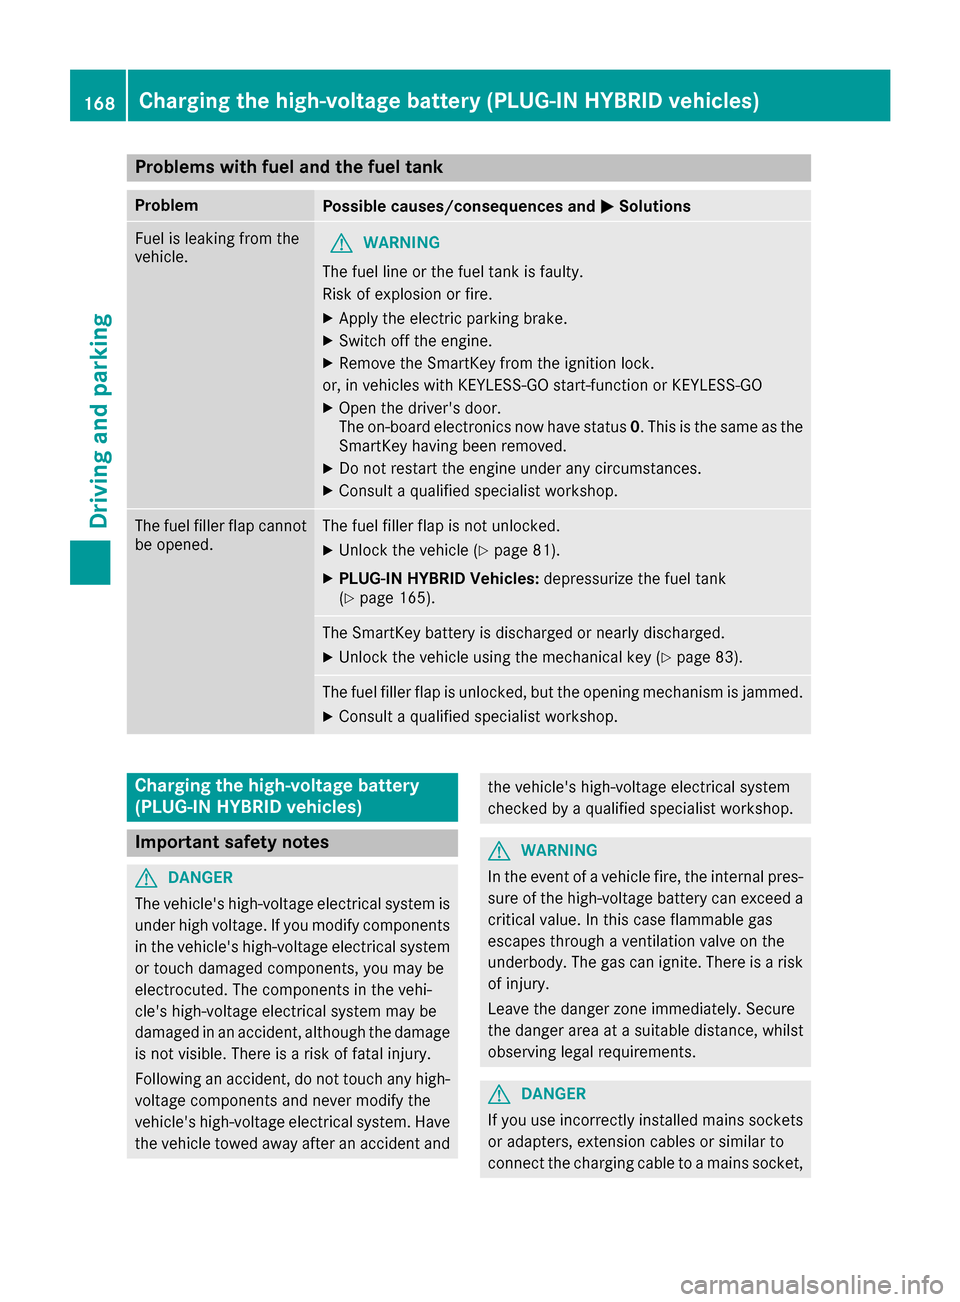
Problems with fuel and the fuel tank
ProblemPossible causes/consequences andMSolutions
Fuel is leaking from the
vehicle.GWARNING
The fuel line or the fuel tank is faulty.
Risk of explosion or fire.
XApply the electric parking brake.
XSwitch off the engine.
XRemove the SmartKey from the ignition lock.
or, in vehicles with KEYLESS-GO start-function or KEYLESS ‑GO
XOpen the driver's door.
The on-board electronics now have status0. This is the same as the
SmartKey having been removed.
XDo not restart the engine under any circumstances.
XConsult a qualified specialist workshop.
The fuel filler flap cannot
be opened.The fuel filler flap is not unlocked.
XUnlock the vehicle (Ypage 81).
XPLUG-IN HYBRID Vehicles: depressurize the fuel tank
(Ypage 165).
The SmartKey battery is discharged or nearly discharged.
XUnlock the vehicle using the mechanical key (Ypage 83).
The fuel filler flap is unlocked, but the opening mechanism is jammed.
XConsult a qualified specialist workshop.
Charging the high-voltage battery
(PLUG-IN HYBRID vehicles)
Important safety notes
GDANGER
The vehicle's high-voltage electrical system is under high voltage. If you modify components
in the vehicle's high-voltage electrical system
or touch damaged components, you may be
electrocuted. The components in the vehi-
cle's high-voltage electrical system may be
damaged in an accident, although the damage
is not visible. There is a risk of fatal injury.
Following an accident, do not touch any high-
voltage components and never modify the
vehicle's high-voltage electrical system. Have
the vehicle towed away after an accident and
the vehicle's high-voltage electrical system
checked by a qualified specialist workshop.
GWARNING
In the event of a vehicle fire, the internal pres- sure of the high-voltage battery can exceed a
critical value. In this case flammable gas
escapes through a ventilation valve on the
underbody. The gas can ignite. There is a risk
of injury.
Leave the danger zone immediately. Secure
the danger area at a suitable distance, whilst
observing legal requirements.
GDANGER
If you use incorrectly installed mains sockets or adapters, extension cables or similar to
connect the charging cable to a mains socket,
168Charging the high-voltage battery (PLUG-IN HYBRID vehicles)
Driving and parking
Page 174 of 398
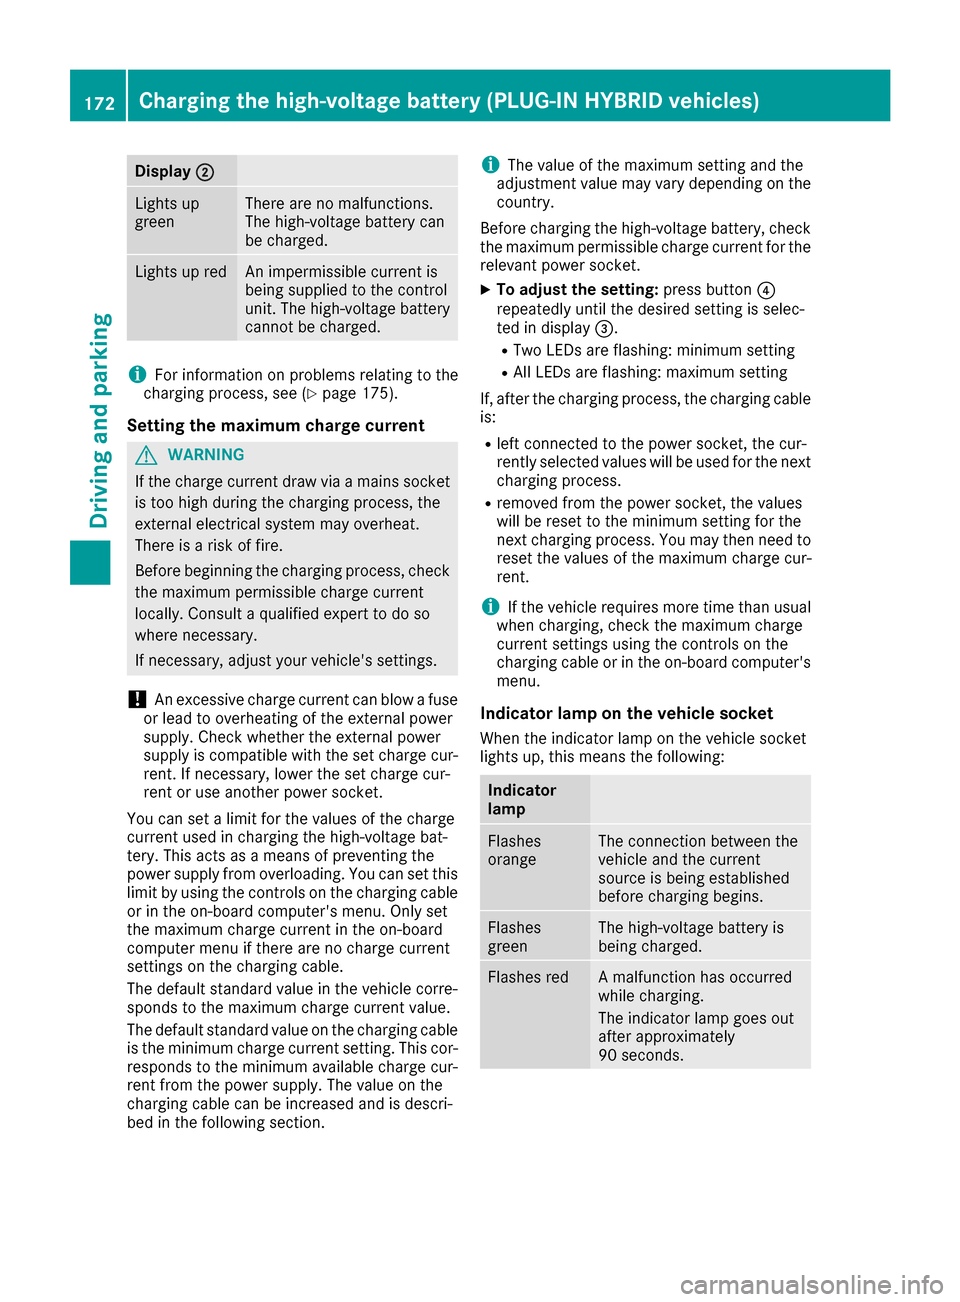
Display;
Lightsup
greenThere are no malfunctions.
The high-voltage battery can
be charged.
Light sup redAn impermissible curren tis
bein gsupplied to th econtrol
unit. The high-voltage battery
canno tbe charged.
iFo rinformation on problem srelating to th e
charging process, see (Ypage 175).
Setting themaximum charg ecurren t
GWARNIN G
If th echarg ecurren tdraw via amain ssocke t
is to ohigh during th echarging process, th e
external electrical system may overheat.
There is aris kof fire.
Befor ebeginning th echarging process, chec k
th emaximum permissibl echarg ecurren t
locally. Consult aqualified exper tto do so
wher enecessary.
If necessary, adjust your vehicle's settings.
!An excessive charg ecurren tcan blow afus e
or lead to overheating of th eexternal powe r
supply. Chec kwhether th eexternal powe r
supply is compatible wit hth eset charg ecur -
rent. If necessary, lower th eset charg ecur -
ren tor use another powe rsocket.
You can set alimi tfor th evalue sof th echarg e
curren tused in charging th ehigh-voltage bat -
tery. This act sas amean sof preventing th e
powe rsupply from overloading. You can set this
limi tby usin gth econtrol son th echarging cable
or in th eon-boar dcomputer' smenu. Only set
th emaximum charg ecurren tin th eon-boar d
computer men uif there are no charg ecurren t
setting son th echarging cable.
The default standard value in th evehicl ecorre-
spond sto th emaximum charg ecurren tvalue .
The default standard value on th
echa
rging cable
is th eminimum charg ecurren tsetting .This cor-
responds to th eminimum available charg ecur -
ren tfrom th epowe rsupply. The value on th e
charging cable can be increased and is descri-
bed in th efollowin gsection .
iThe value of th emaximum setting and th e
adjustmen tvalue may var ydepending on th e
country.
Befor echarging th ehigh-voltage battery, chec k
th emaximum permissibl echarg ecurren tfor th e
relevan tpowe rsocket.
XTo adjust th esetting: press butto n?
repeatedly until th edesire dsetting is selec-
te din display =.
RTwo LEDs are flashing: minimum setting
RAllLEDs are flashing: maximum setting
If ,after th echarging process, th echarging cable
is:
Rlef tconnecte dto th epowe rsocket, th ecur -
rentl yselected value swill be used for th enext
charging process.
Rremove dfrom th epowe rsocket, th evalue s
will be reset to th eminimum setting for th e
next charging process. You may then need to
reset th evalue sof th emaximum charg ecur -
rent.
iIf th evehicl erequire smor etime than usual
when charging ,chec kth emaximum charg e
curren tsetting susin gth econtrol son th e
charg ing ca
ble or in th
eon-boar dcomputer' s
menu.
Indicator lam pon th evehicle socket
Whe nth eindicator lamp on th evehicl esocke t
lights up, this mean sth efollowing:
Indicator
lam p
Flashes
orang eThe connection between th e
vehicl eand th ecurren t
source is bein gestablished
before charging begins .
Flashes
greenThe high-voltage battery is
beingcharged.
Flashes redA malfunction has occurred
while charging .
The indicator lamp goe sout
after approximately
90 seconds.
172Charging the high-voltage battery (PLUG-IN HYBRID vehicles)
Driving an d parking