key MERCEDES-BENZ CL-CLASS 2000 Owners Manual
[x] Cancel search | Manufacturer: MERCEDES-BENZ, Model Year: 2000, Model line: CL-CLASS, Model: MERCEDES-BENZ CL-CLASS 2000Pages: 424, PDF Size: 26.09 MB
Page 301 of 424
295 Malfunction and indicator lamps
Te ch n ica l
data Instruments
and controlsOperation DrivingInstrument
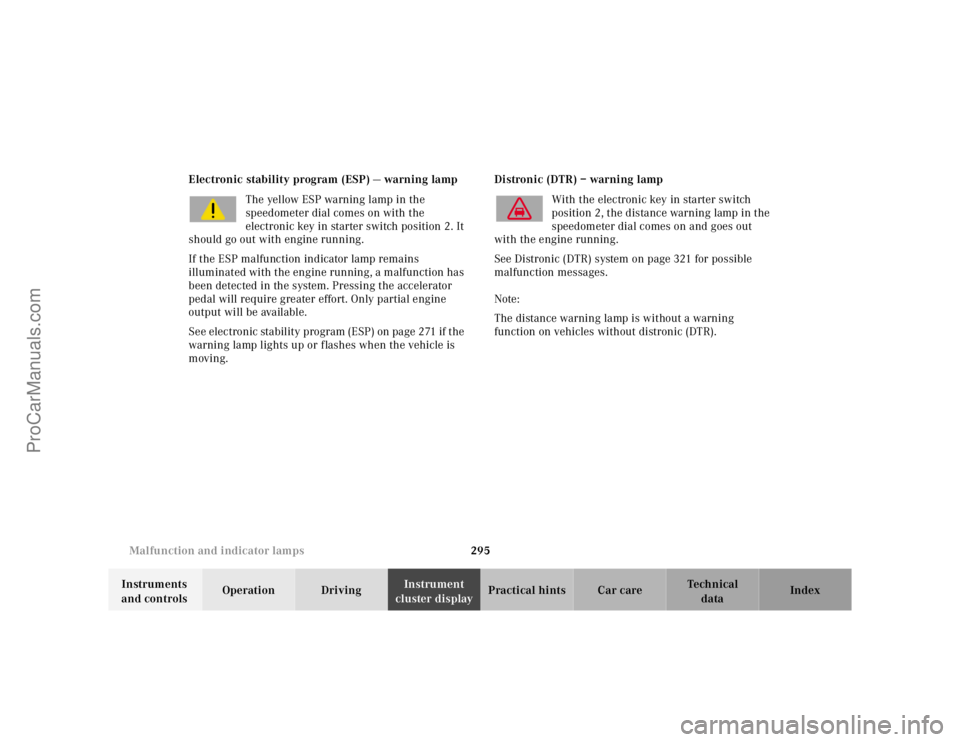
cluster displayPractical hints Car care Index Electronic stability program (ESP) — warning lamp
The yellow ESP warning lamp in the
speedometer dial comes on with the
electronic key in starter switch position 2. It
should go out with engine running.
If the ESP malfunction indicator lamp remains
illuminated with the engine running, a malfunction has
been detected in the system. Pressing the accelerator
pedal will require greater effort. Only partial engine
output will be available.
See electronic stability program (ESP) on page 271 if the
warning lamp lights up or flashes when the vehicle is
moving.Distronic (DTR) – warning lamp
With the electronic key in starter switch
position 2, the distance warning lamp in the
speedometer dial comes on and goes out
with the engine running.
See Distronic (DTR) system on page 321 for possible
malfunction messages.
Note:
The distance warning lamp is without a warning
function on vehicles without distronic (DTR).
ProCarManuals.com
Page 302 of 424
296 Malfunction and indicator lamps
Te ch n ica l
data Instruments
and controlsOperation DrivingInstrument
cluster displayPractical hints Car care Index
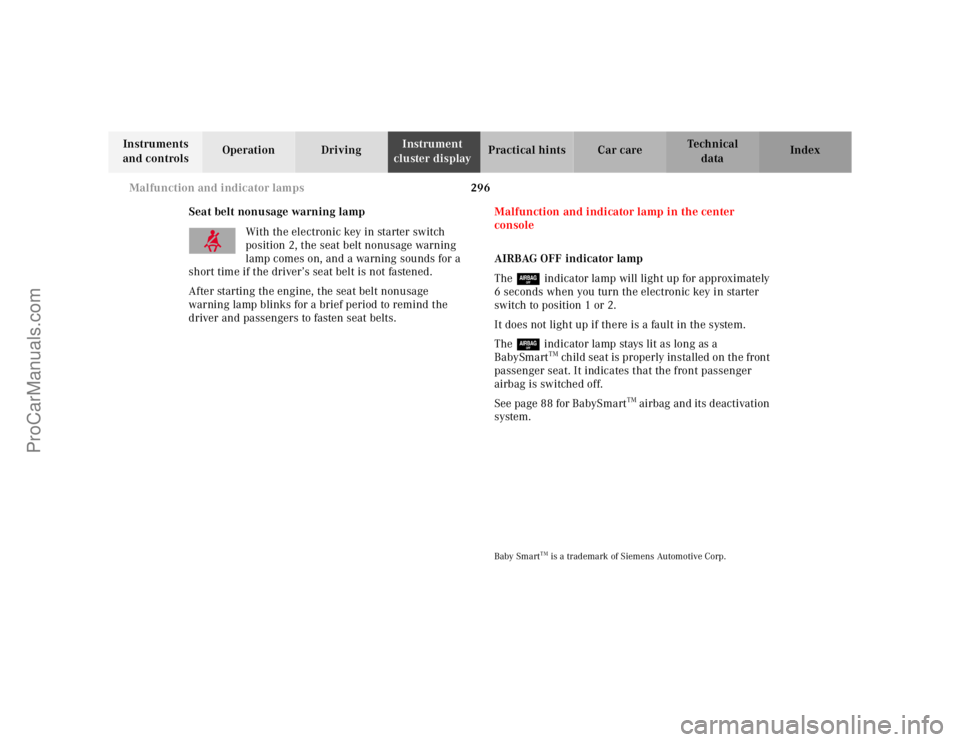
Seat belt nonusage warning lamp
With the electronic key in starter switch
position 2, the seat belt nonusage warning
lamp comes on, and a warning sounds for a
short time if the driver’s seat belt is not fastened.
After starting the engine, the seat belt nonusage
warning lamp blinks for a brief period to remind the
driver and passengers to fasten seat belts.Malfunction and indicator lamp in the center
console
AIRBAG OFF indicator lamp
The 7 indicator lamp will light up for approximately
6 seconds when you turn the electronic key in starter
switch to position 1 or 2.
It does not light up if there is a fault in the system.
The 7 indicator lamp stays lit as long as a
BabySmart
TM child seat is properly installed on the front
passenger seat. It indicates that the front passenger
airbag is switched off.
See page 88 for BabySmart
TM airbag and its deactivation
system.
Baby Smart
TM is a trademark of Siemens Automotive Corp.
ProCarManuals.com
Page 322 of 424
316 Malfunction and warning messages
Te ch n ica l
data Instruments
and controlsOperation DrivingInstrument
cluster displayPractical hints Car care Index
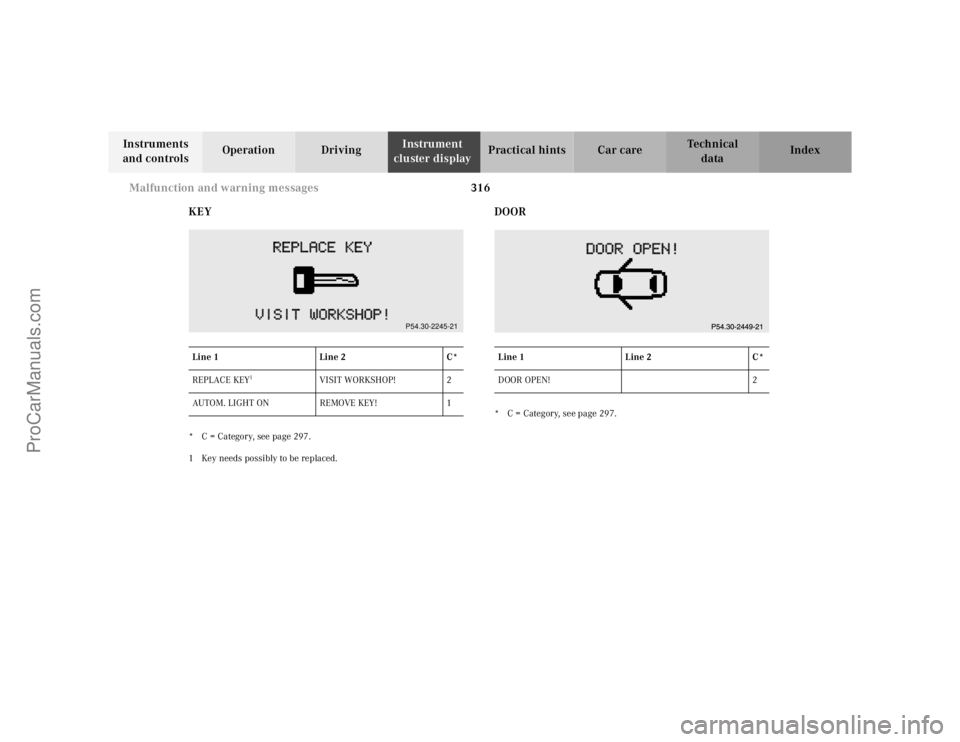
KEY
* C = Category, see page 297.
1 Key needs possibly to be replaced.
DOOR* C = Category, see page 297. Line 1Line 2C*
REPLACE KEY
1
VISIT WORKSHOP! 2
AUTOM. LIGHT ON REMOVE KEY! 1
P54.30-2245-21
Line 1Line 2C*
DOOR OPEN! 2
ProCarManuals.com
Page 324 of 424
318 Malfunction and warning messages
Te ch n ica l
data Instruments
and controlsOperation DrivingInstrument
cluster displayPractical hints Car care Index
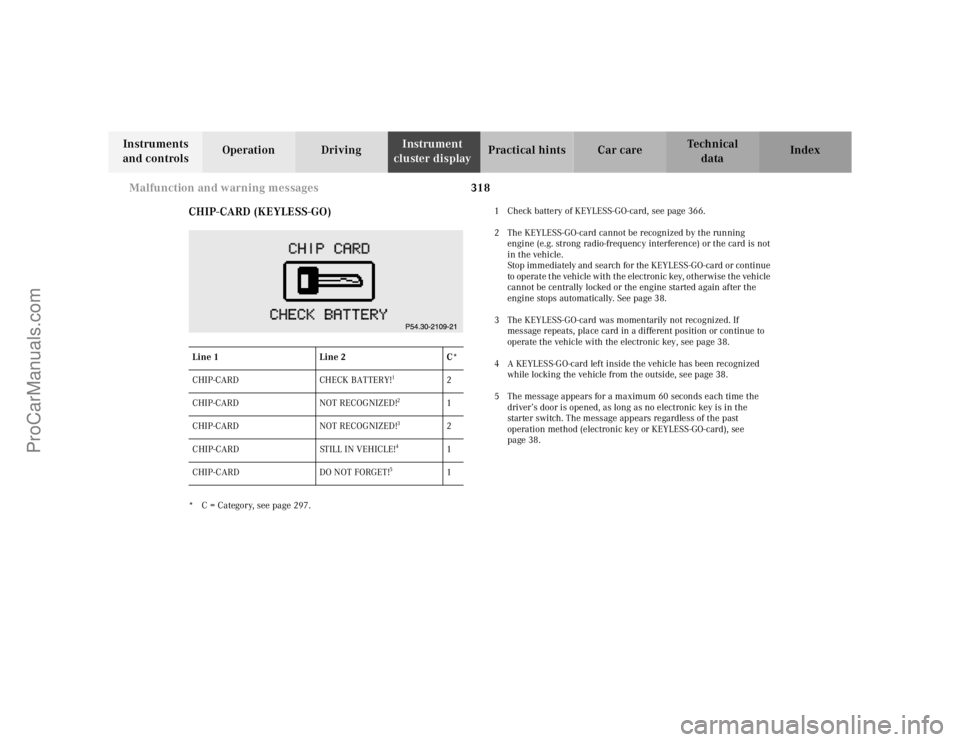
CHIP-CARD (KEYLESS-GO)
* C = Category, see page 297.1 Check battery of KEYLESS-GO-card, see page 366.
2 The KEYLESS-GO-card cannot be recognized by the running
engine (e.g. strong radio-frequency interference) or the card is not
in the vehicle.
Stop immediately and search for the KEYLESS-GO-card or continue
to operate the vehicle with the electronic key, otherwise the vehicle
cannot be centrally locked or the engine started again after the
engine stops automatically. See page 38.
3 The KEYLESS-GO-card was momentarily not recognized. If
message repeats, place card in a different position or continue to
operate the vehicle with the electronic key, see page 38.
4 A KEYLESS-GO-card left inside the vehicle has been recognized
while locking the vehicle from the outside, see page 38.
5 The message appears for a maximum 60 seconds each time the
driver’s door is opened, as long as no electronic key is in the
starter switch. The message appears regardless of the past
operation method (electronic key or KEYLESS-GO-card), see
page 38. Line 1Line 2C*
CHIP-CARD CHECK BATTERY!
1
2
CHIP-CARD NOT RECOGNIZED!
2
1
CHIP-CARD NOT RECOGNIZED!
3
2
CHIP-CARD STILL IN VEHICLE!
4
1
CHIP-CARD DO NOT FORGET!
5
1
ProCarManuals.com
Page 325 of 424
319 Malfunction and warning messages
Te ch n ica l
data Instruments
and controlsOperation DrivingInstrument
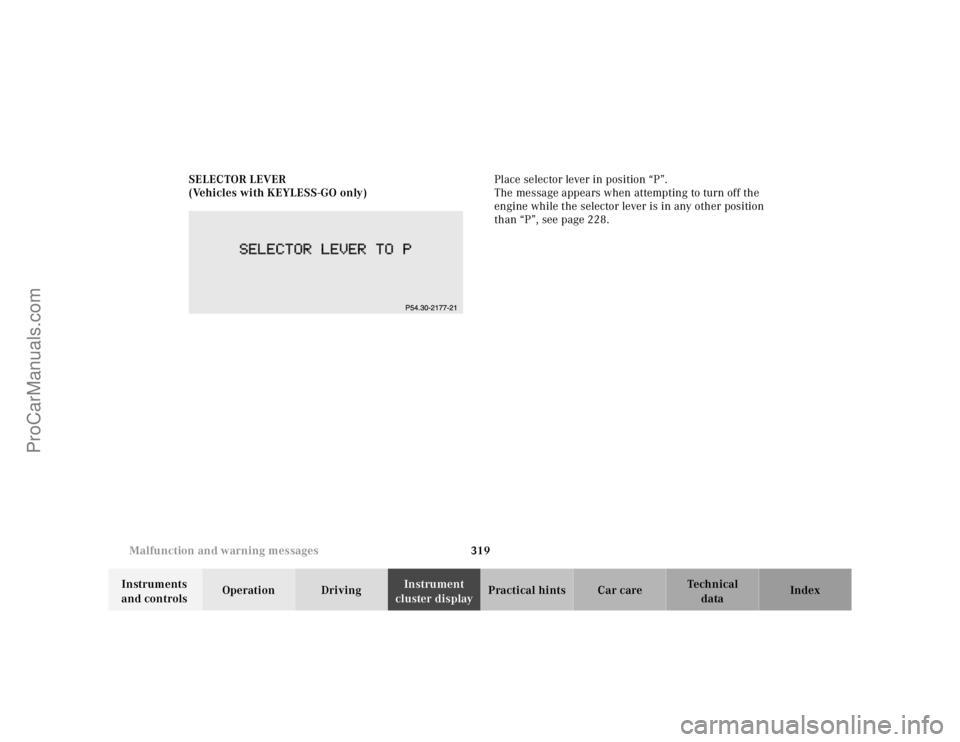
cluster displayPractical hints Car care Index SELECTOR LEVER
(Vehicles with KEYLESS-GO only)Place selector lever in position “P”.
The message appears when attempting to turn off the
engine while the selector lever is in any other position
than “P”, see page 228.
ProCarManuals.com
Page 329 of 424
323 Contents - Practical hints
Te ch n ica l
data Instruments
and controlsOperation DrivingInstrument
cluster displayPractical hintsCar care Index
Practical hintsFirst aid kit .....................................324
Fuses ................................................325
Shelf below rear window ..............327
Hood .................................................328
Checking engine oil level ............. 331
Automatic transmission
fluid level ...................................332
Active body control
(ABC) fluid level ........................332
Coolant level ...................................333
Adding coolant ...........................333
Windshield and headlamp
washer system ...........................334Windshield and headlamp
washer fluid mixing ratio ........ 334
Spare wheel, vehicle tools,
storage compartment ............... 335
Jack .................................................. 336
Wheels ............................................ 337
Tire Replacement ....................... 337
Rotating wheels ......................... 338
Spare wheel .................................... 338
Changing wheels ........................... 340
Tire inflation pressure ................. 345
Battery ............................................. 346
Jump starting ................................. 349
Towing the vehicle ........................ 351Exterior lamps ................................354
Headlamp assembly ...................355
Taillamp assemblies ..................358
Standby bulb function ................... 361
Changing batteries
in the electronic main key ......363
Synchronizing
remote control ............................365
Changing batteries
in the KEYLESS-GO-card .........366
Emergency engine
shut-down ..................................368
Fuel filler flap,
manual release ..........................368
Emergency operation of
sliding/pop-up roof ...................369
Replacing wiper blades .................370
Trunk lamp ..................................... 371
Roof rack .........................................372
ProCarManuals.com
Page 353 of 424
347 Battery
Te ch n ica l
data Instruments
and controlsOperation DrivingInstrument
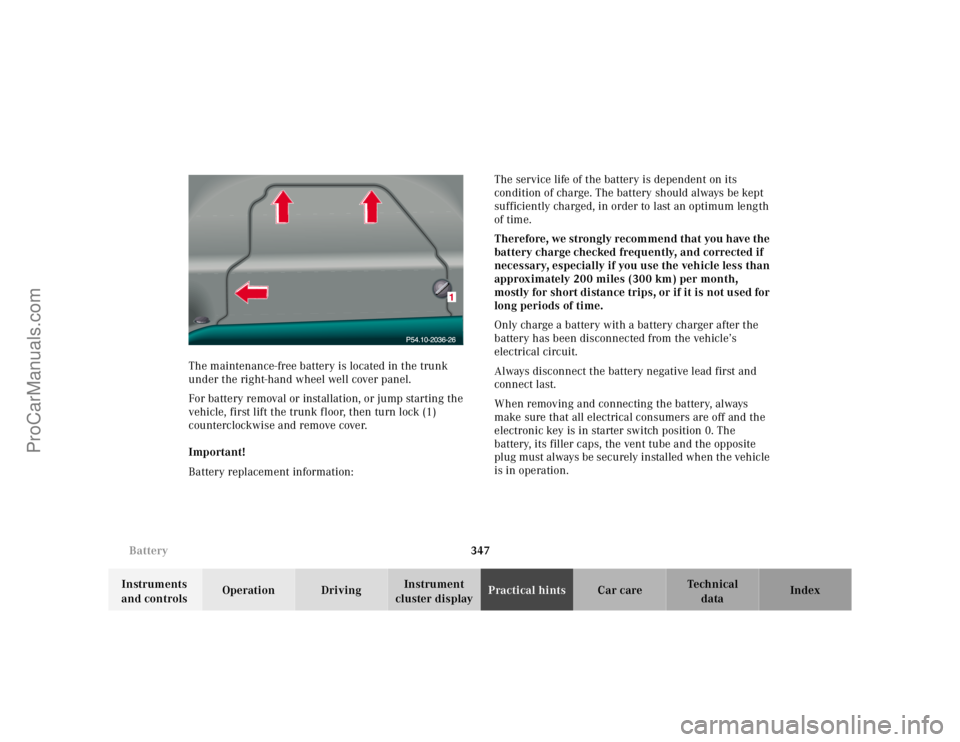
cluster displayPractical hintsCar care Index The maintenance-free battery is located in the trunk
under the right-hand wheel well cover panel.
For battery removal or installation, or jump starting the
vehicle, first lift the trunk f loor, then turn lock (1)
counterclockwise and remove cove r.
Important!
Battery replacement information:The service life of the battery is dependent on its
condition of charge. The battery should always be kept
sufficiently charged, in order to last an optimum length
of time.
Therefore, we strongly recommend that you have the
battery charge checked frequently, and corrected if
necessary, especially if you use the vehicle less than
approximately 200 miles (300 km) per month,
mostly for short distance trips, or if it is not used for
long periods of time.
Only charge a battery with a battery charger after the
battery has been disconnected from the vehicle’s
electrical circuit.
Always disconnect the battery negative lead first and
connect last.
When removing and connecting the battery, always
make sure that all electrical consumers are off and the
electronic key is in starter switch position 0. The
battery, its filler caps, the vent tube and the opposite
plug must always be securely installed when the vehicle
is in operation.
ProCarManuals.com
Page 357 of 424
351 Towing the vehicle
Te ch n ica l
data Instruments
and controlsOperation DrivingInstrument
cluster displayPractical hintsCar care Index Towing the vehicleImportant!
When towing the vehicle, please, note the following:
With the automatic central locking activated and the
electronic key in starter switch position 2 (vehicles with
KEYLESS-GO: in “On” position, see page 224), the
vehicle doors lock if the left front wheel as well as the
right rear wheel are turning at vehicle speeds of approx.
9 mph (15 km/h) or more.
To prevent the vehicle door locks from locking,
deactivate the automatic central locking. See
“VEHICLE” under “Individual settings” on page 144.
Towing of the vehicle should only be done using the
properly installed towing eye bolt. Never attach tow
cable, tow rope or tow rod to vehicle chassis, frame
or suspension parts.
Note:
The selector lever will remain locked in position “P” and
the electronic key could not be turned in the starter
switch if the battery is disconnected or discharged. See
battery on page 346 or jump starting on page 349.
Wa r n i n g !
Prior to towing the vehicle with all wheels on the
ground, make certain that the electronic key is in
starter switch position 2.If the electronic key is left in the starter switch
position 0 for an extended period of time, it can no
longer be turned in the switch. In this case, the
steering is locked. To unlock, remove electronic key
from starter switch and reinsert.
ProCarManuals.com
Page 359 of 424
353 Towing the vehicle
Te ch n ica l
data Instruments
and controlsOperation DrivingInstrument
cluster displayPractical hintsCar care Index We recommend that the vehicle be transported using
flat bed equipment. This method is preferable to other
types of towing.
Important!
To prevent damage during transport, do not tie down
vehicle by its chassis or suspension parts.
The vehicle may be towed with all wheels on the ground
and the selector lever in position “N” for distances up to
30 miles (50 km) and at a speed not to exceed 30 mph
(50 km/h). The electronic key must be in starter switch
position 2.
To be certain to avoid a possibility of damage to the
transmission, however, we recommend the drive shaft
be disconnected at the rear axle drive f lange for any
towing beyond a short tow to a nearby garage.
Do not tow with sling-type equipment. Towing with
sling-type equipment over bumpy roads will damage
radiator and supports.
Use wheel lift, dolly, or flat bed equipment, with
electronic key in starter switch turned to position 0.Note:
To signal turns while being towed with hazard warning
flasher in use, turn electronic key in starter switch to
position 2 and activate combination switch for left or
right turn signal in usual manner – only the selected
turn signal will operate.
Upon canceling the turn signal, the hazard warning
flasher will operate again.
Caution!
If the vehicle is towed with the front axle raised, the
engine must be shut off (electronic key in starter switch
position 0 or 1). Otherwise, the ESP will immediately be
engaged and will apply the rear wheel brakes.
Switch off the tow-away alarm (see “VEHICLE” under
“Individual settings” on page 144) as well as the ESP
(see page 273).
Wa r n i n g !
With the engine not running, there is no power
assistance for the braking and steering systems. In
this case, it is important to keep in mind that a
considerably higher degree of effort is necessary to
brake and steer the vehicle.
ProCarManuals.com
Page 369 of 424
363 Electronic main key
Te ch n ica l
data Instruments
and controlsOperation DrivingInstrument
cluster displayPractical hintsCar care Index Changing batteries in the electronic main key
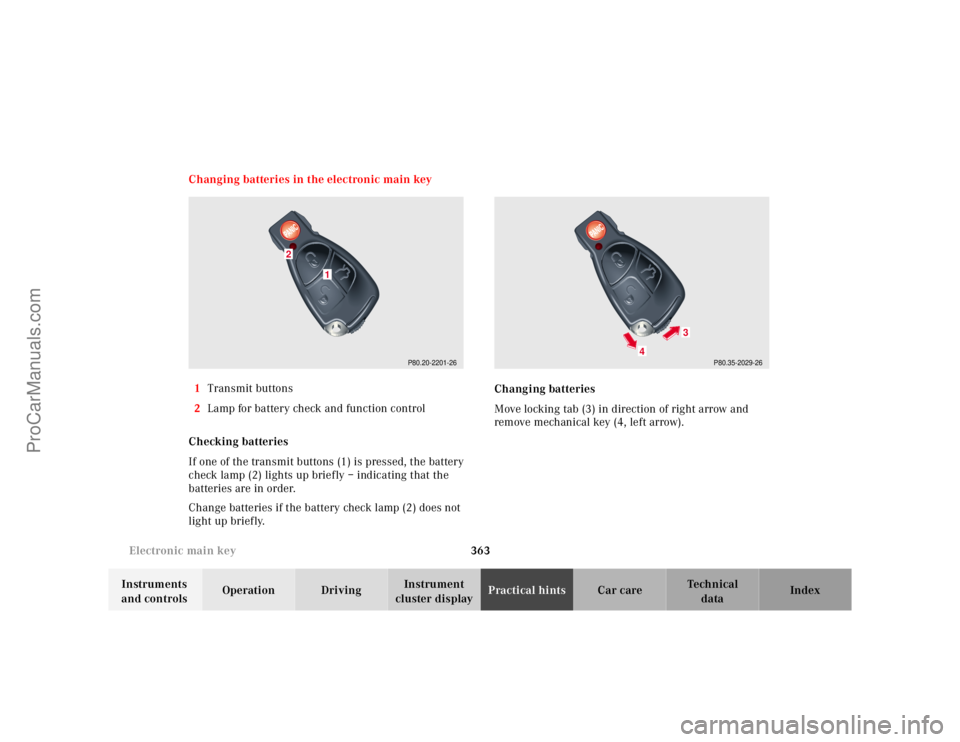
1Transmit buttons
2Lamp for battery check and function control
Checking batteries
If one of the transmit buttons (1) is pressed, the battery
check lamp (2) lights up briefly – indicating that the
batteries are in order.
Change batteries if the battery check lamp (2) does not
light up briefly.Changing batteries
Move locking tab (3) in direction of right arrow and
remove mechanical key (4, left arrow).
P80.20-2201-26
1
2
P80.35-2029-26
4
3
ProCarManuals.com