display MERCEDES-BENZ CL-Class 2001 C215 Comand Manual
[x] Cancel search | Manufacturer: MERCEDES-BENZ, Model Year: 2001, Model line: CL-Class, Model: MERCEDES-BENZ CL-Class 2001 C215Pages: 243, PDF Size: 2.33 MB
Page 17 of 243
Introduction
Audio
Introduction
Telephone Navigation Index AudioInfo Services and
system settings 15Status window for Tele Aid calls
When the Tele Aid call system is in operation (refer to
operating instructions of the vehicle) a pop-up window
appears indicating the type of call and status.
During transmission of a Tele Aid call the audio source
will be muted until the Tele Aid call is ended.
The window can be cleared by manually by turning or
pressing the rotary/pushbutton
. It will switch off
automatically when the emergency call is completed. Pop-up screen messages when the battery gets low
To prevent the car battery from running down, the
driver will receive two messages to start the engine
when battery power gets low. This warning will appear
in all of the displays.
It is possible to switch off the warning “Caution. Please
turn on ignition. Otherwise system will shut down in
3 minutes” by pressing the rotary/pushbutton
.
Please, start the engine, refer to the operating
instructions of the vehicle.
You can then still operate COMAND.
The next two messages will not disappear until the
engine has been started or COMAND has been
switched off. It is not possible to operate COMAND
while they are on the screen.
First the following warning will appear on the screen:
“Caution. Please turn on ignition. Otherwise system
will shut down in 10 seconds”. Please, start the engine.
If the engine is not started, COMAND will switch off
after 10 seconds. The following message will appear in
the display: “Caution. The system will shut down.”.
Please, start the engine.
Page 19 of 243

Radio operation
17
AudioContents – Audio ............................. 17
Radio operation ................................ 18
Quick reference – Radio ........... 18
Menu overview – Radio ............ 20
Switching radio operation on .. 22
Changing the Radio Band ........ 22
Selecting a station ..................... 24
Automatic Station Scan ............ 28
Memory functions ..................... 29
Radio playback mute ................. 38
Multifunction steering wheel,
Multifunction display ............... 39
Tape operation .................................. 40
Quick reference – Tape deck ... 40
Menu overview – Tape deck .... 42
Switching tape operation
on and off .................................... 44
Changing sides .......................... 45
Contents - AudioSeeking/Skipping tracks .......... 45
Fast forward/rewinding ............ 46
Scanning ..................................... 47
Repeating tracks ........................ 48
Skip blanks ................................. 49
Dolby B, Dolby C
(noise reduction) ........................ 50
Tape playback mute .................. 51
Alarm on serious malfunction 51
Notes on tape care ..................... 52
Multifunction steering wheel,
Multifunction display ............... 55
CD operation ..................................... 56
Quick reference for CD changer
operation (optional) ................... 56
General information on CD
playback ...................................... 58Loading CDs in the
CD changer ................................. 59
Menu overview – CD operation 62
Switching on CD operation ...... 64
Track select ................................ 65
Selecting CD’s ............................ 67
Fast forward / fast backward ... 69
CD track scan ............................. 70
Entering, altering and
deleting CD names .................... 71
Selecting playback mode .......... 74
CD playback mute ..................... 76
Error messages .......................... 77
Tips on caring for your CD’s .... 79
Multifunction steering wheel,
Multifunction display ............... 82
Sound settings .................................. 83
Adjust sound settings ............... 83
Page 23 of 243
Introduction
AudioTelephone
Navigation
Index Info Services and
system settings Radio operation
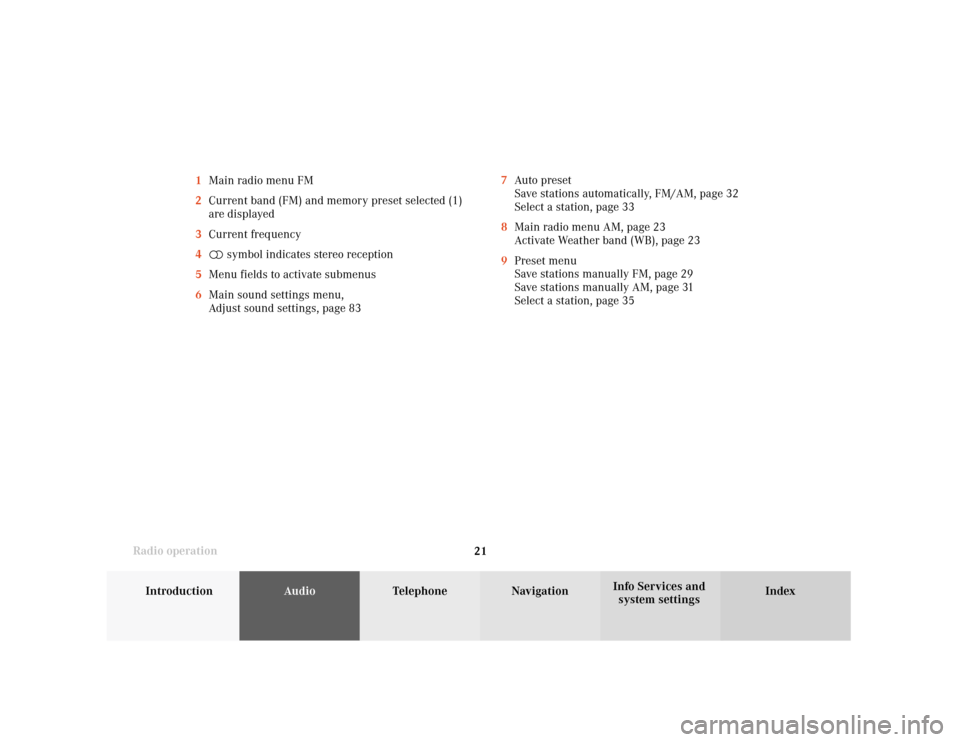
21 1Main radio menu FM
2Current band (FM) and memory preset selected (1)
are displayed
3Current frequency
4 symbol indicates stereo reception
5Menu fields to activate submenus
6Main sound settings menu,
Adjust sound settings, page 837Auto preset
Save stations automatically, FM/AM, page 32
Select a station, page 33
8Main radio menu AM, page 23
Activate Weather band (WB), page 23
9Preset menu
Save stations manually FM, page 29
Save stations manually AM, page 31
Select a station, page 35
Page 24 of 243
22
IntroductionAudioTelephone
Navigation
Index Info Services and
system settings
Radio operation
Switching off the radio
Press
while the main radio menu is on the screen.
The following message will appear: “Radio off”.
To switch to another system, press the corresponding
button. Switching radio operation on and off
P82.85-2515-26
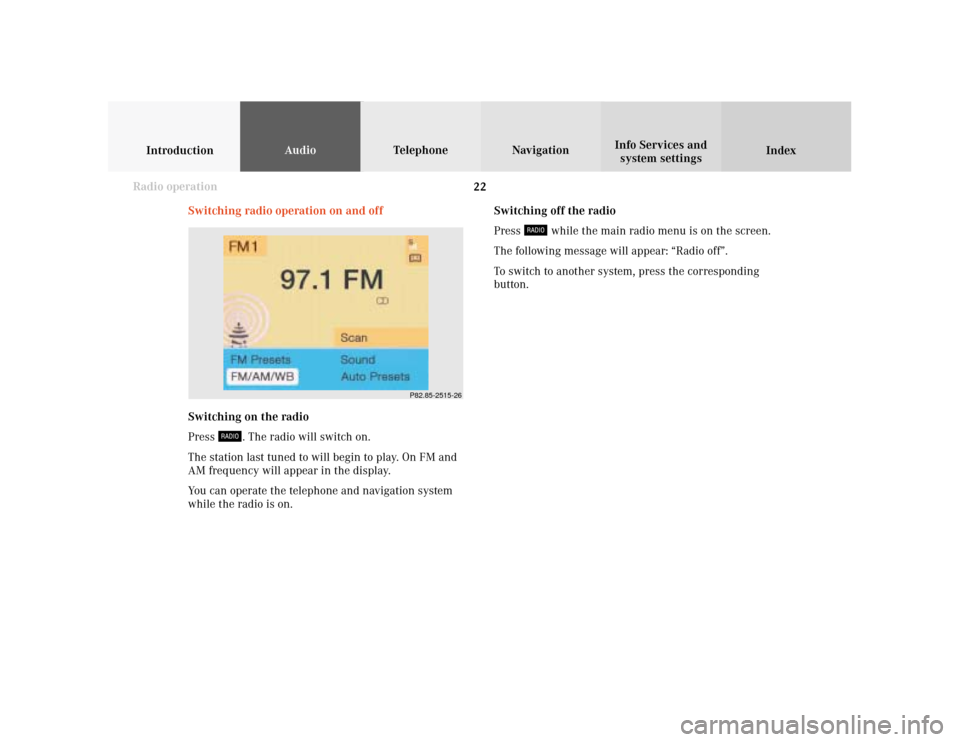
Switching on the radio
Press
. The radio will switch on.
The station last tuned to will begin to play. On FM and
AM frequency will appear in the display.
You can operate the telephone and navigation system
while the radio is on.
Page 25 of 243
Introduction
AudioTelephone
Navigation
Index Info Services and
system settings Radio operation
23
P82.85-2523-26
P82.85-2527-26
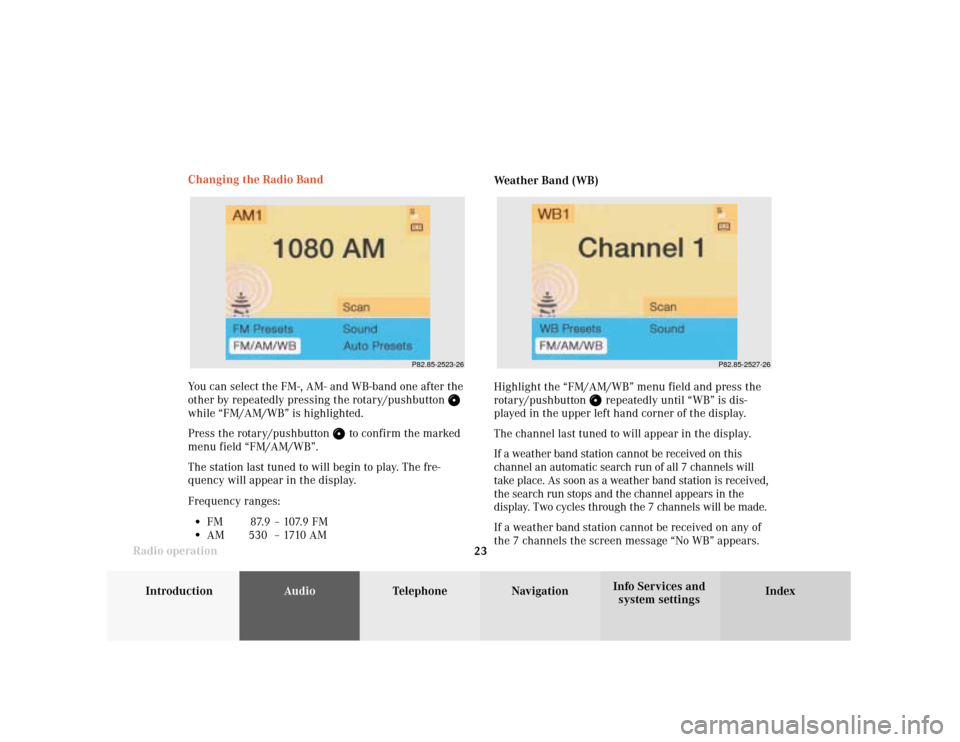
You can select the FM-, AM- and WB-band one after the
other by repeatedly pressing the rotary/pushbutton while “FM/AM/WB” is highlighted.
Press the rotary/pushbutton
to confirm the marked
menu field “FM/AM/WB”.
The station last tuned to will begin to play. The fre-
quency will appear in the display.
Frequency ranges:
•
FM 87.9 – 107.9 FM
•
AM 530 –1710AMWeather Band (WB)
Highlight the “FM/AM/WB” menu field and press the
rotary/pushbutton
repeatedly until “WB” is dis-
played in the upper left hand corner of the display.
The channel last tuned to will appear in the display.
If a weather band station cannot be received on this
channel an automatic search run of all 7 channels will
take place. As soon as a weather band station is received,
the search run stops and the channel appears in the
display. Two cycles through the 7 channels will be made.
If a weather band station cannot be received on any of
the 7 channels the screen message “No WB” appears. Changing the Radio Band
Page 27 of 243
Introduction
AudioTelephone
Navigation
Index Info Services and
system settings Radio operation
25
P82.85-2517-26
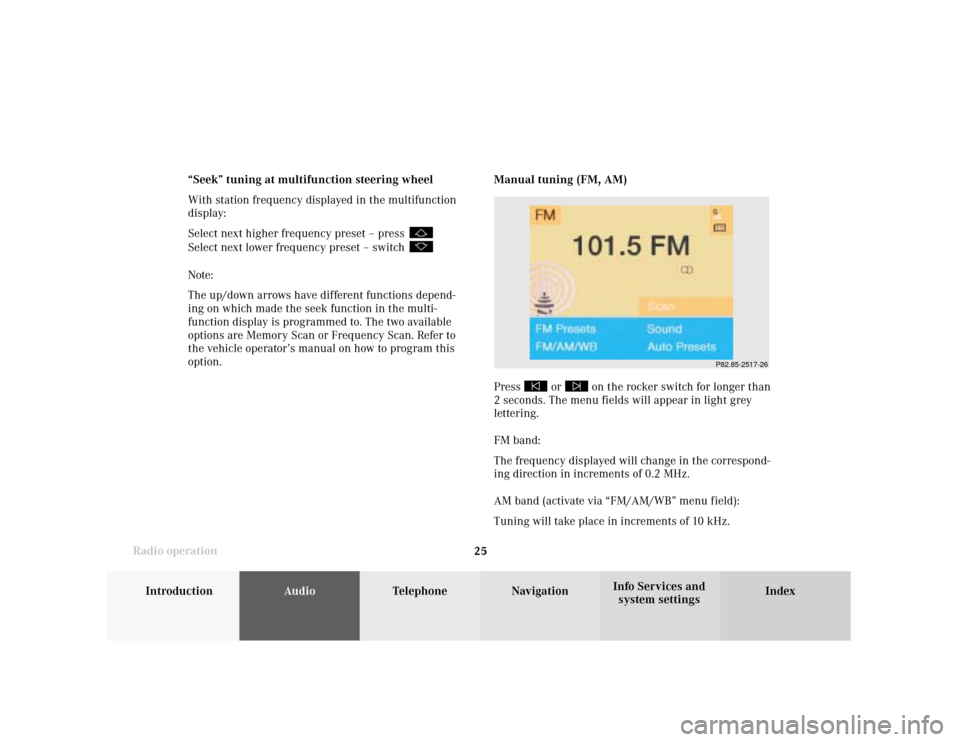
Manual tuning (FM, AM)
Press
or
on the rocker switch for longer than
2 seconds. The menu fields will appear in light grey
lettering.
FM band:
The frequency displayed will change in the correspond-
ing direction in increments of 0.2 MHz.
AM band (activate via “FM/AM/WB” menu field):
Tuning will take place in increments of 10 kHz. “Seek” tuning at multifunction steering wheel
With station frequency displayed in the multifunction
display:
Select next higher frequency preset – press
Select next lower frequency preset – switch Note:
The up/down arrows have different functions depend-
ing on which made the seek function in the multi-
function display is programmed to. The two available
options are Memory Scan or Frequency Scan. Refer to
the vehicle operator’s manual on how to program this
option.
Page 29 of 243
Introduction
AudioTelephone
Navigation
Index Info Services and
system settings Radio operation
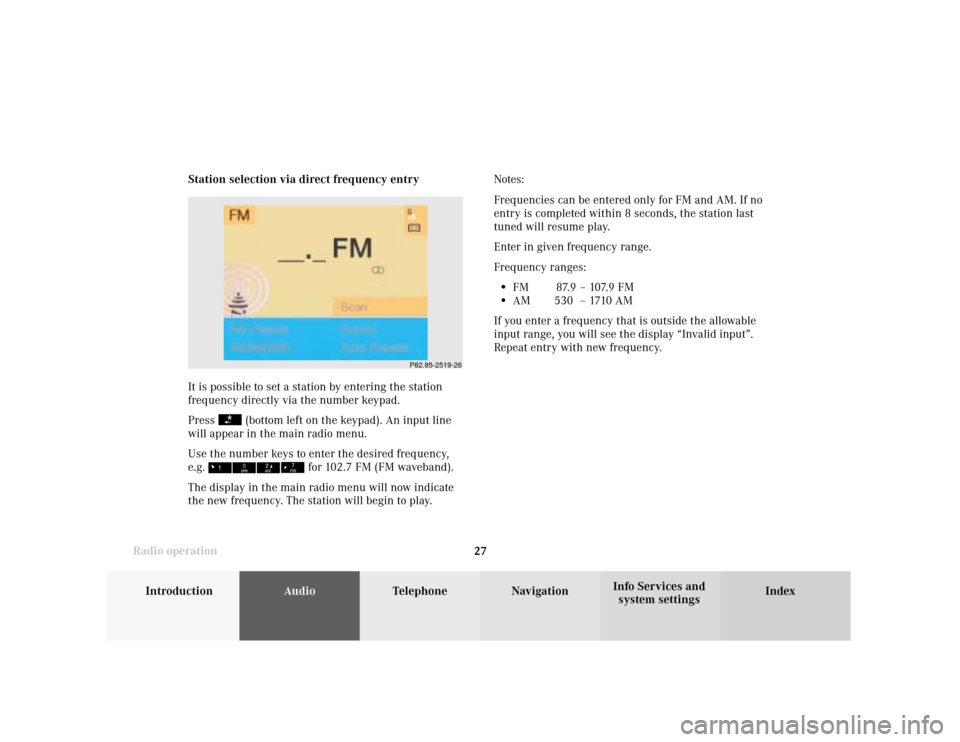
27 Station selection via direct frequency entry
It is possible to set a station by entering the station
frequency directly via the number keypad.
Press
(bottom left on the keypad). An input line
will appear in the main radio menu.
Use the number keys to enter the desired frequency,
e.g.
for 102.7 FM (FM waveband).
The display in the main radio menu will now indicate
the new frequency. The station will begin to play.Notes:
Frequencies can be entered only for FM and AM. If no
entry is completed within 8 seconds, the station last
tuned will resume play.
Enter in given frequency range.
Frequency ranges:
•
FM 87.9 – 107.9 FM
•
AM 530 – 1710 AM
If you enter a frequency that is outside the allowable
input range, you will see the display “Invalid input”.
Repeat entry with new frequency.
P82.85-2519-26
Page 31 of 243
Introduction
AudioTelephone
Navigation
Index Info Services and
system settings Radio operation
29
P82.85-2521-26
Memory functions
The following functions are available:
• Saving stations manually, FM, page 29
Saving stations manually, AM, page 31
• Saving stations automatically, FM/AM, page 32
• Selecting stations from the preset menu, FM/AM,
page 35
• Selecting channels from the WB preset menu,
page 36
• Selecting stations by entering the station frequency
in the presets, FM/AM, page 37
Note:
There are 2 memories for each of the FM and AM
waveband, standard FM/AM presets and the Auto
presets.
The standard FM/AM presets are not affected by the
automatic presets. This is a second possibility for
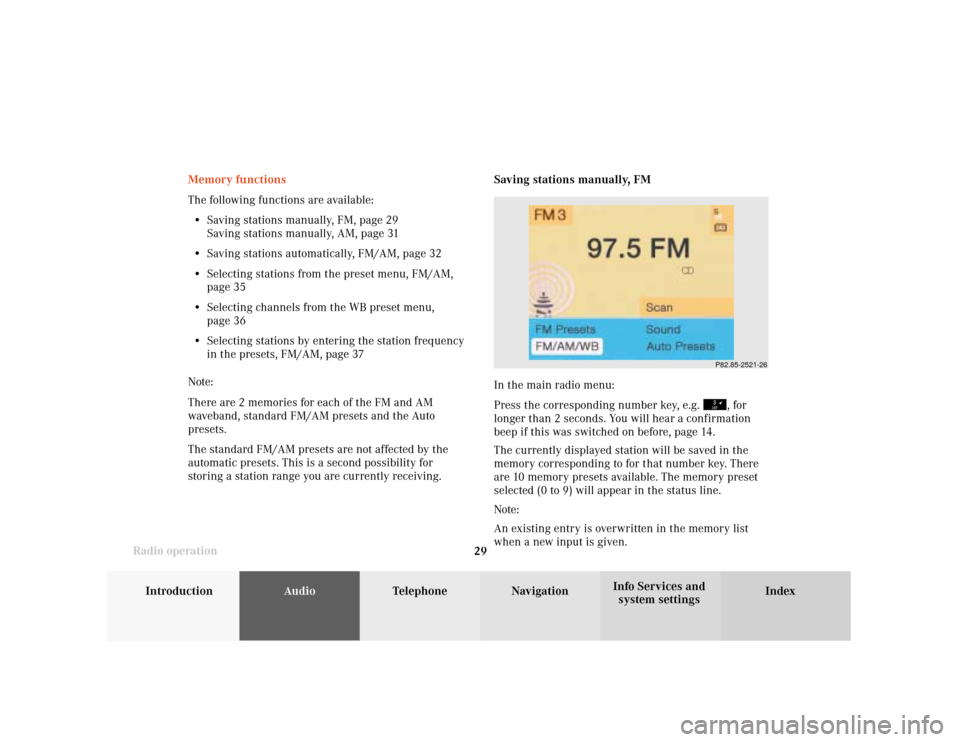
storing a station range you are currently receiving.Saving stations manually, FM
In the main radio menu:
Press the corresponding number key, e.g.
, for
longer than 2 seconds. You will hear a confirmation
beep if this was switched on before, page 14
.
The currently displayed station will be saved in the
memory corresponding to for that number key. There
are 10 memory presets available. The memory preset
selected (0 to 9) will appear in the status line.
Note:
An existing entry is overwritten in the memory list
when a new input is given.
Page 41 of 243
Introduction
AudioTelephone
Navigation
Index Info Services and
system settings Radio operation
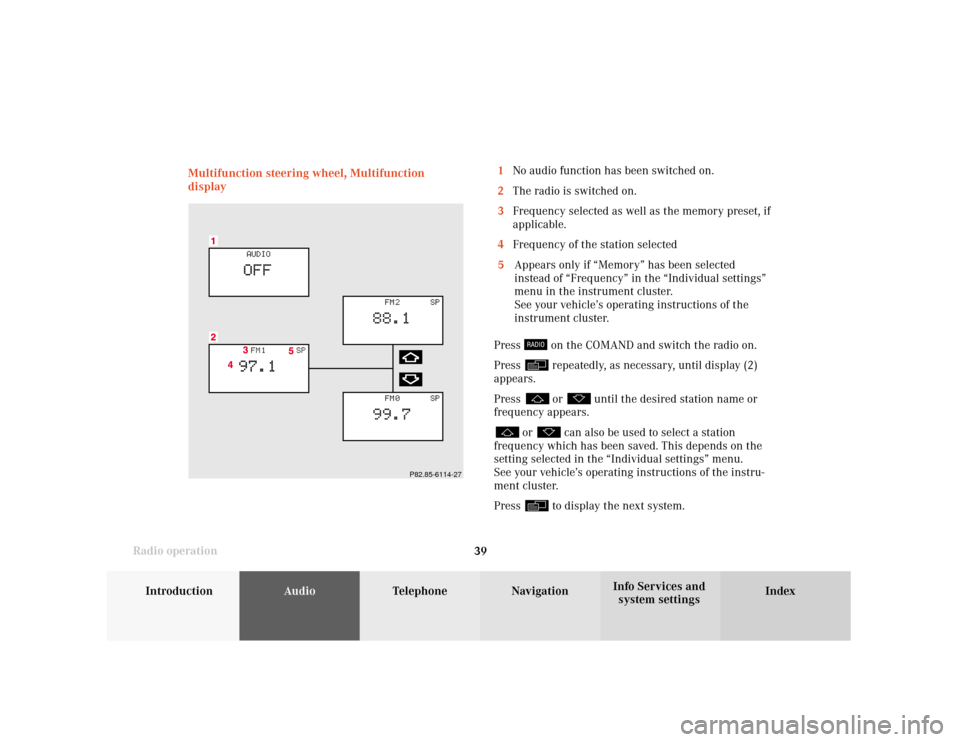
39 Multifunction steering wheel, Multifunction
display1No audio function has been switched on.
2The radio is switched on.
3Frequency selected as well as the memory preset, if
applicable.
4Frequency of the station selected
5Appears only if “Memory” has been selected
instead of “Frequency” in the “Individual settings”
menu in the instrument cluster.
See your vehicle’s operating instructions of the
instrument cluster.
Press
on the COMAND and switch the radio on.
Press repeatedly, as necessary, until display (2)
appears.
Press or
until the desired station name or
frequency appears.
or
can also be used to select a station
frequency which has been saved. This depends on the
setting selected in the “Individual settings” menu.
See your vehicle’s operating instructions of the instru-
ment cluster.
Press to display the next system.
P82.85-6114-27
Page 46 of 243
44
AudioTelephone
Navigation
Index Info Services and
system settings Introduction
Tape operation
Switching tape operation on and off
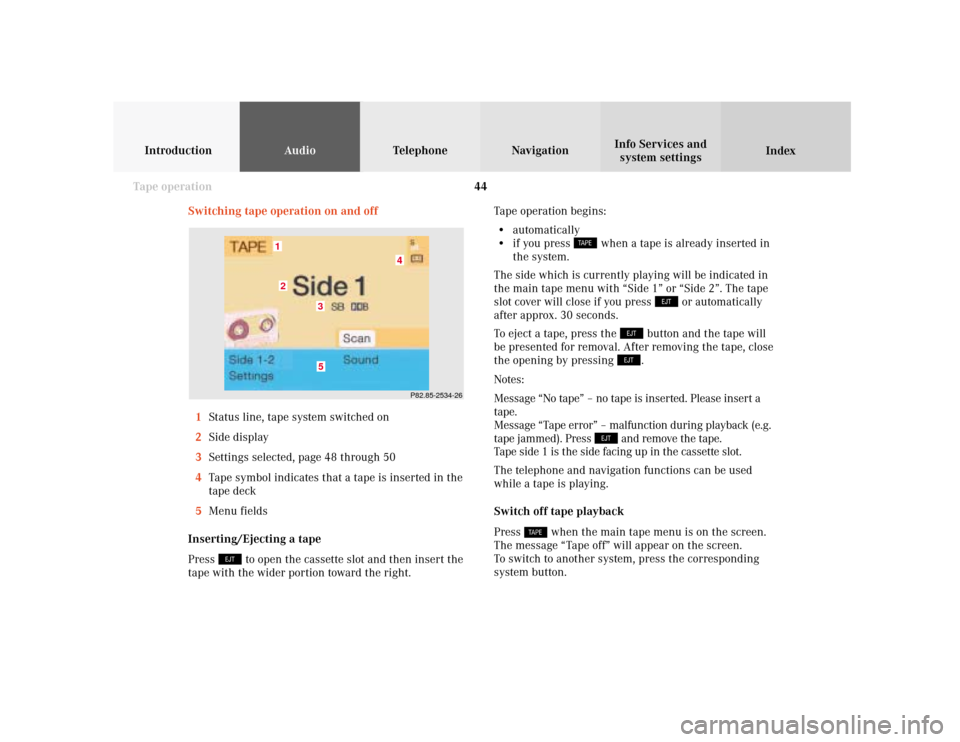
1Status line, tape system switched on
2Side display
3Settings selected, page 48 through 50
4Tape symbol indicates that a tape is inserted in the
tape deck
5Menu fields
Inserting/Ejecting a tape
Press
to open the cassette slot and then insert the
tape with the wider portion toward the right.Tape operation begins:
• automatically
• if you press
when a tape is already inserted in
the system.
The side which is currently playing will be indicated in
the main tape menu with “Side 1” or “Side 2”. The tape
slot cover will close if you press
or automatically
after approx. 30 seconds.
To eject a tape, press the
button and the tape will
be presented for removal. After removing the tape, close
the opening by pressing .
Notes:
Message “No tape” – no tape is inserted. Please insert a
tape.
Message “Tape error” – malfunction during playback (e.g.
tape jammed). Press
and remove the tape.
Tape side 1 is the side facing up in the cassette slot.
The telephone and navigation functions can be used
while a tape is playing.
Switch off tape playback
Press
when the main tape menu is on the screen.
The message “Tape off” will appear on the screen.
To switch to another system, press the corresponding
system button.
P82.85-2534-26
5
4
3
21