phone MERCEDES-BENZ CL-Class 2012 C216 Owner's Guide
[x] Cancel search | Manufacturer: MERCEDES-BENZ, Model Year: 2012, Model line: CL-Class, Model: MERCEDES-BENZ CL-Class 2012 C216Pages: 488, PDF Size: 21.88 MB
Page 126 of 488
Mute
Switching audio and video sources on/off
XPress the 8 button on the multifunction
steering wheel.
The sound from the respective audio or
video source is switched on or muted.
i When the sound is off, the system
displays the , symbol in the status line.
When you change the audio or video
source, or adjust the volume, sound
automatically switches on again.
i Even if the sound is switched off, you will
still hear traffic and navigation system
announcements.
Switching off Traffic program and
navigation announcements completely
XTraffic program: press the 8 button
until the . message disappears from the
status bar of the display.
A confirmation tone sounds.XNavigation announcements: during an
announcement, press the 8 button on
the multifunction steering wheel.
Switching Traffic program and navigation
announcements on again
XTraffic program: press and hold down the
8 button until the . display appears
in the status bar.
A confirmation tone sounds.XNavigation messages: select the y
symbol in the navigation menu bar and
press W to confirm.
i
The navigation announcements are
activated again if you switch COMAND off
and on again or start a new route guidance.
Adjusting the volume
Adjusting the volume for the audio or
video source
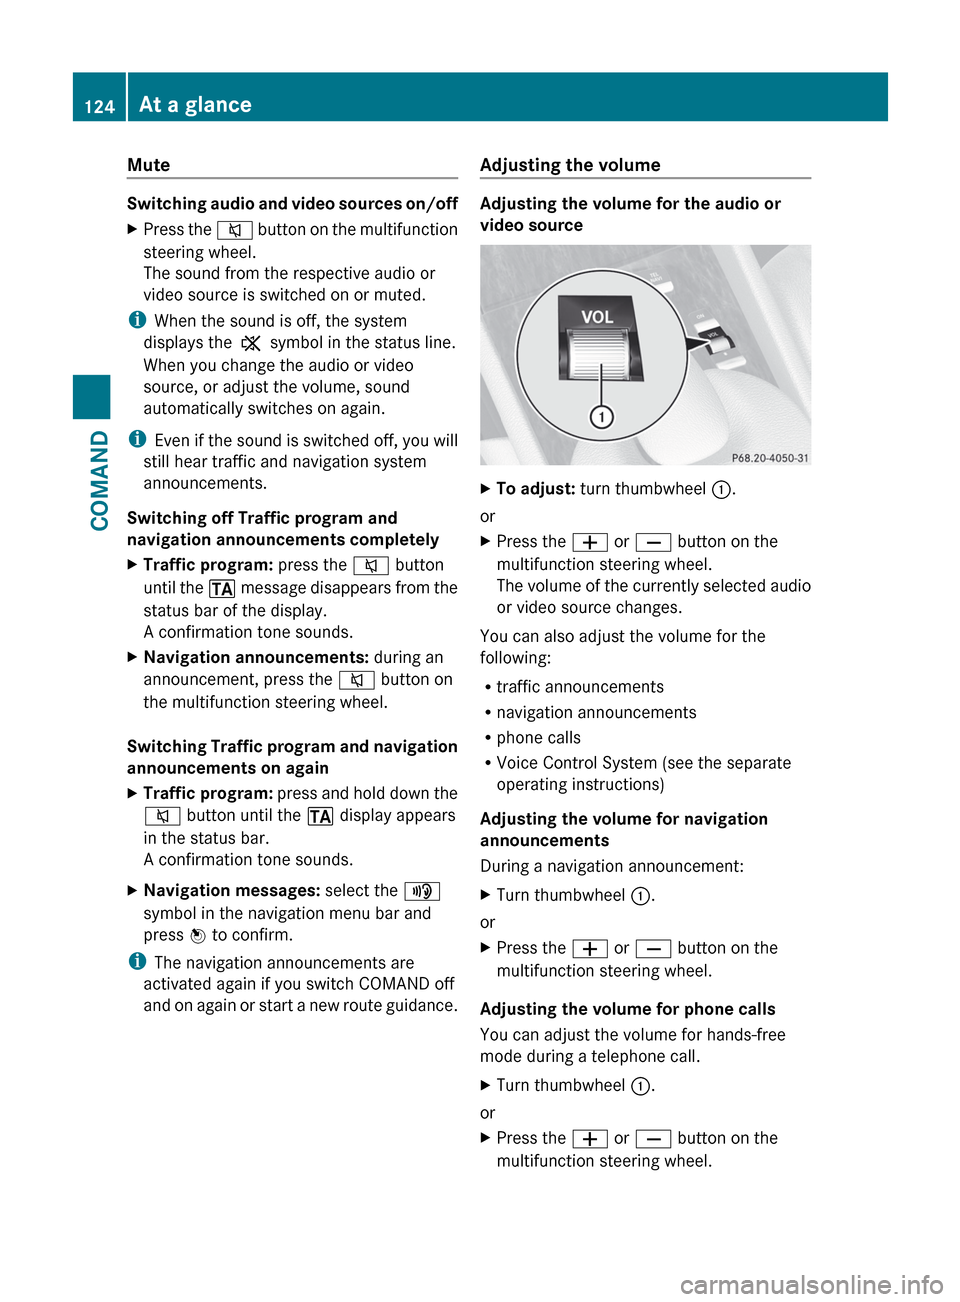
XTo adjust: turn thumbwheel :.
or
XPress the W or X button on the
multifunction steering wheel.
The volume of the currently selected audio
or video source changes.
You can also adjust the volume for the
following:
R traffic announcements
R navigation announcements
R phone calls
R Voice Control System (see the separate
operating instructions)
Adjusting the volume for navigation
announcements
During a navigation announcement:
XTurn thumbwheel :.
or
XPress the W or X button on the
multifunction steering wheel.
Adjusting the volume for phone calls
You can adjust the volume for hands-free
mode during a telephone call.
XTurn thumbwheel :.
or
XPress the W or X button on the
multifunction steering wheel.124At a glanceCOMAND
Page 133 of 488
Canceling the first or second part of
individualization
XConfirm Cancel by pressing W the
COMAND controller.
A prompt appears asking whether you
really wish to cancel.XSelect Yes or No and press W to confirm.
If you select Yes, individualization will be
canceled. The data from the part during
which you exited is not stored.
If you select No, the current part begins
again.
Deleting existing individualization data
XSelect Vehicle by turning cVd the
COMAND controller and press W to
confirm.XSelect System and press W to confirm.XSelect Voice Control and press W to
confirm.XSelect Delete Individualization and
press W to confirm.
A prompt appears asking whether you
really wish to delete.XSelect Yes or No and press W to confirm.
If you select No, the process will be aborted.
If you select Yes, the individualization is
deleted. You will see a message to this
effect.Bluetooth ®
settings
General information about Bluetooth ®
Bluetooth
®
technology is the standard for
short-range wireless data transmission of up
to approximately 10 meters. Bluetooth ®
allows, for example, the exchange of vCards.
Bluetooth ®
is a registered trademark of
Bluetooth Special Interest Group (SIG) Inc.
Requirements for a Bluetooth ®
connection
You can connect mobile phones and
notebooks to COMAND.
To do so, the following conditions need to be
met:
R Bluetooth ®
-capable devices, e.g. mobile
phones, must comply with a certain profile
in order to be connected to COMAND.
Every Bluetooth ®
device has its own
specific Bluetooth ®
name.
R Bluetooth ®
must be activated in COMAND
and on the respective Bluetooth ®
device;
see the separate operating instructions.
R the Bluetooth ®
device must be "visible" to
COMAND in order for COMAND to find and
display it. For the setting procedures,
please see the operating instructions for
the Bluetooth ®
device.
i Once a mobile phone has been
connected, reception and transmission
volume may change.
System settings131COMANDZ
Page 134 of 488
Activating/deactivating Bluetooth®XSelect
Vehicle in the main function bar by
turning cVd the COMAND controller and
press W to confirm.XSelect System by turning cVd the
COMAND controller and press W to
confirm.XSelect Bluetooth by turning cVd the
COMAND controller and press W to
confirm.XSelect Bluetooth activated and press
W to confirm.
This switches Bluetooth ®
on O or off ª.
Connecting Bluetooth ®
devices
General information
Before using your Bluetooth ®
device with
COMAND for the first time, you will need to
connect it.
Connecting comprises:
R searching for a Bluetooth ®
device
R subsequently authorizing it
i A maximum of 15 devices can be available
for selection from the device list.
More detailed information on suitable mobile
phones and on connecting Bluetooth ®
-
capable mobile phones to COMAND can be
found on the Internet at http://
www.mbusa-mobile.com . Or call the
Mercedes-Benz Customer Assistance Center
on 1-800-FOR-MERCedes(1-800-367-6372)
(for the USA) or Customer Relations on
1-800-387-0100 (for Canada).
Searching for Bluetooth ®
devices
XActivate Bluetooth ®
(Y page 132).XSelect Vehicle in the main function bar by
turning cVd the COMAND controller and
press W to confirm.XSelect System by turning cVd the
COMAND controller and press W to
confirm.XSelect Bluetooth by turning cVd the
COMAND controller and press W to
confirm.XSelect Search for Bluetooth Devices
and press W to confirm.XSelect Update and press W to confirm.
COMAND searches for Bluetooth ®
devices
within range. After a short while, the
Bluetooth ®
device list appears.
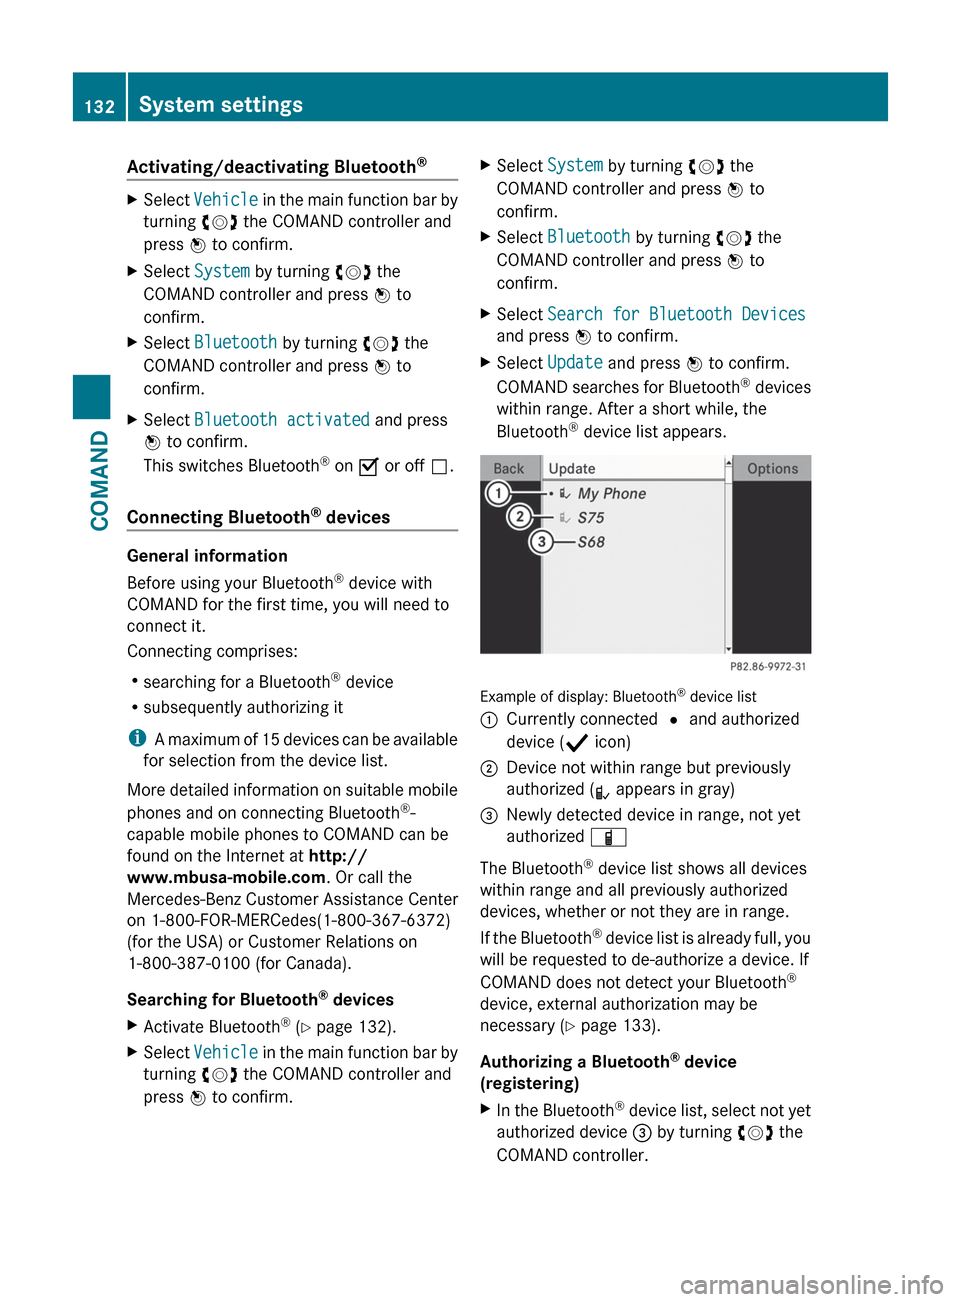
Example of display: Bluetooth ®
device list
:Currently connected # and authorized
device ( Y icon);Device not within range but previously
authorized ( L appears in gray)=Newly detected device in range, not yet
authorized Ï
The Bluetooth ®
device list shows all devices
within range and all previously authorized
devices, whether or not they are in range.
If the Bluetooth ®
device list is already full, you
will be requested to de-authorize a device. If
COMAND does not detect your Bluetooth ®
device, external authorization may be
necessary ( Y page 133).
Authorizing a Bluetooth ®
device
(registering)
XIn the Bluetooth ®
device list, select not yet
authorized device = by turning cVd the
COMAND controller.132System settingsCOMAND
Page 135 of 488
XSelect Options by sliding VY the
COMAND controller and press W to
confirm.XSelect Authorize and press W to confirm.
or
XPress W to confirm the selected device.
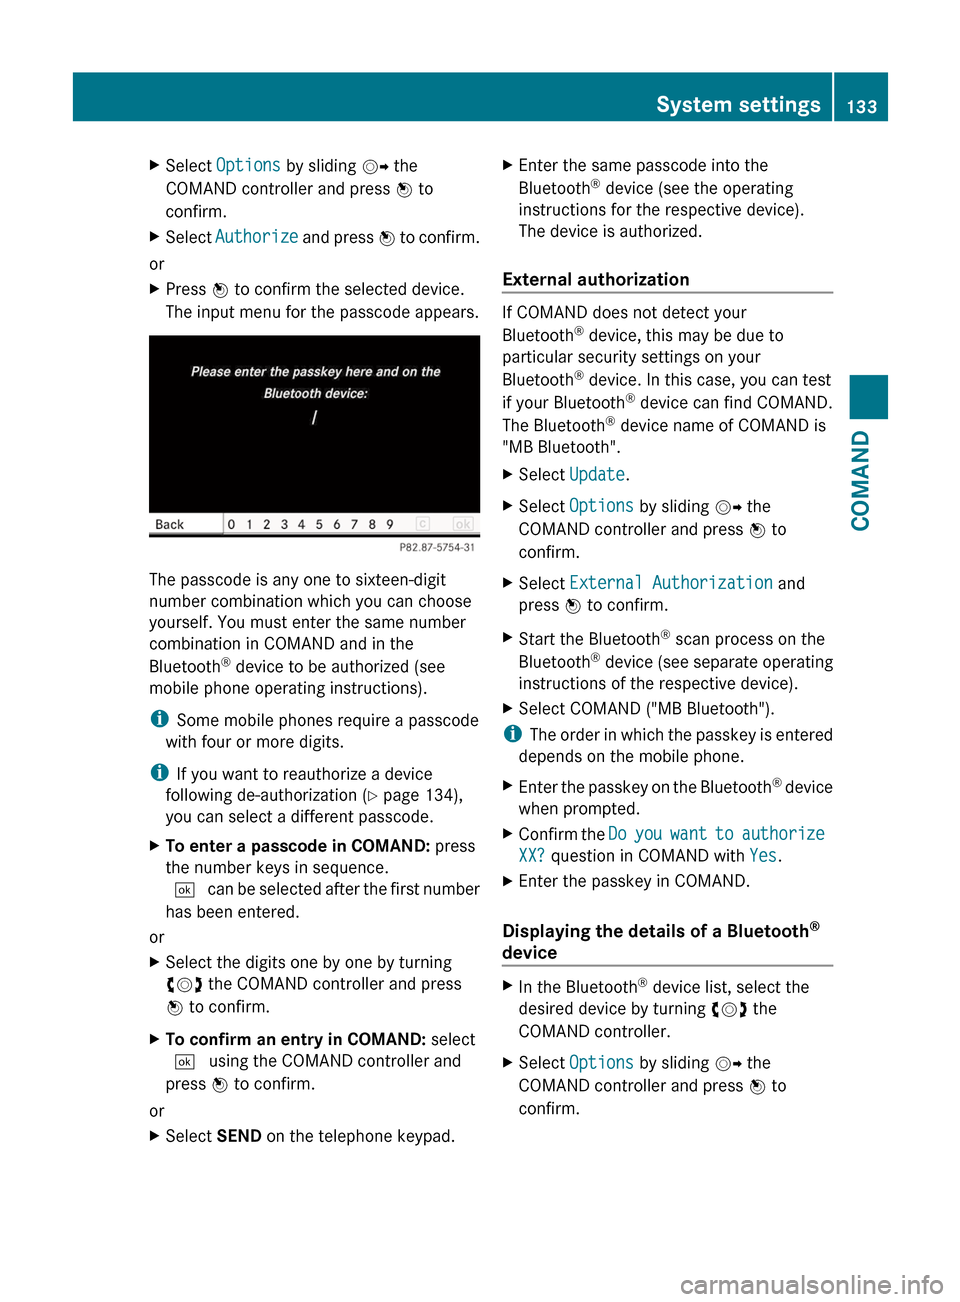
The input menu for the passcode appears.
The passcode is any one to sixteen-digit
number combination which you can choose
yourself. You must enter the same number
combination in COMAND and in the
Bluetooth ®
device to be authorized (see
mobile phone operating instructions).
i Some mobile phones require a passcode
with four or more digits.
i If you want to reauthorize a device
following de-authorization ( Y page 134),
you can select a different passcode.
XTo enter a passcode in COMAND: press
the number keys in sequence.
¬ can be selected after the first number
has been entered.
or
XSelect the digits one by one by turning
cVd the COMAND controller and press
W to confirm.XTo confirm an entry in COMAND: select
¬ using the COMAND controller and
press W to confirm.
or
XSelect SEND on the telephone keypad.XEnter the same passcode into the
Bluetooth ®
device (see the operating
instructions for the respective device).
The device is authorized.
External authorization
If COMAND does not detect your
Bluetooth ®
device, this may be due to
particular security settings on your
Bluetooth ®
device. In this case, you can test
if your Bluetooth ®
device can find COMAND.
The Bluetooth ®
device name of COMAND is
"MB Bluetooth".
XSelect Update .XSelect Options by sliding VY the
COMAND controller and press W to
confirm.XSelect External Authorization and
press W to confirm.XStart the Bluetooth ®
scan process on the
Bluetooth ®
device (see separate operating
instructions of the respective device).XSelect COMAND ("MB Bluetooth").
i The order in which the passkey is entered
depends on the mobile phone.
XEnter the passkey on the Bluetooth ®
device
when prompted.XConfirm the Do you want to authorize
XX? question in COMAND with Yes.XEnter the passkey in COMAND.
Displaying the details of a Bluetooth ®
device
XIn the Bluetooth ®
device list, select the
desired device by turning cVd the
COMAND controller.XSelect Options by sliding VY the
COMAND controller and press W to
confirm.System settings133COMANDZ
Page 136 of 488
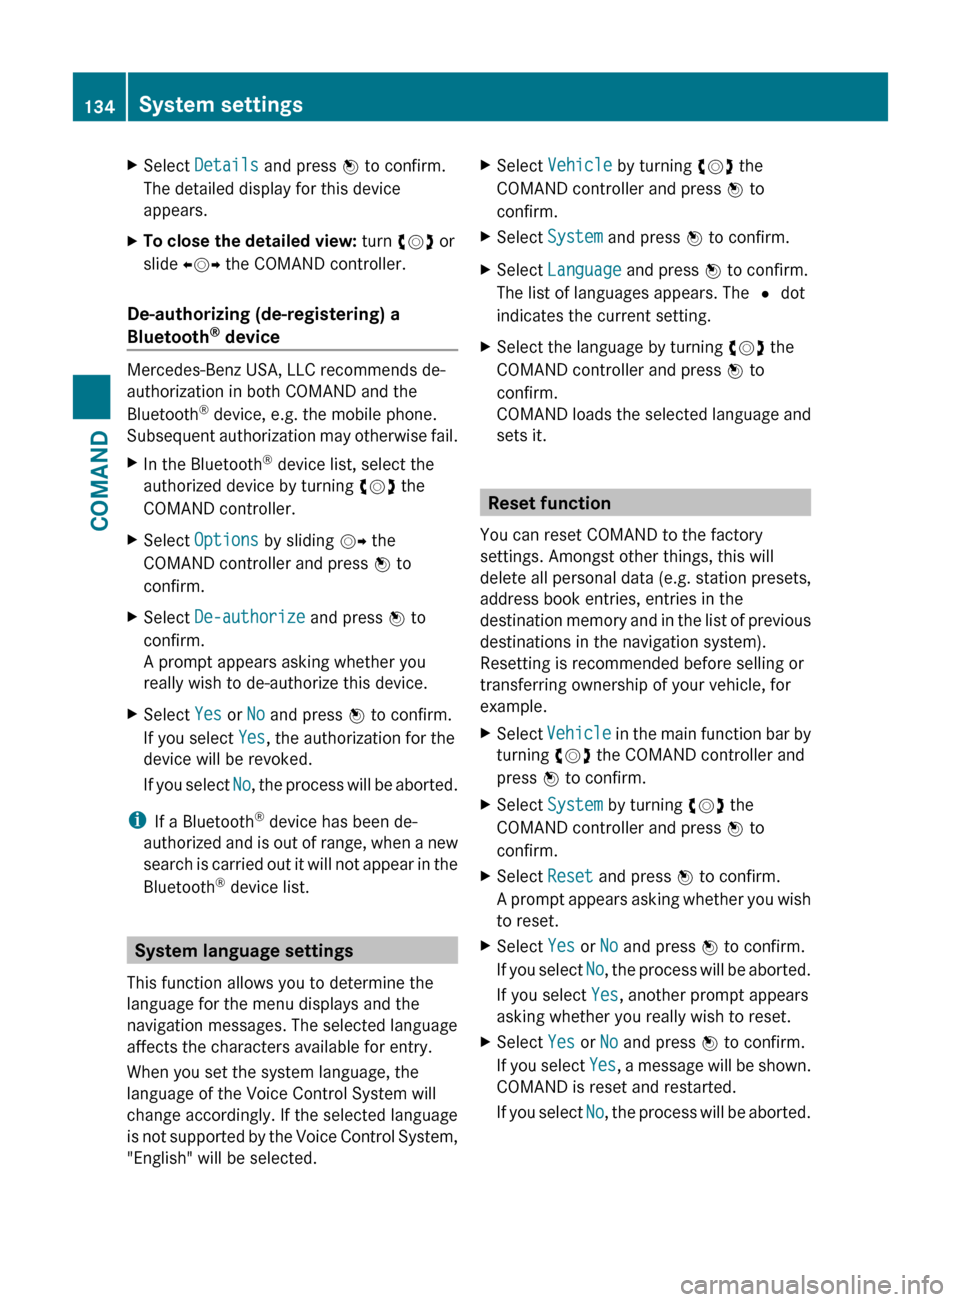
XSelect Details and press W to confirm.
The detailed display for this device
appears.XTo close the detailed view: turn cVd or
slide XVY the COMAND controller.
De-authorizing (de-registering) a
Bluetooth ®
device
Mercedes-Benz USA, LLC recommends de-
authorization in both COMAND and the
Bluetooth ®
device, e.g. the mobile phone.
Subsequent authorization may otherwise fail.
XIn the Bluetooth ®
device list, select the
authorized device by turning cVd the
COMAND controller.XSelect Options by sliding VY the
COMAND controller and press W to
confirm.XSelect De-authorize and press W to
confirm.
A prompt appears asking whether you
really wish to de-authorize this device.XSelect Yes or No and press W to confirm.
If you select Yes, the authorization for the
device will be revoked.
If you select No, the process will be aborted.
i
If a Bluetooth ®
device has been de-
authorized and is out of range, when a new
search is carried out it will not appear in the
Bluetooth ®
device list.
System language settings
This function allows you to determine the
language for the menu displays and the
navigation messages. The selected language
affects the characters available for entry.
When you set the system language, the
language of the Voice Control System will
change accordingly. If the selected language
is not supported by the Voice Control System,
"English" will be selected.
XSelect Vehicle by turning cVd the
COMAND controller and press W to
confirm.XSelect System and press W to confirm.XSelect Language and press W to confirm.
The list of languages appears. The # dot
indicates the current setting.XSelect the language by turning cVd the
COMAND controller and press W to
confirm.
COMAND loads the selected language and
sets it.
Reset function
You can reset COMAND to the factory
settings. Amongst other things, this will
delete all personal data (e.g. station presets,
address book entries, entries in the
destination memory and in the list of previous
destinations in the navigation system).
Resetting is recommended before selling or
transferring ownership of your vehicle, for
example.
XSelect Vehicle in the main function bar by
turning cVd the COMAND controller and
press W to confirm.XSelect System by turning cVd the
COMAND controller and press W to
confirm.XSelect Reset and press W to confirm.
A prompt appears asking whether you wish
to reset.XSelect Yes or No and press W to confirm.
If you select No, the process will be aborted.
If you select Yes, another prompt appears
asking whether you really wish to reset.XSelect Yes or No and press W to confirm.
If you select Yes, a message will be shown.
COMAND is reset and restarted.
If you select No, the process will be aborted.134System settingsCOMAND
Page 149 of 488
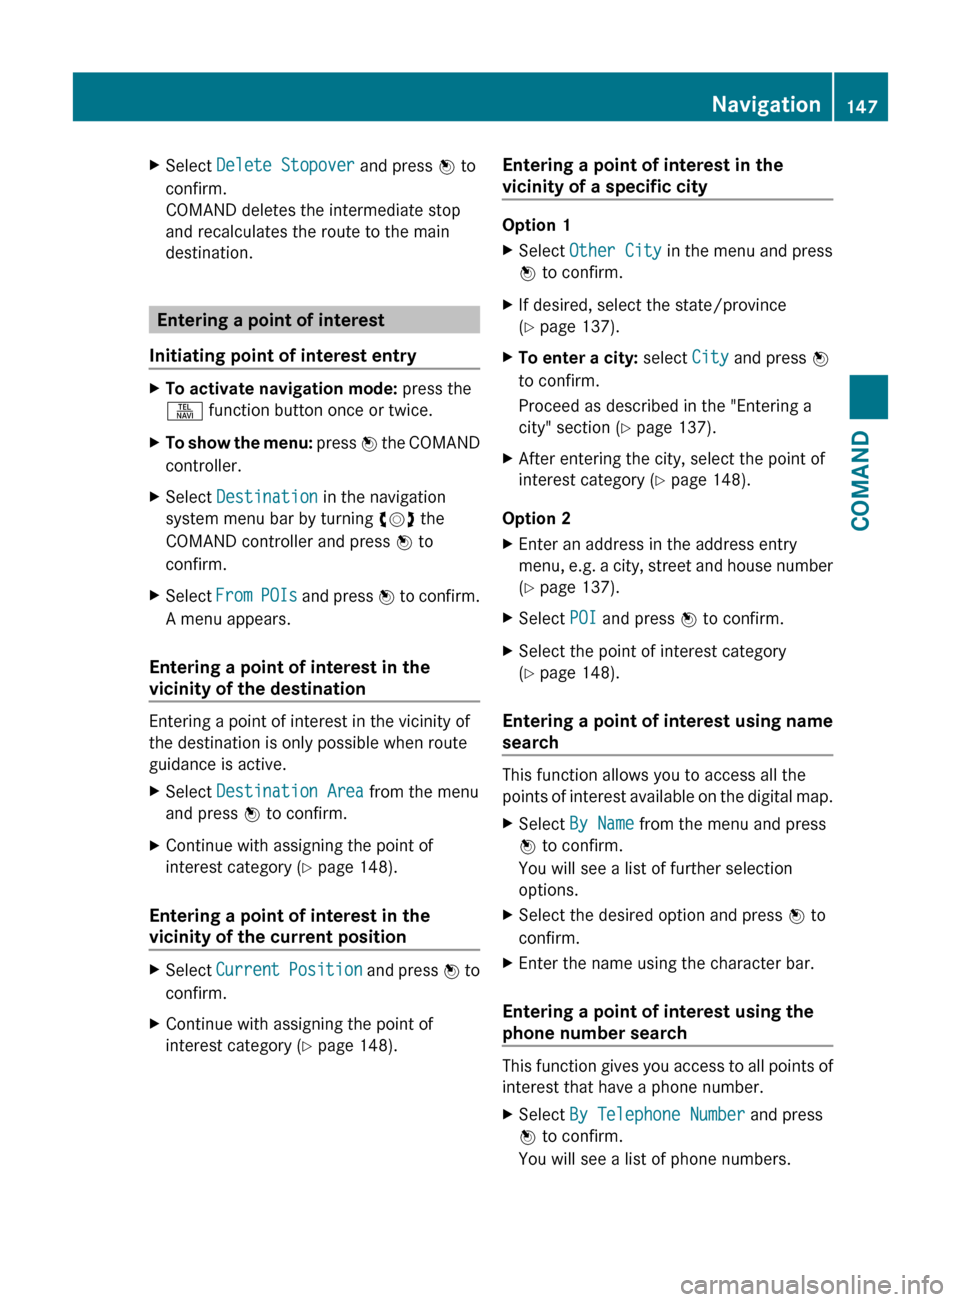
XSelect Delete Stopover and press W to
confirm.
COMAND deletes the intermediate stop
and recalculates the route to the main
destination.
Entering a point of interest
Initiating point of interest entry
XTo activate navigation mode: press the
S function button once or twice.XTo show the menu: press W the COMAND
controller.XSelect Destination in the navigation
system menu bar by turning cVd the
COMAND controller and press W to
confirm.XSelect From POIs and press W to confirm.
A menu appears.
Entering a point of interest in the
vicinity of the destination
Entering a point of interest in the vicinity of
the destination is only possible when route
guidance is active.
XSelect Destination Area from the menu
and press W to confirm.XContinue with assigning the point of
interest category ( Y page 148).
Entering a point of interest in the
vicinity of the current position
XSelect Current Position and press W to
confirm.XContinue with assigning the point of
interest category ( Y page 148).Entering a point of interest in the
vicinity of a specific city
Option 1
XSelect Other City in the menu and press
W to confirm.XIf desired, select the state/province
( Y page 137).XTo enter a city: select City and press W
to confirm.
Proceed as described in the "Entering a
city" section ( Y page 137).XAfter entering the city, select the point of
interest category ( Y page 148).
Option 2
XEnter an address in the address entry
menu, e.g. a city, street and house number
( Y page 137).XSelect POI and press W to confirm.XSelect the point of interest category
( Y page 148).
Entering a point of interest using name
search
This function allows you to access all the
points of interest available on the digital map.
XSelect By Name from the menu and press
W to confirm.
You will see a list of further selection
options.XSelect the desired option and press W to
confirm.XEnter the name using the character bar.
Entering a point of interest using the
phone number search
This function gives you access to all points of
interest that have a phone number.
XSelect By Telephone Number and press
W to confirm.
You will see a list of phone numbers.Navigation147COMANDZ
Page 150 of 488
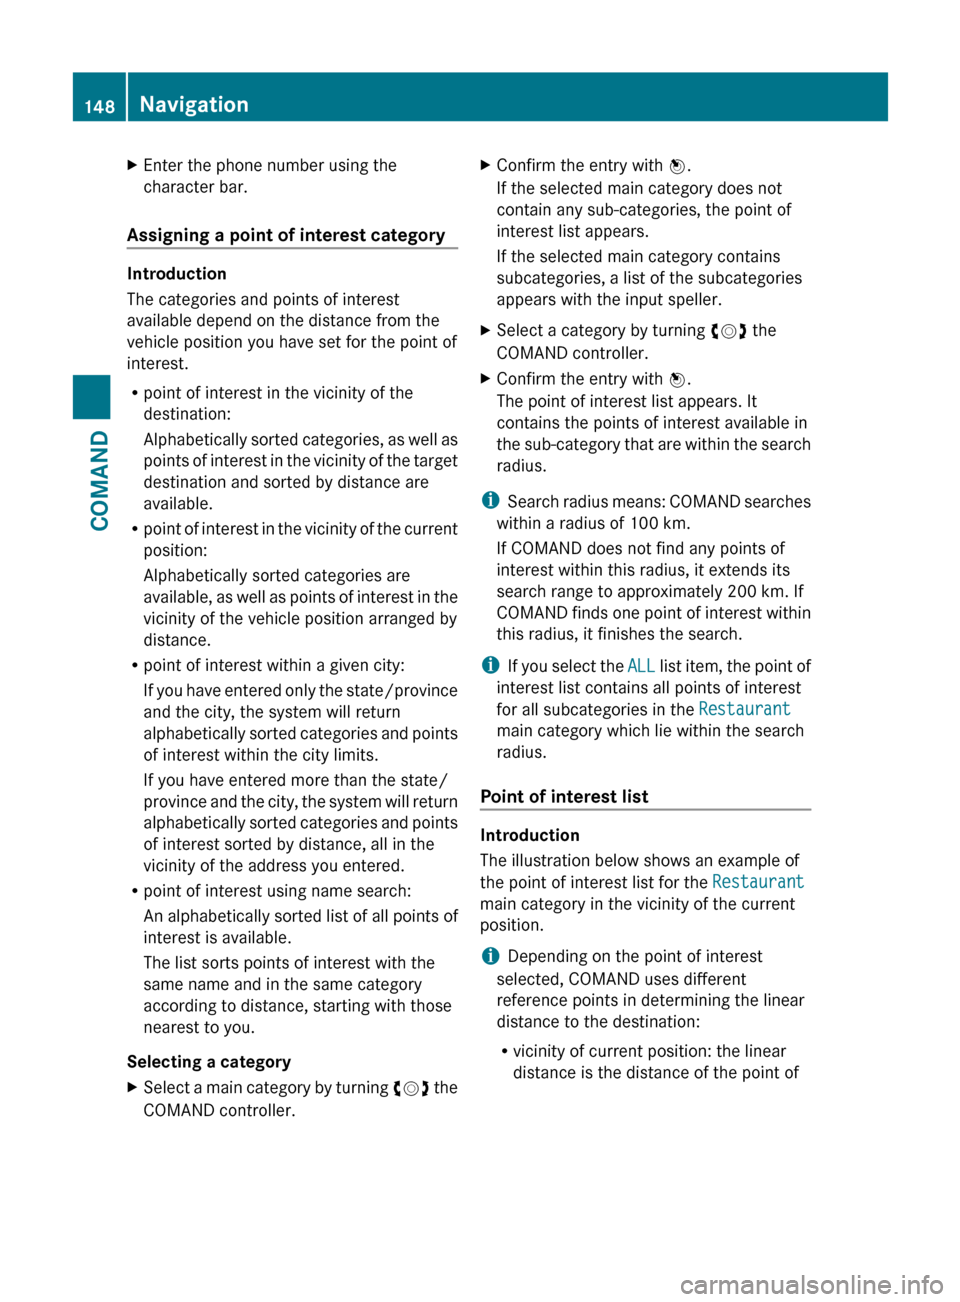
XEnter the phone number using the
character bar.
Assigning a point of interest category
Introduction
The categories and points of interest
available depend on the distance from the
vehicle position you have set for the point of
interest.
R point of interest in the vicinity of the
destination:
Alphabetically sorted categories, as well as
points of interest in the vicinity of the target
destination and sorted by distance are
available.
R point of interest in the vicinity of the current
position:
Alphabetically sorted categories are
available, as well as points of interest in the
vicinity of the vehicle position arranged by
distance.
R point of interest within a given city:
If you have entered only the state/province
and the city, the system will return
alphabetically sorted categories and points
of interest within the city limits.
If you have entered more than the state/
province and the city, the system will return
alphabetically sorted categories and points
of interest sorted by distance, all in the
vicinity of the address you entered.
R point of interest using name search:
An alphabetically sorted list of all points of
interest is available.
The list sorts points of interest with the
same name and in the same category
according to distance, starting with those
nearest to you.
Selecting a category
XSelect a main category by turning cVd the
COMAND controller.XConfirm the entry with W.
If the selected main category does not
contain any sub-categories, the point of
interest list appears.
If the selected main category contains
subcategories, a list of the subcategories
appears with the input speller.XSelect a category by turning cVd the
COMAND controller.XConfirm the entry with W.
The point of interest list appears. It
contains the points of interest available in
the sub-category that are within the search
radius.
i Search radius means: COMAND searches
within a radius of 100 km.
If COMAND does not find any points of
interest within this radius, it extends its
search range to approximately 200 km. If
COMAND finds one point of interest within
this radius, it finishes the search.
i If you select the ALL list item, the point of
interest list contains all points of interest
for all subcategories in the Restaurant
main category which lie within the search
radius.
Point of interest list
Introduction
The illustration below shows an example of
the point of interest list for the Restaurant
main category in the vicinity of the current
position.
i Depending on the point of interest
selected, COMAND uses different
reference points in determining the linear
distance to the destination:
R vicinity of current position: the linear
distance is the distance of the point of
148NavigationCOMAND
Page 151 of 488
interest from the current vehicle
position.
R vicinity of destination: the linear distance
is the distance from the destination
entered to the point of interest.
Selecting a point of interestXSelect a point of interest by turning cVd
the COMAND controller and press W to
confirm.
The complete address of the point of
interest selected is shown.XTo start route calculation: select Start
and press W to confirm.XTo store an address in the destination
memory: select Save and press W to
confirm. You can now select storage
options ( Y page 163).XTo show the detailed view: select
Details and press W to confirm.XTo make a call: select Call and press W
to confirm (only available if the point of
interest contains a telephone book entry
and a telephone is connected to COMAND).
COMAND switches to telephone mode
( Y page 183).XTo call up the map: select Map and press
W to confirm.XYou can move the map and select the
destination ( Y page 144).
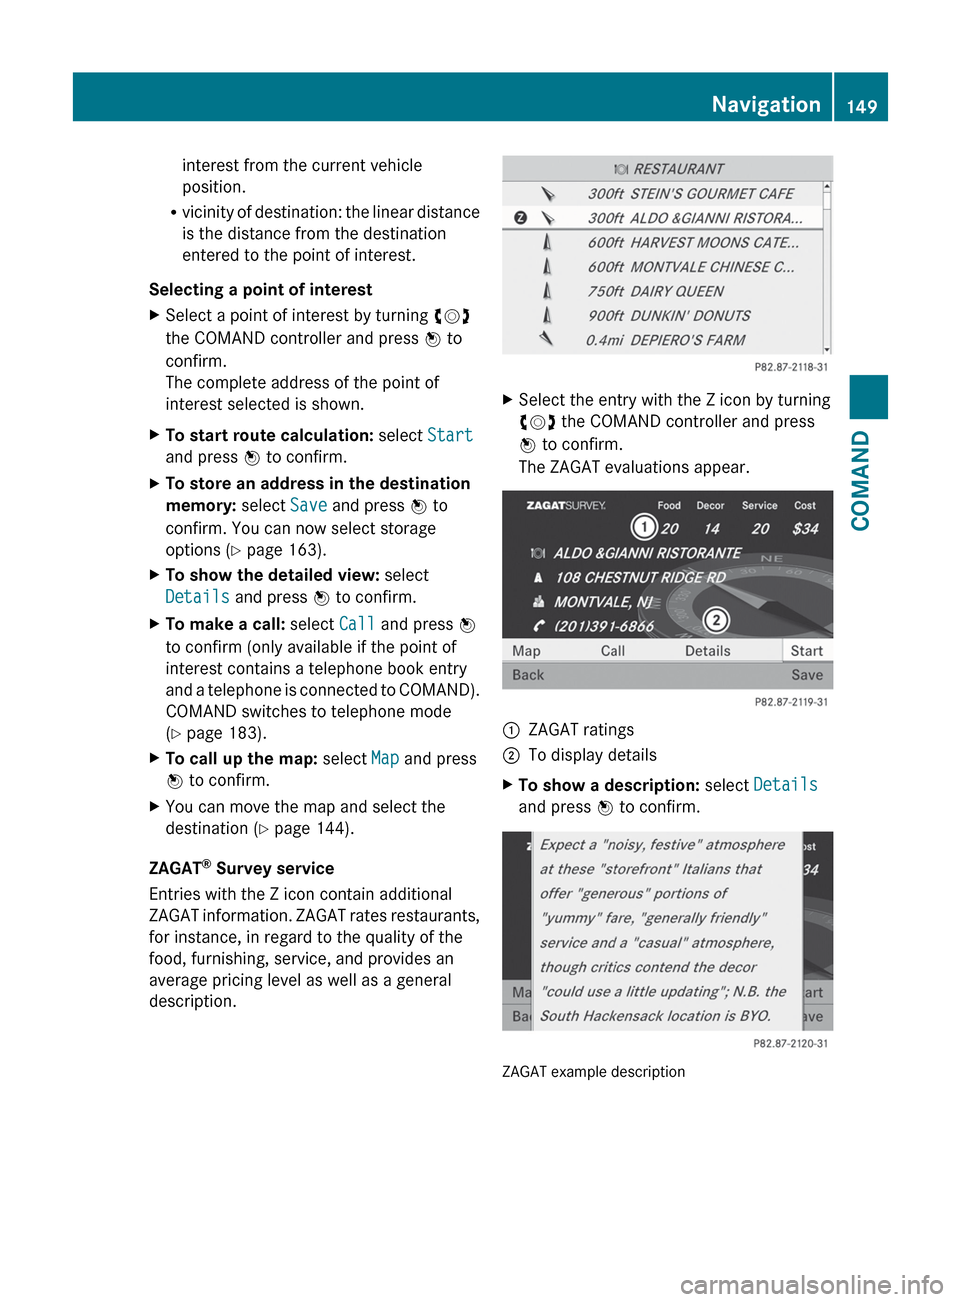
ZAGAT ®
Survey service
Entries with the Z icon contain additional
ZAGAT information. ZAGAT rates restaurants,
for instance, in regard to the quality of the
food, furnishing, service, and provides an
average pricing level as well as a general
description.
XSelect the entry with the Z icon by turning
cVd the COMAND controller and press
W to confirm.
The ZAGAT evaluations appear.1ZAGAT ratings2To display detailsXTo show a description: select Details
and press W to confirm.
ZAGAT example description
Navigation149COMANDZ
Page 156 of 488
XSelect Cancel Route Guidance and press
W to confirm.
Continuing route guidance
XTo activate navigation mode: press the
S function button once or twice.XTo show the menu: press W the COMAND
controller.XSelect Destination in the navigation
system menu bar by turning cVd the
COMAND controller and press W to
confirm.XSelect Continue Route Guidance and
press W to confirm.
COMAND calculates the route.
Destination or area of destination
reached
When you reach your destination, COMAND
displays a checkered flag and route guidance
is automatically ended.
For certain points of interest (e.g. airports),
the Destination Reached display is shown
as well as the checkered flag.
Navigation announcements
Repeating navigation announcements
GWARNING
Navigation announcements are intended to
direct you while driving without diverting your
attention from the road and driving.
Please always use this feature instead of
consulting the map display for directions.
Looking at the icons or map display can
distract you from traffic conditions and
driving, and increase the risk of an accident.
i Audible navigation announcements are
muted during a telephone call.
If you have missed an announcement, you can
call up the current announcement at any
time.
XTo show the menu: press W the COMAND
controller.XIn the navigation menu bar, confirm RPT
with W.
Switching navigation announcements
on/off
XTo switch off: during the announcement,
press the 8 button on the multifunction
steering wheel.
You will briefly see the message: The
driving instructions have been
muted .XTo switch on: press W the COMAND
controller.XIn the + navigation menu bar, press W
to confirm.
i COMAND automatically switches the
navigation announcements back on when:
R you have a new route calculated.
R you start the engine again after having
left the vehicle.
Reducing volume during a navigation
announcement
The volume of an active audio or video source
can be automatically reduced during a
navigation announcement.
XSelect Navi in the main function bar by
sliding ZV and turning cVd the COMAND
controller and press W to confirm.XSelect Audio Fadeout and press W to
confirm.
The function is switched on O or off ª,
depending on the previous status.
Setting the volume manually
XSet the volume during a navigation
announcement.
or
XIn the map display when the menu is
shown, select + and adjust the volume.154NavigationCOMAND
Page 158 of 488
Displaying destination information
Prerequisite: you have entered a destination
( Y page 137) and possibly an intermediate
stop ( Y page 145).
XTo activate navigation mode: press the
S function button once or twice.XTo show the menu: press W the COMAND
controller.XSelect Info in the menu bar by turning
cVd the COMAND controller and press
W to confirm.
Destination information is displayed.
If a telephone number is entered for the
address displayed, you can also select and
call the number using COMAND.
XTo call the destination: select the
telephone number using the COMAND
controller and press W to confirm.XTo close the destination information:
slide XVY the COMAND controller or press
the % back button.
Route overview
You can use the overview of the route to move
along the route section by section and to see
details of the route sections.
You have entered a destination
( Y page 137) or a point of interest
( Y page 147) and possibly an intermediate
stop ( Y page 145).
XTo activate navigation mode: press the
S function button once or twice.XTo show the menu: press W the COMAND
controller.XSelect Route in the navigation system
menu bar by turning cVd the COMAND
controller and press W to confirm.XSelect Route Info and press W to
confirm.
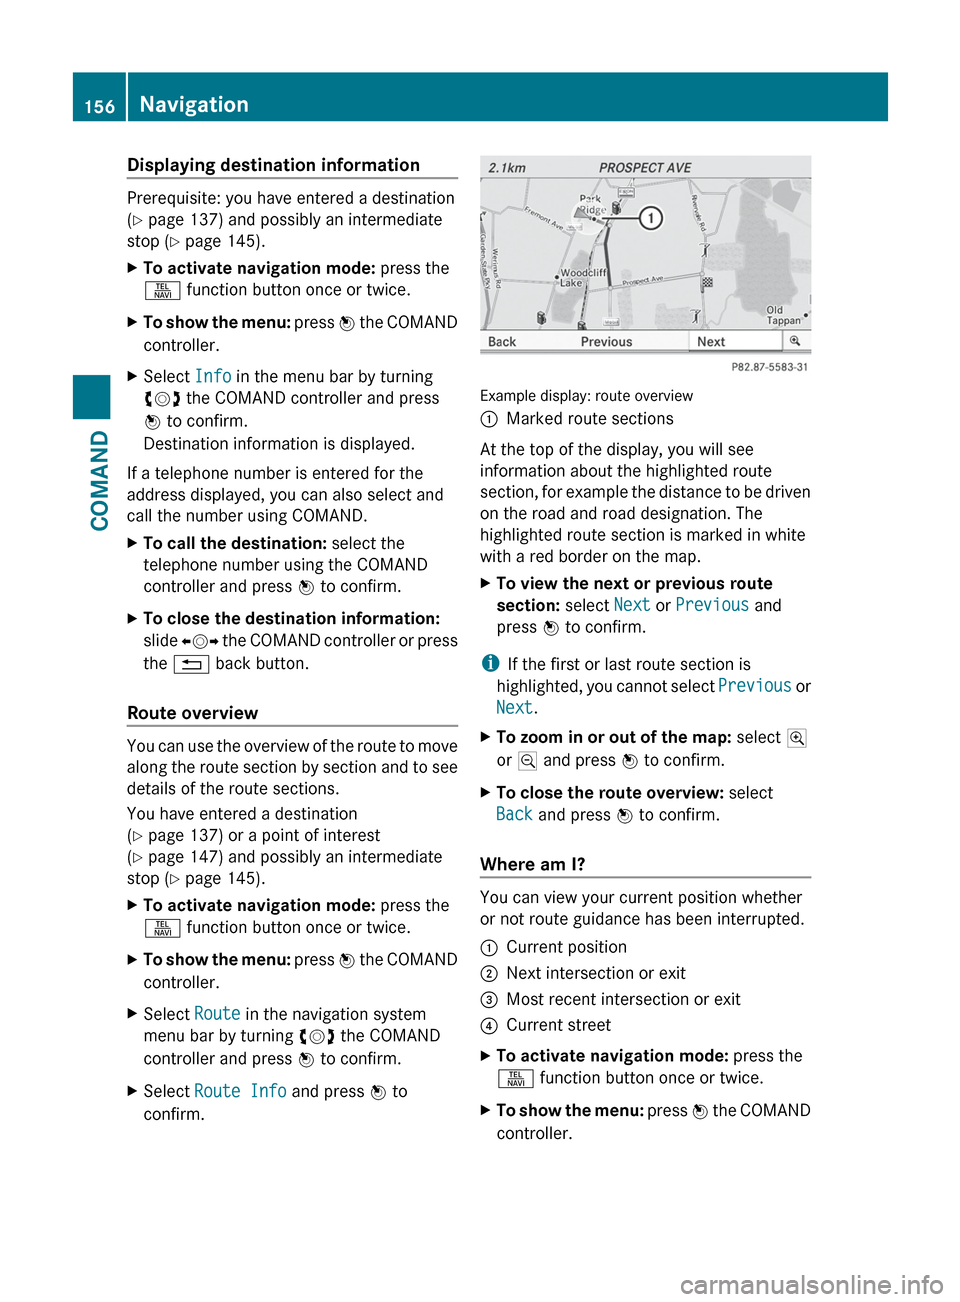
Example display: route overview
:Marked route sections
At the top of the display, you will see
information about the highlighted route
section, for example the distance to be driven
on the road and road designation. The
highlighted route section is marked in white
with a red border on the map.
XTo view the next or previous route
section: select Next or Previous and
press W to confirm.
i
If the first or last route section is
highlighted, you cannot select Previous or
Next .
XTo zoom in or out of the map: select N
or M and press W to confirm.XTo close the route overview: select
Back and press W to confirm.
Where am I?
You can view your current position whether
or not route guidance has been interrupted.
:Current position;Next intersection or exit=Most recent intersection or exit?Current streetXTo activate navigation mode: press the
S function button once or twice.XTo show the menu: press W the COMAND
controller.156NavigationCOMAND