check engine light MERCEDES-BENZ CL-Class 2012 C216 Owner's Manual
[x] Cancel search | Manufacturer: MERCEDES-BENZ, Model Year: 2012, Model line: CL-Class, Model: MERCEDES-BENZ CL-Class 2012 C216Pages: 488, PDF Size: 21.88 MB
Page 10 of 488
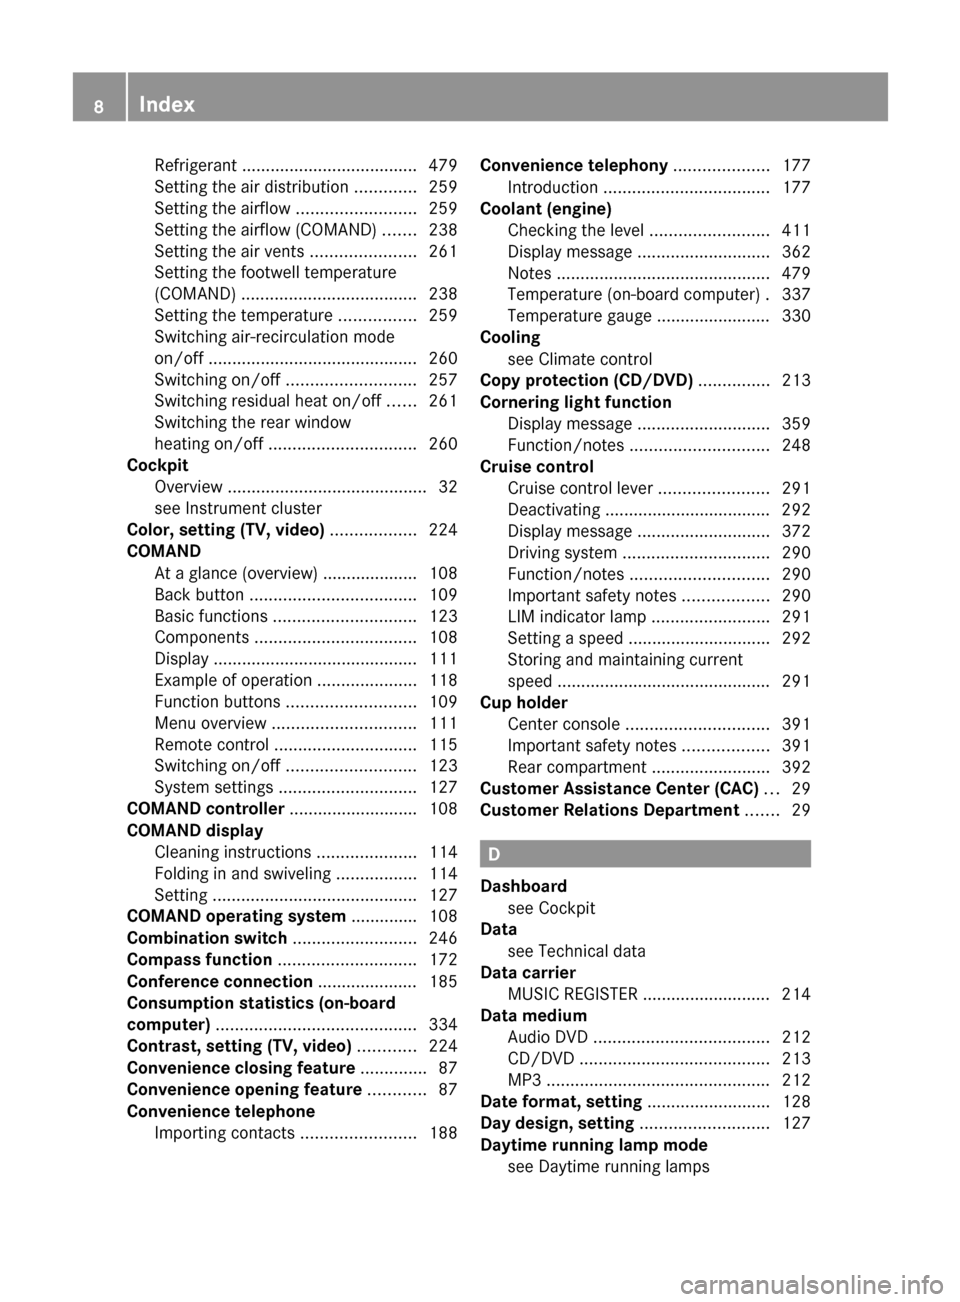
Refrigerant ..................................... 479
Setting the air distribution .............259
Setting the airflow .........................259
Setting the airflow (COMAND) .......238
Setting the air vents ......................261
Setting the footwell temperature
(COMAND) ..................................... 238
Setting the temperature ................259
Switching air-recirculation mode
on/off ............................................ 260
Switching on/off ........................... 257
Switching residual heat on/off ......261
Switching the rear window
heating on/off ............................... 260
Cockpit
Overview .......................................... 32
see Instrument cluster
Color, setting (TV, video) .................. 224
COMAND At a glance (overview) .................... 108
Back button ................................... 109
Basic functions .............................. 123
Components .................................. 108
Display ........................................... 111
Example of operation .....................118
Function buttons ........................... 109
Menu overview .............................. 111
Remote control .............................. 115
Switching on/off ........................... 123
System settings ............................. 127
COMAND controller ........................... 108
COMAND display Cleaning instructions .....................114
Folding in and swiveling .................114
Setting ........................................... 127
COMAND operating system .............. 108
Combination switch .......................... 246
Compass function ............................. 172
Conference connection ..................... 185
Consumption statistics (on-board
computer) .......................................... 334
Contrast, setting (TV, video) ............ 224
Convenience closing feature .............. 87
Convenience opening feature ............ 87
Convenience telephone Importing contacts ........................188Convenience telephony .................... 177
Introduction ................................... 177
Coolant (engine)
Checking the level .........................411
Display message ............................ 362
Notes ............................................. 479
Temperature (on-board computer) . 337
Temperature gauge ........................ 330
Cooling
see Climate control
Copy protection (CD/DVD) ............... 213
Cornering light function Display message ............................ 359
Function/notes ............................. 248
Cruise control
Cruise control lever .......................291
Deactivating ................................... 292
Display message ............................ 372
Driving system ............................... 290
Function/notes ............................. 290
Important safety notes ..................290
LIM indicator lamp .........................291
Setting a speed .............................. 292
Storing and maintaining current
speed ............................................. 291
Cup holder
Center console .............................. 391
Important safety notes ..................391
Rear compartment .........................392
Customer Assistance Center (CAC) ... 29
Customer Relations Department ....... 29
D
Dashboard see Cockpit
Data
see Technical data
Data carrier
MUSIC REGISTER ........................... 214
Data medium
Audio DVD ..................................... 212
CD/DVD ........................................ 213
MP3 ............................................... 212
Date format, setting .......................... 128
Day design, setting ........................... 127
Daytime running lamp mode see Daytime running lamps
8Index
Page 13 of 488
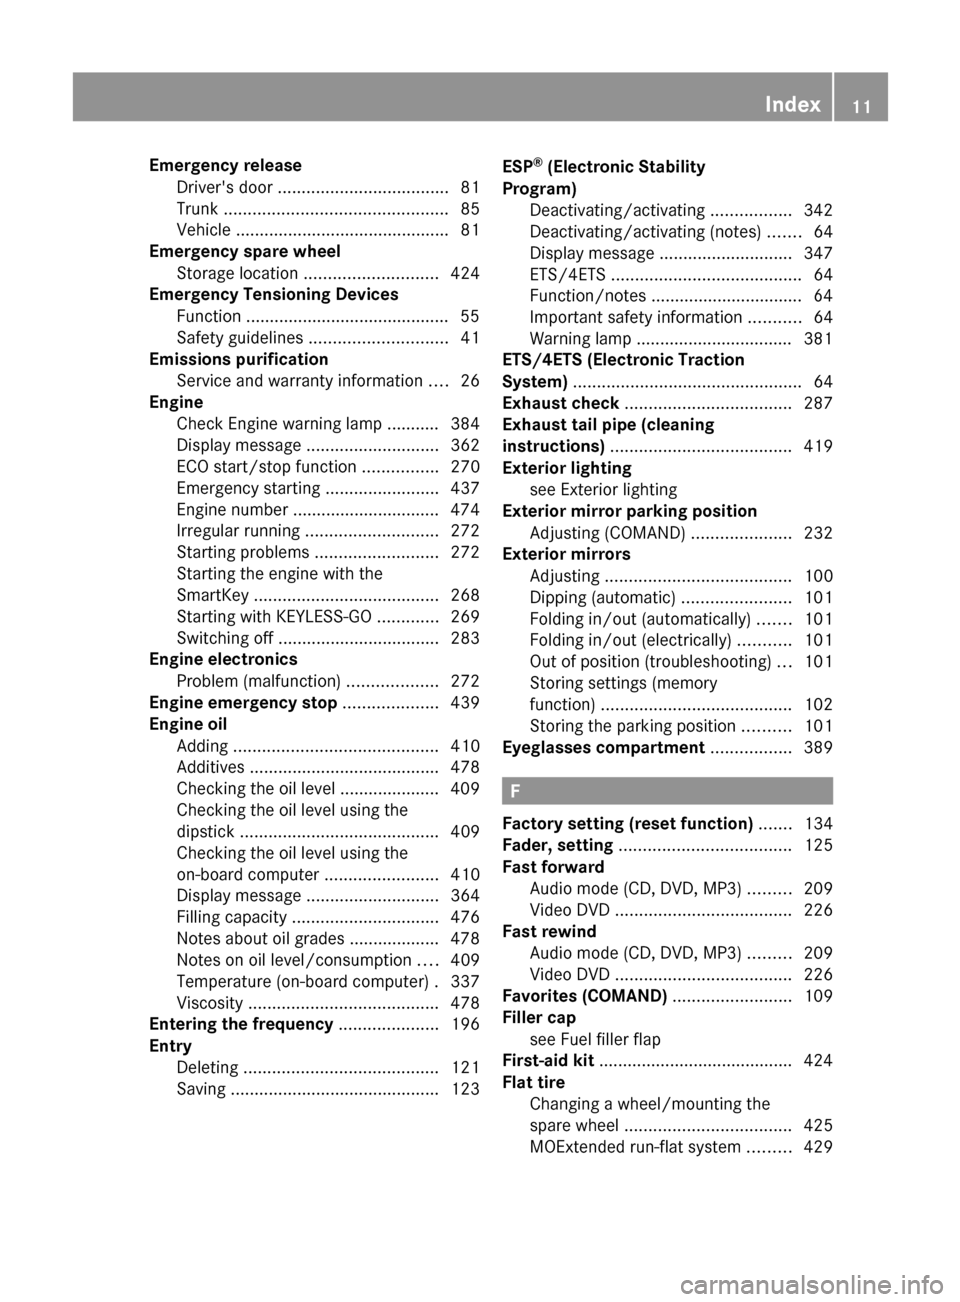
Emergency releaseDriver's door .................................... 81
Trunk ............................................... 85
Vehicle ............................................. 81
Emergency spare wheel
Storage location ............................ 424
Emergency Tensioning Devices
Function ........................................... 55
Safety guidelines ............................. 41
Emissions purification
Service and warranty information ....26
Engine
Check Engine warning lamp ........... 384
Display message ............................ 362
ECO start/stop function ................270
Emergency starting ........................437
Engine number ............................... 474
Irregular running ............................ 272
Starting problems ..........................272
Starting the engine with the
SmartKey ....................................... 268
Starting with KEYLESS-GO .............269
Switching off .................................. 283
Engine electronics
Problem (malfunction) ...................272
Engine emergency stop .................... 439
Engine oil Adding ........................................... 410
Additives ........................................ 478
Checking the oil level ..................... 409
Checking the oil level using the
dipstick .......................................... 409
Checking the oil level using the
on-board computer ........................410
Display message ............................ 364
Filling capacity ............................... 476
Notes about oil grades ................... 478
Notes on oil level/consumption ....409
Temperature (on-board computer) . 337
Viscosity ........................................ 478
Entering the frequency ..................... 196
Entry Deleting ......................................... 121
Saving ............................................ 123ESP®
(Electronic Stability
Program) Deactivating/activating .................342
Deactivating/activating (notes) .......64
Display message ............................ 347
ETS/4ETS ........................................ 64
Function/notes ................................ 64
Important safety information ...........64
Warning lamp ................................. 381
ETS/4ETS (Electronic Traction
System) ................................................ 64
Exhaust check ................................... 287
Exhaust tail pipe (cleaning
instructions) ...................................... 419
Exterior lighting see Exterior lighting
Exterior mirror parking position
Adjusting (COMAND) .....................232
Exterior mirrors
Adjusting ....................................... 100
Dipping (automatic) .......................101
Folding in/out (automatically) .......101
Folding in/out (electrically) ...........101
Out of position (troubleshooting) ...101
Storing settings (memory
function) ........................................ 102
Storing the parking position ..........101
Eyeglasses compartment ................. 389
F
Factory setting (reset function) ....... 134
Fader, setting .................................... 125
Fast forward Audio mode (CD, DVD, MP3) .........209
Video DVD ..................................... 226
Fast rewind
Audio mode (CD, DVD, MP3) .........209
Video DVD ..................................... 226
Favorites (COMAND) ......................... 109
Filler cap see Fuel filler flap
First-aid kit ......................................... 424
Flat tire Changing a wheel/mounting the
spare wheel ................................... 425
MOExtended run-flat system .........429
Index11
Page 22 of 488
On-board computer .......................343
Picture (COMAND) .........................224
Sound settings ............................... 125
System settings ............................. 127
Setting the language
COMAND ....................................... 134
Setting the night design ................... 127
Setting the text reader speed .......... 129
Setting the vehicle level ................... 305
Setting the volume Telephone calls .............................. 124
Video AUX ..................................... 230
Side impact air bag ............................. 45
Side marker lamp (display
message) ............................................ 361
Side windows Convenience closing feature ............87
Convenience opening feature ..........87
Important safety information ...........86
Opening/closing .............................. 86
Problem (malfunction) .....................88
Resetting ......................................... 88
Sliding sunroof
Important safety notes ....................89
Opening/closing .............................. 89
Problem (malfunction) .....................90
Resetting ......................................... 90
SmartKey
Changing the battery .......................76
Changing the programming .............75
Checking the battery .......................76
Convenience closing feature ............87
Convenience opening feature ..........87
Display message ............................ 376
Door central locking/unlocking .......72
Important safety notes ....................72
Loss ................................................. 78
Mechanical key ................................ 75
Positions (ignition lock) .................267
Problem (malfunction) .....................78
Starting the engine ........................268
SMS message
see Text message
Snow chains ...................................... 445
Socket Glove box ....................................... 395Sockets
Points to observe before use .........394
Trunk ............................................. 395
Sound menu ....................................... 125
Sounds see Sound settings
Sound settings
Balance and fader ..........................125
Calling up the sound menu ............125
Surround sound ............................. 126
Treble and bass ............................. 125
Spare wheel
Notes/data .................................... 468
Storage location ............................ 424
see Emergency spare wheel
Specialist workshop ............................ 29
Speech control see Voice Control System
Speed, controlling
see Cruise control
Speed Limit Assist
see Speed Limit Assist
Speedometer
Activating/deactivating the
additional speedometer .................344
Digital ............................................ 334
In the Instrument cluster .................33
Selecting the unit of
measurement ................................ 344
see Instrument cluster
SPLITVIEW ......................................... 112
Spotlight function ............................. 317
SRS (Supplemental Restraint
System) Display message ............................ 355
Introduction ..................................... 40
Warning lamp ................................. 383
Warning lamp (function) ................... 40
Standing lamps
Display message ............................ 360
Switching on/off ........................... 244
Starting (engine) ................................ 268
Station memory ................................. 197
Steering (display message) .............. 376
Steering wheel Adjusting (electrically) .....................98
Button overview ............................... 3520Index
Page 42 of 488
Useful information
i This Operator's Manual describes all
models and all standard and optional
equipment of your vehicle available at the
time of publication of the Operator's
Manual. Country-specific differences are
possible. Please note that your vehicle may
not be equipped with all features
described. This also applies to safety-
related systems and functions.
i Please read the information on qualified
specialist workshops ( Y page 29).
Occupant safety
Overview of occupant safety
In this section, you will learn the most
important facts about the restraint system
components of the vehicle.
The restraint system consists of:
R seat belts
R child restraint systems
R LATCH-type (ISOFIX) child seat anchors
Additional protection is provided by:
R SRS (Supplemental Restraint System)
R NECK-PRO head restraints
R PRE-SAFE ®
R Air bag system components with:
- PASSENGER AIR BAG OFF indicator lamp
- front-passenger seat with Occupant
Classification System (OCS)
The different air bag systems work
independently of each other. The protective
functions of the system work in conjunction
with each other. Not all air bags are deployed
in an accident.
GWARNING
Modifications to or work improperly
conducted on restraint system components
or their wiring, as well as tampering with
interconnected electronic systems, can lead
to the restraint systems no longer functioning
as intended.
Air bags or Emergency Tensioning Devices
(ETDs), for example, could deploy
inadvertently or fail to deploy in accidents
although the deceleration threshold for air
bag deployment is exceeded. Therefore,
never modify the restraint systems. Do not
tamper with electronic components or their
software.
i See "Children in the vehicle"
( Y page 55) for more information on
infants and children traveling with you in
the vehicle and restraints for infants and
children.
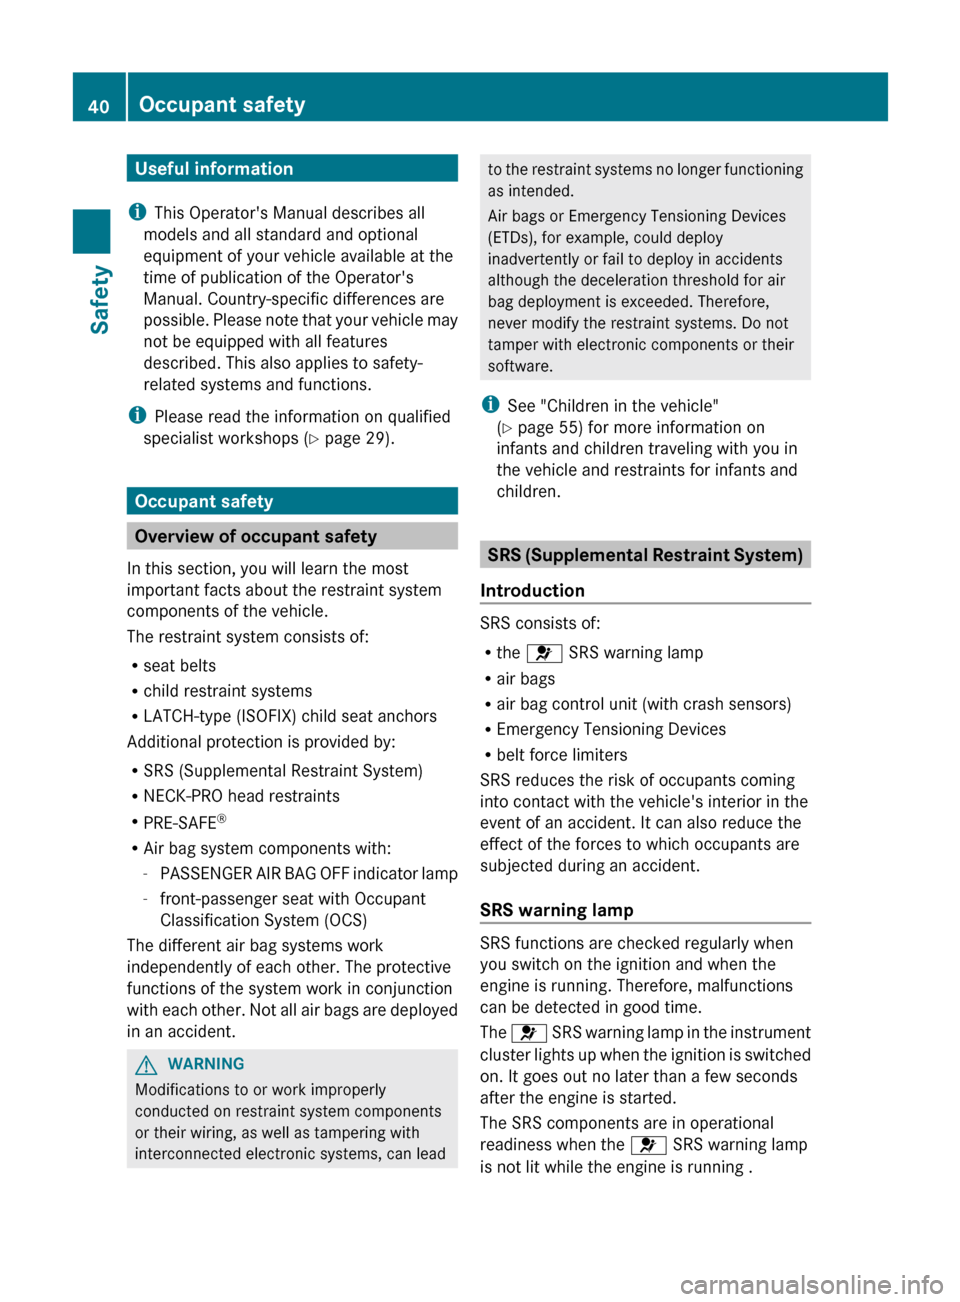
SRS (Supplemental Restraint System)
Introduction
SRS consists of:
R the 6 SRS warning lamp
R air bags
R air bag control unit (with crash sensors)
R Emergency Tensioning Devices
R belt force limiters
SRS reduces the risk of occupants coming
into contact with the vehicle's interior in the
event of an accident. It can also reduce the
effect of the forces to which occupants are
subjected during an accident.
SRS warning lamp
SRS functions are checked regularly when
you switch on the ignition and when the
engine is running. Therefore, malfunctions
can be detected in good time.
The 6 SRS warning lamp in the instrument
cluster lights up when the ignition is switched
on. It goes out no later than a few seconds
after the engine is started.
The SRS components are in operational
readiness when the 6 SRS warning lamp
is not lit while the engine is running .
40Occupant safetySafety
Page 74 of 488

Useful information
i This Operator's Manual describes all
models and all standard and optional
equipment of your vehicle available at the
time of publication of the Operator's
Manual. Country-specific differences are
possible. Please note that your vehicle may
not be equipped with all features
described. This also applies to safety-
related systems and functions.
i Please read the information on qualified
specialist workshops ( Y page 29).
SmartKey
Important safety notes
GWARNING
When leaving the vehicle, always remove the
SmartKey from the ignition lock. Always take
the SmartKey with you and lock the vehicle.
Do not leave children unsupervised in the
vehicle, even if they are secured in a child
restraint system, and do not give them access
to an unlocked vehicle. A child's unsupervised
access to a vehicle could result in an accident
and/or serious personal injury. They could:
R injure themselves on vehicle parts
R be seriously or fatally injured by extreme
heat or cold
R injure themselves or have an accident with
vehicle equipment that may still be in
operation even after the SmartKey has
been removed from the ignition, such as the
seat adjustment, steering wheel
adjustment or memory function.
If children open a door, they could cause
severe or even fatal injury to other persons; if
they get out of the vehicle, they could injure
themselves when doing so or be seriously or
even fatally injured by any passing traffic.
Do not expose the child restraint system to
direct sunlight. The child restraint system's
metal parts, for example, could become very
hot, and a child could be burned on these
parts.GWARNING
If a key ring is too heavy or too large, the
weight acting on the key could cause it to turn
in the ignition lock or catch on the steering
wheel. This could cause the engine to be
switched off suddenly. You could lose control
of the vehicle and cause an accident. Do not
attach any heavy or large key rings to the key
that is inserted in the ignition.
General notes
If you cannot lock or unlock the vehicle with
the SmartKey, either the battery in the
SmartKey is discharged, the SmartKey is
faulty or the starter battery is discharged.
XCheck the battery in the SmartKey and
replace it if necessary ( Y page 76).XUnlock the driver's door using the
mechanical key ( Y page 81).XLock the vehicle ( Y page 82).XHave the starter battery and the battery
contacts checked at a qualified specialist
workshop.
If the SmartKey is faulty, contact Roadside
Assistance or a qualified specialist workshop.
SmartKey functions
General notes
i USA only:
This device complies with Part 15 of the
FCC Rules. Operation is subject to the
following two conditions:
1. This device may not cause harmful
interference, and
2. this device must accept any interference
received, including interference that may
cause undesired operation.
72SmartKeyOpening/closing
Page 81 of 488

ProblemPossible causes/consequences and M SolutionsYou have lost the
mechanical key.XReport the loss immediately to the vehicle insurers.XIf necessary, have the locks changed as well.The engine cannot be
started using the
SmartKey.The on-board voltage is too low.XRemove the SmartKey and reinsert it into the ignition lock.XStart the engine within 30 seconds of inserting the SmartKey in
the ignition lock.XRepeat if necessary.
If the engine does not start after several attempts:
XCheck the starter battery and charge it if necessary
( Y page 430).
or
XJump-start the vehicle ( Y page 433).
or
XConsult a qualified specialist workshop.The engine cannot be
started using KEYLESS-
GO. The SmartKey is in
the vehicle.A door is open. Therefore, the SmartKey cannot be detected as
easily.XClose the door and try to start the vehicle again.There is interference from a powerful source of radio waves.XStart your vehicle with the SmartKey in the ignition lock.Doors
Important safety notes
GWARNING
When leaving the vehicle, always remove the
SmartKey from the ignition lock. Always take
the SmartKey with you and lock the vehicle.
Do not leave children unsupervised in the
vehicle, even if they are secured in a child
restraint system, and do not give them access
to an unlocked vehicle. A child's unsupervised
access to a vehicle could result in an accident
and/or serious personal injury. They could:
R injure themselves on vehicle parts
R be seriously or fatally injured by extreme
heat or cold
R injure themselves or have an accident with
vehicle equipment that may still be in
operation even after the SmartKey has
been removed from the ignition, such as the
seat adjustment, steering wheel
adjustment or memory function.
If children open a door, they could cause
severe or even fatal injury to other persons; if
they get out of the vehicle, they could injure
themselves when doing so or be seriously or
even fatally injured by any passing traffic.
Do not expose the child restraint system to
direct sunlight. The child restraint system's
metal parts, for example, could become very
hot, and a child could be burned on these
parts.Doors79Opening/closingZ
Page 175 of 488
You can install new map software yourself
which, depending on the scope, may consist
of one or more DVDs.
The installation process can take between
10 and 120 minutes, depending on the scope
of the map software. If the radio is switched
on before you start the installation process,
you can still adjust the volume. You can also
use COMAND to operate automatic climate
control and to cancel the process. Other
functions are not operational. If possible,
carry out the installation when the vehicle is
stationary. The DVD read speed is higher
when the vehicle is stationary than when it is
in motion, so less time is required. If the
starter battery is not sufficiently charged,
COMAND may end the process automatically
in order to protect the battery. Therefore, let
the engine idle during the installation
process.GWARNING
Never leave the engine running in enclosed
spaces. The exhaust gases contain toxic
carbon monoxide. Breathing in exhaust fumes
is a health hazard and can lead to
unconsciousness or death.
Displaying information on the map
version currently in use
XTo activate navigation mode: press the
S function button once or twice.XTo show the menu: press W the COMAND
controller.XSelect Navi in the main function bar by
sliding VÆ and turning cVd the COMAND
controller and press W to confirm.XSelect Map Version and press W to
confirm.
Notes on handling DVDs
R Only hold DVDs by the edge.
R Handle DVDs carefully to prevent reading
errors.
R Avoid getting scratches, fingerprints and
dust on DVDs.
R Use a commercially-available cleaning
cloth to clean discs. When cleaning CDs,
you should wipe in straight lines from the
center outwards rather than in a circular
motion.
R Place DVDs back in their cases after use.
R Protect DVDs from heat and direct sunlight.
Map software copy protection
Map software for COMAND is subject to a
charge. The map software has just one
activation code which is usable in one vehicle
only, and is not transferable. You can obtain
the six-digit activation code from your
authorized Mercedes-Benz Center. If you
have lost the activation code, or if COMAND
does not accept the activation code that you
have received, contact your authorized
Mercedes-Benz Center.
Your vehicle is supplied with map software at
the factory. Depending on the country, map
software for your region is either pre-installed
(Europe/USA) or the map software is
supplied as a DVD (all other countries). You
do not require an activation code for the map
software that is provided with your vehicle.
If the map software on your vehicle has been
installed at the factory and you wish to
reinstall it, this also does not necessitate
entry of the activation code.
Installation processXLoad the map software DVD in the DVD
drive ( Y page 204).
COMAND checks the DVD and shows a
corresponding message in the display.
Map software is not compatible with the
navigation system
You will see a message that the map software
cannot be installed.
XTo confirm the message: press W.
COMAND ejects the DVD.XTake the DVD out of the slot.XInsert a DVD which is compatible with the
vehicle’s navigation system.Navigation173COMANDZ
Page 252 of 488

Interior lighting control
Important notes
In order to prevent the vehicle's battery from
discharging, the interior lighting functions are
automatically deactivated after some time
except for when the SmartKey is in position
2 in the ignition lock.
Automatic interior lighting control
XTo switch on/off: press the | button.
The OFF indicator lamp shows whether the
automatic interior lighting control is
deactivated (indicator lamp on) or
activated (indicator lamp off).
The interior lighting automatically switches
on if you:
R unlock the vehicle
R open a door
R remove the SmartKey from the ignition lock
The interior light is activated for a short while
when the SmartKey is removed from the
ignition lock. You can activate this delayed
switch-off using COMAND ( Y page 233).
Manual interior lighting control
XTo switch the front interior lighting on/
off: press the c button.XTo switch the rear interior lighting on/
off: press the u button.XTo switch the reading lamps on/off:
press the p button.
Replacing bulbs
Important safety notes
Xenon bulbs
If your vehicle is equipped with Xenon bulbs,
you can recognize this by the following: the
cone of light from the Xenon bulbs moves
from the top to the bottom and back again
when you start the engine. For this to be
observed, the lights must be switched on
before starting the engine.GDANGER
Xenon bulbs carry a high voltage. You could
get an electric shock and be seriously or even
fatally injured if you touch the electric
contacts on Xenon bulbs. Therefore, never
remove the cover from Xenon bulbs.
Do not change Xenon bulbs yourself, but have
them replaced at a qualified specialist
workshop which has the necessary specialist
knowledge and tools to carry out the work
required.
Mercedes-Benz recommends that you use an
authorized Mercedes-Benz Center for this
purpose. In particular, work relevant to safety
or on safety-related systems must be carried
out at a qualified specialist workshop.
Bulbs and lamps are an important aspect of
vehicle safety. You must therefore make sure
that these function correctly at all times.
Have the headlamp setting checked regularly.
Other bulbs
There are bulbs other than the Xenon bulbs
that you cannot replace. Replace only the
bulbs listed (Y page 251). Have the bulbs that
you cannot replace yourself changed at a
qualified specialist workshop.
Mercedes-Benz recommends that you use an
authorized Mercedes-Benz Center for this
purpose. In particular, work relevant to safety
or on safety-related systems must be carried
out at a qualified specialist workshop.
If you require assistance changing bulbs,
consult a qualified specialist workshop.
Do not touch the glass tube of new bulbs with
your bare hands. Even minor contamination
can burn into the glass surface and reduce
the service life of the bulbs. Always use a lint-
free cloth or only touch the base of the bulb
when installing.
Only use bulbs of the correct type.
250Replacing bulbsLights and windshield wipers
Page 255 of 488

Replacing the wiper blades
Moving the wiper blades to a vertical
position
Vehicles without KEYLESS-GO
XTurn the SmartKey to position 1 or 2 in the
ignition lock.XSet the windshield wipers to
position °.XWhen the wiper arms have reached a
vertical position, turn the SmartKey to
position 0 and remove it from the ignition
lock.
Vehicles with KEYLESS-GO
XSwitch off the engine.XRemove your foot from the brake pedal.XSet the windshield wipers to
position °.XPress the Start/Stop button repeatedly
until the windshield wipers start.XWhen the wiper arms have reached a
vertical position, press the Start/Stop
button.
Removing the wiper blades
XFold the wiper arm away from the
windshield until it engages.XSet the wiper blade at right angles to the
wiper arm.XRemove the wiper blade from the retaining
pin on the wiper arm in the direction of the
arrow.Installing the wiper bladesXPush the new wiper blade onto the
retaining pin on the wiper arm in the
opposite direction to the arrow.
Make sure that the wiper blade slides fully
onto the retaining pin on the wiper arm.XTurn the wiper blade parallel to the wiper
arm.XFold the wiper arm back onto the
windshield.
Problems with the windshield wipers
The windshield wipers are obstructed
Leaves or snow, for example, may be
obstructing the windshield wiper movement.
The wiper motor has been deactivated.
XFor safety reasons, you should remove the
SmartKey from the ignition lock.
or
XSwitch off the engine using the Start/Stop
button and open the driver's door.XRemove the cause of the obstruction.XSwitch the windshield wipers back on.
The windshield wipers are inoperative
The windshield wiper drive is malfunctioning.
XSelect another wiper speed on the
combination switch.XHave the windshield wipers checked at a
qualified specialist workshop.
The spray nozzles are misaligned
The windshield washer fluid from the spray
nozzles no longer hits the center of the
windshield. The spray nozzles are misaligned.
XHave the spray nozzles adjusted at a
qualified specialist workshop.Windshield wipers253Lights and windshield wipersZ
Page 275 of 488
ProblemPossible causes/consequences and M SolutionsThe engine is not
running smoothly and
is misfiring.There is a malfunction in the engine electronics or a mechanical
component of the engine management system.XOnly depress the accelerator pedal slightly.XHave the cause rectified immediately at a qualified specialist
workshop, e.g. an authorized Mercedes-Benz Center.
Otherwise, non-combusted fuel may get into the catalytic
converter and damage it.The coolant
temperature gauge
shows a value above
248 ‡ (120 †).The coolant level is too low. The coolant is too hot and the engine
is no longer being cooled sufficiently.XStop as soon as possible and allow the engine and the coolant
to cool down.XCheck the coolant level ( Y page 411). Observe the warning
notes as you do so and add coolant if necessary.Automatic transmission
Important safety notes
GWARNING
It is dangerous to shift the automatic
transmission out of parking position P or
neutral position N if the engine speed is
higher than idle speed. If your foot is not firmly
on the brake pedal, the vehicle could
accelerate quickly forward or in reverse. You
could lose control of the vehicle and hit
someone or something. Only shift into gear
when the engine is idling normally and when
your right foot is firmly on the brake pedal.
GWARNING
Keep in mind that turning off the engine alone
only will shift the automatic transmission into
neutral position N automatically.
Always shift the automatic transmission into
park position P before turning off the engine.
Otherwise the vehicle could roll away which
could result in an accident and/or serious
personal injury.
DIRECT SELECT lever
Overview of transmission positions
The DIRECT SELECT lever is on the right of the
steering column.
PPark position with parking lockRReverse gearNNeutralDDrive
i The DIRECT SELECT lever always returns
to its original position. The current
transmission position P, R , N or D appears
in the transmission position display
( Y page 275) in the multifunction display.
Automatic transmission273Driving and parkingZ