fuel MERCEDES-BENZ CL CLASS 2013 User Guide
[x] Cancel search | Manufacturer: MERCEDES-BENZ, Model Year: 2013, Model line: CL CLASS, Model: MERCEDES-BENZ CL CLASS 2013Pages: 496, PDF Size: 7.5 MB
Page 79 of 496

is in the vehicle by periodically establishing
radio contact.X To unlock the vehicle: pull the door
handle.XTo lock the vehicle: touch sensor
surface :.
If you pull on the handle of the trunk lid, only
the trunk of the vehicle is unlocked.
Changing the settings of the locking
system
You can change the settings of the locking
system in such a way that only the driver's
door and the fuel filler flap are unlocked. This
is useful if you frequently travel on your own.
XTo change the setting: press the %
and & buttons until the battery check
lamp ( Y page 78) flashes twice.
The SmartKey now functions as follows:
XTo unlock the driver's door: press the
% button once.XTo unlock centrally: press the %
button twice.XTo lock centrally: press the & button.The KEYLESS-GO function is changed as
follows:XTo unlock the driver's door : pull the door
handle on the driver's door.XTo unlock centrally: pull the door handle
on the front-passenger door.XTo lock centrally: touch the outer sensor
surface on one of the door handles.
Restoring the factory settings
XPress the % and & buttons
simultaneously for approximately six
seconds until the battery check lamp
flashes twice.
Mechanical key
General notes
If you use the mechanical key to unlock and
open the driver's door or the trunk lid, the
anti-theft alarm system will be triggered
( Y page 70).
There are several ways to turn off the alarm:
XTo stop the alarm with the SmartKey:
press the % or & button on the
SmartKey.
or
XInsert the SmartKey into the ignition lock.
or
XTo stop the alarm with KEYLESS-GO:
press the Start/Stop button in the ignition
lock. The SmartKey must be in the vehicle.
or
XLock or unlock the vehicle using KEYLESS-
GO. The SmartKey must be outside the
vehicle.SmartKey77Opening and closingZ
Page 84 of 496

Unlocking and opening doors from
the inside
You can open a door from inside the vehicle
even if it has been locked.
Open the door only when the traffic
conditions permit.
If the vehicle has been opened with the
SmartKey or KEYLESS-GO key, opening from
inside triggers the anti-theft alarm system.
Switch off the alarm ( Y page 70).XPull door handle ;.
If the door is locked, locking knob : pops
up. The door is unlocked and can be
opened.
i When a door is opened, the side window
on that side opens slightly. When the door
is closed, the side window closes again.
! The side windows will not open/close if
the battery is discharged or if the side
windows have iced up. It will then not be
possible to close the door. Do not attempt
to force the door closed. You could
otherwise damage the door or the side
window.
Centrally locking and unlocking the
vehicle from the inside
You can centrally lock or unlock the vehicle
from the inside. This feature may be useful if,
for example, you wish to unlock the front-
passenger door from the inside or lock the
vehicle before you pull away.
The locking or unlocking buttons of the
central locking do not lock or unlock the fuel
filler flap.XTo lock: press button ;.
The vehicle locks when all front-passenger
doors are closed.XTo unlock: press button :.
You can open a locked door from inside the
vehicle. Open the door only when the traffic
conditions permit.
If the vehicle has been locked with the central
locking button:
R and the SmartKey is restored to the factory
settings, the entire vehicle is unlocked if a
door is opened from inside the vehicle.
R and the SmartKey is set to individual
settings, only the door that is opened from
inside the vehicle is unlocked.
If the vehicle has been locked centrally with
the SmartKey or with KEYLESS-GO, it does
not unlock if you use the unlocking button of
the central locking.
Automatic locking feature
The vehicle locks automatically when the
ignition is switched on and the wheels of the
vehicle are moving at a speed of more than
9 mph (15 km/h). You may therefore lock
yourself out if the vehicle is being pushed,
towed, or located on a test rig.
You can switch off the automatic locking
function via COMAND .
82DoorsOpening and closing
Page 86 of 496
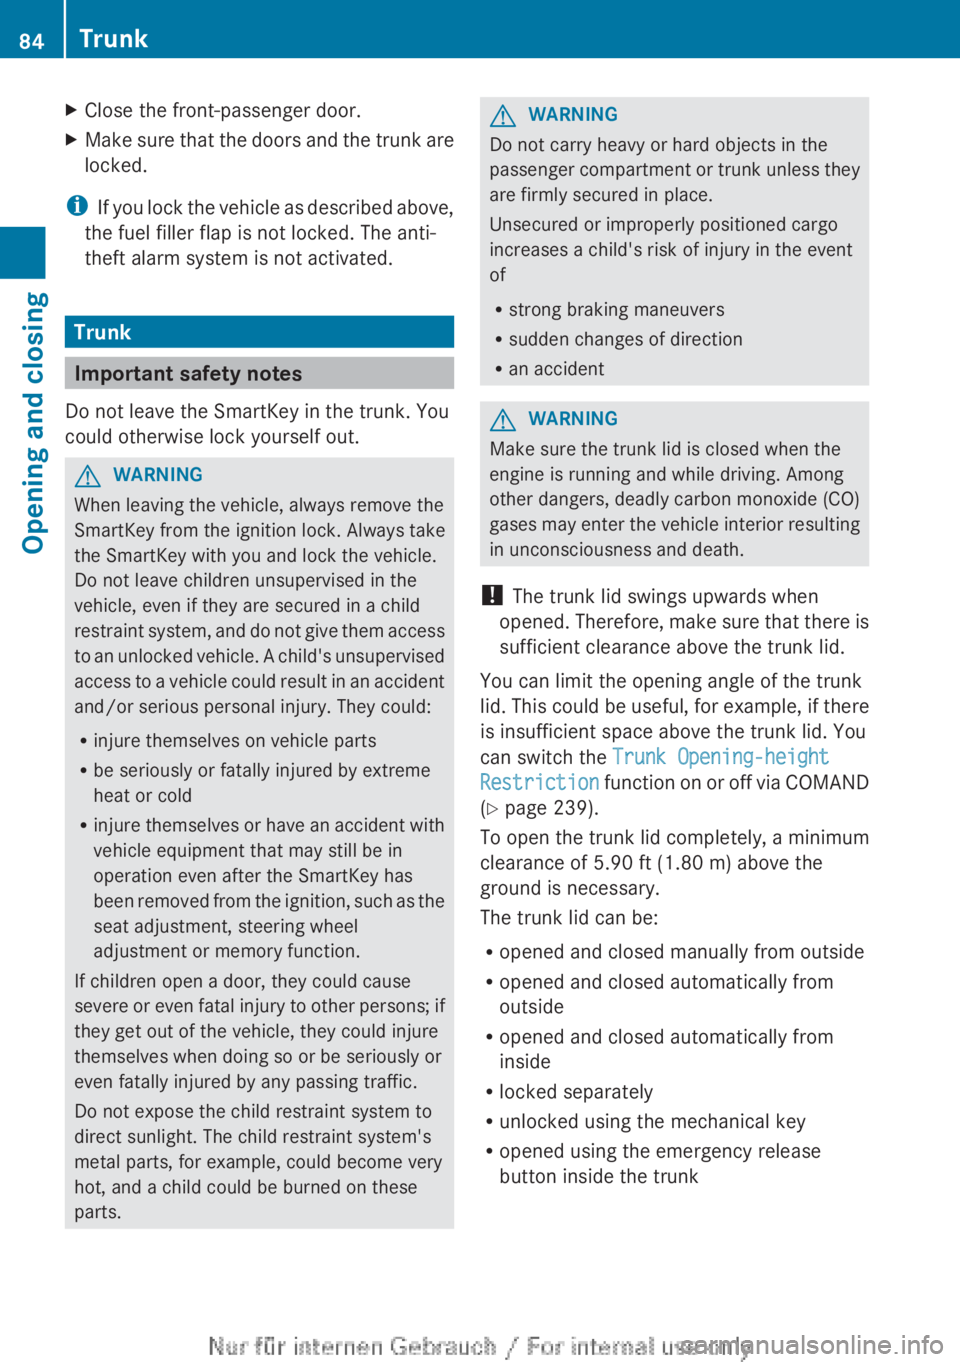
XClose the front-passenger door.XMake sure that the doors and the trunk are
locked.
i If you lock the vehicle as described above,
the fuel filler flap is not locked. The anti-
theft alarm system is not activated.
Trunk
Important safety notes
Do not leave the SmartKey in the trunk. You
could otherwise lock yourself out.
GWARNING
When leaving the vehicle, always remove the
SmartKey from the ignition lock. Always take
the SmartKey with you and lock the vehicle.
Do not leave children unsupervised in the
vehicle, even if they are secured in a child
restraint system, and do not give them access
to an unlocked vehicle. A child's unsupervised
access to a vehicle could result in an accident
and/or serious personal injury. They could:
R injure themselves on vehicle parts
R be seriously or fatally injured by extreme
heat or cold
R injure themselves or have an accident with
vehicle equipment that may still be in
operation even after the SmartKey has
been removed from the ignition, such as the
seat adjustment, steering wheel
adjustment or memory function.
If children open a door, they could cause
severe or even fatal injury to other persons; if
they get out of the vehicle, they could injure
themselves when doing so or be seriously or
even fatally injured by any passing traffic.
Do not expose the child restraint system to
direct sunlight. The child restraint system's
metal parts, for example, could become very
hot, and a child could be burned on these
parts.
GWARNING
Do not carry heavy or hard objects in the
passenger compartment or trunk unless they
are firmly secured in place.
Unsecured or improperly positioned cargo
increases a child's risk of injury in the event
of
R strong braking maneuvers
R sudden changes of direction
R an accident
GWARNING
Make sure the trunk lid is closed when the
engine is running and while driving. Among
other dangers, deadly carbon monoxide (CO)
gases may enter the vehicle interior resulting
in unconsciousness and death.
! The trunk lid swings upwards when
opened. Therefore, make sure that there is
sufficient clearance above the trunk lid.
You can limit the opening angle of the trunk
lid. This could be useful, for example, if there
is insufficient space above the trunk lid. You
can switch the Trunk Opening-height
Restriction function on or off via COMAND
( Y page 239).
To open the trunk lid completely, a minimum
clearance of 5.90 ft (1.80 m) above the
ground is necessary.
The trunk lid can be:
R opened and closed manually from outside
R opened and closed automatically from
outside
R opened and closed automatically from
inside
R locked separately
R unlocked using the mechanical key
R opened using the emergency release
button inside the trunk
84TrunkOpening and closing
Page 273 of 496
Useful information ............................272
Notes on breaking-in a new vehicle 272
Driving ............................................... 272
Automatic transmission ...................279
Refueling ............................................ 286
Parking ............................................... 289
Driving tips ........................................ 292
Driving systems ................................ 296271Driving and parking
Page 278 of 496
XTake your foot off the brake pedal.
iOnce you have taken your foot off the
brake pedal, the vehicle is held for around
one second.
XPull away.
Hill start assist will not function if:
R you are pulling away on a level road or on
a downhill gradient.
R the transmission is in position N.
R the electric parking brake is applied.
R ESP ®
is malfunctioning.
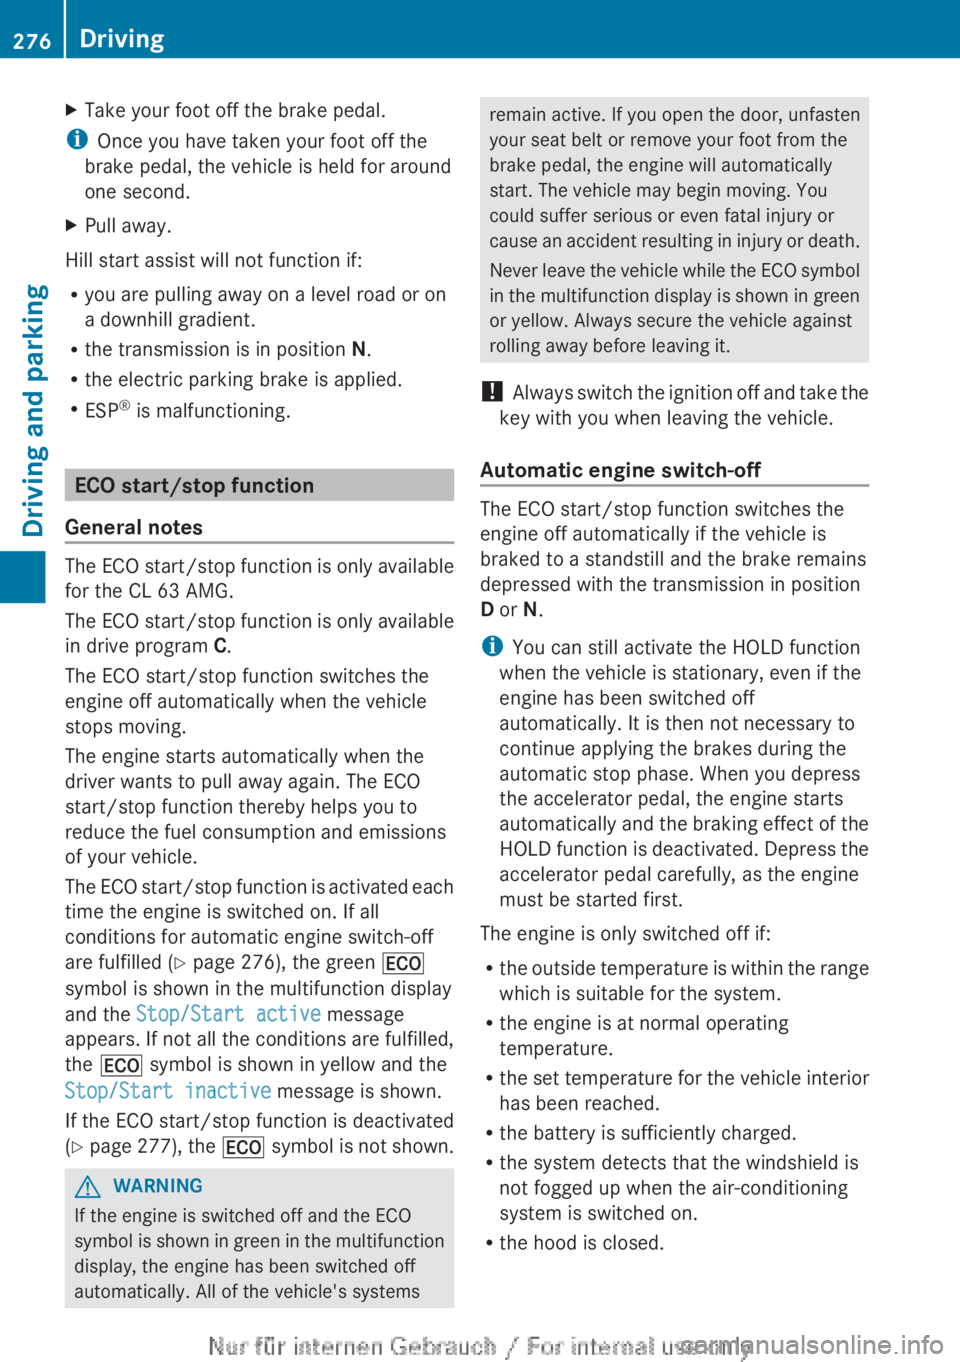
ECO start/stop function
General notes
The ECO start/stop function is only available
for the CL 63 AMG.
The ECO start/stop function is only available
in drive program C.
The ECO start/stop function switches the
engine off automatically when the vehicle
stops moving.
The engine starts automatically when the
driver wants to pull away again. The ECO
start/stop function thereby helps you to
reduce the fuel consumption and emissions
of your vehicle.
The ECO start/stop function is activated each
time the engine is switched on. If all
conditions for automatic engine switch-off
are fulfilled ( Y page 276), the green ¤
symbol is shown in the multifunction display
and the Stop/Start active message
appears. If not all the conditions are fulfilled,
the ¤ symbol is shown in yellow and the
Stop/Start inactive message is shown.
If the ECO start/stop function is deactivated
( Y page 277), the ¤ symbol is not shown.
GWARNING
If the engine is switched off and the ECO
symbol is shown in green in the multifunction
display, the engine has been switched off
automatically. All of the vehicle's systems
remain active. If you open the door, unfasten
your seat belt or remove your foot from the
brake pedal, the engine will automatically
start. The vehicle may begin moving. You
could suffer serious or even fatal injury or
cause an accident resulting in injury or death.
Never leave the vehicle while the ECO symbol
in the multifunction display is shown in green
or yellow. Always secure the vehicle against
rolling away before leaving it.
! Always switch the ignition off and take the
key with you when leaving the vehicle.
Automatic engine switch-off
The ECO start/stop function switches the
engine off automatically if the vehicle is
braked to a standstill and the brake remains
depressed with the transmission in position
D or N.
i You can still activate the HOLD function
when the vehicle is stationary, even if the
engine has been switched off
automatically. It is then not necessary to
continue applying the brakes during the
automatic stop phase. When you depress
the accelerator pedal, the engine starts
automatically and the braking effect of the
HOLD function is deactivated. Depress the
accelerator pedal carefully, as the engine
must be started first.
The engine is only switched off if:
R the outside temperature is within the range
which is suitable for the system.
R the engine is at normal operating
temperature.
R the set temperature for the vehicle interior
has been reached.
R the battery is sufficiently charged.
R the system detects that the windshield is
not fogged up when the air-conditioning
system is switched on.
R the hood is closed.
276DrivingDriving and parking
Page 280 of 496
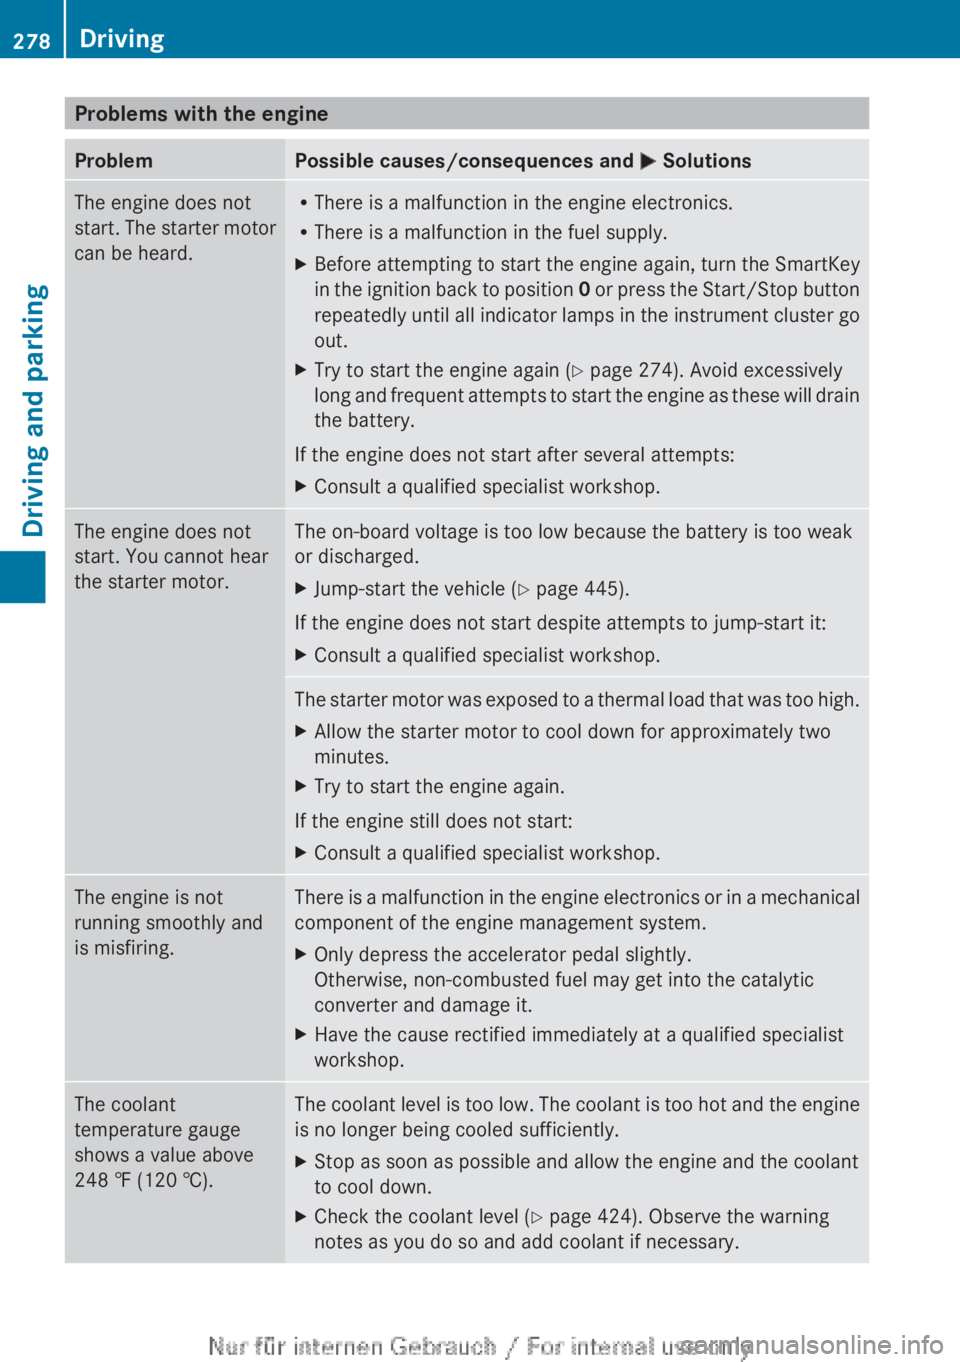
Problems with the engineProblemPossible causes/consequences and M SolutionsThe engine does not
start. The starter motor
can be heard.R There is a malfunction in the engine electronics.
R There is a malfunction in the fuel supply.XBefore attempting to start the engine again, turn the SmartKey
in the ignition back to position 0 or press the Start/Stop button
repeatedly until all indicator lamps in the instrument cluster go
out.XTry to start the engine again ( Y page 274). Avoid excessively
long and frequent attempts to start the engine as these will drain
the battery.
If the engine does not start after several attempts:
XConsult a qualified specialist workshop.The engine does not
start. You cannot hear
the starter motor.The on-board voltage is too low because the battery is too weak
or discharged.XJump-start the vehicle ( Y page 445).
If the engine does not start despite attempts to jump-start it:
XConsult a qualified specialist workshop.The starter motor was exposed to a thermal load that was too high.XAllow the starter motor to cool down for approximately two
minutes.XTry to start the engine again.
If the engine still does not start:
XConsult a qualified specialist workshop.The engine is not
running smoothly and
is misfiring.There is a malfunction in the engine electronics or in a mechanical
component of the engine management system.XOnly depress the accelerator pedal slightly.
Otherwise, non-combusted fuel may get into the catalytic
converter and damage it.XHave the cause rectified immediately at a qualified specialist
workshop.The coolant
temperature gauge
shows a value above
248 ‡ (120 †).The coolant level is too low. The coolant is too hot and the engine
is no longer being cooled sufficiently.XStop as soon as possible and allow the engine and the coolant
to cool down.XCheck the coolant level ( Y page 424). Observe the warning
notes as you do so and add coolant if necessary.278DrivingDriving and parking
Page 285 of 496
iFor further information on the automatic
drive program, see ( Y page 283).
AMG vehicles: only change from automatic
drive program C or S to manual drive program
M when the vehicle is stationary.XPress program selector button :
repeatedly until the letter for the desired
gearshift program appears in the
multifunction display.
i When the engine is started, the automatic
transmission always switches to automatic
drive program E (drive program C in AMG
vehicles).
Steering wheel paddle shifters
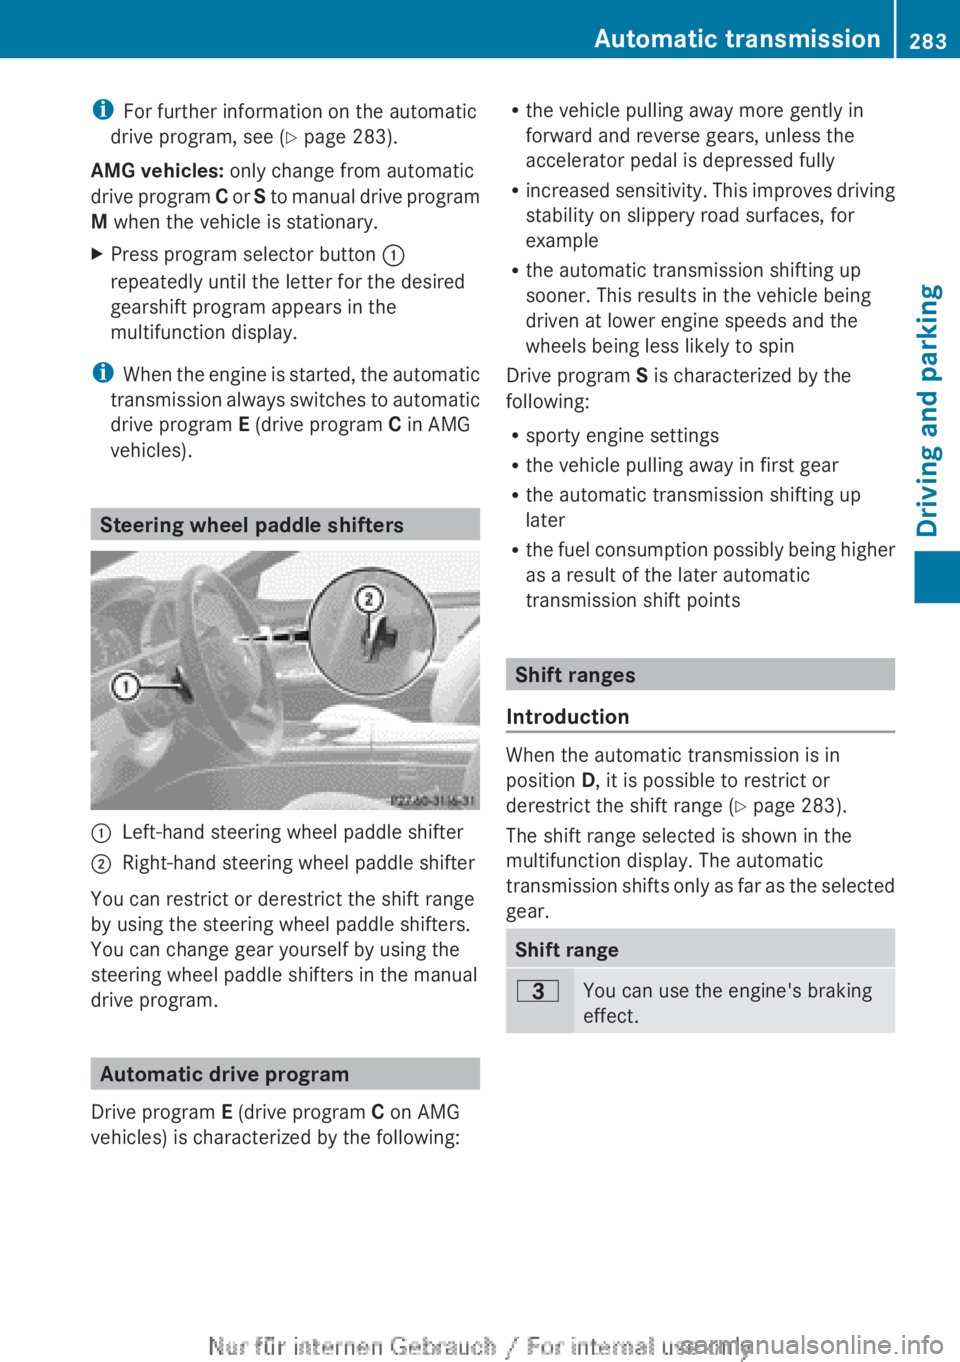
:Left-hand steering wheel paddle shifter;Right-hand steering wheel paddle shifter
You can restrict or derestrict the shift range
by using the steering wheel paddle shifters.
You can change gear yourself by using the
steering wheel paddle shifters in the manual
drive program.
Automatic drive program
Drive program E (drive program C on AMG
vehicles) is characterized by the following:
R the vehicle pulling away more gently in
forward and reverse gears, unless the
accelerator pedal is depressed fully
R increased sensitivity. This improves driving
stability on slippery road surfaces, for
example
R the automatic transmission shifting up
sooner. This results in the vehicle being
driven at lower engine speeds and the
wheels being less likely to spin
Drive program S is characterized by the
following:
R sporty engine settings
R the vehicle pulling away in first gear
R the automatic transmission shifting up
later
R the fuel consumption possibly being higher
as a result of the later automatic
transmission shift points
Shift ranges
Introduction
When the automatic transmission is in
position D, it is possible to restrict or
derestrict the shift range ( Y page 283).
The shift range selected is shown in the
multifunction display. The automatic
transmission shifts only as far as the selected
gear.
Shift range=You can use the engine's braking
effect.Automatic transmission283Driving and parkingZ
Page 286 of 496
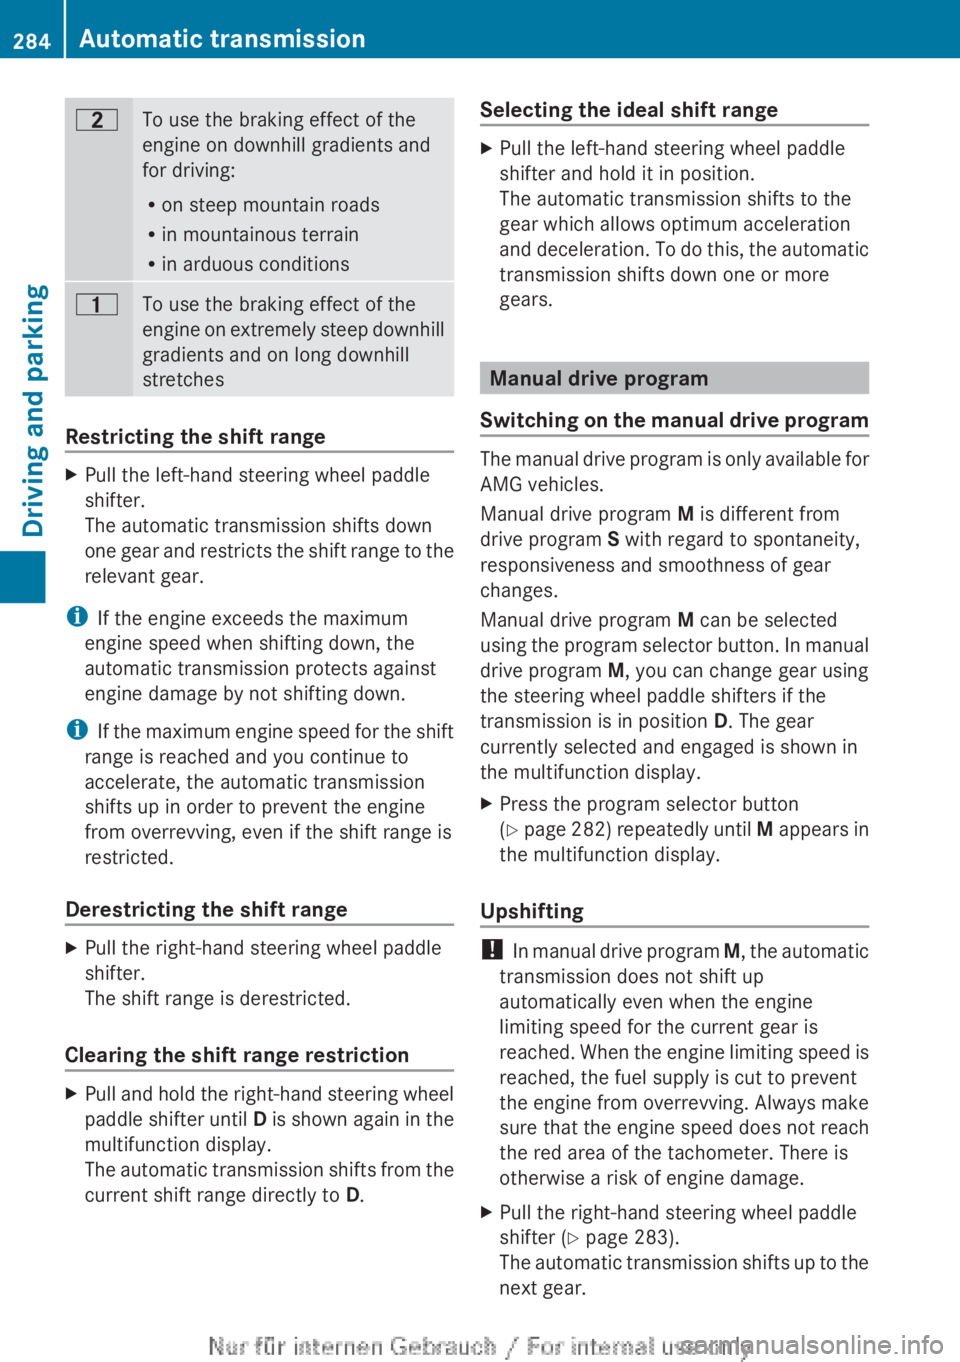
5To use the braking effect of the
engine on downhill gradients and
for driving:
R on steep mountain roads
R in mountainous terrain
R in arduous conditions4To use the braking effect of the
engine on extremely steep downhill
gradients and on long downhill
stretches
Restricting the shift range
XPull the left-hand steering wheel paddle
shifter.
The automatic transmission shifts down
one gear and restricts the shift range to the
relevant gear.
i If the engine exceeds the maximum
engine speed when shifting down, the
automatic transmission protects against
engine damage by not shifting down.
i If the maximum engine speed for the shift
range is reached and you continue to
accelerate, the automatic transmission
shifts up in order to prevent the engine
from overrevving, even if the shift range is
restricted.
Derestricting the shift range
XPull the right-hand steering wheel paddle
shifter.
The shift range is derestricted.
Clearing the shift range restriction
XPull and hold the right-hand steering wheel
paddle shifter until D is shown again in the
multifunction display.
The automatic transmission shifts from the
current shift range directly to D.Selecting the ideal shift rangeXPull the left-hand steering wheel paddle
shifter and hold it in position.
The automatic transmission shifts to the
gear which allows optimum acceleration
and deceleration. To do this, the automatic
transmission shifts down one or more
gears.
Manual drive program
Switching on the manual drive program
The manual drive program is only available for
AMG vehicles.
Manual drive program M is different from
drive program S with regard to spontaneity,
responsiveness and smoothness of gear
changes.
Manual drive program M can be selected
using the program selector button. In manual
drive program M, you can change gear using
the steering wheel paddle shifters if the
transmission is in position D. The gear
currently selected and engaged is shown in
the multifunction display.
XPress the program selector button
( Y page 282) repeatedly until M appears in
the multifunction display.
Upshifting
! In manual drive program M, the automatic
transmission does not shift up
automatically even when the engine
limiting speed for the current gear is
reached. When the engine limiting speed is
reached, the fuel supply is cut to prevent
the engine from overrevving. Always make
sure that the engine speed does not reach
the red area of the tachometer. There is
otherwise a risk of engine damage.
XPull the right-hand steering wheel paddle
shifter ( Y page 283).
The automatic transmission shifts up to the
next gear.284Automatic transmissionDriving and parking
Page 288 of 496
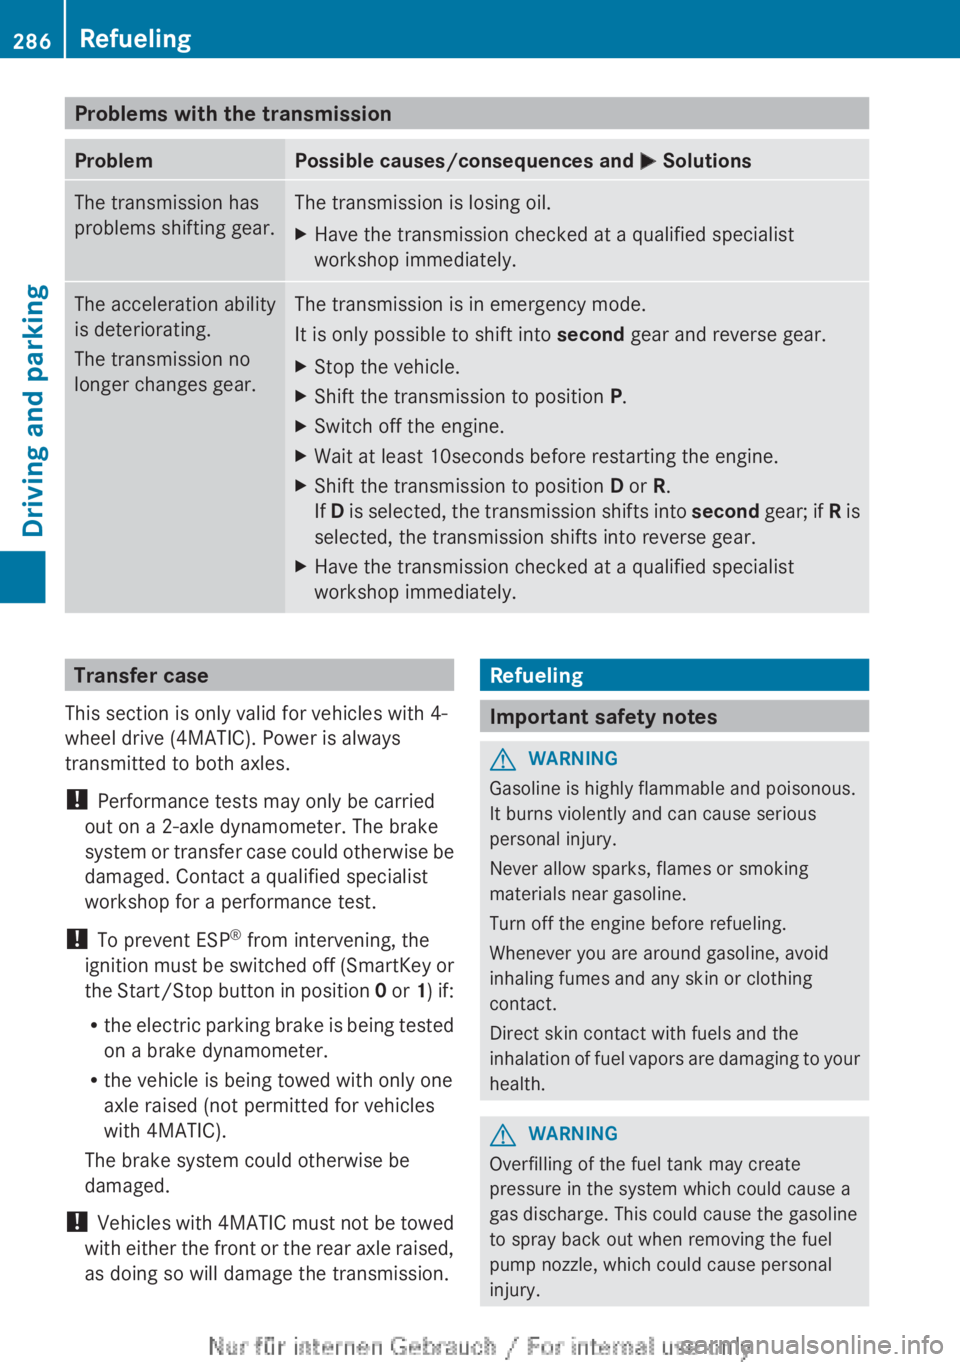
Problems with the transmissionProblemPossible causes/consequences and M SolutionsThe transmission has
problems shifting gear.The transmission is losing oil.XHave the transmission checked at a qualified specialist
workshop immediately.The acceleration ability
is deteriorating.
The transmission no
longer changes gear.The transmission is in emergency mode.
It is only possible to shift into second gear and reverse gear.XStop the vehicle.XShift the transmission to position P.XSwitch off the engine.XWait at least 10seconds before restarting the engine.XShift the transmission to position D or R.
If D is selected, the transmission shifts into second gear; if R is
selected, the transmission shifts into reverse gear.XHave the transmission checked at a qualified specialist
workshop immediately.Transfer case
This section is only valid for vehicles with 4-
wheel drive (4MATIC). Power is always
transmitted to both axles.
! Performance tests may only be carried
out on a 2-axle dynamometer. The brake
system or transfer case could otherwise be
damaged. Contact a qualified specialist
workshop for a performance test.
! To prevent ESP ®
from intervening, the
ignition must be switched off (SmartKey or
the Start/Stop button in position 0 or 1) if:
R the electric parking brake is being tested
on a brake dynamometer.
R the vehicle is being towed with only one
axle raised (not permitted for vehicles
with 4MATIC).
The brake system could otherwise be
damaged.
! Vehicles with 4MATIC must not be towed
with either the front or the rear axle raised,
as doing so will damage the transmission.Refueling
Important safety notes
GWARNING
Gasoline is highly flammable and poisonous.
It burns violently and can cause serious
personal injury.
Never allow sparks, flames or smoking
materials near gasoline.
Turn off the engine before refueling.
Whenever you are around gasoline, avoid
inhaling fumes and any skin or clothing
contact.
Direct skin contact with fuels and the
inhalation of fuel vapors are damaging to your
health.
GWARNING
Overfilling of the fuel tank may create
pressure in the system which could cause a
gas discharge. This could cause the gasoline
to spray back out when removing the fuel
pump nozzle, which could cause personal
injury.
286RefuelingDriving and parking
Page 289 of 496
! Do not use diesel to refuel vehicles with a
gasoline engine. Even small amounts of the
wrong fuel result in damage to the fuel
system and engine.
! Do not switch on the ignition if you
accidentally refuel with the wrong fuel.
Otherwise, the fuel will enter the fuel lines.
Notify a qualified specialist workshop and
have the fuel tank and fuel lines drained
completely.
! Overfilling the fuel tank could damage the
fuel system.
! Take care not to spill any fuel on painted
surfaces. You could otherwise damage the
paintwork.
! Use a filter when refueling from a fuel can.
Otherwise, the fuel lines and/or injection
system could be blocked by particles from
the fuel can.
Further information on fuel and on fuel grades
can be found in the "Fuel" section
( Y page 484).
Refueling
Fuel filler flap
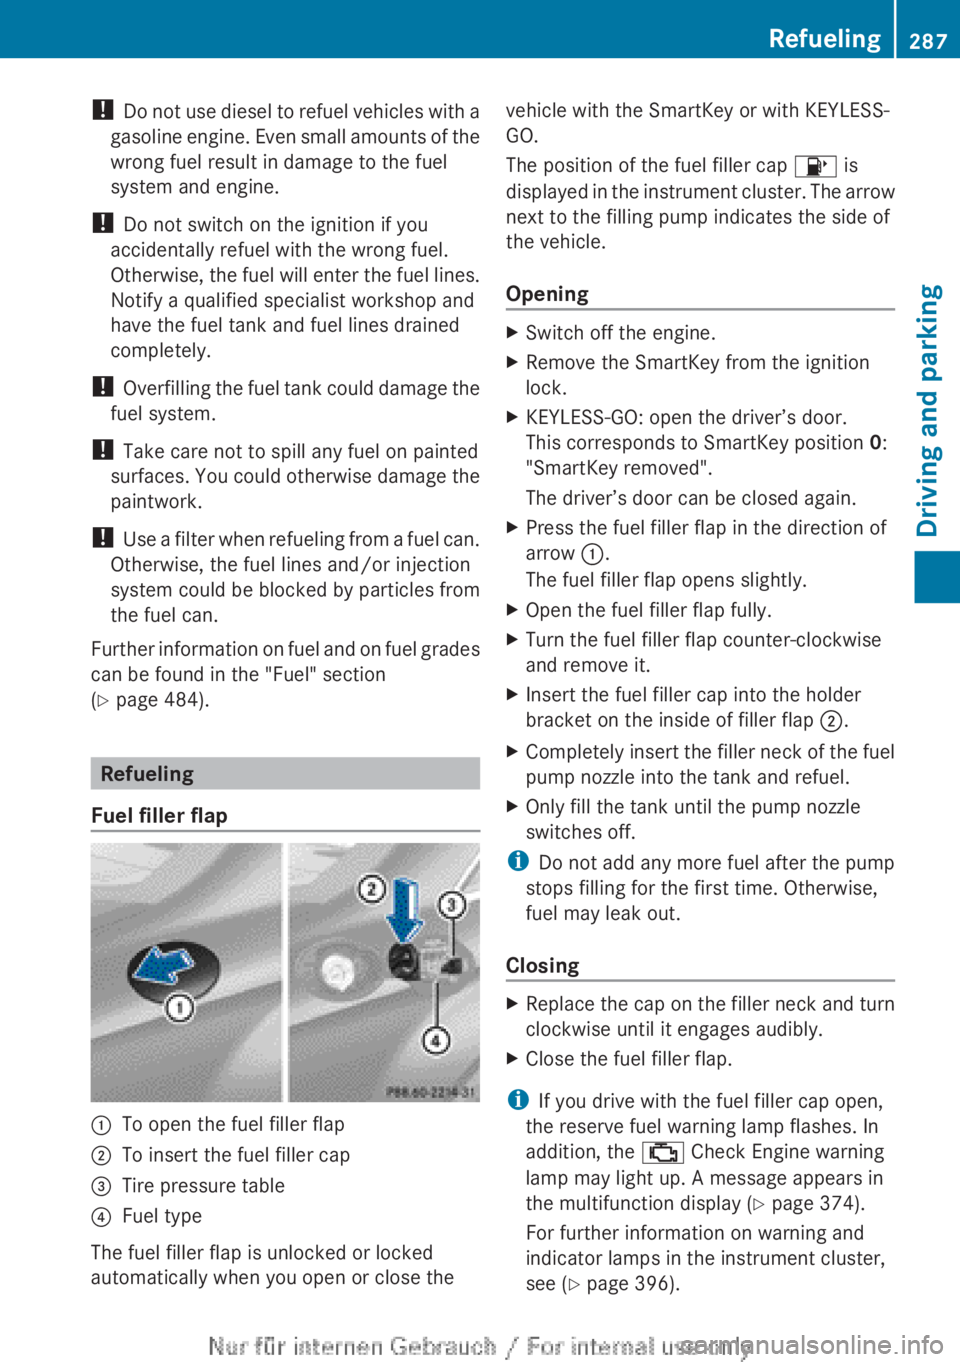
:To open the fuel filler flap;To insert the fuel filler cap=Tire pressure table?Fuel type
The fuel filler flap is unlocked or locked
automatically when you open or close the
vehicle with the SmartKey or with KEYLESS-
GO.
The position of the fuel filler cap 8 is
displayed in the instrument cluster. The arrow
next to the filling pump indicates the side of
the vehicle.
OpeningXSwitch off the engine.XRemove the SmartKey from the ignition
lock.XKEYLESS-GO: open the driver’s door.
This corresponds to SmartKey position 0:
"SmartKey removed".
The driver’s door can be closed again.XPress the fuel filler flap in the direction of
arrow :.
The fuel filler flap opens slightly.XOpen the fuel filler flap fully.XTurn the fuel filler flap counter-clockwise
and remove it.XInsert the fuel filler cap into the holder
bracket on the inside of filler flap ;.XCompletely insert the filler neck of the fuel
pump nozzle into the tank and refuel.XOnly fill the tank until the pump nozzle
switches off.
i Do not add any more fuel after the pump
stops filling for the first time. Otherwise,
fuel may leak out.
Closing
XReplace the cap on the filler neck and turn
clockwise until it engages audibly.XClose the fuel filler flap.
i If you drive with the fuel filler cap open,
the reserve fuel warning lamp flashes. In
addition, the ; Check Engine warning
lamp may light up. A message appears in
the multifunction display ( Y page 374).
For further information on warning and
indicator lamps in the instrument cluster,
see ( Y page 396).
Refueling287Driving and parkingZ