reset MERCEDES-BENZ CL-Class 2014 C217 Owner's Manual
[x] Cancel search | Manufacturer: MERCEDES-BENZ, Model Year: 2014, Model line: CL-Class, Model: MERCEDES-BENZ CL-Class 2014 C217Pages: 494, PDF Size: 13.55 MB
Page 13 of 494
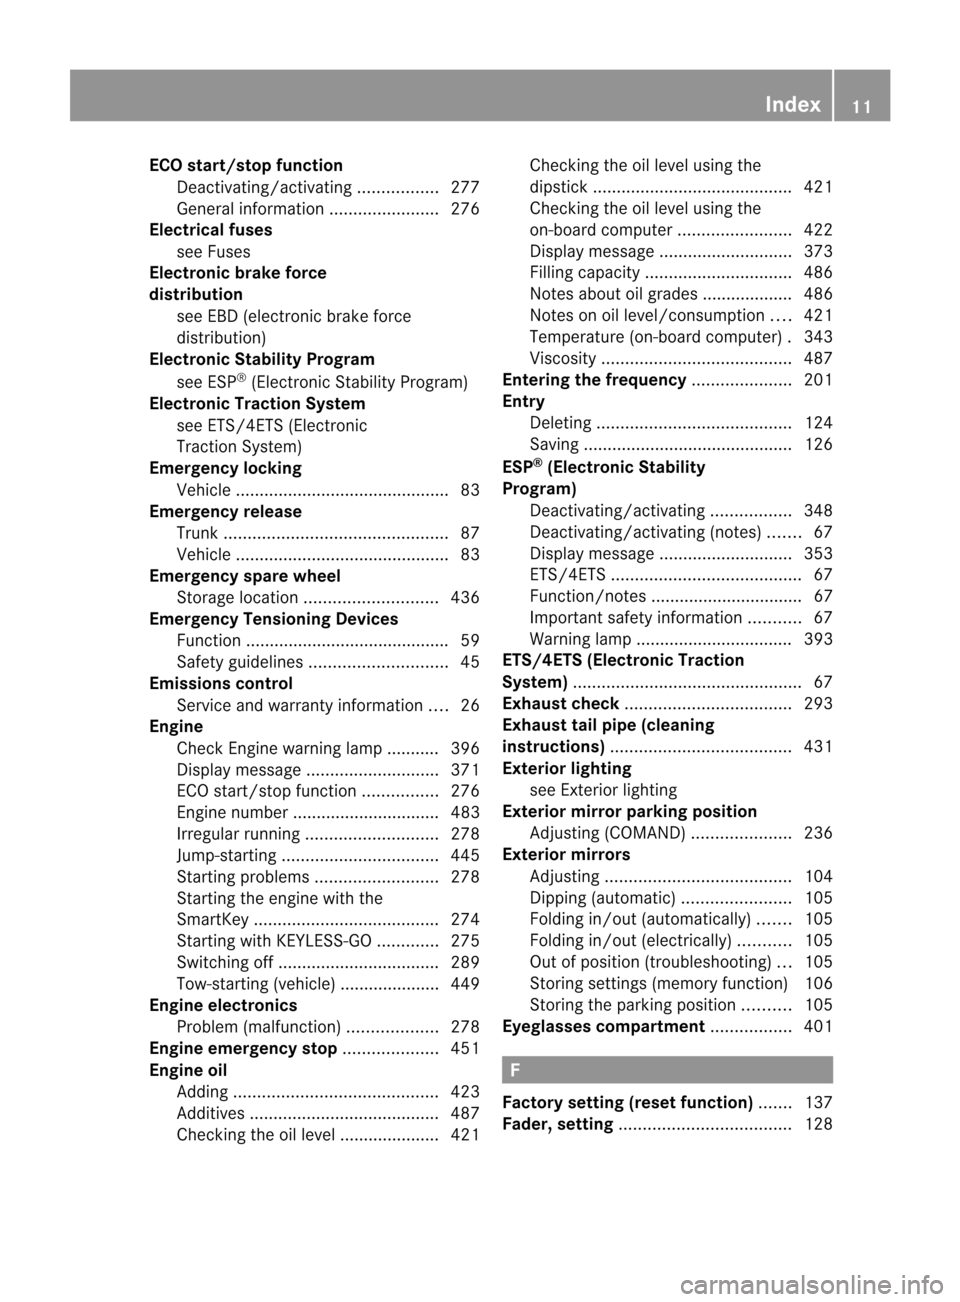
ECO start/stop function
Deactivating/activatin g................. 277
General information .......................276
Electrical fuses
see Fuses
Electronic brake force
distribution
see EBD (electronic brake force
distribution)
Electronic Stability Program
see ESP ®
(Electroni cStability Program)
Electronic Traction System
see ETS/4ETS (Electronic
Tractio nSystem)
Emergency locking
Vehicl e............................................. 83
Emergency release
Trunk ............................................... 87
Vehicle ............................................. 83
Emergency spare wheel
Storage location ............................ 436
Emergency Tensioning Devices
Function .......................................... .59
Safety guideline s............................. 45
Emissions control
Service and warranty information ....26
Engine
Check Engine warning lamp ........... 396
Display message ............................ 371
ECO start/stop function ................276
Engine number ............................... 483
Irregularr unning............................ 278
Jump-starting ................................. 445
Starting problems ..........................278
Starting the engine with the
SmartKey ....................................... 274
Starting with KEYLESS-GO .............275
Switching off .................................. 289
Tow-starting (vehicle) ..................... 449
Engine electronics
Problem (malfunction) ...................278
Engine emergency stop ....................451
Engine oil Adding ........................................... 423
Additives ........................................ 487
Checking the oil level ..................... 421 Checking the oil level using the
dipstick
.......................................... 421
Checking the oil level using the
on-board computer ........................422
Display message ............................ 373
Filling capacity ............................... 486
Notes about oil grades ................... 486
Notes on oil level/consumption ....421
Temperature (on-board computer) .343
Viscosity ........................................ 487
Entering the frequency .....................201
Entry Deleting ......................................... 124
Saving ............................................ 126
ESP ®
(Electronic Stability
Program) Deactivating/activating .................348
Deactivating/activating (notes) .......67
Display message ............................ 353
ETS/4ETS ........................................ 67
Function/notes ................................ 67
Important safety information ...........67
Warning lamp ................................. 393
ETS/4ETS (Electronic Traction
System) ................................................ 67
Exhaus tcheck ................................... 293
Exhaus ttail pipe (cleaning
instructions) ...................................... 431
Exterior lighting see Exterior lighting
Exterior mirror parking position
Adjusting (COMAND) .....................236
Exterior mirrors
Adjusting ....................................... 104
Dipping (automatic) .......................105
Folding in/ou t(automatically) .......105
Folding in/ou t(electrically) ...........105
Out of position (troubleshooting) ...105
Storing settings (memory function) 106
Storing the parking position ..........105
Eyeglasses compartment .................401 F
Factory setting (reset function) .......137
Fader, setting .................................... 128 Index
11
Page 20 of 494
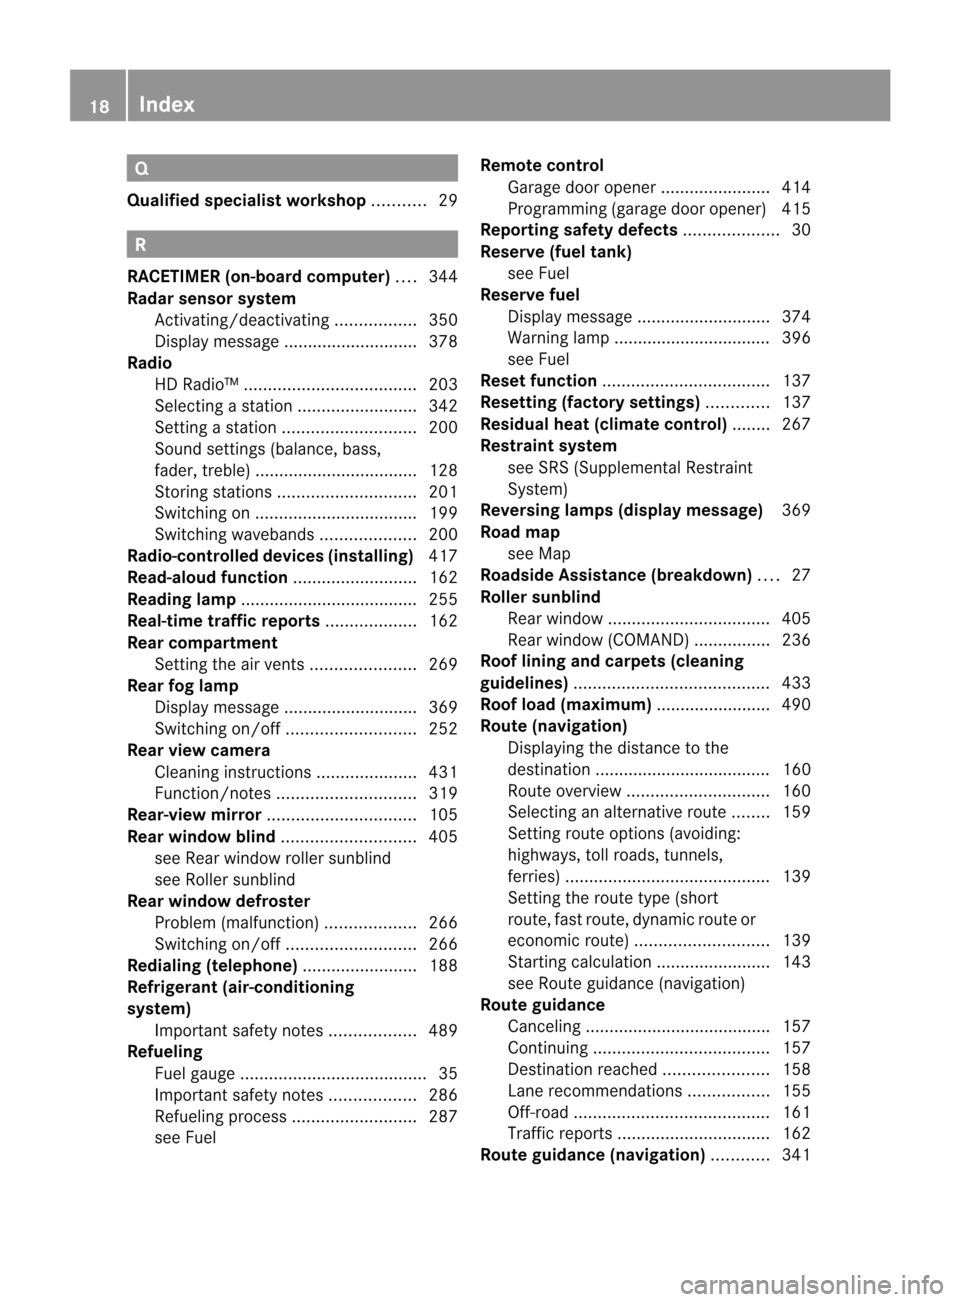
Q
Qualified specialist workshop ...........29 R
RACETIMER (on-board computer) ....344
Radar sensor system Activating/deactivating .................350
Display message ............................ 378
Radio
HD Radio ™.................................... 203
Selecting astation ......................... 342
Setting astation ............................ 200
Sound settings (balance, bass,
fader, treble ).................................. 128
Storing stations ............................. 201
Switching on .................................. 199
Switching wavebands ....................200
Radio-controlled devices (installing) 417
Read-aloud function ..........................162
Reading lamp ..................................... 255
Real-time traffic reports ...................162
Rear compartment Setting the airv ents...................... 269
Rear fog lamp
Display message ............................ 369
Switching on/off ........................... 252
Rear view camera
Cleaning instructions .....................431
Function/notes ............................. 319
Rear-view mirror ............................... 105
Rear window blind ............................405
see Rea rwindow roller sunblind
see Roller sunblind
Rea rwindow defroster
Problem (malfunction) ...................266
Switching on/off ........................... 266
Redialing (telephone) ........................188
Refrigerant (air-conditioning
system)
Important safety notes ..................489
Refueling
Fuel gauge ....................................... 35
Important safety notes ..................286
Refueling proces s.......................... 287
see Fuel Remote control
Garage door opener .......................414
Programming (garage door opener) 415
Reporting safety defects ....................30
Reserve (fuel tank) see Fuel
Reserve fuel
Display message ............................ 374
Warning lamp ................................. 396
see Fuel
Rese tfunction ................................... 137
Resetting (factory settings) .............137
Residual heat (climate control) ........267
Restraint system see SRS (Supplemental Restraint
System)
Reversing lamps (display message) 369
Road map see Map
Roadside Assistance (breakdown) ....27
Roller sunblind Rea rwindow .................................. 405
Rea rwindow (COMAND )................ 236
Roof lining and carpets (cleaning
guidelines) ......................................... 433
Roof load (maximum) ........................490
Route (navigation) Displaying the distance to the
destination ..................................... 160
Route overview .............................. 160
Selecting an alternative route ........159
Setting route options (avoiding:
highways, toll roads, tunnels,
ferries) ........................................... 139
Setting the route type (short
route, fast route, dynamic route or
economi croute) ............................ 139
Starting calculation ........................143
see Route guidance (navigation)
Route guidance
Canceling ...................................... .157
Continuing ..................................... 157
Destination reached ......................158
Lane recommendations .................155
Off-road ......................................... 161
Traffi creports ................................ 162
Route guidance (navigation) ............341 18
Index
Page 21 of 494
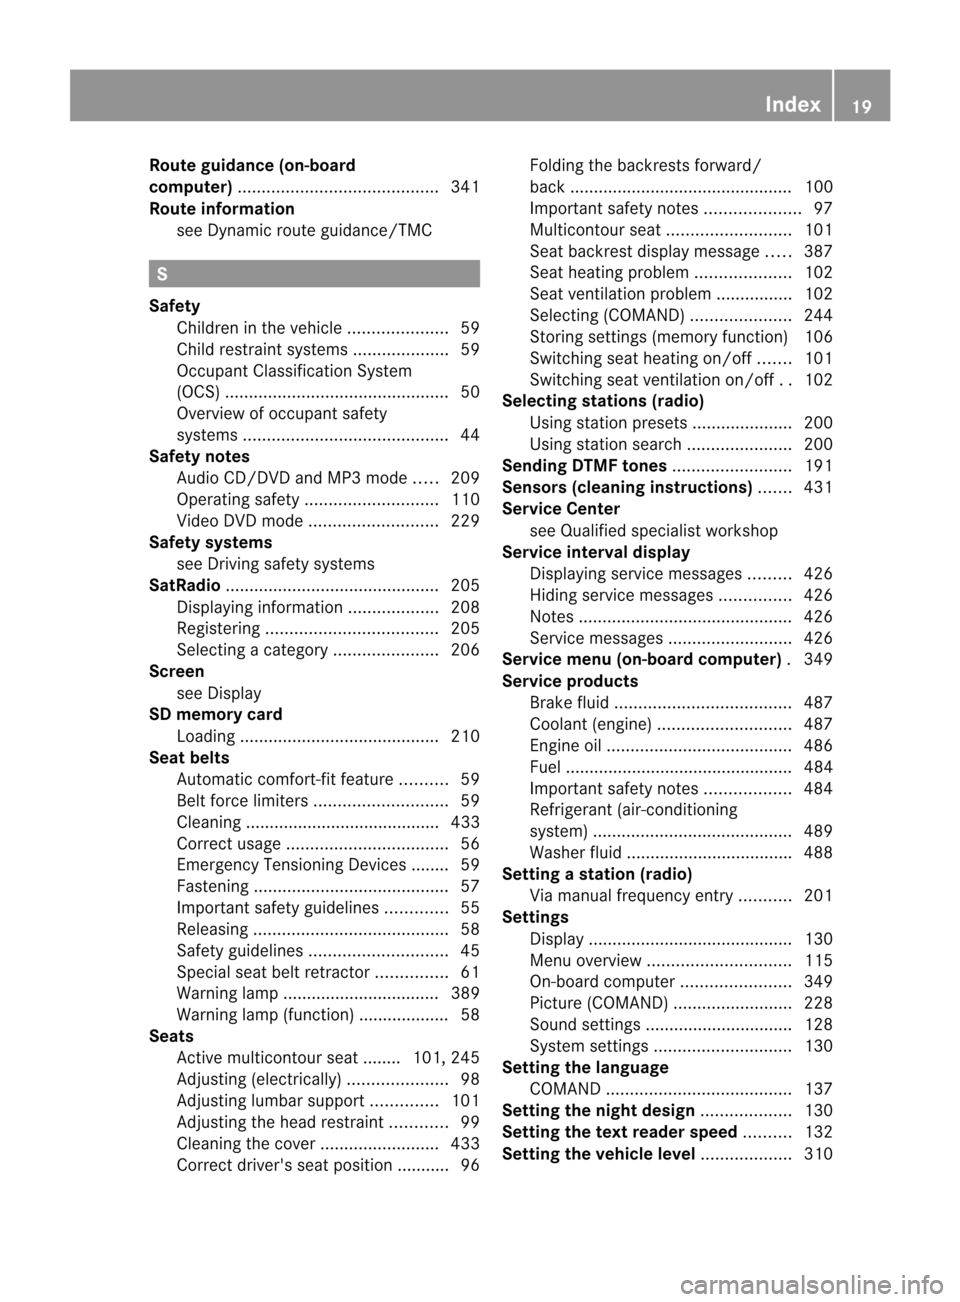
Route guidance (on-board
computer)
.......................................... 341
Route information see Dynami croute guidance/TMC S
Safety Children in the vehicle .....................59
Child restraint systems ....................59
Occupant Classification System
(OCS) ............................................... 50
Overview of occupant safety
systems ........................................... 44
Safety notes
Audio CD/DVD and MP3 mode .....209
Operating safety ............................ 110
Video DVD mode ........................... 229
Safety systems
see Driving safety systems
SatRadio ............................................. 205
Displaying information ...................208
Registering .................................... 205
Selecting acategor y...................... 206
Screen
see Display
SD memory card
Loading .......................................... 210
Seat belts
Automatic comfort-fit feature ..........59
Belt force limiters ............................ 59
Cleaning ......................................... 433
Correct usage .................................. 56
Emergency Tensioning Devices ....... .59
Fastening ......................................... 57
Important safety guidelines .............55
Releasing ......................................... 58
Safety guidelines ............................. 45
Specia lseat belt retractor ...............61
Warning lamp ................................. 389
Warning lamp (function) ................... 58
Seats
Active multicontour seat ....... .101, 245
Adjusting (electrically). ....................98
Adjusting lumba rsuppor t.............. 101
Adjusting the head restraint ............99
Cleaning the cover .........................433
Correct driver's seat position ........... 96 Folding the backrests forward/
back ............................................... 100
Important safety notes ....................97
Multicontour sea t.......................... 101
Seat backres tdisplay message .....387
Seat heating problem ....................102
Seat ventilation problem ................102
Selecting (COMAND) .....................244
Storing settings (memory function) 106
Switching sea theating on/off .......101
Switching seat ventilation on/off ..102
Selecting stations (radio)
Using statio npresets ..................... 200
Using statio nsearch ...................... 200
Sending DTMF tones .........................191
Sensors (cleaning instructions) .......431
Service Center see Qualified specialist workshop
Service interval display
Displaying service messages .........426
Hiding service messages ...............426
Notes ............................................. 426
Service messages ..........................426
Service menu (on-board computer) .349
Service products Brake fluid ..................................... 487
Coolant (engine) ............................ 487
Engine oil ....................................... 486
Fuel ................................................ 484
Important safety notes ..................484
Refrigerant (air-conditioning
system) .......................................... 489
Washer fluid .................................. .488
Setting astation (radio)
Via manual frequency entry ...........201
Settings
Display ........................................... 130
Menu overview .............................. 115
On-board computer .......................349
Picture (COMAND) .........................228
Sound settings ............................... 128
System settings ............................. 130
Setting the language
COMAND ....................................... 137
Setting the night design ...................130
Setting the text reader speed ..........132
Setting the vehicle level ...................310 Index
19
Page 22 of 494
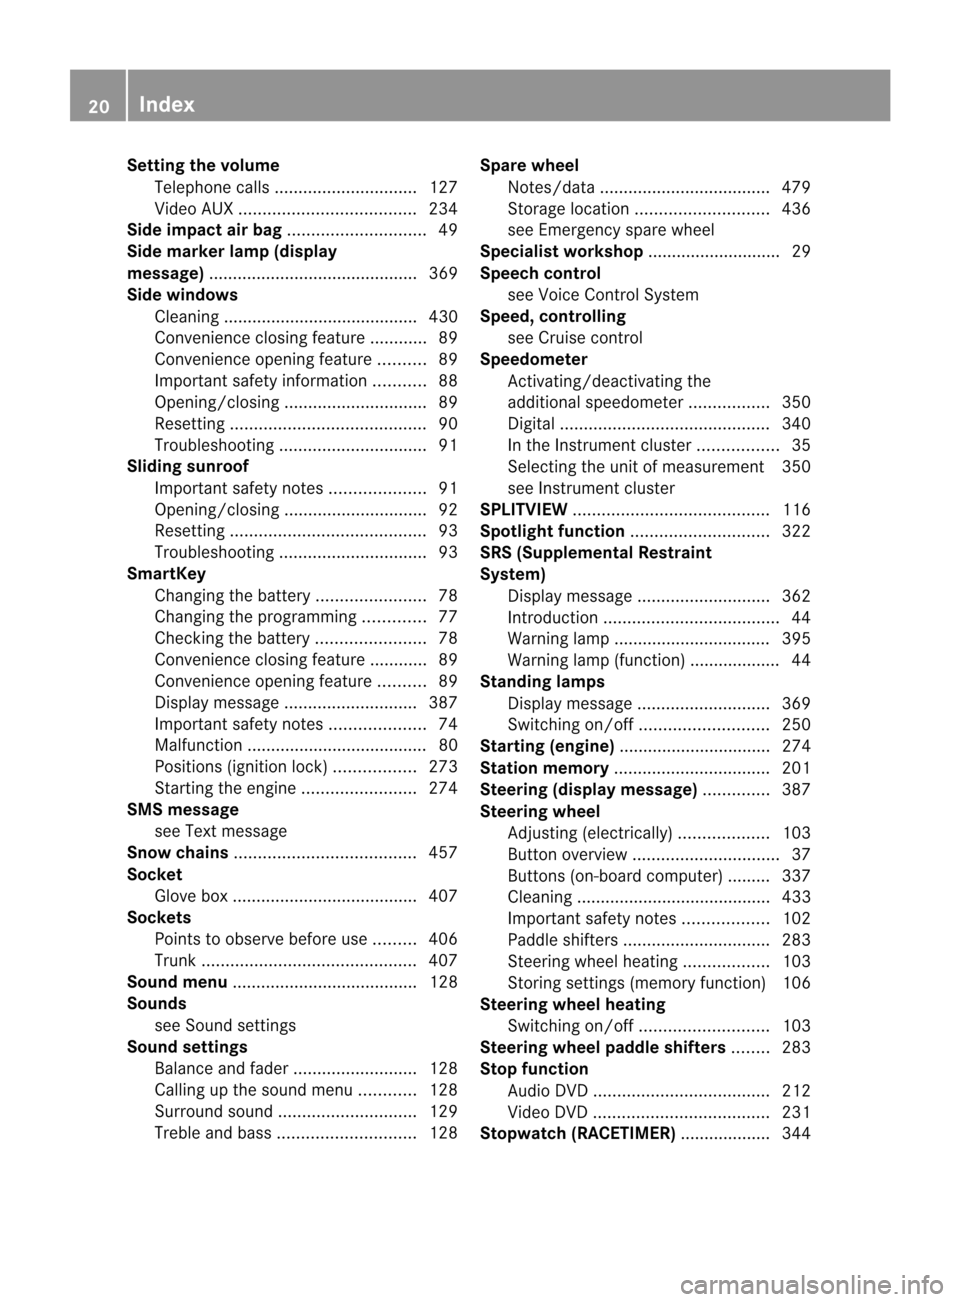
Setting the volume
Telephone calls .............................. 127
Video AUX ..................................... 234
Side impact air bag .............................49
Side marker lamp (display
message) ............................................ 369
Side windows Cleaning ......................................... 430
Convenience closing feature ............89
Convenience opening feature ..........89
Important safety information ...........88
Opening/closing .............................. 89
Resetting ......................................... 90
Troubleshooting ............................... 91
Sliding sunroof
Important safety notes ....................91
Opening/closing .............................. 92
Resetting ......................................... 93
Troubleshooting ............................... 93
SmartKey
Changing the battery .......................78
Changing the programming .............77
Checking the battery .......................78
Convenience closing feature ............89
Convenience opening feature ..........89
Display message ............................ 387
Important safety notes ....................74
Malfunction ...................................... 80
Positions (ignition lock) .................273
Starting the engine ........................274
SMS message
see Text message
Snow chains ...................................... 457
Socket Glove box ...................................... .407
Sockets
Points to observe before use .........406
Trunk ............................................. 407
Soun dmenu ....................................... 128
Sounds see Soun dsettings
Sound settings
Balance and fader ..........................128
Calling up the sound menu ............128
Surround sound ............................. 129
Treble and bas s............................. 128Spare wheel
Notes/data .................................... 479
Storage location ............................ 436
see Emergency spare wheel
Specialist workshop ............................ 29
Speech control see Voice Control System
Speed, controlling
see Cruise control
Speedometer
Activating/deactivating the
additional speedometer .................350
Digita l............................................ 340
In the Instrument cluster .................35
Selecting the unit of measurement 350
see Instrument cluster
SPLITVIEW ......................................... 116
Spotlight function ............................. 322
SRS (Supplemental Restraint
System)
Display message ............................ 362
Introduction ..................................... 44
Warning lamp ................................. 395
Warning lamp (function) ................... 44
Standing lamps
Display message ............................ 369
Switching on/off ........................... 250
Starting (engine) ................................ 274
Station memory ................................. 201
Steering (display message) ..............387
Steering wheel Adjusting (electrically). ..................103
Button overview ............................... 37
Buttons (on-board computer) ......... 337
Cleaning ......................................... 433
Important safety notes ..................102
Paddle shifters ............................... 283
Steering wheel heating ..................103
Storing settings (memory function) 106
Steering wheel heating
Switching on/off ........................... 103
Steering wheel paddle shifters ........283
Stop function Audi oDVD ..................................... 212
Video DVD ..................................... 231
Stopwatch (RACETIMER) ................... 34420
Index
Page 25 of 494
GVWR (Gross Vehicle Weight
Rating) (definition)
.........................475
Important safety notes ..................454
Increased vehicle weight due to
optional equipment (definition) ......474
Kilopascal (kPa) (definition) ...........475
Labeling (overview )........................ 470
Load bearing index (definition) ......476
Load index ..................................... 473
Load index (definition) ...................475
M+S tires ....................................... 456
Maximum loaded vehicle weight
(definition) ..................................... 475
Maximum load on a tire (definition) 475
Maximum permissible tire
pressure (definition) ....................... 475
Maximum tire loa d......................... 468
Maximum tire load (definition) .......475
MOExtended tires ..........................456
Optional equipment weight
(definition) ..................................... 476
PSI (pounds per square inch)
(definition) ..................................... 475
Replacing ....................................... 477
Service life ..................................... 456
Sidewall (definition) .......................476
Speed rating (definition) ................475
Storing ........................................... 477
Structure and characteristics
(definition) ..................................... 474
Temperature .................................. 470
TIN (Tire Identification Number)
(definition) ..................................... 476
Tire bea d(definition) ...................... 476
Tire pressure (definition) ................476
Tire pressures (recommended )...... 474
Tire size (data) ............................... 477
Tire size designation, load-bearing
capacity, speed rating .................... 471
Tire tread ....................................... 455
Tire tread (definition) .....................476
Total load limit (definition) .............476
Traction ......................................... 469
Traction (definition) .......................476
Trea dwear ..................................... 469
Uniform Tire Quality Grading
Standard s...................................... 469Uniform Tire Quality Grading
Standard
s(definition) .................... 474
Unladen weight (definition) ............475
Wea rindicato r(definition) .............476
Whee lrim (definition ).................... 474
see Flat tire
Tonal properties
see Sound settings
Top Tether ............................................ 63
Towing Important safety guidelines ...........446
Installing the towing eye ................447
Removing the towing eye. ..............448
With the rear axle raised ................448
Towing away
With both axles on the ground .......448
Tow-starting
Emergency engine starting ............449
Important safety notes ..................446
Track
Selecting (CD, DVD, MP3) .............. 213
Traffic Announcements (TA)
Switching off .................................. 127
Traffic jam function ........................... 159
Traffic jam message see Dynami croute guidance/TMC
Traffic reports
Real-time traffic report ..................165
Switching on/off ........................... 162
Transfer case ..................................... 286
Transmission see Automatic transmission
Transporting the vehicle ..................448
Treble ,adjusting (sound) ..................128
Trim pieces (cleaning instructions) .433
Trip computer (on-board computer) 340
Trip meter see Trip odometer
Trip odometer
Calling up ....................................... 340
Resetting (on-board computer) ......341
Trunk
Automatic opening ........................... 85
Emergency release ..........................87
Important safety guidelines .............84
Limiting the opening angle ............. 239 Index
23
Page 31 of 494
Declarations of conformity
Vehicle components which receive
and/or transmit radio waves USA:
"The wireless devices of this vehicle
comply with Par t15ofthe FCC Rules.
Operation is subject to the following two
conditions: 1) These devices may not cause
harmful interference, and 2) These devices
must accept any interference received,
including interference that may cause
undesired operation. Changes or
modifications not expressly approved by the
party responsible for compliance could void
the user’s authority to operate the
equipment."
Canada: "The wireless devices of this vehicle
comply with Industry Canada license-exempt
RSS standard(s). Operation is subject to the
following two conditions: (1) These devices
may not cause interference, and (2) These
devices must accept any interference,
including interference that may cause
undesired operation of the device." Diagnostics connection
G
WARNING
If you connect equipment to the diagnostics
connection, it can affect the operation of the
vehicle systems. This can impair the operating
safety of your vehicle while driving. There is a
risk of accident.
Do not connect any equipment to the
diagnostics connection. G
WARNING
Loose equipment or equipment cables that
are connected to the diagnostics connection
can obstruct the area around the pedals. The
equipment or the cables could get between
the pedals in the event of sudden braking or
acceleration. As a result, the movement of the
pedals may be impaired. There is a risk of
accident. Do not attach any equipment or cables in the
driver footwell.
! If the engine is switched off and
equipment on the diagnostics connection
is used, the starter battery may discharge.
The diagnostics connection is only intended
for the connection of diagnostic equipment at
a qualified specialist workshop.
Connecting equipment to the diagnostics
connection can, for example, lead to
emissions monitoring information being
reset. This may lead to the vehicle failing to
meet the requirements of the next emissions
test during the main inspection. Qualified specialist workshop
An authorized Mercedes-Ben zCenter is a
qualified specialist workshop. It has the
necessary specialist knowledge, tools and
qualifications to correctly carry out the work
required on your vehicle. This is especially the
case for work relevant to safety.
Observe the notes in the Maintenance
Booklet.
Always have the following work carried out at
an authorized Mercedes-BenzC enter:
R work relevant to safety
R service and maintenance work
R repair work
R alterations, installation work and
modifications
R work on electronic components Correct use
G
WARNING
There are various warning stickers affixed to
your vehicle. Their purpose is to alert you and
others to various dangers. Therefore, do not
remove any warning stickers unless the
sticker clearly states that you may do so. Introduction
29 Z
Page 53 of 494
For safety reasons, Mercedes-Benz
recommends that you only use seat
accessories that have bee napproved by
Mercedes-Benz.
Both the driver and the passenger should
always use the 42 indicator
lamp as an indication of whether or not the
passenger is properly positioned. G
WARNING
If the 42 indicator lamp lights up
when an adult or someone larger than a small
individual is in the front-passenger seat, have
the fron tpassenger reposition himself or
herself in the seat until the 42
indicator lamp goes out.
In the event of a collision, the air bag control
unit will no tallow front-passenge rfront air
bag deployment when the OCS has classified
the front-passenge rseat occupant as
weighing as much as or less than a typical 12-
month-old child in a standard child restraint
or if the front-passenger seat is classified as
being empty.
When the OCS senses that the front-
passenger seat occupant is classified as
being up to or less than the weight of a typical
12-month-old child in a standard child
restraint, the 42 indicator lamp
will illuminate when the engine is started and
remain illuminated, indicating that the front-
passenger fron tair bag is deactivated.
When the OCS senses that the front-
passenger seat is classified as being empty,
the 42 indicator lamp will
illuminate when the engine is started and
remain illuminated, indicatin gthat the front-
passenger front air bag is deactivated.
When the OCS senses that the front-
passenger seat occupant is classified as
being heavier than the weight of a typical 12-
month-old child seated in astandard child
restraint or as being a small individual (such
as a young teenager or asmall adult), the
42 indicator lamp will illuminate
for approximately 6seconds when the engine
is started and then, depending on occupant weight sensor readings from the front-
passenger seat, remain illuminated or go out.
With the
42 indicator lamp
illuminated, the front-passenger fron tair bag
is deactivated. With the 42
indicator lamp out, the front-passenger front
air bag is activated.
When the OCS senses that the front-
passenger seat occupant is classified as an
adult or someone larger than a small
individual, the 42 indicator lamp
will illuminate for approximately 6seconds
when the engine is started and then go out,
indicating that the front-passenger front air
bag is activated.
If the 42 indicator lamp is
illuminated, the front-passenger fron tair bag
is deactivated and will not be deployed.
If the 42 indicator lamp is not
illuminated, the front-passenge rfront air bag
is activated and will be deployed:
R in the event of certain frontal impacts
R if impact exceeds a preset deployment
threshold
R independently of the side impact air bags
If the front-passenger front air bag is
deployed, the rate of inflation will be
influenced by:
R the rate of vehicle deceleratio nas assessed
by the air bag control unit
R the front passenger's weight category as
identified by OCS
For further information, see "Air bag display
messages" (Y page 364). G
WARNING
According to accident statistics, children are
safer when properly restrained on the rear
seats than on the front-passenger seat. Thus,
we strongly recommend that children be
placed in the rear seats whenever possible.
Regardless of seating position, children 12
years old and under must be seated and
properly secured in an appropriately sized
child restraint system or booster seat Occupant safety
51Safety
Z
Page 57 of 494
PRE-SAFE
®
(anticipatory occupant
protection system) G
WARNING
The PRE-SAFE ®
system reduces the impact of
an accident on vehicle occupants, as long as
their seat belts have been fastened correctly.
Although your vehicle is equipped with a PRE-
SAFE ®
system, the possibility of injury in the
event of an accident cannot be ruled out. You
should therefore always drive carefully and
adapt your driving style to the prevailing road,
weather and traffic conditions.
PRE-SAFE ®
takes preemptive measures to
protect occupants in certain hazardous
situations.
PRE-SAFE ®
intervenes:
R if BAS PLUS intervenes powerfully on
vehicles with DISTRONIC PLUS
R in critical driving situations, e.g. when
physical limits are exceeded and the
vehicle understeers or oversteers severely
PRE-SAFE ®
takes the following measures
depending on the hazardous situation
detected:
R the front-passenger seat is adjusted if it is
in an unfavorable position.
R the air pressure in the side bolsters of the
seat cushion and seat backrest of the front
active multicontour seats is increased.
R if the vehicle skids, the side windows and
sliding sunroof are closed so that only a
small gap remains.
If the hazardous situation passes without
resulting in an accident:
R the air pressure in the side bolsters of the
active multicontour seat is reduced again.
R all settings made by PRE-SAFE ®
can then
be reversed. If the seat belts are not released:
X
Move the backrest back slightly, but only
when the vehicle is stationary.
The belt pretensioning is reduced and the
locking mechanism is released. G
WARNING
Make sure that nobody can become trapped
as you adjust the seat.
! Make sure that there are no objects in the
footwell or behind the seats when resetting
the seats. There is a risk that the seats
and/or the objects could be damaged. Seat belts
Important safety notes The use of seat belts and infant and child
restraint systems is required by law in all 50
states, the District of Columbia, the U.S.
territories and all Canadianp
rovinces.
Even where this is not the case, all vehicle
occupants should have their seat belts
fastened when the vehicle is in motion.
i For further information on infants and
children traveling in the vehicle and on
infant and child restraint systems, see
"Children in the vehicle" (Y page 59). G
WARNING
Always fasten yours eat belt before driving off.
Always make sure all of your passengers are
properly restrained. You and your passengers
should always wear seat belts.
Failure to wear and properly fasten and
position your seat belt greatly increases your
risk of injuries and their likely severity in an
accident.
If you are ever in an accident, your injuries can
be considerably more severe without your
seat belt properly buckled. Without your seat
belt buckled, you are much more likely to hit
the interior of the vehicle or be ejected from
it. You can be seriously injured or killed. Occupant safety
55Safety
Z
Page 58 of 494
In the same crash, the possibility of injury or
death is lessened if you are properly wearing
yours
eat belt. The air bags can only protect
as intended if the occupants are properly
wearing their seat belts. G
WARNING
Never ride in a moving vehicle with the seat
backrest in an excessively reclined position as
this can be dangerous. You could slide under
the seat belt in a collision. If you slide under
it, the seat belt would apply force at the
abdomen or neck .That could cause serious
or even fatal injuries. The seat backrest and
seat belt provide the best restraint when the
wearer is in a position that is as upright as
possible and the seat belt is properly
positioned on the body. G
WARNING
Never let more people ride in the vehicle than
there are seat belts available. Make sure
everyone riding in the vehicle is correctly
restrained with a separate seat belt. Never
use a seat belt for more than one person at a
time. G
WARNING
Damaged seat belts or seat belts that have
been subjected to stress in an accident must
be replaced and their anchoring points must
also be checked.
Only use seat belts which have been approved
by Mercedes-Benz.
Do not make any modifications to the seat
belts. This can lead to unintended activation
of the ETDs or to their failure to activate when
necessary.
Do not bleach or dye seat belts as this may
severely weaken them. In a crash they may
not be able to provide adequate protection.
Have all work carried out only by qualified
technicians. Contact an authorized
Mercedes-Benz Center. Correct use of the seat belts G
WARNING
USE SEAT BELTS PROPERLY
R Seat belts can only work when used
properly. Never wear seat belts in any other
way than as described in this section, as
that could result in serious injuries in the
event of an accident.
R Each occupant should wear their seat belt
at all times, because seat belts help reduce
the likelihood of and potential severity of
injuries in accidents, including rollovers.
The integrated restraint system includes
SRS (driver front air bag, driver's side knee
bag, front-passenger front air bag, side
impact air bags, window curtain air bags for
the side windows), Emergency Tensioning
Devices, seat belt force limiters, and front
seat knee bolsters.
The system is designed to enhance the
protection offered to properly belted
occupants in certain frontal (front air bags,
driver's side knee bag and ETDs) and side
(side impact air bags, window curtain air
bags, and ETDs) impacts which exceed
preset deployment thresholds and in
certain rollovers (window curtain air bags
and ETDs).
R Never wear the shoulder belt under your
arm, across your neck or off your shoulder.
In a frontal crash, your body would move
too far forward. That would increase the
chance of head and neck injuries. The seat
belt would also apply too much force to the
ribs or abdomen, which could severely
injure internal organs such as your liver or
spleen.
Adjust the seat belt so that the shoulder
section is located as close as possible to
the middle of the shoulder. It should not
touch the neck.N ever pass the shoulder
portion of the seat belt under your arm. For
this purpose, you can adjust the height of
the seat belt outlet. 56
Occupant safetySafety
Page 92 of 494
closing procedure, press and hold the
&
button.
Vehicles with KEYLESS-GO:
R Release the senso rsurface on the outside
door handle to stop the closing procedure.
R Immediately pull on the same outside door
handle and hold firmly. The door windows
and the sliding sunroo fwill open for as long
as the door handle is held but the door is
not opened.
Using the SmartKey i
The SmartKey must be close to the
driver's door handle.
X Point the tip of the SmartKey at the driver's
door handle.
X Loc kthe vehicle by pressing the &
button.
X Press and hold the &button until the
side windows and the sliding sunroof are
fully closed.
X Make sure that all the side windows and the
sliding sunroof are closed.
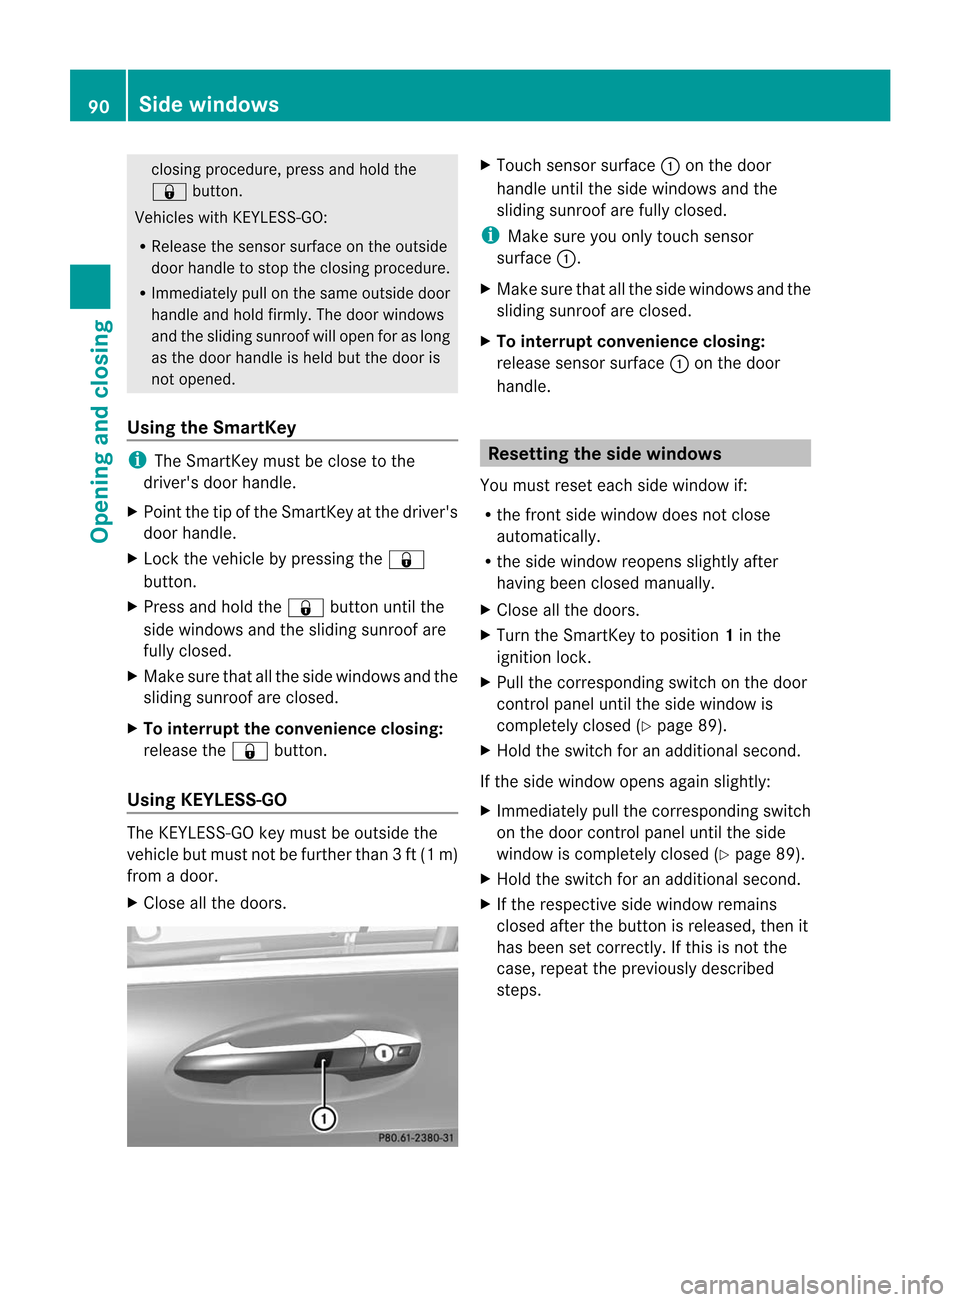
X To interrupt the conveniencec losing:
release the &button.
Using KEYLESS-GO The KEYLESS-GO key must be outside the
vehicle but must not be further than 3ft(1m)
from a door.
X Close all the doors. X
Touch sensor surface :on the door
handle until the side windows and the
sliding sunroo fare fully closed.
i Make sure you only touch sensor
surface :.
X Make sure that all the side windows and the
sliding sunroof are closed.
X To interrupt convenience closing:
release sensor surface :on the door
handle. Resetting the side windows
You must reset each side window if:
R the front side window does not close
automatically.
R the side window reopens slightly after
having been closed manually.
X Close all the doors.
X Turn the SmartKey to position 1in the
ignitio nlock.
X Pull the corresponding switch on the door
control panel until the side window is
completely closed (Y page 89).
X Hold the switch for an additional second.
If the side window opens again slightly:
X Immediately pull the corresponding switch
on the door control panel until the side
window is completely closed (Y page 89).
X Hold the switch for an additional second.
X If the respective side window remains
closed after the button is released, then it
has been set correctly. If this is not the
case, repeat the previously described
steps. 90
Side windowsOpening and closing