low beam MERCEDES-BENZ CLA 2013 Owners Manual
[x] Cancel search | Manufacturer: MERCEDES-BENZ, Model Year: 2013, Model line: CLA, Model: MERCEDES-BENZ CLA 2013Pages: 352, PDF Size: 5.37 MB
Page 8 of 352
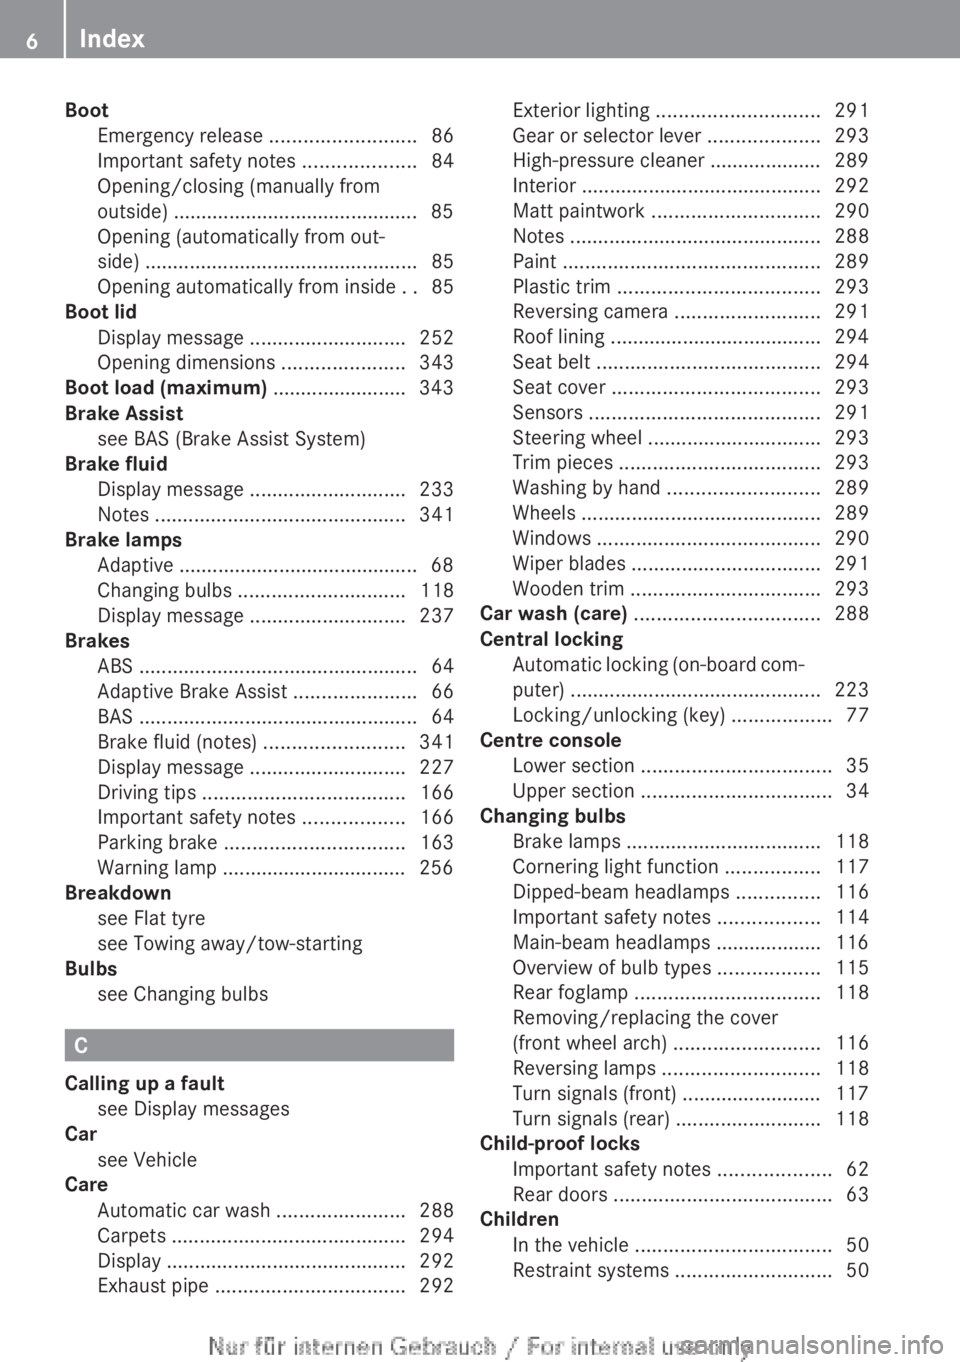
BootEmergency release ..........................86
Important safety notes ....................84
Opening/closing (manually from
outside) ............................................ 85
Opening (automatically from out-
side) ................................................. 85
Opening automatically from inside ..85
Boot lid
Display message ............................ 252
Opening dimensions ......................343
Boot load (maximum) ........................ 343
Brake Assist see BAS (Brake Assist System)
Brake fluid
Display message ............................ 233
Notes ............................................. 341
Brake lamps
Adaptive ........................................... 68
Changing bulbs .............................. 118
Display message ............................ 237
Brakes
ABS .................................................. 64
Adaptive Brake Assist ......................66
BAS .................................................. 64
Brake fluid (notes) .........................341
Display message ............................ 227
Driving tips .................................... 166
Important safety notes ..................166
Parking brake ................................ 163
Warning lamp ................................. 256
Breakdown
see Flat tyre
see Towing away/tow-starting
Bulbs
see Changing bulbs
C
Calling up a fault see Display messages
Car
see Vehicle
Care
Automatic car wash .......................288
Carpets .......................................... 294
Display ........................................... 292
Exhaust pipe .................................. 292
Exterior lighting ............................. 291
Gear or selector lever ....................293
High-pressure cleaner .................... 289
Interior ........................................... 292
Matt paintwork .............................. 290
Notes ............................................. 288
Paint .............................................. 289
Plastic trim .................................... 293
Reversing camera ..........................291
Roof lining ...................................... 294
Seat belt ........................................ 294
Seat cover ..................................... 293
Sensors ......................................... 291
Steering wheel ............................... 293
Trim pieces .................................... 293
Washing by hand ........................... 289
Wheels ........................................... 289
Windows ........................................ 290
Wiper blades .................................. 291
Wooden trim .................................. 293
Car wash (care) ................................. 288
Central locking Automatic locking (on-board com-
puter) ............................................. 223
Locking/unlocking (key) ..................77
Centre console
Lower section .................................. 35
Upper section .................................. 34
Changing bulbs
Brake lamps ................................... 118
Cornering light function .................117
Dipped-beam headlamps ...............116
Important safety notes ..................114
Main-beam headlamps ................... 116
Overview of bulb types ..................115
Rear foglamp ................................. 118
Removing/replacing the cover
(front wheel arch) .......................... 116
Reversing lamps ............................ 118
Turn signals (front) ......................... 117
Turn signals (rear) ..........................118
Child-proof locks
Important safety notes ....................62
Rear doors ....................................... 63
Children
In the vehicle ................................... 50
Restraint systems ............................ 506Index
Page 13 of 352
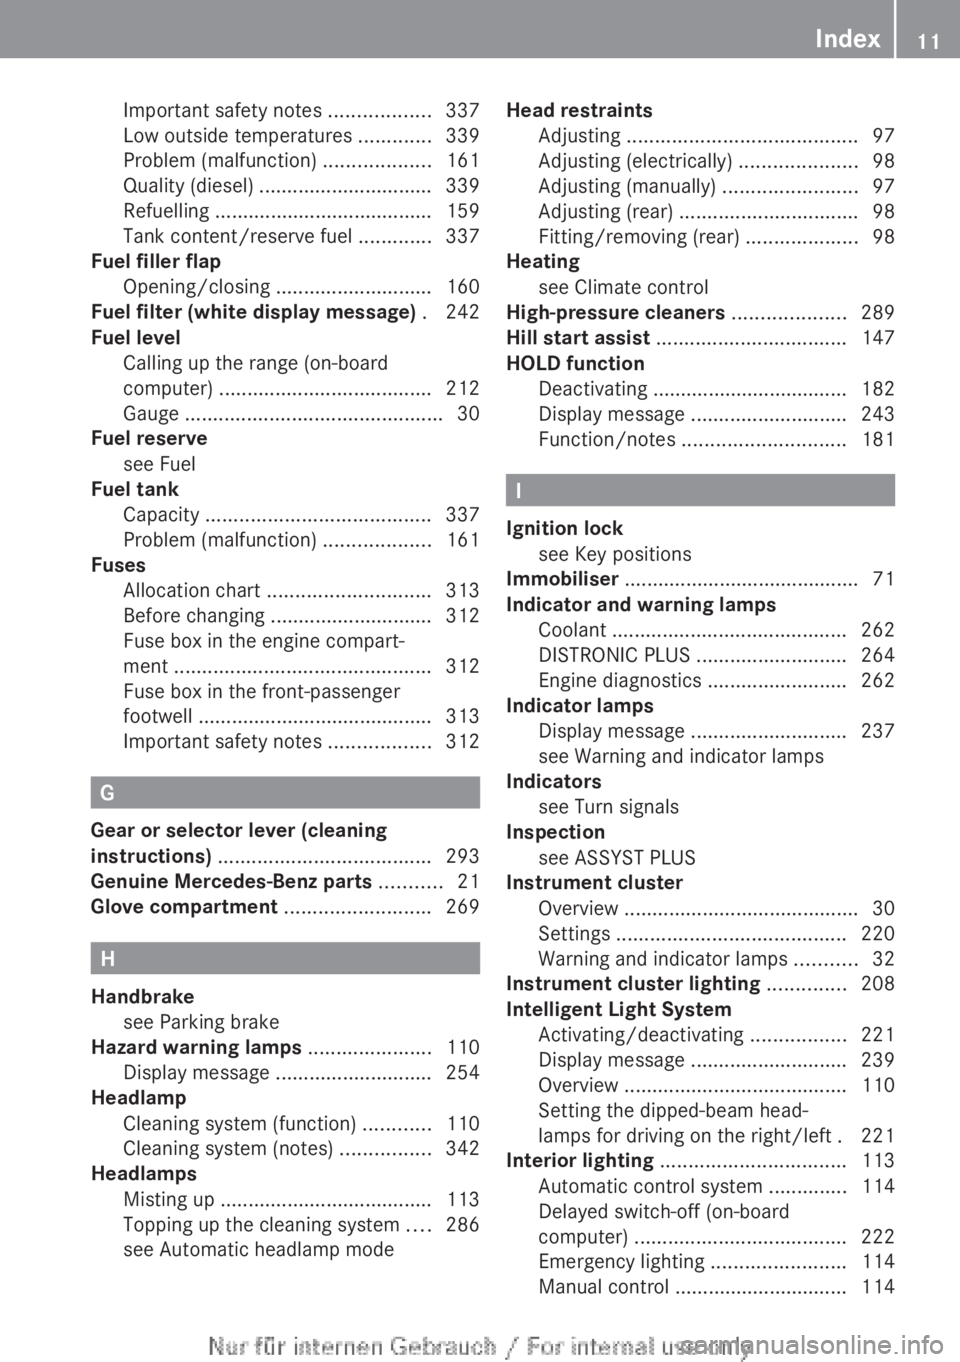
Important safety notes ..................337
Low outside temperatures .............339
Problem (malfunction) ...................161
Quality (diesel) ............................... 339
Refuelling ....................................... 159
Tank content/reserve fuel .............337
Fuel filler flap
Opening/closing ............................ 160
Fuel filter (white display message) . 242
Fuel level Calling up the range (on-board
computer) ...................................... 212
Gauge .............................................. 30
Fuel reserve
see Fuel
Fuel tank
Capacity ........................................ 337
Problem (malfunction) ...................161
Fuses
Allocation chart ............................. 313
Before changing ............................. 312
Fuse box in the engine compart-
ment .............................................. 312
Fuse box in the front-passenger
footwell .......................................... 313
Important safety notes ..................312
G
Gear or selector lever (cleaning
instructions) ...................................... 293
Genuine Mercedes-Benz parts ........... 21
Glove compartment .......................... 269
H
Handbrake see Parking brake
Hazard warning lamps ...................... 110
Display message ............................ 254
Headlamp
Cleaning system (function) ............110
Cleaning system (notes) ................342
Headlamps
Misting up ...................................... 113
Topping up the cleaning system ....286
see Automatic headlamp mode
Head restraints
Adjusting ......................................... 97
Adjusting (electrically) .....................98
Adjusting (manually) ........................97
Adjusting (rear) ................................ 98
Fitting/removing (rear) ....................98
Heating
see Climate control
High-pressure cleaners .................... 289
Hill start assist .................................. 147
HOLD function Deactivating ................................... 182
Display message ............................ 243
Function/notes ............................. 181
I
Ignition lock see Key positions
Immobiliser .......................................... 71
Indicator and warning lamps Coolant .......................................... 262
DISTRONIC PLUS ........................... 264
Engine diagnostics .........................262
Indicator lamps
Display message ............................ 237
see Warning and indicator lamps
Indicators
see Turn signals
Inspection
see ASSYST PLUS
Instrument cluster
Overview .......................................... 30
Settings ......................................... 220
Warning and indicator lamps ...........32
Instrument cluster lighting .............. 208
Intelligent Light System Activating/deactivating .................221
Display message ............................ 239
Overview ........................................ 110
Setting the dipped-beam head-
lamps for driving on the right/left . 221
Interior lighting ................................. 113
Automatic control system ..............114
Delayed switch-off (on-board
computer) ...................................... 222
Emergency lighting ........................114
Manual control ............................... 114
Index11
Page 34 of 352
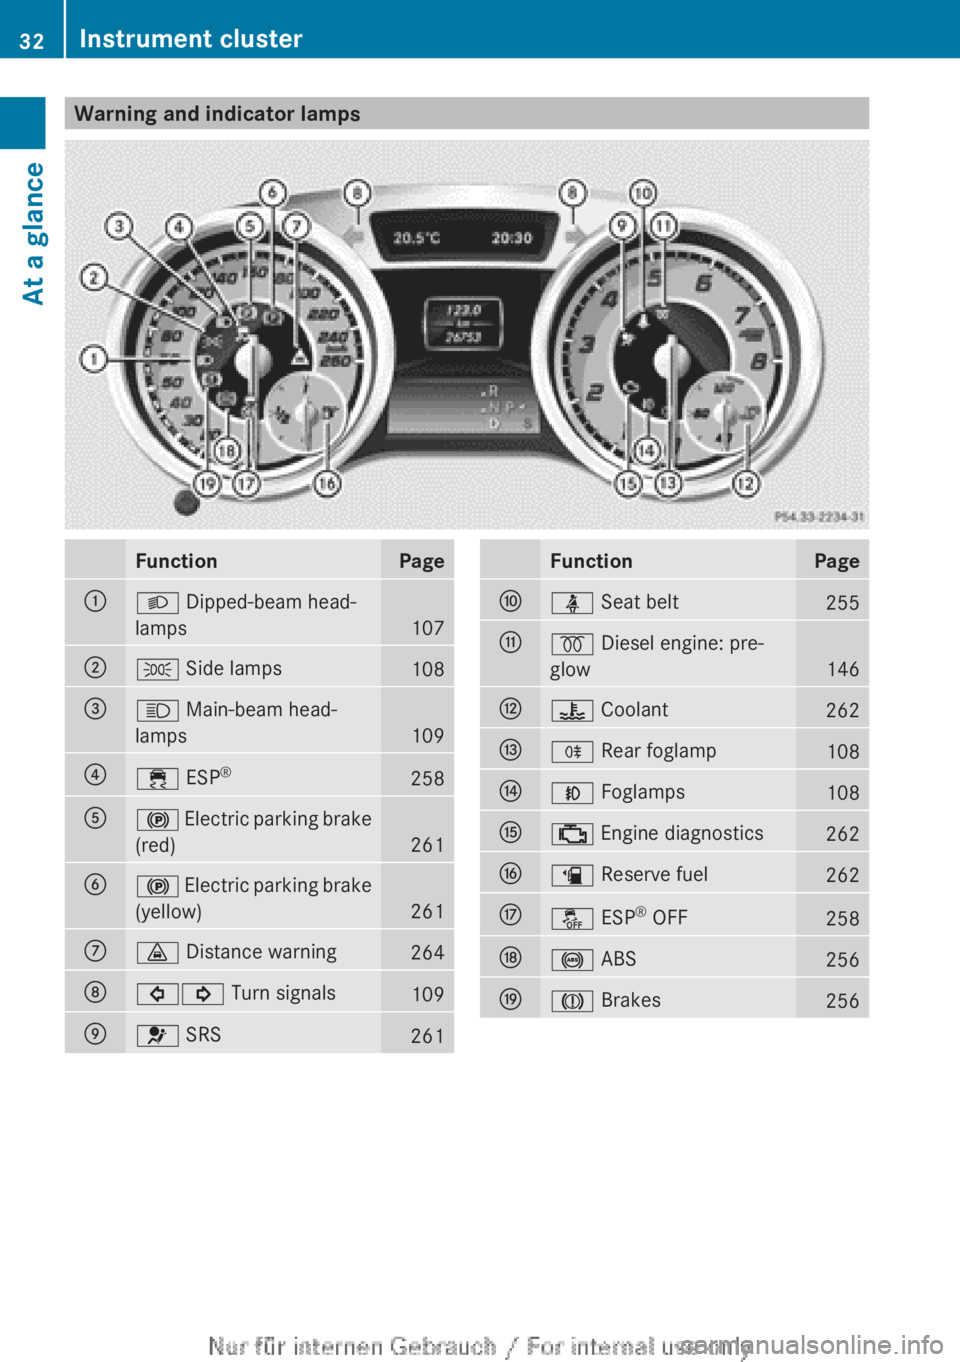
Warning and indicator lampsFunctionPage:L Dipped-beam head-
lamps
107
;T Side lamps108=K Main-beam head-
lamps
109
?÷ ESP®258A!
Electric parking brake
(red)
261
B! Electric parking brake
(yellow)
261
C· Distance warning264D#! Turn signals109E6 SRS261FunctionPageFü Seat belt255G% Diesel engine: pre-
glow
146
H? Coolant262IR Rear foglamp108JN Foglamps108K; Engine diagnostics262Læ Reserve fuel262Må ESP®
OFF258N! ABS256OJ Brakes25632Instrument clusterAt a glance
Page 110 of 352
XTo switch on the dipped-beam head-
lamps: turn the key in the ignition lock to
position 2 or start the engine.XTurn the light switch to L.
The green L indicator lamp in the instru-
ment cluster lights up.
Foglamps
In conditions where visibility is poor due to
fog, snow or rain, the foglamps improve visi-
bility as well as making it easier for other road
users to see you. They can be operated
together with the side lamps or together with
the side lamps and dipped-beam headlamps.
XTo switch on the foglamps: turn the key
in the ignition lock to position 2 or start the
engine.XTurn the light switch to L or à .XPress the N button.
The green N indicator lamp in the instru-
ment cluster lights up.XTo switch off the front foglamps: press
the N button.
The green N indicator lamp in the instru-
ment cluster goes out.
Only vehicles with front foglamps are equip-
ped with the "Foglamp" function; for how to
operate the foglamps on vehicles with the
Intelligent Light System ( Y page 111).
Rear foglamp
The rear foglamp improves the visibility of
your vehicle in heavy fog for the following
traffic. Please observe the country-specific
laws on the use of rear foglamps.
XTo switch on the rear foglamp: turn the
key in the ignition lock to position 2 or start
the engine.XTurn the light switch to L or à .XPress the R button.
The yellow R indicator lamp in the
instrument cluster lights up.XTo switch off the rear foglamp: press the
R button.
The yellow R indicator lamp in the
instrument cluster goes out.
i When the rear foglamp is switched on, the
centre brake lamp in the tail lamp switches
off due to a legal requirement.
Side lamps
! If the battery has been excessively dis-
charged, the side lamps or parking lamps
are automatically switched off to enable
the next engine start. Always park your
vehicle safely and sufficiently lit according
to legal standards. Avoid the continuous
use of the T side lamps for several
hours. If possible, switch on the X right
or the W left parking lamp.
XTo switch on: turn the light switch to
T .
The green T indicator lamp in the instru-
ment cluster lights up.
Parking lamps
Switching on the parking lamps ensures the
corresponding side of the vehicle is illumina-
ted.
XTo switch on the parking lamps: the key
is not in the ignition lock or it is in posi-
tion 0.XTurn the light switch to W (left-hand side
of the vehicle) or X (right-hand side of
the vehicle).
Adjusting the headlamp range (halogen
headlamps)
The headlamp range control allows you to
adjust the cone of light from the headlamps
to suit the vehicle load.
108Exterior lightingLights and windscreen wipers
Page 113 of 352
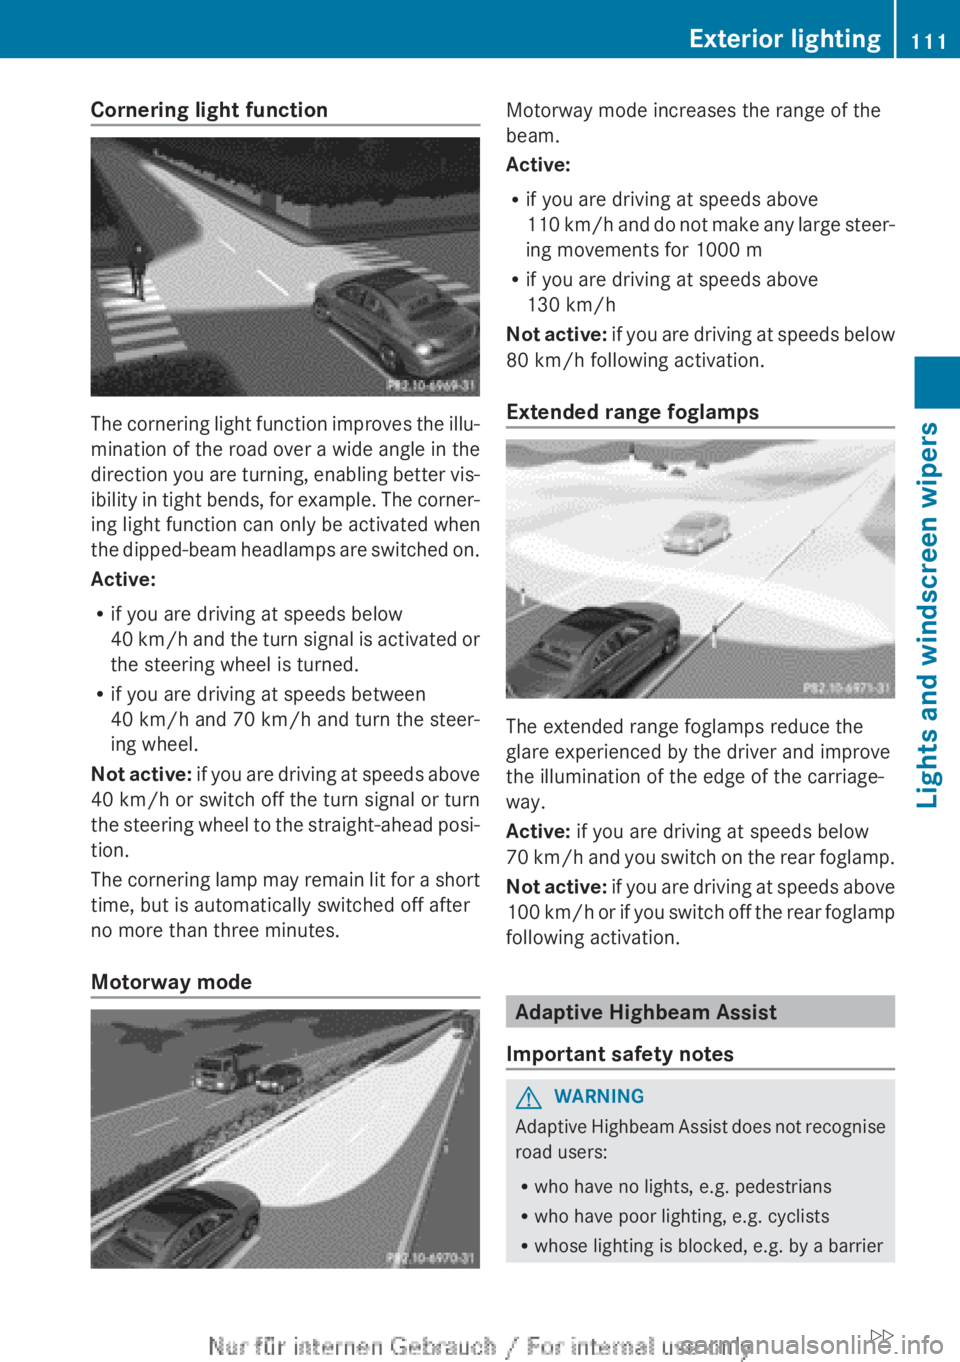
Cornering light function
The cornering light function improves the illu-
mination of the road over a wide angle in the
direction you are turning, enabling better vis-
ibility in tight bends, for example. The corner-
ing light function can only be activated when
the dipped-beam headlamps are switched on.
Active:
R if you are driving at speeds below
40 km/h and the turn signal is activated or
the steering wheel is turned.
R if you are driving at speeds between
40 km/h and 70 km/h and turn the steer-
ing wheel.
Not active: if you are driving at speeds above
40 km/h or switch off the turn signal or turn
the steering wheel to the straight-ahead posi-
tion.
The cornering lamp may remain lit for a short
time, but is automatically switched off after
no more than three minutes.
Motorway mode
Motorway mode increases the range of the
beam.
Active:
R if you are driving at speeds above
110 km/h and do not make any large steer-
ing movements for 1000 m
R if you are driving at speeds above
130 km/h
Not active: if you are driving at speeds below
80 km/h following activation.
Extended range foglamps
The extended range foglamps reduce the
glare experienced by the driver and improve
the illumination of the edge of the carriage-
way.
Active: if you are driving at speeds below
70 km/h and you switch on the rear foglamp.
Not active: if you are driving at speeds above
100 km/h or if you switch off the rear foglamp
following activation.
Adaptive Highbeam Assist
Important safety notes
GWARNING
Adaptive Highbeam Assist does not recognise
road users:
R who have no lights, e.g. pedestrians
R who have poor lighting, e.g. cyclists
R whose lighting is blocked, e.g. by a barrier
Exterior lighting111Lights and windscreen wipersZ
Page 115 of 352
If you are driving at speeds below
45 km/h or other road users are detected
or the roads are adequately lit:
The main-beam headlamps are switched off
automatically. The K indicator lamp in
the instrument cluster goes out. The _
indicator lamp in the multifunction display
remains lit.XTo deactivate: move the combination
switch back to its normal position.
The _ indicator lamp in the multifunc-
tion display goes out.
Headlamps misted up on the inside
The headlamps may mist up on the inside if
there is high atmospheric humidity.
XSwitch on the lights and drive off.
The level of moisture diminishes, depend-
ing on the length of the journey and the
weather conditions (humidity and temper-
ature).
If the level of moisture does not diminish:
XHave the headlamps checked at a qualified
specialist workshop.Interior lighting
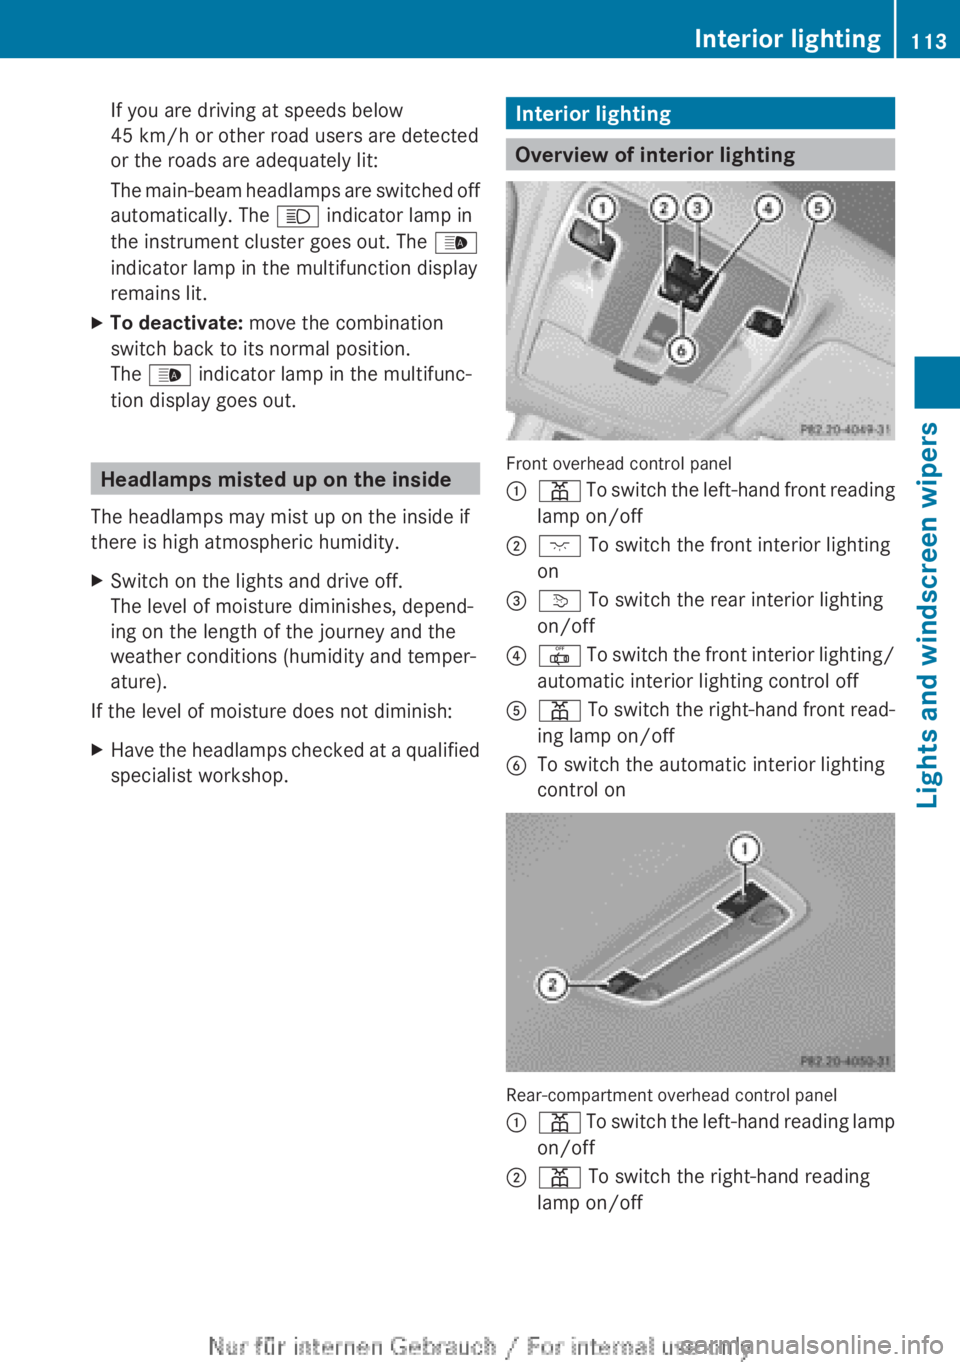
Overview of interior lighting
Front overhead control panel
:p To switch the left-hand front reading
lamp on/off;c To switch the front interior lighting
on=v To switch the rear interior lighting
on/off?| To switch the front interior lighting/
automatic interior lighting control offAp To switch the right-hand front read-
ing lamp on/offBTo switch the automatic interior lighting
control on
Rear-compartment overhead control panel
:p To switch the left-hand reading lamp
on/off;p To switch the right-hand reading
lamp on/offInterior lighting113Lights and windscreen wipersZ
Page 117 of 352
The bulb may explode if:
R you touch it
R it is hot
R you drop it
R you scratch it
Only operate bulbs in enclosed lamps
designed for that purpose. Only fit spare
bulbs of the same type and the specified volt-
age.
Marks on the glass tube reduce the service
life of the bulbs. Do not touch the glass tube
with your bare hands. If necessary, clean the
glass tube when cold with alcohol or spirit and
rub it off with a lint-free cloth.
Protect bulbs from moisture during opera-
tion. Do not allow bulbs to come into contact
with liquids.
There are bulbs other than the xenon bulbs
that you cannot replace yourself. Replace
only the bulbs listed ( Y page 115). Have the
bulbs that you cannot replace yourself
replaced at a qualified specialist workshop.
If you require assistance replacing bulbs, con-
sult a qualified specialist workshop.
If the new bulb still does not light up, consult
a qualified specialist workshop.
Bulbs and lamps are an important aspect of
vehicle safety. You must therefore make sure
that these function correctly at all times.
Have the headlamp setting checked regularly.
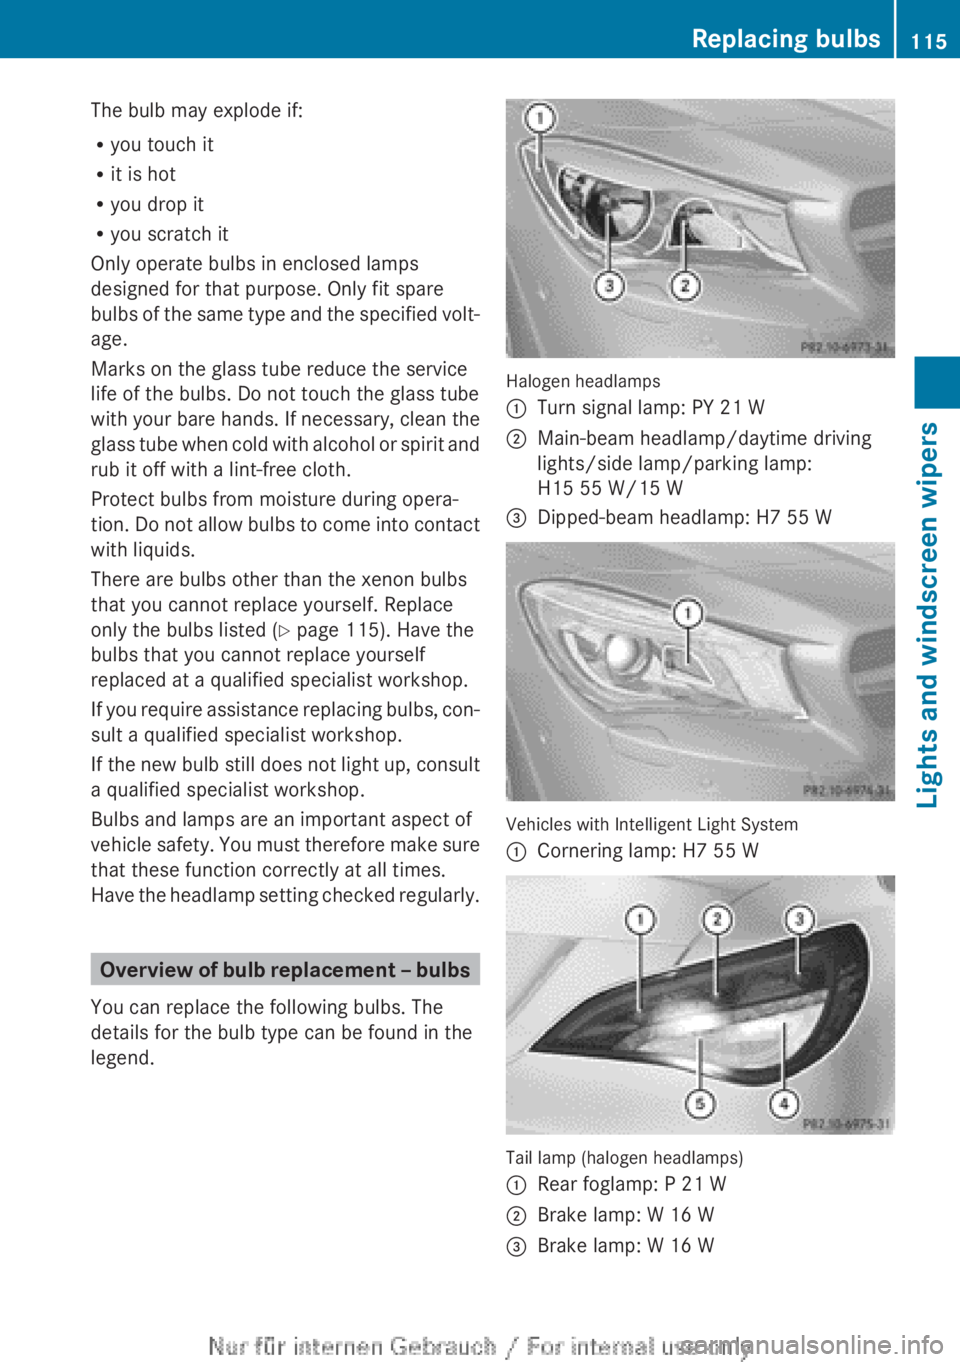
Overview of bulb replacement – bulbs
You can replace the following bulbs. The
details for the bulb type can be found in the
legend.
Halogen headlamps
:Turn signal lamp: PY 21 W;Main-beam headlamp/daytime driving
lights/side lamp/parking lamp:
H15 55 W/15 W=Dipped-beam headlamp: H7 55 W
Vehicles with Intelligent Light System
:Cornering lamp: H7 55 W
Tail lamp (halogen headlamps)
:Rear foglamp: P 21 W;Brake lamp: W 16 W=Brake lamp: W 16 WReplacing bulbs115Lights and windscreen wipersZ
Page 213 of 352
?Menu barAPermanent display: outside temperature
or speed ( Y page 220)BTimeXTo show the menu bar ?: press the
= or ; button on the steering wheel.
Menu bar ? disappears after a few seconds.
Text field = shows the selected menu or
submenu as well as display messages.
i You can set the time using the audio sys-
tem or COMAND Online, see the separate
operating instructions.
The following messages may appear in the
multifunction display:
ZGearshift recommendation
( Y page 152)Xj YActive Parking Assist
( Y page 186)¯Cruise control ( Y page 168)ÈSPEEDTRONIC ( Y page 171)_Adaptive Highbeam Assist
( Y page 111)¤ECO start/stop function
( Y page 148)ëHOLD function ( Y page 181)120 km/h!Maximum permissible speed
exceeded (only for certain coun-
tries)
Menus and submenus
Menu overview
Operating the on-board computer
( Y page 209).
Depending on the equipment fitted in the
vehicle, you can call up the following menus:
R Trip menu ( Y page 211)
R Navi menu (navigation instructions)
( Y page 213)
R Audio menu ( Y page 214)
R Tel (telephone) menu ( Y page 215)
R
Assist. (Assistance) menu ( Y page 217)
R Service menu (Y page 219)
R Settings menu (Y page 219)
The Audio , Navi and Tel menus differ slightly
in vehicles with Audio 20 and in vehicles with
COMAND Online. The examples given in this
Owner's Manual apply to vehicles equipped
with COMAND Online.
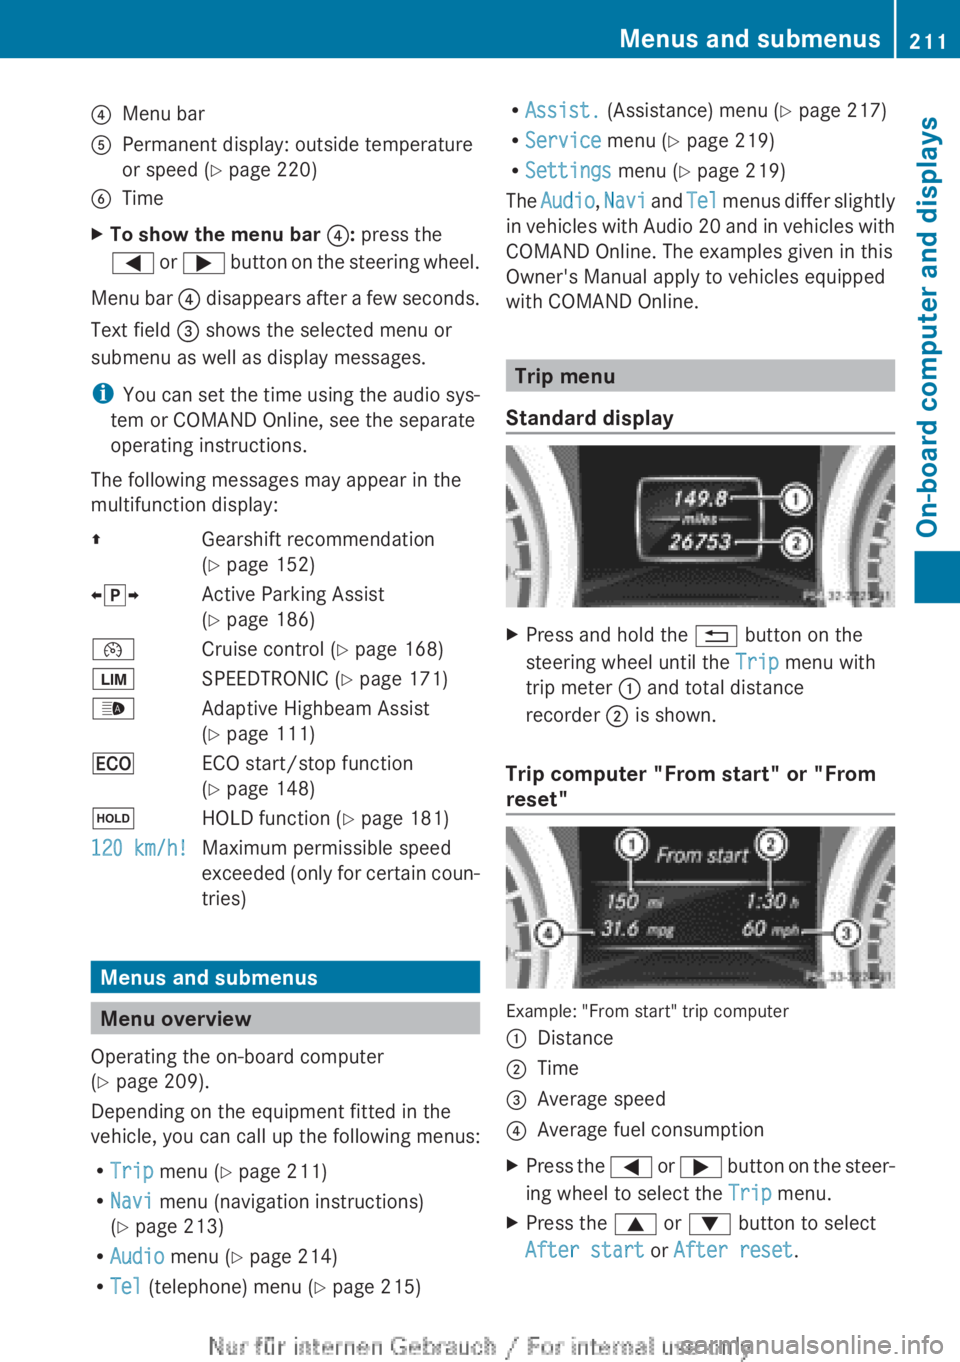
Trip menu
Standard display
XPress and hold the % button on the
steering wheel until the Trip menu with
trip meter : and total distance
recorder ; is shown.
Trip computer "From start" or "From
reset"
Example: "From start" trip computer
:Distance;Time=Average speed?Average fuel consumptionXPress the = or ; button on the steer-
ing wheel to select the Trip menu.XPress the 9 or : button to select
After start or After reset .Menus and submenus211On-board computer and displaysZ
Page 223 of 352
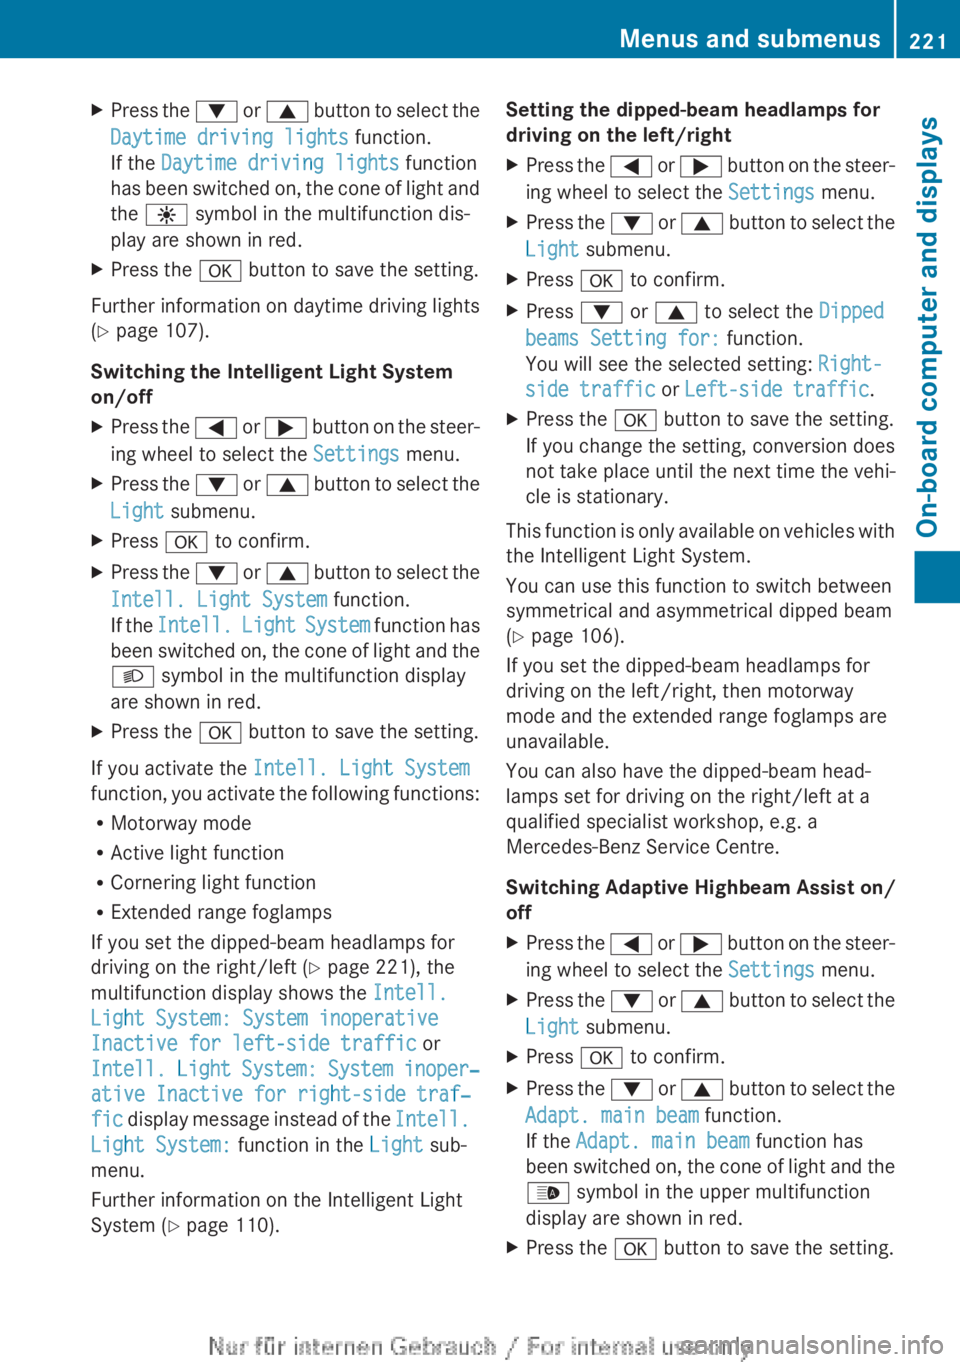
XPress the : or 9 button to select the
Daytime driving lights function.
If the Daytime driving lights function
has been switched on, the cone of light and
the W symbol in the multifunction dis-
play are shown in red.XPress the a button to save the setting.
Further information on daytime driving lights
( Y page 107).
Switching the Intelligent Light System
on/off
XPress the = or ; button on the steer-
ing wheel to select the Settings menu.XPress the : or 9 button to select the
Light submenu.XPress a to confirm.XPress the : or 9 button to select the
Intell. Light System function.
If the Intell. Light System function has
been switched on, the cone of light and the
L symbol in the multifunction display
are shown in red.XPress the a button to save the setting.
If you activate the Intell. Light System
function, you activate the following functions:
R Motorway mode
R Active light function
R Cornering light function
R Extended range foglamps
If you set the dipped-beam headlamps for
driving on the right/left ( Y page 221), the
multifunction display shows the Intell.
Light System: System inoperative
Inactive for left-side traffic or
Intell. Light System: System inoper‐
ative Inactive for right-side traf‐
fic display message instead of the Intell.
Light System: function in the Light sub-
menu.
Further information on the Intelligent Light
System ( Y page 110).
Setting the dipped-beam headlamps for
driving on the left/rightXPress the = or ; button on the steer-
ing wheel to select the Settings menu.XPress the : or 9 button to select the
Light submenu.XPress a to confirm.XPress : or 9 to select the Dipped
beams Setting for: function.
You will see the selected setting: Right-
side traffic or Left-side traffic .XPress the a button to save the setting.
If you change the setting, conversion does
not take place until the next time the vehi-
cle is stationary.
This function is only available on vehicles with
the Intelligent Light System.
You can use this function to switch between
symmetrical and asymmetrical dipped beam
( Y page 106).
If you set the dipped-beam headlamps for
driving on the left/right, then motorway
mode and the extended range foglamps are
unavailable.
You can also have the dipped-beam head-
lamps set for driving on the right/left at a
qualified specialist workshop, e.g. a
Mercedes-Benz Service Centre.
Switching Adaptive Highbeam Assist on/
off
XPress the = or ; button on the steer-
ing wheel to select the Settings menu.XPress the : or 9 button to select the
Light submenu.XPress a to confirm.XPress the : or 9 button to select the
Adapt. main beam function.
If the Adapt. main beam function has
been switched on, the cone of light and the
_ symbol in the upper multifunction
display are shown in red.XPress the a button to save the setting.Menus and submenus221On-board computer and displaysZ
Page 224 of 352
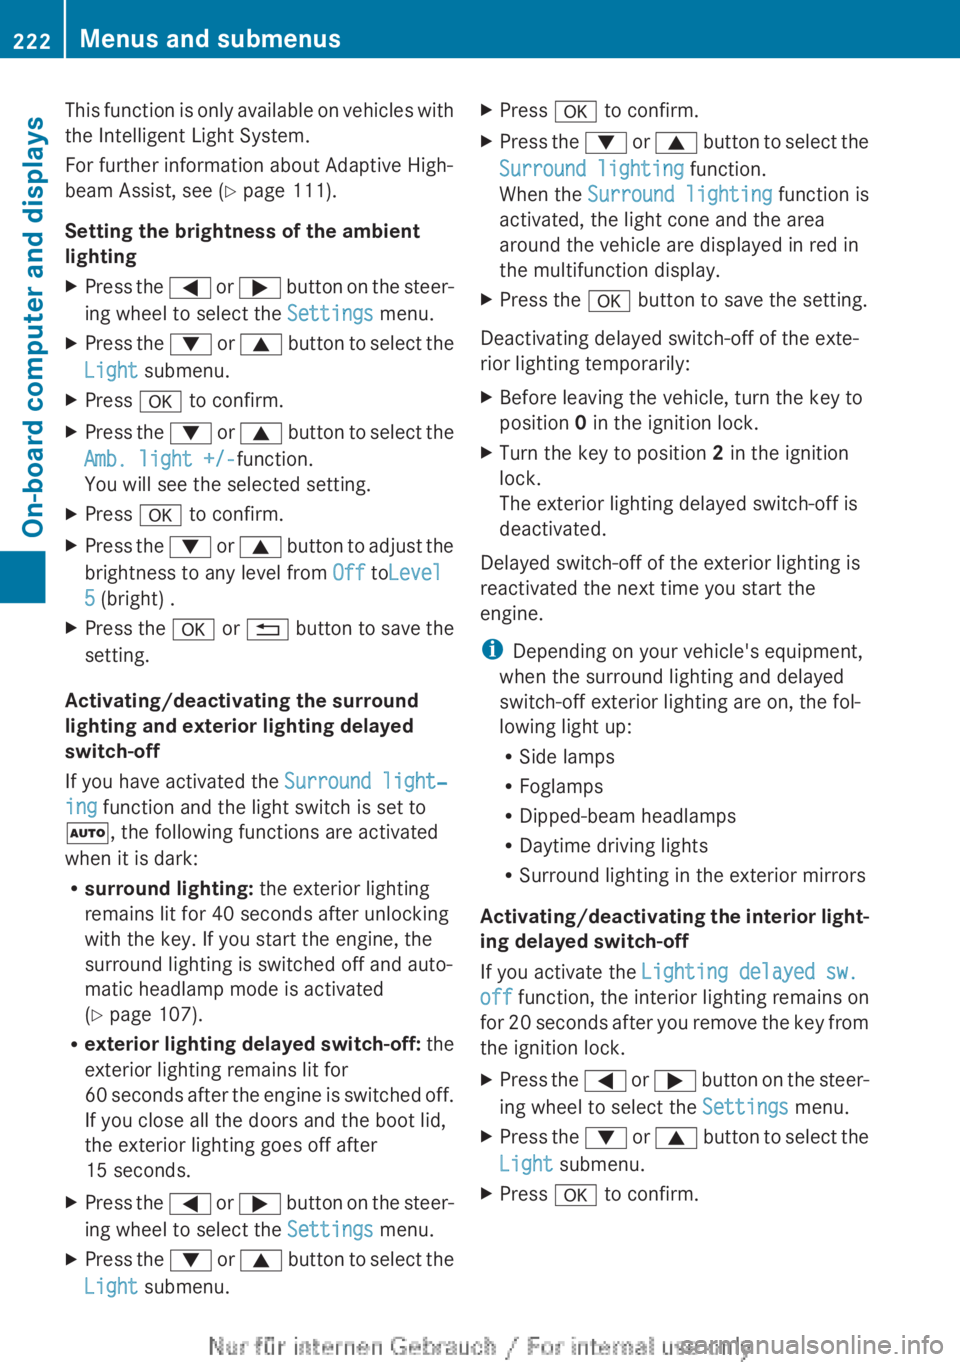
This function is only available on vehicles with
the Intelligent Light System.
For further information about Adaptive High-
beam Assist, see ( Y page 111).
Setting the brightness of the ambient
lightingXPress the = or ; button on the steer-
ing wheel to select the Settings menu.XPress the : or 9 button to select the
Light submenu.XPress a to confirm.XPress the : or 9 button to select the
Amb. light +/- function.
You will see the selected setting.XPress a to confirm.XPress the : or 9 button to adjust the
brightness to any level from Off toLevel
5 (bright) .XPress the a or % button to save the
setting.
Activating/deactivating the surround
lighting and exterior lighting delayed
switch-off
If you have activated the Surround light‐
ing function and the light switch is set to
à , the following functions are activated
when it is dark:
R surround lighting: the exterior lighting
remains lit for 40 seconds after unlocking
with the key. If you start the engine, the
surround lighting is switched off and auto-
matic headlamp mode is activated
( Y page 107).
R exterior lighting delayed switch-off: the
exterior lighting remains lit for
60 seconds after the engine is switched off.
If you close all the doors and the boot lid,
the exterior lighting goes off after
15 seconds.
XPress the = or ; button on the steer-
ing wheel to select the Settings menu.XPress the : or 9 button to select the
Light submenu.XPress a to confirm.XPress the : or 9 button to select the
Surround lighting function.
When the Surround lighting function is
activated, the light cone and the area
around the vehicle are displayed in red in
the multifunction display.XPress the a button to save the setting.
Deactivating delayed switch-off of the exte-
rior lighting temporarily:
XBefore leaving the vehicle, turn the key to
position 0 in the ignition lock.XTurn the key to position 2 in the ignition
lock.
The exterior lighting delayed switch-off is
deactivated.
Delayed switch-off of the exterior lighting is
reactivated the next time you start the
engine.
i Depending on your vehicle's equipment,
when the surround lighting and delayed
switch-off exterior lighting are on, the fol-
lowing light up:
R Side lamps
R Foglamps
R Dipped-beam headlamps
R Daytime driving lights
R Surround lighting in the exterior mirrors
Activating/deactivating the interior light-
ing delayed switch-off
If you activate the Lighting delayed sw.
off function, the interior lighting remains on
for 20 seconds after you remove the key from
the ignition lock.
XPress the = or ; button on the steer-
ing wheel to select the Settings menu.XPress the : or 9 button to select the
Light submenu.XPress a to confirm.222Menus and submenusOn-board computer and displays