light MERCEDES-BENZ CLA-Class 2014 C117 Comand Manual
[x] Cancel search | Manufacturer: MERCEDES-BENZ, Model Year: 2014, Model line: CLA-Class, Model: MERCEDES-BENZ CLA-Class 2014 C117Pages: 270, PDF Size: 5.76 MB
Page 253 of 270

X
To switch off the function in COMAND:
switch on the desired audio mode in
COMAND or show the menu in video DVD
mode.
X Select the menu item at the bottom left,
e.g. CD
CD in audio CD mode, by sliding 00520064
and turning 00790052007Athe COMAND controller
and press 0098to confirm.
X Select Rear Audio/Video Off
Rear Audio/Video Off _and
press 0098the COMAND controller to con-
firm. Selecting an active COMAND source
on the rear-compartment screen
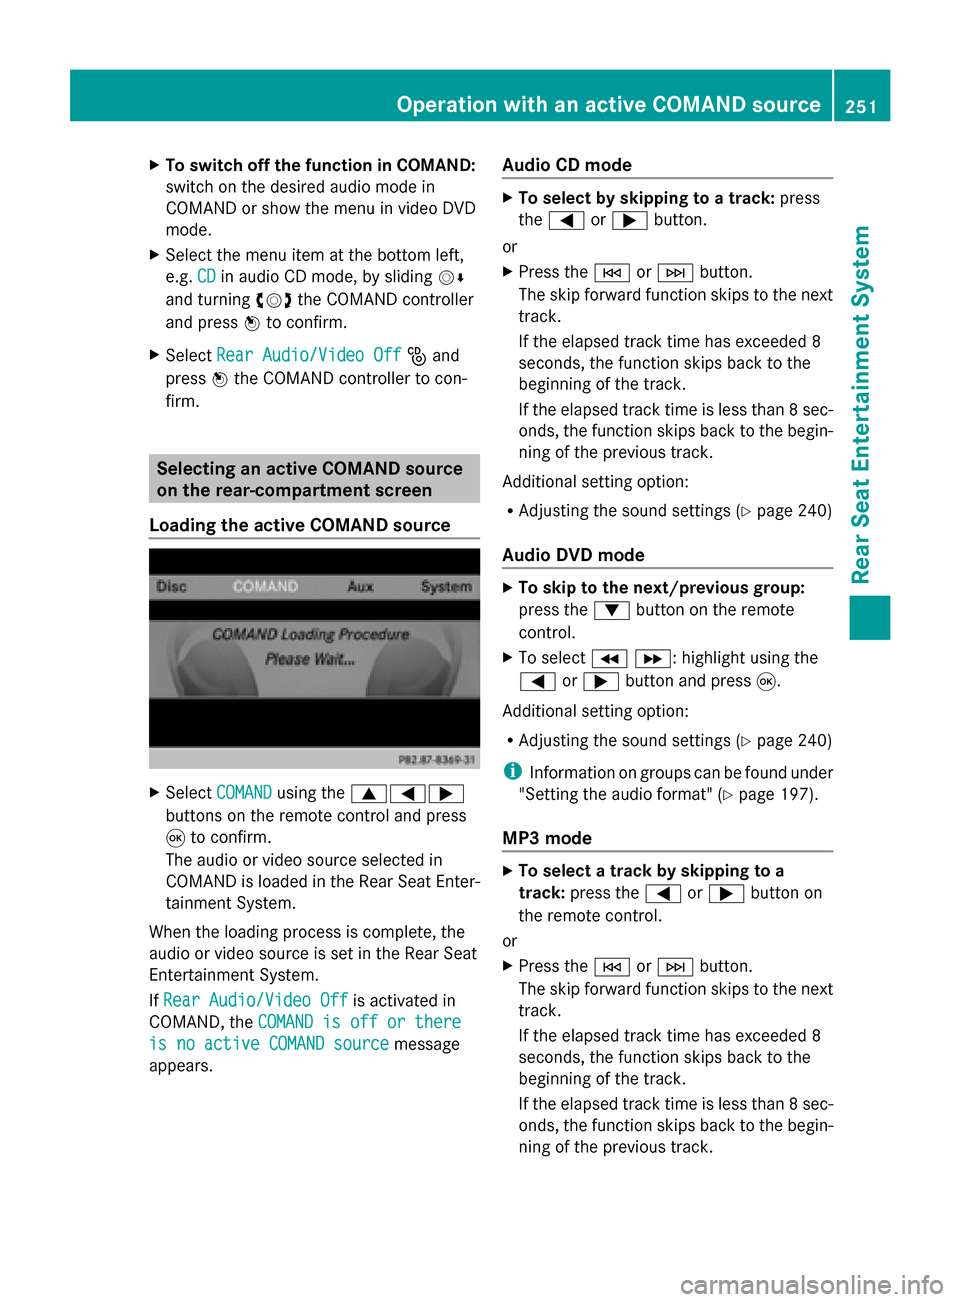
Loading the active COMAND source X
Select COMAND
COMAND using the 006300590065
buttons on the remote control and press
008B to confirm.
The audio or video source selected in
COMAND is loaded in the Rear Seat Enter-
tainment System.
When the loading process is complete, the
audio or video source is set in the Rear Seat
Entertainment System.
If Rear Audio/Video Off Rear Audio/Video Off is activated in
COMAND, the COMAND is off or there
COMAND is off or there
is no active COMAND source
is no active COMAND source message
appears. Audio CD mode X
To select by skipping to a track: press
the 0059 or0065 button.
or
X Press the 0048or0049 button.
The skip forward function skips to the next
track.
If the elapsed track time has exceeded 8
seconds, the function skips back to the
beginning of the track.
If the elapsed track time is less than 8 sec-
onds, the function skips back to the begin-
ning of the previous track.
Additional setting option:
R Adjusting the sound settings (Y page 240)
Audio DVD mode X
To skip to the next/previous group:
press the 0064button on the remote
control.
X To select 004E004F : highlight using the
0059 or0065 button and press 008B.
Additional setting option:
R Adjusting the sound settings (Y page 240)
i Information on groups can be found under
"Setting the audio format" (Y page 197).
MP3 mode X
To select a track by skipping to a
track: press the 0059or0065 button on
the remote control.
or
X Press the 0048or0049 button.
The skip forward function skips to the next
track.
If the elapsed track time has exceeded 8
seconds, the function skips back to the
beginning of the track.
If the elapsed track time is less than 8 sec-
onds, the function skips back to the begin-
ning of the previous track. Operation with an active COMAND source
251Rear Seat Entertainment System Z
Page 254 of 270

X
To select a folder: press the0064button
on the remote control.
X Highlight one of the two folder symbols
with the 0059or0065 button and press
008B to confirm.
Depending on your selection, the previous
or next folder is selected and the first track
is played.
Additional setting option:
R Adjusting the sound settings (Y page 240)
Video DVD mode X
To hide a menu: confirmMenu Menuwith the
008B button.
The video image is played in full screen
mode.
Additional setting options:
R Adjusting the brightness, contrast and
color (Y page 241)
R Changing the picture format (Y page 241)
R Adjusting the sound settings (Y page 240)AUX mode
Introduction
You can connect one external video source to
each of the displays of the Rear Seat Enter-
tainment System (AUX display) and also one
external video source to the rear-compart-
ment CD/DVD drive (AUX drive) with a sound
and video signal.
Please see the corresponding operating
instructions for information on how to oper-
ate the external video source.
For further details about external video sour-
ces, please consult an authorized Mercedes-
Benz Center. Connecting AUX equipment
AUX drive The AUX drive jacks are located on the CD/
DVD drive next to the CD/DVD eject button
(Y
page 236).
Displaying AUX The AUX display jacks are on the side of the
screen (Y
page 235).
Audio and video connection X
Insert the audio plugs for the left and right
signals into the corresponding Land R
jacks.
X Insert the video plug into the Vjack. Activating AUX mode
AUX drive X
Select Aux Auxin the menu using the
006300590065 buttons on the remote
control and press the 008Bbutton to confirm.
The AUX menu appears.
X Select Source
Source from the AUX menu and
press the 008Bbutton to confirm.
X Select Disc Drive Aux
Disc Drive Aux and press the008B
button to confirm.
You will hear and see the content of the
external video source if it is connected to
the CD/DVD drive and switched to play-
back. If no video image is available from the
AUX source connected, you will see an
audio menu.
Displaying AUX X
Select the screen by turning the scroll
wheel on the remote control ( Ypage 235) 252
AUX modeRear Seat Entertainment System
Page 255 of 270

until "L
REAR " (left screen) or "REAR R"
(right screen) is highlighted in the window.
X Select Aux
Auxin the menu using the
006300590065 buttons on the remote
control and press the 008Bbutton to confirm.
X Select Source
Source from the AUX menu and
press the 008Bbutton to confirm.
X Select Display Aux Display Aux and press the008Bbut-
ton to confirm.
You will see and hear the content of the
video source if it is switched to playback. If
no video image is available from the AUX
source connected, you will see an audio
menu. Adjusting treble and bass
X Select Treble Treble orBass
Bass in the AUX menu
and press the 008Bbutton on the remote
control to confirm.
An adjustment scale appears.
X Select a setting using the 0063or0064
button and press the 008Bbutton to confirm. Adjusting the brightness, contrast or
color
X Select Display Aux Display Aux orDisc Drive Aux
Disc Drive Aux
in the AUX menu and press the 008Bbutton
to confirm.
X Select Brightness
Brightness, Contrast
ContrastorColor
Color
and press the 008Bbutton to confirm.
An adjustment scale appears.
X Select a setting using the 0063or0064
button and press the 008Bbutton to confirm. Changing the picture format
X Select Display Aux
Display Aux orDisc Drive Aux
Disc Drive Aux
in the AUX menu and press the 008Bbutton
to confirm.
X Select 16:9 Optimized
16:9 Optimized ,4:3
4:3 orWide‐
Wide‐
screen screen using the 00630064 buttons and
press the 008Bbutton to confirm.
The dot in front of a menu item indicates
the current setting. AUX mode
253Rear Seat Entertainment System Z
Page 267 of 270

Region of origin Category
Atlantic, North and
South Pacific
Oceans
Hurricane Cate‐ Hurricane Cate‐
gory 1 gory 1
toHurri‐
Hurri‐
cane Category 5
cane Category 5 Northwestern
Pacific Ocean
Tropical Low Tropical Low
Pressure System Pressure System
Northwestern
Pacific Ocean
Tropical Cyclone Tropical Cyclone
Northwestern
Pacific Ocean
Typhoon Typhoon
Northwestern
Pacific Ocean
Super-Typhoon Super-Typhoon
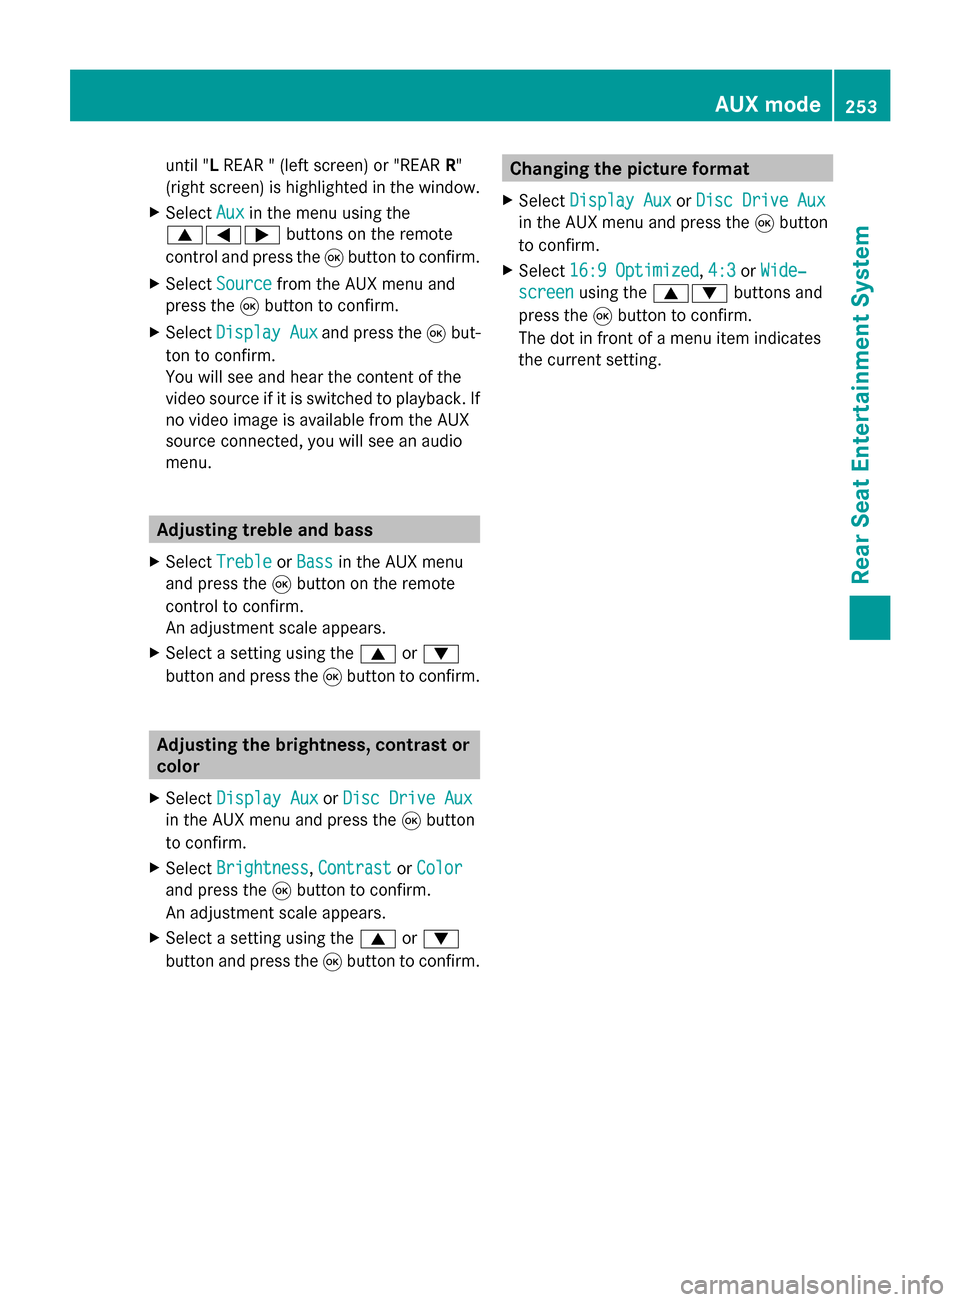
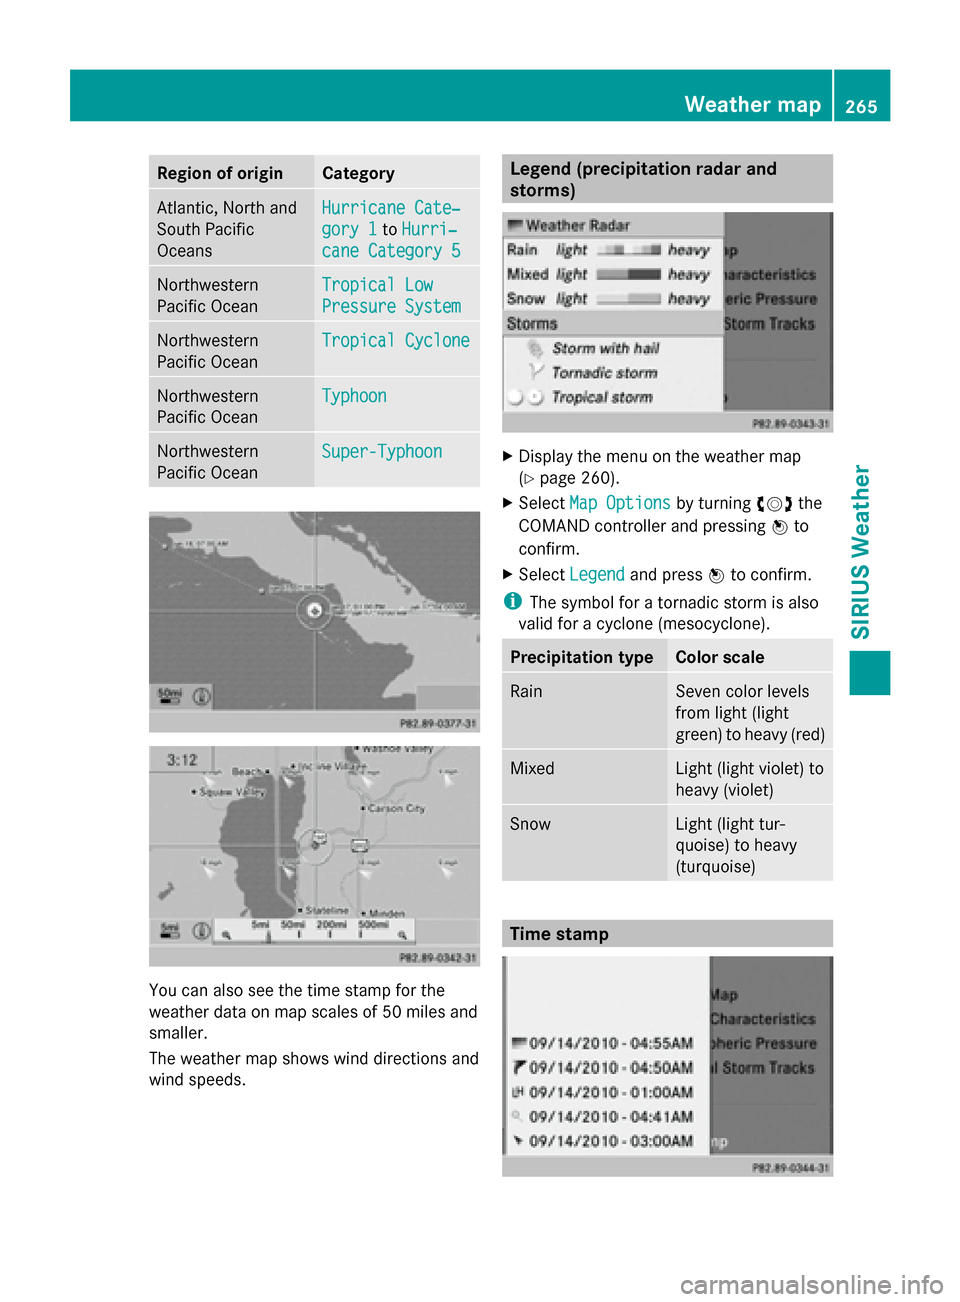
You can also see the time stamp for the
weather data on map scales of 50 miles and
smaller.
The weather map shows wind directions and
wind speeds. Legend (precipitation radar and
storms)
X
Display the menu on the weather map
(Y page 260).
X Select Map Options Map Options by turning00790052007Athe
COMAND controller and pressing 0098to
confirm.
X Select Legend
Legend and press 0098to confirm.
i The symbol for a tornadic storm is also
valid for a cyclone (mesocyclone). Precipitation type Color scale
Rain Seven color levels
from light (light
green) to heavy (red)
Mixed Light (light violet) to
heavy (violet)
Snow Light (light tur-
quoise) to heavy
(turquoise)
Time stamp Weather map
265SIRIUS Weather