fuel fill door release MERCEDES-BENZ CLA-Class 2014 C117 Owner's Manual
[x] Cancel search | Manufacturer: MERCEDES-BENZ, Model Year: 2014, Model line: CLA-Class, Model: MERCEDES-BENZ CLA-Class 2014 C117Pages: 358, PDF Size: 6.6 MB
Page 11 of 358

Rear view camera .......................... 186
Speed Limit Assist ........................
.190
Driving tips
Automatic transmission ................. 149
Brakes .......................................... .162
Break-in period .............................. 140
Checking brake lining thickness .... 164
DISTRONIC PLUS ........................... 174
Downhill gradient ........................... 162
Drinking and driving ....................... 161
Driving abroad ............................... 108
Driving in winter ............................ .165
Driving on flooded roads ................ 165
Driving on wet roads ..................... .165
Exhaust check ............................... 161
Fuel ................................................ 161
General .......................................... 160
Hydroplaning ................................. 165
Icy road surfaces ........................... 165
Limited braking efficiency on sal-
ted roads ....................................... 163
Snow chains .................................. 317
Symmetrical low bea m.................. 108
Wet road surface ........................... 163
DVD audio (on-board computer) ...... 202
DVD video (on-board computer) ...... 203E
EASY-VARIO-PLUS system Cargo compartment enlargement .. 259
EBD (electronic brake force distri-
bution) Display message ............................ 216
Function/note s................................ 71
ECO display
Function/note s............................. 161
On-board computer ....................... 200
ECO start/stop function
Automatic engine start .................. 144
Automatic engine switch-off .......... 143
Deactivating/activating ................. 144
General information ....................... 143
Important safety notes .................. 143
Introduction ................................... 143
Electronic Stability Program
see ESP ®
(Electronic Stability Program) Emergency release
Driver's door .................................... 83
Trunk ............................................... 86
Vehicle ............................................. 83
Emergency Tensioning Devices
Activation ......................................... 41
Function ........................................... 55
Safety guideline s............................. 42
Emissions control
Service and warranty information .... 22
Engine
Check Engine warning lamp ........... 251
Display message ............................ 230
ECO start/stop function ................ 143
Engine number ............................... 347
Irregular running ............................ 145
Jump-starting ................................. 305
Starting problems .......................... 145
Starting the engine with the
SmartKey ....................................... 142
Switching off .................................. 158
Tow-starting (vehicle) ..................... 310
Engine electronics
Problem (malfunction) ................... 145
Engine jump starting
see Jump starting (engine)
Engine oil
Adding ........................................... 284
Additives ........................................ 350
Checking the oil level ..................... 283
Checking the oil level using the
dipstick .......................................... 284
Display message ............................ 231
Filling capacity ............................... 350
Notes about oil grade s................... 349
Notes on oil level/consumption .... 283
Temperature (on-board com-
puter) ............................................. 210
Viscosity ........................................ 350
ESP ®
(Electronic Stability Pro-
gram) 4ETS ................................................ 68
AMG menu (on-board computer) ... 211
Characteristics ................................. 68
Deactivating/activating (AMG
vehicles) .......................................... 69 Index
9
Page 79 of 358

X
To lock centrally: press button0043.
The SmartKey centrally locks/unlocks: R the doors
R the trunk lid
R the fuel filler flap
The turn signals flash once when unlocking
and three times when locking.
i When it is dark, the surround lighting also
comes on if it is activated in the on-board
computer (Y page 208).
i You can also set an audible signal to con-
firm that the vehicle has been locked. The
audible signal can be activated and deacti- vated using the on-board computer
(Y page 209).
X To open the trunk lid automatically:
press and hold button 0044until the trunk lid
opens (Y page 85). Changing the settings of the locking
system
You can change the settings of the locking
system. When you then unlock the vehicle
only the driver's door and the fuel filler flap
are unlocked. This is useful if you frequently
travel on your own.
X To change the setting: press and hold
down the 0036and0037 buttons simulta-
neously for approximately six seconds until
the battery check lamp (Y page 78)
flashes twice.
i If the setting of the locking system is
changed within the signal range of the vehi- cle, pressing the 0037or0036 button:
R locks or
R unlocks the vehicle
The SmartKey now functions as follows:
X To unlock the driver's door: press the
0036 button once.
X To unlock centrally: press the0036but-
ton twice. X
To lock centrally: press the0037button.
X To restore the factory settings: press
and hold down the 0036and0037 buttons
simultaneously for approximately six sec-
onds until the battery check lamp flashes
twice (Y page 78). Mechanical key
General notes If the vehicle can no longer be unlocked with
the SmartKey, use the mechanical key.
If you use the mechanical key to unlock and
open the driver's door, the anti-theft alarm
system will be triggered (Y page 72).
There are several ways to turn off the alarm:
X Press the 0036or0037 button on the
SmartKey.
or X Insert the SmartKey into the ignition lock.
If you unlock the vehicle using the mechanical key, the fuel filler flap will not be unlocked
automatically.
X To unlock the fuel filler flap: insert the
SmartKey into the ignition lock.
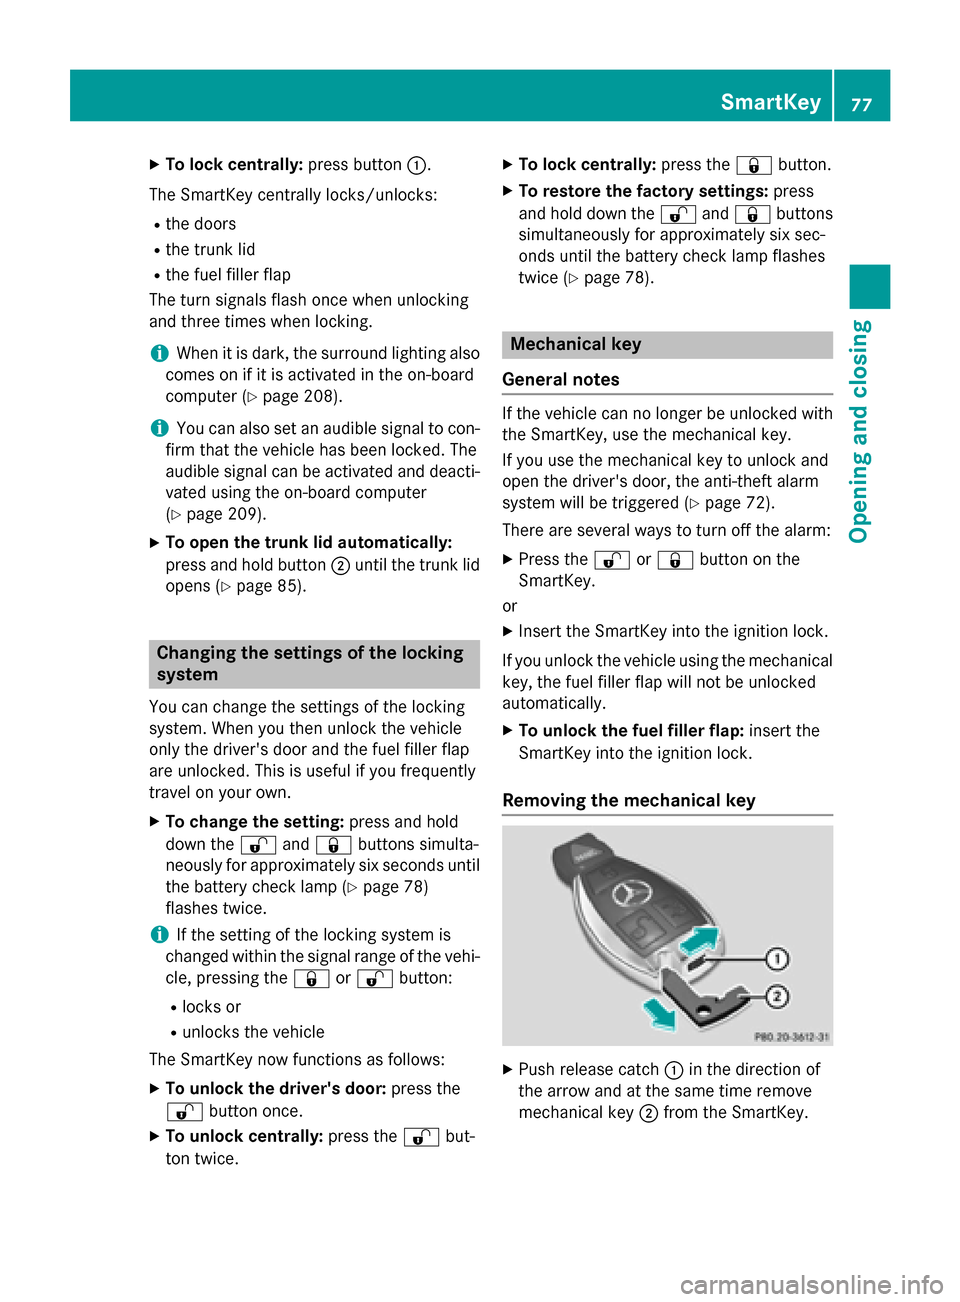
Removing the mechanical key X
Push release catch 0043in the direction of
the arrow and at the same time remove
mechanical key 0044from the SmartKey. SmartKey
77Opening and closing Z
Page 323 of 358

Loading Information placard on the B-pillar
on the driver's side of your vehicle.
X If necessary, increase the tire pressure to
the recommended value (Y page 317).
X If the tire pressure is too high, release air by
pressing down the metal pin in the valve
using the tip of a pen, for example. Then,
check the tire pressure again using the tire
pressure gauge.
X Screw the valve cap onto the valve.
X Repeat these steps for the other tires. Tire Pressure Monitor
General notes If a tire pressure monitor is installed, the vehi-
cle's wheels have sensors that monitor the
tire pressures in all four tires. The tire pres-
sure monitor warns you if the pressure drops
in one or more of the tires. The tire pressure
monitor only functions if the correct sensors
are installed on all wheels.
Information on tire pressures is displayed in
the multifunction display. After a few minutes of driving, the current tire pressure of each
tire is shown in the Service Servicemenu of the mul-
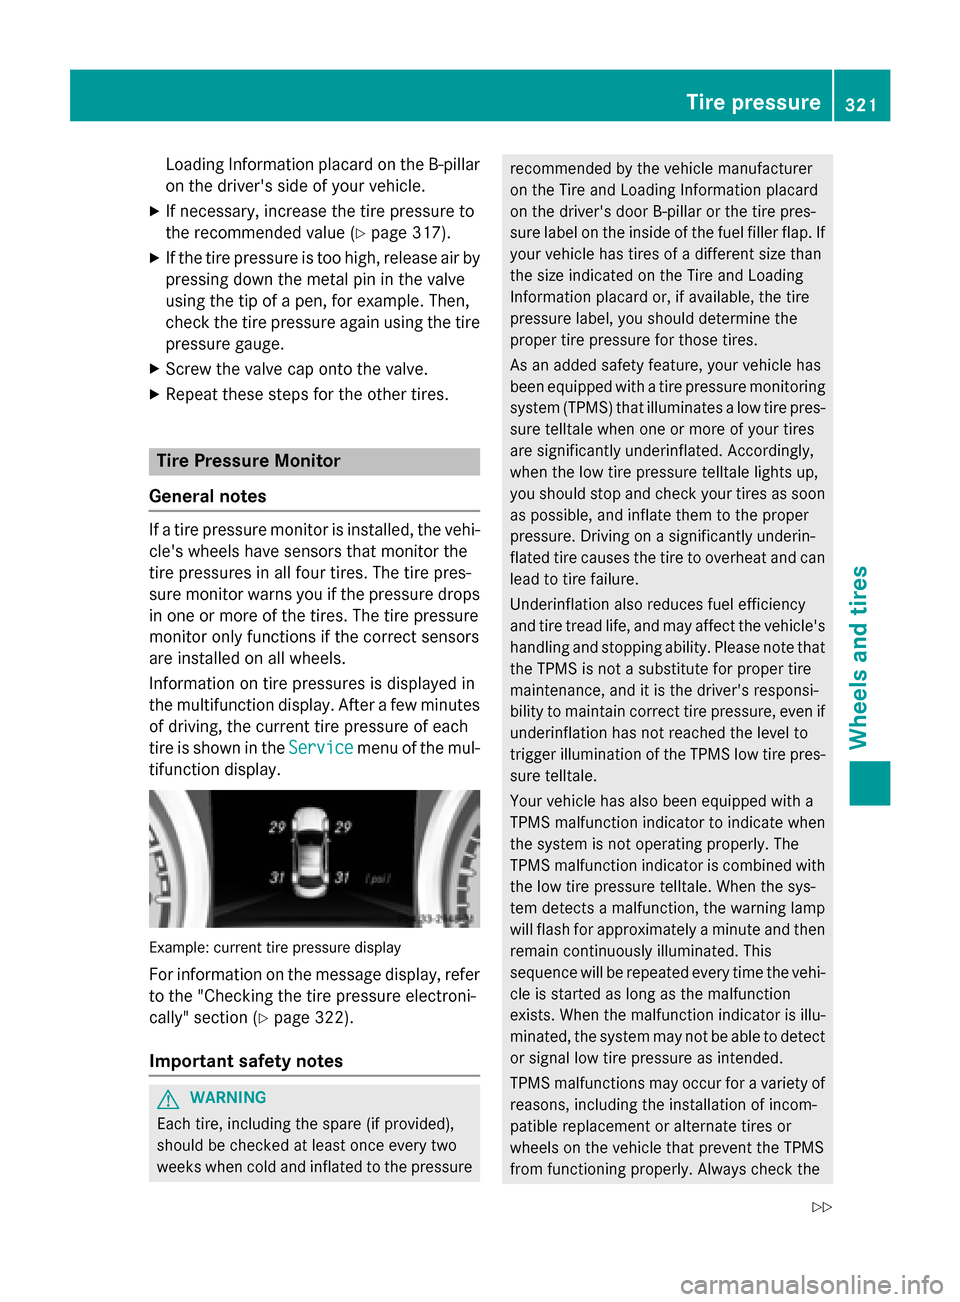
tifunction display. Example: current tire pressure display
For information on the message display, refer to the "Checking the tire pressure electroni-
cally" section (Y page 322).
Important safety notes G
WARNING
Each tire, including the spare (if provided),
should be checked at least once every two
weeks when cold and inflated to the pressure recommended by the vehicle manufacturer
on the Tire and Loading Information placard
on the driver's door B-pillar or the tire pres-
sure label on the inside of the fuel filler flap. If your vehicle has tires of a different size than
the size indicated on the Tire and Loading
Information placard or, if available, the tire
pressure label, you should determine the
proper tire pressure for those tires.
As an added safety feature, your vehicle has
been equipped with a tire pressure monitoring system (TPMS) that illuminates a low tire pres-
sure telltale when one or more of your tires
are significantly underinflated. Accordingly,
when the low tire pressure telltale lights up,
you should stop and check your tires as soon
as possible, and inflate them to the proper
pressure. Driving on a significantly underin-
flated tire causes the tire to overheat and can
lead to tire failure.
Underinflation also reduces fuel efficiency
and tire tread life, and may affect the vehicle's handling and stopping ability. Please note that
the TPMS is not a substitute for proper tire
maintenance, and it is the driver's responsi-
bility to maintain correct tire pressure, even if underinflation has not reached the level to
trigger illumination of the TPMS low tire pres-
sure telltale.
Your vehicle has also been equipped with a
TPMS malfunction indicator to indicate when
the system is not operating properly. The
TPMS malfunction indicator is combined with
the low tire pressure telltale. When the sys-
tem detects a malfunction, the warning lamp
will flash for approximately a minute and then remain continuously illuminated. This
sequence will be repeated every time the vehi-
cle is started as long as the malfunction
exists. When the malfunction indicator is illu- minated, the system may not be able to detect
or signal low tire pressure as intended.
TPMS malfunctions may occur for a variety of reasons, including the installation of incom-
patible replacement or alternate tires or
wheels on the vehicle that prevent the TPMS
from functioning properly. Always check the Tire pressure
321Wheels and tires
Z