USB MERCEDES-BENZ CLA-Class 2017 C117 Comand Manual
[x] Cancel search | Manufacturer: MERCEDES-BENZ, Model Year: 2017, Model line: CLA-Class, Model: MERCEDES-BENZ CLA-Class 2017 C117Pages: 202, PDF Size: 6.35 MB
Page 104 of 202
Phone book
Introduction
The phone book displays the contacts from the
address book which have a phone number.
The phone book of the mobile phone is auto-
matically displayed in the multimedia system
after the connection is established (default set-
ting). You can deactivate automatic calling up
(
Ypage 109).
In the telephone book, you can:
RCreate new contacts (Ypage 103)
RAdd information to contacts (Ypage 104)
RSearch for contacts (Ypage 102)
RStore contacts (Ypage 105)
RDelete contacts (Ypage 105)
Further information on importing contacts
(
Ypage 110).
When you import, save, edit or add contacts,
they will be permanently saved in the multime-
dia system. These contacts will remain available
even when you connect the multimedia system
to a different mobile phone. You can view these contacts even without a mobile phone.
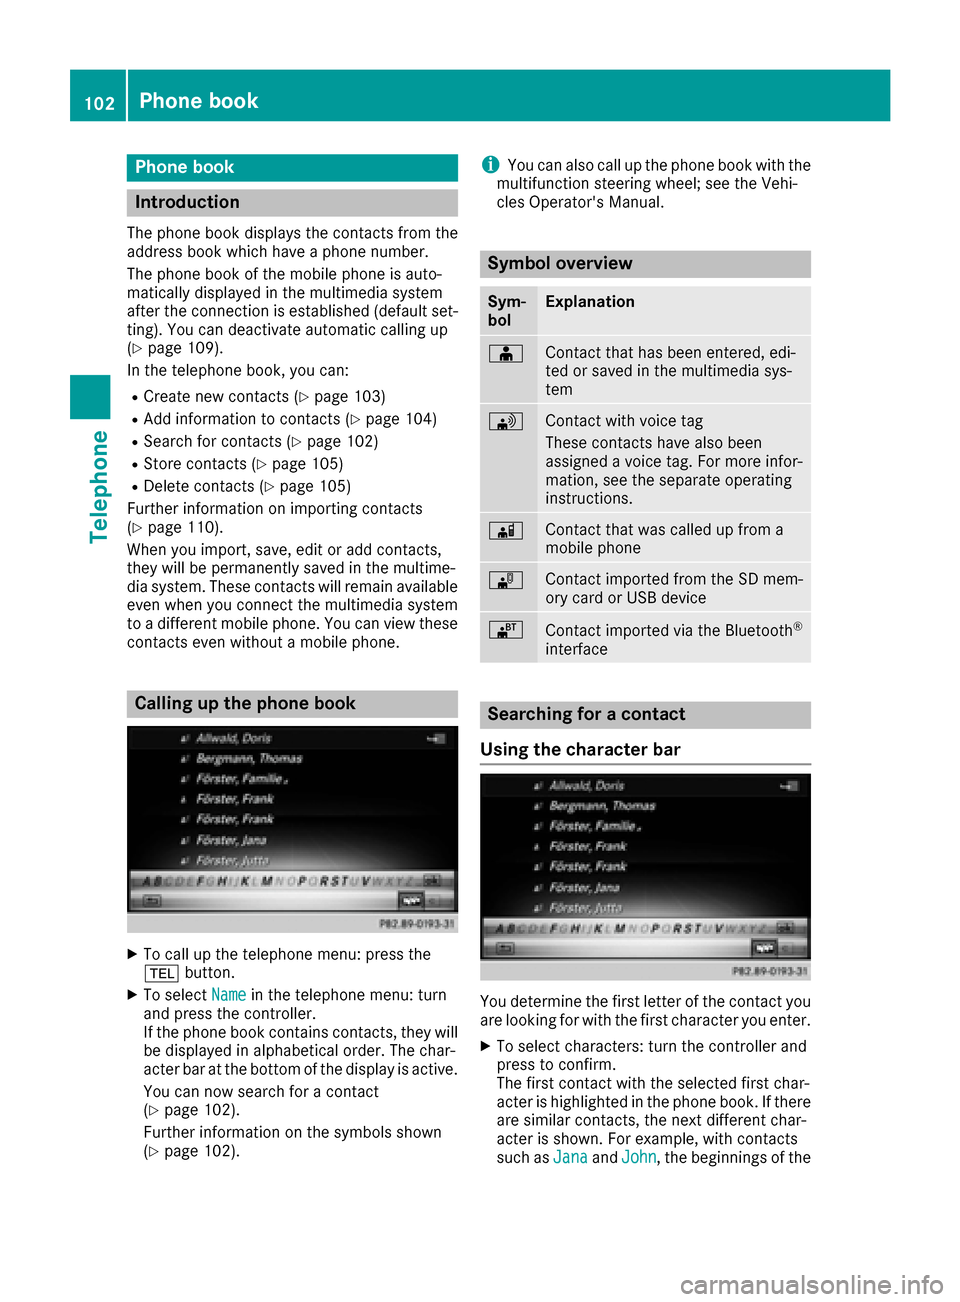
Calling up the phone book
XTo call up the telephone menu: press the
% button.
XTo select Namein the telephone menu: turn
and press the controller.
If the phone book contains contacts, they will
be displayed in alphabetical order. The char-
acter bar at the bottom of the display is active.
You can now search for a contact
(
Ypage 102).
Further information on the symbols shown
(
Ypage 102).
iYou can also call up the phone book with the
multifunction steering wheel; see the Vehi-
cles Operator's Manual.
Symbol overview
Sym-
bolExplanation
ÆContact that has been entered, edi-
ted or saved in the multimedia sys-
tem
\Contact with voice tag
These contacts have also been
assigned a voice tag. For more infor-
mation, see the separate operating
instructions.
ÃContact that was called up from a
mobile phone
¯Contact imported from the SD mem-
ory card or USB device
®Contact imported via the Bluetooth®
interface
Searching for a contact
Using the character bar
You determine the first letter of the contact you
are looking for with the first character you enter.
XTo select characters: turn the controller and
press to confirm.
The first contact with the selected first char-
acter is highlighted in the phone book. If there
are similar contacts, the next different char-
acter is shown. For example, with contacts
such as Jana
andJohn, the beginnings of the
102Phone book
Telephone
Page 107 of 202
Saving a contact
Saved contacts are indicated in the phone book
by different symbols (Ypage 102).
XCall up the phone book (Ypage 102).
XSearch for and highlight a contact from the
mobile phoned(Ypage 102).
XTo select G: slide 9the controller.
XTo select Save: turn and press the controller.
The contact has now been saved. The contact
is identified by the ¥symbol in the phone
book.
iSaved contacts are also displayed in the
address book.
Saving or editing the contact data in the mul-
timedia system does not change the contacts
on the mobile phone. If automatic calling-up
of phone contacts is activated, the multime-
dia system displays the copy ¥with the
changed data.
Deleting a name
You can delete contacts that have been added,
supplemented, saved or imported in the multi-
media system.
If there are one or several phone numbers saved under the contact, the contact is deleted from
the phone book and the address book.
If there are additional entries under the contact,
such as a navigable destination, only the phone
numbers are deleted. The contact is retained in the address book with the remaining entries.
XCall up the phone book (Ypage 102).
XSearch for and highlight a contact in the
phone book (Ypage 102).
XTo select G: slide 9the controller.
XTo select Delete: turn and press the control-
ler.
A prompt appears asking whether the contact
should be deleted.
XTo select Yes: turn and press the controller.
The phone number is deleted.
Closing the phone book
XTo select &from the character bar: turn the
controller and press to confirm.
or
XPress the %button.
Address book
Introduction
Always pay attention to traffic conditions.
Familiarize yourself with the address book func-
tions before beginning your journey.
You can use the multimedia system when the
road and traffic conditions permit. You could
otherwise become involved in an accident in
which you or others could be injured.
The address book displays all the contacts from
the various sources (mobile phone, memory
card, USB device, the phone book of the multi-
media system, navigation).
You can use the contacts to make telephone
calls, navigate and to write messages.
If a mobile phone is connected to the multimedia
system and automatic calling up is activated
(
Ypage 109), the mobile phone's contacts are
displayed in the address book. If you disconnect
the mobile phone from the multimedia system,
these contacts are no longer displayed in the
address book.
When you import, save, edit or add contacts,
they will be saved in the multimedia system.
These contacts will remain available even when
you connect the multimedia system to a differ-
ent mobile phone. You can view these contacts
even without a mobile phone.
iThe address book can store a total of 5000
contacts.
R2000 entries are reserved for permanently
saved contacts.
R3000 entries are reserved for contacts that
you can load from the mobile phone.
iBefore selling your vehicle, delete the con-
tacts saved in the multimedia system using
the reset function (
Ypage 43).
Address book105
Telephone
Z
Page 112 of 202
XTo selectOptions: turn and press the con-
troller.
XTo select Automatically Import Con‐tacts from Phone: turn and press the con-
troller.
You can allow Oor suppress ªthe auto-
matic download. If the function is deactiva-
ted, contacts which have already been called
up will continue to be displayed.
Saving a contact
Saved contacts are indicated in the phone book
by different symbols (Ypage 102).
XCall up the address book (Ypage 106).
XTo select a contact: turn and press the con-
troller.
The details for the contact are displayed.
XTo select G: slide 9the controller.
XTo select Save: turn and press the controller.
The contact has now been saved.
iIf the saved address book entry contains a
phone number, the entry is also displayed in
the phone book.
Saving or editing the contact data in the mul-
timedia system does not change the contacts
on the mobile phone. If automatic download-
ing of phone contacts is activated, the multi-
media system displays the copy ¥with the
changed data. To add additional data, such as additional phone numbers or e-mail
addresses, select this contact. In this way,
you avoid creating additional copies of the
mobile phone entry.
Deleting a name
XCall up the address book (Ypage 106).
XSearch for a contact (Ypage 106).
XTo select G: slide 9the controller.
XTo select Delete: turn and press the control-
ler.
XTo select Yes: turn and press the controller.
The contact is deleted.
Closing the address book
XPress the %button.
Importing contacts
Information and requirements
Contacts can be imported as vCards (vcf files). A
vCard is an electronic business card. A memory
card, USB device or a Bluetooth
®connection
can be used for importing.
iUp to 2000 entries can be imported into the
address book. A message notifies you when
the maximum number is reached. In order to
be able to then import new contacts, you have
to delete existing contacts (
Ypage 110).
SourceRequirements
Memory cardThe SD card is inserted. It
contains importable contact
details.
USB deviceThe USB device is inserted
into the USB port. It contains
importable contact details.
Bluetooth®
connection
If the sending of vCards is
supported via Bluetooth®,
vCards can be received on
mobile phones or netbooks,
for example.
Bluetooth
®must be activa-
ted in the multimedia system
and on the respective device
(see the manufacturer's
operating instructions).
Importing from the memory card or
USB device
Contacts imported from the memory card or
from a USB device are identified by the ¯
symbol.
The following conditions must be fulfilled in
order to import vCards:
RvCards (vcf files) may be located in the main
directory or in folders. The multimedia system
allows for a targeted selection of the corre-
sponding directories.
RvCards must have the file extension ".vcf".
iThe multimedia system supports vCards in
versions 2.1 and 3.0.
110Importing contacts
Telephone
Page 113 of 202
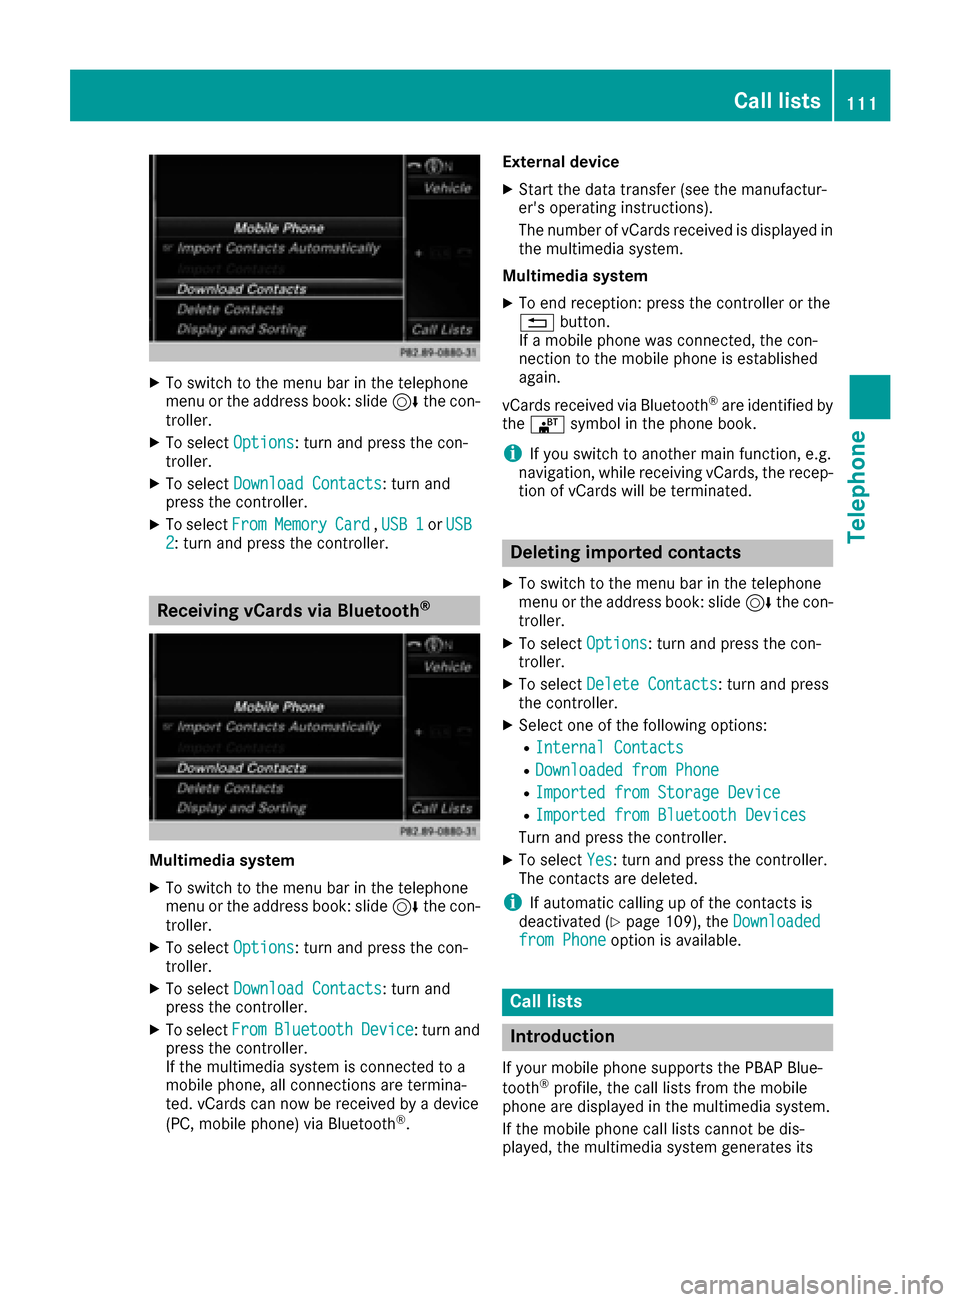
XTo switch to the menu bar in the telephone
menu or the address book: slide6the con-
troller.
XTo select Options: turn and press the con-
troller.
XTo select Download Contacts: turn and
press the controller.
XTo select FromMemoryCard,USB 1or USB2: turn and press the controller.
Receiving vCards via Bluetooth®
Multimedia system
XTo switch to the menu bar in the telephone
menu or the address book: slide 6the con-
troller.
XTo select Options: turn and press the con-
troller.
XTo select Download Contacts: turn and
press the controller.
XTo select FromBluetoothDevice: turn and
press the controller.
If the multimedia system is connected to a
mobile phone, all connections are termina-
ted. vCards can now be received by a device
(PC, mobile phone) via Bluetooth
®. External device
XStart the data transfer (see the manufactur-
er's operating instructions).
The number of vCards received is displayed in
the multimedia system.
Multimedia system
XTo end reception: press the controller or the
% button.
If a mobile phone was connected, the con-
nection to the mobile phone is established
again.
vCards received via Bluetooth
®are identified by
the ® symbol in the phone book.
iIf you switch to another main function, e.g.
navigation, while receiving vCards, the recep-
tion of vCards will be terminated.
Deleting imported contacts
XTo switch to the menu bar in the telephone
menu or the address book: slide 6the con-
troller.
XTo select Options: turn and press the con-
troller.
XTo select Delete Contacts: turn and press
the controller.
XSelect one of the following options:
RInternal Contacts
RDownloaded from Phone
RImported from Storage Device
RImported from Bluetooth Devices
Turn and press the controller.
XTo select Yes: turn and press the controller.
The contacts are deleted.
iIf automatic calling up of the contacts is
deactivated (Ypage 109), the Downloadedfrom Phoneoption is available.
Call lists
Introduction
If your mobile phone supports the PBAP Blue-
tooth®profile, the call lists from the mobile
phone are displayed in the multimedia system.
If the mobile phone call lists cannot be dis-
played, the multimedia system generates its
Call lists111
Telephone
Z
Page 123 of 202
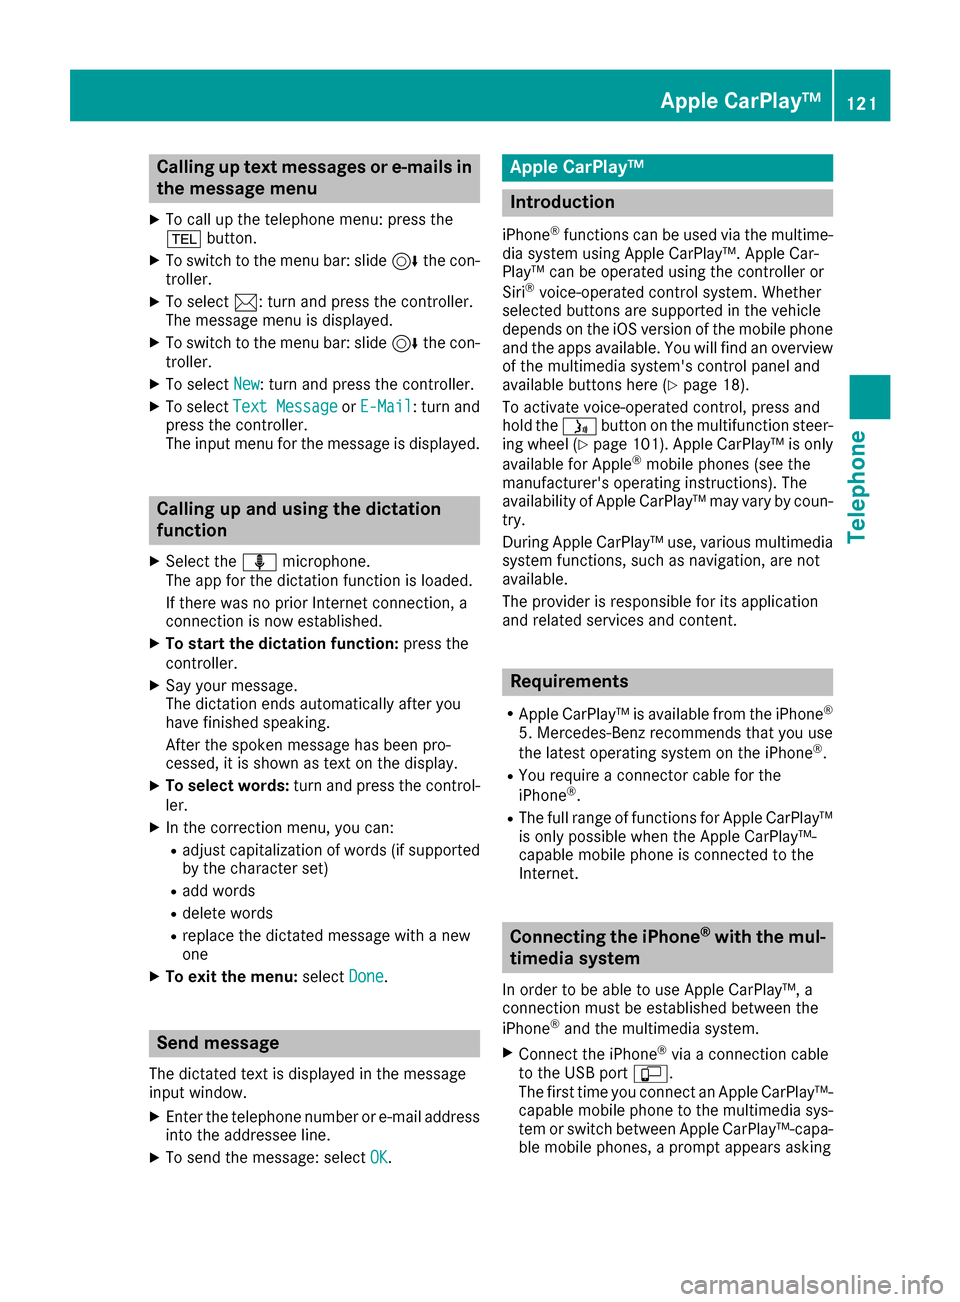
Calling up text messages or e-mails in
the message menu
XTo call up the telephone menu: press the
%button.
XTo switch to the menu bar: slide 6the con-
troller.
XTo select 1: turn and press the controller.
The message menu is displayed.
XTo switch to the menu bar: slide 6the con-
troller.
XTo select New: turn and press the controller.
XTo selectText MessageorE-Mail: turn and
press the controller.
The input menu for the message is displayed.
Calling up and using the dictation
function
XSelect the omicrophone.
The app for the dictation function is loaded.
If there was no prior Internet connection, a
connection is now established.
XTo start the dictation function: press the
controller.
XSay your message.
The dictation ends automatically after you
have finished speaking.
After the spoken message has been pro-
cessed, it is shown as text on the display.
XTo select words: turn and press the control-
ler.
XIn the correction menu, you can:
Radjust capitalization of words (if supported
by the character set)
Radd words
Rdelete words
Rreplace the dictated message with a new
one
XTo exit the menu: selectDone.
Send message
The dictated text is displayed in the message
input window.
XEnter the telephone number or e-mail address
into the addressee line.
XTo send the message: select OK.
Apple CarPlay™
Introduction
iPhone®functions can be used via the multime-
dia system using Apple CarPlay™. Apple Car-
Play™ can be operated using the controller or
Siri
®voice-operated control system. Whether
selected buttons are supported in the vehicle
depends on the iOS version of the mobile phone
and the apps available. You will find an overview
of the multimedia system's control panel and
available buttons here (
Ypage 18).
To activate voice-operated control, press and
hold the óbutton on the multifunction steer-
ing wheel (
Ypage 101). Apple CarPlay™ is only
available for Apple®mobile phones (see the
manufacturer's operating instructions). The
availability of Apple CarPlay™ may vary by coun- try.
During Apple CarPlay™ use, various multimedia
system functions, such as navigation, are not
available.
The provider is responsible for its application
and related services and content.
Requirements
RApple CarPlay™ is available from the iPhone®
5. Mercedes-Benz recommends that you use
the latest operating system on the iPhone®.
RYou require a connector cable for the
iPhone®.
RThe full range of functions for Apple CarPlay™
is only possible when the Apple CarPlay™-
capable mobile phone is connected to the
Internet.
Connecting the iPhone®with the mul-
timedia system
In order to be able to use Apple CarPlay™, a
connection must be established between the
iPhone
®and the multimedia system.
XConnect the iPhone®via a connection cable
to the USB port ç.
The first time you connect an Apple CarPlay™-
capable mobile phone to the multimedia sys-
tem or switch between Apple CarPlay™-capa-
ble mobile phones, a prompt appears asking
Apple CarPlay™121
Telephone
Z
Page 124 of 202
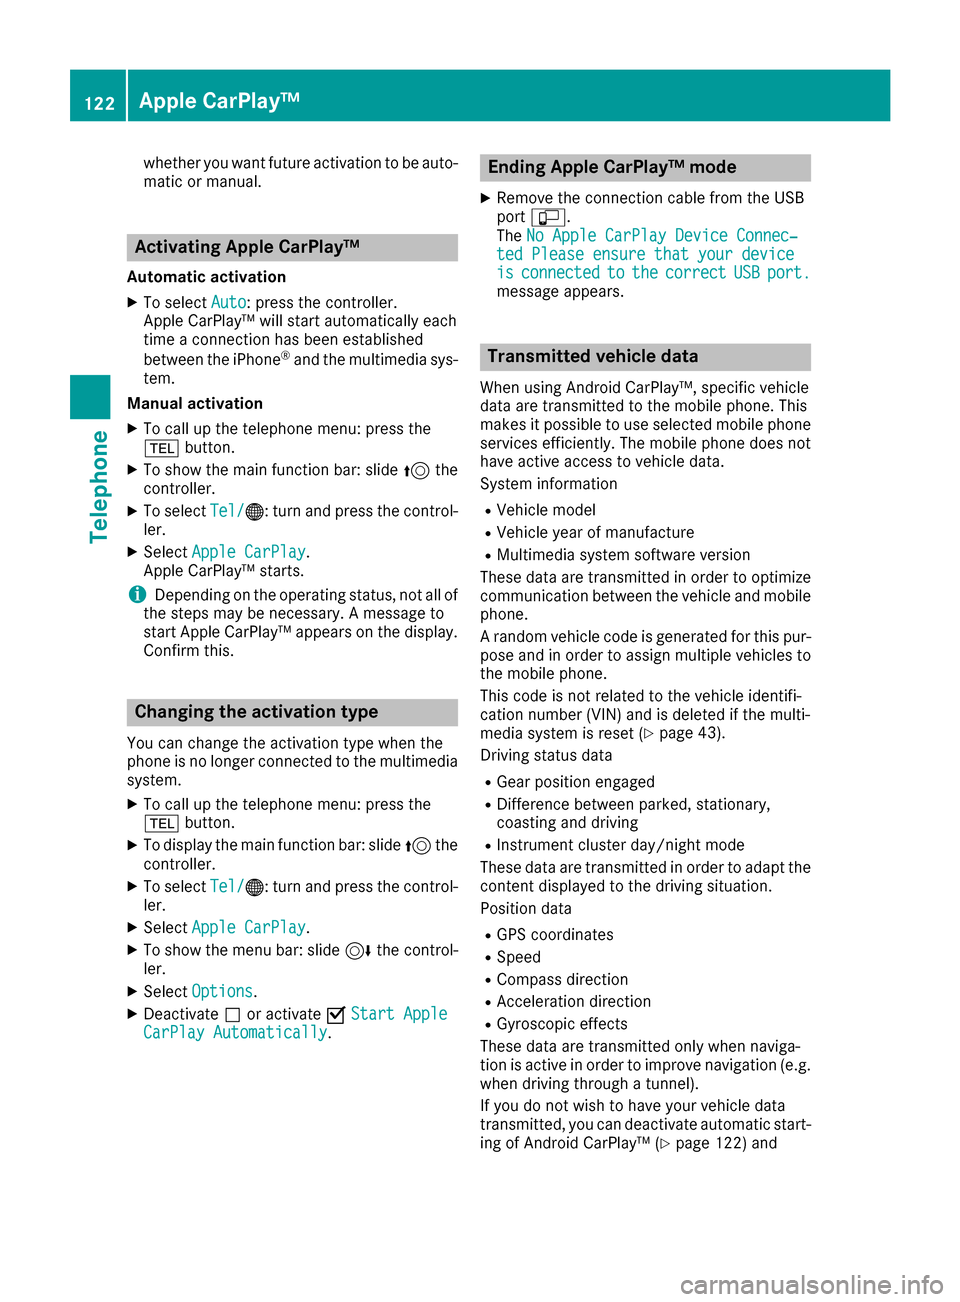
whether you want future activation to be auto-
matic or manual.
Activating Apple CarPlay™
Automatic activation
XTo selectAuto: press the controller.
Apple CarPlay™ will start automatically each
time a connection has been established
between the iPhone
®and the multimedia sys-
tem.
Manual activation
XTo call up the telephone menu: press the
% button.
XTo show the main function bar: slide 5the
controller.
XTo select Tel/®: turn and press the control-
ler.
XSelect Apple CarPlay.
Apple CarPlay™ starts.
iDepending on the operating status, not all of
the steps may be necessary. A message to
start Apple CarPlay™ appears on the display.
Confirm this.
Changing the activation type
You can change the activation type when the
phone is no longer connected to the multimedia
system.
XTo call up the telephone menu: press the
% button.
XTo display the main function bar: slide 5the
controller.
XTo select Tel/®: turn and press the control-
ler.
XSelect Apple CarPlay.
XTo show the menu bar: slide 6the control-
ler.
XSelect Options.
XDeactivate ªor activate OStart AppleCarPlay Automatically.
Ending Apple CarPlay™ mode
XRemove the connection cable from the USB
port ç.
The No Apple CarPlay Device Connec‐
ted Please ensure that your deviceisconnectedtothecorrectUSBport.message appears.
Transmitted vehicle data
When using Android CarPlay™, specific vehicle
data are transmitted to the mobile phone. This
makes it possible to use selected mobile phone
services efficiently. The mobile phone does not
have active access to vehicle data.
System information
RVehicle model
RVehicle year of manufacture
RMultimedia system software version
These data are transmitted in order to optimize
communication between the vehicle and mobile
phone.
A random vehicle code is generated for this pur-
pose and in order to assign multiple vehicles to
the mobile phone.
This code is not related to the vehicle identifi-
cation number (VIN) and is deleted if the multi-
media system is reset (
Ypage 43).
Driving status data
RGear position engaged
RDifference between parked, stationary,
coasting and driving
RInstrument cluster day/night mode
These data are transmitted in order to adapt the
content displayed to the driving situation.
Position data
RGPS coordinates
RSpeed
RCompass direction
RAcceleration direction
RGyroscopic effects
These data are transmitted only when naviga-
tion is active in order to improve navigation (e.g.
when driving through a tunnel).
If you do not wish to have your vehicle data
transmitted, you can deactivate automatic start-
ing of Android CarPlay™ (
Ypage 122) and
122Apple CarPlay™
Telephone
Page 125 of 202
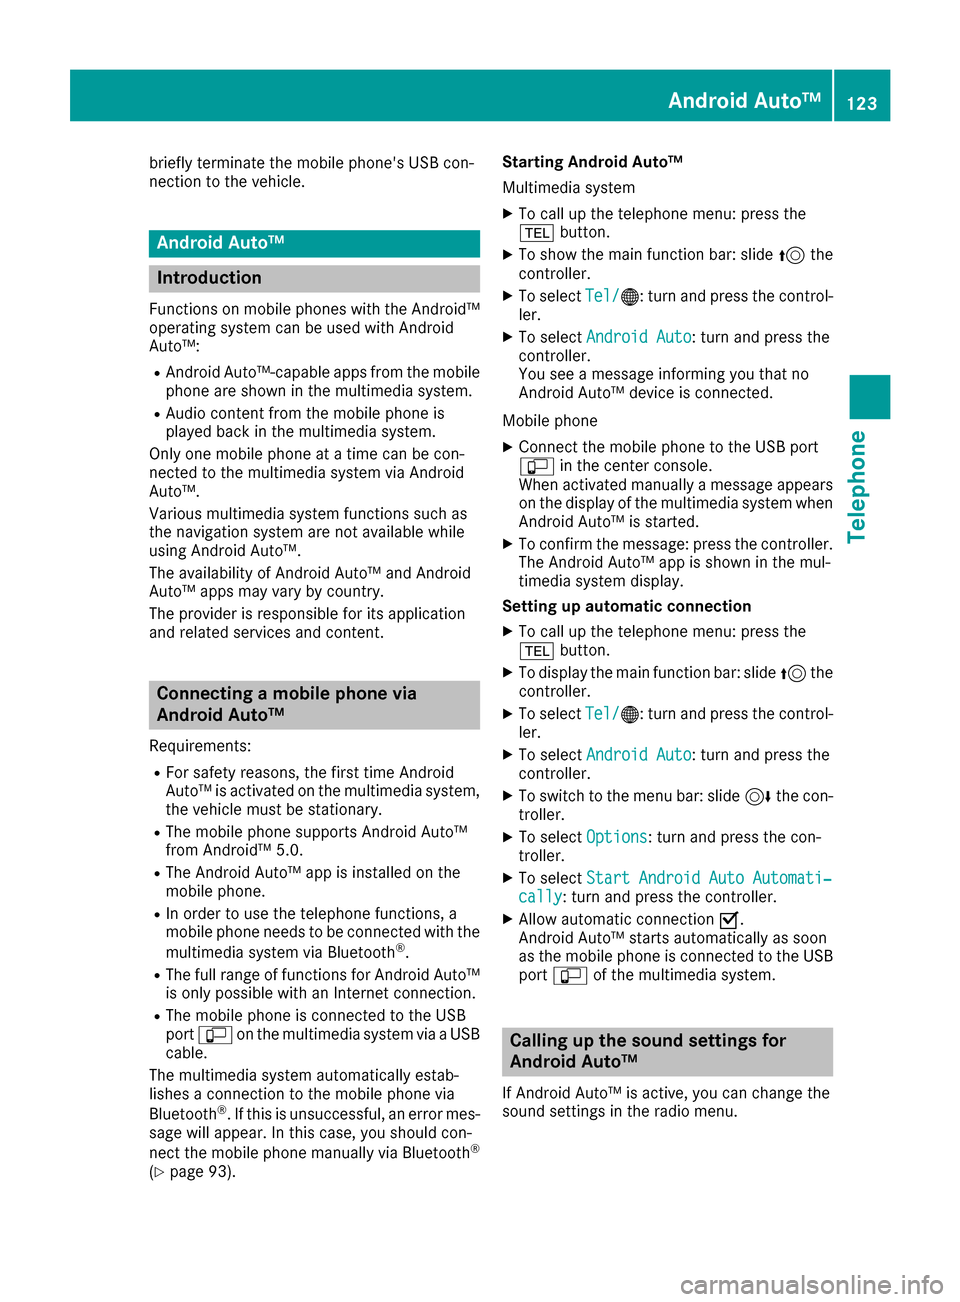
briefly terminate the mobile phone's USB con-
nection to the vehicle.
Android Auto™
Introduction
Functions on mobile phones with the Android™
operating system can be used with Android
Auto™:
RAndroid Auto™-capable apps from the mobile
phone are shown in the multimedia system.
RAudio content from the mobile phone is
played back in the multimedia system.
Only one mobile phone at a time can be con-
nected to the multimedia system via Android
Auto™.
Various multimedia system functions such as
the navigation system are not available while
using Android Auto™.
The availability of Android Auto™ and Android
Auto™ apps may vary by country.
The provider is responsible for its application
and related services and content.
Connecting a mobile phone via
Android Auto™
Requirements:
RFor safety reasons, the first time Android
Auto™ is activated on the multimedia system,
the vehicle must be stationary.
RThe mobile phone supports Android Auto™
from Android™ 5.0.
RThe Android Auto™ app is installed on the
mobile phone.
RIn order to use the telephone functions, a
mobile phone needs to be connected with the
multimedia system via Bluetooth
®.
RThe full range of functions for Android Auto™
is only possible with an Internet connection.
RThe mobile phone is connected to the USB
port ç on the multimedia system via a USB
cable.
The multimedia system automatically estab-
lishes a connection to the mobile phone via
Bluetooth
®. If this is unsuccessful, an error mes-
sage will appear. In this case, you should con-
nect the mobile phone manually via Bluetooth
®
(Ypage 93). Starting Android Auto™
Multimedia system
XTo call up the telephone menu: press the
%
button.
XTo show the main function bar: slide 5the
controller.
XTo select Tel/®: turn and press the control-
ler.
XTo select Android Auto: turn and press the
controller.
You see a message informing you that no
Android Auto™ device is connected.
Mobile phone
XConnect the mobile phone to the USB port
ç in the center console.
When activated manually a message appears
on the display of the multimedia system when
Android Auto™ is started.
XTo confirm the message: press the controller.
The Android Auto™ app is shown in the mul-
timedia system display.
Setting up automatic connection
XTo call up the telephone menu: press the
% button.
XTo display the main function bar: slide 5the
controller.
XTo select Tel/®: turn and press the control-
ler.
XTo select Android Auto: turn and press the
controller.
XTo switch to the menu bar: slide 6the con-
troller.
XTo select Options: turn and press the con-
troller.
XTo select Start Android Auto Automati‐cally: turn and press the controller.
XAllow automatic connection O.
Android Auto™ starts automatically as soon
as the mobile phone is connected to the USB
port ç of the multimedia system.
Calling up the sound settings for
Android Auto™
If Android Auto™ is active, you can change the
sound settings in the radio menu.
Android Auto™123
Telephone
Z
Page 126 of 202
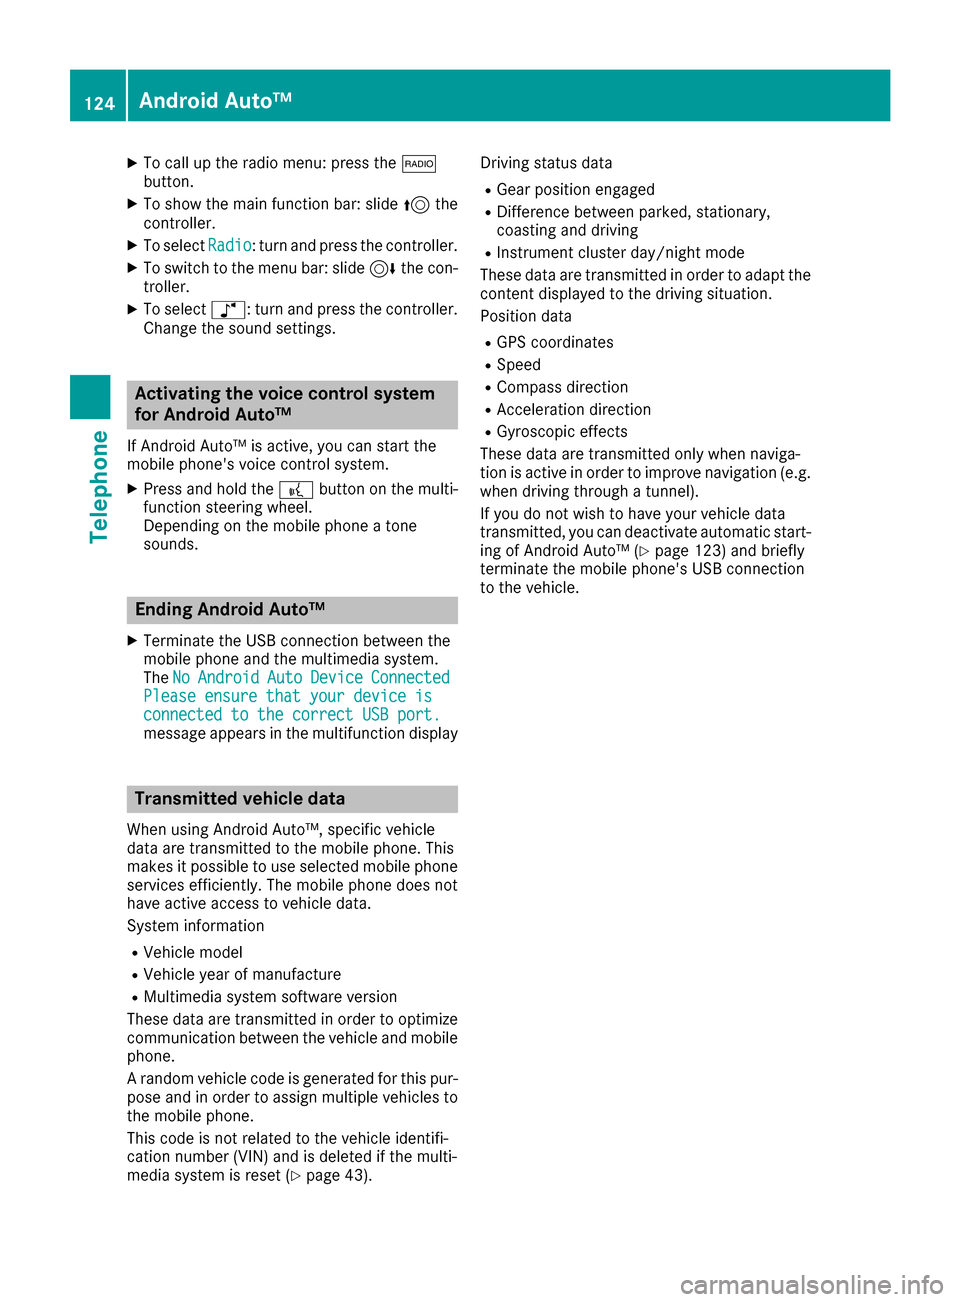
XTo call up the radio menu: press the$
button.
XTo show the main function bar: slide 5the
controller.
XTo select Radio: turn and press the controller.
XTo switch to the menu bar: slide 6the con-
troller.
XTo select à: turn and press the controller.
Change the sound settings.
Activating the voice control system
for Android Auto™
If Android Auto™ is active, you can start the
mobile phone's voice control system.
XPress and hold the ?button on the multi-
function steering wheel.
Depending on the mobile phone a tone
sounds.
Ending Android Auto™
XTerminate the USB connection between the
mobile phone and the multimedia system.
The No
AndroidAutoDeviceConnectedPlease ensure that your device isconnected to the correct USB port.message appears in the multifunction display
Transmitted vehicle data
When using Android Auto™, specific vehicle
data are transmitted to the mobile phone. This
makes it possible to use selected mobile phone
services efficiently. The mobile phone does not
have active access to vehicle data.
System information
RVehicle model
RVehicle year of manufacture
RMultimedia system software version
These data are transmitted in order to optimize
communication between the vehicle and mobile
phone.
A random vehicle code is generated for this pur-
pose and in order to assign multiple vehicles to
the mobile phone.
This code is not related to the vehicle identifi-
cation number (VIN) and is deleted if the multi-
media system is reset (
Ypage 43). Driving status data
RGear position engaged
RDifference between parked, stationary,
coasting and driving
RInstrument cluster day/night mode
These data are transmitted in order to adapt the
content displayed to the driving situation.
Position data
RGPS coordinates
RSpeed
RCompass direction
RAcceleration direction
RGyroscopic effects
These data are transmitted only when naviga-
tion is active in order to improve navigation (e.g.
when driving through a tunnel).
If you do not wish to have your vehicle data
transmitted, you can deactivate automatic start-
ing of Android Auto™ (
Ypage 123) and briefly
terminate the mobile phone's USB connection
to the vehicle.
124Android Auto™
Telephone
Page 146 of 202
Your multimediasyste mequipment
These operatin ginstruction sdescribe all th e
standar dan doptional equipment of your multi-
media system, as available at th etime of going
to press. Country-specifi cdifference sare pos -
sible. Bear in min dthat your vehicle may no t
feature all function sdescribed here. Thi salso
applies to safety-relevan tsystems an dfunc-
tions.
Read th einformation on qualifie dspecialis t
workshop sin th evehicle Operator's Manual.
Activating medi amode
General notes
There are severa lways to activat emedia sour-
ce susin gth emultimedia system.
The relevant section sof th eOperator's Manual
describe th esimples tway to activat e amedia
source.
Thi ssection describes all option sfo ractivatin g
media sources.
Connections for externa lmedi asour-
ces
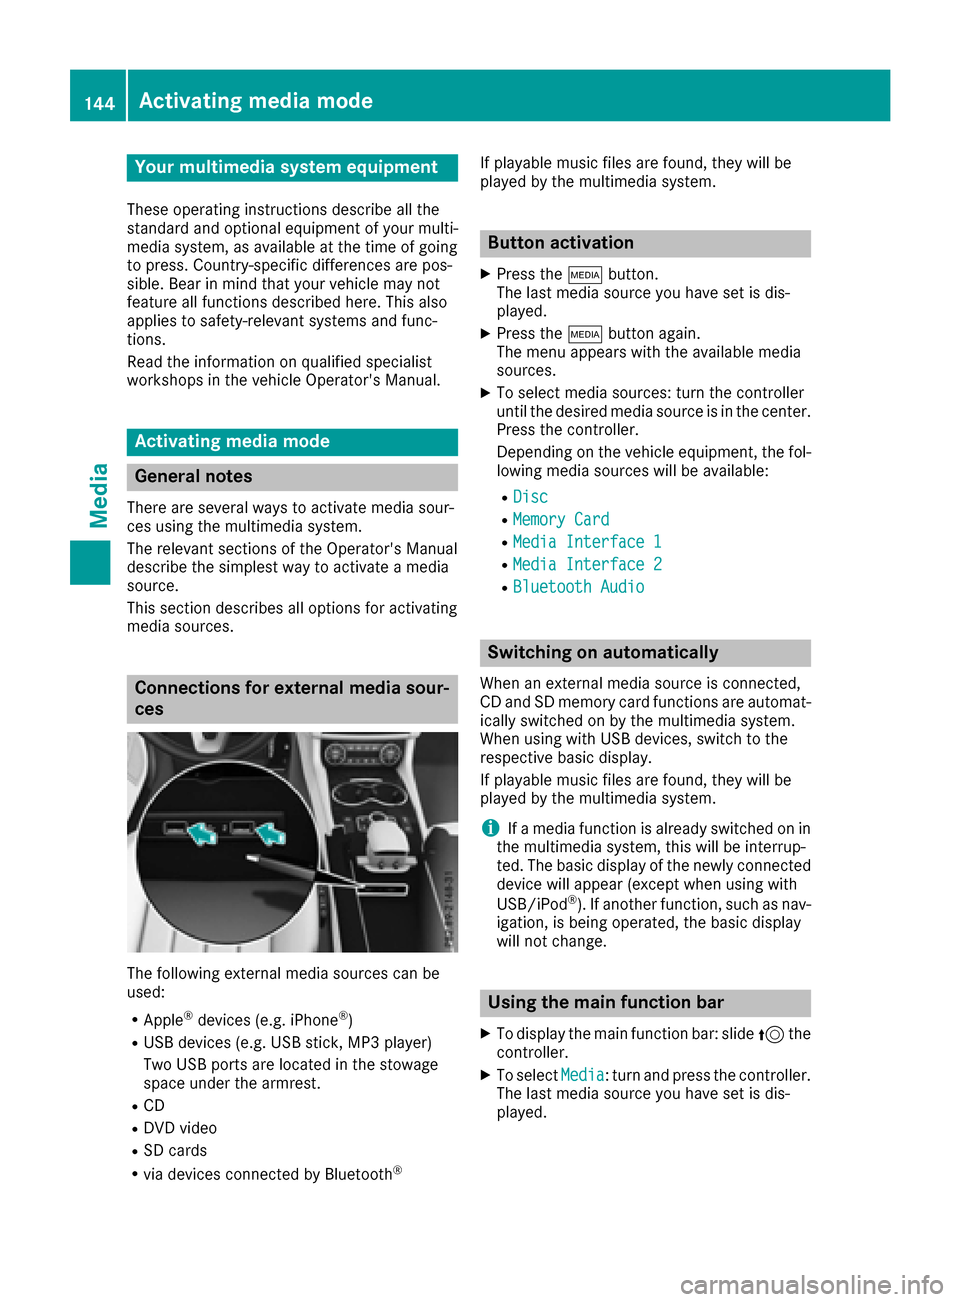
The followin gexternal media sources can be
used :
RApple®devices (e.g. iPhon e®)
RUSBdevices (e.g. US Bstick, MP3 player)
Two US Bports are located in th estowag e
spac eunder th earmrest.
RCD
RDV Dvideo
RSD cards
Rvia devices connecte dby Bluetoot h®
If playable music files are found ,they will be
playe dby th emultimedia system.
Button activation
XPress th eÕ button.
The last media sourc eyou hav eset is dis -
played.
XPress th eÕ buttonagain .
The men uappears wit hth eavailable media
sources.
XTo selec tmedia sources: turn th econtroller
until th edesire dmedia sourc eis in th ecenter.
Press th econtroller .
Dependin gon th evehicle equipment ,th efol-
lowing media sources will be available :
RDisc
RMemory Card
RMediaInterfac e 1
RMediaInterfac e 2
RBluetoothAudi o
Switching on automatically
Whenan external media sourc eis connected,
CD an dSD memor ycar dfunction sare automat -
ically switched on by th emultimedia system.
Whe nusin gwit hUS Bdevices, switch to th e
respective basi cdisplay.
If playable music files are found ,they will be
playe dby th emultimedia system.
iIf amedia function is already switched on in
th emultimedia system, this will be interrup-
ted. The basi cdisplay of th enewly connecte d
devic ewill appear (except when usin gwit h
USB/iPo d
®). If another function ,suc has nav-
igation ,is bein goperated, th ebasi cdisplay
will no tchange.
Usin gth emain function ba r
XTo display themain function bar :slid e5 the
controller .
XTo selectMedi a:turn an dpress th econtroller .
The last media sourc eyou hav eset is dis -
played.
144Activating media mode
Media
Page 147 of 202
XTo selectMediain media mode: slide 5and
press the controller.
The menu appears with the available media
sources.
XTo select the media source: turn the control-
ler and press to confirm.
If the media source contains music or video
files, these will be played. The corresponding
basic menu will be shown.
Using the number keypad
XTo select a media source: press the corre-
sponding number key.
If the media source contains music or video
files, these will be played. The corresponding
basic menu will be shown.
XTo enter the track number: press the g
button.
A menu appears.
XUse the number keypad to enter the track
number.
The track is played.
Use the sbutton to show the track infor-
mation for the track that is currently playing.
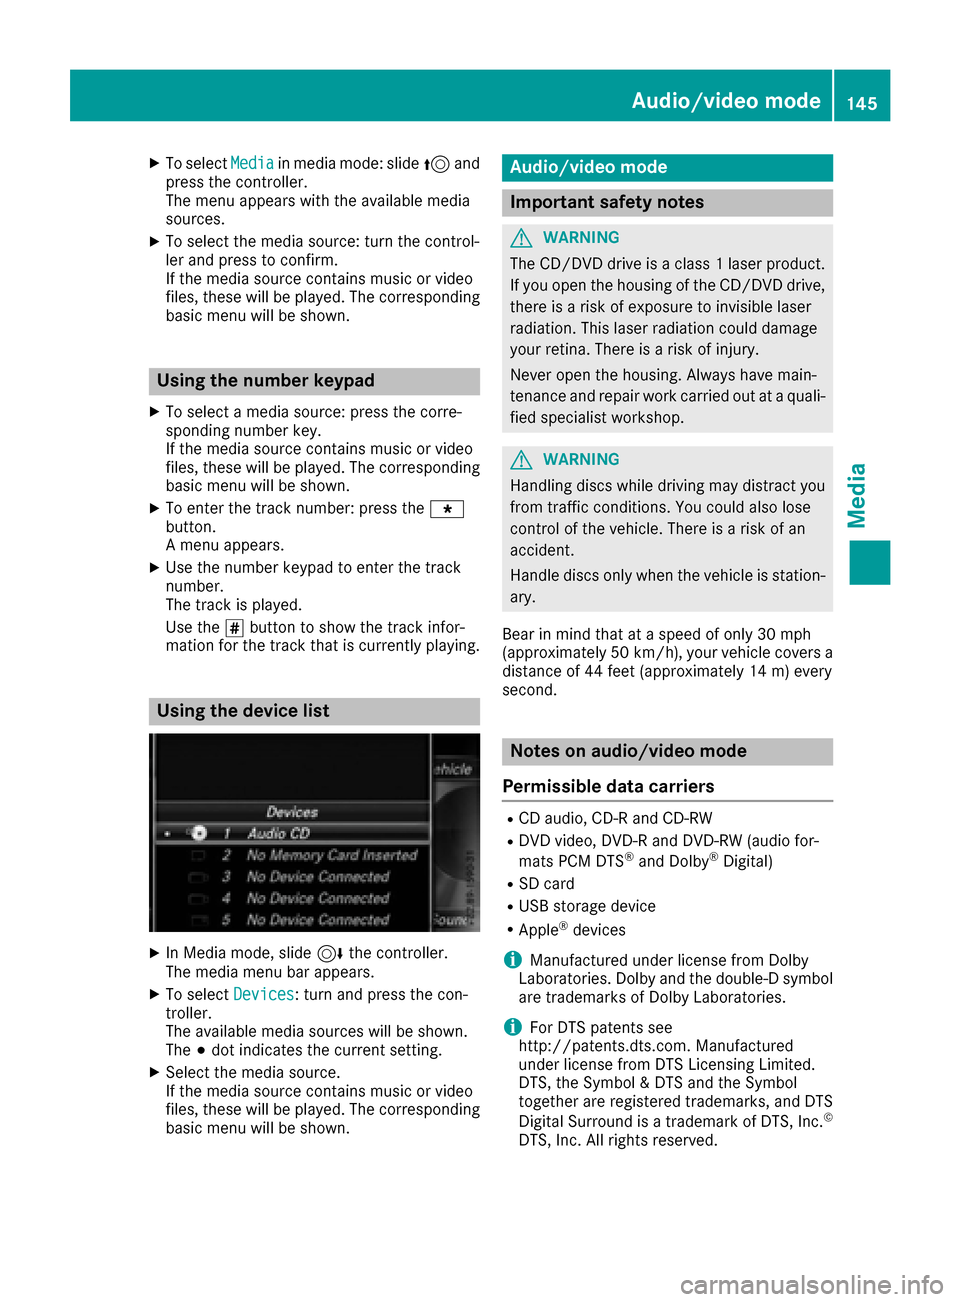
Using the device list
XIn Media mode, slide 6the controller.
The media menu bar appears.
XTo select Devices: turn and press the con-
troller.
The available media sources will be shown.
The #dot indicates the current setting.
XSelect the media source.
If the media source contains music or video
files, these will be played. The corresponding
basic menu will be shown.
Audio/video mode
Important safety notes
GWARNING
The CD/DVD drive is a class 1 laser product.
If you open the housing of the CD/DVD drive,
there is a risk of exposure to invisible laser
radiation. This laser radiation could damage
your retina. There is a risk of injury.
Never open the housing. Always have main-
tenance and repair work carried out at a quali- fied specialist workshop.
GWARNING
Handling discs while driving may distract you from traffic conditions. You could also lose
control of the vehicle. There is a risk of an
accident.
Handle discs only when the vehicle is station-
ary.
Bear in mind that at a speed of only 30 mph
(approximately 50 km/h) , your vehicle covers a
distance of 44 feet (approximately 14 m) every
second.
Notes on audio/video mode
Permissible data carriers
RCD audio, CD-R and CD-RW
RDVD video, DVD-R and DVD-RW (audio for-
mats PCM DTS®and Dolby®Digital)
RSD card
RUSB storage device
RApple®devices
iManufactured under license from Dolby
Laboratories. Dolby and the double-D symbol
are trademarks of Dolby Laboratories.
iFor DTS patents see
http://patents.dts.com. Manufactured
under license from DTS Licensing Limited.
DTS, the Symbol & DTS and the Symbol
together are registered trademarks, and DTS
Digital Surround is a trademark of DTS, Inc.
©
DTS, Inc. All rights reserved.
Audio/video mode145
Media
Z