Gear MERCEDES-BENZ CLK-CLASS 2000 Owners Manual
[x] Cancel search | Manufacturer: MERCEDES-BENZ, Model Year: 2000, Model line: CLK-CLASS, Model: MERCEDES-BENZ CLK-CLASS 2000Pages: 299, PDF Size: 7.58 MB
Page 6 of 299

Vehicle care Technical data
Cleaning and care of the vehicle 272 Spare parts service 278
Engine cleaning 273 Warranty coverage 278
Vehicle washing 273 Identification labels 279
Plastic and rubber parts 273 Layout of poly-V-belt drive 280
Tar stains 274 Technical data 281
Window cleaning 274 Fuels, coolants, lubricants etc. –
capacities 284
Headlamps, taillamps, turn signal Engine oils additives 285
lenses 274 Engine oil 285
Wiper blade 274 Air conditioner refrigerant 285
Seat belts 274 Brake fluid 285
Headliner and shelf below rear window 275 Premium unleaded gasoline 286
Instrument cluster 275 Fuel requirements 286
Steering wheel and gear selector lever 275 Gasoline additives 287
Hard plastic trim items 275 Coolants 287
Upholstery 275 Consumer information 289
Paintwork, painted body components 276 Uniform tire quality grading 289
Light alloy wheels 276
Ornamental Moldings 276
Index291
6
ProCarManuals.com
Page 74 of 299
Rear view mirrors
Te ch n ica l
data Instruments
and controlsOperationDrivingInstrument
cluster displayPractical hints Car care Index Inside rear view mirror
Manually adjust the mirror.
Use your inside mirror to determine the size and
distance of objects seen in the passenger side convex
mirror.
Antiglare night position
With the electronic key in steering lock position 2, the
mirror reflection brightness responds to changes in
light sensitivity.
With gear selector lever in position “R”, or with the
interior lamp switched on, the mirror brightness does
not respond to changes in light sensitivity.Note:
The automatic antiglare function does not react, if
incoming light is not aimed directly at sensors in the
mirror.
Wa r n i n g !
In the case of an accident liquid electrolyte may
escape the mirror housing when the mirror glass
breaks.Electrolyte has an irritating effect. Do not allow the
liquid come into contact with eyes, skin, clothing,
or respiratory system. In cases it does, immediately
flush affected area with water, and seek medical
help if necessary.
74
ProCarManuals.com
Page 75 of 299
Rear view mirrors
Te ch n ica l
data Instruments
and controlsOperationDrivingInstrument
cluster displayPractical hints Car care Index Exterior rear view mirrors
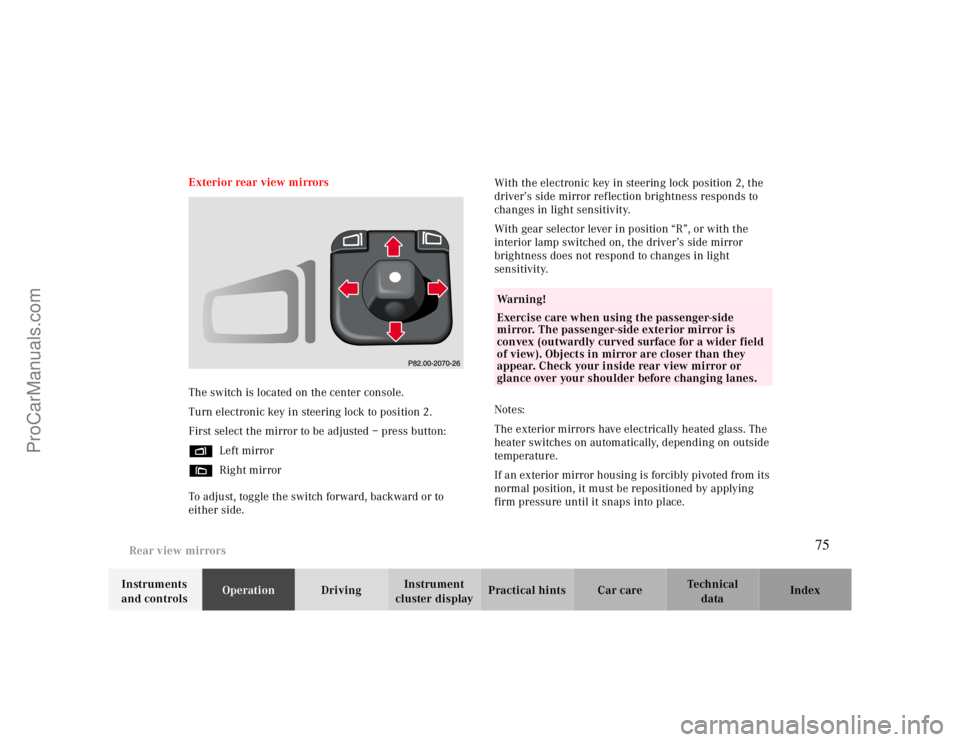
The switch is located on the center console.
Turn electronic key in steering lock to position 2.
First select the mirror to be adjusted – press button:
%Left mirror
&Right mirror
To adjust, toggle the switch forward, backward or to
either side.With the electronic key in steering lock position 2, the
driver’s side mirror reflection brightness responds to
changes in light sensitivity.
With gear selector lever in position “R”, or with the
interior lamp switched on, the driver’s side mirror
brightness does not respond to changes in light
sensitivity.
Notes:
The exterior mirrors have electrically heated glass. The
heater switches on automatically, depending on outside
temperature.
If an exterior mirror housing is forcibly pivoted from its
normal position, it must be repositioned by applying
firm pressure until it snaps into place.
Wa r n i n g !
Exercise care when using the passenger-side
mirror. The passenger-side exterior mirror is
convex (outwardly curved surface for a wider field
of view). Objects in mirror are closer than they
appear. Check your inside rear view mirror or
glance over your shoulder before changing lanes.
75
ProCarManuals.com
Page 77 of 299
Rear view mirrors
Te ch n ica l
data Instruments
and controlsOperationDrivingInstrument
cluster displayPractical hints Car care Index Parking position
The passenger-side exterior mirror can be adjusted and
programmed to assist the driver during parking
maneuvers (e.g. to observe the curb or other objects
close to the vehicle).
With electronic key in steering lock position 2, and the
exterior rear view mirror switch in the passenger side
position, the passenger-side mirror will be turned
downward when placing the gear selector lever in “R”
Reverse.
The mirror position can now be adjusted as desired.
At speeds above approx. 6 mph (10 km/h), upon shifting
gear selector lever from “R” Reverse, or upon pressing
the driver’s side mirror, the passenger-side mirror will
return to its previous position.One passenger-side mirror position can be stored in
memory. To do so:
1. Turn electronic key to steering lock position 2.
The vehicle must be stationary.
2. Select passenger-side mirror
downward.
3. Place gear selector in "R" Reverse. The mirror will turn
Press green memory button located in switch cluster
for driver seat . 4. Using the toggle switch, select the final downward
6. While holding green memory button pull the mirror
7. Release the green button and toggle switch.toggle switch rearward.
The mirror position is now stored in memory. 5. position for the mirror.
77
ProCarManuals.com
Page 79 of 299
Instrument cluster
Te ch n ica l
data Instruments
and controlsOperationDrivingInstrument
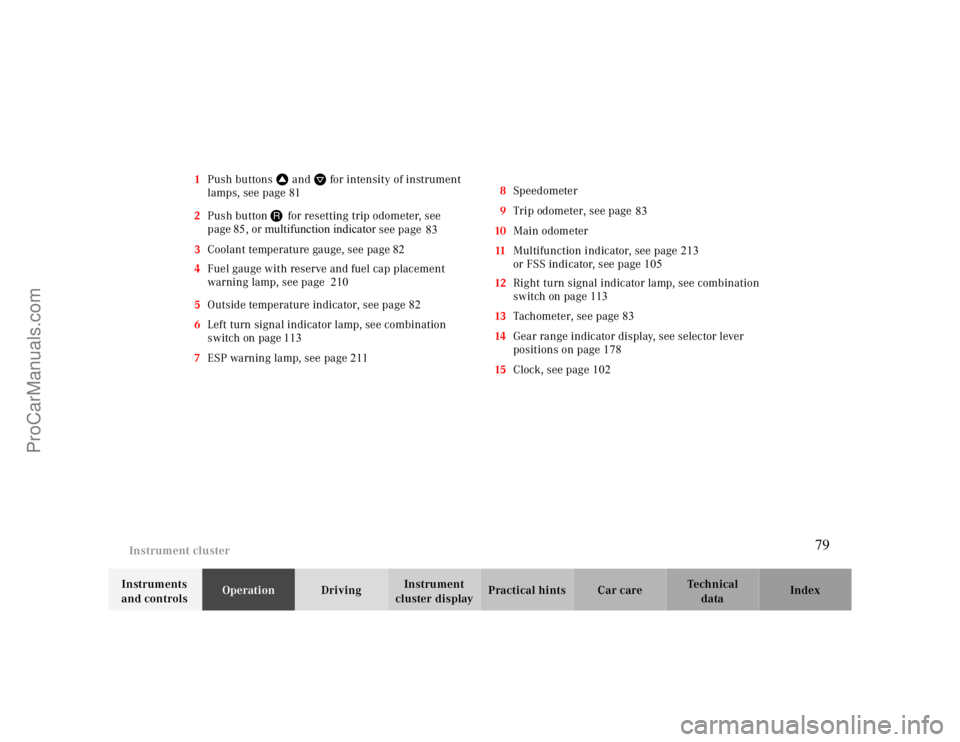
cluster displayPractical hints Car care Index 1Push buttonsVandWfor intensity of instrument
lamps, see page 81
83 2Push buttonJ for resetting trip odometer, see
page85, or
multifunction indicator
see page
3Coolant temperature gauge, see page 82
4Fuel gauge with reserve and fuel cap placement
warning lamp, see page 210
5Outside temperature indicator, see page 82
6Left turn signal indicator lamp, see combination
switch on page113
7ESP warning lamp, see page 2118Speedometer
9Trip odometer, see page
10Main odometer
11Multifunction indicator, see page 213
or FSS indicator, see page 105
12Right turn signal indicator lamp, see combination
switch on page113
13Tachometer, see page 83
14Gear range indicator display, see selector lever
positions on page 178
15Clock, see page 102 83
79
ProCarManuals.com
Page 150 of 299
Interior equipment
Te ch n ica l
data Instruments
and controlsOperationDrivingInstrument
cluster displayPractical hints Car care Index
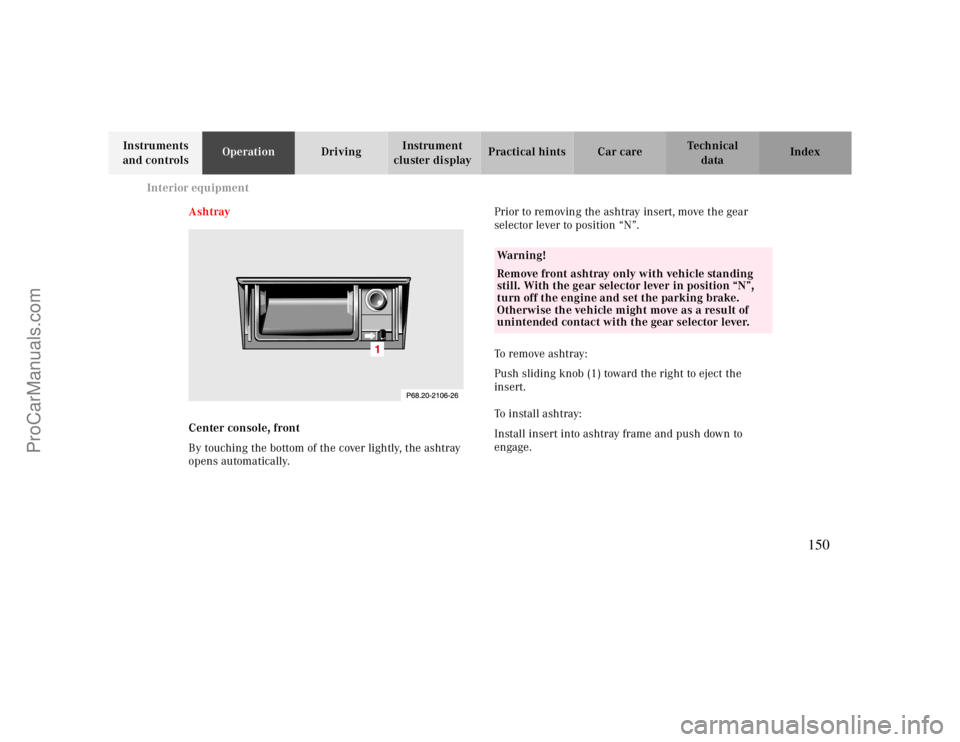
Ashtray
Center console, front
By touching the bottom of the cover lightly, the ashtray
opens automatically.Prior to removing the ashtray insert, move the gear
selector lever to position “N”.
To remove ashtray:
Push sliding knob (1) toward the right to eject the
insert.
To i n st a l l a s h t r ay :
Install insert into ashtray frame and push down to
engage.
Wa r n i n g !
Remove front ashtray only with vehicle standing
still. With the gear selector lever in position “N”,
turn off the engine and set the parking brake.
Otherwise the vehicle might move as a result of
unintended contact with the gear selector lever.
150
ProCarManuals.com
Page 163 of 299
The first 1 000 miles
Te ch n ica l
data Instruments
and controlsOperationDrivingInstrument
cluster displayPractical hints Car care Index The first 1 000 miles (1 500 km)
The more cautiously you treat your vehicle during the
break-in period, the more satisfied you will be with its
performance later on. Therefore, drive your vehicle
during the first 1 000 miles (1 500 km) at moderate
vehicle and engine speeds.
During this period, avoid heavy loads (full throttle
driving) and excessive engine speeds.
Avoid accelerating by kickdown. It is not recommended
to brake the vehicle by manually shifting to a lower gear.
We recommend that you select positions “3”, “2” or “1”
only at moderate speeds (for hill driving).
After 1 000 miles (1 500 km) speeds may be gradually
increased to the permissible maximum.Maintenance
Approximately 30 days or 2 000 miles ( 2000 km) prior
to the next recommended service, the remaining
distance or days are displayed in the multifunction
indicator. See Flexible service system (FSS) in Index.
We strongly recommend that you have your vehicle
serviced by your authorized Mercedes-Benz Center, in
accordance with the Service Booklet at the times called
for by the FSS.
Failure to have the vehicle maintained in accordance
with the Service Booklet at the designated times/
mileage may result in vehicle damage not covered by
the Mercedes-Benz Limited Warranty.
Check regularly and before a long trip, see page205.
163
ProCarManuals.com
Page 175 of 299
Automatic transmission
Te ch n ica l
data Instruments
and controlsOperationDrivingInstrument
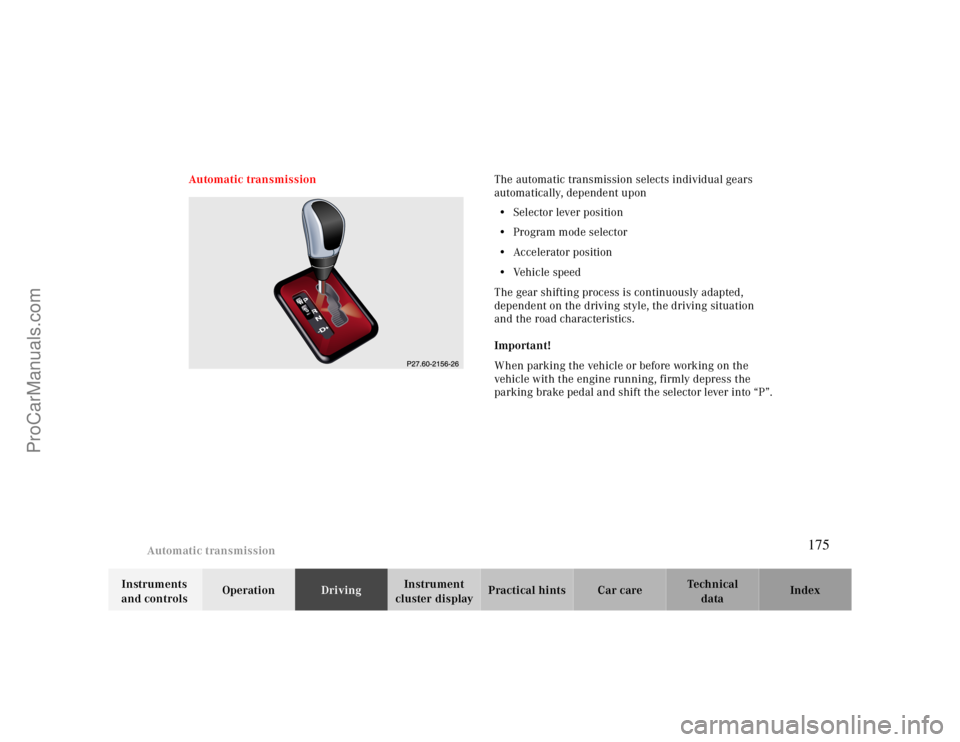
cluster displayPractical hints Car care Index Automatic transmissionThe automatic transmission selects individual gears
automatically, dependent upon
•Selector lever position
•Program mode selector
•Accelerator position
•Vehicle speed
The gear shifting process is continuously adapted,
dependent on the driving style, the driving situation
and the road characteristics.
Important!
When parking the vehicle or before working on the
vehicle with the engine running, firmly depress the
parking brake pedal and shift the selector lever into “P”.
175
ProCarManuals.com
Page 176 of 299
Automatic transmission
Te ch n ica l
data Instruments
and controlsOperationDrivingInstrument
cluster displayPractical hints Car care Index
Driving
The selector lever is automatically locked while in
position “P”. To move the selector lever out of
position “P”, the service brake pedal must be firmly
depressed before the shift lock will release.
Shift selector lever to the desired position only when the
engine is idling normally and the service brake is
applied. Do not release the brake until ready to drive.
The vehicle may otherwise start creeping when the
selector lever is in drive or reverse position.Important!
After selecting any driving position from “N” or “P”,
wait a moment to allow the gear to fully engage before
accelerating, especially when the engine is cold.
Accelerator position
Partial throttle = early upshifting = normal acceleration
Full throttle = later upshifting = rapid acceleration
Kickdown (depressing the accelerator beyond full
throttle) = downshifting to a lower gear = maximum
acceleration. Once the desired speed is attained, ease up
on the accelerator – the transmission shifts up again.
Warning!
It is dangerous to shift the selector lever out of “P”
or “N” if the engine speed is higher than idle speed.
If your foot is not firmly on the brake pedal, the
vehicle could accelerate quickly forward or in
reverse. You could lose control of the vehicle and
hit someone or something. Only shift into gear
when the engine is idling normally and when your
right foot is firmly on the brake pedal.
176
ProCarManuals.com
Page 177 of 299
Automatic transmission
Te ch n ica l
data Instruments
and controlsOperationDrivingInstrument
cluster displayPractical hints Car care Index Stopping
For brief stops, e.g. at traffic lights, leave the
transmission in gear and hold vehicle with the service
brake.
For longer stops with the engine idling, shift into “N”
or “P” and hold the vehicle with the service brake.
When stopping the vehicle on an uphill gradient, do not
hold it with the accelerator, use the brake. This avoids
unnecessary transmission heat build up.
Maneuvering
To maneuver in tight areas, e.g. when pulling into a
parking space, control the vehicle speed by gradually
releasing the brakes. Accelerate gently and never
abruptly step on the accelerator.
To rock a vehicle out of soft ground (mud or snow),
alternately shift from forward to reverse, while applying
slight partial throttle.Rocking a vehicle free in this manner may cause the
ABS or traction system malfunction indicator lamp to
come on. Turn off and restart the engine to clear the
malfunction indication.
Wa r n i n g !
Getting out of your vehicle with the selector lever
not fully engaged in position “P” is dangerous.
Also, when parked on an incline, position “P” alone
may not prevent your vehicle from moving,
possibly hitting people or objects.Always set the parking brake in addition to shifting
to position “P”, see page 204 for parking brake. When parked on an incline, also turn front wheel
against curb.
177
ProCarManuals.com