lock MERCEDES-BENZ CLK430 2000 C208 Owner's Guide
[x] Cancel search | Manufacturer: MERCEDES-BENZ, Model Year: 2000, Model line: CLK430, Model: MERCEDES-BENZ CLK430 2000 C208Pages: 299, PDF Size: 7.31 MB
Page 39 of 299
Central locking system
Te ch n ica l
data Instruments
and controlsOperationDrivingInstrument
cluster displayPractical hints Car care Index Notes:
In case of a malfunction in the central locking system
the trunk can be unlocked individually.
To unlock and open the trunk lid, turn mechanical key
to position 1, hold and push to open.
If the fuel filler flap cannot be opened, see page268.
Important!
Do not place mechanical key inside trunk, since trunk is
locked when the lid is closed if the vehicle has been
previously centrally locked.
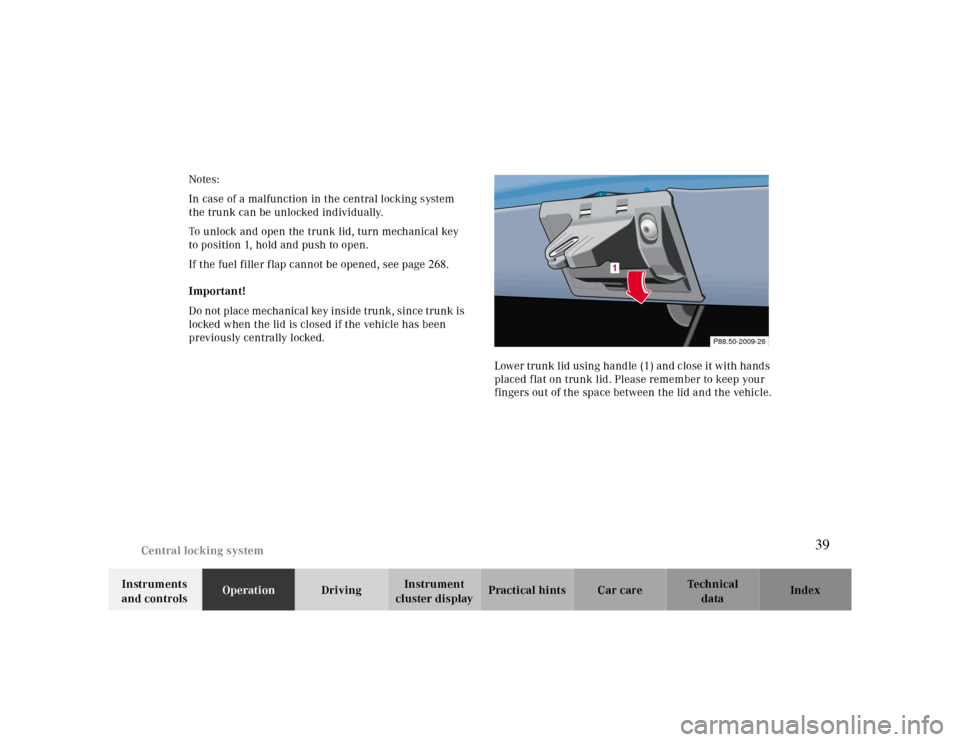
Lower trunk lid using handle (1) and close it with hands
placed flat on trunk lid. Please remember to keep your
fingers out of the space between the lid and the vehicle.
P88.50-2009-26
1
39
Page 40 of 299
Central locking system
Te ch n ica l
data Instruments
and controlsOperationDrivingInstrument
cluster displayPractical hints Car care Index
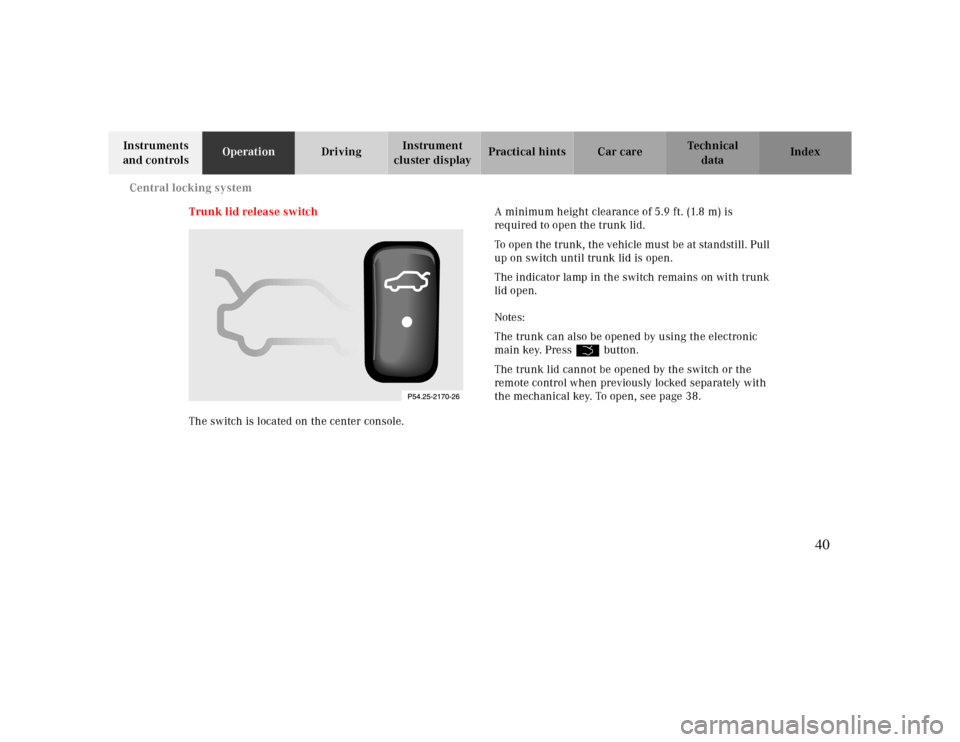
Trunk lid release switch
The switch is located on the center console.A minimum height clearance of 5.9 ft. (1.8 m) is
required to open the trunk lid.
To open the trunk, the vehicle must be at standstill. Pull
up on switch until trunk lid is open.
The indicator lamp in the switch remains on with trunk
lid open.
Notes:
The trunk can also be opened by using the electronic
main key. Press Š button.
The trunk lid cannot be opened by the switch or the
remote control when previously locked separately with
the mechanical key. To open, see page 38.
40
Page 41 of 299
Antitheft alarm system
Te ch n ica l
data Instruments
and controlsOperationDrivingInstrument
cluster displayPractical hints Car care Index
Antitheft alarm system
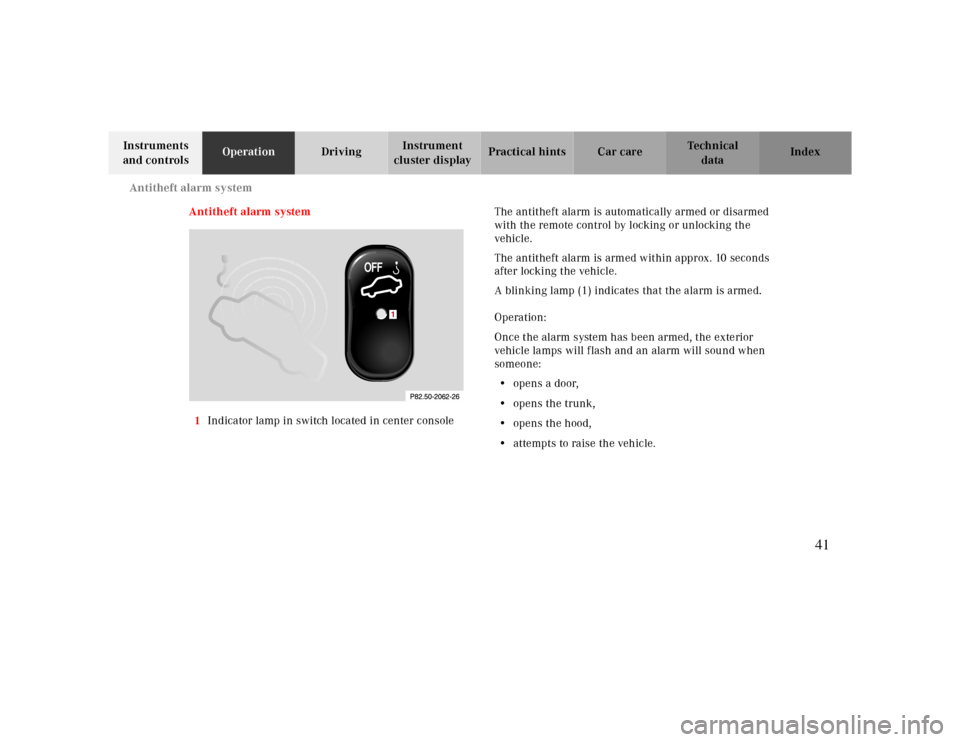
1Indicator lamp in switch located in center consoleThe antitheft alarm is automatically armed or disarmed
with the remote control by locking or unlocking the
vehicle.
The antitheft alarm is armed within approx. 10 seconds
after locking the vehicle.
A blinking lamp (1) indicates that the alarm is armed.
Operation:
Once the alarm system has been armed, the exterior
vehicle lamps will flash and an alarm will sound when
someone:
•opens a door,
•opens the trunk,
•opens the hood,
•attempts to raise the vehicle.
1
41
Page 42 of 299
Antitheft alarm system
Te ch n ica l
data Instruments
and controlsOperationDrivingInstrument
cluster displayPractical hints Car care Index The alarm will last approximately 3 minutes in form of
flashing exterior lamps. At the same time an alarm will
sound for 30 seconds. The alarm will stay on even if the
activating element (a door, for example) is immediately
closed. The antitheft alarm system is switched off
automatically if the vehicle is unlocked with the
electronic main key. If the alarm stays on for more than
20 seconds, an emergency call is initiated automatically.
See Tele Aid on page 182.Notes:
We recommend that you carry the electronic reserve
key plus mechanical key with you and keep it in a safe
place (e.g. your wallet) so that it is always handy. Never
leave the electronic reserve key in the vehicle.
When you unlock the driver’s door with the mechanical
key, the exterior lamps will flash and the alarm will
sound.
To interrupt the alarm, insert the electronic key in the
steering lock or press buttonŒ or‹ on the
electronic main key.
42
Page 43 of 299
Tow-away alarm
Te ch n ica l
data Instruments
and controlsOperationDrivingInstrument
cluster displayPractical hints Car care Index
Tow - aw ay al a rm
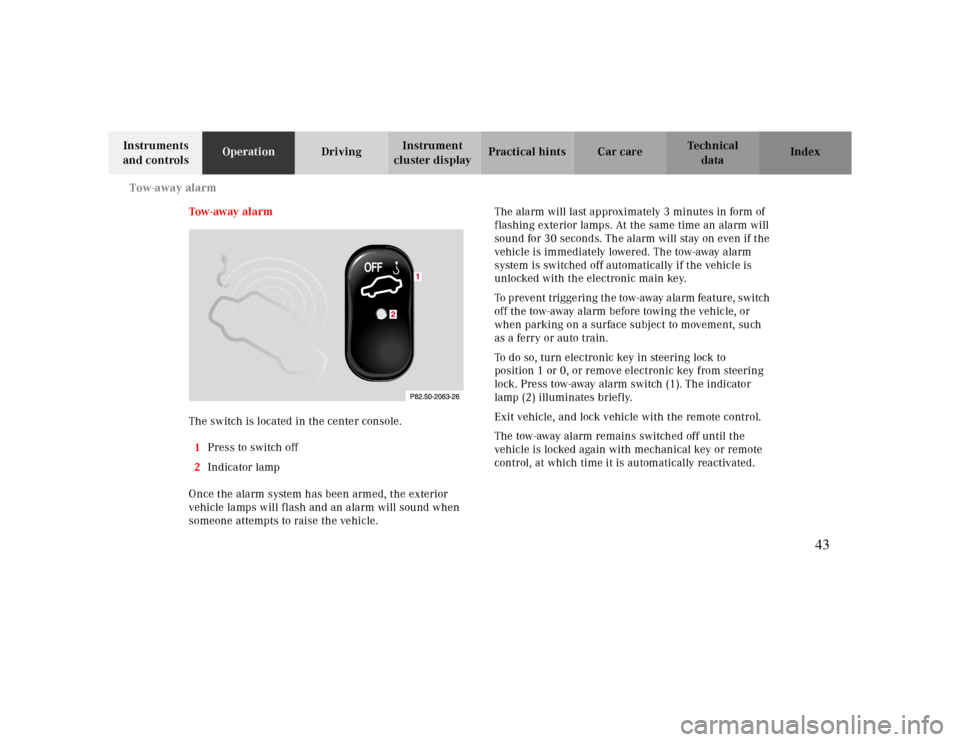
The switch is located in the center console.
1Press to switch off
2Indicator lamp
Once the alarm system has been armed, the exterior
vehicle lamps will flash and an alarm will sound when
someone attempts to raise the vehicle.The alarm will last approximately 3 minutes in form of
flashing exterior lamps. At the same time an alarm will
sound for 30 seconds. The alarm will stay on even if the
vehicle is immediately lowered. The tow-away alarm
system is switched off automatically if the vehicle is
unlocked with the electronic main key.
To prevent triggering the tow-away alarm feature, switch
off the tow-away alarm before towing the vehicle, or
when parking on a surface subject to movement, such
as a ferry or auto train.
To do so, turn electronic key in steering lock to
position 1 or 0, or remove electronic key from steering
lock. Press tow-away alarm switch (1). The indicator
lamp (2) illuminates briefly.
Exit vehicle, and lock vehicle with the remote control.
The tow-away alarm remains switched off until the
vehicle is locked again with mechanical key or remote
control, at which time it is automatically reactivated.
43
Page 44 of 299
Seats
Te ch n ica l
data Instruments
and controlsOperationDrivingInstrument
cluster displayPractical hints Car care Index Power seats, front
To operate the front power seat adjustment switches,
turn electronic key in steering lock to position 1 or 2
(with the driver’s or passenger’s door open, the power
seats can also be operated with the electronic key
removed or in steering lock position 0).
Warning!
Do not adjust the driver’s seat while driving.
Adjusting the seat while driving could cause the
driver to lose control of the vehicle.Never ride in a moving vehicle with the backrest
reclined. Sitting in an excessively reclined position
can be dangerous. You could slide under the seat
belt in a collision. If you slide under it, the belt
would apply force at the abdomen or neck. That
could cause serious or even fatal injuries. The
backrest and seat belt provide the best restraint
when the wearer is in an upright position and the
belt is properly positioned on the body.Never place hands under seat or near any moving
parts while a seat is being adjusted.
Wa r n i n g !
When leaving the vehicle always remove the
electronic key from the steering lock, and lock your
vehicle.The power seats can also be operated with the
driver’s or passenger door open. Do not leave
children unattended in the vehicle or with access
to an unlocked vehicle. Unsupervised use of vehicle
equipment may cause serious personal injury.
44
Page 46 of 299
Seats
Te ch n ica l
data Instruments
and controlsOperationDrivingInstrument
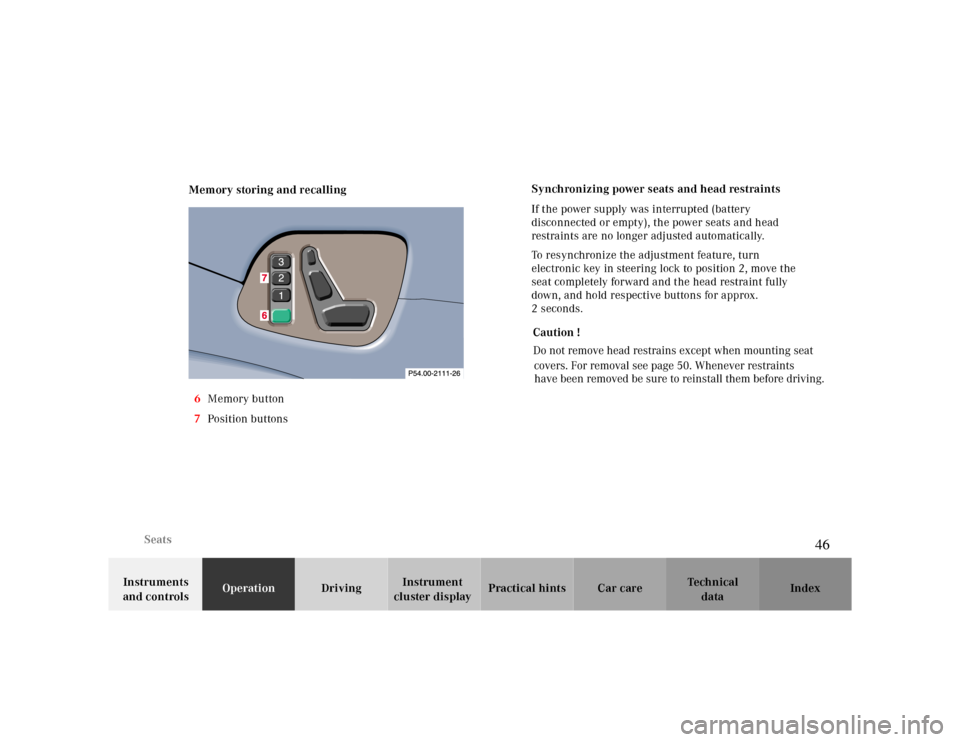
cluster displayPractical hints Car care Index Memory storing and recalling
6Memory button
7Position buttons
Synchronizing power seats and head restraints
If the power supply was interrupted (battery
disconnected or empty), the power seats and head
restraints are no longer adjusted automatically.
To resynchronize the adjustment feature, turn
electronic key in steering lock to position 2, move the
seat completely forward and the head restraint fully
down, and hold respective buttons for approx.
2seconds.
Caution !
Do not remove head restrains except when mounting seat
covers. For removal see page 50. Whenever restraints
have been removed be sure to reinstall them before driving.
46
Page 50 of 299
Seats
Te ch n ica l
data Instruments
and controlsOperationDrivingInstrument
cluster displayPractical hints Car care Index
Head restraints, rear
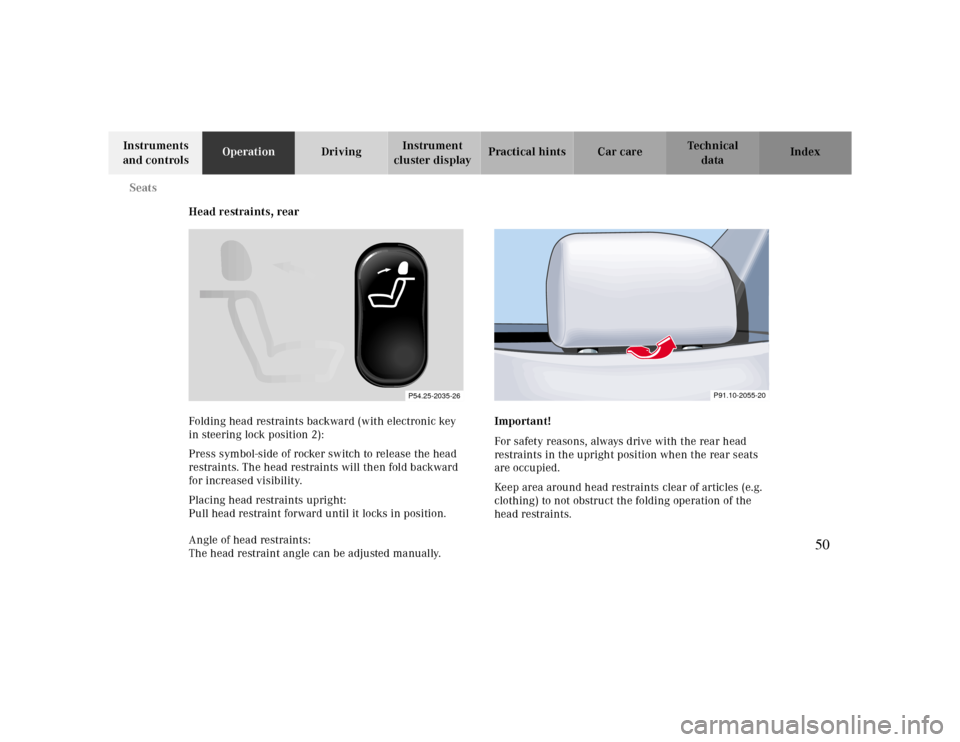
Folding head restraints backward (with electronic key
in steering lock position 2):
Press symbol-side of rocker switch to release the head
restraints. The head restraints will then fold backward
for increased visibility.
Placing head restraints upright:
Pull head restraint forward until it locks in position.
Angle of head restraints:
The head restraint angle can be adjusted manually.Important!
For safety reasons, always drive with the rear head
restraints in the upright position when the rear seats
are occupied.
Keep area around head restraints clear of articles (e.g.
clothing) to not obstruct the folding operation of the
head restraints.
P54.25-2035-26
P91.10-2055-20
50
Page 51 of 299
Seats
Te ch n ica l
data Instruments
and controlsOperationDrivingInstrument
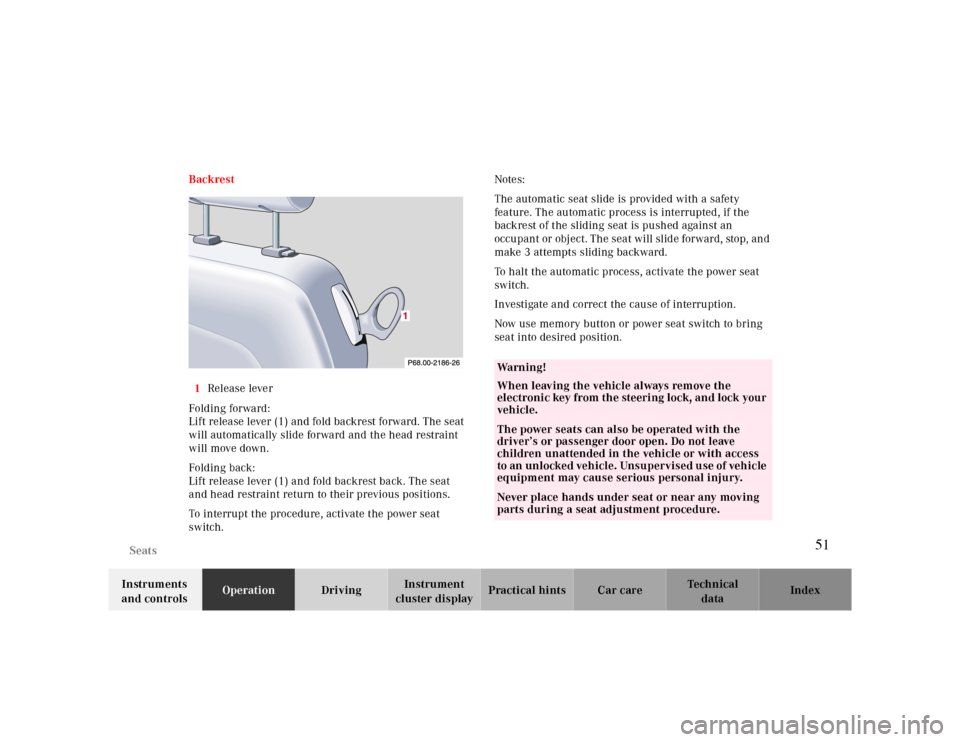
cluster displayPractical hints Car care Index Backrest
1Release lever
Folding forward:
Lift release lever (1) and fold backrest forward. The seat
will automatically slide forward and the head restraint
will move down.
Folding back:
Lift release lever (1) and fold backrest back. The seat
and head restraint return to their previous positions.
To interrupt the procedure, activate the power seat
switch.Notes:
The automatic seat slide is provided with a safety
feature. The automatic process is interrupted, if the
backrest of the sliding seat is pushed against an
occupant or object. The seat will slide forward, stop, and
make 3 attempts sliding backward.
To halt the automatic process, activate the power seat
switch.
Investigate and correct the cause of interruption.
Now use memory button or power seat switch to bring
seat into desired position.
Wa r n i n g !
When leaving the vehicle always remove the
electronic key from the steering lock, and lock your
vehicle.The power seats can also be operated with the
driver’s or passenger door open. Do not leave
children unattended in the vehicle or with access
to an unlocked vehicle. Unsupervised use of vehicle
equipment may cause serious personal injury.Never place hands under seat or near any moving
parts during a seat adjustment procedure.
51
Page 52 of 299
Seats
Te ch n ica l
data Instruments
and controlsOperationDrivingInstrument
cluster displayPractical hints Car care Index
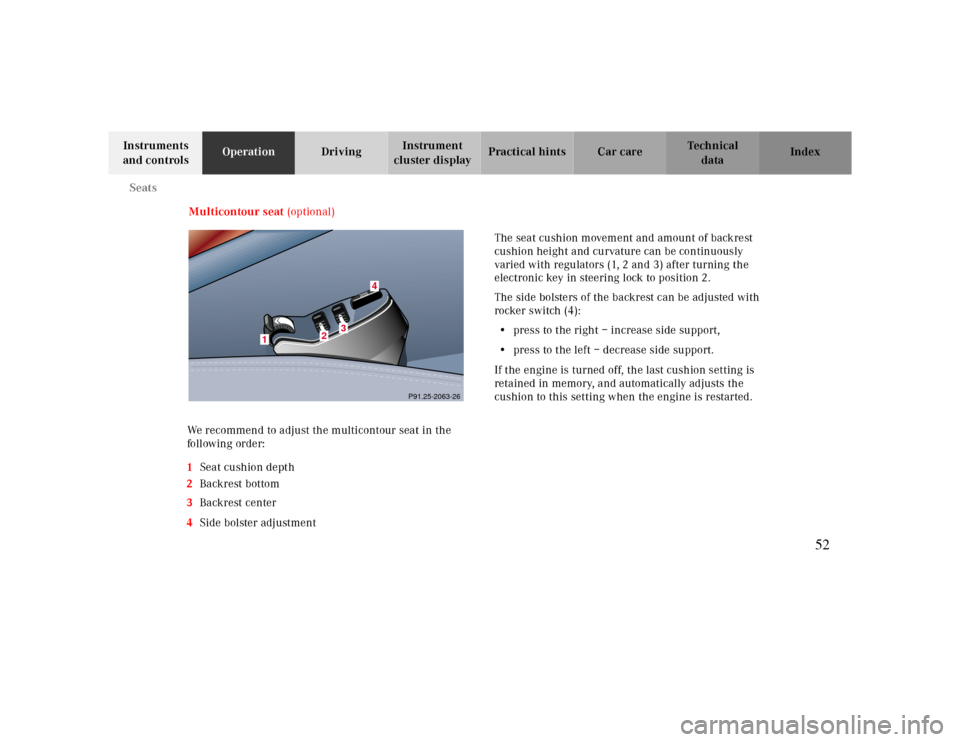
Multicontour seat (optional)
We recommend to adjust the multicontour seat in the
follow ing orde r:
1Seat cushion depth
2Backrest bottom
3Backrest center
4Side bolster adjustmentThe seat cushion movement and amount of backrest
cushion height and curvature can be continuously
varied with regulators (1, 2 and 3) after turning the
electronic key in steering lock to position 2.
The side bolsters of the backrest can be adjusted with
rocker switch (4):
•press to the right – increase side support,
•press to the left – decrease side support.
If the engine is turned off, the last cushion setting is
retained in memory, and automatically adjusts the
cushion to this setting when the engine is restarted.
1
2
3
4
P91.25-2063-26
52