transmission MERCEDES-BENZ CLK430 2000 C208 Owner's Manual
[x] Cancel search | Manufacturer: MERCEDES-BENZ, Model Year: 2000, Model line: CLK430, Model: MERCEDES-BENZ CLK430 2000 C208Pages: 299, PDF Size: 7.31 MB
Page 4 of 299

Operation Audio and telephone 123
DrivingBrakes 185
Power windows 141 Driving off 186
Sliding/pop-up roof 143 Control and operation of radio Parking 187
Interior lighting 145 transmitters 162 Tires 187
Rear window sunshade 146 COMAND, radio, telephone and Snow chains 190
Sun visors 146 two-way radio 162 Winter driving instructions 190
Illuminated vanity mirrors 147 Maintenance 163 Deep water 191
Interior 147 Catalytic converter 164 Passenger compartment 192
Storage compartments, armrest and
cup holder 147Emission control 165 Travelling abroad 192
Glove box 148 Tele Aid 166 Cruise control 193
Ashtrays 150 Steering lock 172 Brake assist system (BAS) 196
Lighter 151 Starting and turning off the engine 174 Antilock brake system (ABS) 198
Enlarged cargo area – split folding rear
seat backrest 152Automatic transmission 175
Electronic stability program (ESP)
200
Loading instructions 153 Parking brake 184 What you should know at the
Cargo tie down rings 155 Driving instructions 184 gas station 203
Parcel net in front passenger footwell 155 Drive sensibly – save fuel 184 Check regularly and before a
long trip 205
Telephone, general 156 Drinking and driving 185
Cellular telephone 156 Pedals 185
Garage door opener 157 Power assistance 185
4
Page 5 of 299

Instrument cluster displayBRAKE FLUID 217 Coolant level 236
PARKING BRAKE 218 Adding coolant 237
Malfunction and indicator lamps in the
instrument cluster 208ENGINE FAN 218 Windshield washer / headlamp
clean.system 238
On-board diagnostic systemCheck engine malfunction indicator lamp
208COOLANT (coolant level) 219 Windshield and headlamp
washer fluid mixing ratio 238
Brake warning lamp 209 COOLANT (coolant temp.) 220 Wheels 239
Supplemental restraint system STEER. WHEEL ADJUST. 221 Tire replacement 239
(SRS) indicator lamp 210 LIGHT SENSOR 221 Rotating wheels 240
Fuel reserve and fuel cap LIGHTING SYSTEM 222 Spare wheel 241
placement warning 210 WASHER FLUID 223 Changing wheels 242
Electronic stability program(ESP) OIL TEMP. (engine oil temperature) 224 Tire inflation pressure 247
warning lamp 211 ENGINE OIL LEVEL 224 Battery 249
BAS/ESP malfunction indicator lamp 211 ELEC. STABIL. PROG. (Electronic Jump starting 251
ABS malfunction indicator lamp 211 stability program) 226 Towing the vehicle 253
Telescoping steering column – Transmission selector lever,
indicator lamp 212
Practical hintsmanually unlocking 255
Seat belt warning lamp 212 Bulbs 256
Malfunction and indicator lamps in the First aid kit 228 Adjusting headlamp aim 261
center console 212 Shelf below rear window 228 Changing batteries in the
AIRBAG OFF indicator lamp 212 Stowing things in the vehicle 228 electronic main key 264
Roll bar warning lamp 221 Spare wheel, vehicle tools, storage Synchronizing remote control 266
Malfunction and warning messages in compartment 229 Emergency operation of
the multifunction display 213 Vehicle jack 230 sliding/pop-up roof 267
DISPLAY DEFECTIVE 214 Fuses 231
Manual release for fuel filler flap
268
BATTERY/ALTERNATOR 215 Hood 233 Replacing wiper blade insert 268
ABS-SYSTEM 216 Checking engine oil level 234 Trunk lamp 270
BRAKE ASSIST 216 Automatic transmission fluid level 236 Roof rack 270
BRAKE LINING WEAR 217
5
Page 161 of 299

DrivingBrakes 185
Driving off 186
Control and operation of radio Parking 187
transmitters 162 Tires 187
COMAND, radio, telephone and Snow chains 190
two-way radio 162 Winter driving instructions 190
Maintenance 163 Deep water 191
Catalytic converter 164 Passenger compartment 192
Emission control 165 Travelling abroad 192
Tele Aid 166 Cruise control 193
Steering lock 172 Brake assist system (BAS) 196
Starting and turning off the engine 174 Antilock brake system (ABS) 198
Automatic transmission 175
Electronic stability program (ESP)
200
Parking brake 184 What you should know at the
Driving instructions 184 gas station 203
Drive sensibly – save fuel 184 Check regularly and before a
long trip 205
Drinking and driving 185
Pedals 185
Power assistance 185
161
Page 170 of 299
Tele Aid
Te ch n ica l
data Instruments
and controlsOperationDrivingInstrument
cluster displayPractical hints Car care Index
Should a higher priority call be initiated while you are
connected, an upgrade (alternating) tone will be heard,
and the appropriate indicator lamp will flash. If certain
information such as vehicle identification number or
client information is not available, the operator may
need to retransmit. During this time you will hear a
chirp and voice contact will be interrupted. Voice
contact will resume once the retransmission is
completed. Once a call is concluded, a chirp will be
heard and the appropriate indicator lamp will stop
flashing. The COMAND system operation will resume
(only vehicles with COMAND).
Important!
If the indicator lamp continues to flash or the system
does not reset, contact the Response Center at
1-800-756-9018 (in the USA) or 1-888-923-8367 (in
Canada), or Mercedes-Benz Client Assistance at
1-800-FOR-MERCedes (1-800-367-6372) in the USA or
Customer Service at 1-800-387-0100 in Canada.Notes:
The indicator lamp in the respective button f lashes until
the call is concluded. Calls can only be terminated by a
Response Center or Client Assistance Center
representative
.
When a Tele Aid call has been initiated, the audio
system or the COMAND system audio (only vehicles
with COMAND) is muted and the selected mode (radio,
tape or CD) pauses. The optional cellular phone (if
installed) switches off. If you must use this phone, the
vehicle must be parked. Disconnect the coiled cord and
place the call. The navigation system (if engaged) will
continue to run. The display in the instrument cluster is
available for use and spoken commands are only
available by pressing the RPT button on the COMAND
unit. A pop-up window will appear in the COMAND
display to indicate that a Tele Aid call is in progress.
170
Page 175 of 299
Automatic transmission
Te ch n ica l
data Instruments
and controlsOperationDrivingInstrument
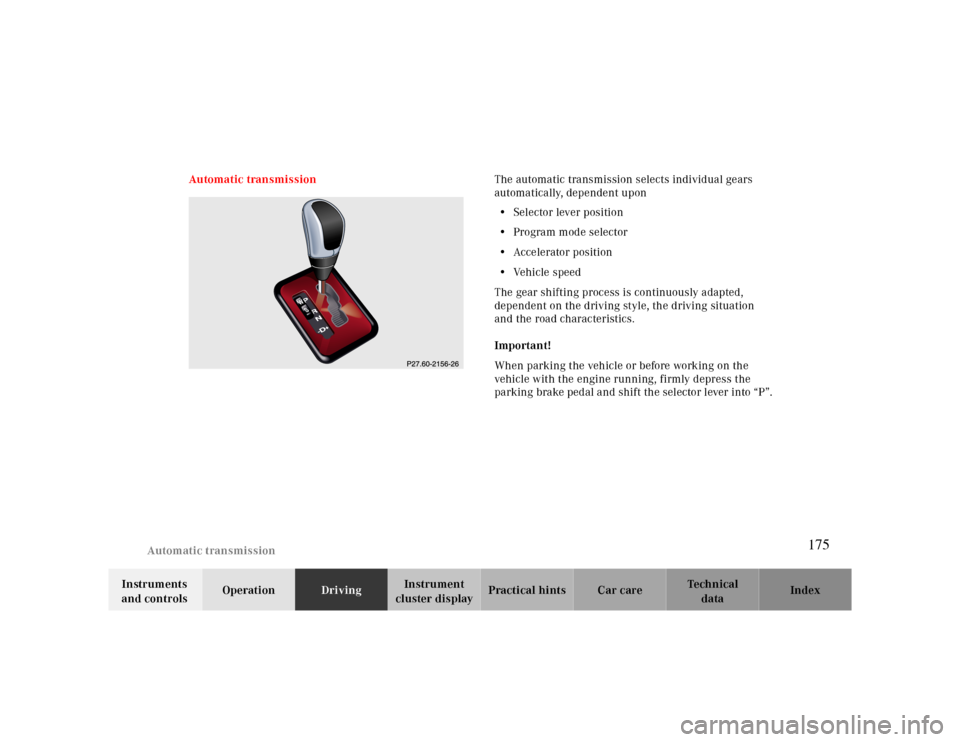
cluster displayPractical hints Car care Index Automatic transmissionThe automatic transmission selects individual gears
automatically, dependent upon
•Selector lever position
•Program mode selector
•Accelerator position
•Vehicle speed
The gear shifting process is continuously adapted,
dependent on the driving style, the driving situation
and the road characteristics.
Important!
When parking the vehicle or before working on the
vehicle with the engine running, firmly depress the
parking brake pedal and shift the selector lever into “P”.
175
Page 176 of 299
Automatic transmission
Te ch n ica l
data Instruments
and controlsOperationDrivingInstrument
cluster displayPractical hints Car care Index
Driving
The selector lever is automatically locked while in
position “P”. To move the selector lever out of
position “P”, the service brake pedal must be firmly
depressed before the shift lock will release.
Shift selector lever to the desired position only when the
engine is idling normally and the service brake is
applied. Do not release the brake until ready to drive.
The vehicle may otherwise start creeping when the
selector lever is in drive or reverse position.Important!
After selecting any driving position from “N” or “P”,
wait a moment to allow the gear to fully engage before
accelerating, especially when the engine is cold.
Accelerator position
Partial throttle = early upshifting = normal acceleration
Full throttle = later upshifting = rapid acceleration
Kickdown (depressing the accelerator beyond full
throttle) = downshifting to a lower gear = maximum
acceleration. Once the desired speed is attained, ease up
on the accelerator – the transmission shifts up again.
Warning!
It is dangerous to shift the selector lever out of “P”
or “N” if the engine speed is higher than idle speed.
If your foot is not firmly on the brake pedal, the
vehicle could accelerate quickly forward or in
reverse. You could lose control of the vehicle and
hit someone or something. Only shift into gear
when the engine is idling normally and when your
right foot is firmly on the brake pedal.
176
Page 177 of 299
Automatic transmission
Te ch n ica l
data Instruments
and controlsOperationDrivingInstrument
cluster displayPractical hints Car care Index Stopping
For brief stops, e.g. at traffic lights, leave the
transmission in gear and hold vehicle with the service
brake.
For longer stops with the engine idling, shift into “N”
or “P” and hold the vehicle with the service brake.
When stopping the vehicle on an uphill gradient, do not
hold it with the accelerator, use the brake. This avoids
unnecessary transmission heat build up.
Maneuvering
To maneuver in tight areas, e.g. when pulling into a
parking space, control the vehicle speed by gradually
releasing the brakes. Accelerate gently and never
abruptly step on the accelerator.
To rock a vehicle out of soft ground (mud or snow),
alternately shift from forward to reverse, while applying
slight partial throttle.Rocking a vehicle free in this manner may cause the
ABS or traction system malfunction indicator lamp to
come on. Turn off and restart the engine to clear the
malfunction indication.
Wa r n i n g !
Getting out of your vehicle with the selector lever
not fully engaged in position “P” is dangerous.
Also, when parked on an incline, position “P” alone
may not prevent your vehicle from moving,
possibly hitting people or objects.Always set the parking brake in addition to shifting
to position “P”, see page 204 for parking brake. When parked on an incline, also turn front wheel
against curb.
177
Page 178 of 299
Automatic transmission
Te ch n ica l
data Instruments
and controlsOperationDrivingInstrument
cluster displayPractical hints Car care Index
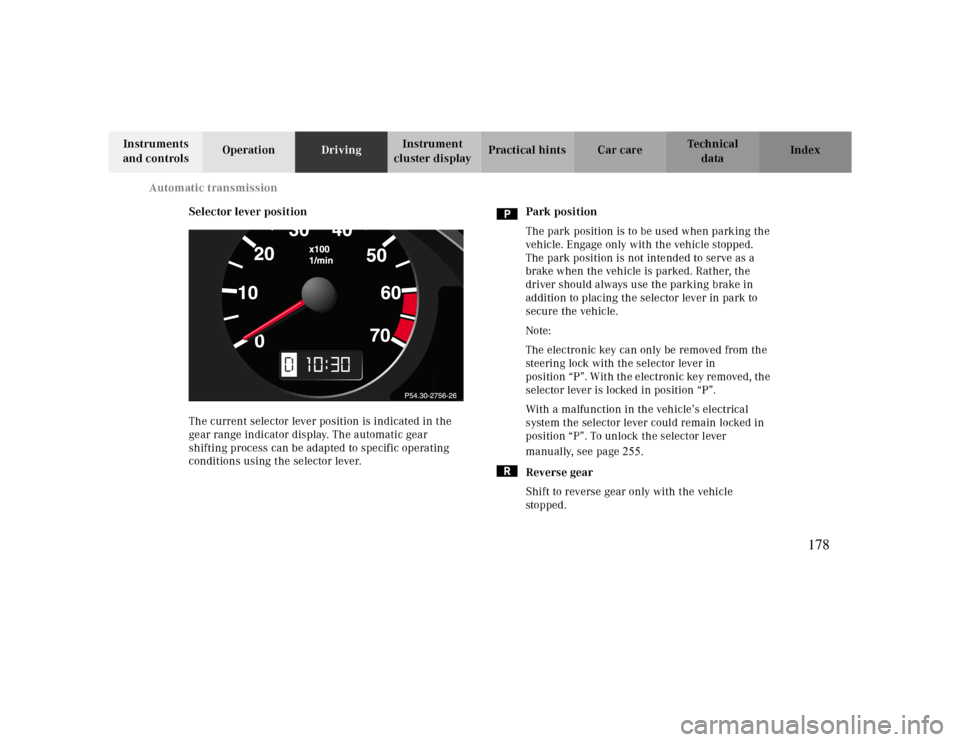
Selector lever position
The current selector lever position is indicated in the
gear range indicator display. The automatic gear
shifting process can be adapted to specific operating
conditions using the selector lever.Park position
The park position is to be used when parking the
vehicle. Engage only with the vehicle stopped.
The park position is not intended to serve as a
brake when the vehicle is parked. Rather, the
driver should always use the parking brake in
addition to placing the selector lever in park to
secure the vehicle.
Note:
The electronic key can only be removed from the
steering lock with the selector lever in
position “P”. With the electronic key removed, the
selector lever is locked in position “P”.
With a malfunction in the vehicle’s electrical
system the selector lever could remain locked in
position “P”. To unlock the selector lever
manually, see page255.
Reverse gear
Shift to reverse gear only with the vehicle
sto p ped .
10
178
Page 179 of 299
Automatic transmission
Te ch n ica l
data Instruments
and controlsOperationDrivingInstrument
cluster displayPractical hints Car care Index Dependent on the program mode selector switch
position “S” or “W” the maximum speed in the
reverse gear is different. However, it is not
possible to change the program mode while in
reverse.
Neutral
No power is transmitted from the engine to the
drive axle. When the brakes are released, the
vehicle can be moved freely (pushed or towed). Do
not engage “N” while driving except to coast
when the vehicle is in danger of skidding (e.g. on
icy roads, see winter driving instructions on
page190).
Important!
Coasting the vehicle, or driving for any other
reason with selector lever in “N” can result in
transmission damage that is not covered by the
Mercedes-Benz Limited Warranty.
The transmission automatically upshifts through
5th gear. Position “D” provides optimum driving
characteristics under all normal operating
conditions.Gear selection for special circumstances
The transmission gear ranges for special circumstances
can be selected by pressing the selector lever to the
right or the left with the selector lever in position “D”.
The gear range currently selected is indicated in the
instrument cluster display.
Briefly press selector lever in the çdirection:
The transmission downshifts, one gear at a time, in the
orderD, 4, 3, 2, 1.
Press and hold selector lever in the çdirection:
The selector lever position display will switch to the
gear range currently selected by the automatic
transmission.
The transmission will only shift down one gear if the
gear range currently selected has already shifted to its
highest possible gear.
Briefly press selector lever in the ædirection:
The transmission will shift from the current gear range
to the next higher gear range. If the transmission is
already in gear range “D”, an additional upshift of one
gear is possible.
179
Page 180 of 299
Automatic transmission
Te ch n ica l
data Instruments
and controlsOperationDrivingInstrument
cluster displayPractical hints Car care Index
Press and hold selector lever in the ædirection:
The transmission will shift from the current gear
directly to gear range “D”.
Important!
With transmission in gear range “D”, “4” or “3”,
upshifting from 1st to 2nd to 3rd gear is delayed
depending on vehicle speed and engine temperature.
This allows the catalytic converter to heat up more
quickly to operating temperatures.During the brief warm-up period this delayed upshift
and increased engine noise might be perceived as a
malfunction. However, neither the engine nor
transmission are negatively affected by this mode of
operation.
The delayed upshift is effective with vehicle speeds
below 31 mph (50 km/h) at partial throttle and engine
temperatures below 95°F (35°C).
To avoid overrevving the engine when the selector lever
is moved to a lower gear range, the transmission will not
shift to a lower gear, if the engine’s revolutions per
minute limit would be exceeded. In this case there will
be no downshift, even when the vehicle speed reaches
the engine’s RPM limit of that gear, e.g. by applying the
service brakes.
To prevent the engine from laboring at low RPM when
driving uphill gradients or with your vehicle heavily
loaded, the automatic transmission will downshift when
necessary to maintain engine RPM within the best
torque range.
Warning!
On slippery road surfaces, never downshift in order
to obtain braking action. This could result in drive
wheel slip and reduced vehicle control. Your
vehicle’s ABS will not prevent this type of loss of
control.
180