MERCEDES-BENZ CLS-Class 2016 W218 Comand Manual
Manufacturer: MERCEDES-BENZ, Model Year: 2016, Model line: CLS-Class, Model: MERCEDES-BENZ CLS-Class 2016 W218Pages: 246, PDF Size: 6.72 MB
Page 41 of 246

Your COMAND equipment..................40
Important safet ynotes ...................... .40
Display settings .................................. .40
Time settings ...................................... .41
Text reader settings ............................44
Voice Contro lSyste msettings ..........44
WiFi ...................................................... 44
Bluetoot h
®settings ............................ 48
Setting th esyste mlanguage .............48
Calling up th efavorit efunctions .......49
Importing/exporting data ..................49
Reset function .................................... .51
39
System settings
Page 42 of 246

Your COMANDequipment
i
These operatin ginstruction sdescribe all
th estandar dan doptional equipmen tof
your COMAN Dsystem, as available at th e
time of going to print .Country-specifi cdif -
ference sare possible. Bear in min dthat
your vehicle may no tfeature all function s
described here. Thi salso applies to safety-
relevant systems an dfunctions.
iRead th einformation on qualified special-
ist workshop sin th evehicle Operator's
Manual.
Important safet ynotes
GWARNING
If you operat emobile communication equip-
men twhil edriving, you will be distracted from
traffic conditions. You could also los econtro l
of th evehicle. There is aris kof an accident.
Only operat ethis equipment when th evehicle
is stationary.
GWARNING
SD memor ycards are small parts .The ycan be
swallowe dan dcause asphyxiation .Thi s
poses an increase dris kof injury or eve nfatal
injury.
Kee pSD memor ycards out of th ereach of
children .If an SD memor ycar dis swallowed,
see kimmediate medical attention .
You mustobserv eth elega lrequirements fo r
th ecountry in whic hyou are currentl ydrivin g
when operatin gmobile communication s
equipmen tin th evehicle.
Display settings
Setting th ebrightness
The brightness detecte dby th edisplay ligh t
sensor affects th esetting option sfo rthis
function .
XPress theØ buttonon th eCOMAN D
contro lpanel.
or
XPress Vehicl ein themain function bar .
The vehicle men uis displayed.
XTo selec tSystem Settings:slid e6,
turn an dpress th econtroller .
A men uappears .
XTo selec tDispla y:turn an dpress th econ-
troller.
A men uappears .
XSelectBrightness.
A contro lappears .
XTo selec tth edesired brightness: turn
an dpress th econtroller .
Display design
The display feature soptimize ddesign sfo r
daytime an dnight-time operation .You can
set th edesign by manually selecting day or
night design or opt fo ran automatic setting .
XPress theØ buttonon th eCOMAN D
contro lpanel.
or
XPress Vehicl ein themain function bar .
The vehicle men uis displayed.
40Display settings
System settings
Page 43 of 246

XTo selectSystem Settings: slide6,
turn and press the controller.
A menu appears.
XTo select Display: turn and press the con-
troller.
A menu appears.
XTo select Day Mode,Night Modeor Auto:
turn and press the controller.
The #dot indicates the current setting.
DesignExplanation
Day ModeThe display is set perma-
nently to day design.
Night ModeThe display is set perma-
nently to night design.
AutoIf the Autosetting is
selected, COMAND eval-
uates the readings from
the automatic vehicle
light sensor and auto-
matically switches
between the display
designs.
Switching the display on/off
XPress the Øbutton on the COMAND
control panel.
XTo select DisplayOff: slide6, turn and
press the controller to confirm.
The display goes out.
or
XPress the _button on the controller.
The display goes out.
XTo switch the display on again: press the
controller.
Time settings
General information
COMAND can automatically set the time and
date. The following navigation system functions
require the time, time zone and summer/
standard time to be set correctly in order to
work properly:
Rroute guidance on routes with time-
dependent traffic guidance
Rcalculation of expected time of arrival
Switching automatic time on and off
The
Automatic Time Settingsfunction is
used to activate or deactivate the automatic
setting of the time and date. This function is
activated when the vehicle leaves the factory.
XPress the Øbutton on the COMAND
control panel.
or
XPress Vehiclein the main function bar.
The vehicle menu is displayed.
XTo select Time: slide6, turn and press
the controller to confirm.
A menu appears.
XTo select Automatic Time Settings:
press the controller.
XTo switch the function on Oor off ª:
press the controller.
Setting the time zone
To set the time zone, the Automatic Time
Settingsfunction must be activated.
XPress theØbutton on the COMAND
control panel.
or
XPress Vehiclein the main function bar.
The vehicle menu is displayed.
XTo select Time: slide6, turn and press
the controller to confirm.
A menu appears.
XTo select Time Zone:: turn and press the
controller.
A list of countries appears. The #dot indi-
cates the current setting.
Time settings41
System settings
Z
Page 44 of 246

XSelect the country you are currently in by
turning and pressing the controller.
The country is accepted.
A time zone list may also be displayed,
depending on the country selected.
XTo select the desired time zone:turn and
press the controller.
The time zone is accepted.
A list of available options for setting sum-
mer time appears (
Ypage 42).
Setting summer and standard time
The Daylight Saving Timemenu is not
available in all countries.
You can use the Daylight Saving Time
menu to set automatic summer time change-
over or switch the summer time setting on or
off. The changeover to summer time advan-
ces the time by one hour.
XPress theØbutton on the COMAND
control panel.
or
XPress Vehiclein the main function bar.
The vehicle menu is displayed.
XTo select Time: slide6, turn and press
the controller to confirm.
A menu appears.
XTo select Daylight Saving Time: turn
and press the controller.
A list with options appears.
XTo select Automatic,Onor Off: turn and
press the controller.
SettingFunction
AutomaticThe summer and
standard time are
automatically
changed over.
OnThe clock is
advanced one hour
ahead of standard
time.
OffThe standard time
for the chosen time
zone is selected.
Manual time setting
iUsing the manual time settings, you can
set the time forwards or backwards by up to
several hours.
XPress the Øbutton on the COMAND
control panel.
or
XPress Vehiclein the main function bar.
The vehicle menu is displayed.
XTo select Time: slide6, turn and press
the controller to confirm.
A menu appears.
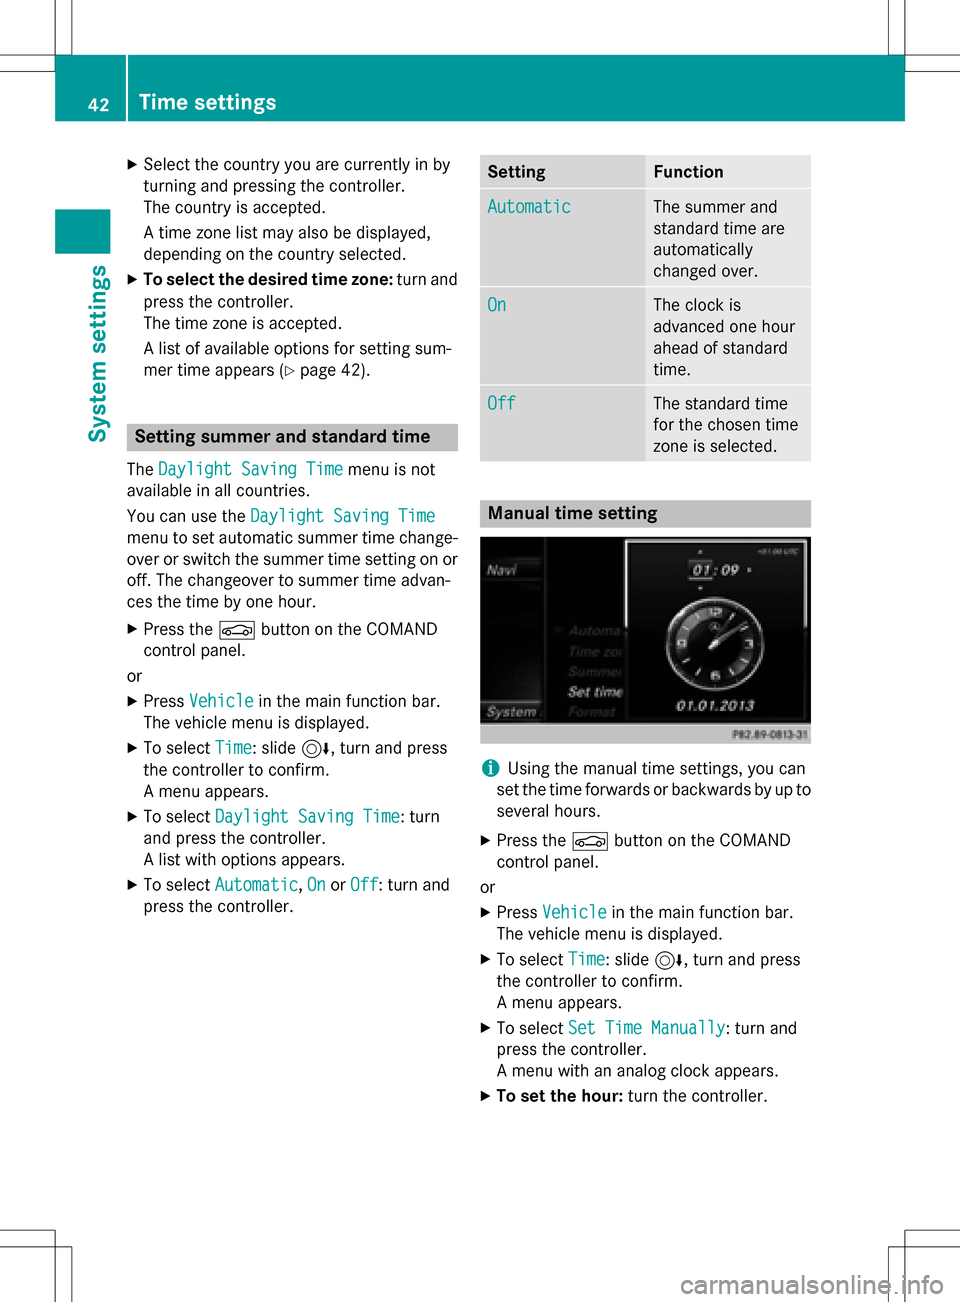
XTo select Set Time Manually: turn and
press the controller.
A menu with an analog clock appears.
XTo set the hour: turn the controller.
42Time settings
System settings
Page 45 of 246

XTo highlight the minutes:slide9 the
controller.
XTo set the minutes: turn and press the
controller.
The time is accepted.
The Automatic Time Settings
function
is deactivated ª.
If Automatic
is set for the summer time
changeover, a prompt will appear asking
whether the automatic changeover should
be maintained between summer and winter
time.
iIf Automatic Time Settingsis reacti-
vated, the previous settings for time zone
and summer time changeover are restored.
Setting the time and date format
Use this function to set the time and date for-
mat for all displays in the vehicle.
XPress the Øbutton on the COMAND
control panel.
or
XPress Vehiclein the main function bar.
The vehicle menu is displayed.
XTo select Time: slide6, turn and press
the controller to confirm.
A menu appears.
XTo select Format: turn and press the con-
troller.
XTo select the desired date format: turn
and press the controller.
The #dot indicates the current setting.
XTo select the desired time format: turn
and press the controller.
The #dot indicates the current setting.
AbbreviationMeaning
DD.MM.YYYYDay.Month.Yea
r
date format,
year (all four
digits)
DD/MM/YYYYDay/Month/
Year
date format,
year (all four
digits)
MM/DD/YYYYMonth/Day/
Year
date format,
year (all four
digits)
YY/MM/DDYear/
Month/Day
date format,
year (two dig-
its)
YYYY/MM/DDYear/
Month/Day
date format,
year (all four
digits)
YYYY-MM-DDDay - Month -
Year
date format,
year (all four
digits)
HH:MM (24 hrs)Hours : Minutes
(24 hour time
format)
HH:MM (AM/PM)Hours : Minutes
(AM/PM time
format)
Time settings43
System settings
Z
Page 46 of 246

Text reader settings
XPress theØbutton on the COMAND
control panel.
or
XPress Vehiclein the main function bar.
The vehicle menu is displayed.
XTo select System Settings: slide6,
turn and press the controller to confirm.
A menu appears.
XTo select Text Reader Speed: turn and
press the controller.
A list appears.
XSelect Fast,Mediumor Slow.
The #dot indicates the current setting.
Voice Control System settings
Opening/closing the help window
i
If the set system language is not suppor-
ted by the Voice Control System, English
will be selected.
The help window also shows you information
on audible instructions:
Rduring individualization
Rduring subsequent operation of the Voice
Control System
XPress the Øbutton on the COMAND
control panel.
XTo select System Settings: slide6,
turn and press the controller.
A menu appears.
XTo select Voice Control: turn and press
the controller.
XSelect Help Window.
You have switched the help window on O
or off ª.
More information on the Voice Control Sys-
tem is available in the separate operating
instructions.
Individualization
Using individualization, you can fine-tune the
Voice Control System to your own voice. This
will help improve voice recognition (see the
separate operating instructions).
WiFi
Overview
USA:
To establish a WiFi connection between
COMAND and a WiFi-enabled device, such as
a tablet computer or smartphone:
RActivate WiFi on COMAND and WiFi on the
device you wish to connect.
If COMAND is to be used as a WiFi hotspot:
RCOMAND must be connected to an Inter-
net-enabled mobile phone via Bluetooth®
or USB.
RThe Internet access data for the mobile
phone network provider must be selected
or set for COMAND.
REstablish an Internet connection with
COMAND.
Canada:
Prerequisites for establishing a WiFi connec-
tion between COMAND and a WiFi hotspot of a WiFi-enabled device, such as a smartphone,
or another hotspot:
RSwitch on WiFi on COMAND.
RSwitch on WiFi hotspot on an external
device (see the manufacturer's operating
instructions).
44WiFi
System settings
Page 47 of 246

Activating WiFi (USA)
XPress theØ buttonon th eCOMAND
control panel.
or
XPress Vehicl ein themain function bar.
The vehicl emen uis displayed.
XTo switch to th emen ubar :slide 6the
controller .
XTo select System Settings:press th e
controller .
XTo selectWiFi:tur nand press th econtrol -
ler .
The WiF imen uappears.
XTo select th eActivateO option :press
th econtroller .
Activating WiFi (Canada)
XPress theØ buttonon th eCOMAND
control panel.
or
XPress Vehicl ein themain function bar.
The vehicl emen uis displayed.
XTo switch to th emen ubar :slide 6the
controller .
XTo select System Settings:pre ssthe
controller .
XTo selectWiFi:tur nand press th econtrol -
ler .
The WiF imen uappears.
XTo select th eActivateO option :pre ss
th econtroller .
Available WiF ihot spots are searched for
and displayed.
Connecting the device
Gene ral notes
The exact WiF iconnection procedure may
var ydepending on th edevice to be connec -
ted. Follow th einstruction sthat are shown in
th edisplay. Further information can be foun d
on th eoperating instruction sfor th edevice
you wish to connect.
Selecting a hotspot (Canada)
XPresstheØ buttonon th eCOMAND
control panel.
or
XPress Vehicl ein themain function bar.
The vehicl emen uis displayed.
XTo switch to th emen ubar :slide 6the
controller .
XTo select System Settings:pre ssthe
controller .
WiFi45
System settings
Z
Page 48 of 246

XTo selectWiFi: turn and press the control-
ler.
The WiFi menu appears. A search for hot-
spots is carried out.
XTo select a hotspot: turn and press the
controller.
A menu for making the connection appears.
Connecting a device via WPS PIN (USA)
Prerequisite:
For this type of connection, the device to be
connected must support "Connect using WPS
PIN".
XSelect Connect via WPS PIN.
XSelect the vehicle from the device to be
connected and "Connect using WPS PIN".
The vehicle is displayed with the SSID MB
HOTSPOT XXXXX.
The device to be connected generates a
PIN.
XThis PIN is also entered on COMAND.
XTo confirm the entry: press the controller.
Connecting a device via WPS PIN (Can-
ada)
Prerequisite:
For this type of connection, the device to be
connected must support "Connect using WPS
PIN".
XPress the Øbutton on the COMAND
control panel.
or
XPress Vehiclein the main function bar.
The vehicle menu is displayed.
XTo switch to the menu bar: slide 6the
controller.
XSelect System Settings.
The System Settings
menu is displayed.
XTo select WiFi: turn and press the control-
ler.
The WiFi menu appears.
XSelect one of the hotspots that has been
found.
A menu for making the connection appears.
XSelect Connect via WPS PIN.
XEnter the WPS PIN generated by COMAND
into the device.
XTo confirm the entry: press the controller.
Connecting a device via WPS PBC (USA)
Prerequisite:
For this type of connection, the device to be
connected must support "Connect via push
button".
XPress theØbutton on the COMAND
control panel.
or
XPress Vehiclein the main function bar.
The vehicle menu is displayed.
46WiFi
System settings
Page 49 of 246

XTo switch to the menu bar: slide6the
controller.
XTo select System Settings: press the
controller.
XSelect WiFi.
The WiFi menu appears.
XSelect Connect via WPS PBC.
XSelect the vehicle from the device to be
connected and Connect via WPS PBC
.
The vehicle is displayed with the SSID MB
HOTSPOT XXXXX.
XTo confirm the entry:press the controller.
Connecting a device via WPS PBC (Can-
ada)
Prerequisite:
For this type of connection, the device to be
connected must support "Connect via push
button".
XPress theØbutton on the COMAND
control panel.
or
XPress Vehiclein the main function bar.
The vehicle menu is displayed.
XTo switch to the menu bar: slide 6the
controller.
XTo select System Settings: press the
controller.
XSelect WiFi.
The WiFi menu appears.
XTo select one of the hotspots that has been
found: turn and press the controller.
A menu for making the connection appears.
XSelect Connect via WPS PBC.
XPress the pushbutton on your device.
XTo confirm the entry: press the controller.
Generating a new security key (USA)
XPress theØbutton on the COMAND
control panel.
or
XPress Vehiclein the main function bar.
The vehicle menu is displayed.
XTo switch to the menu bar: slide 6the
controller.
XTo select System Settings: press the
controller.
XTo select WiFi: turn and press the control-
ler.
The WiFi menu appears.
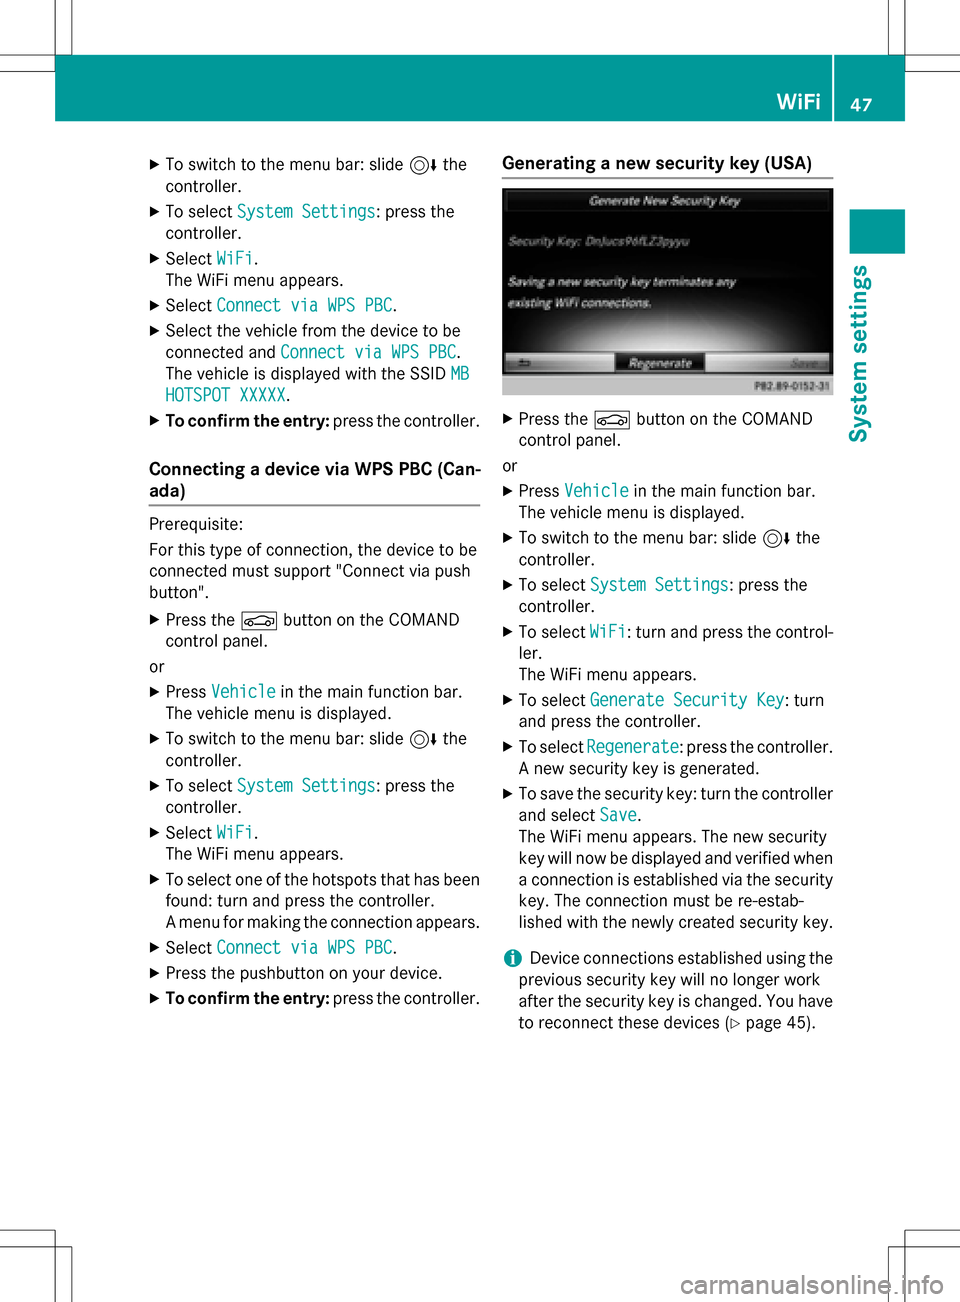
XTo select Generate Security Key: turn
and press the controller.
XTo select Regenerate: press the controller.
A new security key is generated.
XTo save the security key: turn the controller
and select Save
.
The WiFi menu appears. The new security
key will now be displayed and verified when
a connection is established via the security
key. The connection must be re-estab-
lished with the newly created security key.
iDevice connections established using the
previous security key will no longer work
after the security key is changed. You have
to reconnect these devices (
Ypage 45).
WiFi47
System settings
Z
Page 50 of 246

Changing the name of the SSID (USA)
XPress theØbutton on the COMAND
control panel.
or
XPress Vehiclein the main function bar.
The vehicle menu is displayed.
XTo switch to the menu bar: slide 6the
controller.
XTo select System Settings: press the
controller.
XTo select WiFi: turn and press the control-
ler.
The WiFi menu appears.
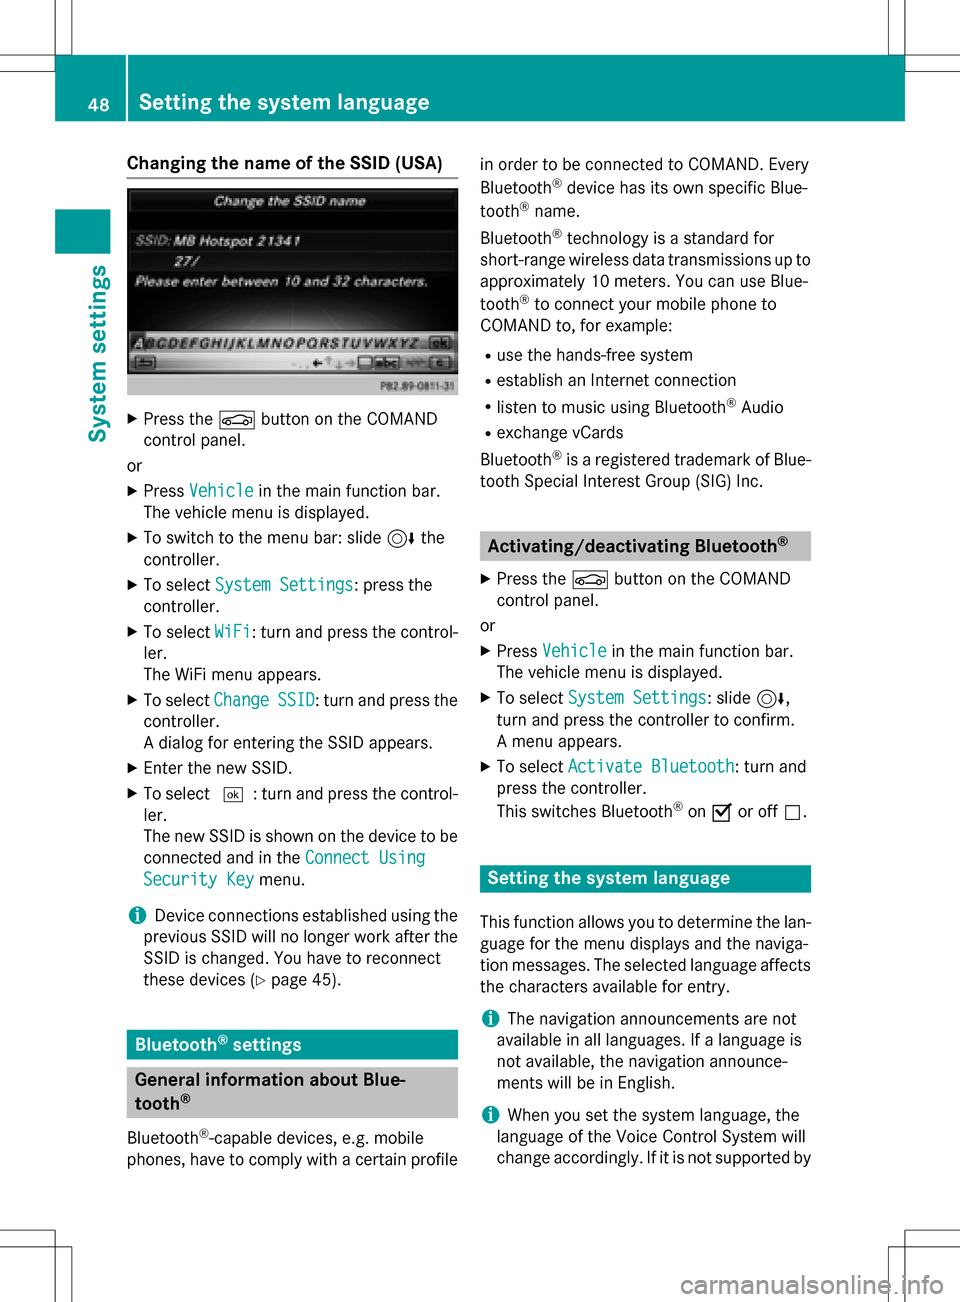
XTo select ChangeSSID: turn and press the
controller.
A dialog for entering the SSID appears.
XEnter the new SSID.
XTo select ¬: turn and press the control-
ler.
The new SSID is shown on the device to be
connected and in the Connect Using
Security Keymenu.
iDevice connections established using the
previous SSID will no longer work after the
SSID is changed. You have to reconnect
these devices (
Ypage 45).
Bluetooth®settings
General information about Blue-
tooth®
Bluetooth®-capable devices, e.g. mobile
phones, have to comply with a certain profile in order to be connected to COMAND. Every
Bluetooth
®device has its own specific Blue-
tooth®name.
Bluetooth
®technology is a standard for
short-range wireless data transmissions up to
approximately 10 meters. You can use Blue-
tooth
®to connect your mobile phone to
COMAND to, for example:
Ruse the hands-free system
Restablish an Internet connection
Rlisten to music using Bluetooth®Audio
Rexchange vCards
Bluetooth
®is a registered trademark of Blue-
tooth Special Interest Group (SIG) Inc.
Activating/deactivating Bluetooth®
X
Press the Øbutton on the COMAND
control panel.
or
XPress Vehiclein the main function bar.
The vehicle menu is displayed.
XTo select System Settings: slide6,
turn and press the controller to confirm.
A menu appears.
XTo select Activate Bluetooth: turn and
press the controller.
This switches Bluetooth
®on O or off ª.
Setting the system language
This function allows you to determine the lan-
guage for the menu displays and the naviga-
tion messages. The selected language affects
the characters available for entry.
iThe navigation announcements are not
available in all languages. If a language is
not available, the navigation announce-
ments will be in English.
iWhen you set the system language, the
language of the Voice Control System will
change accordingly. If it is not supported by
48Setting the system language
System settings