ESP MERCEDES-BENZ CLS-Class 2017 W218 Comand Manual
[x] Cancel search | Manufacturer: MERCEDES-BENZ, Model Year: 2017, Model line: CLS-Class, Model: MERCEDES-BENZ CLS-Class 2017 W218Pages: 202, PDF Size: 6.35 MB
Page 56 of 202
The following entries are not possible, for exam-
ple:
Rentering the destination city and street
RPOI entry via a name search
Rediting and saving of entries
Other entries are however possible, such as a
keyword search and entering POIs in the vicinity of the destination or current position.
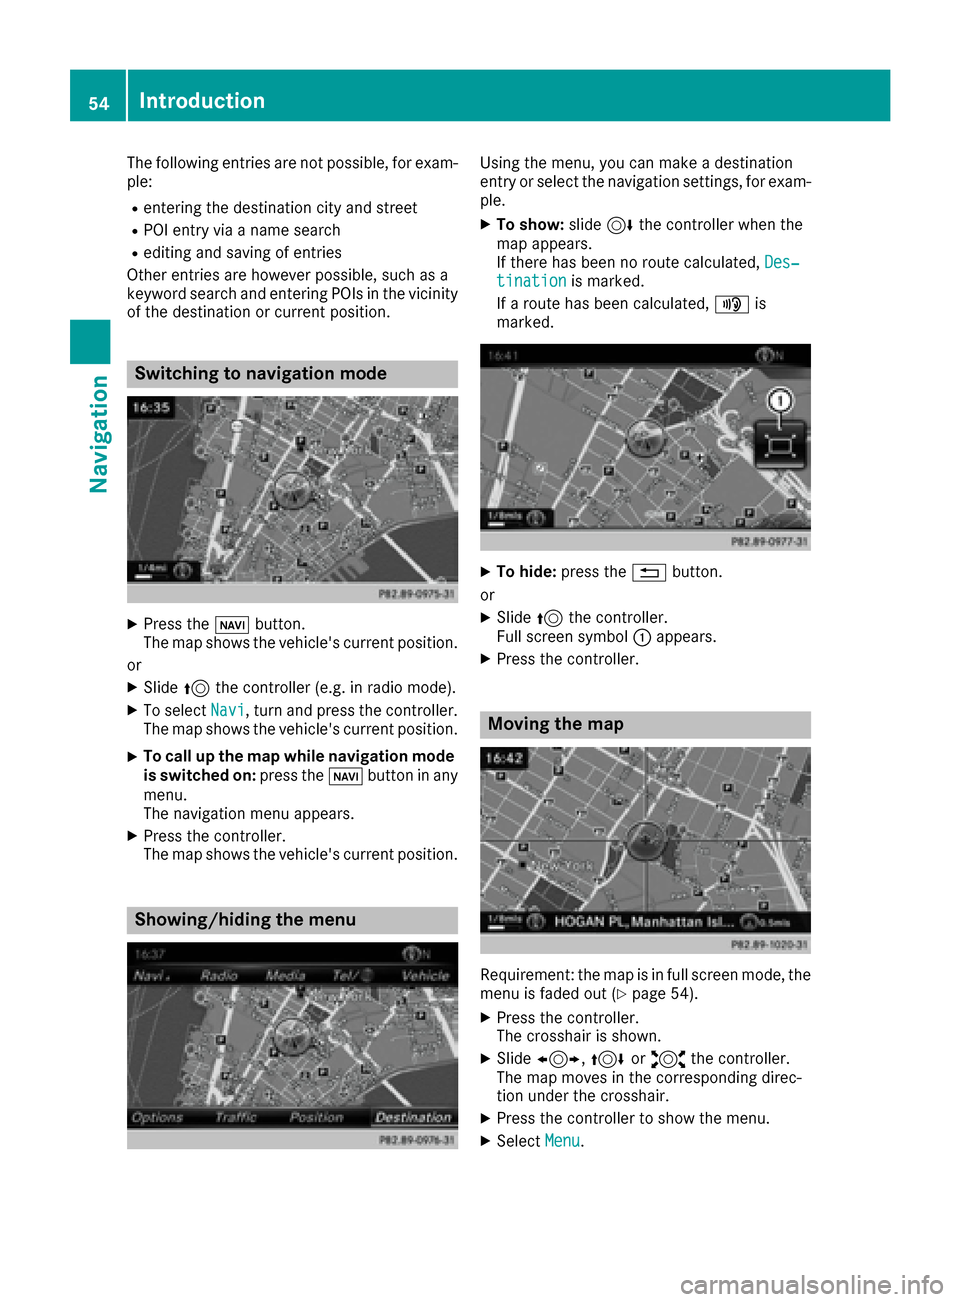
Switching to navigation mode
XPress the ßbutton.
The map shows the vehicle's current position.
or
XSlide 5the controller (e.g. in radio mode).
XTo select Navi, turn and press the controller.
The map shows the vehicle's current position.
XTo call up the map while navigation mode
is switched on: press theßbutton in any
menu.
The navigation menu appears.
XPress the controller.
The map shows the vehicle's current position.
Showing/hiding the menu
Using the menu, you can make a destination
entry or select the navigation settings, for exam-
ple.
XTo show: slide6the controller when the
map appears.
If there has been no route calculated, Des‐
tinationis marked.
If a route has been calculated, yis
marked.
XTo hide: press the %button.
or
XSlide 5the controller.
Full screen symbol :appears.
XPress the controller.
Moving the map
Requirement: the map is in full screen mode, the
menu is faded out (Ypage 54).
XPress the controller.
The crosshair is shown.
XSlide 1, 4or2 the controller.
The map moves in the corresponding direc-
tion under the crosshair.
XPress the controller to show the menu.
XSelect Menu.
54Introduction
Navigation
Page 57 of 202
Basic settings
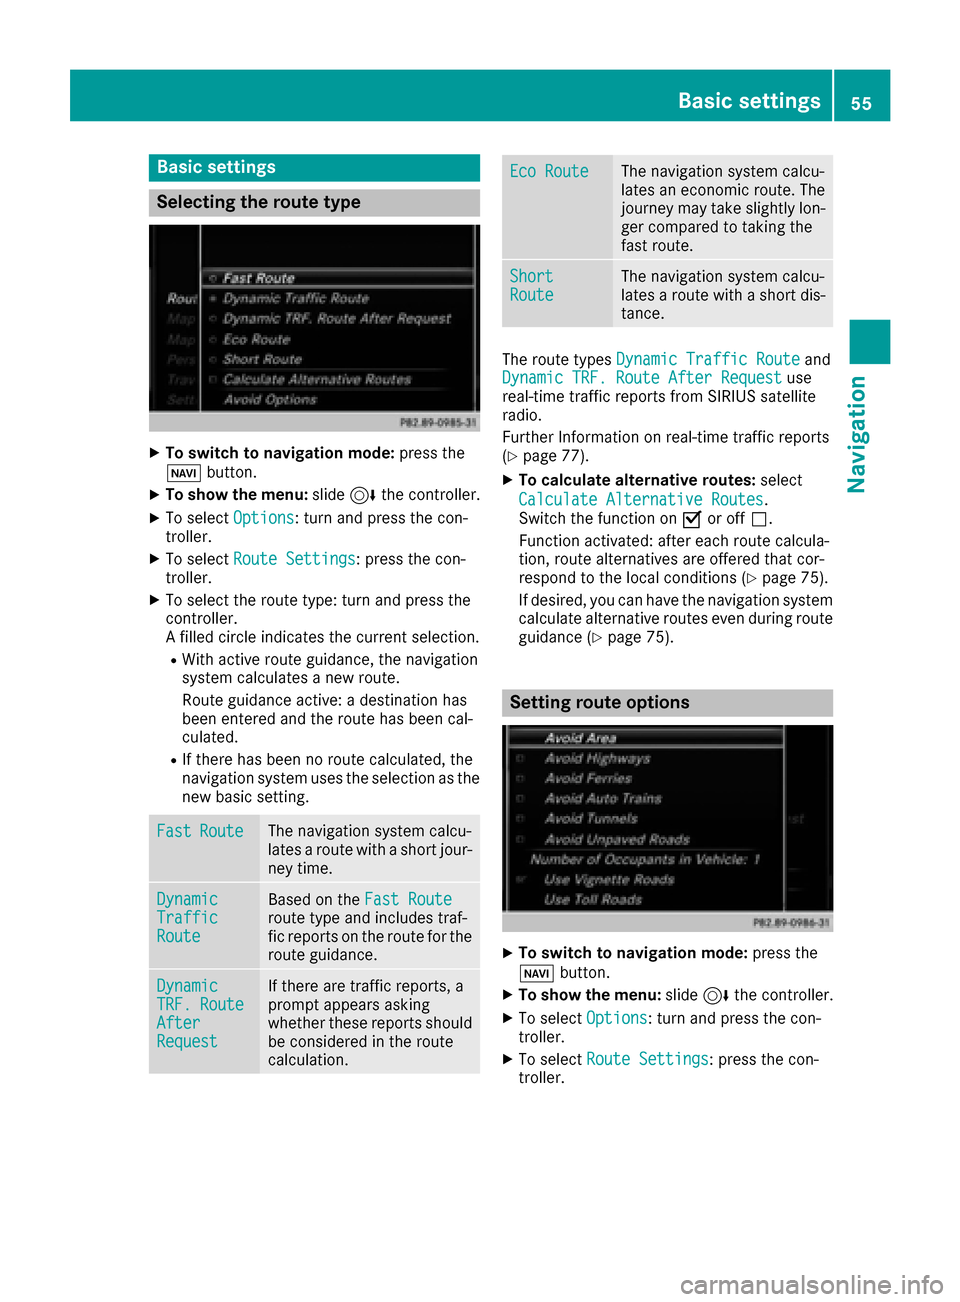
Selecting the route type
XTo switch to navigation mode:press the
Ø button.
XTo show the menu: slide6the controller.
XTo select Options: turn and press the con-
troller.
XTo select Route Settings: press the con-
troller.
XTo select the route type: turn and press the
controller.
A filled circle indicates the current selection.
RWith active route guidance, the navigation
system calculates a new route.
Route guidance active: a destination has
been entered and the route has been cal-
culated.
RIf there has been no route calculated, the
navigation system uses the selection as the
new basic setting.
FastRouteThe navigation system calcu-
lates a route with a short jour-
ney time.
DynamicTrafficRoute
Based on the Fast Routeroute type and includes traf-
fic reports on the route for the
route guidance.
DynamicTRF.RouteAfterRequest
If there are traffic reports, a
prompt appears asking
whether these reports should
be considered in the route
calculation.
Eco RouteThe navigation system calcu-
lates an economic route. The
journey may take slightly lon-
ger compared to taking the
fast route.
ShortRouteThe navigation system calcu-
lates a route with a short dis-
tance.
The route types Dynamic Traffic Routeand
Dynamic TRF. Route After Requestuse
real-time traffic reports from SIRIUS satellite
radio.
Further Information on real-time traffic reports
(
Ypage 77).
XTo calculate alternative routes: select
Calculate Alternative Routes
.
Switch the function on Oor off ª.
Function activated: after each route calcula-
tion, route alternatives are offered that cor-
respond to the local conditions (
Ypage 75).
If desired, you can have the navigation system
calculate alternative routes even during route
guidance (
Ypage 75).
Setting route options
XTo switch to navigation mode: press the
Ø button.
XTo show the menu: slide6the controller.
XTo select Options: turn and press the con-
troller.
XTo select Route Settings: press the con-
troller.
Basic settings55
Navigation
Z
Page 70 of 202
Personal POIs and routes
General notes
The use of personal POIs for displaying traffic
surveillance equipment is not permitted in everycountry. Please observe the country-specific
regulations and always drive at a suitable speed.
Personal POIs are filed in categories:
RNot Classified
Standard entry for personal POIs
RMercedes-Benz Apps
Personal POIs (destinations, routes) that you
have imported via the online functions
RCategories which you have created yourself,
e.g. on your PC
Personal routes are not categorized.
Settings for personal POIs
Displaying on the map
Requirements: an SD card with personal POIs is
inserted (Ypage 149).
All personal POIs of the selected category are
displayed on the map with a corresponding sym-
bol.
If the "Alert when approaching" function
(
Ypage 68) is activated, the symbols are dis-
played up to a map scale of 2 km (2 mi).
XTo switch to navigation mode: press the
ß button.
XTo show the menu: slide6the controller.
XTo select Options: turn and press the con-
troller.
XSelect Personal POIs.
XSelectDisplay on the Map.
The menu displays the categories available on
the SD card.
XTo select a category: turn the controller and
press to confirm.
All personal POIs in the selected category are
displayed Oor not displayed ª, depending
on the previous status.
Alert when approaching
Requirements: an SD card with personal POIs is
inserted (Ypage 149). If the vehicle is approaching a personal POI and
the functions are enabled, the personal POI is
highlighted on the map and an audible signal
sounds.
For this purpose, both the corresponding func-
tion
Approaching POI Cue
and the category
containing the personal POI must be activated.
XTo switch to navigation mode: press the
ß button.
XTo show the menu: slide6the controller.
XTo select Options: turn and press the con-
troller.
XSelect Personal POIs.
XSelectApproaching POI Cue.
The menu displays the categories available on
the SD card.
XSelect AudibleorOptical.
The function is switched on Oor off ª,
depending on the previous status.
XTo select a category: turn the controller and
press to confirm.
The function is switched on Oor off ª, for
all personal POIs of this category, depending
on the previous setting.
Saving personal POIs and routes
General notes
Personal POIs and routes are geodata which are
saved in open GPX format (GPS Exchange for-
mat) on the SD card.
Personal POI from current vehicle posi-
tion or crosshair position
XInsert the SD memory card (Ypage 149).
XTo switch to navigation mode: press the
ß button.
XWhen the map is displayed, press the con-
troller until a message appears.
The current vehicle position is saved to the
Not Classified
category on the SD card
and also stored in the "Last destinations"
memory (
Ypage 82).
If the "Move map" function is selected
(
Ypage 54), the crosshair position is saved.
iIf no SD card is inserted, the personal POI
will only be stored in the "Last destinations"
memory.
68Personal POIs and routes
Navigation
Page 73 of 202
XTo selectDestination: turn and press the
controller.
XSelect From Memory Card.
XSelectPersonal Routes.
Previously recorded routes are displayed.
XTo select a route: turn and press the control-
ler.
The map appears with a menu. The recorded
route is shown on the map in blue.
XTo start route calculation: selectStart.
XTo change the name and symbol: select
Edit
.
XSelect Change NameorEdit Icon.
XTo change name: enter character (Ypage 30).
XTo change symbol: select a symbol.
The symbol is saved.
Route guidance
General notes
Always observe the traffic regulations when
driving. Road and traffic rules and regulations
always have priority over system driving recom-
mendations.
The multimedia system calculates the route to
the destination without taking account of the
following, for example:
Rtraffic lights
Rstop and yield signs
Rparking or stopping restrictions
Rroad narrowing
Rtemporary traffic rules and regulations
The multimedia system may give differing navi-
gation commands if the actual street/traffic sit-
uation does not correspond with the digital
map's data. For example, if the road layout or
the direction of a one-way street has been
changed.
Route guidance begins once a route has been
calculated (
Ypage 59).
The multimedia system guides you to your des-
tination by means of navigation announcements
in the form of audible navigation announce-
ments and route guidance displays.
Navigation messages guide you during the jour-
ney without distracting you from traffic condi-
tions or driving. Please always use this feature
instead of consulting the map display for direc- tions. The symbols or the map display could dis-
tract you from traffic conditions and driving.
The route guidance displays can be seen if nav-
igation mode is switched on.
If you do not follow the navigation announce-
ments or if you leave the calculated route, the
multimedia system automatically calculates a
new route to the destination.
If the digital map contains the corresponding
information, the following applies:
RDuring route guidance, the multimedia sys-
tem tries to avoid roads with restricted
access. These include, for example, roads
which are closed to through-traffic.
RRoads that have time restrictions (e.g. closed
on Sundays and public holidays) are consid-
ered for route guidance on days when they are
open. For this purpose, the relevant times
must be correctly stored in the database.
Change of direction
Overview
Changes of direction have three phases:
RPreparation phase
RAnnouncement phase
RChange-of-direction phase
Changes in direction are also shown in the mul-
tifunction display of the instrument cluster (see
the vehicle Operator's Manual).
Preparation phase
The multimedia system prepares you for the
upcoming driving maneuver, e.g. with the
announcement "Prepare to turn right". You see
the full-screen map.
Route guidance71
Navigation
Z
Page 78 of 202
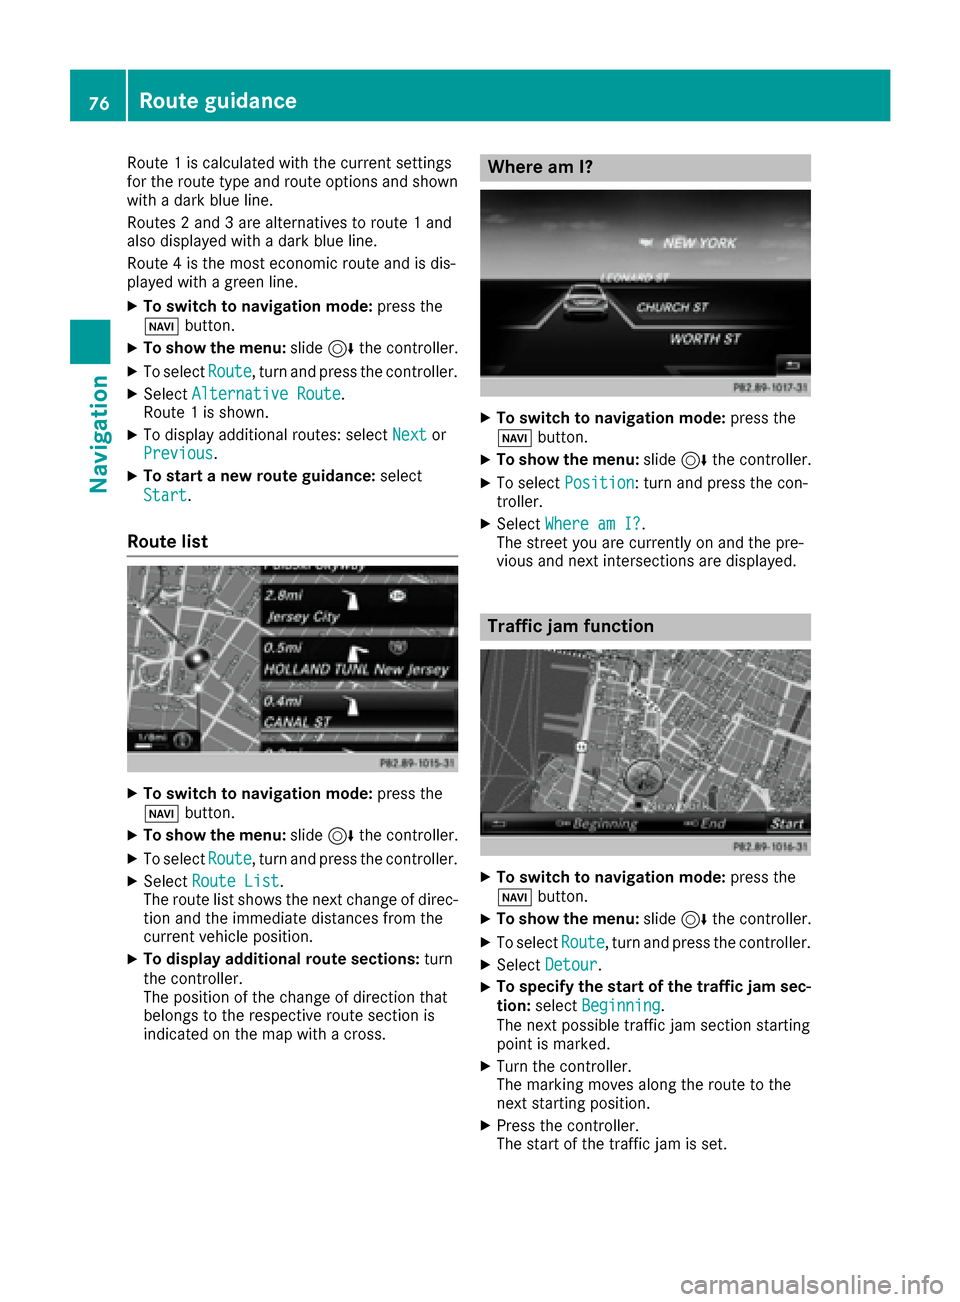
Route 1is calculated wit hth ecurren tsetting s
for th erout etyp eand rout eoption sand shown
wit h a dark blue line.
Routes 2and 3are alternatives to rout e 1and
also displayed wit h adark blue line.
Rout e 4is th emos teconomi crout eand is dis-
played wit h agreen line.
XTo switch to navigation mode: press the
Ø button.
XTo sho wthemenu: slide6 thecontroller .
XTo selectRoute,tur nand press th econtroller .
XSelectAlternative Route.
Rout e 1is shown.
XTo display additional routes: select Nextor
Previous.
XTo star t anew route guidance: select
Start
.
Route list
XTo switch to navigation mode: press the
Ø button.
XTo sho wthemenu: slide6 thecontroller .
XTo selectRoute,tur nand press th econtroller .
XSelectRoute Lis t.
The rout elist shows th enext chang eof direc-
tion and th eimmediat edistances from th e
curren tvehicl eposition .
XTo displa yadditiona lroute sections: turn
th econtroller .
The position of th echang eof direction that
belong sto th erespective rout esection is
indicated on th emap wit h across .
Where am I?
XTo switch to navigation mode: press the
Ø button.
XTo sho wthemenu: slide6 thecontroller .
XTo select Position:tur nand press th econ-
troller .
XSelectWhere am I?.
The stree tyou are currentl yon and th epre -
vious and next intersection sare displayed.
Traffic jam function
XTo switch to navigation mode: press the
Ø button.
XTo sho wthemenu: slide6 thecontroller .
XTo selectRoute,tur nand press th econtroller .
XSelectDetour.
XTo specify th estar tof th etraffic ja msec-
tion: select Beginning
.
The next possibl etraffic jam section starting
poin tis marked.
XTurn th econtroller .
The markin gmoves alon gth erout eto th e
next starting position .
XPress thecontroller .
The start of th etraffic jam is set .
76Route guidance
Navigation
Page 79 of 202
XTo specify the end of a traffic jam section:
selectEnd
.
The next possible traffic jam section end point
is marked.
XTurn the controller.
The marking moves along the route to the
next end position.
XPress the controller.
The end of the traffic jam is determined.
XTo calculate the detour: selectStart.
Off-road
General notes
The multimedia system may guide you to off-
road routes that your vehicle cannot drive on
without causing damage to the tires and wheels,
or the vehicle itself. It is the driver’s sole respon-
sibility to determine the suitability of the route.
The state and navigability of off-road routes may
be influenced, for example, by factors such as
time of day, time of year and current weather
conditions. The multimedia system cannot
judge these factors or take them into account
for route guidance.
Route guidance to an off-road destina-
tion
The multimedia system can guide you to desti-
nations which are within the area of the digital
map, but which are not themselves on the map.
These destinations are known as off-road des-
tinations, which you can enter using the map, for
example. In these cases, the multimedia system
guides you for as long as possible with naviga-
tion announcements and displays on roads
known to the system.
If the vehicle reaches an area which is not part of the digital map, the display appears as a split-
screen view. On the right, an arrow appears that
points to the off-road destination. You hear the
announcement: "Please follow the arrow on the
display". As the vehicle approaches the desti-
nation, you will see a display to this effect.
Route guidance from an off-road loca-
tion to a destination
Off-road location: the vehicle's position is on the
digital map, but the map does not contain any
information about that location. The multimedia system is able to guide you to a destination even
from an off-road location.
At the start of route guidance, you will see the
Road Not Mapped
message, an arrow and the
distance to the destination. The arrow shows
the compass heading to the actual destination.
As soon as the vehicle is back on a road known
to the system, route guidance continues in the
usual way.
Off-road during route guidance
Due to road construction, for example, there
may be differences between the data on the
digital map and the actual course of the road.
In such cases, the system will temporarily be
unable to locate the vehicle position on the dig-
ital map. The vehicle is therefore in an off-road
position.
In the display, you will then see the Road Not
Mappedmessage, an arrow and the distance to
the destination. The direction arrow shows the
compass heading to the destination.
As soon as the system can assign the vehicle
position to the map again, route guidance con-
tinues in the usual way.
Real-time traffic reports
Requirements
In order to receive real-time traffic reports via
satellite radio, you need to subscribe to SIRIUS
XM Satellite Radio Traffic Message Service.
Further information on satellite radio
(
Ypage 138).
The multimedia system can receive traffic
reports via satellite radio and take account of
these for route guidance in the navigation sys-
tem. Received traffic reports are displayed on
the map either as text or as symbols.
Real-time traffic reports77
Navigation
Z
Page 85 of 202
XTo selectDeleteorDelete All: turn and
press the controller.
A prompt appears.
XSelect YesorNo.
Selecting Yesdeletes the selected destina-
tion or all destinations.
Map functions
General notes
Company logos displayed on the map are trade- marks of the respective companies and used
solely for the purpose of indicating the locations
of these companies. The use of such logos on
the map does not indicate approval of, support
of or advertising by these companies for the
navigation system itself.
Map settings
Setting the map scale
Requirement: the map is in full screen mode, the
menu is faded out (Ypage 54).
The lower left-hand section of the map shows
the currently set map scale and compass nee-
dle.
Right-hand-drive vehicles: the currently set map
scale and compass needle are displayed in the
lower right-hand section of the map.
XTo show the map in full screen mode: to
hide the menu, push the %button.
or
XSlide the controller to the center of the map
and press to confirm.
XTo set the map scale: as soon as you turn the
controller, the scale bar appears on the bot-
tom of the display.
XTurn the controller until the needle points to
the desired map scale.
Once you are finished selecting a map scale,
the new map scale will be shown.
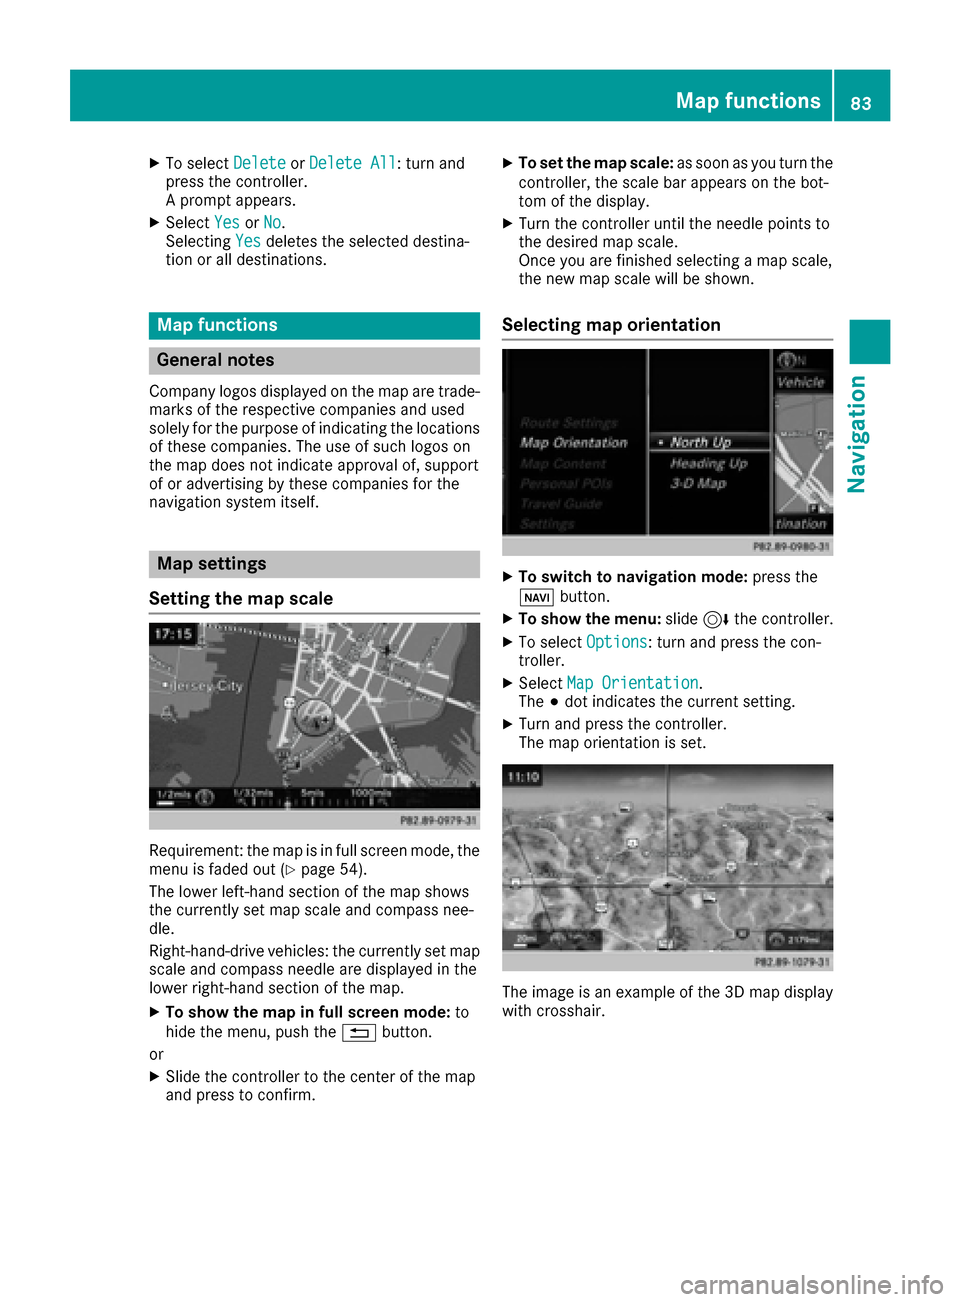
Selecting map orientation
XTo switch to navigation mode: press the
ß button.
XTo show the menu: slide6the controller.
XTo select Options: turn and press the con-
troller.
XSelect Map Orientation.
The #dot indicates the current setting.
XTurn and press the controller.
The map orientation is set.
The image is an example of the 3D map display
with crosshair.
Map functions83
Navigation
Z
Page 102 of 202
RUsing the telephone menu (Ypage 98)
RUsing redial (Ypage 98)
RUsing the call lists (Ypage 98)
RUsing the phone book (Ypage 98)
RUsing speed dial (Ypage 99)
Switching the microphone on or off
This function is available in the telephone menu
during an active phone call.
Switching off the microphone:
XTo switch to the menu bar: slide6the con-
troller.
XTo select Microphone Off: turn and press
the controller.
If the microphone is switched off, the Q
symbol and the The microphone is off.
message are displayed.
Switching on the microphone:
XSelect Microphone On.
The Qsymbol disappears. The The micro‐
phone is on.message is shown.
Sending DTMF tones
This function is not supported by all mobile
phones.
Answering machines or other devices can be
controlled by DTMF tones, e.g. for remote query
functions.
XIf you would like to listen to the messages on
your answering machine, for example, dial the
corresponding number.
Transmitting individual characters
XOnce a connection has been established to
the answer phone, select the desired charac-
ters in the telephone menu: turn and press the
controller each time.
or
XPress the corresponding key on the number
keypad.
Every character selected will be transmitted
immediately.
Calls with several participants
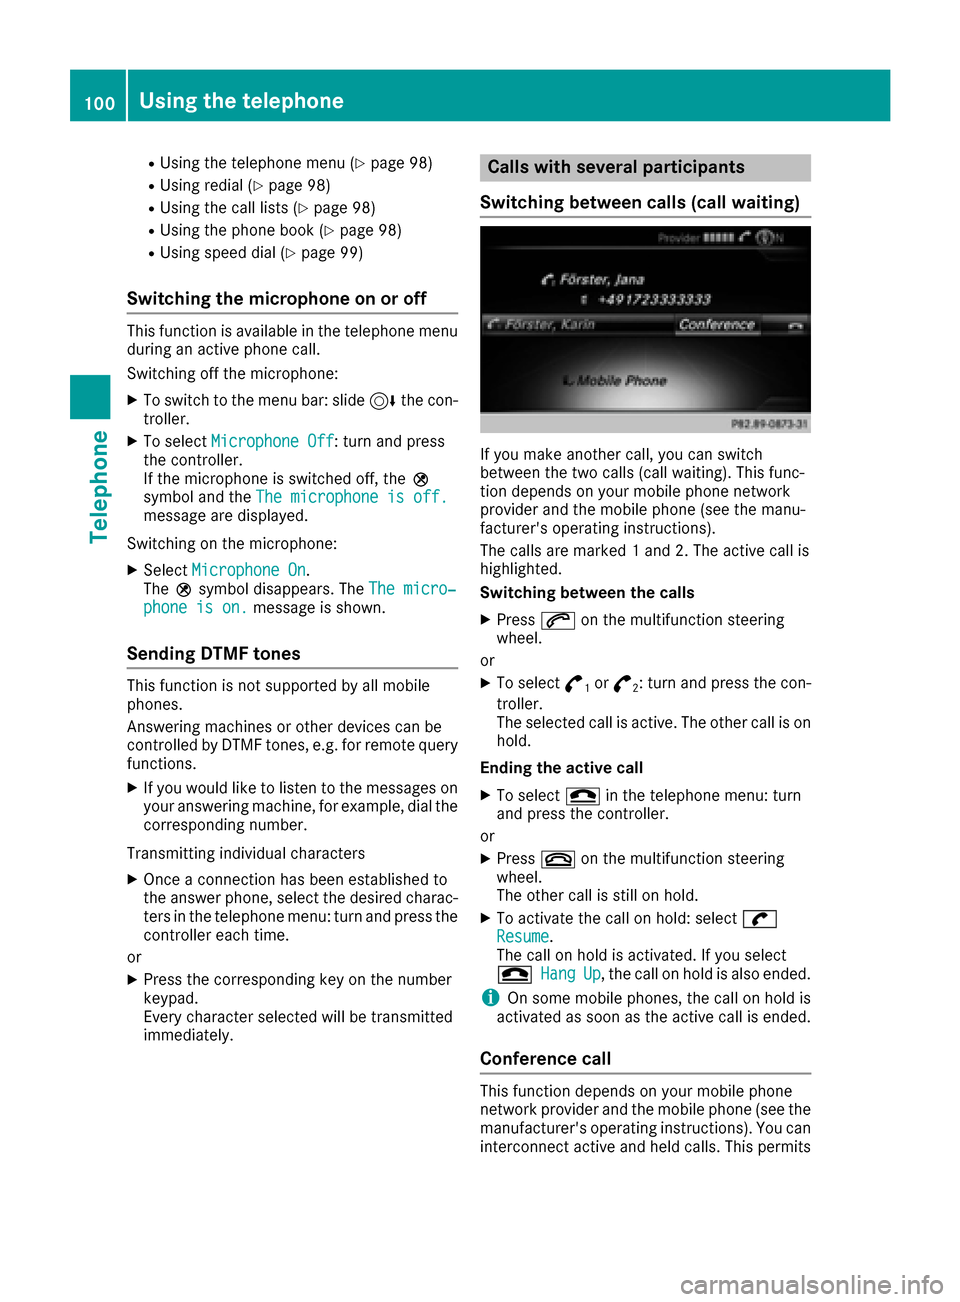
Switching between calls (call waiting)
If you make another call, you can switch
between the two calls (call waiting). This func-
tion depends on your mobile phone network
provider and the mobile phone (see the manu-
facturer's operating instructions).
The calls are marked 1 and 2. The active call is
highlighted.
Switching between the calls
XPress 6on the multifunction steering
wheel.
or
XTo select °1or°2: turn and press the con-
troller.
The selected call is active. The other call is on
hold.
Ending the active call
XTo select =in the telephone menu: turn
and press the controller.
or
XPress ~on the multifunction steering
wheel.
The other call is still on hold.
XTo activate the call on hold: select wResume.
The call on hold is activated. If you select
=
HangUp, the call on hold is also ended.
iOn some mobile phones, the call on hold is
activated as soon as the active call is ended.
Conference call
This function depends on your mobile phone
network provider and the mobile phone (see the
manufacturer's operating instructions). You can
interconnect active and held calls. This permits
100Using the telephone
Telephone
Page 112 of 202
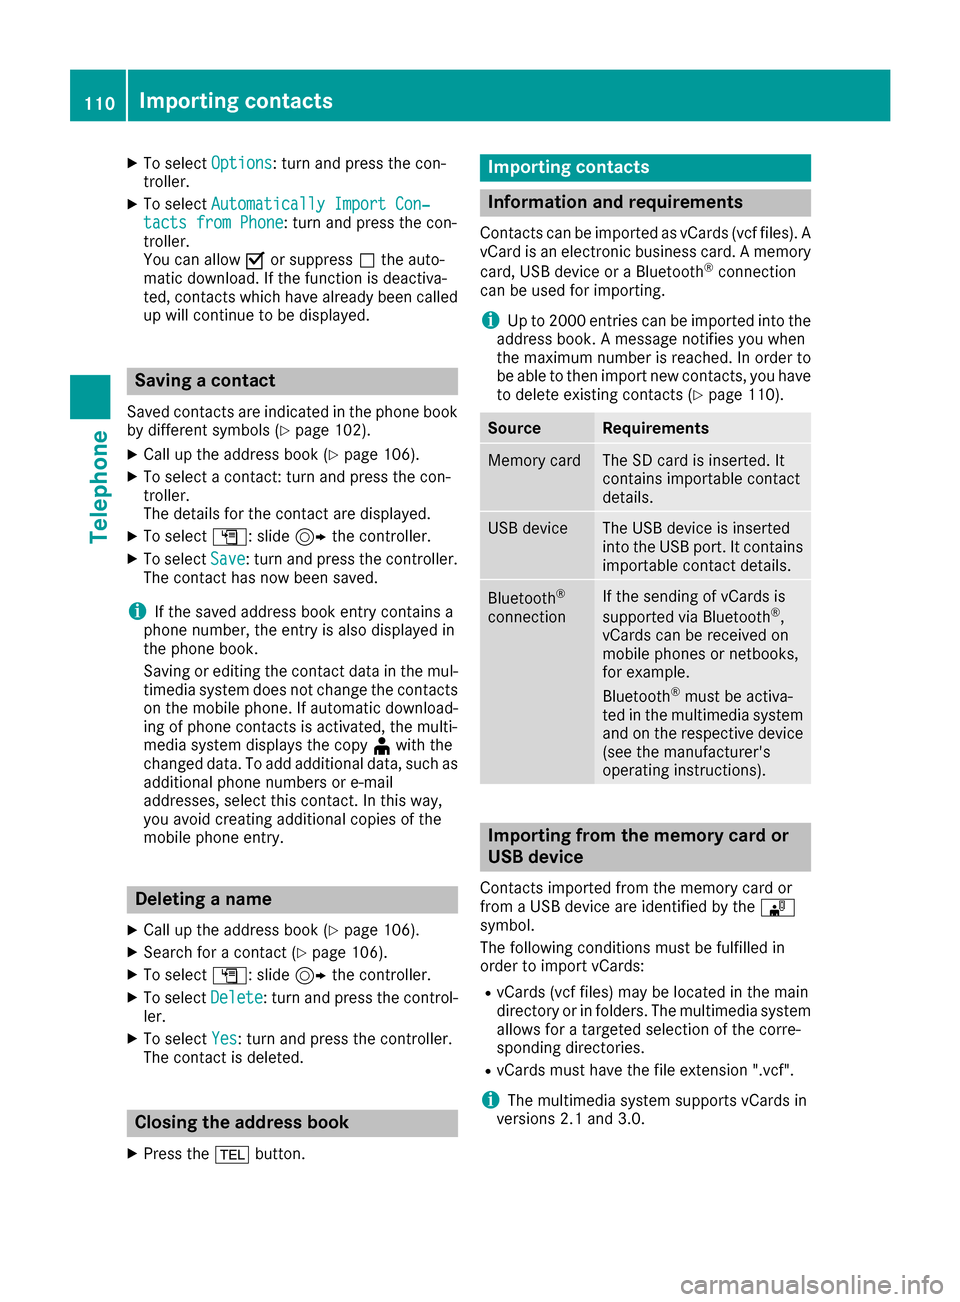
XTo selectOptions: turn and press the con-
troller.
XTo select Automatically Import Con‐tacts from Phone: turn and press the con-
troller.
You can allow Oor suppress ªthe auto-
matic download. If the function is deactiva-
ted, contacts which have already been called
up will continue to be displayed.
Saving a contact
Saved contacts are indicated in the phone book
by different symbols (Ypage 102).
XCall up the address book (Ypage 106).
XTo select a contact: turn and press the con-
troller.
The details for the contact are displayed.
XTo select G: slide 9the controller.
XTo select Save: turn and press the controller.
The contact has now been saved.
iIf the saved address book entry contains a
phone number, the entry is also displayed in
the phone book.
Saving or editing the contact data in the mul-
timedia system does not change the contacts
on the mobile phone. If automatic download-
ing of phone contacts is activated, the multi-
media system displays the copy ¥with the
changed data. To add additional data, such as additional phone numbers or e-mail
addresses, select this contact. In this way,
you avoid creating additional copies of the
mobile phone entry.
Deleting a name
XCall up the address book (Ypage 106).
XSearch for a contact (Ypage 106).
XTo select G: slide 9the controller.
XTo select Delete: turn and press the control-
ler.
XTo select Yes: turn and press the controller.
The contact is deleted.
Closing the address book
XPress the %button.
Importing contacts
Information and requirements
Contacts can be imported as vCards (vcf files). A
vCard is an electronic business card. A memory
card, USB device or a Bluetooth
®connection
can be used for importing.
iUp to 2000 entries can be imported into the
address book. A message notifies you when
the maximum number is reached. In order to
be able to then import new contacts, you have
to delete existing contacts (
Ypage 110).
SourceRequirements
Memory cardThe SD card is inserted. It
contains importable contact
details.
USB deviceThe USB device is inserted
into the USB port. It contains
importable contact details.
Bluetooth®
connection
If the sending of vCards is
supported via Bluetooth®,
vCards can be received on
mobile phones or netbooks,
for example.
Bluetooth
®must be activa-
ted in the multimedia system
and on the respective device
(see the manufacturer's
operating instructions).
Importing from the memory card or
USB device
Contacts imported from the memory card or
from a USB device are identified by the ¯
symbol.
The following conditions must be fulfilled in
order to import vCards:
RvCards (vcf files) may be located in the main
directory or in folders. The multimedia system
allows for a targeted selection of the corre-
sponding directories.
RvCards must have the file extension ".vcf".
iThe multimedia system supports vCards in
versions 2.1 and 3.0.
110Importing contacts
Telephone
Page 116 of 202
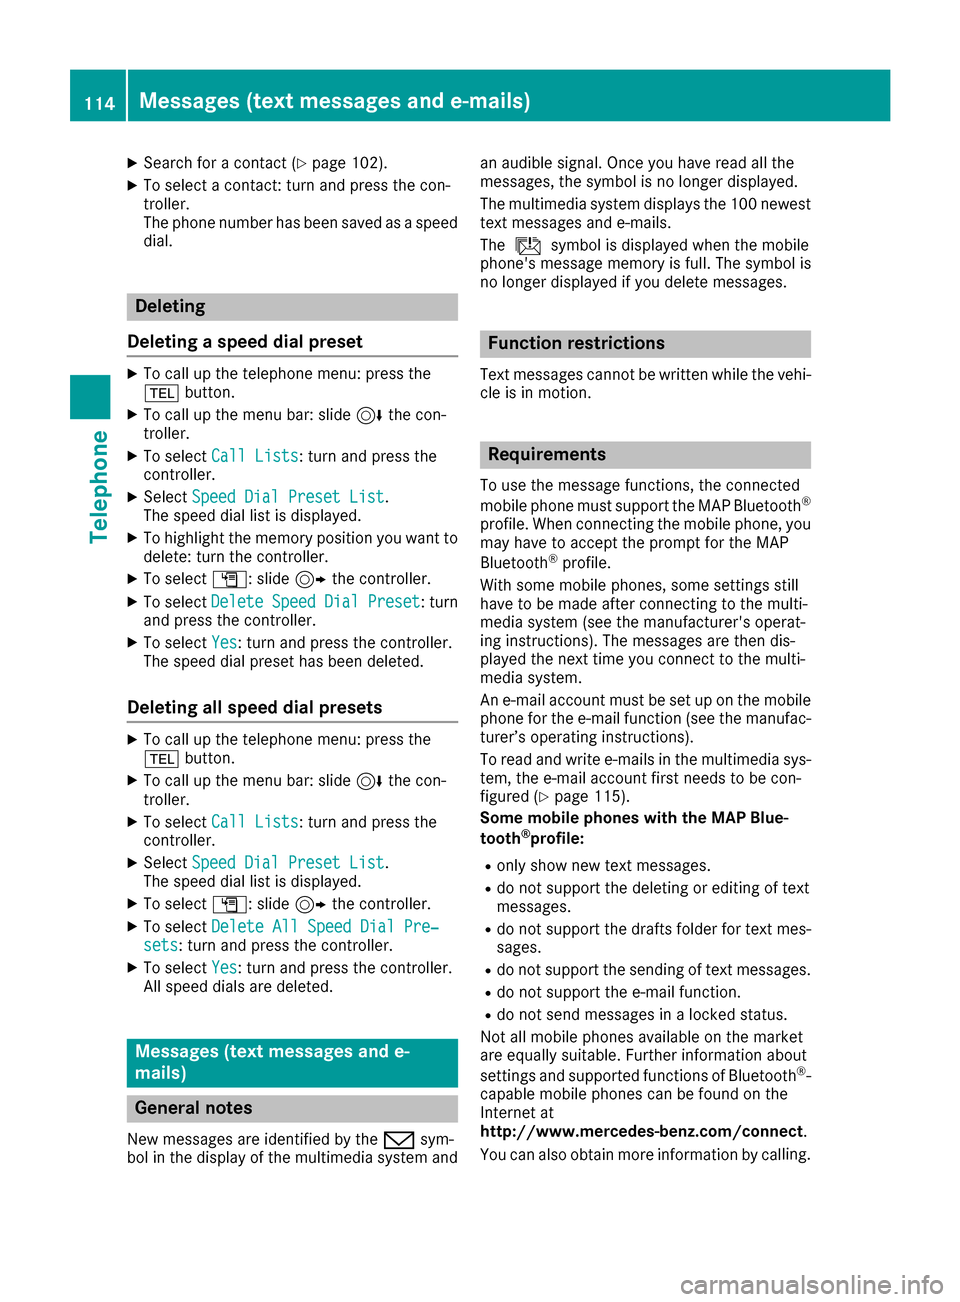
XSearch for a contact (Ypage 102).
XTo select a contact: turn and press the con-
troller.
The phone number has been saved as a speed
dial.
Deleting
Deleting a speed dial preset
XTo call up the telephone menu: press the
% button.
XTo call up the menu bar: slide 6the con-
troller.
XTo select Call Lists: turn and press the
controller.
XSelect Speed Dial Preset List.
The speed dial list is displayed.
XTo highlight the memory position you want to
delete: turn the controller.
XTo select G: slide 9the controller.
XTo select DeleteSpeedDialPreset: turn
and press the controller.
XTo select Yes: turn and press the controller.
The speed dial preset has been deleted.
Deleting all speed dial presets
XTo call up the telephone menu: press the
% button.
XTo call up the menu bar: slide 6the con-
troller.
XTo select Call Lists: turn and press the
controller.
XSelect Speed Dial Preset List.
The speed dial list is displayed.
XTo select G: slide 9the controller.
XTo select Delete All Speed Dial Pre‐sets: turn and press the controller.
XTo selectYes: turn and press the controller.
All speed dials are deleted.
Messages (text messages and e-
mails)
General notes
New messages are identified by the /sym-
bol in the display of the multimedia system and an audible signal. Once you have read all the
messages, the symbol is no longer displayed.
The multimedia system displays the 100 newest
text messages and e-mails.
The
ú symbol is displayed when the mobile
phone's message memory is full. The symbol is
no longer displayed if you delete messages.
Function restrictions
Text messages cannot be written while the vehi-
cle is in motion.
Requirements
To use the message functions, the connected
mobile phone must support the MAP Bluetooth®
profile. When connecting the mobile phone, you
may have to accept the prompt for the MAP
Bluetooth
®profile.
With some mobile phones, some settings still
have to be made after connecting to the multi-
media system (see the manufacturer's operat-
ing instructions). The messages are then dis-
played the next time you connect to the multi-
media system.
An e-mail account must be set up on the mobile
phone for the e-mail function (see the manufac-
turer’s operating instructions).
To read and write e-mails in the multimedia sys- tem, the e-mail account first needs to be con-
figured (
Ypage 115).
Some mobile phones with the MAP Blue-
tooth
®profile:
Ronly show new text messages.
Rdo not support the deleting or editing of text
messages.
Rdo not support the drafts folder for text mes-
sages.
Rdo not support the sending of text messages.
Rdo not support the e-mail function.
Rdo not send messages in a locked status.
Not all mobile phones available on the market
are equally suitable. Further information about
settings and supported functions of Bluetooth
®-
capable mobile phones can be found on the
Internet at
http://www.mercedes-benz.com/connect .
You can also obtain more information by cal ling.
114Messages (text messages and e-mails)
Telephone